23 Vegetable Garden Ideas and Designs for Your Yard
Explore 23 vegetable garden ideas for beds, patios, balconies, and small yards, plus practical tips on sun, access, containers, and harvest planning at home.

A good vegetable garden earns its space twice: it produces food you want to eat and stays easy enough to tend after the first burst of enthusiasm fades. A neat row garden, a collection of patio pots, and an ornamental potager can all work; the right choice depends on sunlight, soil, access to water, how much you harvest, and how much time you can give the garden each week.
Use these 23 ideas as building blocks rather than templates to copy exactly. Before choosing lumber, containers, or a trellis, notice where sun reaches the yard, where water drains after rain, and which route you will actually walk with a watering can or harvest basket. The garden plans that look best over time are the ones designed around those routines.
Start With Sun, Soil, Water, and the Way You Garden
A quick site audit before choosing a style
Watch the site during the growing season, not just on the day you start planning. Mark the hours when direct sun reaches each possible garden area, note whether water stands after rain, and check how far a hose or watering can must travel. Many fruiting crops need a bright site to flower and set well, while leafy crops can make better use of partial shade; the NC State Extension vegetable gardening handbook discusses matching garden type and crops to site conditions.
Soil history is part of the design. If a yard was once a building site, driveway, industrial space, or area beside old painted structures, do not assume the soil is safe for food crops; review NC State Extension’s guidance on soil contaminants in urban gardens and arrange appropriate testing when the history raises a concern. A raised bed or container filled with known clean growing media can be a practical alternative while you sort out the site.
Finally, be honest about the harvest you want and the care you can sustain. A gardener who cooks with herbs and salad greens several times a week may prefer a small bed beside the kitchen, while someone who wants storage crops needs more ground area and room for sprawling vines. GrowVeg’s garden-planning guide recommends considering mature plant size, planting times, and potential problems before finalizing a plan; that planning prevents a lovely June layout from becoming crowded by August.
23 Vegetable Garden Ideas, Grouped by How They Use Space
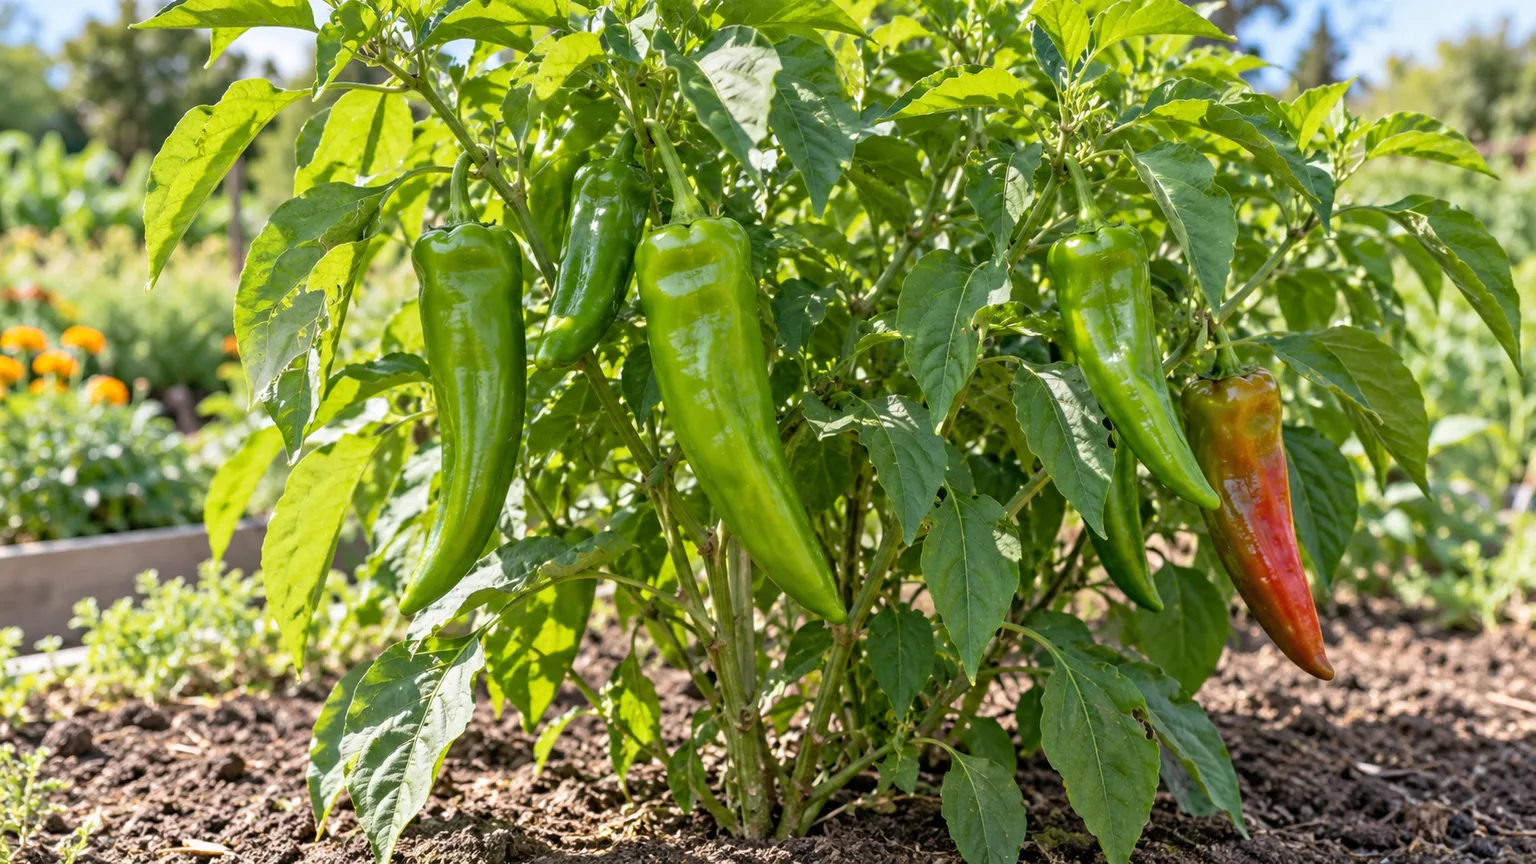
The ideas below can be mixed. A simple raised bed can use a square-foot grid, a trellis along its north edge, flowers at the corners, and a succession of greens in the space left by early crops. Pick only the features that solve a real constraint on your property.
Ground-level and bed layouts: ideas 1–5
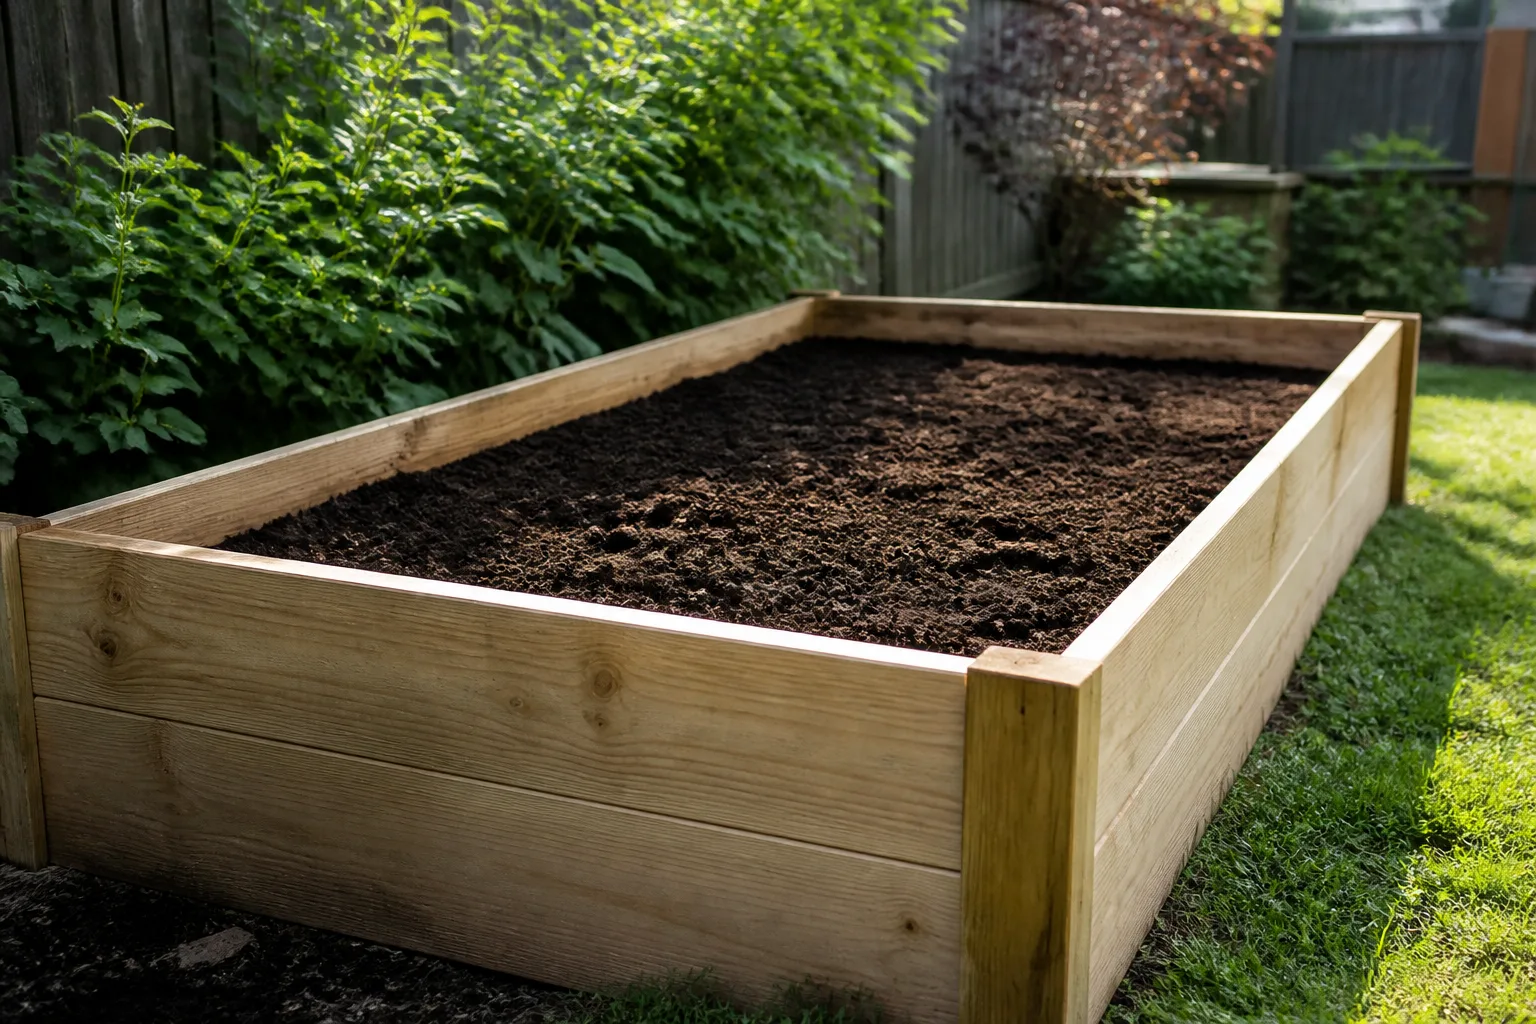
1. Build reachable raised beds. Framed or mounded beds make planting areas obvious, keep feet off growing soil, and can improve drainage where native soil is heavy or wet. Keep the bed narrow enough to reach the center from a path instead of stepping across it; raised soil also dries sooner, so put the bed where regular watering is convenient. NC State Extension describes a standard raised bed as roughly three to four feet wide, with length based on the space and materials available; use a quality growing blend and replenish organic matter as crops are harvested.
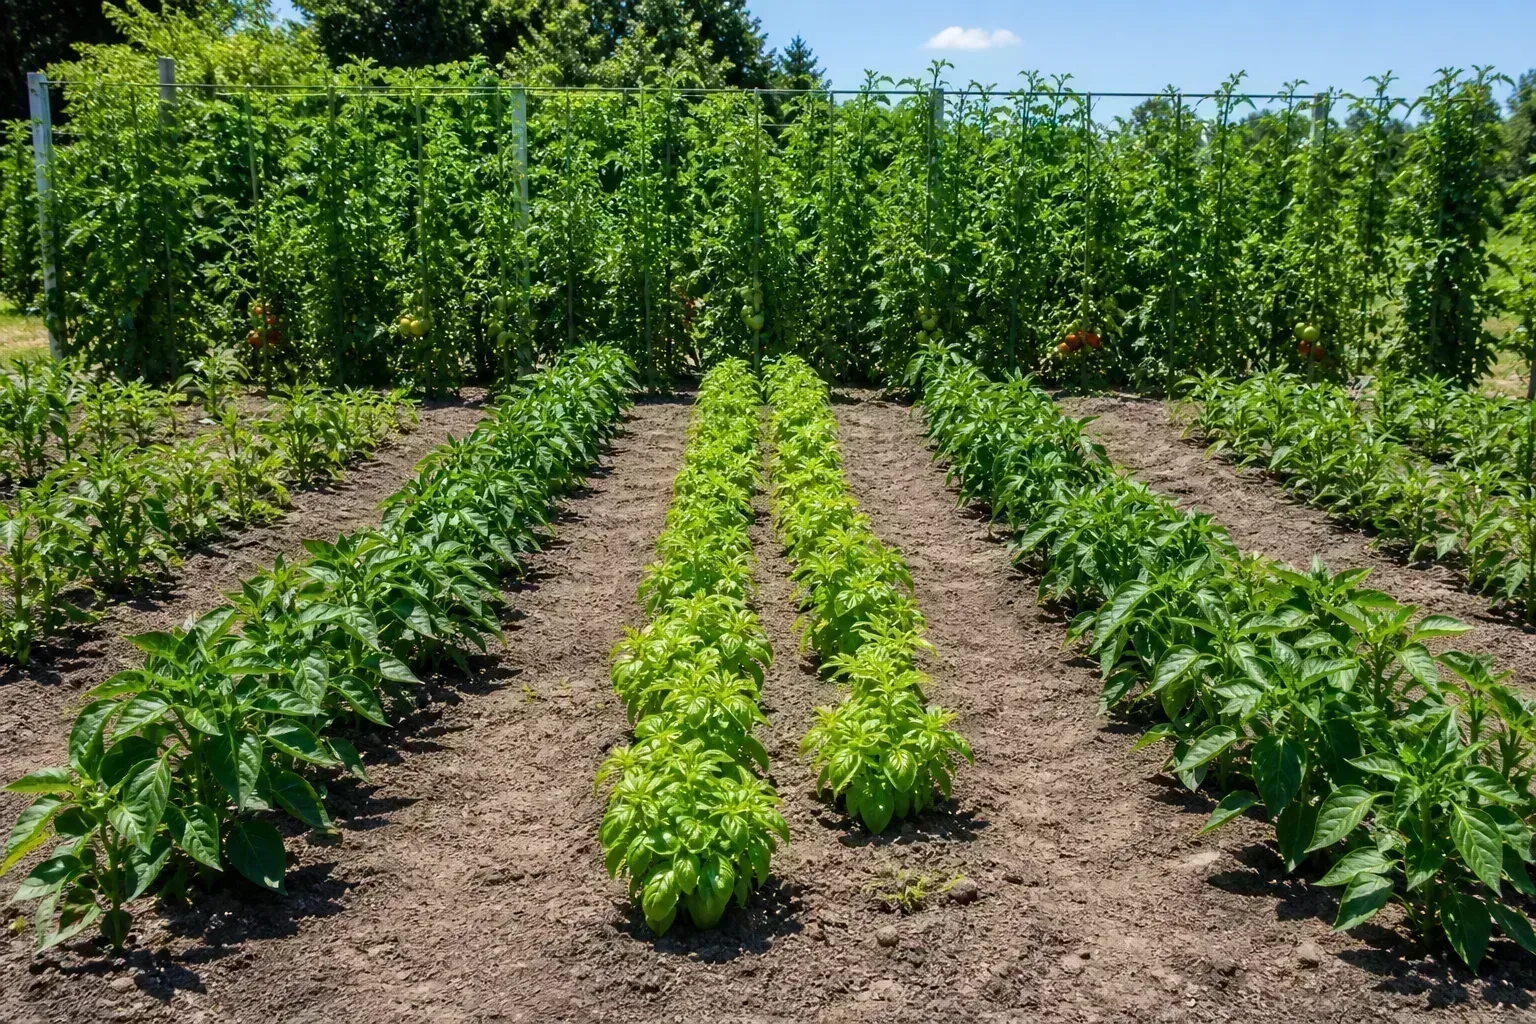
2. Lay out in-ground rows with generous paths. Traditional rows are easy to understand, simple to rotate, and practical when you have enough land for spreading crops or larger quantities. Leave a clear path between planting areas so you can weed, harvest, and carry compost without compacting the beds; grass paths are inexpensive, while mulch or gravel paths can be more convenient in a wet climate.
3. Use an L- or U-shaped bed only when you can reach every side. A corner or horseshoe shape can make a compact garden feel enclosed and put more plants near the path. Measure from the outside edge before building: a deep center that can only be reached by leaning across other crops defeats the benefit, and a tight turning area can be awkward for a wheelbarrow or mobility aid.
4. Terrace a sloping yard. Several level planting areas can make a hill more usable than one long bed, and the tiers create clear planting zones. The slope still needs safe drainage and a stable design; do not improvise a retaining wall where erosion or structural failure could threaten a building or path. If runoff crosses the garden, plan where that water will go before placing the beds.
5. Divide a bed into square-foot planting cells. A visible grid helps a new gardener portion a small bed and replace a finished crop without leaving a large bare patch. Treat the grid as a planning aid rather than a universal spacing law: a full-grown tomato or broccoli plant needs far more room than a carrot, and variety size, airflow, and local conditions matter more than filling every square.
Small-space and container designs: ideas 6–10
6. Turn a sunny balcony into a container garden. Group a few large pots along the perimeter and keep the walking route open so watering and harvesting remain easy. Choose a container deep and wide enough for each crop, make sure it drains freely, and consider wind exposure and the structure’s rated load before adding wet soil; containers need closer watering attention than in-ground beds. See NC State Extension’s container-growing guidance for the range of vegetables that can grow in pots.
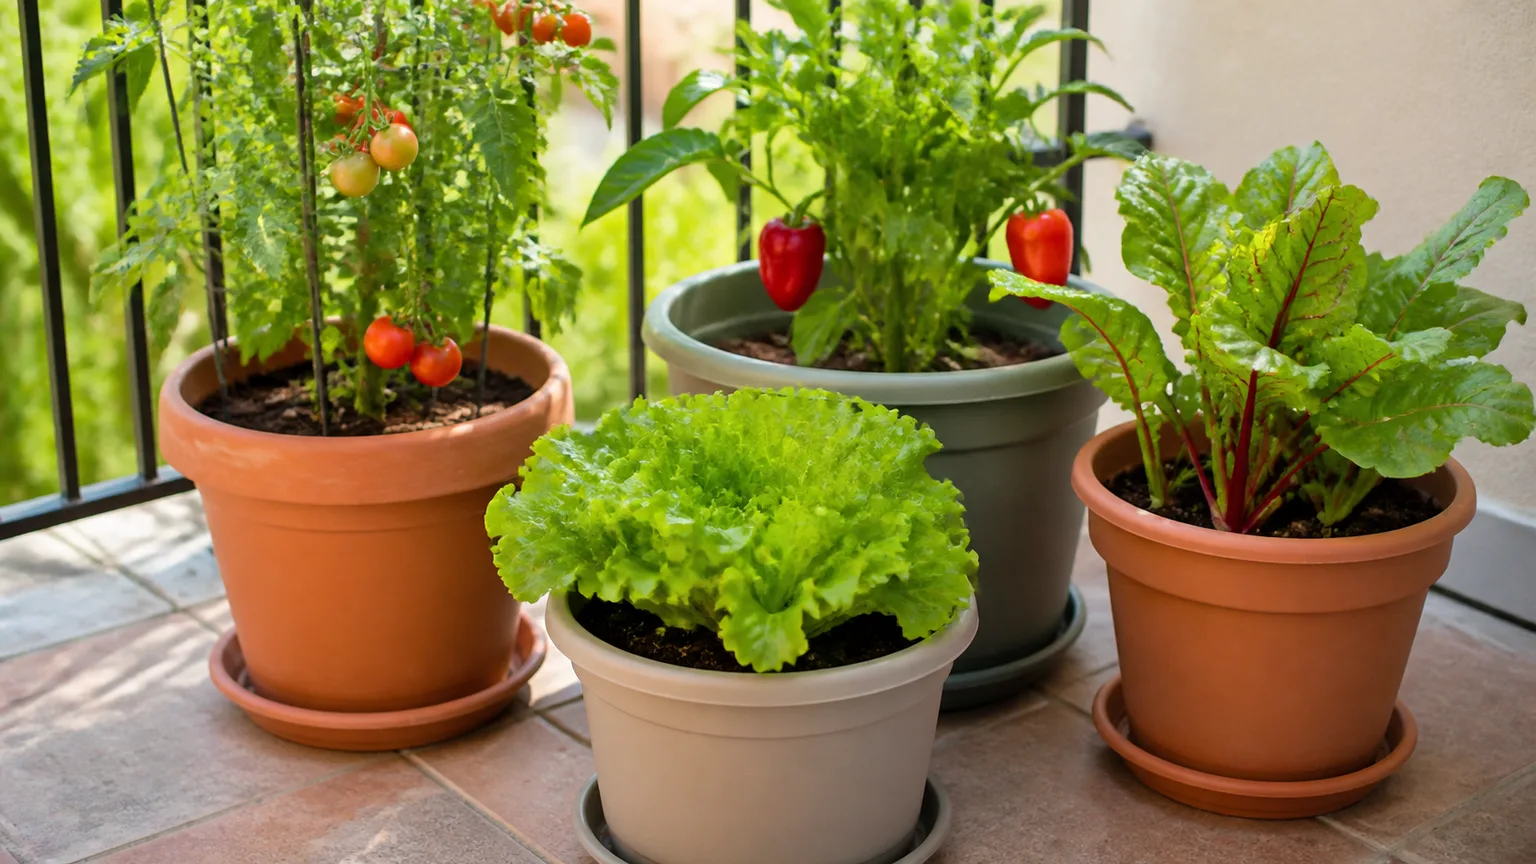
7. Make a patio kitchen garden from mixed pots. Put frequently picked herbs, lettuce, and compact tomatoes where you can reach them from the door, then group containers by how often they need water. Repurposed tubs or grow bags can sit beside decorative pots, but each needs drainage and a food-safe history; a beautiful vessel that stays waterlogged or overheats in afternoon sun will frustrate you.
8. Hang shallow-rooted crops in baskets or rail planters. Leafy greens, herbs, strawberries, and compact trailing tomatoes can use space above the floor, freeing the patio for walking or larger containers. A hanging basket dries quickly in sun and wind, and a saturated basket is heavier than it looks, so use a secure rated hook and check moisture often during hot spells.
9. Stack shelves, window boxes, or a plant stand. Shelves multiply the number of growing spots on a stoop or narrow deck, while a window box puts small herbs or salad leaves close to the kitchen. Position each tier so upper pots do not shade crops below, leave room to remove and water each container, and anchor outdoor shelving against wind instead of treating it as indoor furniture.
10. Plant an edible front-yard border. Lettuce, Swiss chard, herbs, and compact peppers can make a sunny entrance bed productive without making the house look like a farm plot. Keep harvest paths clear, choose varieties with attractive foliage, and check local rules and site history before planting beside a street or older structure; food plants should not sit where road runoff or unknown soil contamination is a concern.
Vertical structures: ideas 11–14
11. Trellis climbing vegetables along the north edge. Pole beans, peas, cucumbers, and supported tomatoes can use vertical space instead of sprawling over neighboring crops. Set sturdy supports before planting, tie or guide growth while stems are young, and put the tallest structure where it will cast the least shade on shorter crops; Family Handyman’s garden-design feature also emphasizes matching vining crops and their supports to the available space.
12. Add troughs or planters to a fence. A sunny fence can carry shallow-rooted herbs, salad greens, or strawberries without taking up floor area. Fasten every planter into framing that can handle its wet weight, leave an air gap where the fence needs it, and place plants where you can water them without leaning over a neighbor’s property line.
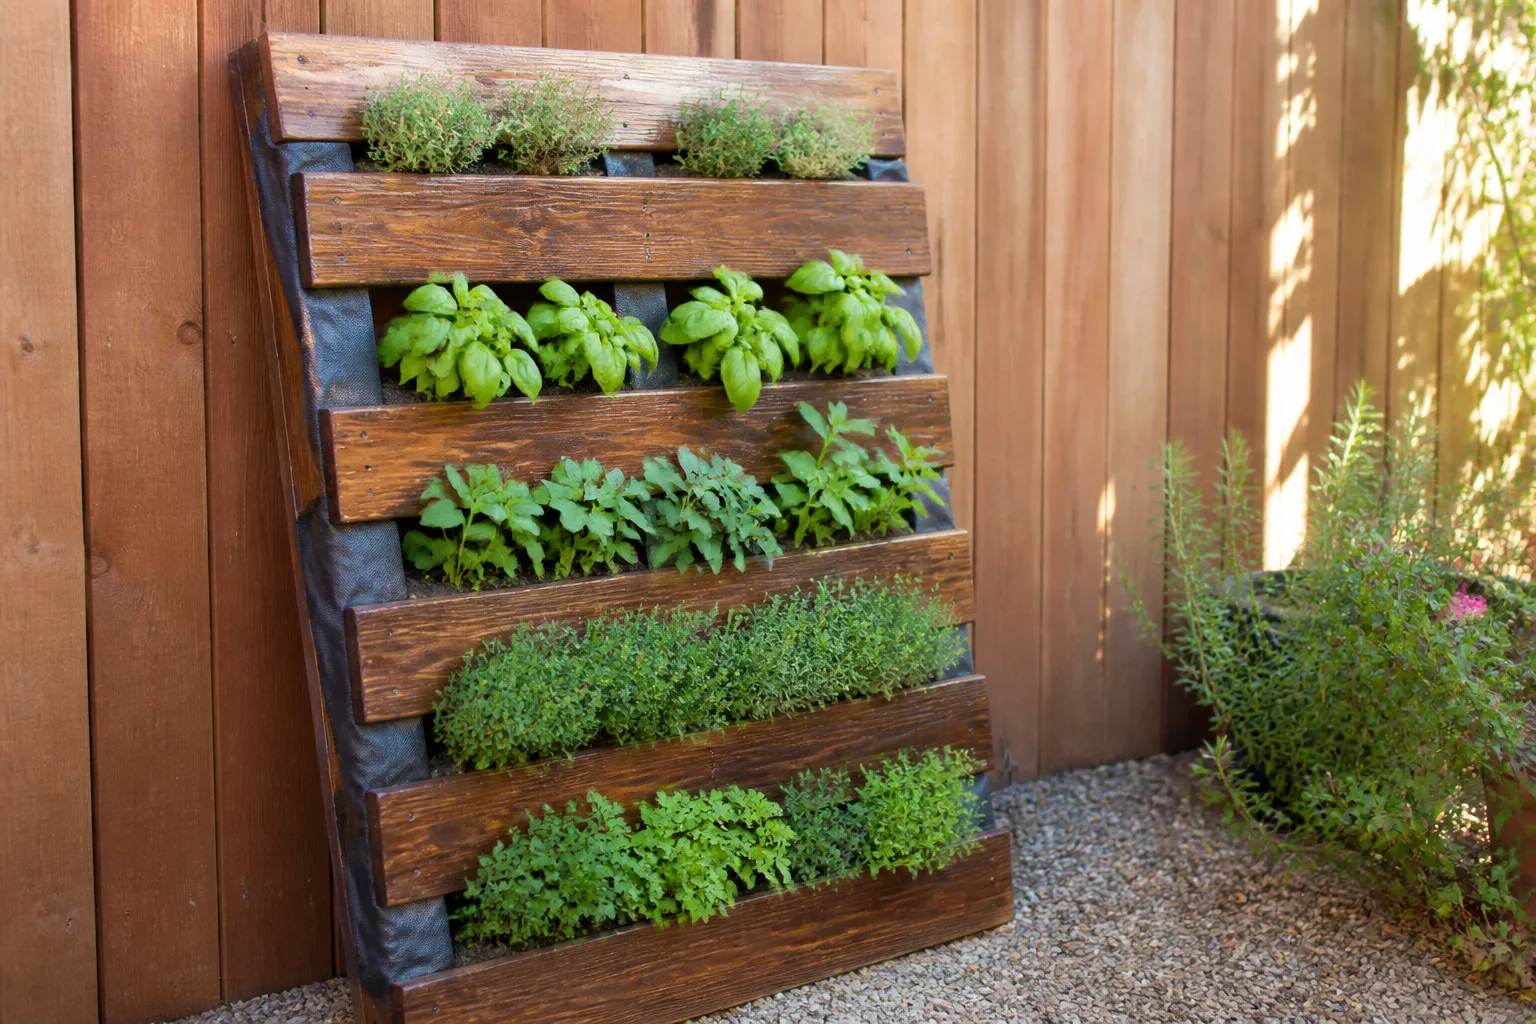
13. Make a compact wall, ladder, or pallet garden. A freestanding ladder with pots can be moved, while a pocket panel or reused pallet can hold herbs and small greens. Check that the structure is stable, drains without staining a wall, and uses materials with a known safe history; tiny pockets dry quickly and are unsuitable for large fruiting crops with deep root systems.
14. Train vines over an arch or garden tunnel. An overhead arch turns a path into a productive feature when beans, peas, or suitable cucumbers climb above it. Anchor both sides well and leave enough headroom to walk through as the plants mature; avoid heavy fruits on a flimsy arch and keep the foliage from blocking light to nearby beds.
Edible gardens that look ornamental: ideas 15–18
15. Arrange vegetables as a potager. A potager combines edible crops, herbs, flowers, and paths in a deliberate pattern, often with repeated shapes or a central focal point. It can be formal or loose, but keep crop families in movable blocks or labeled sections so next season’s rotation remains manageable; GrowVeg’s shared garden plans show how beds, flowers, paths, composting, and crop rotation can be designed together.
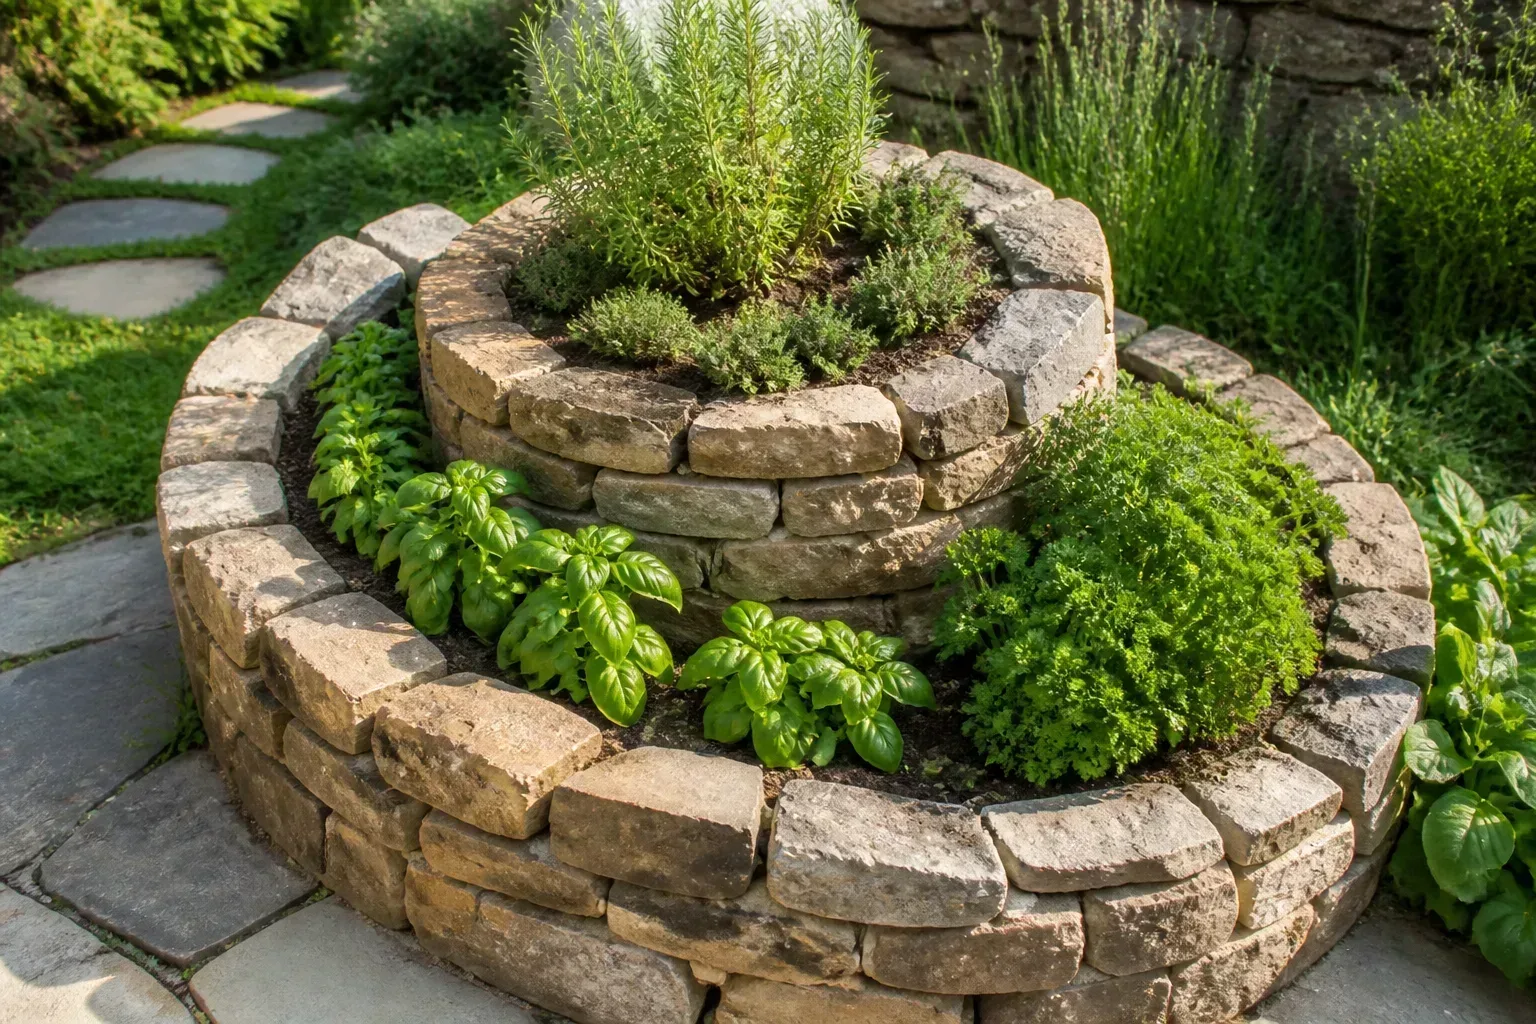
16. Use leafy vegetables as living edging. A row of lettuce, parsley, chard, or low-growing herbs can soften the edge of a bed and make a path feel planted rather than utilitarian. Keep enough width for leaves to grow without spilling across the walkway, and use crops that tolerate the edge’s heat and foot traffic rather than relying on a delicate plant that needs constant trimming.
17. Mix flowers and herbs into the vegetable plan. Calendula, cosmos, zinnias, basil, and other flowering or aromatic plants can add color and provide food or habitat for pollinators and beneficial insects. Their presence is not a guarantee against pests, so keep crop spacing, rotation, and regular inspection in the plan; scatter flowers at bed ends or along outer borders where they do not take over prime crop space.
18. Choose colorful edible varieties as focal points. Rainbow chard, purple basil, red lettuces, and striped tomatoes can give a garden the variety usually reserved for ornamental borders. Repeat one or two colors rather than adding every novelty variety, and choose cultivars for your growing season and flavor first; a dramatic crop that struggles in your climate is decoration without a dependable harvest.
Season extension and practical upgrades: ideas 19–23
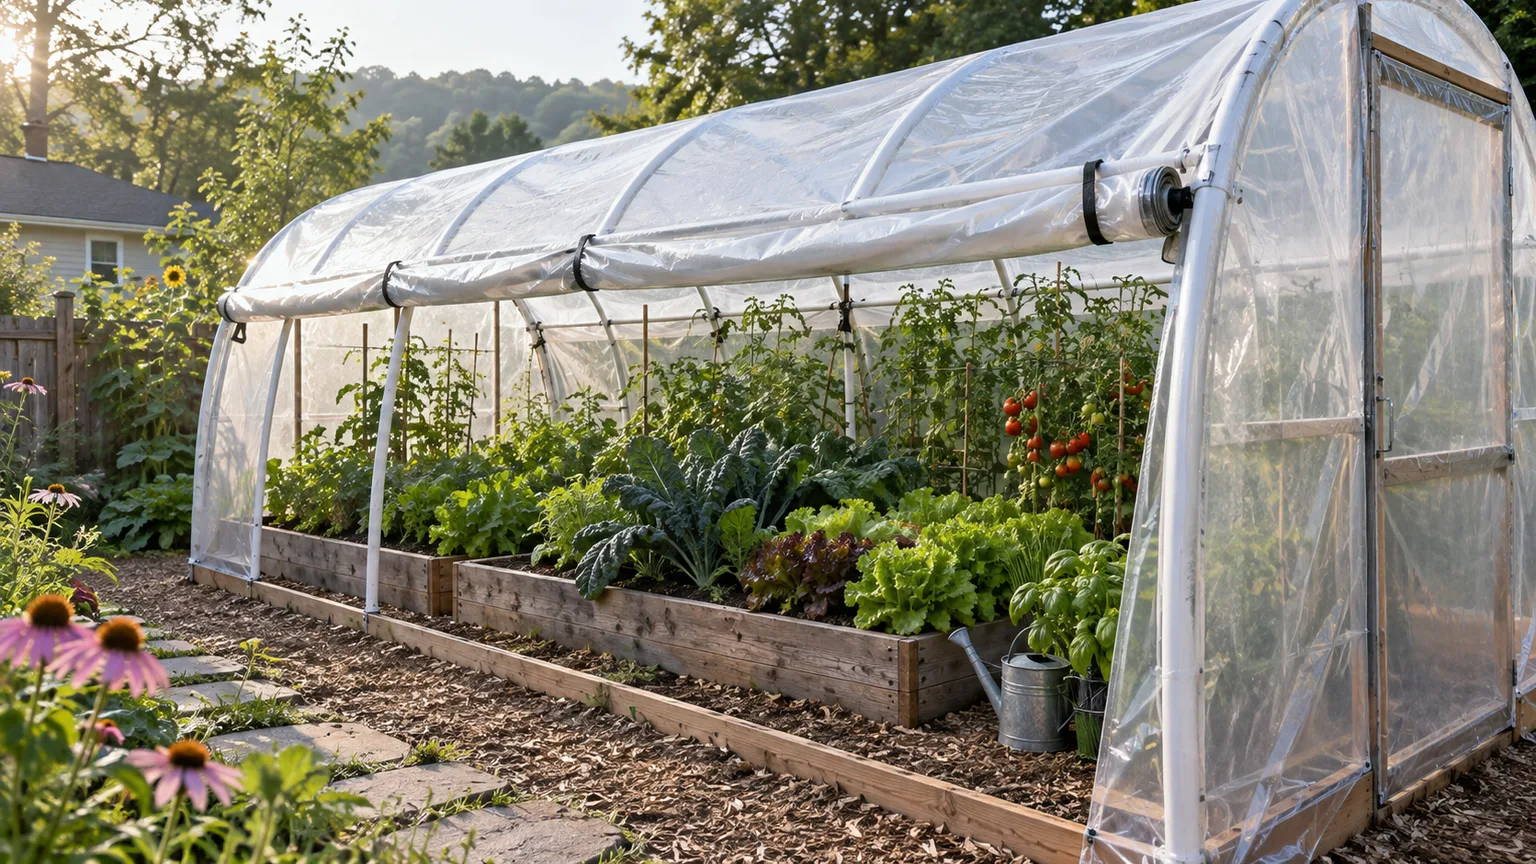
19. Put a greenhouse or polytunnel over the crops that need it. A protected structure can give warmth-loving vegetables a longer season and shield tender plants from wind or cold. Ventilate it on sunny days, plan a path wide enough to work inside, and remember that protection can create excessive heat as well as reduce cold stress; the structure needs daily attention when weather changes quickly.
20. Add a cold frame or low tunnel for shoulder seasons. Clear covers over a small bed can shelter seedlings and greens from chilly nights, extending the usable part of spring or fall. Open or vent the cover when temperatures rise, secure it against wind, and choose crops and dates for your local climate rather than assuming a cover makes frost timing irrelevant.
21. Use a portable raised bed or wheeled container. A contained planter can shift toward the sun or out of the way when a patio is shared. Add casters only to a stable frame designed for the total wet weight, lock wheels before gardening, and assume that a filled bed may be too heavy to move; mobile is most useful when you move it before planting.
22. Try straw bales or other temporary growing structures. A conditioned straw bale can be an alternative when ground soil is poor or a permanent bed is not possible, while a keyhole bed can keep a central composting area within reach. Both need more planning than they appear to: straw conditioning takes time and regular moisture, and a keyhole shape only helps if the planting area remains reachable and drains well.
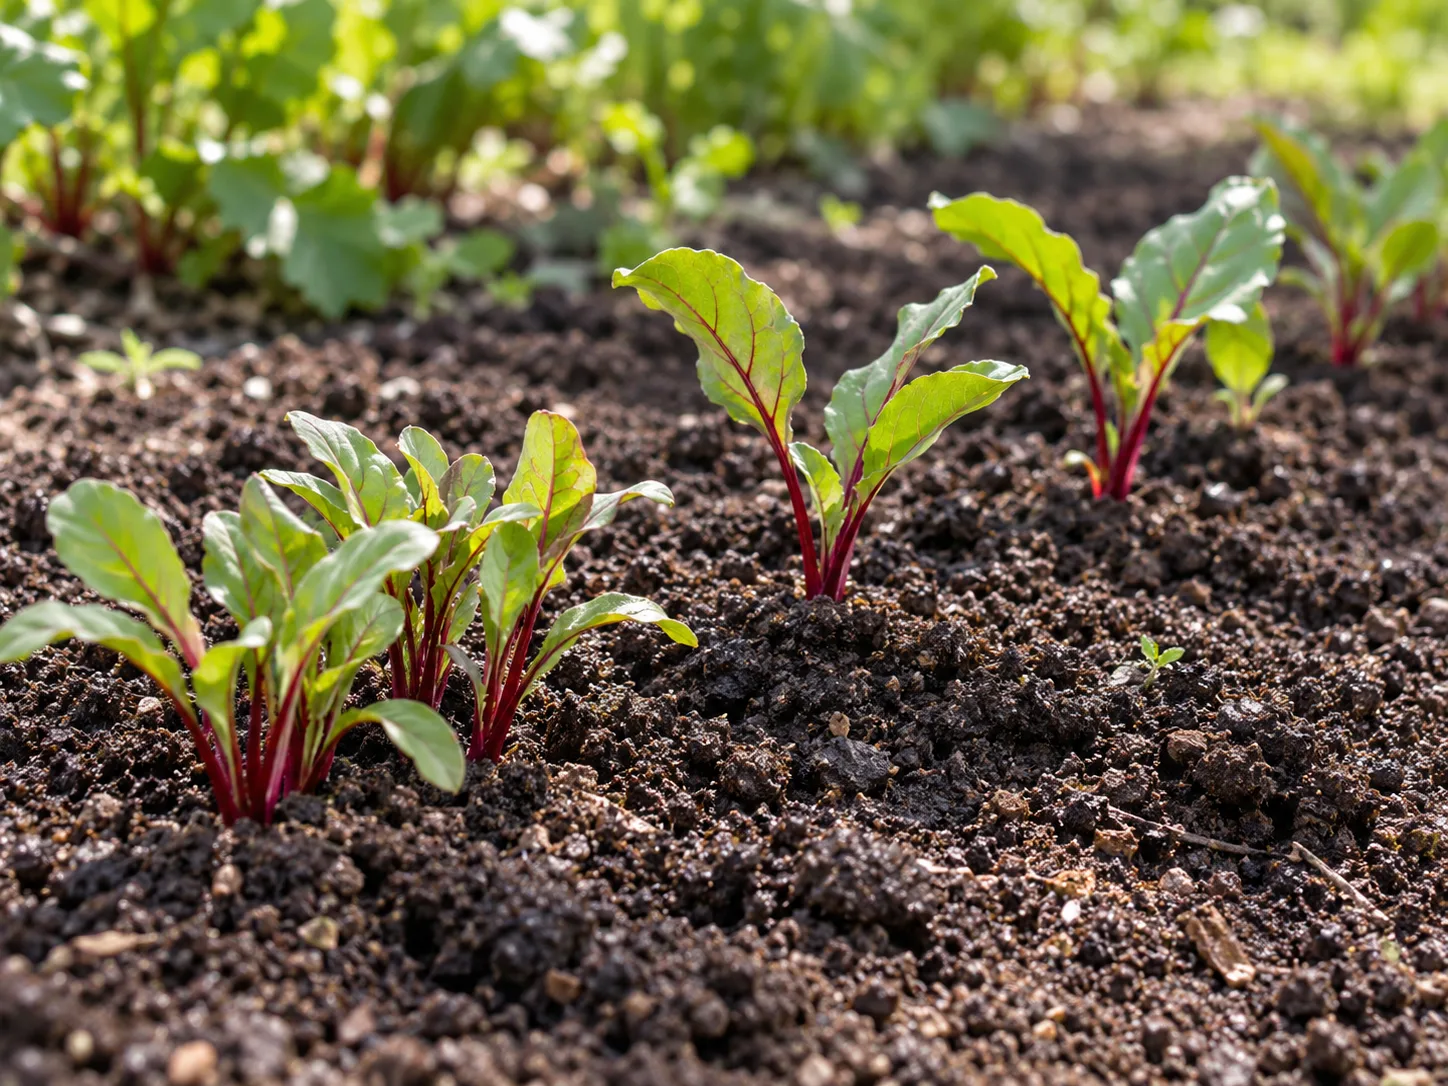
23. Make a small plot productive with succession planting. Replace an early crop after harvest instead of leaving the soil empty: spring radishes or lettuce can give way to beans, and late-summer greens can follow a finished warm-season crop. This design uses time as well as space, but it requires knowing approximate harvest windows and leaving room to prepare the next planting; GrowVeg’s layout guide explains why planting dates, mature size, and crop succession belong on the same plan.
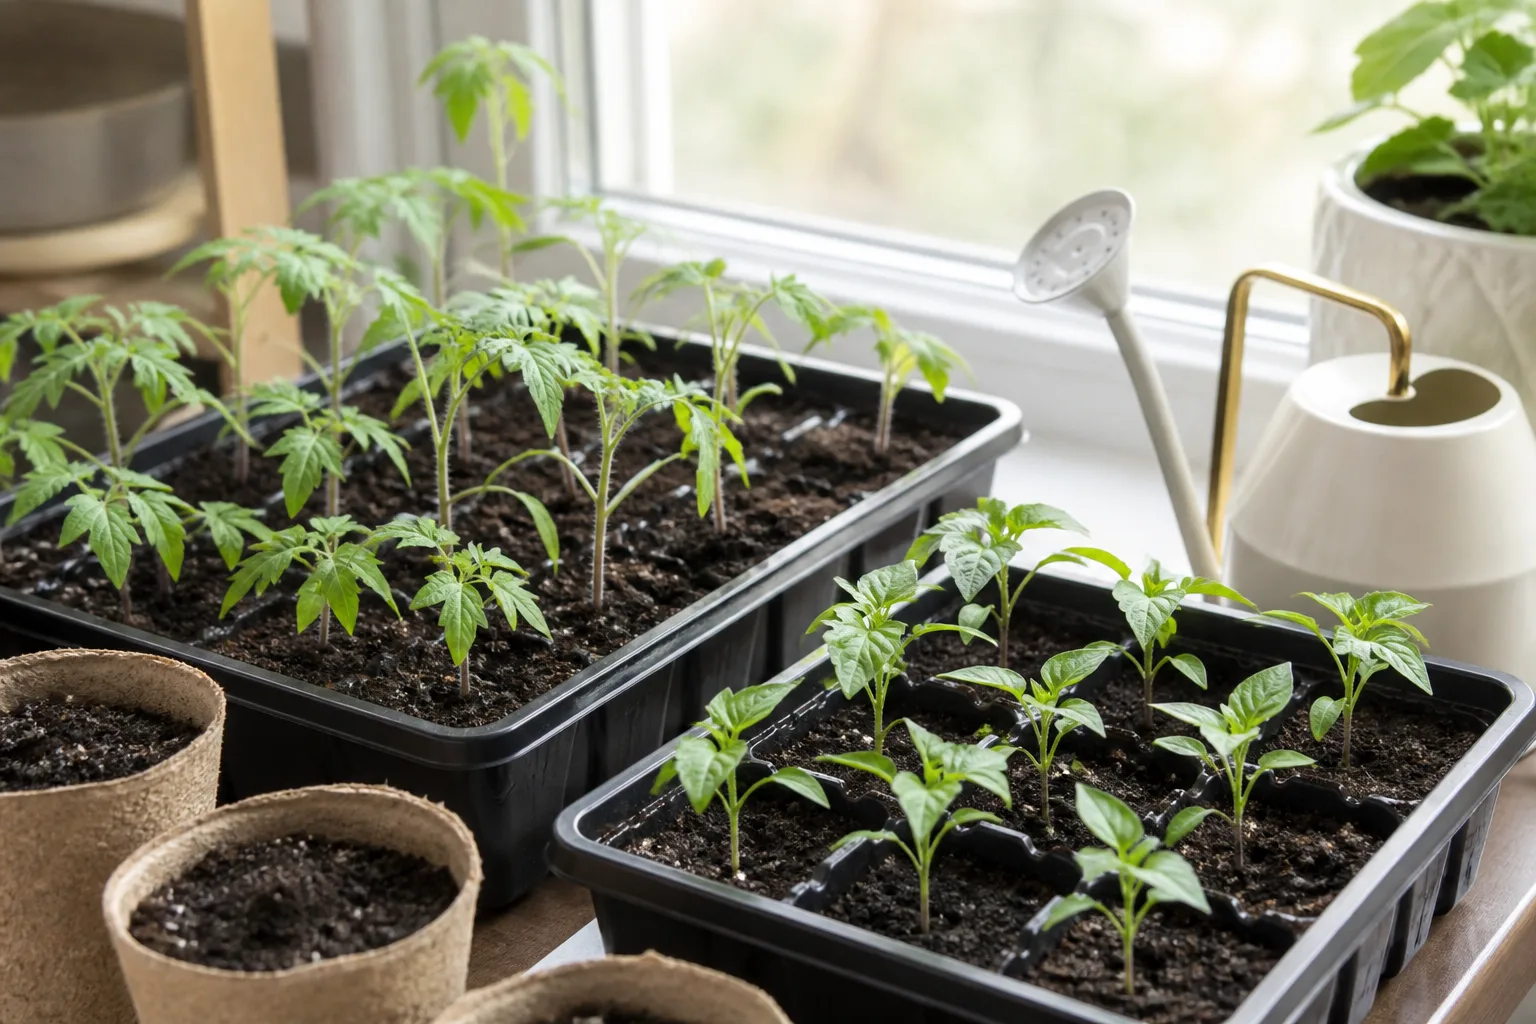
Choose the Best Layout for Your Yard
There is no single best vegetable garden layout. A ground bed is often simplest when soil is good and the plot is large; containers solve access or soil problems at the cost of more frequent watering; a raised bed gives clear boundaries and easier reach but requires an initial fill and ongoing compost. For many homes, a hybrid is more practical than committing the whole yard to one design.
| Layout | Best fit | Main trade-off |
|---|---|---|
| In-ground rows | Larger sunny plots with usable soil | More walking and weeding space; pathways need planning |
| Raised bed | Intensive growing, heavy or poor soil, defined access | Higher setup cost and faster drying |
| Containers | Patios, balconies, renters, or uncertain soil | Frequent watering and crop-size limits |
| Vertical supports | Vining crops and narrow beds | Needs sturdy anchoring and deliberate shade placement |
| Greenhouse or tunnel | Season extension and warmth-loving crops | Cost, ventilation, and daily temperature checks |
Match the setup to time, size, and mobility
If you have less than an hour most weekdays, avoid a large collection of small pots scattered across a yard. A compact bed beside a hose is easier to check than a more decorative layout at the far end of the property. If bending is painful, raise the bed to a comfortable working height and keep the path stable and wide enough to turn.
Use space in proportion to the harvest you will use. Planting eight zucchini plants because they fit on a plan will not improve dinner if one or two plants already provide more fruit than the household wants; NC State Extension’s planning advice stresses planning crops and space before planting. Start with favorite foods, not a seed catalog’s entire variety list.
Sketch the Garden Before You Build
Set paths, reach, height, and crop spacing
Draw the yard from above, including trees, fences, doors, taps, drains, and the route from the kitchen. Mark the sunniest areas, the places that stay damp after rain, and any areas with uncertain soil history. Then sketch beds and paths to scale; a plan that leaves no room to stand, turn a wheelbarrow, or reach the center is not efficient even if every square foot contains a crop.
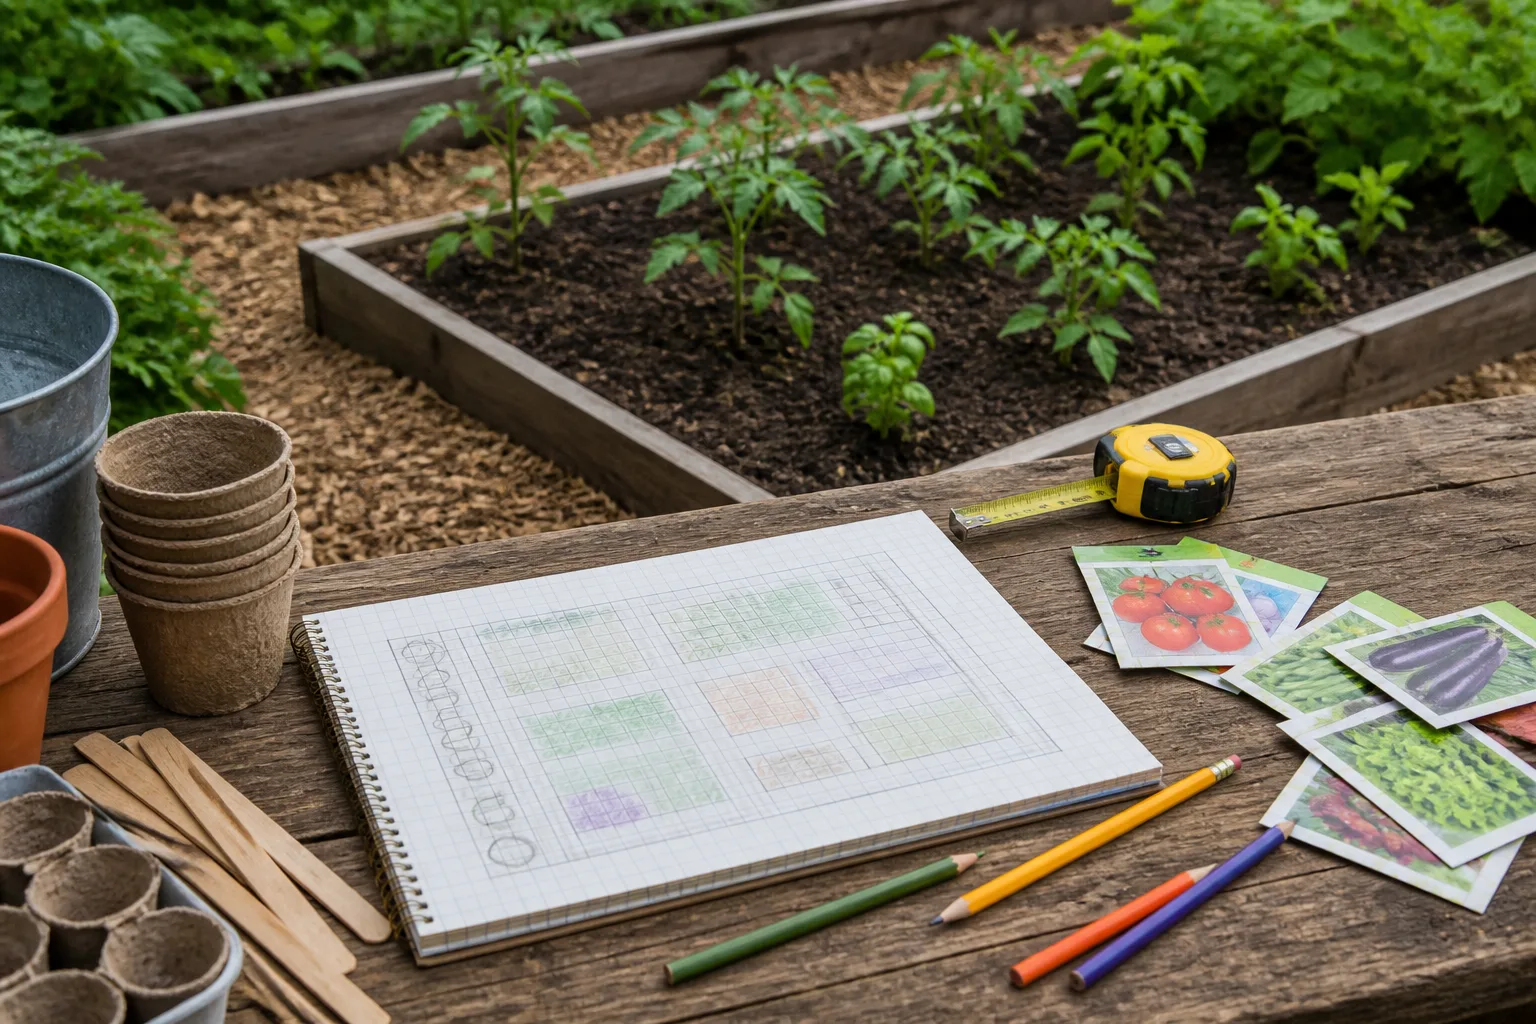
Place tall crops on the side that casts the least unwanted shade, and put sprawling crops where vines can grow beyond the bed without blocking a path. Group plants with similar watering needs when possible, but use the mature width on the seed packet rather than the tiny transplant size when deciding how many will fit. GrowVeg’s planning guidance specifically warns that crowding plants before they reach full size can lead to competition and poor harvests.
Plan the path material around weather and access. Grass is easy to change later, while mulch, compacted gravel, or pavers can make permanent paths tidier; each needs edging or upkeep to stop soil migrating into it. A route you can walk with a harvest basket and a hose is more valuable than an elaborate shape that is difficult to reach.
Keep a small work station and water source at the edge of the layout. A shelf for labels, twine, and pruners or a rain barrel with a screened inlet saves repeated trips, and a chair in partial shade gives you a comfortable place to inspect leaves and notice harvests before they pass their prime.
Keep the Layout Productive Through the Season
Plan successions and crop-family moves
Write a simple calendar beside the drawing. For each bed or container, note what will be planted first, when it is expected to finish, and what can follow; use local frost dates and seed-packet maturity ranges as planning estimates, not promises. Cool-season greens, peas, and radishes can often occupy the shoulder seasons, while tomatoes, peppers, squash, and beans generally need warmer conditions.
Keep a record of plant families so you can avoid putting close relatives in the same bed year after year when space allows. Rotating crop families does not fix every soil or pest problem, but a basic map is easier than trying to remember where last year’s tomatoes grew. If the garden is small, rotate containers or refresh their growing medium according to the crop and local guidance.
Leave some empty capacity in the design. A small open patch or a cleared square can take a second sowing, a replacement seedling, or an unexpected crop that does well; a plan filled edge to edge on day one has nowhere to adapt when weather delays planting or a crop finishes early.
Design Mistakes That Make a Garden Harder to Use
A common design failure is copying an attractive shape before checking what grows well in it. Narrow elevated planters dry rapidly, a wall of greenery can shade the bed behind it, and a tall trellis may catch wind or cast more shade than expected. Begin with site conditions, then add the visual feature that fits them.
Another mistake is treating all containers and recycled materials as interchangeable. Verify the container’s previous use, make drainage holes, and avoid unknown chemical residues around food crops; check balcony loads before placing multiple large wet planters overhead. For a garden on potentially contaminated ground, testing and raised or container growing are more useful than hoping the soil is fine.
Finally, do not plant at the maximum possible density just because a diagram makes it look lush. Crowded plants compete for light and air, paths disappear, and harvest becomes a chore. Build the layout around mature crop size, a reachable water source, and the time you can keep giving it.
Plan wildlife protection for the animals that actually visit. Rabbits, deer, woodchucks, and birds need different barriers, so a low decorative fence or a single scare tactic may protect nothing for long; decide where a secure perimeter or individual plant cages will go before vines and paths make installation awkward.
Conclusion
The best vegetable garden idea is the one that fits the light, soil, space, water, and routine you actually have. Raised beds, patio containers, vertical supports, potager borders, and season-extending covers can all work when their trade-offs are planned in advance.
Before building, map the sun, check drainage and soil history, choose the crops you will eat, and leave paths wide enough to tend them. Start with a manageable bed or a small group of pots, track what succeeds, and add the next feature only when it solves a problem you have seen in the garden.