Houseplant Leaves Not Unfurling: Causes and Fixes
Learn why houseplant leaves get stuck, how to tell normal slow growth from stress, and the safest way to help without tearing a tender new leaf.
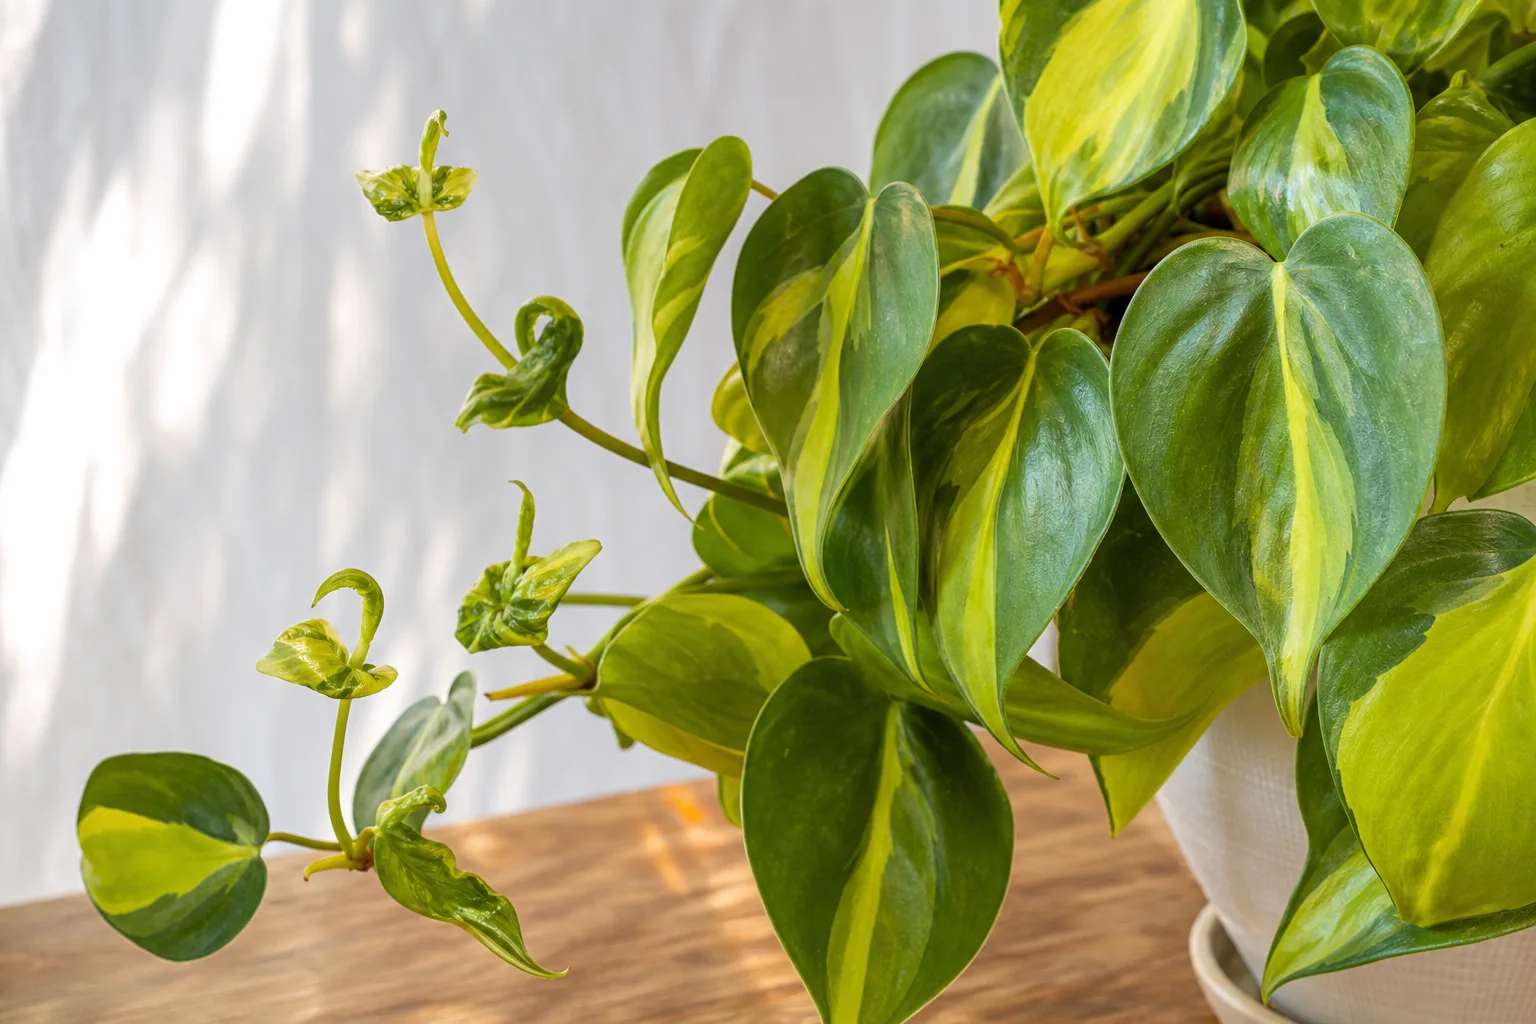
A new leaf that stays folded can look like an emergency, but it is not always a problem to fix. If the leaf is firm, green, and slowly getting longer, it may simply be taking its time. If it is shriveling, browning at the edges, repeatedly emerging misshapen, or stuck while the rest of the plant declines, check the growing conditions before reaching for water or scissors.
The safest order is simple: look at the leaf, check the potting mix, consider recent changes in light and temperature, then inspect the tender growth for pests. Only after that should you moisten an exposed seam—and you should never pry a leaf open. That order matters because both a dry root ball and waterlogged roots can interrupt water movement, while extra water helps only the first problem.
Start with timing: is the leaf actually stuck?
Houseplants do not open every leaf on a fixed schedule. A plant may push a leaf in a tightly rolled spear, hold it inside a protective sheath, and then expand it over a period that varies with species, light, temperature, season, and overall health. A new Monstera or philodendron leaf may look unchanged for a while and then open quickly; a plant growing slowly in winter may take longer than the same plant in bright, warm spring conditions.
Instead of deciding that a leaf is “late” by counting days, check whether it is progressing. Take a clear photo from the same angle and compare the leaf’s length and color several days later. A growing, green leaf that remains flexible is usually a reason to wait. A leaf that is becoming papery, translucent, soft, or darker at the base deserves a closer look.
Also distinguish an unopened leaf from a mature leaf that has curled. A new leaf is still folded around itself or held by a sheath; an old leaf has already opened and is now curling, cupping, or drooping. Those symptoms can share causes, but the tissue and timing differ, so do not diagnose from leaf shape alone.
Read the clues before changing care
Look at the plant as a whole. Is this the only leaf affected, or are several new leaves distorted? Are older leaves also yellowing, drooping, or developing dry margins? Is the pot light and dry, or heavy and wet several days after watering? A single leaf can be a normal imperfect emergence; a pattern across multiple leaves is stronger evidence that the environment or roots need attention.
Check where the new growth sits. A leaf pressed against a wall, another stem, a plant tie, or a tight support can be physically blocked. A rolled leaf with silver scarring, sticky residue, tiny black specks, or fine webbing may have a pest problem rather than a humidity problem. Write down recent changes—moving the plant, turning on heat, repotting, changing a window covering, or applying fertilizer—because a change often explains why this leaf differs from the last one.
Healthy slow growth versus a stuck leaf
A normal emerging leaf is usually firm and evenly colored, even if it is still curled. Its stalk or petiole should not be collapsing, and the plant’s older foliage should remain reasonably stable. Some species naturally hold a new leaf in a sheath before it opens, so a visible fold alone is not proof of distress.
Stress is more likely when the leaf is dry and brittle, develops brown or black tissue before opening, remains limp while the potting mix is wet, or repeatedly emerges deformed. If the newest leaves are affected and the older leaves look fine, inspect the growing point for insects or physical damage. If the whole plant is drooping or yellowing, start with the roots and watering history instead of treating just the leaf.

Cause 1: The cataphyll may still be releasing the leaf
Many climbing aroids, including philodendrons and Monstera, form a cataphyll: a modified, leaflike sheath that protects a new leaf as it develops. The emerging blade may be folded inside it. As the leaf expands, the cataphyll usually loosens, dries, and eventually drops or remains as a papery strip. A green, flexible sheath can still be doing its job, not trapping the leaf.
Do not cut a green cataphyll just because the leaf has not opened yet. First check whether the sheath is split or loosening naturally and whether the leaf is still increasing in size. If the leaf is firm and the plant is otherwise healthy, give it time. A dry, papery sheath that is already separating is different from a tight, green one; the latter is easier to injure if you pull at it.
Some non-aroid houseplants also release leaves from tight folds or protective coverings, but they do not all make true cataphylls. Use the plant’s growth habit rather than assuming every rolled leaf is caught in the same structure. The practical rule is the same: identify what is enclosing the leaf before touching it, and avoid removing tissue that is still green or attached firmly.
Cause 2: Dry air can dry the leaf sheath
Low humidity can increase water loss from foliage, especially around warm air vents, heaters, or drafty windows. Colorado State University Extension explains that humidity affects transpiration and that plants in dry air or drafts lose water faster. That can make tender growth more vulnerable to drying before it expands, but it does not mean every stuck leaf needs a humidifier or that a universal humidity target suits every species.
Look for supporting signs: crispy tips on other leaves, dry edges on a new leaf, several tropical plants showing symptoms in the same room, or a problem that begins when indoor heating starts. If only one leaf is stuck while the plant otherwise looks healthy, a dry sheath may not be the cause. The Penn State Extension guide to humidity and houseplants notes that indoor plants differ in their needs and that familiar quick fixes such as misting have little lasting effect on room humidity.
Misting can briefly wet a leaf surface, but it does not reliably keep the air around a plant humid. Epic Gardening likewise describes the short-lived effect and points to a humidifier as a more consistent option when dry air is actually the problem. Use a hygrometer near the foliage if you need a reading; do not assume that a bathroom, pebble tray, or daily spray will correct a persistently dry room.
Cause 3: Water stress can interrupt leaf expansion
Expanding a leaf takes water, but “water stress” can come from opposite conditions. A plant in a dry root ball may not have enough available water to maintain firm new tissue. A plant sitting in wet, poorly aerated mix may have damaged roots that cannot take up water effectively. The leaf can show stress in either case, so the soil surface alone is not a complete diagnosis.
Dry mix and poor root uptake
Check the mix below the surface with a finger or a wooden skewer, and lift the pot to judge whether it feels unusually light. If the root zone is dry and the pot has drainage, water slowly and thoroughly until excess drains from the bottom. Empty the saucer afterward. Oklahoma State University Extension recommends watering houseplants according to the plant and growing conditions, allowing drainage, and avoiding a standing-water saucer; watering frequency changes with pot size, season, light, and the mix.
If water rushes down the sides without wetting the center, the mix may have become difficult to rewet. In that case, water in several passes with a pause between them, or briefly bottom-water while watching the pot, then let it drain completely. Do not leave it soaking overnight. After watering, keep observing the plant rather than repeating the dose because the leaf has not opened by the next morning.
Wet mix and damaged roots
If the pot is still heavy and the mix feels wet, do not add more water to “push” the leaf open. Check that the drainage hole is open and that the inner pot is not sitting in a cachepot full of runoff. When wet mix persists and the plant is wilting, yellowing, or developing soft stems, slide the root ball out carefully. Healthy roots are generally firm; dark, mushy roots or a sour smell suggest root damage and a need to correct drainage and watering conditions.
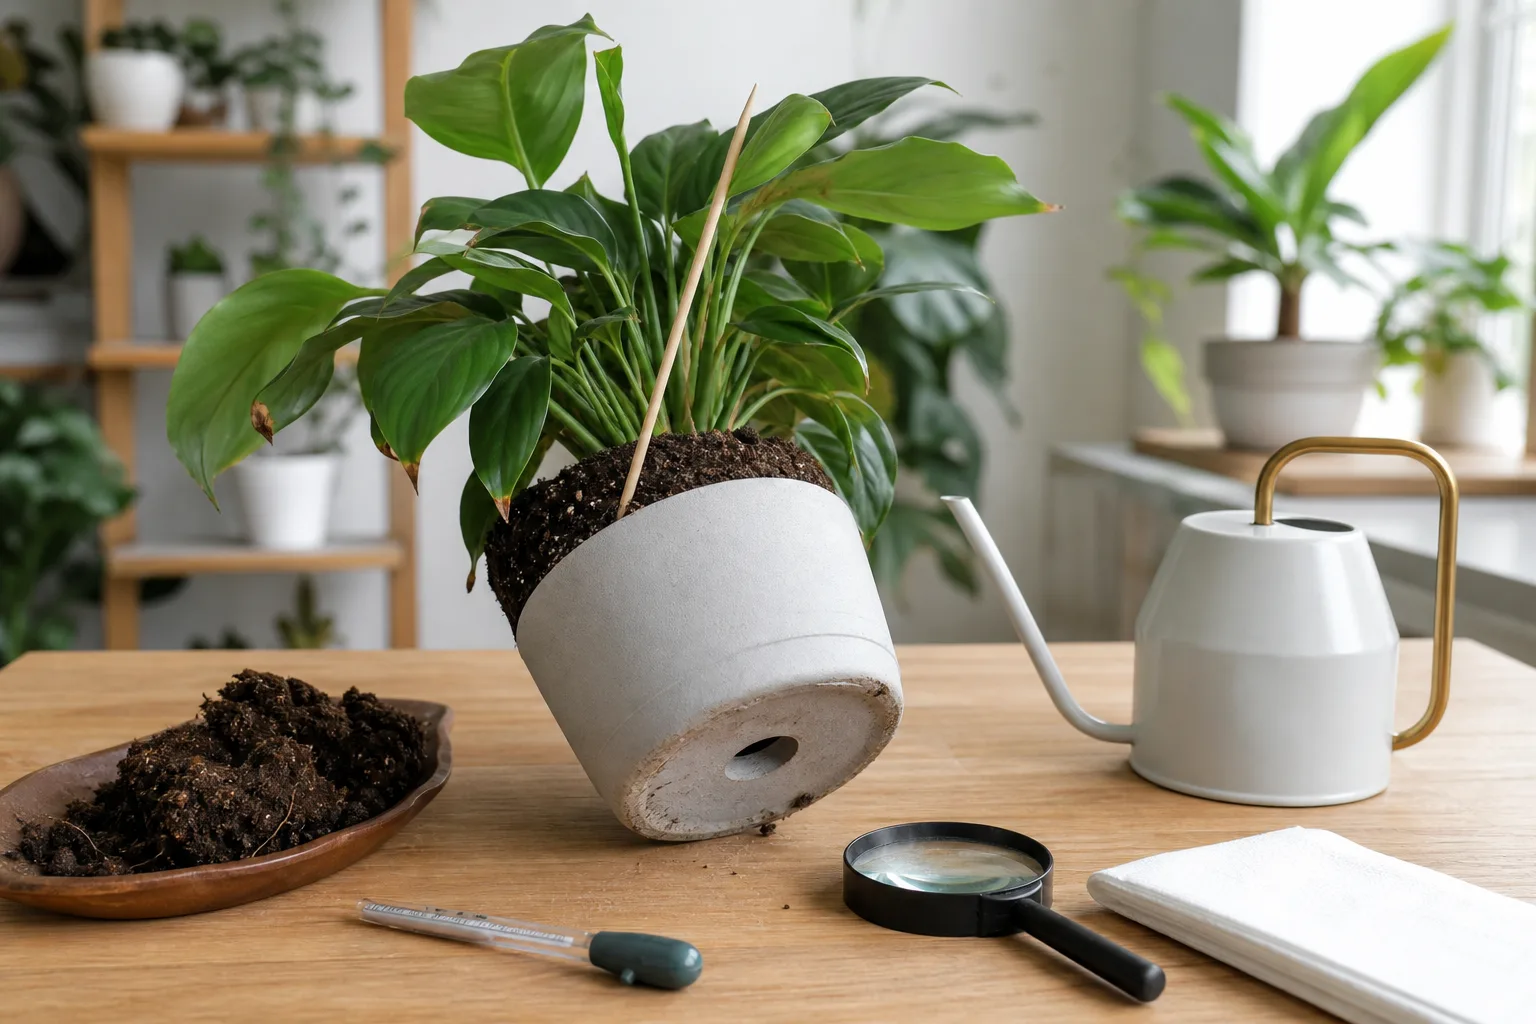
Do not repot solely because one leaf is slow. Repotting adds stress and will not fix dry air or low light. Consider it when the mix stays saturated for too long, roots are damaged, the pot has no drainage, or the root ball has become so compacted that water cannot move through it evenly. If roots are healthy and the mix is simply damp, let it dry to the level appropriate for that species before watering again.
Cause 4: Low light or cool conditions slow growth
Light supplies the energy for new growth, so a plant in a dim corner may produce leaves slowly or make smaller, weaker growth. Oklahoma State University Extension notes that very few houseplants tolerate dark corners and that too little light can result in small leaves and lanky growth. Low light is more convincing as a cause when growth has slowed across the whole plant, not only when one leaf is still folded.
Move the plant toward brighter indirect light if its species calls for it, but do not put a shade-adapted plant in harsh afternoon sun as a quick fix. Sudden direct sun can scorch leaves that were grown in lower light. Increase exposure gradually, or use a suitable grow light at the manufacturer’s recommended distance and duration.
Temperature matters too. A cold window, a frequently opened exterior door, an air-conditioning stream, or a heater blowing directly on foliage can stress a tender leaf. Keep tropical plants in a stable spot suited to their species, away from sharp temperature swings. In winter, reduced daylight and slower growth often mean that the correct response is patience and steady care, not extra fertilizer.
Cause 5: Pests or injury can deform tender growth
Thrips and other sap-feeding pests can damage young leaves while they are still folded, leaving them twisted, scarred, or puckered as they open. Inspect the newest growth and the undersides of nearby leaves with a bright light. Look for silvery streaks, tiny dark droppings, small moving insects, sticky residue, or fine webbing; a magnifier can help, but the pattern across several leaves is often just as useful.
If you find pests, isolate the plant before treating it so insects do not spread to nearby plants. Confirm the pest before choosing a treatment, then follow the product label if you use one. Do not apply a pesticide or concentrated home remedy to a tender leaf based on a guess. If there are no insects or characteristic feeding marks, keep investigating moisture, temperature, light, and physical contact rather than spraying “just in case.”
Mechanical damage can look similar. A leaf may be pinched in a plant clip, rubbing against a stake, caught behind another stem, or damaged during shipping or handling. Free the obstruction without bending the petiole. If the leaf has a tear or crease, that tissue will not knit back together, but the plant can still grow normally; avoid removing a partly functional leaf unless it is mostly dead or diseased.
A safe, step-by-step way to help one leaf
Help only when the exposed edge looks dry or is visibly caught and you have already checked that the plant is not sitting in soggy mix. This is a cautious way to soften a sheath, not a method for forcing the blade open. A leaf that is still green and supple may need time, while tissue that is already brown or mushy will not become healthy because it is wet.
Moisten only the exposed seam
Use clean hands and a soft cotton swab or corner of a clean, damp cloth. Wet the exposed seam with room-temperature water; the swab should be damp, not dripping. If the leaf tip is encased, touch the outside of the sheath rather than inserting the swab under the blade. Leave the plant in its normal, stable conditions and check again later.
Do not wrap the growth in a wet paper towel for hours, soak the whole plant, or keep the leaf wet overnight. A persistently damp pocket with little airflow can encourage decay, especially if the tissue is already damaged. If you choose to mist the seam once, treat it as a brief local softening step—not as a way to raise room humidity.
Stop if the tissue resists
If the leaf does not release with a light touch, stop. Do not pull the tip, squeeze the petiole, pry the fold with a fingernail, or use a knife or scissors to cut a green sheath. The leaf blade is delicate before it flattens; a small tear now can leave a permanent split or brown scar.
You can repeat the visual check after several hours or the next day, but do not keep manipulating the same leaf. If the plant is actively growing, the best intervention may be to improve the underlying conditions and wait for the next leaf to develop normally. A one-time imperfect leaf is usually less damaging than repeated attempts to force it open.
Correct the conditions for the next leaf
Change one likely cause at a time, then watch the plant. If you raise humidity, move it to a brighter spot, repot it, and fertilize it all on the same day, you will not know what helped—and you may add several new stresses. Keep a simple note of the date, soil condition, room location, and any changes so you can compare future leaves with the one that is stuck now.
Measure humidity; do not chase a number blindly
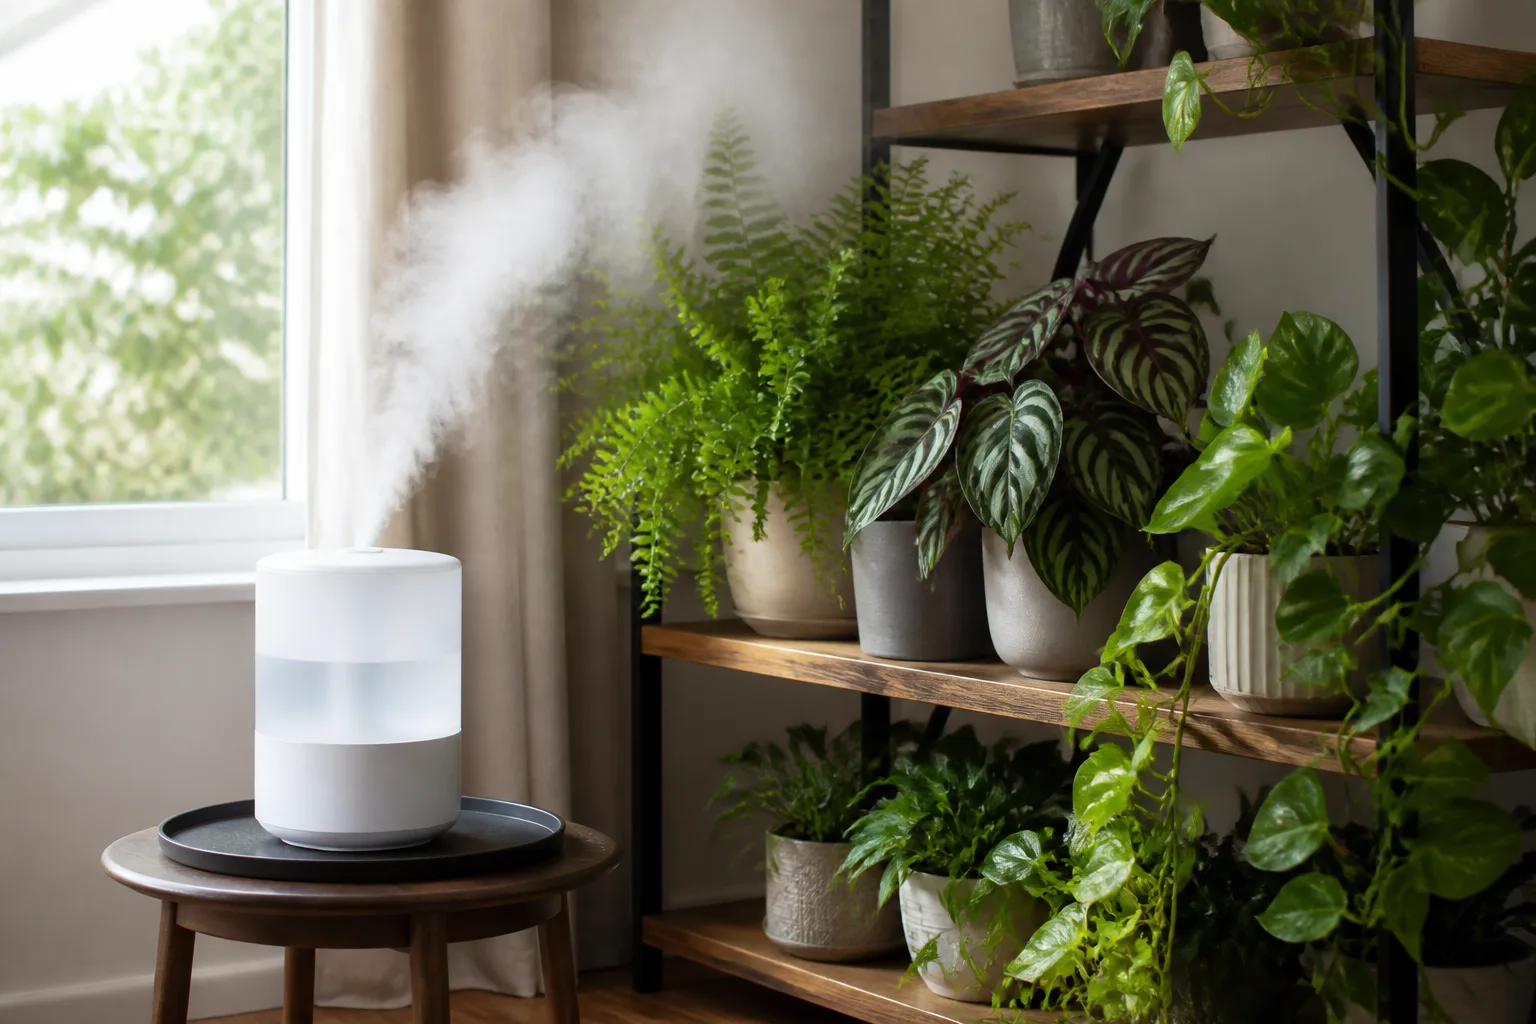
Place a small hygrometer near the foliage, away from a vent, radiator, or cold glass. If the reading is consistently low and the plant shows other signs of dry-air stress, a room humidifier or a small grouped collection may help. Empress of Dirt explains why a hand mister and pebble tray have limited effect on room humidity; Penn State Extension also cautions that plant needs vary by species.
If you use a humidifier, position it so it does not keep leaves, walls, or furniture wet. Clean the unit as directed by its manufacturer, monitor the room rather than guessing from the visible mist, and reduce output if condensation appears. Humidity is one environmental factor, not a substitute for enough light, healthy roots, and appropriate watering.
Water for the plant and pot you have
Use the plant’s normal watering needs, not the appearance of one folded leaf, to decide when to water. A small nursery pot, a coarse mix, warm bright conditions, and a large leafy plant can dry at different rates than a large ceramic pot in winter. Oklahoma State University Extension emphasizes that pot size, growing medium, light, temperature, humidity, and species all influence watering frequency; the calendar is only a reminder to check.
Water evenly when the root zone reaches the appropriate dryness for the species, let excess water escape, and never leave the pot standing in runoff. If you are unsure whether the mix is damp below the surface, wait and recheck rather than adding a little water every day. Frequent small splashes can keep the top wet while leaving the root ball unevenly moist.
Adjust light, warmth, and fertilizer cautiously
Give the plant the light its species needs and keep it away from cold drafts and direct heater blasts. Rotate it only if the plant’s growth habit allows, and do not repeatedly move it while a leaf is emerging. If it was recently moved from a bright greenhouse to a dim home, acclimate it to stronger light gradually rather than expecting a new leaf to open overnight.
Do not fertilize to force a single stuck leaf open. Fertilizer does not repair a torn sheath, restore dead roots, or make light available. Oklahoma State’s houseplant guidance notes that fertilizer needs vary by season, light, temperature, and growing medium; excess salts can also injure roots and leaf margins. Resume a balanced, label-directed feeding schedule only when the plant is actively growing and its broader condition supports it.
When to remove a cataphyll or damaged leaf
Leave a green cataphyll attached. If it has turned fully brown and papery and has loosened on its own, you can let it fall away or trim only the dead, detached portion with clean scissors. Keep the blades away from the stem, petiole, and emerging leaf. Cutting into living tissue to make an opening is more likely to cause harm than to improve the unfurling.
A leaf that is partly green still contributes to the plant, even if it is misshapen. Remove it only when most of the blade is dead, it is clearly diseased, or it creates a practical problem; cut the petiole with clean shears without damaging the growing point. If multiple new leaves keep emerging distorted, record the pattern and inspect for pests, root problems, and environmental stress before pruning more.
Conclusion
When a houseplant leaf will not unfurl, start by deciding whether it is still developing or showing distress. Check the plant’s overall growth, inspect the folded leaf for pests or a physical snag, and test the potting mix before you water. Dry air, low light, cool drafts, and both dry and waterlogged roots can slow or distort new growth, but the clues usually point toward the right first check.
If the leaf is green and supple, patience is often safest. If a dry sheath is visibly holding the exposed edge, use a damp swab gently and stop as soon as the tissue resists. Keep the root zone, light, and room conditions steady, and let the next leaf tell you whether the underlying fix worked.



