How to Propagate Malabar Spinach (Basella alba)
How to Propagate Malabar Spinach (Basella alba)
How to Propagate Malabar Spinach (Basella alba)
Malabar spinach propagation for Basella alba—the twining poi saag, vine spinach, or Indian spinach—gives you three practical routes: seed, tip cuttings, and natural layering where stems touch damp soil. Unlike cool-season palak (Spinacia oleracea), which is grown only from seed in mild weather, this heat-loving Basellaceae vine roots easily from soft stems and can self-layer in a wet monsoon bed. NC State Extension lists seed and stem cutting as recommended propagation strategies, and University of Wisconsin–Madison Horticulture notes that tip cuttings root readily in water while seeds need warm soil and often a scarified coat.
If you are staring at a grocery bundle of stems or a neighbor’s red-stemmed vine, you are not limited to a seed packet—but you still need summer warmth, steady moisture, and a trellis plan before growth explodes. The Malabar spinach overview explains how this species differs from true spinach; this page walks from first sowing or cutting through a vine ready to harvest.
How Basella alba multiplies in the garden
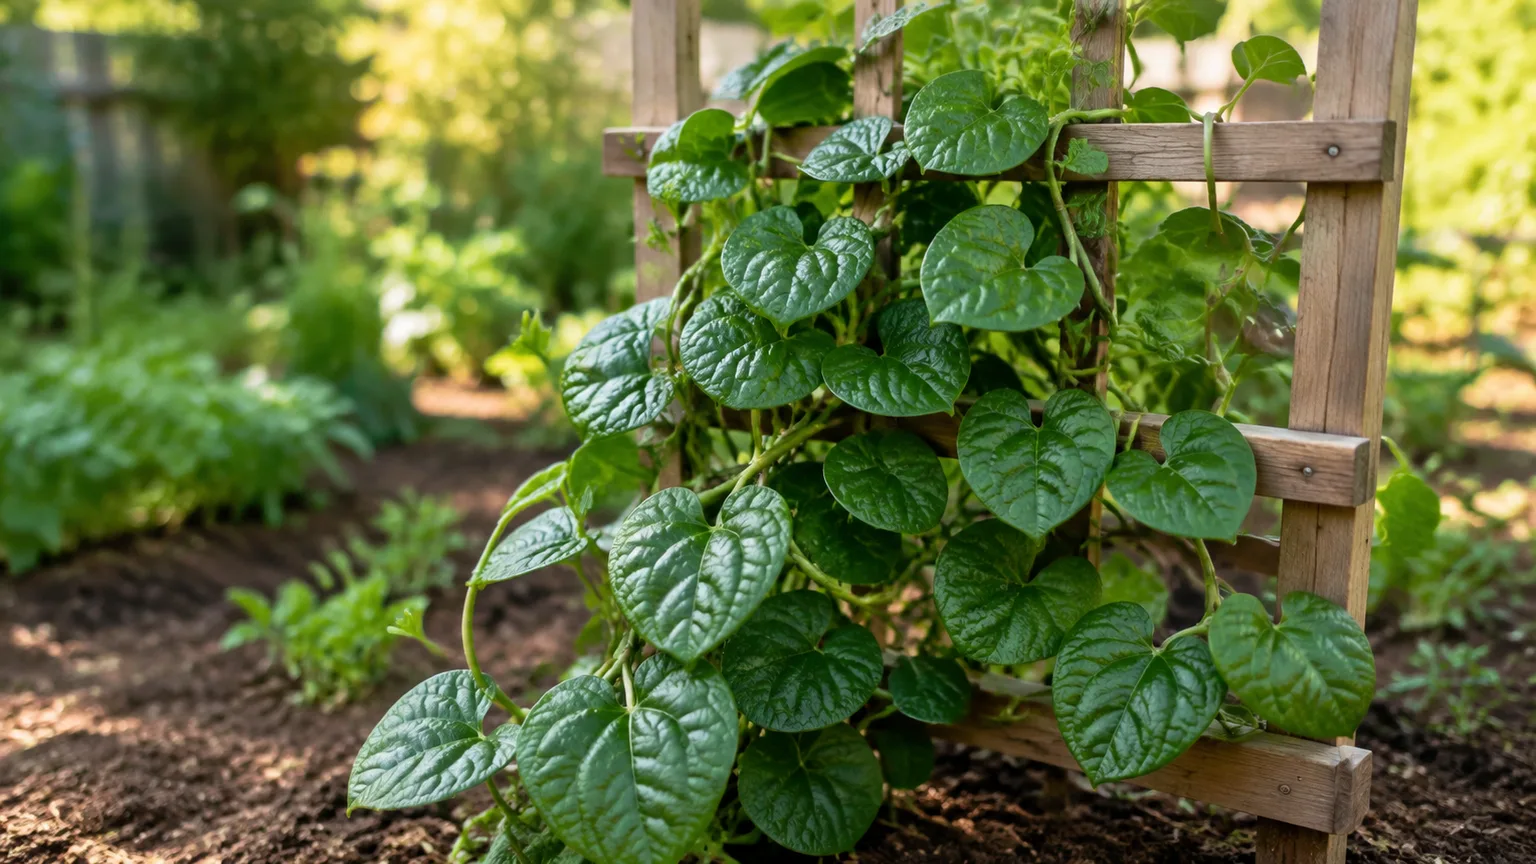
Malabar spinach is a soft-stemmed, frost-tender perennial grown as a warm-season annual across most of India and similar climates University of Wisconsin–Madison Horticulture. It climbs by twining, sets inconspicuous flowers in leaf axils, then forms purple to black berries (drupes) that carry seed for the next generation. Wisconsin Horticulture describes stems that root where they contact moist soil—an informal propagation method many terrace growers use without thinking about it.
Seed versus stem cuttings versus natural layering
Seed is the standard way to start a full row, grow bag, or new cultivar (especially green-stemmed B. alba versus red-stemmed ‘Rubra’). Tip cuttings clone a plant you already like—handy when a market bunch still has healthy nodes or when you want to overwinter a favorite pot indoors in frost-free zones. Layering means pinning a vine node onto damp compost until roots form, then severing the new plant. All three work; the choice is about speed, season, and whether you need many plants at once.
Why true spinach methods fail on poi saag
Gardeners familiar with palak often sow Malabar spinach in winter or expect fast emergence in cool soil. That mismatch produces empty trays and “dead seed” complaints. Basella alba needs warm germination temperatures and sulks when nights stay cool. Growing in the Garden recommends sowing only after frost risk has passed and soil has warmed, with roughly 65–85°F (18–29°C) for best germination—quite different from true spinach’s cool-soil window described in our spinach propagation guide. Treat Malabar spinach as a summer vine, not a winter rosette.
Choose your propagation path
Match the method to your starting material and how many plants you need.
When seed is the best default
Use seed when you are filling a bed, sowing a 12-inch-spaced row on a trellis, or starting ‘Rubra’ from a packet. Brooklyn Botanic Garden notes that propagation from seed is straightforward and that the red-stemmed cultivar comes true from seed—a relief if you save fruit from your own vines. Seed also avoids carrying over pests from borrowed cuttings.
When cuttings or layering save time
Choose cuttings when you have a healthy donor vine or fresh stems with nodes, and you want a rooted plant in days rather than weeks. Wisconsin Horticulture reports that tip cuttings root readily in water. Layering suits ground beds or large grow bags where you can tuck a node into moist mix and wait for roots before transplanting the new crown elsewhere on the same terrace.
Timing warm-season sowing and transplanting
Malabar spinach is very frost sensitive. Wisconsin Horticulture advises planting outdoors only a few weeks after all frost danger has passed and transplanting once soil has warmed, spacing plants at least a foot (30 cm) apart. Growth stays modest until summer heat arrives; the same source notes little progress when night temperatures stay consistently below about 60°F (16°C).
Frost, soil warmth, and night temperatures
In temperate regions, start seed indoors 6 to 8 weeks before the last frost, then move plants out after the soil warms. NC State Extension recommends direct seeding 2 to 3 weeks after the last frost date in Zone 7 and warmer, and stresses that the crop needs warm temperatures to germinate and then grows quickly in heat. Scarify seed to hasten emergence. Disappointing growth below about 80°F (27°C) day temperatures is common NC State Extension—plan trellis height and watering before the vine’s rapid phase, not after.
India and tropical lowland calendars
On hot plains, sow or transplant after the coolest nights have passed—often late winter through pre-monsoon spring (February–May in many regions)—or after monsoon rains ease where you can manage humidity and drainage. In mild hill stations, shift slightly later but still favor warm soil, not winter palak timing. Match post-sow moisture with the Malabar spinach watering guide and light guide so seedlings do not bake on a west-facing terrace.
Prepare Malabar spinach seed for reliable germination
Seeds are small, rounded, and slow to emerge unless the coat is opened and the mix stays warm and moist.
Scarify the hard seed coat
Wisconsin Horticulture recommends mechanical scarification—nick with a file or sharp knife, or rub gently with sandpaper—to speed germination. NC State Extension likewise advises scarifying seed. Work on a few seeds at a time; you are aiming to break through the coat without crushing the embryo.
Soak, pre-sprout, and viability checks
Soak scarified seed overnight in room-temperature water before sowing, as Wisconsin Extension suggests. Expect 10 days to 3 weeks to emergence in warm, moist conditions University of Wisconsin–Madison Horticulture. For stubborn packets, pre-sprout between damp paper towels in a warm spot, then plant sprouted seed horizontally under a thin cover so the root does not dry out. If nothing appears after three weeks in genuinely warm mix, re-sow with fresh seed rather than assuming dormancy.
Direct sowing in beds, grow bags, and terraces
Direct sowing works well when nights are warm and you can water daily at first.
Depth, spacing, and moisture after sowing
Growing in the Garden advises sowing about ¼ inch (0.6 cm) deep and spacing 12 inches (30 cm) apart in warm soil. Firm lightly and water with a fine spray. Keep the top layer evenly moist—not waterlogged—until seedlings have true leaves. Thin duplicates to one strong plant per station; crowded vines compete for light and encourage weak stems.
Trellis planning at sowing time
Install a sturdy trellis, fence, or frame at sowing or transplant time. NC State Extension describes a vigorous climber that benefits from support that doubles as a garden focal point. Disturbing roots later to add stakes risks breakage once semi-succulent stems lengthen. See the Malabar spinach repotting guide for final container size when you are growing in pots rather than ground beds.
Starting seedlings indoors or in a nursery tray
Indoor starts help short-season regions and terrace growers who want a head start before extreme heat.
Six to eight weeks before last frost (temperate zones)
Follow the 6- to 8-week indoor lead time Wisconsin Horticulture gives for frost-prone climates. Use a warm propagator or the sunniest sill; cold windows slow Basella more than lettuce. Sow one seed per cell when possible to limit root tangling.
Hardening off and transplant without shock
Harden seedlings outdoors for several days in filtered sun before planting into final mix. Transplant into humus-rich, moisture-retentive, well-drained soil—the same baseline described on our Malabar spinach soil guide. Water in well and shade lightly for the first two or three hot afternoons if leaves wilt. Once established, vines respond to steady fertility outlined in the fertilizer guide.
Propagate Malabar spinach from tip cuttings
Cuttings are the fastest way to duplicate a known vine, including red-stemmed ornamentals.
Take soft, non-flowering stems
Select 6-inch (15 cm) soft tips with at least one node, cutting just below a node as Growing in the Garden recommends. Avoid woody bases and stems already in heavy flower—flowering shifts flavor bitter and slows rooting. Strip the lowest leaves so nodes sit in water or bury in mix without rotting.
Root in water versus moist potting mix
Wisconsin Horticulture notes cuttings root readily in water; change water every few days and transplant to soil once roots are 1–2 inches (2.5–5 cm) long. Alternatively, stick cuttings in moist, well-aerated potting mix under humidity (a loose bag or propagator lid) in bright indirect light. Keep mix damp until new growth tugs gently when you tug the stem. Plant out only when nights are warm.
Layer vines where stems touch moist soil
Layering uses the plant’s natural habit.
Pin a low node into a pocket of moist compost beside the mother plant or into a side pot—stems root where they contact moist soil NC State Extension. Hold it down with a U-pin or small stone. Once roots anchor (often within a couple of weeks in warm, wet weather), cut the stem between mother and new plant and lift or leave the rooted crown in place. This method shines during monsoon when beds stay evenly damp—just ensure drainage so stems do not rot at the soil line.
Save seed from purple berries
Saving seed closes the loop for next summer’s sowing.
Dry whole fruits and store for next season
Wisconsin Horticulture notes that fruits can be dried whole for planting the following year. Growing in the Garden similarly advises drying berries whole, then sowing the next season; volunteers often sprout where fruits drop. Wash sticky pulp off if you prefer naked seed, then dry thoroughly before labeling and storing in a cool, dry jar.
Rubra seed comes true from saved fruit
Brooklyn Botanic Garden reports that ‘Rubra’ comes true from seed, so saved fruit from a red-stemmed vine should yield red seedlings. Green-stemmed types likewise breed true when isolated from cross-pollination in mixed plantings—allow only your best vines to set seed if you are selecting for flavor and vigor.
Fix common propagation failures
Most failures trace to temperature or moisture, not “weak” seed.
Cool soil stalls or rots seed—wait for warmth or use a heat mat on a tray. Drought after germination triggers early flowering and bitter leaves University of Wisconsin–Madison Horticulture; align with even watering practices in the watering guide. Leggy indoor starts need more light and cooler nights before transplant, not extra nitrogen. Cuttings rot when buried too deep or kept in stagnant water—refresh water and improve airflow. Once vines run, regular tip harvest doubles as light pruning; see the pruning guide for shaping without stripping the plant bare.
When to use this page vs other Malabar Spinach guides
Use this propagation page when you are starting from seed, cuttings, saved berries, or layered nodes. Switch to watering for daily moisture rhythm, soil for mix recipes, light for terrace placement, fertilizer after the vine is established, repotting when moving seedlings into final grow bags, and pruning once you are managing length and harvest cuts. The overview ties the cluster together if you are new to Basella alba.
Conclusion
Malabar spinach rewards growers who treat it as a warm-season twining crop: scarify and soak seed, sow or transplant into heat, give a trellis early, and use cuttings or layering when you already have a healthy vine. Save purple berries for next year—especially ‘Rubra’—and keep moisture steady so young plants root before summer sprint growth begins.
Related Malabar Spinach guides
- Overview — species ID, naming (poi saag, Ceylon spinach), and how it differs from palak.
- Light — full sun on terraces and heat management.
- Watering — even moisture to delay flowering.
- Soil — fertile, moisture-retentive mixes for vines.
- Fertilizer — feeding after propagation succeeds.
- Repotting — final pots, grow bags, and trellis anchoring.
- Pruning — harvest cuts and vine control after plants are established.