Turmeric Repotting: When, Pot Size & Steps
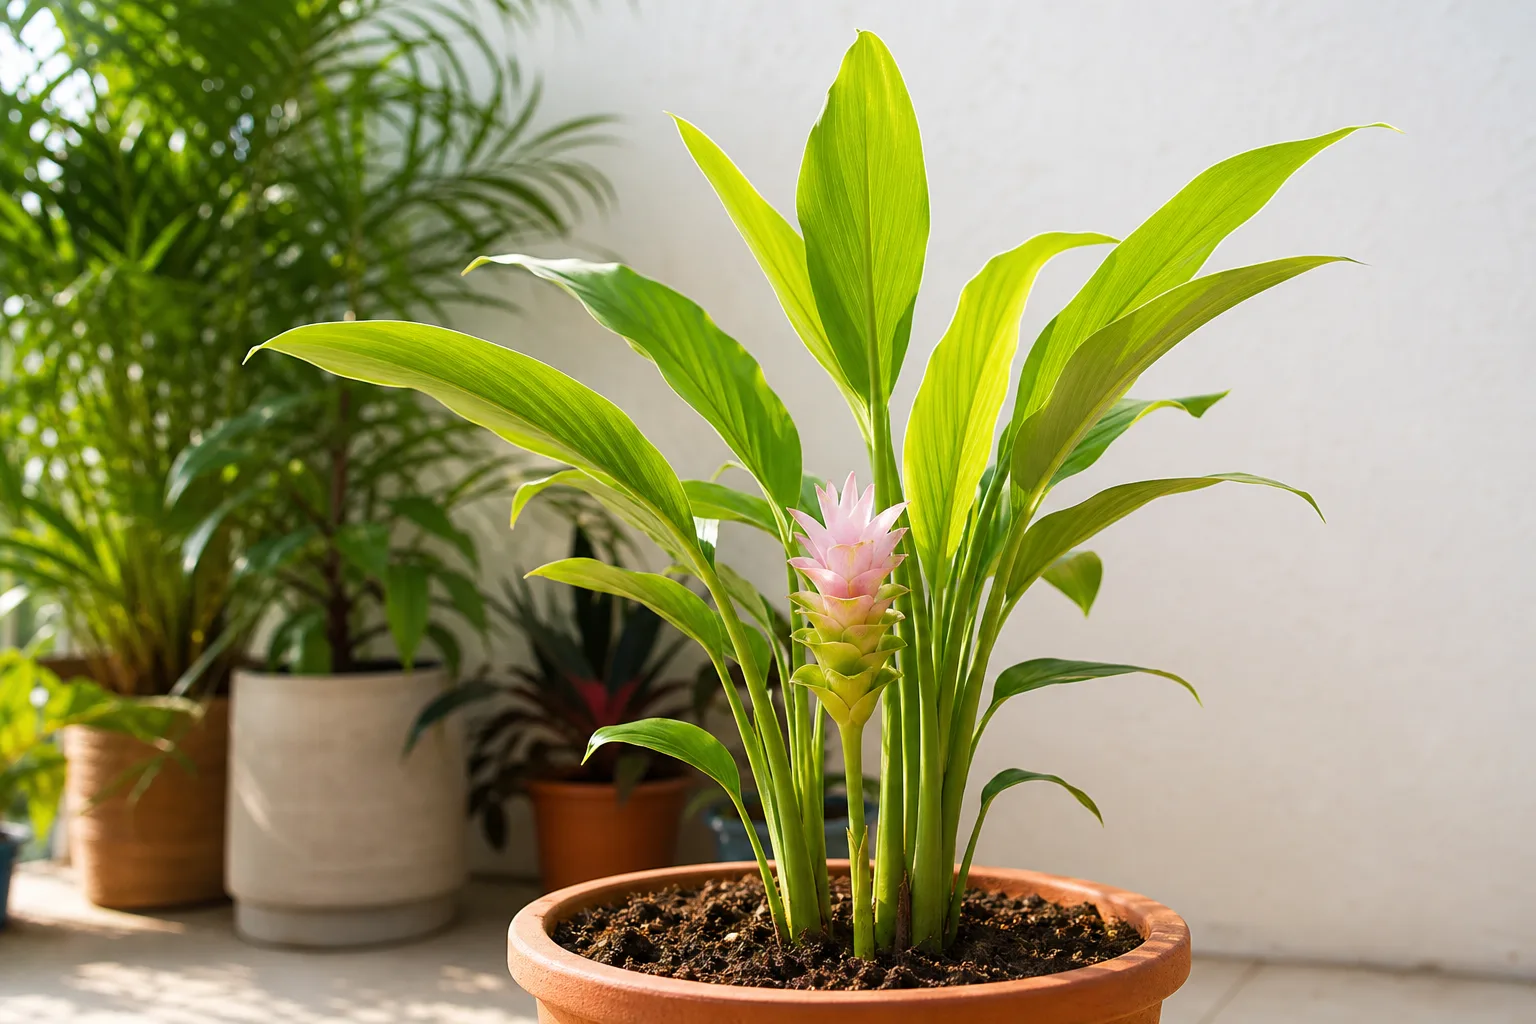
Turmeric Repotting: When, Pot Size & Steps
Turmeric Repotting: When, Pot Size & Steps
Repotting culinary turmeric (Curcuma longa) is not the same job as upsizing a leafy houseplant. You are managing thick underground stems—orange-fleshed rhizomes that swell sideways through a warm, humid growth window—plus large canna-like leaves that can reach about 90–120 cm tall. The goal is more usable volume for those rhizomes without trapping cold, stagnant water around tissue that softens quickly when drainage fails.
NC State Extension notes that container rhizomes grow so thick and large they may split the pot open, which is exactly why balcony Haldi growers in India and similar climates need a planned refresh. This guide covers when to move the pot, how wide and deep the container should be, how to refresh mix, when to thin or divide, and how to settle the plant afterward without inviting rhizome rot.
Turmeric repotting: the quick answer
Repot turmeric every 1–2 years, or sooner when rhizomes press the pot wall, crack thin plastic, crowd with little soil left between pieces, or the mix dries within a day of watering in peak heat. The best window is spring as new shoots emerge—or right after a fall harvest when foliage yellows and you thin the clump instead of stripping every piece. NC State places division in spring or summer, while UF/IFAS Gardening Solutions plants pieces in early spring and harvests when the plant goes dormant in late fall or early winter.
Use a clean, sturdy pot with multiple drainage holes, a rich yet free-draining mix, and only a modest width increase unless you are also dividing. Keep rhizomes shallow—about 5–10 cm (2–4 inches) of cover for established pieces, or closer to 2.5–5 cm for fresh seed sections—and water to settle, then keep the mix evenly moist while leaves expand. Do not keep a leafless dormant pot sodden “just because you repotted.”
Signs your turmeric actually needs repotting
Penn State’s general pot-bound indicators—roots packing the ball, mix drying unusually fast, growth stalling in the active season, and roots escaping drainage holes—still apply, but turmeric adds rhizome-specific clues. Watch for plump orange rhizomes pressing against the wall, heaving at the surface, or literally cracking thin nursery plastic.
Repot when two or more of these appear together:
- Firm rhizomes visibly crowding the rim, bulging through the surface, or splitting the container.
- Crowded leafy shoots with little open mix between pseudostems.
- Mix that empties within a day in warm weather despite thorough watering.
- A pot that tips because the underground mass has shifted to one side.
- A sour smell, soft spots, or waterlogged mix that no longer drains cleanly.
One yellow lower leaf at season’s end is normal dormancy, not a repotting order. Check moisture and light first with the Turmeric watering and Turmeric light guides before you tear the clump apart.
Understand turmeric anatomy before you lift the pot
Rhizomes, leafy shoots, and sterile flowers
What cooks call “fresh Haldi” is a rhizome—an underground stem—not a true root. Kew’s Plants of the World Online treats Curcuma longa as a rhizomatous geophyte from southwestern India adapted to a seasonally dry tropical biome: monsoon-style growth followed by a drier rest. NC State describes upright clumps about 3–4 ft (90–120 cm) tall with large lanceolate leaves, thick branched rhizomes, and yellow-white flowers that are sterile and do not set viable seed—so every new plant starts from a rhizome piece, not seed.
That anatomy changes how you handle the plant. Hauling by the leafy tops can snap shoots without freeing the rhizome mass. Sliding the pot away while supporting the whole underground clump is safer. Wear gloves and protect counters: the bright yellow-orange dye stains skin, clothes, and fabric, and some people develop skin irritation from the juice (NC State Extension; UF/IFAS Gardening Solutions).
Best time to repot turmeric in warm climates
Align the move with active warm growth, not the coolest week of the year. NC State notes turmeric grows best in hot, humid conditions during monsoon-style weather and becomes dormant once the wet season ends; division is best in spring or summer. UF/IFAS plants grocery or nursery rhizomes in early spring, cutting pieces 1–1½ inches long with at least one eye and letting cut faces dry a few days before planting.
In frost-free tropical and subtropical India you can also refresh pots after a late-season harvest when foliage yellows and dries, provided you are thinning or dividing dormant rhizomes and then holding them nearly dry-cool until spring shoots return. Avoid emergency “bigger pot” moves during a cool, continuously wet stretch unless the current container has no drainage and rhizomes are already rotting—that is a rescue inspection, not routine culture. Tamil Nadu Agricultural University places field planting in the May–June window under tropical conditions, which maps to the same warm-soil logic for container growers.
Choose a pot that fits rhizomes, not just foliage
Turmeric does not need a deep tree tub. UF/IFAS production guidance for ginger, galangal, and turmeric finds plants produce fairly shallow roots and that about 8 inches (20 cm) of potting mix depth is adequate. A typical container approach is one rhizome per 5-gallon pot or three seed rhizomes per 15-gallon nursery container—though larger pots are heavier and can tip in wind. (UF/IFAS EDIS EP638)
For a home size-up, step about 5–8 cm wider than the current pot when the clump is intact. Jump more only when you are splitting into multiple containers. Choose sturdy plastic, resin, or thick terracotta—thin soft plastic is what crowded turmeric often cracks. An oversized decorative drum around a small rhizome mass holds wet mix too long and invites the pathogens UF/IFAS flags when rhizome crops sit waterlogged.
Depth, width, and drainage holes
Prioritize width and free drainage over exaggerated depth. Choose a container with several clear holes—not a sealed ceramic cachepot used as the only vessel. Plastic and resin pots are lighter to move before storms; terracotta breathes and tips less but dries faster in hot wind. Whatever the material, empty saucers after watering so rhizomes are not bathing overnight.
Use a rich, moist, free-draining mix
Turmeric wants fertility and moisture retention without compaction. NC State prefers rich, slightly acidic soils kept medium to wet with high organic matter and drainage that can be good, moist, or occasionally wet. TNAU describes ideal field soil as friable, well-drained red loam under tropical rainfall—useful as a texture cue even when you grow in pots. (Tamil Nadu Agricultural University)
A practical container blend matching LeafyPixels turmeric soil guidance is roughly 50% potting mix, 30% compost or well-rotted manure, and 20% perlite or coarse sand, aiming near pH 5.5–7.0. EP638 prefers coarse soilless components such as coir, peat, bark, wood fiber, or perlite so water drains and rhizomes clean easily at harvest. Finish details live on the Turmeric soil page; for repotting, the non-negotiable test is simple: water should move through the pot, not pool on top or smell sour a day later.
How to repot turmeric step by step
- Water lightly the day before if the ball is dust-dry, so it holds together without becoming a mud cake.
- Prepare the new pot with clean drainage openings and a base layer of fresh mix so the old ball sits at its previous depth.
- Tip and slide the plant out while supporting the rhizome mass—do not yank leafy shoots. Wear gloves.
- Read the clump. Firm plump rhizomes with visible eyes are keepers. Soft, foul, or hollow pieces get cut away to clean tissue and discarded; do not reuse infected mix. (UF/IFAS EDIS EP638)
- Decide your goal. Size-up only, harvest-thin, or divide into new pots—do not do all three casually in one session unless the clump is large and healthy.
- Backfill with pre-moistened mix, firm gently with fingertips, and leave a watering rim below the lip.
- Water once to settle, drain fully, then return the pot to morning sun or bright partial shade—not harsh afternoon scorch.
Inspect, thin, or divide rhizomes carefully
UF/IFAS suggests cutting rhizomes into pieces about 1–1½ inches (2.5–4 cm) long with at least one eye, then drying cut faces a few days before planting to reduce rot risk. That same idea applies when you harvest-thin a crowded pot: remove enough firm pieces for the kitchen or new pots, leave several healthy sections with buds, and refresh the mix around what remains. (UF/IFAS Gardening Solutions)
If your main goal is multiplying plants rather than pot size, switch to the Turmeric propagation guide after the parent clump is healthy. Fresh supermarket turmeric can work when pieces are firm with visible eyes, but soft or moldy grocery stock is a rot risk—let cut faces callus before planting.
Set planting depth correctly
Keep rhizomes shallow enough to monitor, deep enough to stay covered. Home guidance from UF Gardening Solutions covers pieces with about 1 inch of soil; EP638 plants seed rhizomes at about 2 inches; TNAU dibbles seed rhizomes about 4 cm deep in the field. For an established undivided clump, match the previous soil line—typically covering buds with roughly 5–10 cm of mix, buds pointing upward. Deep, constantly wet crowns are harder to inspect and more likely to rot in cool weather.
Do not bury leafy shoots deeply in an attempt to “stabilize” a leaning clump. If the plant leans after a move, firm the mix gently and give it a few days in bright partial shade rather than packing wet soil over soft new growth.
Care after repotting
Place the pot where turmeric likes to live: morning sun with afternoon shade, or bright partial shade. NC State favors hot humid summers with full sun in the morning and afternoon shade; UF notes turmeric also grows well in partial to full shade when soil is amended with organic matter. Match that logic on Indian terraces: warm humid air, protection from harsh midday scorch, and consistent moisture while leaves expand—follow the Turmeric watering rhythm rather than a fixed calendar alone.
Hold fertilizer for one to two weeks after a major disturbance, then feed lightly during active leaf growth only—details sit on the Turmeric fertilizer page. Expect a short pause in top growth while roots reattach; new shoots and firm expanding rhizomes are the recovery signal. If foliage collapses and the mix stays wet, improve drainage and airflow before adding water or feed. The Missouri Botanical Garden explains that roots in waterlogged soil cannot absorb oxygen, then decay and leave plants looking wilted even though the pot is wet.
When foliage yellows and dries toward harvest or winter rest, reduce watering sharply. UF notes turmeric dies back in freezes and returns in late spring where winters are mild; in cooler rooms, store firm rhizomes nearly dry rather than keeping a leafless pot soaking.
When not to repot turmeric
Skip routine repotting when the plant is deeply dormant and you have no harvest or division goal, when the current pot still has open mix and steady shoot production, or when the only problem is incorrect watering or light. Do not upsizing into a huge wet container to “fix” yellow leaves caused by cold soggy soil—that usually worsens rhizome disease risk. EP638 stresses avoiding waterlogging because rhizome crops are susceptible to pathogens such as Pythium, Phytophthora, and Fusarium, and rotten material should be discarded rather than reused. (UF/IFAS EDIS EP638)
Also wait if a heatwave or multi-day rain is forecast immediately after the move and you cannot shelter the pot. A stressed clump recovers better in warm, bright partial shade with predictable moisture than in an oversized saucer of mud. NC State notes spider mites appear more often when soil is too dry—so after a move, keep active plants moist without drowning cool resting rhizomes.
When to use this page vs other Turmeric guides
Use this page when the question is pot size, timing, rhizome handling, soil refresh, or post-move recovery. Use Turmeric soil when you need mix recipes and pH detail without a full transplant. Use Turmeric watering when the clump is soft or crispy but the pot still has room. Use Turmeric light for scorch, sparse growth, and placement. Use Turmeric fertilizer once roots have reattached. Use Turmeric propagation when the primary goal is multiplying pieces rather than refreshing one container. Start from the Turmeric care overview if you are new to Haldi and still setting baseline placement.
Related Turmeric guides
- Turmeric overview — identity, climate fit, and care priorities
- Turmeric watering — moisture checks, dormancy dry-down, overwatering signs
- Turmeric soil — mix ratios, drainage, and pH targets
- Turmeric light — morning sun, partial shade, and scorch limits
- Turmeric fertilizer — feeding after establishment
- Turmeric propagation — rhizome division for new plants
- Turmeric pruning — spent foliage cleanup after harvest or dormancy
Conclusion
Successful turmeric repotting protects firm Haldi rhizomes, gives them a modest increase in warm, moist free-draining volume, and restores even moisture only while leaves can use it. Move pots in spring as shoots emerge or at a planned harvest-thin, keep depth shallow, prefer width and sturdy drainage over deep soggy tubs, and treat soft tissue as a sanitation problem—not a fertilizer problem. Do that, and container Curcuma longa stays productive season after season without the collapse that follows cold, waterlogged mix.