Turmeric Soil Requirements: Mix, Drainage & pH
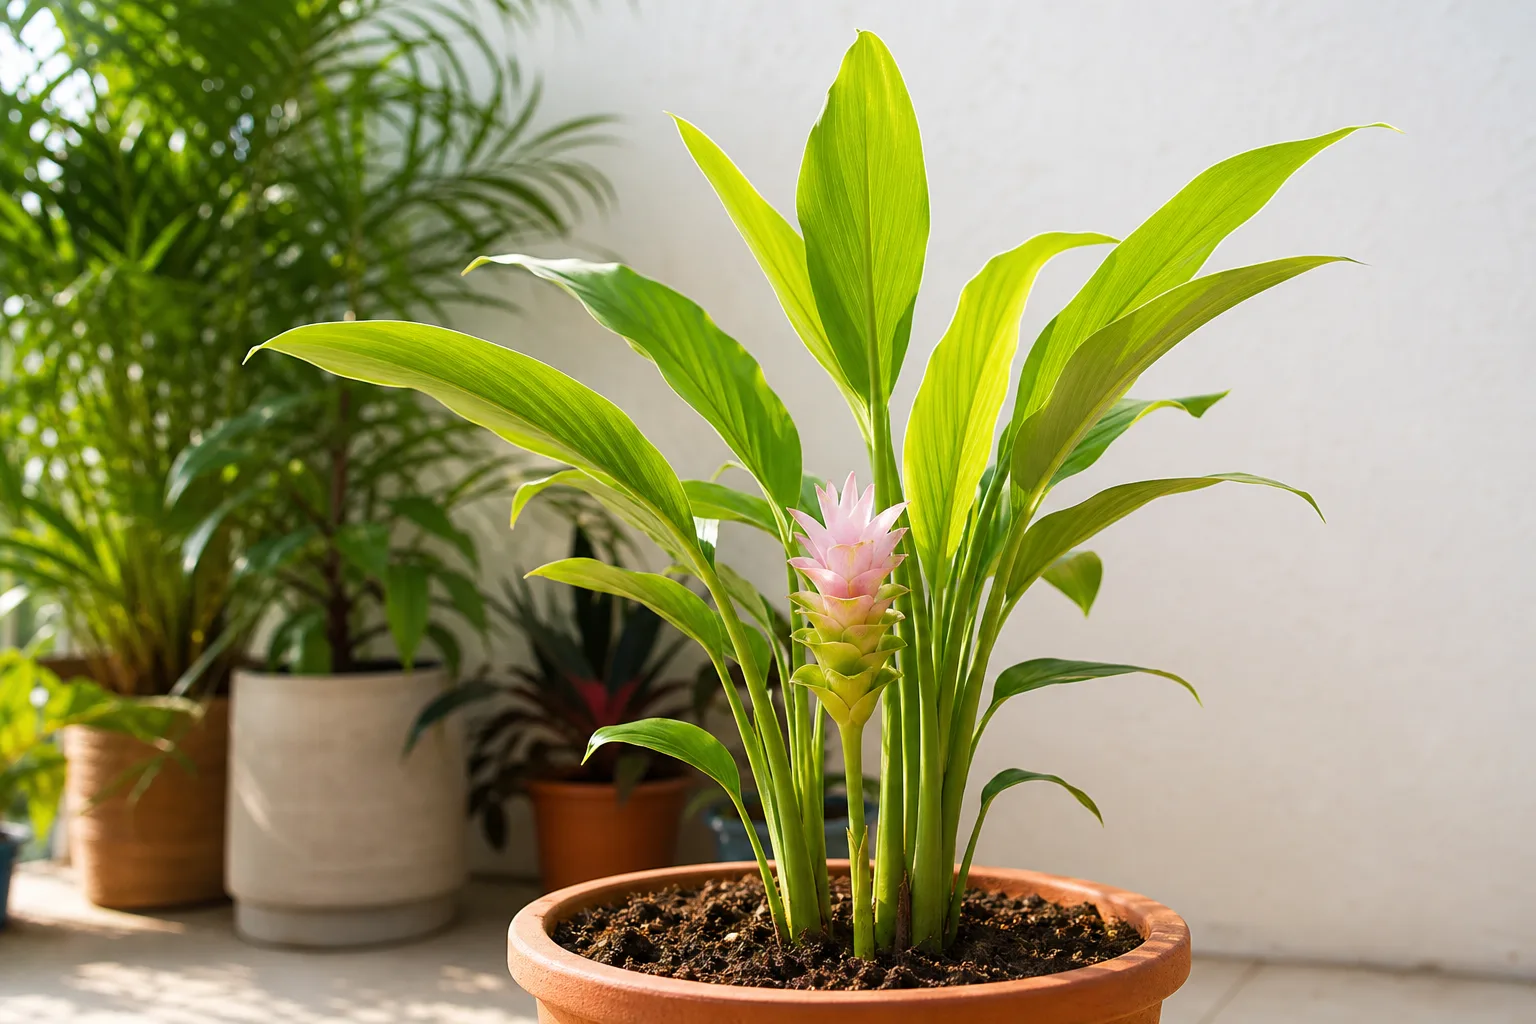
Turmeric Soil Requirements: Mix, Drainage & pH
Turmeric Soil Requirements: Mix, Drainage & pH
Turmeric soil should stay evenly moist and rich in organic matter while still letting air return to the rhizome zone after every watering. That balance is stricter than “keep it wet” or “use well-draining soil” alone. Curcuma longa (Haldi) is a ginger-family rhizome crop: thick underground stems swell through a warm, humid growth window, then the plant naturally eases into a drier dormant pause when foliage yellows.
For containers, start with a fertile potting base opened up with compost and coarse aeration material—not heavy garden clay. In tropical and Indian gardens, friable loam that drains freely works best, especially where monsoon rain arrives in sheets. Soil cannot fix cold nights or dim corners, so pair this guide with Turmeric light needs and Turmeric watering.
Quick answer: the best soil for turmeric
The best soil for turmeric is organically rich, slightly acidic to near-neutral, and moist without becoming stagnant. NC State Extension describes Curcuma longa as preferring rich, slightly acidic soils kept medium to wet, with high organic matter and drainage that can be good, moist, or occasionally wet. UF/IFAS Gardening Solutions likewise emphasizes soil amended with organic matter for productive plants.
For pots, a useful starting blend is 50% quality potting mix, 30% mature compost, and 20% perlite or coarse sand. Aim near pH 5.5–7.0. This is a home-container recipe tuned to turmeric’s moisture-loving rhizomes; field plantings can use deeper friable loam as long as water does not pond around the crowns.
What turmeric soil must do for rhizomes
A turmeric root zone has three jobs at once. It must hold enough water for large leaves and expanding rhizomes, store nutrients in organic matter, and keep pore space open so oxygen returns after irrigation or rain. Kew’s Plants of the World Online treats Curcuma longa as a rhizomatous geophyte from southwestern India adapted to a seasonally dry tropical biome—monsoon-style growth followed by a drier rest, not permanent swamp or desert sand.
That biology explains why succulent cactus mix fails and why pure clay bathtub planting fails too. The first starves active rhizomes of moisture and invites spider mites when foliage crisps; the second starves roots of oxygen and invites soft rot when temperatures drop.
Why Curcuma longa needs moisture and air together
Turmeric is not a woody shrub with deep woody roots. Shallow rhizomes sit in the upper soil profile and thicken sideways. UF/IFAS production guidance for ginger, galangal, and turmeric stresses planting in a disease-free substrate or soil, keeping moisture moderate, and avoiding waterlogging because rhizome crops are vulnerable to root and rhizome pathogens such as Pythium, Phytophthora, and Fusarium.
When soil stays airless, roots die even though the surface looks wet. The Missouri Botanical Garden explains that roots in waterlogged soil cannot absorb the oxygen they need, then decay and leave the plant looking wilted or scorched. Check the root zone before pouring on more water.
Best container mix for turmeric (Haldi)
Container turmeric needs a lighter, coarser profile than sticky field clay. Unamended garden soil in a balcony pot collapses under daily watering, stays sour in the center, and turns the container into dead weight. A stable potting base plus compost and coarse mineral or bark particles holds moisture without sealing the rhizomes in mud.
UF/IFAS notes that an 8-inch depth of potting mix is usually adequate because roots are fairly shallow, and that useful substrates include coarse particles such as coconut coir, peat, bark, wood fiber, or perlite for drainage and aeration while still retaining water. Choose mature, earthy-smelling compost rather than hot, unfinished manure that can burn soft new shoots.
A practical DIY turmeric soil recipe
For roughly 10 litres of mix, combine:
- 5 litres quality potting mix (or a peat/coir-based container compost)
- 3 litres mature compost or well-rotted manure that has cooled
- 2 litres coarse perlite, pumice, or horticultural grit (or washed coarse sand if that is what you have)
Moisten lightly and blend until uniform. A squeezed handful should form a soft clump that breaks apart when poked—not a sticky ball and not powder that falls straight through your fingers. In a long humid monsoon on an open terrace, nudge the coarse fraction toward 25–30%. On a hot, windy balcony that dries in a day, keep organic matter near the 30% mark and do not lean on pure sand.
This recipe supplies structure, not a full-season fertilizer program. Once roots are established in sound mix, use Turmeric fertilizer guidance rather than dumping concentrated field rates into a small pot.
How to adapt a store-bought potting mix
Read texture, not marketing claims. If a bag is fine, dark, and sponge-like, blend about three parts mix with one part coarse perlite or grit, then add a modest share of compost if the base feels lean. If the bag already includes bark chunks and compost, you may only need a light fluff with perlite.
Skip “moisture control” gels in rainy, humid climates unless you have tested how slowly the pot dries. Do not add a thick gravel layer at the bottom hoping it will “improve drainage”; a dense upper mix still holds water above that layer. Use one open substrate from top to bottom and cover large holes with mesh only to stop mix from escaping.
Drainage, pot width, and planting depth
Use a wide, sturdy pot with several clear drainage holes. Turmeric rhizomes thicken fast; NC State notes that crowded rhizomes can split containers, so thin plastic nursery pots are a poor long-term home. A broad pot also matches the plant’s sideways growth better than a deep, narrow tube of unused wet mix.
Plant firm rhizome pieces about 5–10 cm deep with buds facing up, or cover grocery pieces with roughly 2.5 cm (about 1 inch) of mix as UF/IFAS describes for home plantings, after cut faces have dried for a day or two. Space pieces generously so fingers have room to swell. Raise the pot slightly above a sealed terrace, empty saucers after runoff, and never leave the base standing in stale water overnight.
Test a new mix before you trust it: water until runoff starts promptly, then feel the profile an hour later. It should be evenly damp and springy, not soupy. By the next day in warm weather it should still hold moisture but show air spaces when you tip a sample.
Soil pH for turmeric
NC State lists turmeric soil pH across acidic (<6.0) and neutral (6.0–8.0) bands while calling the preference slightly acidic overall. For home containers, a practical target of about 5.5–7.0 matches that slightly acidic-to-neutral comfort zone and keeps most nutrients available without chasing decimal-point perfection.
Test pH when growth stalls despite good warmth, light, and drainage—not every week. Compost-rich mixes often drift mildly acidic over time; repeated alkaline tap water or heavy lime can push them the other way. Correct with modest amounts of elemental sulfur or lime only after a test, and never “fix” a sour, waterlogged pot with fertilizer.
In-ground soil for Indian and tropical gardens
In frost-free or nearly frost-free beds, choose a site that receives monsoon rain yet sheds excess water within hours. Tamil Nadu Agricultural University describes a friable, well-drained red loamy soil under tropical conditions as ideal for field turmeric. That description matches what home growers should mimic: open crumb structure, organic matter, and no permanent puddles around the rhizomes.
Work compost or well-rotted farmyard manure through a wide planting area rather than dumping a pocket of pure compost into a clay hole. Plant on a slight mound if your yard holds water. Mulch after shoots emerge to buffer surface heat and moisture, keeping mulch a few centimetres away from emerging stems.
Improve heavy clay without trapping water
Do not dig a deep clay pit and fill it only with fluffy potting mix. The contrast can create a bathtub that fills during rain and never drains. Improve a broad zone with decomposed organic matter, plant slightly high, and give runoff a clear path away from the clump.
If the water table rises into the rhizome zone or the bed stays flooded for days, use a raised bed or a large freestanding container instead. Turmeric forgives briefly wet soils during warm growth; it does not forgive cool, stagnant saturation.
Manage turmeric soil through the monsoon and dormancy
During active leaf expansion, keep the profile moist in step with heat and growth—containers often need more frequent soaking than beds. When foliage yellows and dries toward harvest, reduce watering sharply. NC State notes that in India turmeric grows through the monsoon and becomes dormant once the season ends; cold, sodden rest is when soft rhizomes collapse.
Stop automatic irrigation when rain is already saturating the bed. Clear blocked drains, divert roof runoff, and avoid packing fresh manure against resting rhizomes. After harvest or dieback, store healthy seed pieces in barely moist sand or a cool dry place rather than leaving them in a permanently wet pot outdoors through cool weather.
Warning signs the soil is wrong
Soft, foul-smelling rhizomes, yellowing leaves while the mix stays heavy, a sour odor, fungus gnats, and mushy bases after cool wet spells point to poor aeration or decay. UF/IFAS lists multiple soil-borne pathogens on ginger-family rhizomes when sanitation and drainage fail. The first action is to pause watering, empty saucers, and inspect rhizomes—not to add more fertilizer.
At the other extreme, powder-dry mix, leaf edges crisping, stalled shoots in heat, and spider mites often follow chronic drought. NC State links red spider mites with soil that is too dry. Rehydrate gradually, then correct the mix or pot size so moisture lasts between waterings without drowning the crown.
When to refresh turmeric potting soil
Refresh the mix every 1–2 years, or sooner if rhizomes press the pot walls, the substrate collapses into sludge, water sits on the surface, or the pot dries within a day because almost no soil remains between rhizomes. Spring, as new shoots emerge, or right after autumn harvest when you divide rhizomes, are the cleanest times to rebuild.
Discard rotten pieces and foul mix. Replant only firm rhizomes with visible eyes into fresh open substrate. Details on pot size and handling live in the Turmeric repotting guide; dividing pieces for a new crop belongs in Turmeric propagation.
When to use this page vs other Turmeric guides
Use this page to choose or diagnose substrate, pH, drainage, and bed preparation. Use Turmeric watering for how often to soak an already-correct mix, Turmeric fertilizer for feeding during active growth, and Turmeric light if leaves are thin or pale despite a healthy root zone. Use Turmeric overview when you need the full growth-cycle picture before changing soil, water, and pot size at once.
Related Turmeric guides
- Turmeric overview — habit, monsoon growth, dormancy, and care priorities
- Turmeric watering — moisture checks matched to this rich, open mix
- Turmeric light — morning sun or bright partial shade that drives water use
- Turmeric fertilizer — feeding after soil structure is sound
- Turmeric repotting — wider pots when rhizomes crowd the walls
- Turmeric propagation — dividing firm rhizome pieces into fresh mix
Conclusion
The best turmeric soil is rich, slightly acidic to neutral, consistently moist, and never stale. In containers, combine a dependable potting base with mature compost and enough coarse material for air to return after watering. In Indian and other tropical beds, favor friable, well-drained loam, plant slightly high in heavy ground, and let the mix dry more once foliage signals dormancy. When drainage and structure are right, watering and feeding become easier to judge—and Haldi rhizomes have room to thicken instead of rot.