Turmeric Propagation: Divide Rhizomes Step by Step
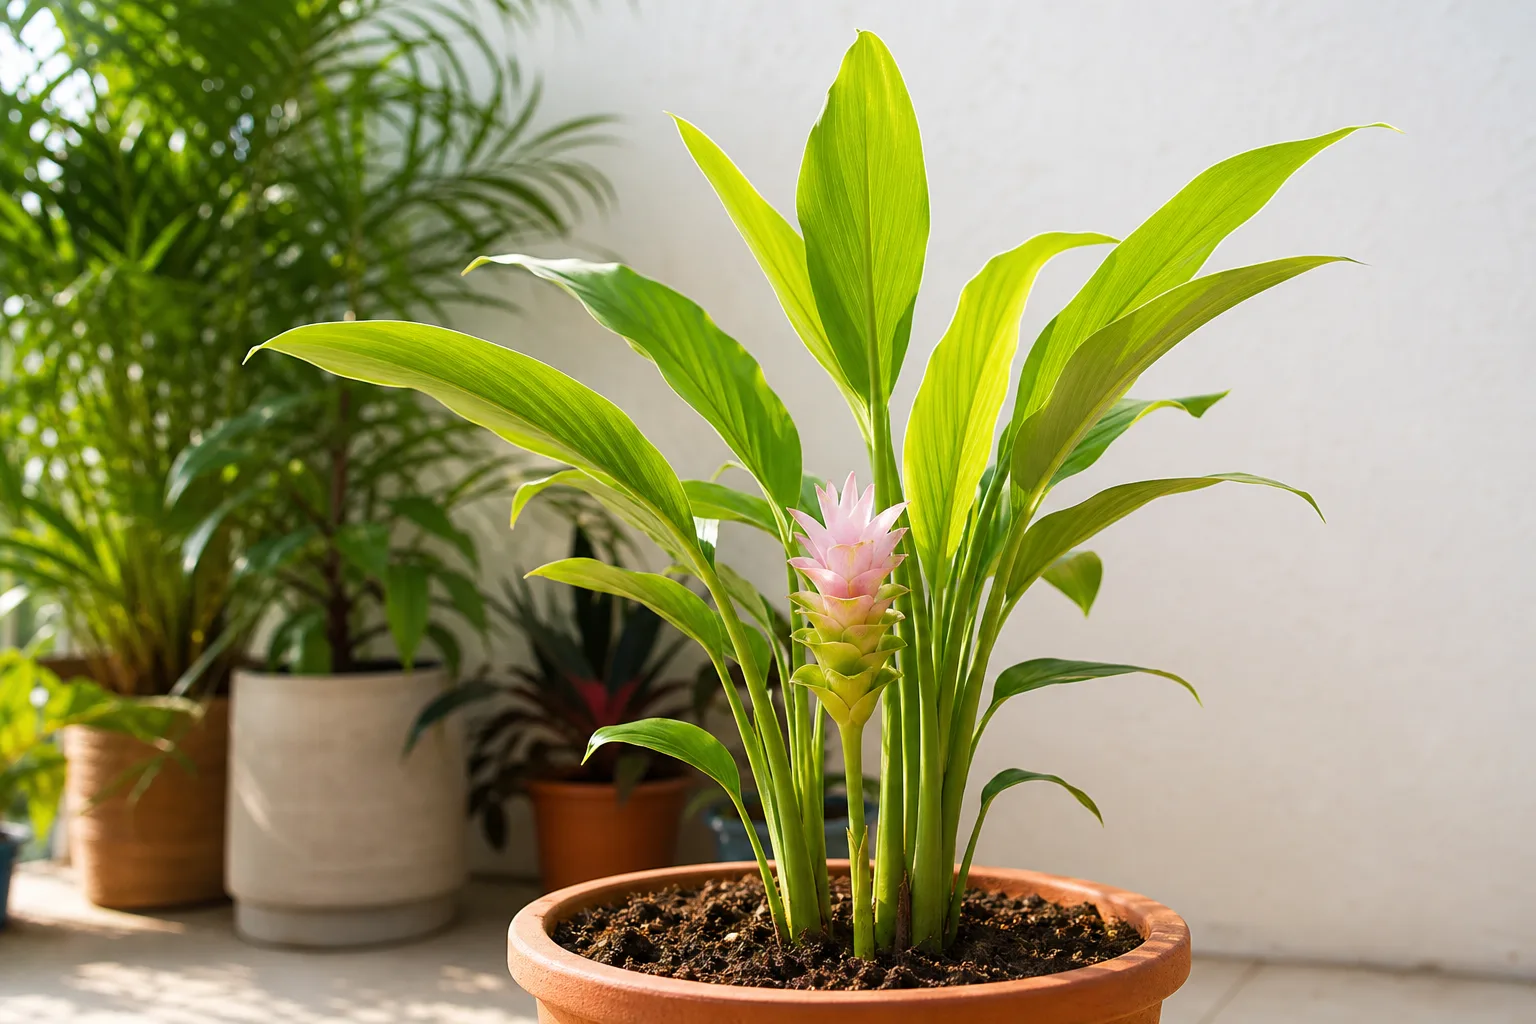
Turmeric Propagation: Divide Rhizomes Step by Step
Turmeric Propagation: Divide Rhizomes Step by Step
Turmeric propagation is a rhizome project, not a seed tray. Curcuma longa—the ginger-family plant behind Haldi—multiplies when you plant firm underground stems with at least one live eye, because flowers on domesticated turmeric do not set usable seed. Kew’s Plants of the World Online treats the species as a cultigen from southwestern India, a seasonally dry tropical rhizomatous geophyte that humans selected for spice and dye. The RHS notes it has become so domesticated that it is unable to set fruit, so reproduction happens only by dividing rhizomes.
That biology sets a clear home method: choose plump pieces, cut to a workable size with a visible bud, let cut faces dry briefly, plant buds up in warm rich mix, keep moisture steady while shoots push, then harvest or redivide when foliage dies back. Pair this page with Turmeric watering and Turmeric soil once pieces are in the pot—propagation fails when cold wet mix or bone-dry heat hits seed rhizomes before roots and shoots establish.
Why Turmeric Propagates Only From Rhizomes
Turmeric is grown for thick, branched orange rhizomes, not for woody stems or seed packets. NC State Extension describes Common Turmeric as an upright ginger-family perennial that is reproduced from its rhizomes, with division best in spring or summer. Missouri Botanical Garden likewise frames the plant as a tropical rhizomatous herbaceous perennial that thrives in hot humid summers, then becomes dormant when soils dry after monsoon-style growth.
Leaf cuttings, water-only “sprouting experiments,” and flower spikes will not replace a sound rhizome piece. You need living storage tissue plus a bud that can push a new shoot. Once that shoot is up, the same plant still needs monsoon-style warmth and a moist-but-draining root zone—propagation does not change the care rules on the Turmeric overview.
Sterile flowers and vegetative cloning
Penn State Extension is blunt: turmeric produces small yellow flowers, but they are sterile and do not have viable seeds. NC State repeats that flowers are sterile and do not produce viable seed, even though tiny brown seed-like structures may be described in botanical notes. Treat any “grow turmeric from seed” claim as a mismatch for culinary Curcuma longa unless you are working with a rare breeding line outside normal home culture.
Vegetative cloning is the advantage, not a limitation. Every successful division copies the parent’s rhizome color and growth habit. Commercial Indian plantings rely on mother and finger rhizomes as planting material for the same reason—field systems described by TNAU Agritech start from rhizome pieces, not seedbeds.
Best Time to Propagate Turmeric
Plant or divide when warmth is returning and you can keep the mix consistently moist without cold nights. Penn State recommends replanting budded pieces in the spring, and notes rhizomes can also be divided during spring or summer. NC State agrees that division is best in spring or summer. UF/IFAS Gardening Solutions likewise calls early spring the best planting window for Florida-style home beds—the same seasonal logic fits frost-free Indian balconies when nights stay mild.
In much of India, that maps to late winter through the early monsoon: plant so shoots emerge into rising heat and humidity, not into a cool damp spell that softens cut faces. Avoid dividing a plant that is already collapsing mid-season from cold wet rot, and avoid stuffing fresh pieces into a fridge-cold terrace pot after a temperature crash. Missouri Botanical Garden notes native temperatures often run about 65–85°F in moist humid conditions—aim for that comfort band while new shoots establish.
Harvest and “seed rhizome” saving happen on the opposite end of the cycle: dig when foliage yellows, wilts, and dries in fall or early winter, then store firm pieces for the next spring planting rather than forcing soft winter leaves in a cold wet pot.
Choosing Healthy Rhizomes and Grocery Starts
Start with firm, plump rhizomes that feel heavy for their size and show at least one raised eye or bud. Reject soft, moldy, hollow, or deeply shriveled pieces. Fresh produce-aisle Haldi can work when it is firm and not waxed into a lifeless stump—UF/IFAS notes gardeners often succeed with grocery-store rhizomes chosen for freshness. Nursery or farm seed rhizomes are usually cleaner and more reliable if you can get them.
Wear gloves when cutting. The bright orange juice stains hands, clothes, and counters, and some people find the juice irritating on skin. Keep harvested pieces and open pots away from pets that chew houseplants; ASPCA does not list Curcuma longa on its toxic and non-toxic plants database as a named listing in common screening, but any plant chewing can still upset a pet’s stomach.
If you are refreshing a crowded container rather than starting from grocery stock, combine division with a wider pot when rhizomes press the walls—details live in Turmeric repotting. Do not multiply from a clump that already smells sour and mushy; discard rotten tissue and restart from firm eyes only.
How to Divide Turmeric Rhizomes Step by Step
Soil planting is the reliable home path. You are not rooting a leafy cutting—you are planting a living food-storage organ that will push shoots when warmth and moisture align. Sterilize your knife, work on a wipeable surface, and have pots or beds ready the same week you cut so pieces do not sit forgotten in a hot kitchen.
Cutting size, eyes, and callusing
Cut rhizomes into pieces about 1 to 1.5 inches (2.5–4 cm) long, each with at least one bud or eye when possible—the size Penn State and UF/IFAS both recommend for home planting. (Penn State Extension; UF/IFAS) Field practice in Tamil Nadu often uses heavier seed pieces around 25–30 g dibbled shallowly in ridges, which is useful context for large beds but oversized for a small balcony pot—home growers should prioritize a visible eye over matching farm seed rates. (TNAU Agritech)
UF/IFAS advises cutting a few days ahead of planting so cut surfaces dry and the chance of rotting drops. That short callus period matters more than fancy fungicides for most balcony growers: air-dry cut faces in a shaded, airy spot, then plant. Discard any piece that turns soft or smells sour during the wait.
Planting depth, orientation, and spacing
Plant pieces buds up. Penn State places them 2 to 4 inches (5–10 cm) deep; Missouri Botanical Garden similarly recommends planting rhizomes about 4 inches deep in early spring. (Penn State Extension; Missouri Botanical Garden) UF/IFAS uses a shallower cover of about 1 inch of soil in prepared beds—use the deeper end of the range in loose potting mix that dries fast, and avoid burying a tiny piece under a heavy wet slab of clay.
Space generously. UF/IFAS suggests about 15 inches between pieces in beds; TNAU field spacing of 45 × 15 cm on ridges shows how much lateral room commercial plantings allow for finger expansion. In containers, one or two strong pieces in a wide pot beat packing six fragments into a narrow grow-bag that rhizomes will split by season’s end. Cover lightly, water until the mix is evenly moist, then stop drowning the pot.
Pot vs Ground Propagation in Indian Homes
Wide containers suit terraces and balconies when you can keep heat and humidity high. NC State warns that rhizomes grow so thick they may split the container open, and potted plants need frequent water during active growth. Choose sturdy plastic or ceramic with drainage holes; thin nursery pots crack under turmeric pressure. Use a rich, moisture-retentive but draining blend—roughly the same organic mix described in the soil guide—not pure garden clay that stays anaerobic after monsoon rain.
In open ground or raised beds, turmeric wants organically rich soil kept medium to wet while leaves expand, then a drier rest after canopy decline. Morning sun with afternoon shade, or bright partial shade on hot terraces, matches NC State and Missouri Botanical Garden placement guidance. Deep indoor shade is a poor propagation environment: pieces may soften before shoots appear because the mix never warms or dries on a healthy rhythm.
Aftercare Until New Shoots Appear
Keep the mix consistently moist but not soggy while you wait for spears. Warmth matters as much as water—cool wet soil after planting is the classic path to soft rhizome rot. Place pots in the same bright warm spot you would use for an established plant, then follow Turmeric light once foliage expands. Do not stack strong fertilizer on dormant or newly planted pieces; wait for clear new leaf growth, then use light feeding per the fertilizer guide.
Expect shoots in a few weeks under warm humid conditions; cool rooms stretch the wait. Resist digging pieces up weekly to “check.” Watch for firm soil that still smells clean, pot weight that eases between waterings, and the first pointed shoots. If the surface stays bone-dry in heat, water more often—containers dry faster than beds. If the pot stays heavy and sour for days, improve drainage and ease watering rather than adding more food.
Once leaves are up, treat the plant as an active monsoon crop: moist rich mix, high humidity, and protection from frost. When foliage later yellows and dries, you have completed one full propagate–grow–harvest loop.
Harvest, Save, and Store Seed Rhizomes
Dig when leaves begin to dry out and wilt in fall, or when the plant goes dormant in late fall to early winter as UF/IFAS describes. Missouri Botanical Garden notes rhizomes are typically harvested when foliage begins to dry, and that some harvested rhizomes can be set aside for propagation. Sort firmly: culinary use or curing for the kitchen, seed pieces with clear eyes for next season, and compost for anything soft or moldy.
For winter storage where frost is a risk, NC State suggests removing rhizomes in fall and storing them in a cool, dry location. Missouri Botanical Garden adds a practical media option: store in sawdust, peat, or vermiculite kept very slightly moist in a cool dry place, or overwinter the whole container indoors. TNAU notes seed rhizomes can be held in open sand media under a partially closed shelter—adapt that idea to a clean, shaded storage corner rather than a sealed plastic bag that traps condensation.
Common Propagation Failures and Fixes
Soft, rotten pieces after planting usually mean cut faces never callused, the mix stayed cold and waterlogged, or the grocery rhizome was already compromised. Restart with firmer stock, dry cuts for a day or two, plant in fresher open mix, and warm the location. Field guides also flag rhizome rot pressure when seed pieces are planted into poorly drained soils—home growers should fix drainage before treating symptoms with more water.
No shoots for weeks often means the piece lacked a live eye, temperatures stayed too low, or the rhizome desiccated in a hot dry pot. Check that buds were oriented up and that the mix still has some moisture. Patience is reasonable in cool springs; endless soggy soil is not.
Shoots emerge then collapse points to moisture swings, weak light, or a tiny pot that heats and dries unevenly. Stabilize watering, improve morning light, and move up pot size when rhizomes crowd. Spider mites can appear if foliage stays dry while roots struggle—keep humidity sensible without sealing a sour wet pot.
Crowding and cracked pots are success problems: thick rhizomes filled the container. Harvest, divide, and repot rather than forcing another season in a split grow-bag.
When to Use This Page vs Other Turmeric Guides
Use this propagation page when you are cutting, planting, or storing rhizome pieces for new plants. Use the Turmeric overview for identity, mature size, and the full growth-cycle map. Use watering when established clumps swing between bone-dry and sour-wet. Use soil when drainage or mix recipe is the failure point. Use light when shoots stall in shade or scorch in harsh afternoon sun. Use fertilizer only after new growth is active. Use repotting when you need pot-size and root-check steps without a full seed-piece tutorial. Start from the Turmeric plant hub if you are deciding whether Haldi fits your terrace at all.
Related Turmeric Guides
- Turmeric overview — habit, monsoon growth, dormancy, and care priorities
- Turmeric watering — moist active growth vs dry-cool rest for new and established plants
- Turmeric soil — rich draining mixes that keep seed rhizomes from rotting
- Turmeric light — morning sun, afternoon shade, and indoor limits
- Turmeric fertilizer — light feeding after shoots are clearly active
- Turmeric repotting — wider pots when rhizomes press or split containers
- Turmeric plant hub — profile, grower notes, and cluster entry
Conclusion
Propagate turmeric by dividing firm rhizomes with eyes, not by chasing seed from sterile flowers. Cut roughly 1–1.5 inch pieces, callus the cut faces, plant buds up about 2–4 inches deep in warm rich mix, and keep moisture steady until shoots appear. Time planting for spring warmth, harvest when foliage dries, and save the best pieces for the next round. Get those steps right and every season can feed both the kitchen and next year’s pots.