Bokashi Composting Basics: Indoor Fermentation Guide
Learn bokashi composting from bucket setup to finished pre-compost: what to add, how to drain bokashi tea, burial timing, and fixes for odor or mold.
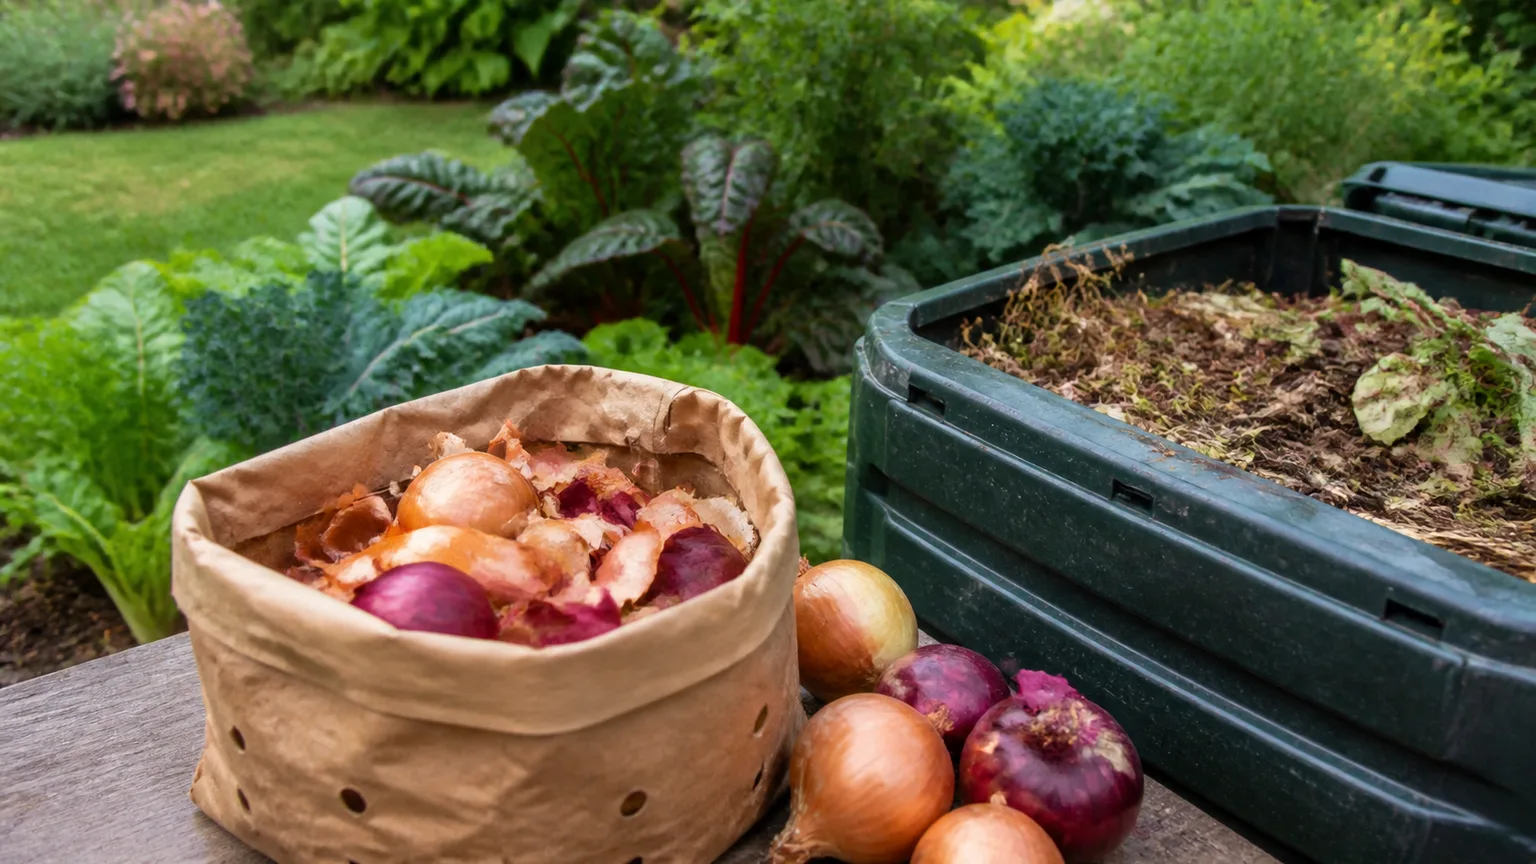
Bokashi composting is an indoor anaerobic fermentation method that pickles kitchen scraps—including meat, dairy, and cooked leftovers—inside a sealed bucket before you finish the material in soil or a compost pile. It is not hot composting, and the bucket does not produce garden-ready humus on its own. What you get is pre-compost: fermented organic matter that still needs a second step outdoors or in a soil-holding tub.
That two-stage workflow is exactly why bokashi confuses first-time users. The food still looks like food when you open the bucket. Success smells like pickles or sauerkraut, not like finished compost. If you understand fermentation upfront, the rest of the system—bran, draining, burial timing—falls into place quickly.
What Bokashi Composting Actually Is (and What It Isn’t)
The word bokashi comes from Japanese and means fermented organic matter. Modern home systems trace to effective microorganisms (EM) research associated with Dr. Teruo Higa in Okinawa during the 1980s. Commercial bokashi bran is typically wheat bran, rice hulls, or sawdust inoculated with lactic acid bacteria, yeasts, and phototrophic bacteria—the same broad families that drive yogurt and silage fermentation Planet Natural bokashi guide.
In the bucket, those microbes work without oxygen. You layer food scraps with bran, press out air, and keep the lid sealed. Over roughly 10 to 14 days after the bin is full, the waste ferments rather than rots. Washington State University Extension describes the output as nutrient-dense pre-compost that must be mixed into soil or finished in another compost system before planting WSU Kitsap bokashi composting.
Fermentation Versus Decomposition
Traditional backyard composting is aerobic: microbes need oxygen, heat often builds in the pile center, and carbon-to-nitrogen balance matters. Bokashi is anaerobic fermentation: oxygen is the enemy, heat is modest, and the goal is to pickle waste so pathogens and weed seeds are suppressed by acidity while nutrients stay locked in the material.
The visual difference matters operationally. Aerobic compost turns brown and crumbly. Bokashi pre-compost may still resemble cucumber peels and rice grains—softened and sour-smelling, but recognizable. Decomposition happens later, when soil microbes finish the job in a trench, tub, or compost heap.
Who Bokashi Works Best For
Bokashi shines when you generate kitchen scraps year-round but lack space for a large outdoor bin. Apartment dwellers, condo owners, and renters with occasional access to a community garden or shared compost drop-off are the core audience. It also fits households that cook with meat, fish, bones, or dairy—items most backyard piles reject.
It is a weaker solo choice if your main waste stream is yard debris: grass clippings, leaves, and prunings need volume and airflow that a five-gallon bucket cannot provide. The practical sweet spot is pairing bokashi for food waste with traditional composting for garden bulk or municipal organics pickup. If you are still weighing whether composting is worth the habit at all, our guide on why you should compost this year lays out the soil and waste-diversion case in plain terms.
Budget a few minutes per week, not hours. Daily adds take under a minute; draining tea twice a week is the main recurring chore. Households that travel frequently should plan a second sealed bucket or a freezer-stash for scraps so nothing sits unrefrigerated while the primary bin ferments.
What You Need to Start Bokashi Composting
You need three things: a sealed bucket with a drain, inoculated bokashi bran, and a plan for finishing fermented waste somewhere other than the bucket. Skip any one of those and the system stalls.
The Bucket Setup and Spigot
A proper bokashi bin is airtight and includes a spigot or tap near the bottom. Fermentation releases liquid; without drainage, the bucket turns anaerobic in the wrong way—putrid instead of pickled. Two-bucket kits are common: fill one while the other ferments, so you never pause kitchen collection.
DIY setups can work with two nested buckets and a drilled drain hole, but the commercial gasketed lid is worth the cost if you open the bin daily. A snug internal plate or disc—plus optional weight on top—helps exclude air between layers University of Saskatchewan bokashi guide. Store the active bucket at 65–85°F when possible; colder slows fermentation, and sustained heat above that range can stress the microbes WSU Kitsap bokashi composting.
Most kits hold three to five gallons—enough for one to three weeks of scraps in a typical kitchen. A family that cooks daily may fill a bucket every ten days; a single person might stretch one bin for a month. Buying two complete kits upfront prevents the common stall where a full fermenting bucket leaves you with nowhere to put tonight’s peels.
Bokashi Bran and Effective Microorganisms
Bokashi bran is not a seasoning you sprinkle once. Each food addition needs a fresh dose—typically one to two tablespoons per inch of scraps, or a small handful per layer University of Saskatchewan bokashi guide. The bran carries EM cultures that outcompete spoilage organisms in the sealed environment.
Bran is an ongoing expense. Bags last weeks to months depending on household size. Store opened bran cool and dry; musty or neutral-smelling bran may be inactive. Some gardeners brew or extend EM solutions at home, but beginners should start with commercial inoculated bran until the sensory cues—pickled smell, white mold—make sense.
Expect to spend $30–$60 on a starter kit with one bucket and a bag of bran, then $10–$20 per bran refill every few months. That is often less than municipal organics fees in cities that charge by volume, but more than a free backyard pile if you already own a bin.
Step-by-Step: Running Your Bokashi Bucket
Think of daily management as a short ritual: add, bran, press, seal, drain. Opening the lid only to add scraps—not to peek—keeps oxygen out and odor down.
What Food Scraps You Can and Cannot Add
Bokashi accepts a wider menu than most outdoor piles. Yes: fruit and vegetable trimmings, coffee grounds and tea bags, eggshells, bread, cooked grains, meat, fish, small bones, and dairy scraps NC State Extension bokashi article. Limit or avoid: large volumes of free liquid (soup, sauce), excessive cooking oil, and moldy rotted food that already hosts competing fungi.
A bruised apple corner is fine. A container of fuzzy leftovers is not—the spoilage organisms can overwhelm the inoculant. Chop bulky pieces to one to two inches so layers pack tightly. If you already use a countertop scrap collector between meals, treat bokashi as the fermentation stage, not the prettiest kitchen display piece.
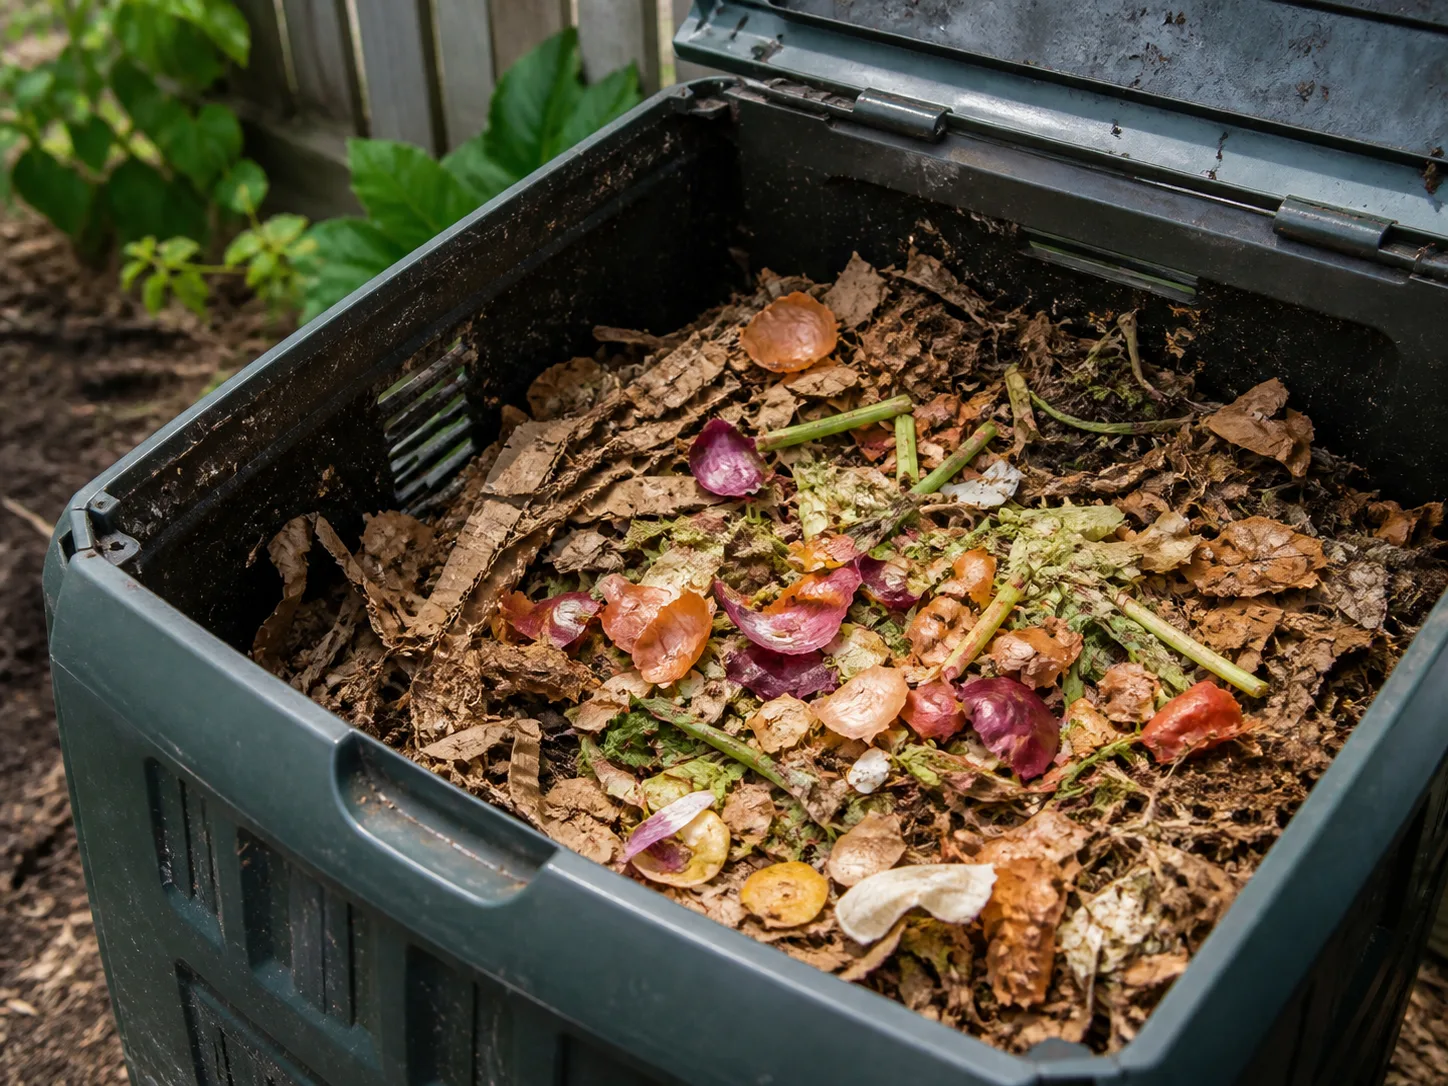
Layering, Pressing, and Sealing the Bin
Add food in thin layers—about one inch works well—then sprinkle bran. Press with a plate or tamper to expel air pockets. Seal the lid immediately. Repeat until the bucket is full, leaving a little headspace.
Once full, do not add more scraps. Move the bucket to a warm spot and let it ferment at least two weeks. Many households run two buckets in rotation: one collecting, one fermenting. Finished buckets can sit sealed for months if your garden is frozen; the microbes go dormant until you bury or mix the contents University of Saskatchewan bokashi guide.
During winter, stack sealed fermenting buckets in a garage or mudroom and finish them in a soil-holding tub until ground thaws. Label buckets with fill dates so you always bury the oldest batch first.
Draining and Using Bokashi Tea Safely
Every few days, drain the bokashi tea (leachate) through the spigot. Regular draining prevents foul anaerobic slop at the bottom and gives you a byproduct many gardeners value—when diluted correctly.
Undiluted tea is too acidic for roots. A common safe ratio is roughly 1 tablespoon of tea per 6¼ cups of water—about a 1:100 dilution—used promptly as a soil drench or foliar feed on established plants. For acid-loving species, slightly less dilution (around 1:80) may be acceptable, but always test on one plant first. Never pour full-strength tea on houseplants or seedlings.
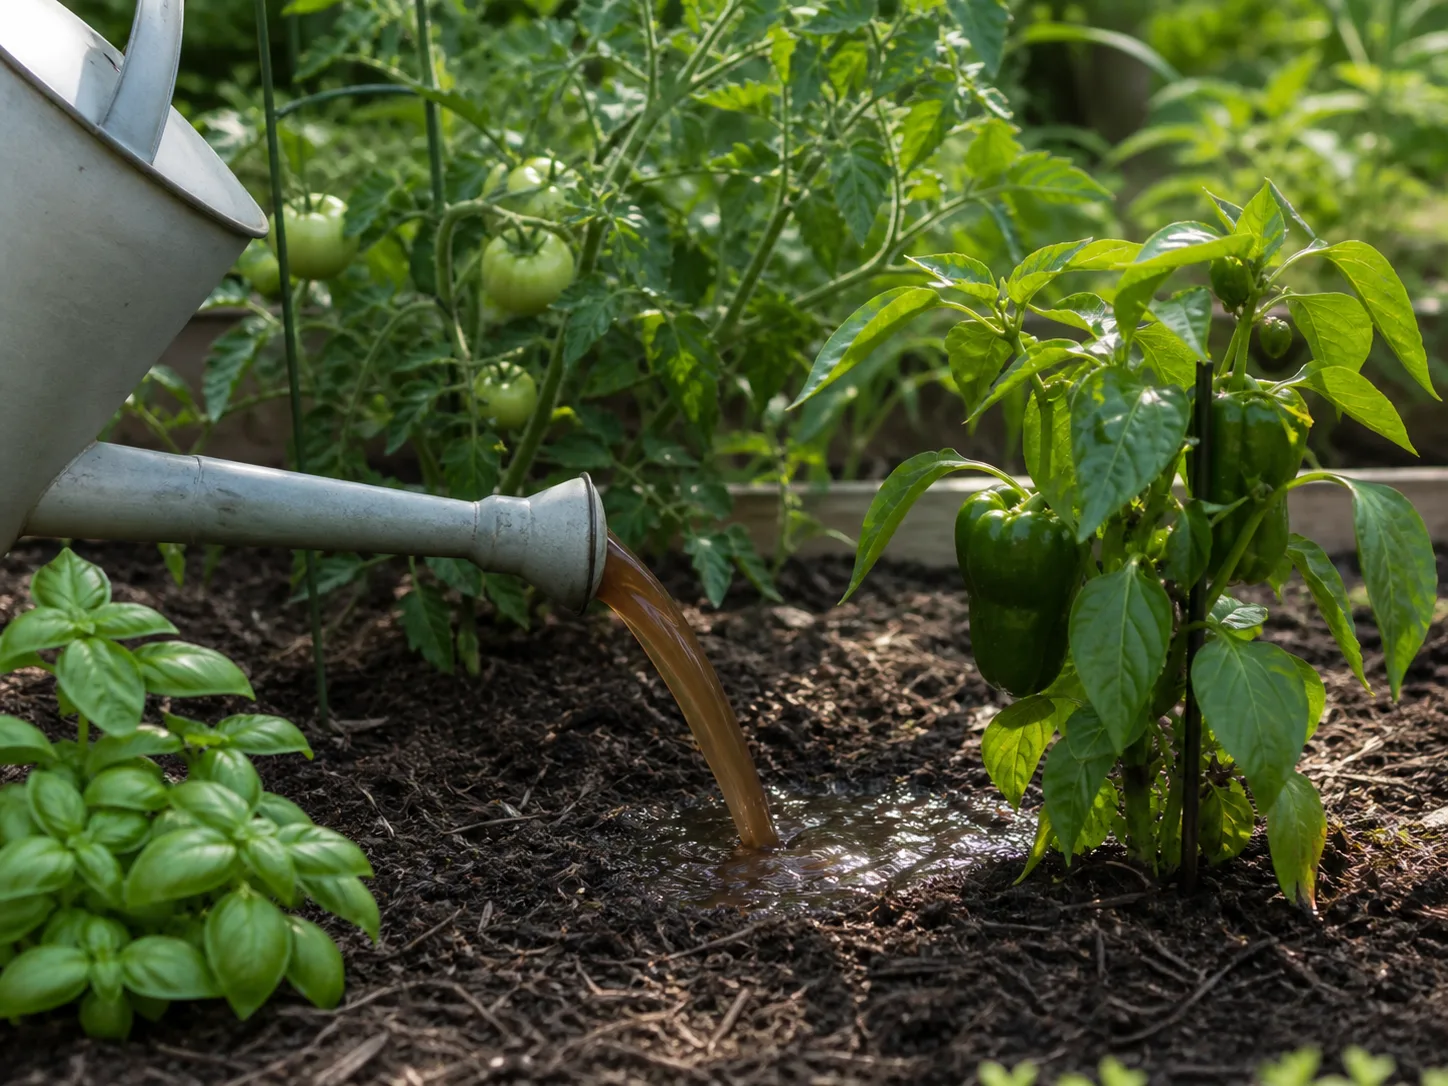
Bokashi tea is not the same product as aerated compost tea brewed from finished compost. Think of it as a acidic, microbe-rich leachate from fermentation. Some users also pour diluted tea down drains as a mild organic cleaner; if you try that, flush with plenty of water and avoid septic systems you cannot monitor.
Bokashi Composting Versus Traditional Composting
| Factor | Bokashi fermentation | Traditional aerobic compost |
|---|---|---|
| Oxygen | Excluded (anaerobic) | Required (aerobic) |
| Location | Indoors, small footprint | Outdoors, larger volume |
| Meat/dairy | Allowed | Usually excluded |
| Yard waste | Poor fit | Ideal |
| Time to “done” in bucket | ~2 weeks ferment | Weeks to months in pile |
| Finished product | Pre-compost; needs soil finish | Humus when pile is mature |
| Odor when managed | Pickled/sour | Earthy when balanced |
Neither method wins outright. Bokashi solves indoor food-waste capture; traditional compost handles bulk carbon and produces mature humus in one place. NC State Extension frames bokashi as a faster front-end step that still benefits from soil or pile finishing NC State Extension bokashi article. Most experienced gardeners use both: bokashi for the kitchen, a bin or pile for leaves and clippings.
The Pros and Cons of Bokashi Composting
Pros: Processes meat, dairy, and cooked food safely indoors; needs only a few square feet; works year-round; diverts waste from landfills; produces liquid fertilizer when drained; fermentation suppresses many pathogens and seeds through acidity WSU Kitsap bokashi composting.
Cons: Requires ongoing bran purchases; output is acidic pre-compost, not finished compost; you must bury, bin, or pile-finish every batch; large bones and oily foods can still cause problems; misuse creates putrid odor; pure bokashi should not go into worm bins because of acidity.
The hidden cost is finishing labor. If you have nowhere to dig, nowhere to store a soil tub, and no compost pile access, bokashi becomes a fermentation closet with no exit ramp. Solve the finishing plan before you buy the bucket.
How to Finish and Use Fermented Bokashi Pre-Compost
Open a successful batch and you should smell vinegar or pickles, see occasional white mold, and feel softened texture. That is your cue to finish the material—not to spread it on beds like mulch.
Never surface-apply bokashi, plant directly into it, or concentrate a full bucket in one small hole. WSU Extension recommends mixing one part bokashi with two to three parts soil by volume and burying 8–12 inches deep so nothing is exposed to air or pests WSU Kitsap bokashi composting.
Soil Burial, Holding Bins, and Compost-Pile Integration
Garden trench (most common): Dig a trench or hole away from active roots. Spread a 1–2 inch layer of pre-compost, blend thoroughly with excavated soil, cover completely, and wait two to four weeks before planting in warm active soil—longer in cool ground or containers WSU Kitsap bokashi composting. University of Saskatchewan suggests six to eight weeks before planting directly in a burial zone if you want a wider safety margin University of Saskatchewan bokashi guide.
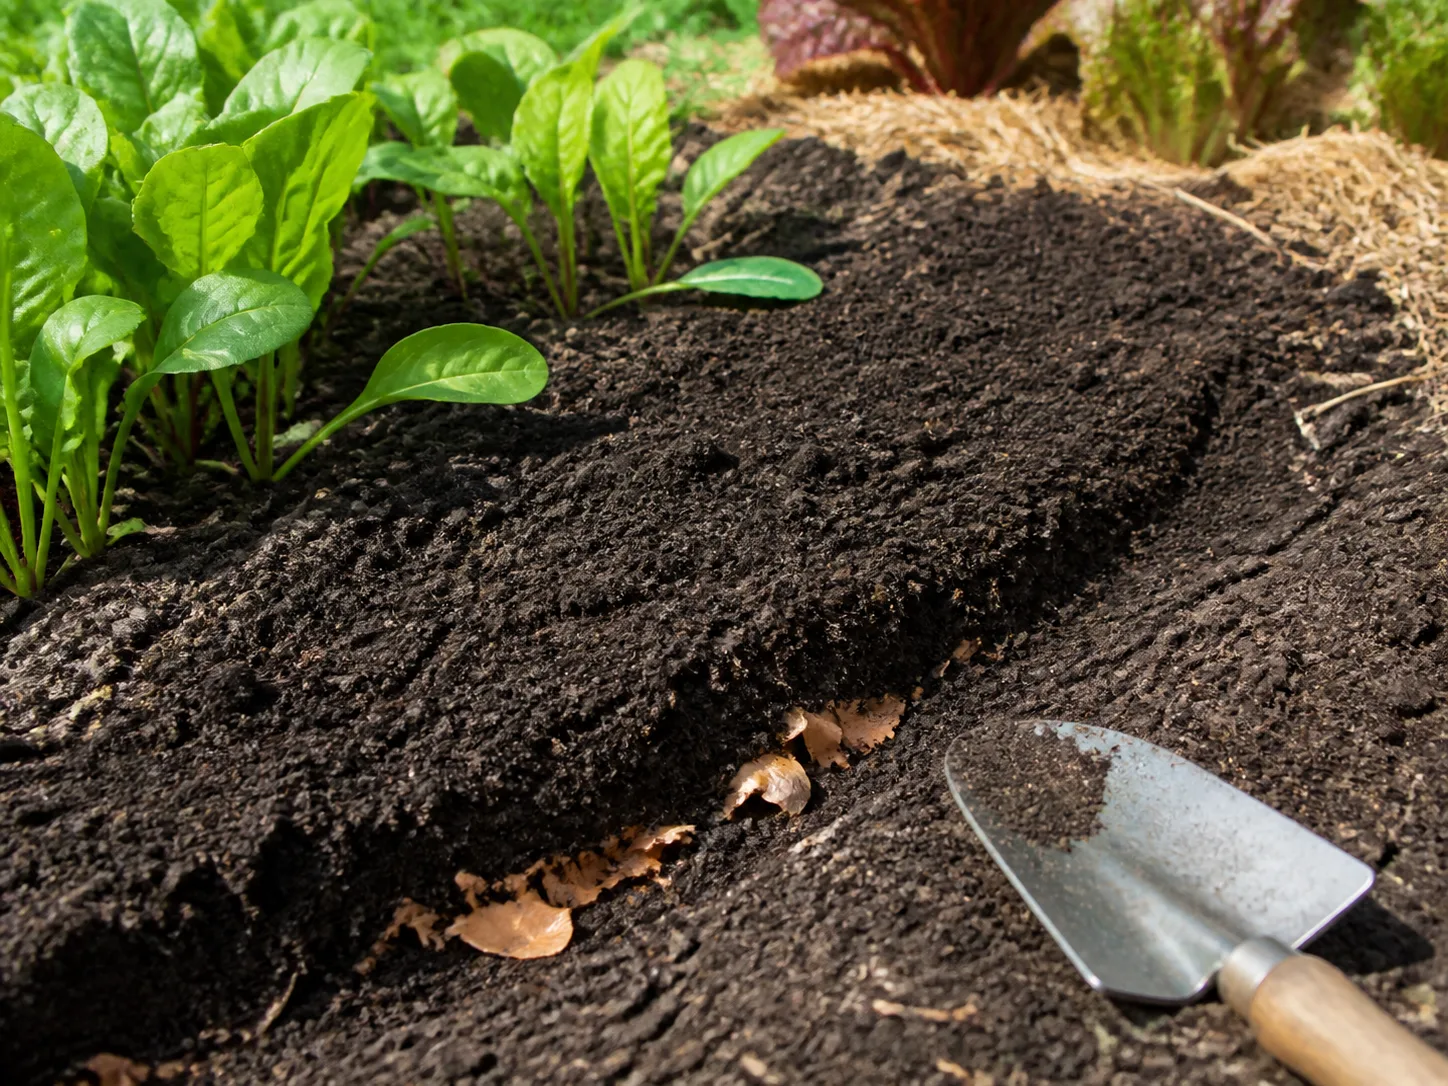
Indoor holding tub (renters/winter): Fill a large tote with non-sterile garden soil or finished compost—not bagged seed-starting mix. Pour in one bucket of fermented waste, mix at roughly 1 part bokashi to 3 parts soil, top with more soil, keep moist, and wait two to six weeks until scraps dissolve University of Saskatchewan bokashi guide. Use the blend in containers or beds once it smells earthy.
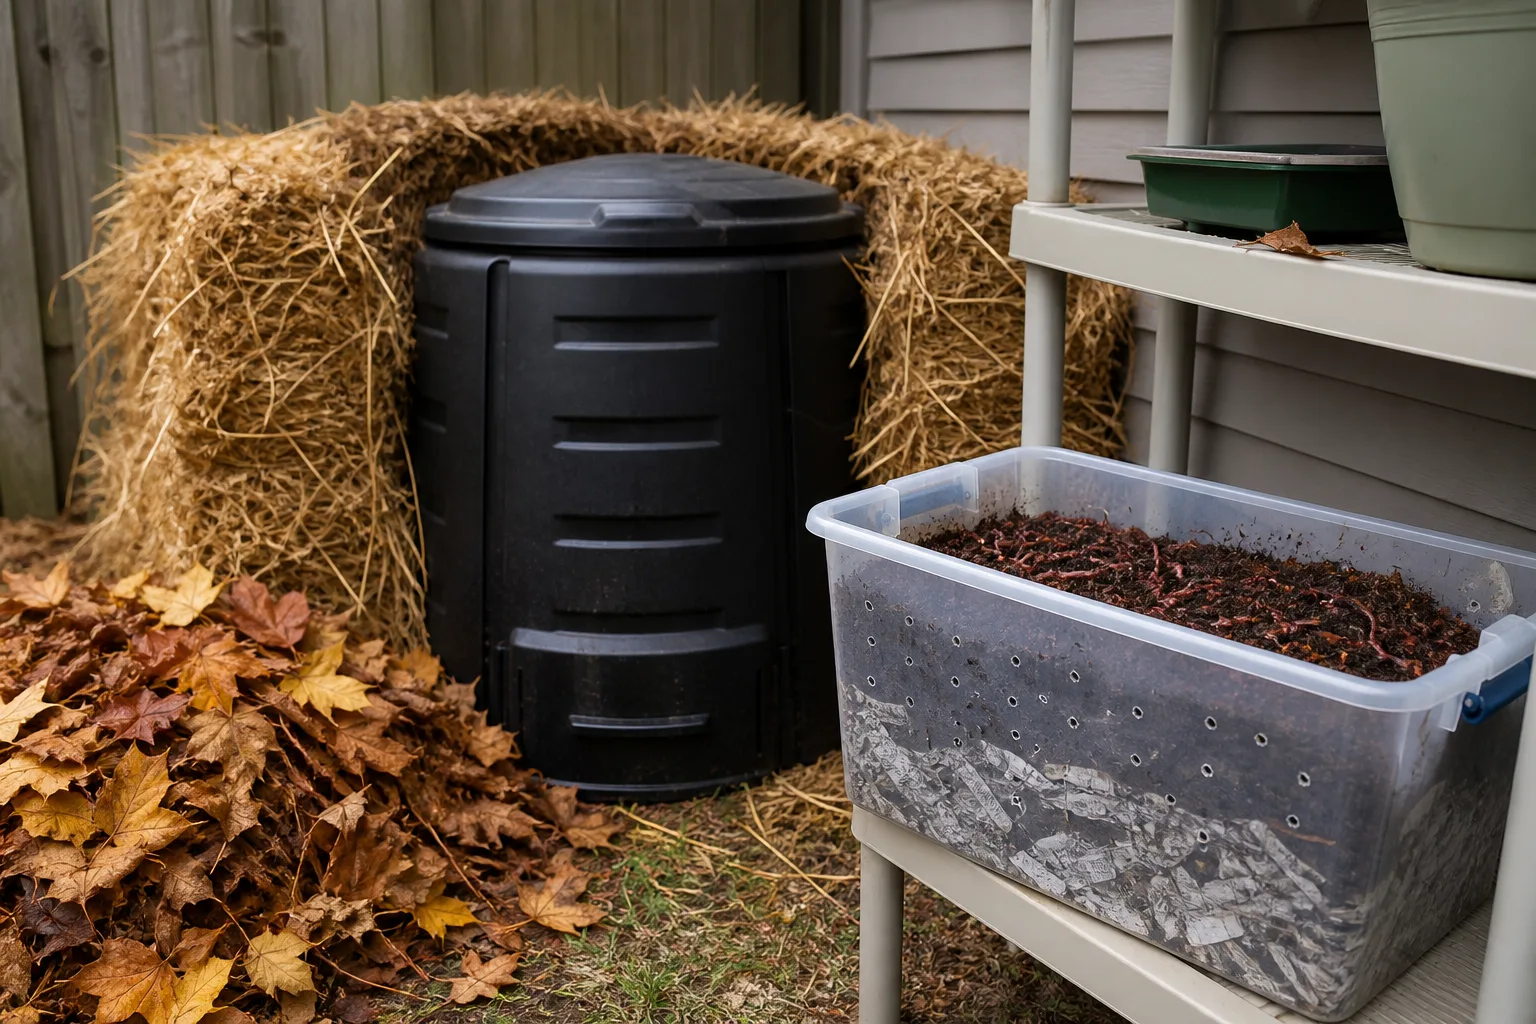
Active compost pile: Bury pre-compost in the center of the heap and balance with browns—leaves, straw, shredded cardboard. The hot outer zone finishes acidity and structure. This pairs well with our broader guidance on building healthy garden soil with compost.
Trees and shrubs: Dig 10–12 inch holes outside the drip line, mix bokashi with backfill soil, and never pack raw ferment against trunks or major roots WSU Kitsap bokashi composting.
Signs finishing worked: sour smell fades within one to two weeks, soil darkens and crumbles, and earthworm activity returns near the burial site.
| Situation | Minimum wait before planting |
|---|---|
| Warm, active in-ground soil | 2 weeks |
| Cool or compacted soil | 3–4 weeks |
| Containers and raised beds | 4+ weeks |
| Indoor soil-holding tub blend | 2–6 weeks until scraps dissolve |
These are starting points, not guarantees. When in doubt, wait an extra week and mix bokashi more thinly into a larger soil volume.
Troubleshooting Common Bokashi Problems
Bokashi fails in predictable ways. Your nose and eyes are the best sensors—better than expecting the waste to look “composted” in the bucket.
Odor, Mold, and When Fermentation Stalls
Pickled or tangy smell: Healthy fermentation. Keep draining tea and finish on schedule.
Rotten, sulfur, or ammonia smell: Putrefaction, not fermentation. Add a generous layer of bran, compress firmly, drain daily, verify the lid gasket seals, and chop scraps smaller going forward WSU Kitsap bokashi composting.
White mold on scraps: Normal and desirable.
Green, blue, or black mold dominating the bucket: Aerobic contamination or weak inoculation. Remove heavily affected material if possible, add bran, improve drainage, and restart if the bucket smells rotten throughout.
Excess liquid or slime: Drain more often; reduce soupy leftovers; add dry bran or shredded paper to absorb moisture.
No smell change after two weeks: Bran may be old, or the bucket is too cold. Move to a warmer spot, increase bran per layer, and replace inactive bran.
Fruit flies: Seal faster after each addition; keep food covered with bran; clean the lid rim.
Food still looks intact after ferment: Expected. Bokashi preserves structure while changing chemistry. Finish in soil on schedule.
Bad smell after burial: Too much bokashi in one spot or too shallow. Dig deeper, mix with more soil, and extend the wait before planting.
Conclusion
Bokashi composting is a fermentation-first, finish-second system. The bucket is a kitchen tool for capturing nutrients from food waste—including items aerobic compost cannot take—while you live in a small space. Bran, a tight seal, regular draining, and a warm-ish spot keep the process pickled rather than putrid.
The work does not end when the lid comes off. Plan how you will bury, tub-mix, or compost-pile each batch before you fill bucket number one, and respect the wait window before planting. Pair bokashi with outdoor compost for leaves and clippings, and you cover nearly all household organic waste without sending it to landfill.
Get the sensory cues right—sour not rotten, white mold not colorful fuzz—and bokashi becomes one of the most space-efficient composting paths available. Skip the finishing step or the dilution math for tea, and it becomes a smelly experiment instead. Run the full pipeline and the garden gets the benefit.



