9 Before-and-After Backyard Makeovers
Nine before-and-after backyard makeovers with the planning, drainage, budget, and timing lessons behind each transformation—so you copy ideas, not just photos.
A scroll-stopping before-and-after backyard makeover is rarely one magic purchase. It is almost always a sequence: fix how water moves, define where feet go, add one structure that makes the yard feel like a room, then plant for the sun you actually have. The nine transformations below come from real homeowner and designer projects across climates—from a Chicago lot raised out of a swamp to a Phoenix patio shaded with a DIY lumber screen. Use them as case studies, not shopping lists. Each section ends with what to steal, what to skip, and how long the work realistically takes.
What These Transformations Teach About Backyard Design
Pretty after photos hide the boring part: demolition, grading, and waiting for concrete to cure. The makeovers that still look good five years later share a pattern. Water goes somewhere on purpose. Hard surfaces connect to doors and fire pits without turning the lawn into a lake. One strong anchor—pergola, fire pit, play structure, or stone path—organizes everything else. Plants come last, sized for mature spread and the microclimate of each bed.
Think in four layers when you study any before-and-after gallery. Layer one is hydrology: where rain lands, where downspouts discharge, and whether the lawn bowls inward. Layer two is circulation: paths, gates, and the route from kitchen to grill without crossing mud. Layer three is structure: pergolas, walls, screens, and built-in seating that make the yard feel furnished. Layer four is planting: trees and shrubs for shade and privacy, perennials for color, and turf only where you actually walk or play. Skip a layer and the photo that inspired you will age badly within two seasons.
UF/IFAS landscape planning guidance puts it plainly: know your regional climate, topography, and how water drains across the site before you browse the garden center (UF/IFAS ten planning tips for design). Match that with the USDA Plant Hardiness Zone Map for long-lived shrubs and trees. A desert patio extension in Southern California is not a planting plan for a wet Midwestern low spot—and the photos below show both.
Plan the Makeover Before You Buy Plants or Pavers
Who Uses the Yard—and What Maintenance You Will Actually Do
Start with users, not Pinterest boards. Will kids tear across fresh seed? Do you host twelve people monthly or read alone after work? Pets, outdoor cooking, and storage for bikes all need square footage. UF/IFAS also asks how much time or money you will spend maintaining the result—be honest (UF/IFAS ten planning tips for design). A pea gravel lounge you can refresh in a weekend suits a busy household; a hornbeam hedge you must shear twice a year does not.
Sketch zones the way you would rooms indoors: cook, sit, play, compost, shed path. Link zones with a single clear walkway so guests do not trample new beds. If you need a phased budget map before you commit, our budget-friendly backyard makeover ideas guide walks through weekend spend tiers in order.
Audit Drainage Before Hardscape
The Chicago expansion makeover below failed until the lot was raised and drained. Gutters, downspout extensions, neighbor runoff, and low spots matter more than paver color. Walk the yard during or right after rain. Water pooling against the foundation or sitting for hours in the lawn means grade or drain first—French drains, swales, or raising soil with compacted fill—before you invest in furniture.
Promote movement away from the house toward planted or gravel infiltration areas, the same principle UF/IFAS cites for healthy landscape design (UF/IFAS ten planning tips for design). Call 811 before any trenching. A drained yard is the difference between a resort patio and a mosquito pond.
When to Start a Backyard Makeover
Timing depends on the trade, not the calendar on your phone. Pavers, flagstone, and gravel can go in whenever soil is workable—not frozen solid and not soupy—because you are not pouring brittle cement. Concrete pours need air temperatures generally above 50°F and falling; cold snaps crack fresh slabs. Most homeowners schedule concrete from late spring through early fall, then plant around it the following season.
Turf sod installs fastest in cool, moist weather when irrigation is reliable; allow several weeks before heavy foot traffic so roots knit. Seed needs more patience—often a full season or two for dense cover—but costs less for large backyards. Wood structures (pergolas, privacy screens) fair best when you can paint or stain in dry, mild weather so coatings cure properly.
Many people push work into late fall or winter so the yard is ready for spring entertaining. That works for grading and structures if the ground is not frozen; it does not work for seeding a lawn or pouring concrete in a northern freeze. Match the project to the window, not the other way around.
Use this quick reference when you are scheduling trades or reserving weekends:
| Project type | Best window | Avoid |
|---|---|---|
| Grading and drainage | Dry shoulder seasons; after leaf drop in fall | Saturated clay, frozen ground |
| Poured concrete | Air temps above 50°F, stable forecast | Freezing nights within 72 hours of pour |
| Pavers, flagstone, gravel | Any workable soil; spring and fall are comfortable | Deep mud that prevents compaction |
| Sod | Cool, moist weather with irrigation ready | Mid-summer drought without sprinklers |
| Seed lawn | Early fall or spring per your grass type | Hot, dry midsummer unless you can water daily |
| Wood pergola / screen | Dry week for paint or stain to cure | Rainy week right after finishing |
If you are hiring help, book drainage and grading crews before patio masons. Nothing stalls a hardscape schedule faster than discovering standing water after the base is already compacted.
Realistic Backyard Makeover Budgets
| Tier | Typical scope | Ballpark (materials; your labor) | Best for |
|---|---|---|---|
| Weekend refresh | Gravel pad, fire pit kit, edging, containers, string lights | $300–$1,500 | Muddy or blank yards needing a usable hangout fast |
| Mid-range reshape | Paver or flagstone patio, pergola kit, soil raise, sod or seed, privacy screen | $3,000–$15,000 | Homeowners staying 3+ years who entertain often |
| Design-build | Full grading, custom masonry, built-in kitchen, irrigation, large trees | $20,000–$80,000+ | Drainage nightmares, AC relocation, estate-scale planting |
Sweat equity shifts numbers dramatically. The weekend gravel and fire pit makeover below was mostly labor and smart sequencing—not exotic materials. Moving a rooftop AC condenser off a patio, as one Southern California project required, can swallow a mid-range budget by itself.
Outdoor features can influence buyer appeal; the National Association of Realtors Remodeling Impact Report tracks satisfaction and perceived value for projects like patios and landscape upgrades (NAR outdoor features report). Treat that as context, not a guaranteed return—your enjoyment and daily use still matter most.
Nine Makeovers Worth Studying
Pergola Patio: Finishing an Outdoor Room
Before: Faux-painted Saltillo tile and flat, uninspired planting around a mid-century home with good indoor-outdoor bones. After: A black-painted pergola, stone patio, built-in grill zone, deep seating, and layered planting turned the slab into a shaded outdoor room.
The lesson is not “buy a pergola.” It is finish the room so the patio reads as an extension of the house. Contrasting paint on overhead beams separates structure from paving. A built-in grill or fixed counter gives you a second kitchen wall; movable chairs alone rarely anchor a space. Layer planting low-to-high around the edges so the seating pit feels enclosed without blocking airflow.
Steal this: Paint the overhead structure a contrasting color so it reads as architecture, not an afterthought. Anchor the seating with one permanent cooking or gathering point before you scatter pots. Skip this if your lot has no afternoon shade and you are not willing to add a canopy or plant for future tree cover—pergolas define space; they do not always cool it.
Timeline: Several weekends to a month for DIY structure and patio prep; faster with a mason. Budget band: Mid-range, depending on stone and built-in grill choices. For more patio layouts, see backyard patio ideas.
Grading Rescue for a Low, Wet Yard
Before: A Chicago-area lot sat low, flooded after tree removal, and could not support lawn or entertaining. After: About a foot of topsoil raised the grade to match the neighbor property, evergreen yews edged the street side, and hardscape carried foot traffic above the old wet zone.
Steal this: Raise before you decorate. One season of settlement is cheaper than replacing drowned pavers. Pair raised grade with hard paths where traffic was destroying grass. Skip this if you only add mulch on top of a bowl-shaped yard—water will still collect.
Timeline: Pro grading and hardscape often run 2–6 weeks; allow soil to settle before delicate planting. Budget band: Mid-range to design-build if drainage pipe is required.
Weekend Gravel Lounge With a Fire Pit
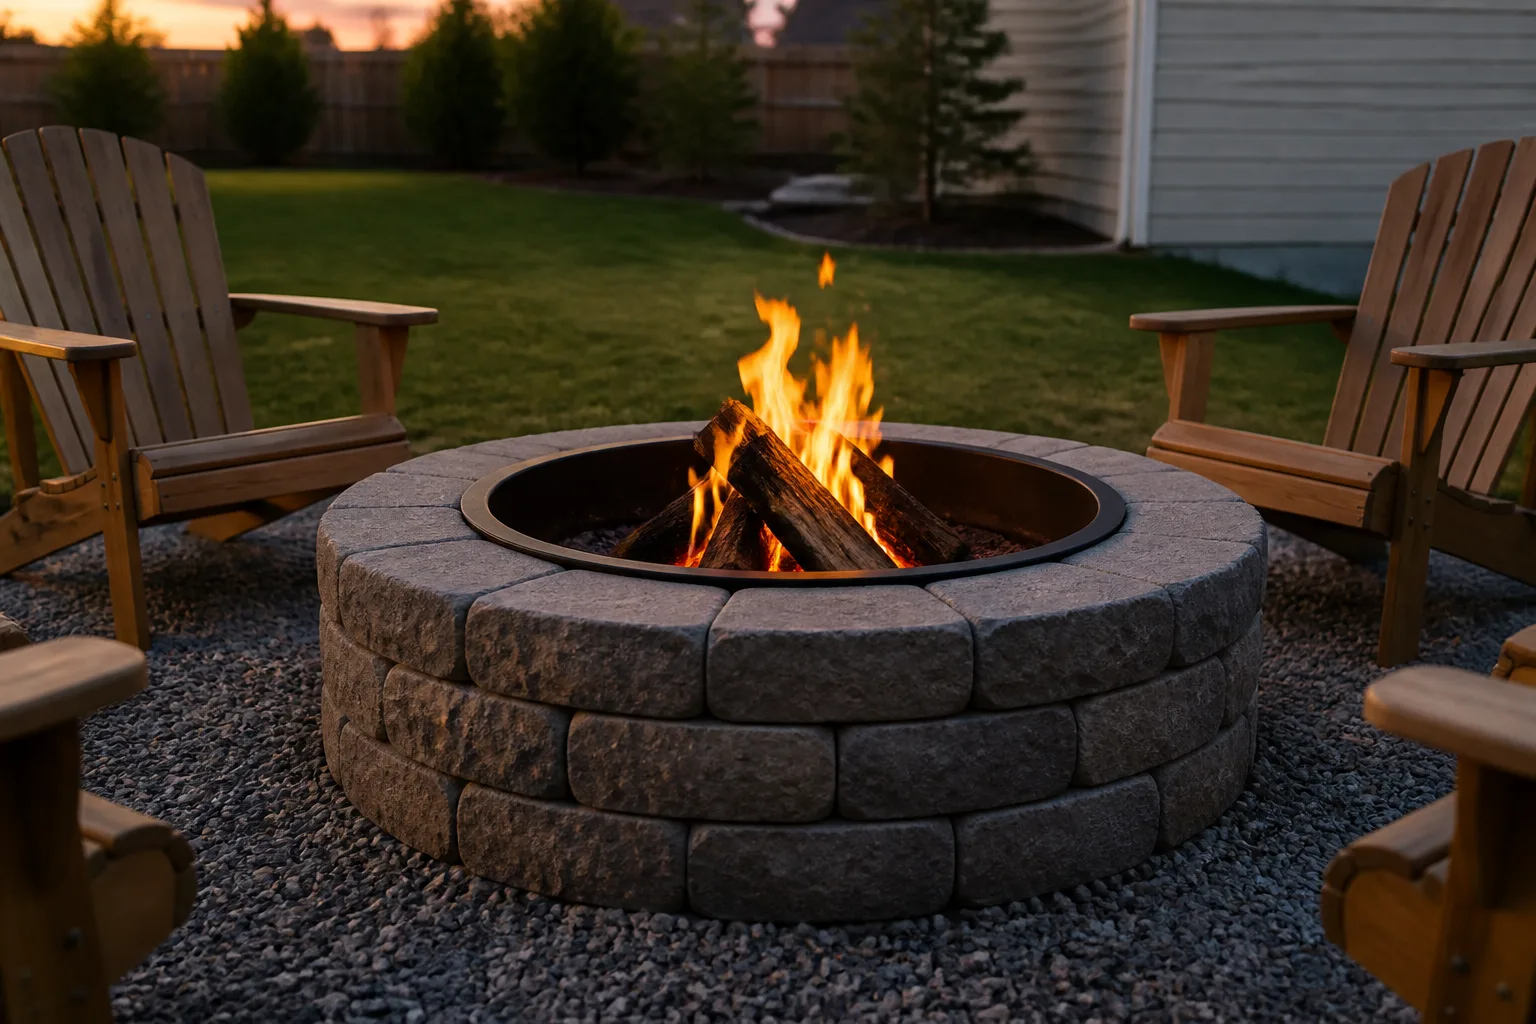
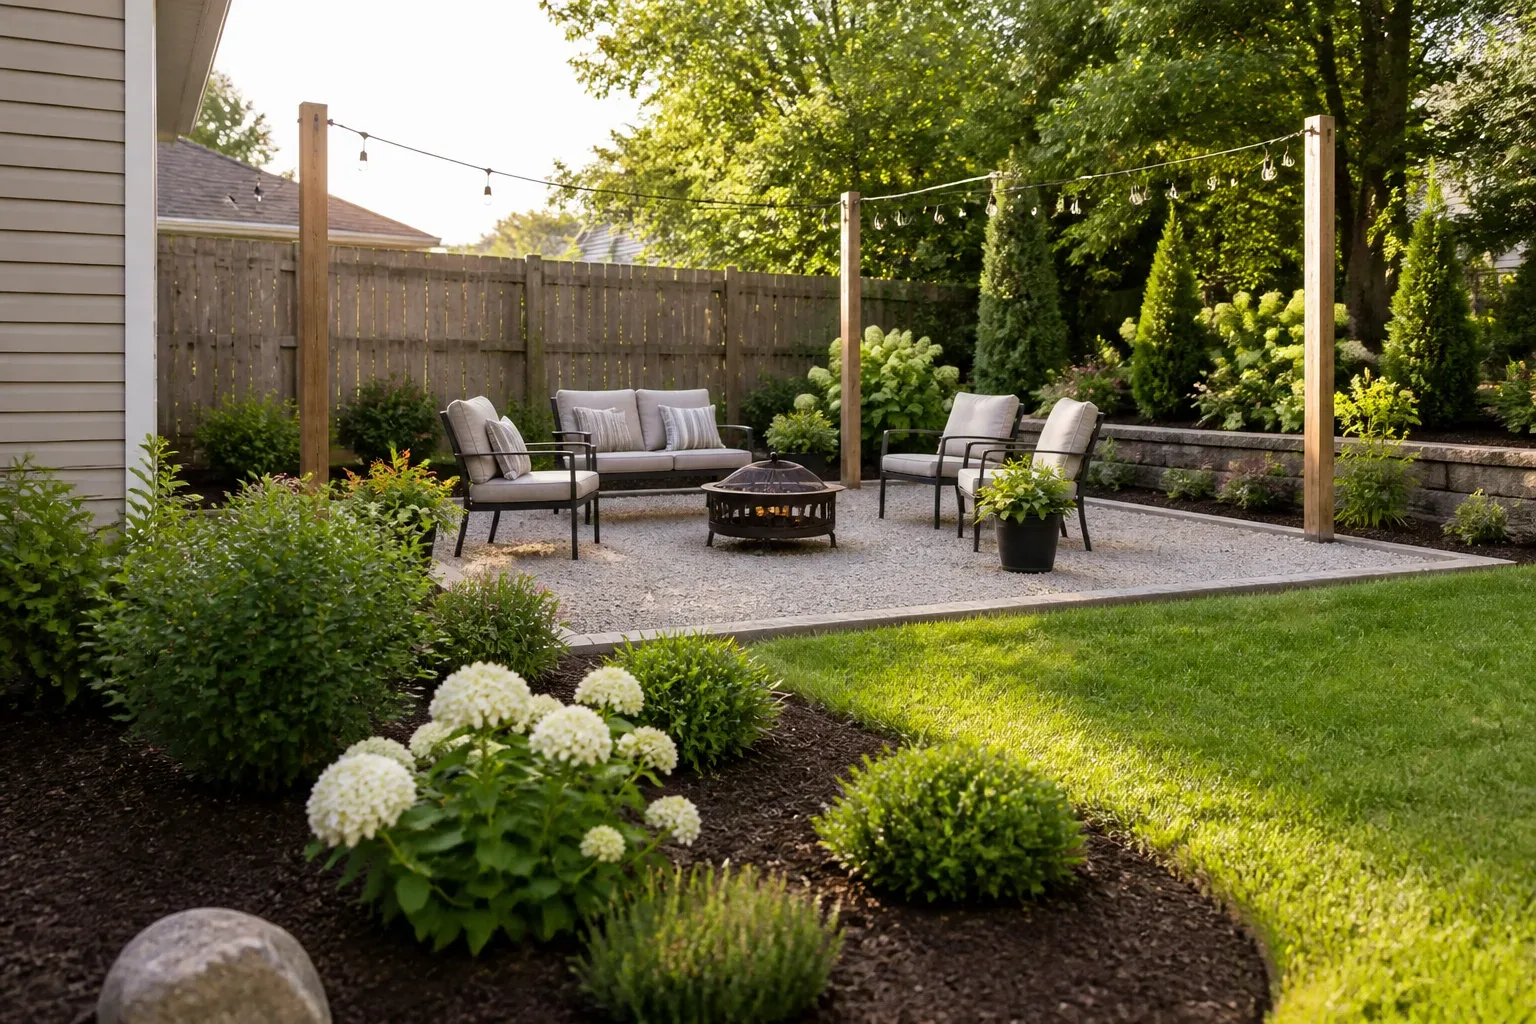
Before: Mud, weeds, and a stump dominated a yard with no destination. After: In roughly one weekend, steel edging contained pea gravel, flagstones marked the entry path, and a store-bought fire pit kit became the focal point.
Steal this: One anchor feature (here, fire) plus edged gravel beats trying to fix everything at once. Remove stumps and weeds first so edging stays crisp. Skip this if local fire codes or HOA rules ban open flames—check before you buy the kit.
Timeline: 1–2 weekends for DIY. Budget band: Weekend refresh. Our DIY backyard fire pits guide covers clearance and block-circle builds if you outgrow a kit.
Pea Gravel Patio Plus Overseeded Lawn
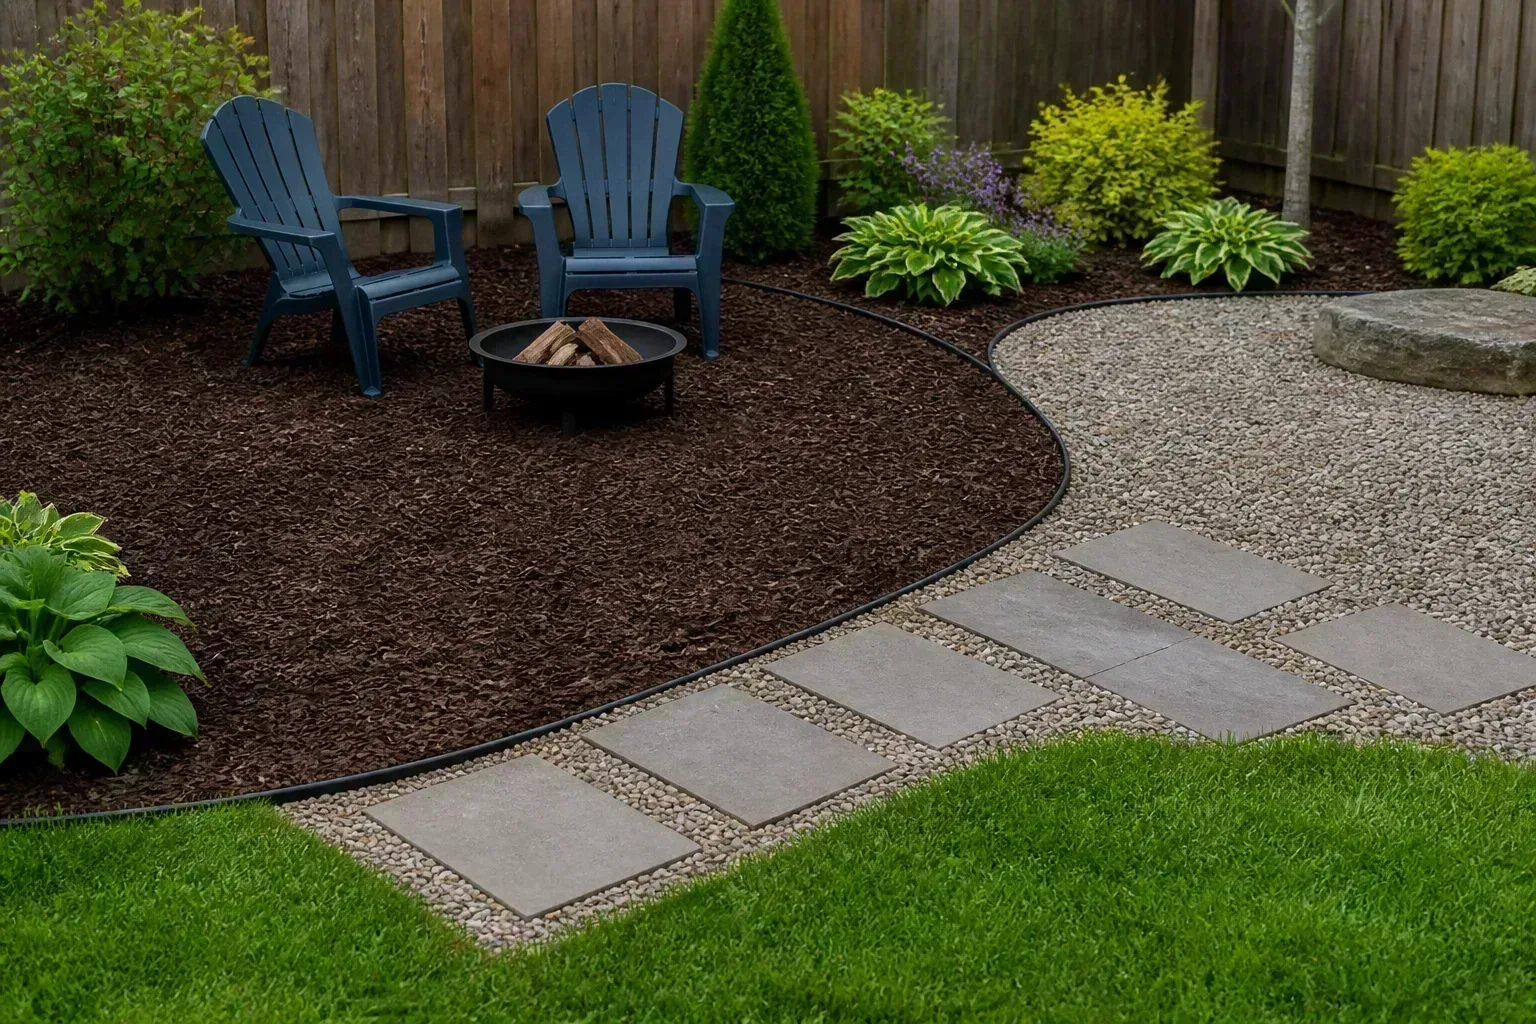
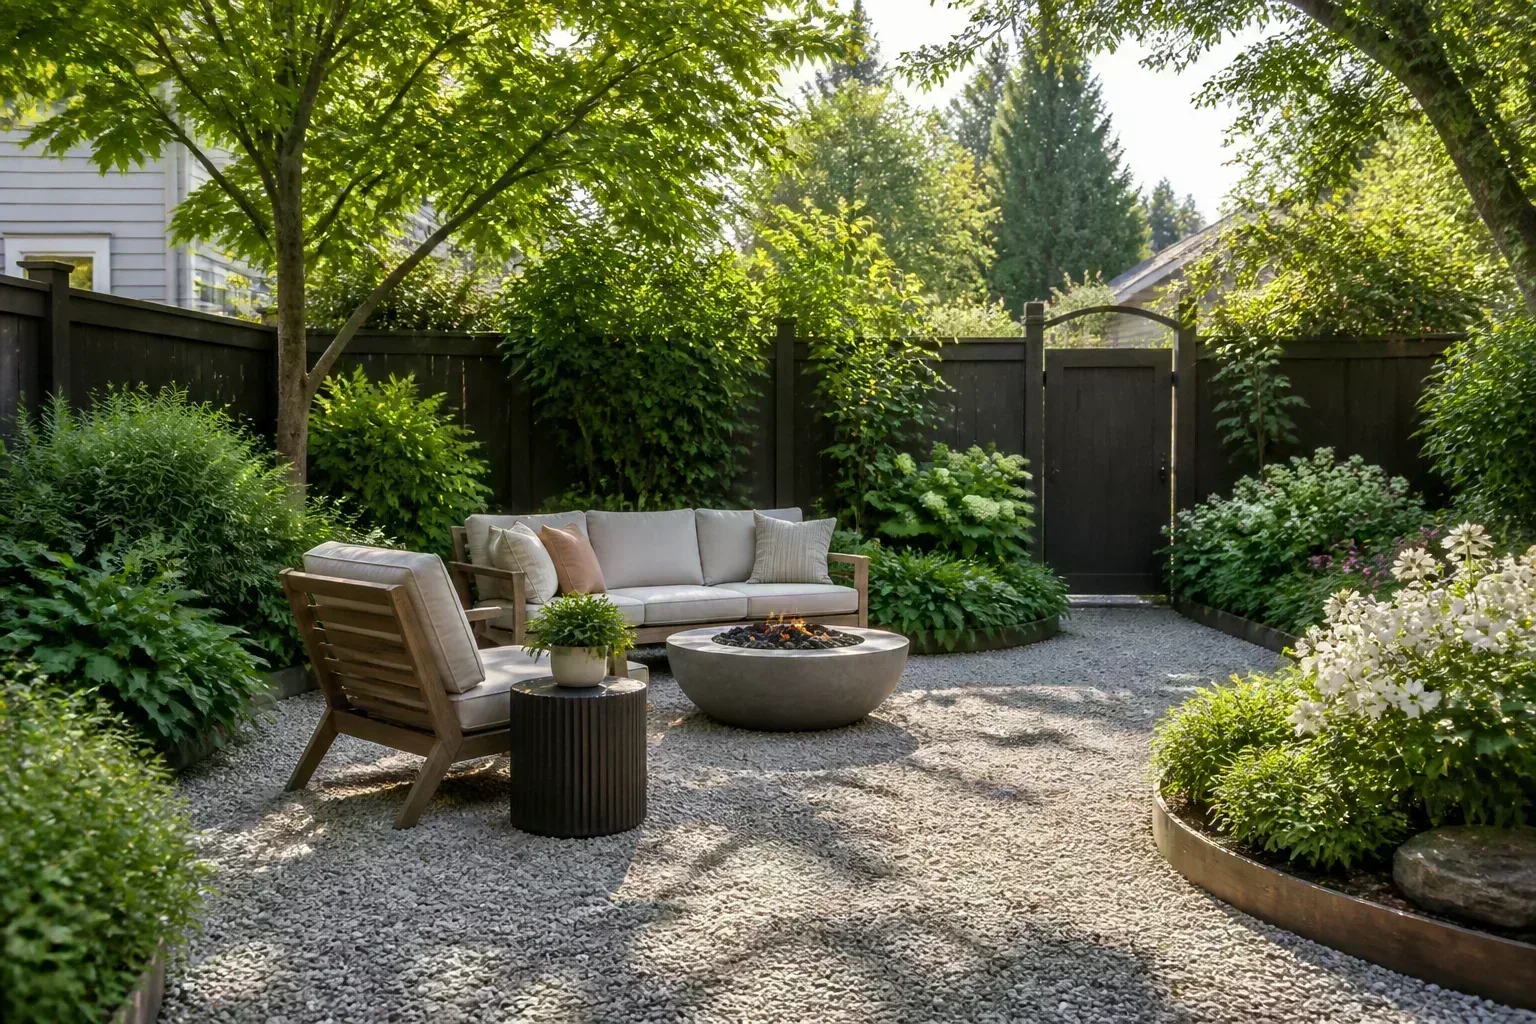
Before: Removed trees left a fence line in rough shape and a muddy yard with almost no grass. After: A tiller prepped shallow topsoil for overseeding, young cypress went in as a future privacy screen, and a pea gravel patio with Adirondack chairs faced a DIY fire pit.
Steal this: Shallow till (about three inches) when you are seeding—not deep excavation that brings up weed seed. Separate hard hangout (gravel) from soft play (lawn) so chairs do not sink in mud. Skip this if you need walkable grass in 30 days—seed takes months; sod is the fast fix.
Timeline: Three days for gravel and seed prep; months for full lawn fill. Budget band: Weekend to mid-range. Compare path and zone ideas in budget-friendly backyard makeover ideas.
Desert Modern Patio Extension
Before: A 1960s Southern California ranch yard with weeds, tired trees, and a loud AC unit dominating the patio. After: The condenser was relocated (major cost), the concrete patio extended six feet, modern pavers set in sand, and bougainvillea added color along the perimeter with a fresh exterior paint scheme.
Arid-climate makeovers succeed when hardscape extends the livable slab instead of adding a second material patchwork. Sand-set pavers tolerate minor soil movement better than mortared stone in some seismic and heat-cycling regions, but they still need a level base and edge restraint. Exterior paint that ties house trim to patio furniture makes small extensions feel intentional rather than tacked on.
Steal this: Move mechanical eyesores when you can—nothing kills an oasis vibe like a condenser beside the sofa. Extend the existing hard surface before you add a second mismatched material. Skip this if relocation quotes exceed your whole budget; a planted screen or lattice may be the pragmatic compromise.
Timeline: Several weeks with trades for HVAC and masonry. Budget band: Mid-range to design-build because of equipment move.
Blank-Slate Yard With Clean Modern Lines
Before: An open Missouri dirt yard with few trees—a true blank slate. After: Landscape architect Aaron Bradley shaped a modern plan: boxwood, yew, and hornbeam for structure, large concrete pavers in river rock, and rolled sod for instant lawn.
Steal this: On bare dirt, repeat a small plant palette (three structural species) for cohesion. Large-format pavers with consistent joints read modern; random small pieces read busy. Skip this if you will not irrigate new sod through its establishment window—instant turf is not instant immunity from drought.
Timeline: Pro install over one season. Budget band: Design-build. For layout inspiration in the same aesthetic, browse modern backyard ideas.
Kid-First Backyard With Softened Edges
Before: Scraggly grass and a lonely swing set—fine, but not memorable for toddlers. After: The swing set was painted to blend with the fence, a larger wooden playset expanded play options, flagstones broke up the lawn rectangle, and perimeter planting (lavender, salvia, sedum) added texture without sharp corners everywhere.
Family yards fail when every surface is either lawn or toy plastic. Flagstones along one edge create a path kids actually use, which protects seed and mulch from shortcutting feet. Painting the swing set to match the fence lowers visual noise so planting and paths feel intentional. Choose soft-textured perennials at bed edges rather than spiky shrubs at knee height.
Steal this: Paint or stain play structures to match fencing so plastic bright colors do not dominate. Soften the boxy lawn with a stone border and mixed-height beds. Skip this if you plant thorny or toxic shrubs at kid height—check species before you edge a play zone.
Timeline: 2–4 weekends for paint, paths, and planting. Budget band: Mid-range if a new playset is involved.
Replacing Stamped Concrete With Natural Stone
Before: Stamped concrete, dull groundcover, and stiff shrubs fought a natural look. After: Illinois designers broke up the concrete, hauled it away, and layered bluestone and fieldstone with fresher plantings and softer color pops.
Steal this: When stamped concrete feels dated, stone in organic placements (not another rigid grid) changes the whole mood. Reuse demolition as fill elsewhere on the property if codes allow. Skip this if the slab is sound and only the color bothers you—stain, score, or rug the space first.
Timeline: Pro masonry; several weeks. Budget band: Mid-range to design-build depending on stone species and haul-off.
Privacy Screen Instead of Tearing Down a Wall
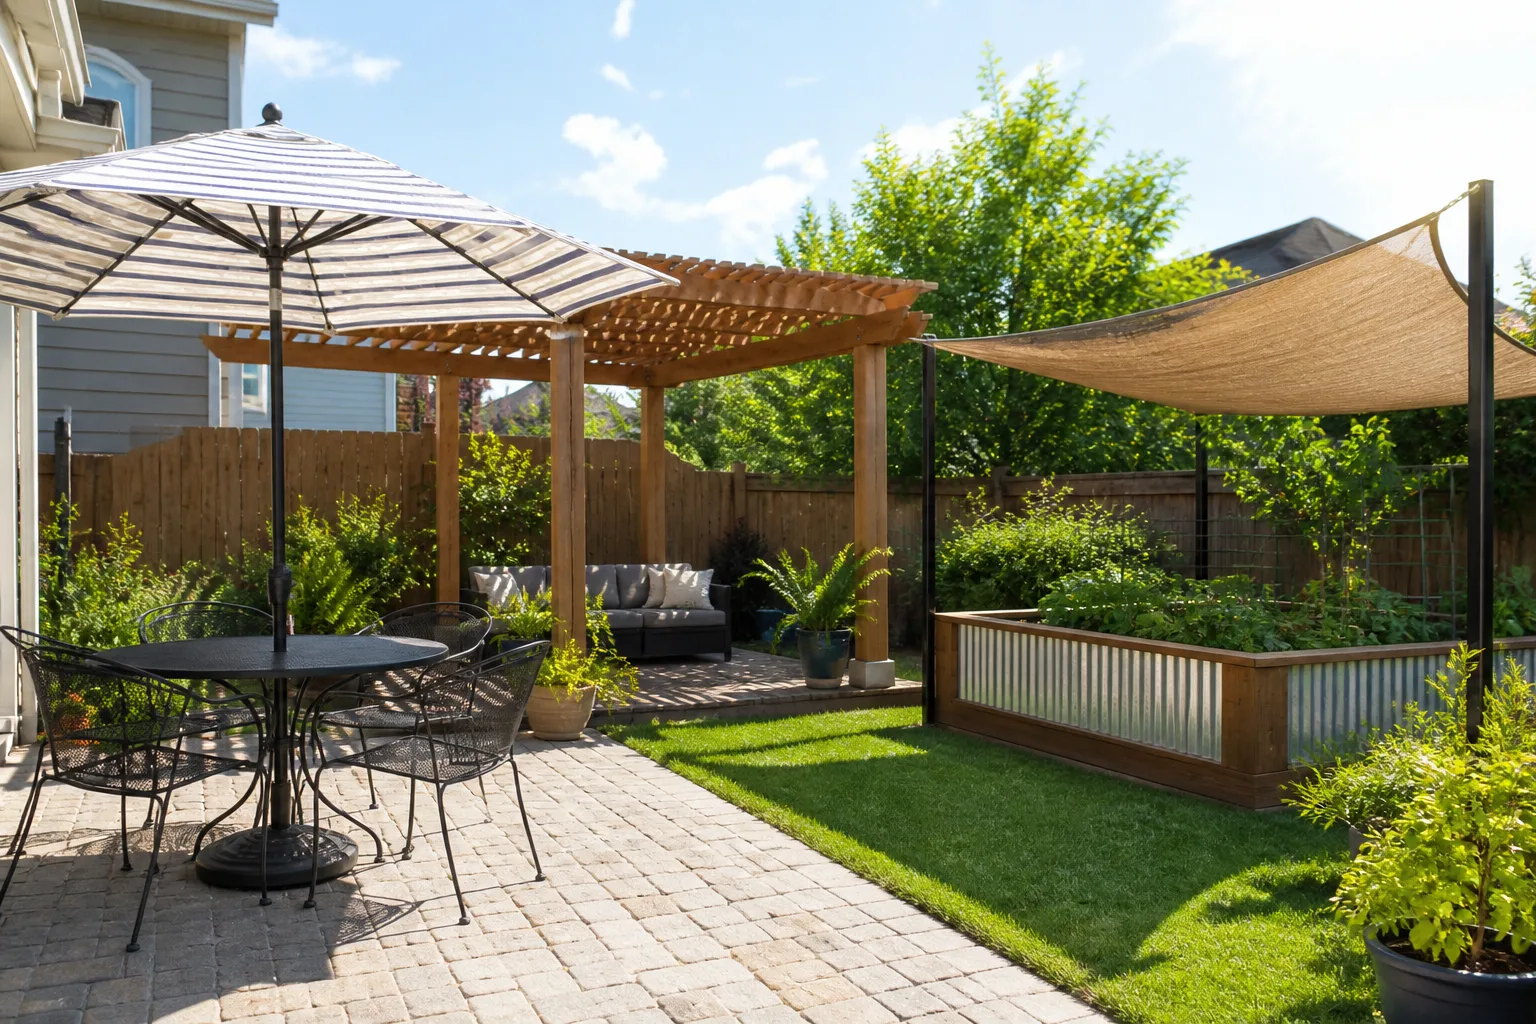
Before: An ugly cinder block wall between neighbors—too costly to remove. After: A slatted one-by-two lumber screen with Sunbrella shade fabric created a private seating nook without masonry demo.
Steal this: Screen and plant when structure removal is off the table. Exterior fabric rated for sun lasts longer than bargain drop cloths. Skip this if you skip masonry primer on block—you can paint block, but prep determines whether paint peels in year two.
Timeline: 1–2 weekends for carpentry-minded DIYers. Budget band: Weekend refresh. Pair with backyard fire pit landscaping ideas if you add a pit inside the nook.
Mistakes to Avoid When Copying a Viral Makeover
Planting before grading settles leaves you resetting drowned shrubs. Give raised soil one season to compact—or at least one heavy rain cycle—before you set expensive perennials along a regraded edge. Oversized fire features too close to structures invite code headaches; confirm local setback rules, keep a hose reachable, and never assume a store kit clearance label matches your municipality. Pea gravel without edging migrates into lawn and shoes; steel or aluminum edge is not optional.
Seed on unprepared compacted mud wastes money; loosen, amend, and keep moist through germination. Copying desert pavers in a freeze-thaw climate without base prep heaves in winter—use a crushed-stone base depth appropriate for your region, not a sand-set photo from Scottsdale. Ignoring who maintains the yard turns a hornbeam hedge into a guilt trip; choose plants at the maintenance level you will sustain, not the level your favorite influencer claims to love.
Buying furniture before fixing drainage is the most common regret in makeover threads. A sectional on a patio that floods every storm becomes garage clutter. Relocating HVAC or utilities without permits can stall a resale inspection; get quotes and code guidance before you demo a patio around a condenser. RHS design guidance stresses fitting materials and planting to site conditions and long-term care (RHS landscaping ideas)—the photo you love may depend on a climate you do not have.
Finally, do not buy the sofa before you fix the swamp. The transformations above look effortless because someone addressed water, paths, and structure in the right order. Your yard will reward the same discipline.
Conclusion
These nine before-and-after backyard makeovers prove the same lesson in different climates: define how water leaves, give people a place to land, then plant for the sun and maintenance level you will actually live with. Match your yard to the case study closest to your problem—wet low spot, blank dirt, noisy equipment, cinder block wall, or kid chaos—and steal the sequence, not every product.
Phase the work so drainage and hardscape come before furniture and fussy perennials. Use a weekend refresh when you need a hangout now; save design-build dollars for grading and stone that fix structural problems. Photograph your own before from the same angle you want for the after: standing at the kitchen door, at dusk, after rain. That single honest shot will tell you whether you need grading, a path, or just better edging—long before you fall for someone else’s pergola stain color.
When you are ready to go deeper on patios, fire, or phased budgets, the linked guides above carry the next level of detail. Your after photo starts with an honest before assessment—not another impulse buy at the garden center.



