How to Grow Bell Peppers: Planting, Care, and Harvest
Learn when to plant bell peppers, how to start seeds, water and feed evenly, prevent blossom drop, and harvest green or ripe fruit before frost arrives.
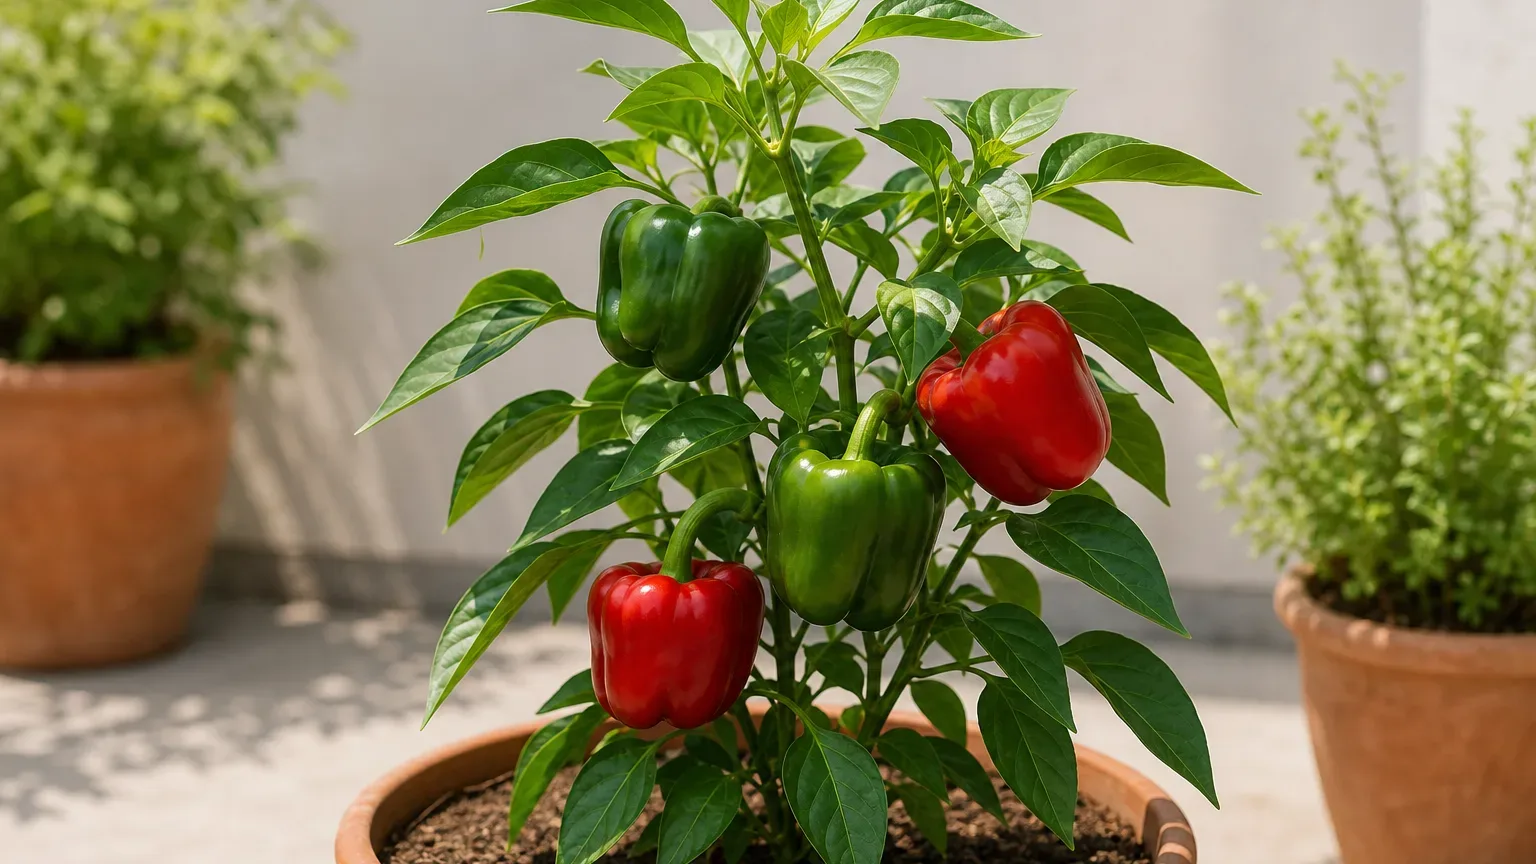
Bell peppers are warm-season plants with a long wait between sowing and a fully colored harvest. The key is to get them growing before outdoor soil warms, then move them outside only when cold nights are behind you. After that, the biggest yield swings usually come from heat, uneven root-zone moisture, and whether the chosen variety has enough time to ripen in your climate.
A bell can be picked while green, so a short-season gardener can still harvest usable fruit before frost. Letting it color on the plant takes longer but develops a sweeter, more mature flavor. Plan around both options: select a variety that can reach usable size within your season, and give it a warm, sunny, well-drained place where the roots do not cycle between drought and saturation.
Choose a pepper that fits your season and table
Bell peppers are cultivars of Capsicum annuum, the same species that includes many other sweet and hot peppers. Their blocky, thick-walled fruits are usually harvested green or allowed to mature to the color named on the seed packet—often red, yellow, orange, purple, or brown. A green bell is generally an earlier stage of the same fruit, not a separate crop type; flavor and color at maturity vary by cultivar. UC Agriculture and Natural Resources describes bell peppers as large-fruited sweet peppers that may be harvested green or fully ripe.
Choose variety by days to harvest, mature size, disease resistance, and the color you actually want to eat. Seed catalogs often count days from transplanting, but some count from sowing, so check the label rather than comparing numbers blindly. Large red bells can need several extra weeks after reaching green size to color up. In a short or cool summer, an early cultivar or a small-fruited sweet pepper is a more dependable bet than the biggest blocky variety; Minnesota Extension notes that smaller-fruited types generally tolerate temperature extremes better than large bells. University of Minnesota Extension
A few familiar choices illustrate the tradeoff. ‘California Wonder’ is a classic open-pollinated bell that turns red when ripe; ‘Sweet Chocolate’ matures to brown; and early hybrids such as ‘Early Sunsation’ are selected for earlier yellow fruit. Cultivar names and maturity estimates vary among seed sellers, so use those examples as starting points, not guarantees. If a disease has repeatedly affected your garden, look for a resistance code that matches the diagnosed problem; “resistant” reduces risk but does not make a plant immune.
Work backward from warmth, not a calendar date
Peppers dislike cold soil and frost, and transplanting too early can stall a seedling for weeks. For most temperate gardens, start with your local average last-frost date, then check the actual soil and forecast as planting approaches. Wait until the soil is around 60°F at root depth and nights are reliably mild; for a faster establishment, nights in the mid-50s°F or warmer are a useful minimum, with warmer conditions better for flowering and fruit set. Local extension recommendations differ because spring weather differs: Minnesota Extension gives a minimum night threshold above 50°F for transplanting, while Penn State advises soil above 60°F and notes growth is impaired below 50°F. Treat these as guardrails, not a promise that peppers grow quickly at the lower limit. Penn State Extension
In a short season, this timing creates a narrow window: start indoors early enough to have sturdy transplants ready, but not so early that plants become rootbound, lanky, or stressed while waiting. In warm regions with a long frost-free season, you can sow later or buy transplants and still get a long harvest. Where summers are extremely hot, spring planting may be followed by a pause in fruit set during the hottest stretch and another flush when temperatures ease.
Start seeds indoors only as early as your setup can support
For many home gardeners, sowing eight to ten weeks before the safe outdoor planting window gives seedlings time to become stocky without keeping them indoors for an excessive stretch. Fill clean cells with a sterile, fine-textured seed-starting mix, sow about a quarter-inch deep, and keep the mix evenly damp rather than waterlogged. Warmth speeds germination: Minnesota Extension recommends a heat mat maintaining the mix around 80–90°F until emergence, then bright overhead light so seedlings stay compact. The Royal Horticultural Society uses cooler germination temperatures for its U.K. system, another reminder to follow region-appropriate guidance and keep the mix warm enough for prompt emergence. RHS sweet pepper guide
Once seedlings emerge, remove any cover and give them the brightest light available, ideally a grow light close enough to prevent stretching but not hot enough to scorch leaves. Pot up when true leaves appear and roots need more room. Water from below or at the base; constantly wet foliage and saturated starter mix invite damping-off and weak roots. A small fan on low can strengthen stems, but do not let it dry the cells.
If you do not have a bright indoor setup, buying a healthy transplant is often better than sowing too early on a dim windowsill. Seedlings need light as much as warmth. A heat mat cannot compensate for insufficient light, and an overgrown, pale plant is not automatically ahead of a younger, sturdy one.
Select transplants that can establish quickly
Look for a compact plant with a thick stem, short spaces between leaves, uniformly green foliage, and no spots, sticky residue, or distorted new growth. Avoid plants already carrying large fruit or many open flowers if they have spent time in small cells; those structures can add stress before the roots establish. If the only plant available has a flower, remove it only if the transplant is small and weak, rather than making flower removal a universal rule.
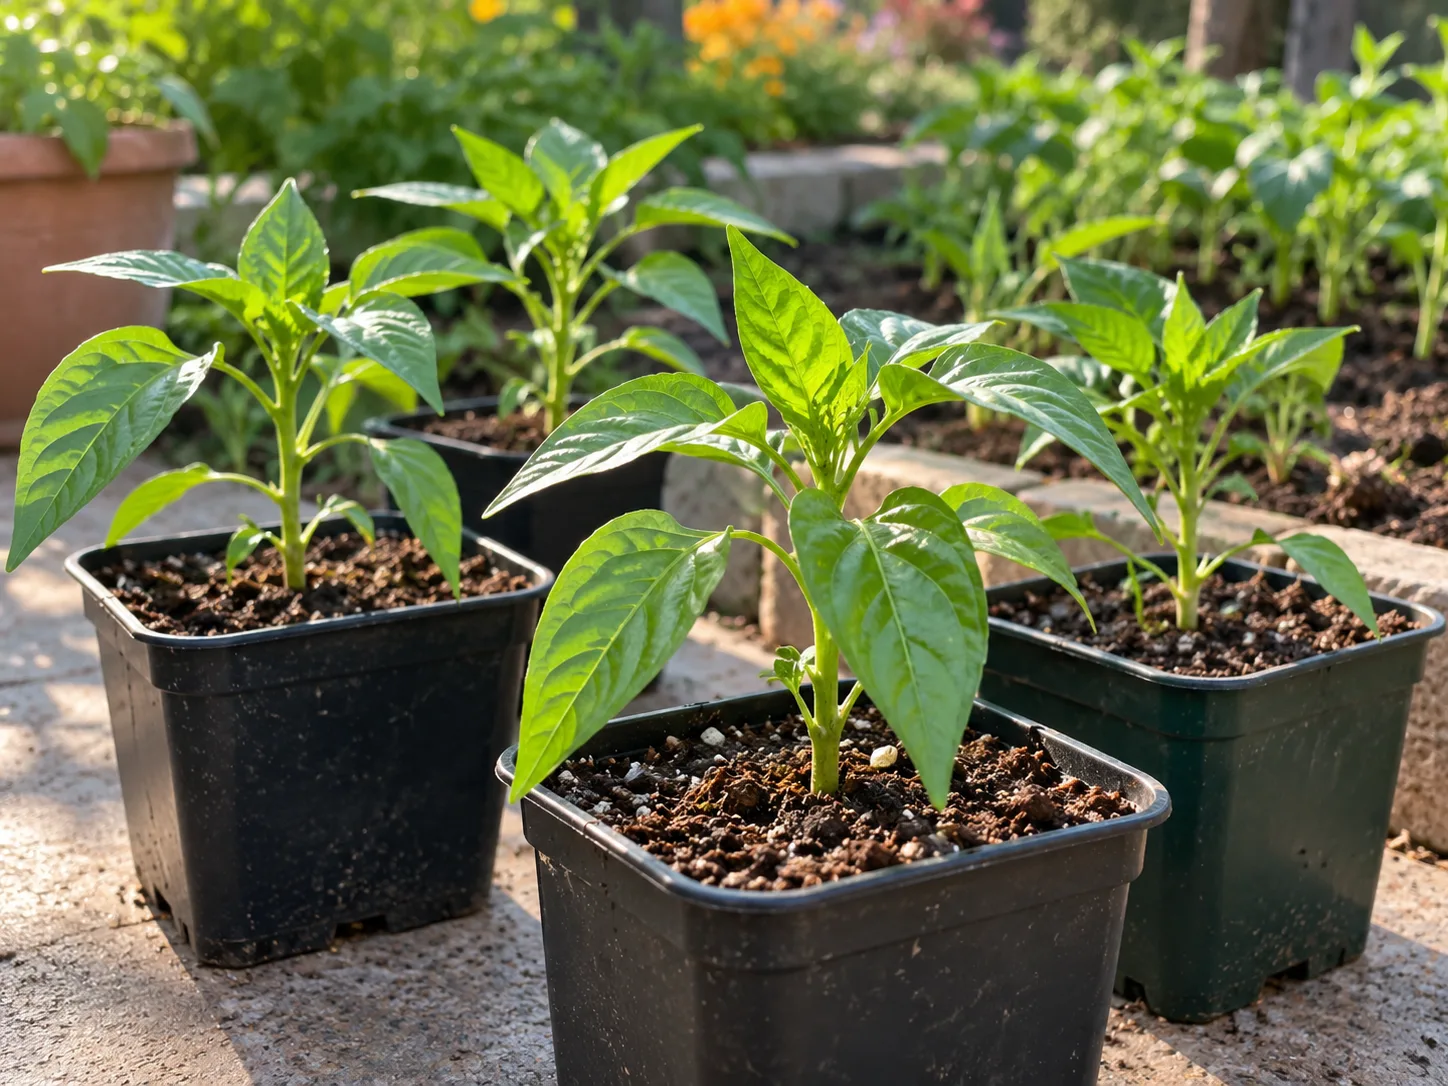
Harden seedlings off over seven to fourteen days. Begin in bright shade and a sheltered place for a few hours, then gradually add direct sun and wind exposure. Bring them inside when nights turn cold. Hardening off is not just “putting plants outside”; it gradually adjusts leaf tissue and water use to outdoor light and air movement. Transplant on a cloudy, calm day or late afternoon, water the root ball first, and avoid teasing apart the roots unless a pot is badly rootbound.
Prepare a warm, well-drained planting site
Choose a site receiving at least six hours of direct sun, with more sun generally helpful in cooler regions. A south-facing wall or raised bed can warm early, but the same reflected heat can stress plants in a hot climate. The best spot balances sunlight and airflow with some protection from strong wind, which can snap branches loaded with fruit.
Peppers do well in fertile soil that drains freely yet holds enough moisture for steady growth. Work in mature compost if soil structure is poor; do not try to correct every soil problem with a bag of fertilizer. A soil test is the best way to know pH and nutrient needs. Extension recommendations span slightly different pH ranges by region and soil, so aim for the locally recommended range rather than forcing a universal number. Avoid a bed where tomatoes, eggplants, potatoes, or peppers grew recently when you have room to rotate; they share several soilborne pests and diseases. Minnesota Extension recommends a three- to four-year break from these nightshades where practical. University of Minnesota Extension
If the bed remains cold in spring, black plastic mulch can warm soil, but it also increases heat and should not be treated as beneficial in every climate. Organic mulch is useful once the soil has warmed because it slows evaporation and suppresses weeds. Keep either mulch a little away from the main stem so moisture does not sit against the crown.
Plant at the right depth and leave room for airflow
Set each plant at the same depth it grew in its pot, firm soil gently around the root ball, and water it in. Unlike tomatoes, peppers generally should not be buried deeply along the stem; their roots are concentrated near the surface, and a cold, wet stem base can be slow to recover. Follow the spacing on the variety label. A practical starting range for many full-size bells is 18 inches between plants and 30–36 inches between rows, with closer spacing reserved for compact varieties and conditions where airflow remains adequate. Minnesota Extension’s pepper guide uses 18-inch plant spacing and 30–36-inch rows.
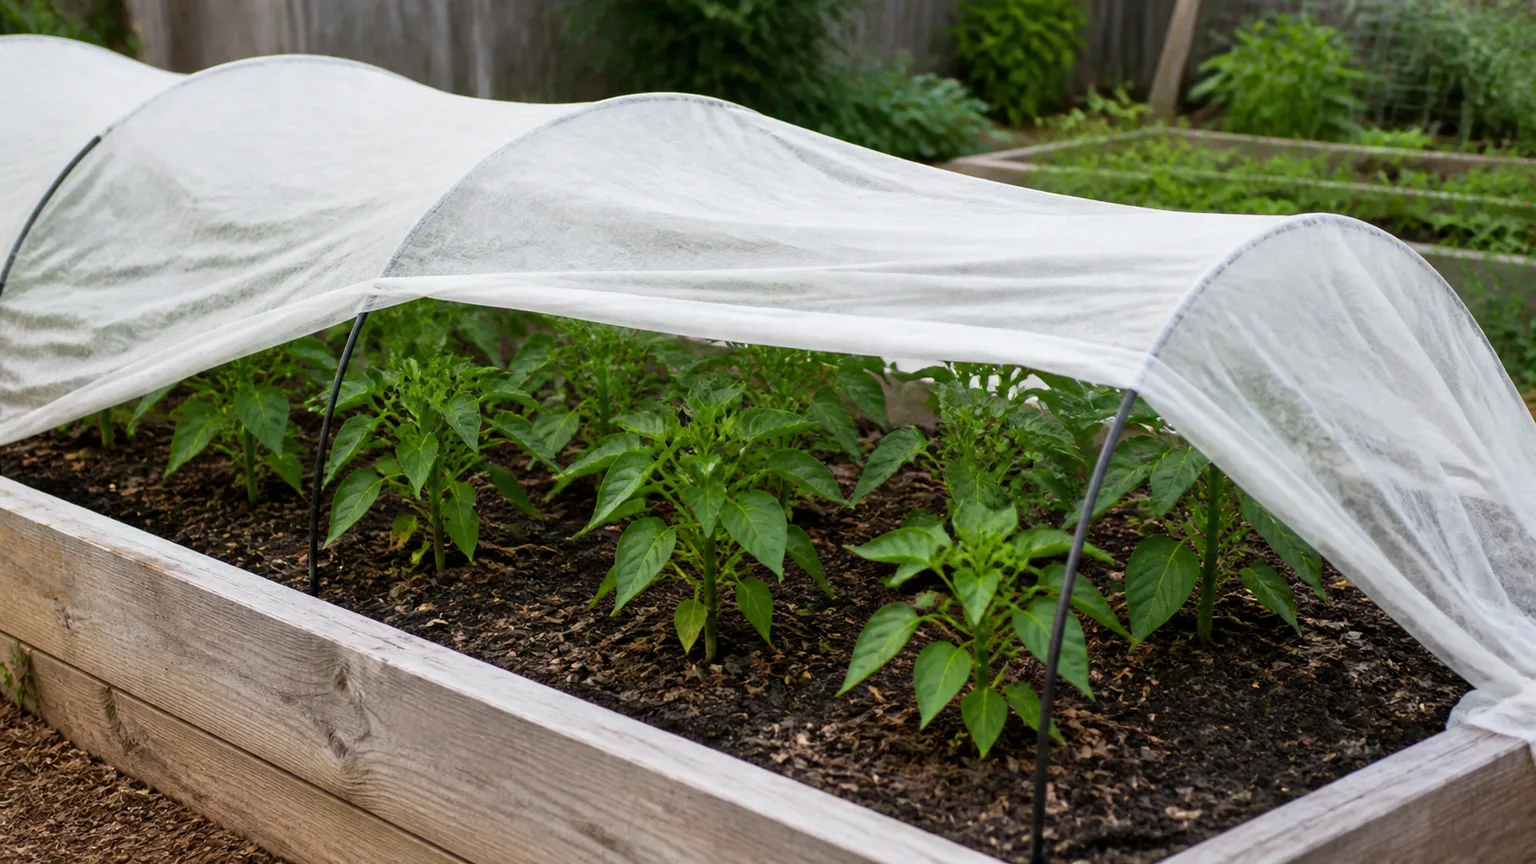
Do not squeeze plants together to fit more into a small bed: crowded foliage stays wet longer, makes pest scouting harder, and gives fruit less leaf cover against sun. In a small plot, fewer well-spaced plants can be easier to keep watered and harvest. If you use a row cover to protect young plants from cold or insects, remove it when the weather turns hot and when flowers need access to pollinators; peppers can self-pollinate, but airflow and vibration help move pollen within flowers.
Grow bell peppers in containers with enough root volume
A sunny patio can grow excellent peppers if each plant has enough root room and the container drains freely. Choose a pot with drainage holes and roughly 5 gallons of volume for a full-size bell; smaller compact varieties can manage in smaller pots, but they will dry faster and may produce smaller crops. A 12-inch diameter is a useful minimum only when it also provides adequate depth and volume. The RHS recommends a container at least 30 centimeters (about one foot) wide with one plant, while Minnesota Extension emphasizes steady water and nutrition for productive peppers. RHS sweet pepper guide
Use a quality potting mix, not garden soil, which can compact in a container and drain poorly. Set the pot where it receives strong sun but can be moved or shaded during a heat wave. Dark pots against hot concrete can overheat roots; a lighter-colored container, an outer cachepot, or afternoon shade can moderate the root zone. Secure the pot against wind before it becomes top-heavy.
Containers need more frequent checking than in-ground plants. Water when the top inch begins to dry and the pot feels lighter, then wet the whole root ball until water exits the drainage holes. Empty standing water from saucers. If water runs down the sides without wetting the center, the mix may have become hydrophobic; soak the pot slowly and resume regular checks. Feed only according to the potting mix and fertilizer label, because nutrients leach from containers faster but accumulated salts can also burn roots.
Give them sun, but prevent heat and sunscald
Peppers want warmth, not unlimited heat. UC Agriculture and Natural Resources lists daytime temperatures around 75–85°F and nights of 55–65°F as favorable; it warns that fruit set and yield decline as daytime temperatures approach 100°F. Utah State University Extension reports flower abortion when nights fall below 55°F or days rise above 90°F. These ranges are not contradictory: cultivars and local conditions differ, and fruit set becomes less reliable near temperature extremes. If flowers fall during a heat spell, do not immediately add fertilizer or hand-pollinate every blossom. Keep water steady, reduce reflected heat, and wait for milder weather. UC ANR’s pepper guide and Utah State University Extension describe these temperature effects.
In an exposed, scorching site, temporary shade cloth during the hottest afternoon hours can reduce stress while preserving morning sun. Avoid heavy shade that limits photosynthesis and delays color. Keep enough foliage to cover fruit: a green pepper that suddenly develops pale, papery patches on the sun-facing shoulder may have sunscald, especially after pruning or branch breakage. Do not strip leaves to “ripen” fruit; the fruit needs the plant’s leaf area, and direct sun can damage it.
Water deeply and keep moisture even
Use about one inch of water per week from rain and irrigation as a starting point, not a fixed prescription. Sandy soil, containers, wind, and heat may need more frequent watering; clay soil and cool weather need less. Check the root zone before watering: if it is moist several inches down, wait; if it is drying, water slowly enough to soak the root area rather than wetting only the surface. UC ANR recommends regular root-zone moisture and deeper, less frequent irrigation, while the RHS advises container growers to check often because compost can dry quickly in summer. UC ANR · RHS
The aim is even moisture, not permanent dampness. Alternating a wilt-dry plant with a heavy soaking stresses roots and can contribute to blossom-end rot; waterlogged soil starves roots of oxygen and raises disease risk. Drip irrigation or a soaker hose makes it easier to wet the root zone without splashing soil onto leaves. Morning watering gives foliage that gets wet time to dry. Add mulch after the soil warms to reduce the sharp swings between rain and dry weather.
A plant drooping at midday may recover by evening, especially in intense heat. Check the soil before reacting: if it is moist, adding more water can make things worse. If leaves stay limp overnight and soil is dry, water deeply and reassess after a few hours. Containers that need water more than once a day during heat may be too small, too exposed, or simply producing enough leaf and fruit to use water quickly.
Feed for fruit, not a jungle of leaves
Before planting, use a soil test and amend only what it identifies. Compost can improve soil structure and supply modest nutrients, but its nutrient content varies. A balanced vegetable fertilizer at planting may be enough in a fertile bed; containers may need a labeled, diluted feed later because repeated watering washes nutrients through the mix. Follow the product label for crop use and rate instead of copying a generic NPK recipe.
Too much nitrogen often produces dark, lush leaves and long stems at the expense of flowers and fruit. If plants are already vigorous but not setting fruit, pause nitrogen rather than escalating it. Once fruit begins to form, a modest fertilizer application can support continued growth if the plant needs it; excessive phosphorus or “bloom booster” is not a substitute for a soil test. UC ANR recommends a light feeding after blossoms appear, while Minnesota Extension cautions that excess nitrogen delays fruiting. UC ANR · Minnesota Extension
Do not add calcium automatically when fruit develops black, sunken patches at the blossom end. That symptom is often blossom-end rot, a physiological failure of calcium delivery to rapidly growing tissue. The soil can contain calcium and the fruit can still fail to receive enough when moisture swings, roots are damaged, or growth accelerates. First remove affected fruit, stabilize watering, mulch, and check whether a soil test shows a genuine calcium or pH issue. Spraying calcium on leaves or adding eggshells rarely corrects the underlying delivery problem quickly.
Stake branches and prune sparingly
A bell pepper’s branches can split when several heavy fruits pull them down, especially after wind or rain. Put a short stake, small cage, or loose soft tie in place while the plant is young so you do not drive support through established roots later. Support is most useful for large-fruited cultivars, exposed sites, and container plants that can tip; compact plants in sheltered beds may not need it. Tie loosely at a branch junction and leave room for stems to thicken.
Routine pruning is optional. Remove yellow, diseased, or broken leaves with clean snips, and clear foliage touching wet soil if it is trapping moisture. Avoid heavy interior thinning or removing healthy lower leaves: those leaves feed the plant and shade fruit. Pinching the first flower is sometimes used to encourage a small transplant to build roots and branches, but it delays the first harvest and is not necessary for every sturdy plant. The Old Farmer’s Almanac notes that bells do not require major pruning, and the RHS cautions that pinching can delay fruiting. Old Farmer’s Almanac · RHS
Understand flowers, pollination, and fruit set
Pepper flowers contain both male and female parts, and a plant can set fruit without a second pepper plant nearby. Bees are helpful visitors, but they are not required for every flower because pollen can move within a flower through vibration and air movement. If a healthy plant flowers but makes no fruit, begin with weather and water history: cold nights, heat above about 90°F, abrupt drought, waterlogged roots, or transplant shock are more common explanations than a lack of a pollinator.
A heat wave can temporarily interrupt set, then fruiting often resumes when conditions moderate. Keep the plant evenly watered and avoid drastic pruning, heavy nitrogen, or repeated sprays during this wait. In a closed greenhouse with still air, gently tapping flowering branches can move pollen, but do this only after checking that the flowers are open and the plant is not already heat-stressed. For more detailed spacing and bed planning, see the local guide to pepper plant spacing.
Cross-pollination between sweet and hot pepper varieties does not make the current season’s bell fruit hot. It can affect seed genetics, however, so seed saved from an open-pollinated plant beside another variety may not grow true to type next year. Seed from hybrid cultivars can also produce variable offspring even without nearby cross-pollination.
Diagnose common fruit and foliage problems
Use the pattern of damage, not one discolored leaf, to decide what is happening. A white, sunken patch on the shoulder points to sunscald; a dark, leathery patch at the blossom end suggests blossom-end rot; soft rot spreading through fruit, spotted foliage, or a plant that wilts despite wet soil raises concern for infection. Remove badly affected fruit and inspect the whole plant, especially lower leaves and the undersides of new growth.
Aphids cluster on growing tips and leaf undersides and may leave sticky honeydew. Flea beetles make many small round holes, particularly on young leaves. Caterpillars leave larger ragged holes and dark droppings. Pepper weevil and maggot problems are regional; internal tunneling or premature fruit drop should prompt careful inspection and local extension advice. Start with hand removal, a water rinse for exposed soft-bodied pests, row covers on young plants, and removal of diseased debris. Rotate nightshades where feasible and avoid wetting foliage late in the day. UC IPM’s pepper information explains why correct identification and local pest timing matter.
A floating row cover can keep some insects off young plants if its edges are secured before pests arrive. Remove or open it when flowers need pollinator access or when heat builds beneath the fabric; a cover is a prevention tool, not a cure for insects already inside the canopy.
Check pests and disease before spraying
Do not treat a symptom with a broad pesticide before identifying the pest. A few holes on a large, healthy plant usually do not justify spraying, while a quickly spreading virus-like distortion or a seedling being cut at the soil line needs faster action. When a product is necessary, use one labeled for edible peppers and follow its crop, pollinator, application, and harvest instructions exactly. “Natural” does not mean harmless to bees or safe at any concentration.
If older leaves yellow gradually, check moisture, drainage, and nutrient history. If several plants wilt in damp soil, suspect root or vascular disease rather than thirst. Some bacterial and fungal diseases persist in plant debris or soil, and infected plants may not recover; remove them if extension guidance identifies a destructive disease, then avoid planting peppers and related nightshades in that bed for the recommended rotation period. Disinfect tools between visibly diseased plants, and do not compost diseased material unless your compost system reliably reaches and maintains pathogen-killing temperatures.
Harvest green or fully colored fruit
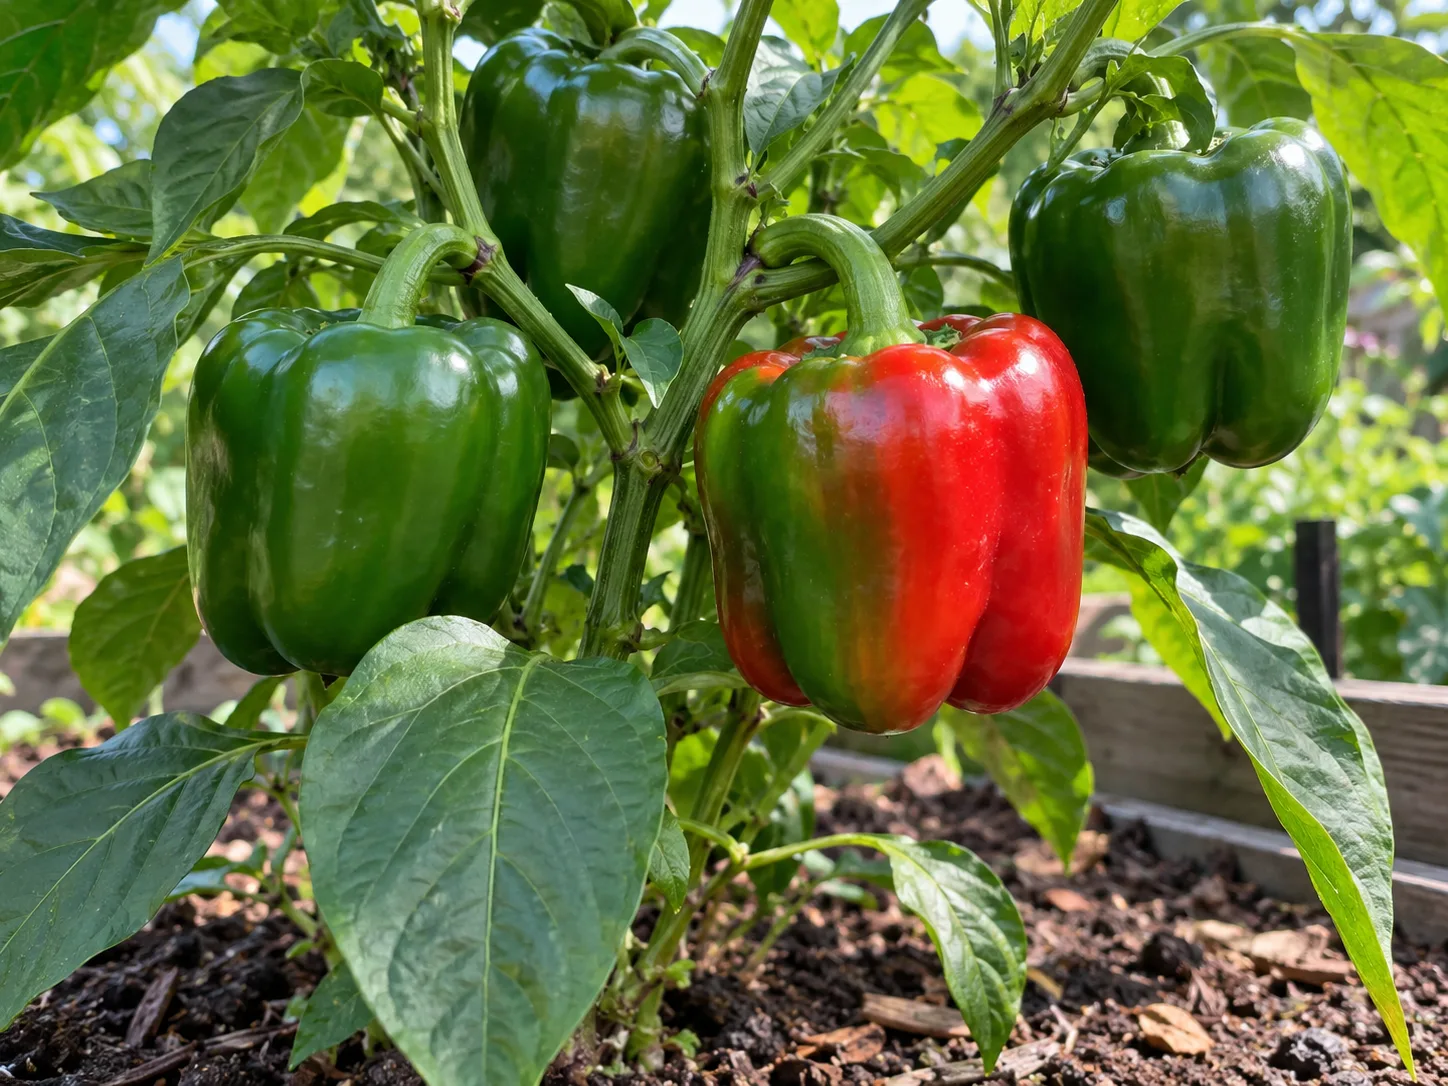
Harvest a bell when it has reached the size and firmness expected for its variety. Green fruit is usable before the plant finishes ripening it and is often the practical choice when frost is approaching or a plant is heavily loaded. Leave some fruit longer if you want the mature red, yellow, orange, or other cultivar-specific color; ripe fruit is generally sweeter, but color change can take additional weeks and the plant has to support the fruit for longer. The seed packet’s days-to-maturity estimate is a guide, not a deadline, because heat, transplant size, and weather change the pace. UC ANR notes that mature fruit is sweeter and has a different nutrient profile than green fruit.
Use clean scissors or pruners to cut the stem rather than twisting or pulling. Pepper branches are brittle, and a broken branch can cost several developing fruits. Check plants every few days once fruit begins sizing. Regular harvest reduces the load and lets the plant keep flowering, but do not remove immature fruit solely to force a larger number of peppers; variety and growing conditions ultimately set the size and yield.
When frost threatens, harvest any full-size mature-green fruit and sort out damaged or diseased peppers. Peppers are tender and do not tolerate frost. If a mild late-season chill is forecast, row cover may protect plants briefly, but it does not make them winter-hardy. In frost-free climates, plants can persist longer, yet home gardeners in colder regions generally treat them as annuals because frost ends the outdoor crop.
Store peppers or save seed with the right expectations
Keep recently picked, unwashed peppers cool and dry; refrigerate them in the crisper and use them within about a week or two for best texture. A damp pepper surface encourages decay, so wash just before cutting. For longer storage, remove seeds and freeze sliced or diced fruit in a sealed container. Frozen peppers soften after thawing, making them better for cooking than for a crisp raw salad.
To save seed, choose a fully mature, healthy pepper and let its seeds dry thoroughly on a plate away from direct sun before storing them in a labeled paper envelope. Seeds saved from an open-pollinated variety are more likely to resemble the parent when isolated from other flowering peppers, but nearby varieties can cross. Seeds from hybrids are not guaranteed to reproduce the same fruit. If you want reliable color, shape, or disease resistance, buy seed from a named variety rather than treating a grocery-store pepper as a predictable source.
Conclusion
Grow bell peppers by matching variety and sowing date to your actual warm season, then wait for warm soil and mild nights before transplanting. Give plants sun, drainage, even root-zone moisture, restrained feeding, and enough room or support to carry their fruit. The most useful corrections are often simple: delay planting through cold, protect fruit from extreme sun, stabilize water before adding calcium, and stop excess nitrogen when foliage is growing faster than flowers.
Pick full-size bells green when the season is short or let them mature to their named color for a sweeter harvest. Keep checking the variety label and local extension guidance because days to harvest and temperature thresholds vary by cultivar and region. A well-timed plant with steady care has a better chance of giving you the fruit you want than an early transplant or a complicated pruning routine.



