Coffee Grounds for Soil: Benefits, Risks, and Best Uses
Coffee grounds can improve soil structure when composted, but direct dumping can tie up nitrogen and grow mold. Learn what experts recommend.
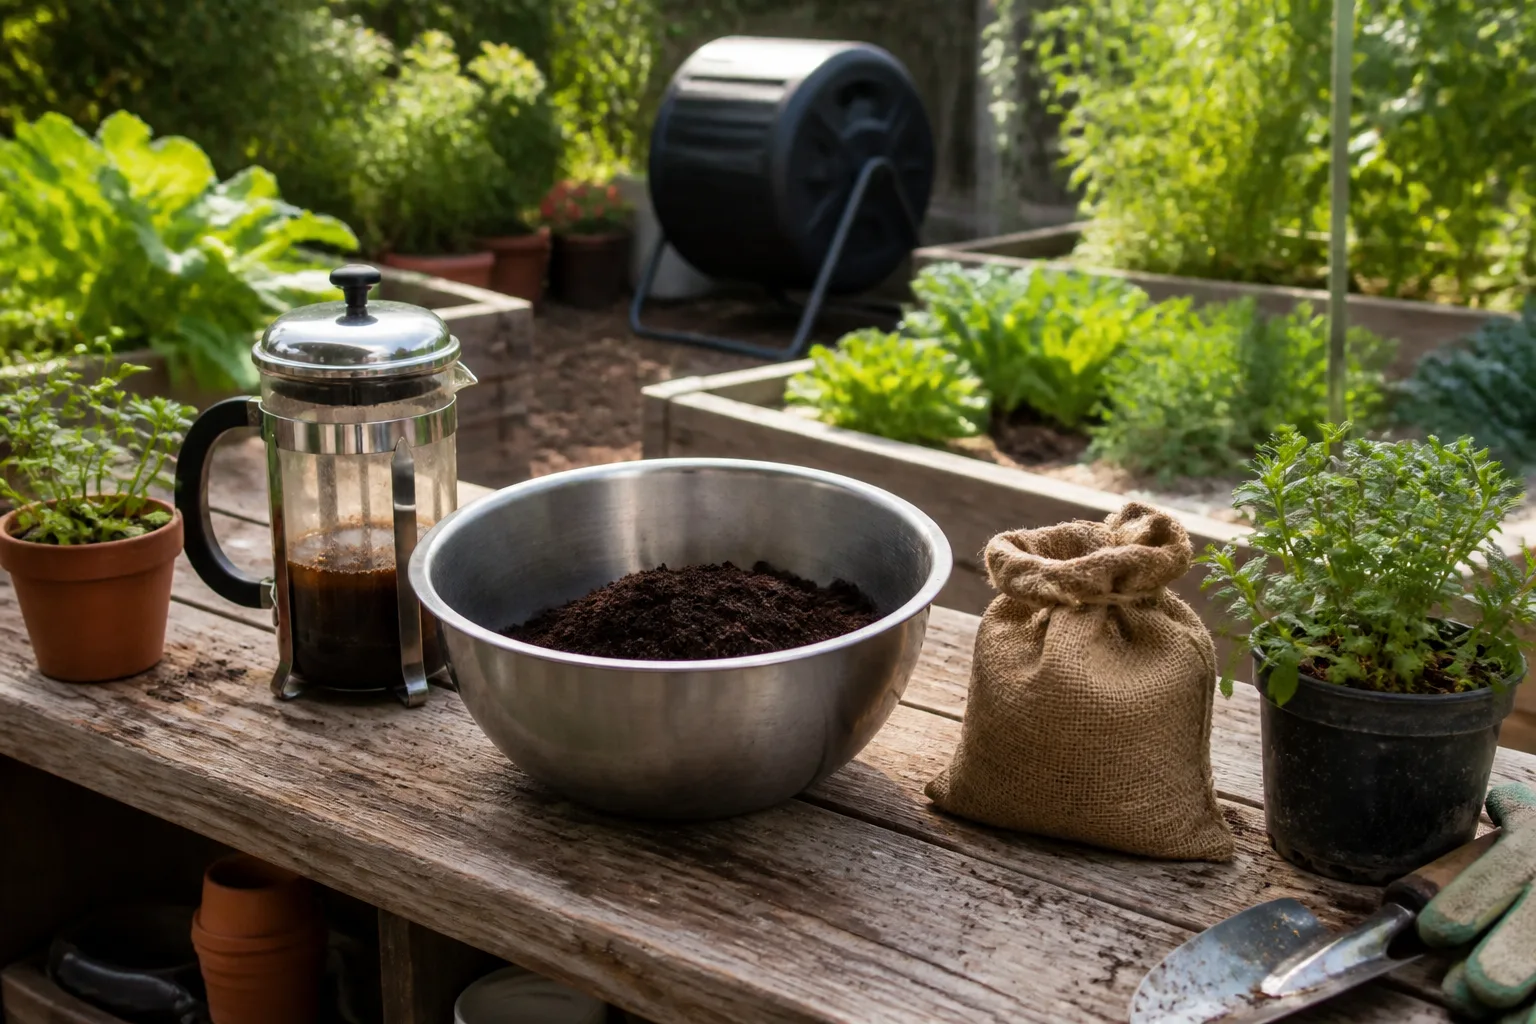
Used coffee grounds can improve soil when they are composted or worked in as a thin, mixed layer—but they are not a substitute for fertilizer, an acidifier, or proper mulch. The grounds add organic matter that helps structure, drainage, and moisture retention once decomposed. Dump them in thick, dry layers or around hungry seedlings without balancing nitrogen, and you can temporarily starve plants, seal off water, or grow unsightly fungi. The difference is not whether coffee grounds “work.” It is how much you use, whether they are broken down first, and what job you are asking them to do.
The Short Answer: Helpful as Organic Matter, Risky Applied Wrong
If you brew coffee daily, saving the grounds is worth doing. Compost them first when you can. Mixed into an active compost pile, worm bin, or bokashi system, used grounds behave like a nitrogen-rich green despite their dark color. They feed decomposer microbes, add roughly 2% nitrogen by volume, and finish as stable organic matter that loosens clay, helps sand hold water, and supports earthworm activity.
Do not treat spent grounds like a slow-release fertilizer you can sprinkle freely. While they contain nitrogen, that nitrogen is locked in organic form until microbes break it down—and during that breakdown, those same microbes can temporarily pull nitrogen from the surrounding soil. That is why heavy direct applications around young vegetables or nitrogen-hungry crops can cause yellowing until decomposition catches up.
Skip these common misuses: dumping thick layers on soil surface as mulch, expecting blue hydrangeas or happy blueberries from “acid” grounds, or replacing a soil test and proper amendments with kitchen waste. Coffee grounds are a useful organic matter input, not a magic soil fix.
What Used Coffee Grounds Actually Contain
Freshly brewed coffee is acidic. Spent grounds are not. The acids in coffee are water-soluble, which means they end up in your mug, not in the filter cake. Multiple analyses place used coffee grounds at a near-neutral pH—typically around 6.5 to 6.8—making them safe to compost with a wide range of materials without acidifying the finished product.
Beyond pH, grounds bring a practical nutrient profile for composters:
- ~2% nitrogen by dry weight/volume (similar order of magnitude to some manures in compost terms)
- Carbon-to-nitrogen ratio near 20:1, classifying them as a “green” or nitrogen source in composting language
- Small amounts of phosphorus and potassium, plus micronutrients—but not at levels that replace a balanced fertilizer program
- Residual caffeine in small quantities; largely broken down during hot composting but worth noting for direct soil mixing
The grounds also add physical texture: fine particles that can hold moisture when incorporated, or form a water-repelling crust when left on the surface to dry.
Nitrogen Content and Carbon-to-Nitrogen Ratio
Composters sort materials into greens (nitrogen-rich, wet, active) and browns (carbon-rich, dry, structural). Coffee grounds confuse beginners because they look brown but behave green. With a C:N ratio around 20, they sit close to the ideal range for active decomposition—much lower than dry leaves (40–80:1) and higher than fresh grass clippings (~15:1).
That ratio matters because decomposer microbes need both carbon for energy and nitrogen for protein. A pile heavy on grounds without enough browns can go anaerobic, slimy, and smelly. A pile with plenty of grounds balanced by shredded leaves, straw, or cardboard tends to heat well and finish faster.
Important distinction: compost-value nitrogen is not the same as plant-available nitrogen today. Until decomposition completes, microbes may immobilize free nitrogen from the soil to fuel their own growth—especially if you add a large volume of grounds directly to garden beds.
Why Coffee Grounds Are Not Acidic (Despite the Myth)
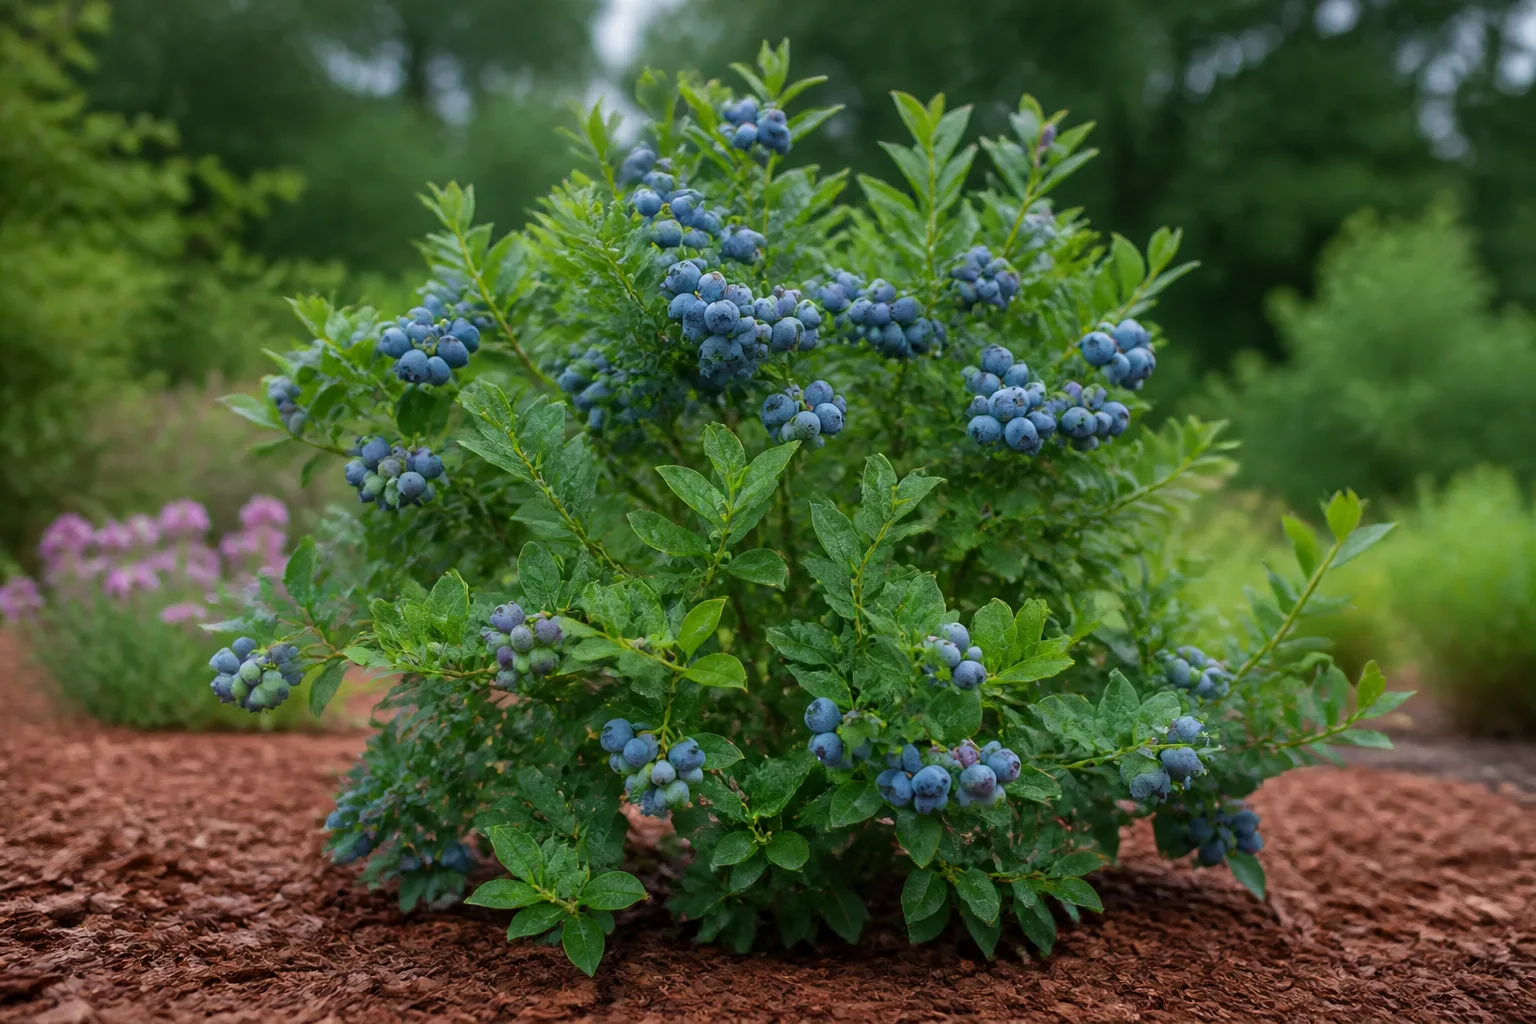
The acidity myth persists because people conflate coffee the beverage with coffee the spent solid. Brewed coffee often measures around pH 4.5–5.0. Once hot water extracts those acids, the remaining grounds test close to neutral.
That is why recommendations to dump grounds around acid-loving plants like blueberries, azaleas, and rhododendrons do not hold up. If your soil is too alkaline for those species, you need a soil test and targeted amendments—elemental sulfur, acidifying fertilizers, or appropriate organic matter—not breakfast leftovers. Hydrangea flower color depends on aluminum availability in acidic soil; a sprinkle of neutral coffee grounds will not rewrite that chemistry.
How Coffee Grounds Improve Soil When Used Correctly
When composted or thoroughly mixed into the top few inches of soil, coffee grounds deliver what organic matter always delivers: better soil architecture.
Structure, Drainage, and Beneficial Microorganisms
In clay soils, organic matter creates aggregates—crumb structures that let air and roots move more freely. In sandy soils, the same matter acts like a sponge, reducing drought stress between waterings. Oregon State University Extension notes that the largest practical benefit of coffee grounds is often improved soil structure rather than dramatic nutrient spikes.
Finished compost containing grounds also supports a diverse microbial community. Those microbes cycle nutrients, suppress some pathogens, and—when conditions are right—encourage earthworms. Worms are notably fond of coffee grounds in vermicompost systems, processing them into castings rich in plant-available nutrients and microbial life.
The improvement is incremental and cumulative, not instant. One week’s worth of grounds will not transform heavy clay. A season of steady compost application—with grounds as one ingredient among many—can.
Think of organic matter as infrastructure, not a one-time nutrient hit. Clay that cracks in summer and stays soggy in spring benefits from the pore spaces compost creates. Sandy soil that drains before roots can drink benefits from the sponge effect. Neither change happens because coffee grounds are magical; it happens because stable humus changes how water and air move through the profile. A soil test tells you whether pH or specific nutrients need correction on top of organic matter additions.
When Coffee Grounds Hurt Soil and Plants
Coffee grounds are kitchen waste, not a risk-free amendment. The same properties that make them useful in compost create problems when misapplied.
Nitrogen Immobilization During Decomposition
When soil microbes attack fresh organic matter, they need nitrogen to build enzymes and cell walls. If the incoming material is high in carbon relative to available nitrogen—or simply arrives in a large, concentrated batch—microbes will borrow nitrogen from the soil, leaving less for plant roots in the short term.
Seedlings, corn, leafy greens, and other nitrogen-hungry crops are the most likely to show temporary yellowing if you side-dress raw grounds heavily. The effect usually resolves as decomposition finishes and nitrogen mineralizes back into the soil, but why stress your plants when composting avoids the problem?
If you must apply directly, keep volumes small, mix thoroughly into the top 2–3 inches, and consider pairing with a light nitrogen source only when a soil test or visible deficiency supports it—not as a reflex.
The yellowing pattern looks like nitrogen deficiency: older leaves pale first, growth stalls, and plants look hungry despite regular watering. If you see that after a heavy grounds application, scratch in finished compost, water well, and wait two to three weeks before judging. Most plants recover once mineralization catches up. Seedlings and fast-growing crops like corn and salad greens are the least forgiving—another reason to compost grounds before they reach the root zone.
Surface Crusting, Fungus, and Poor Mulch Performance
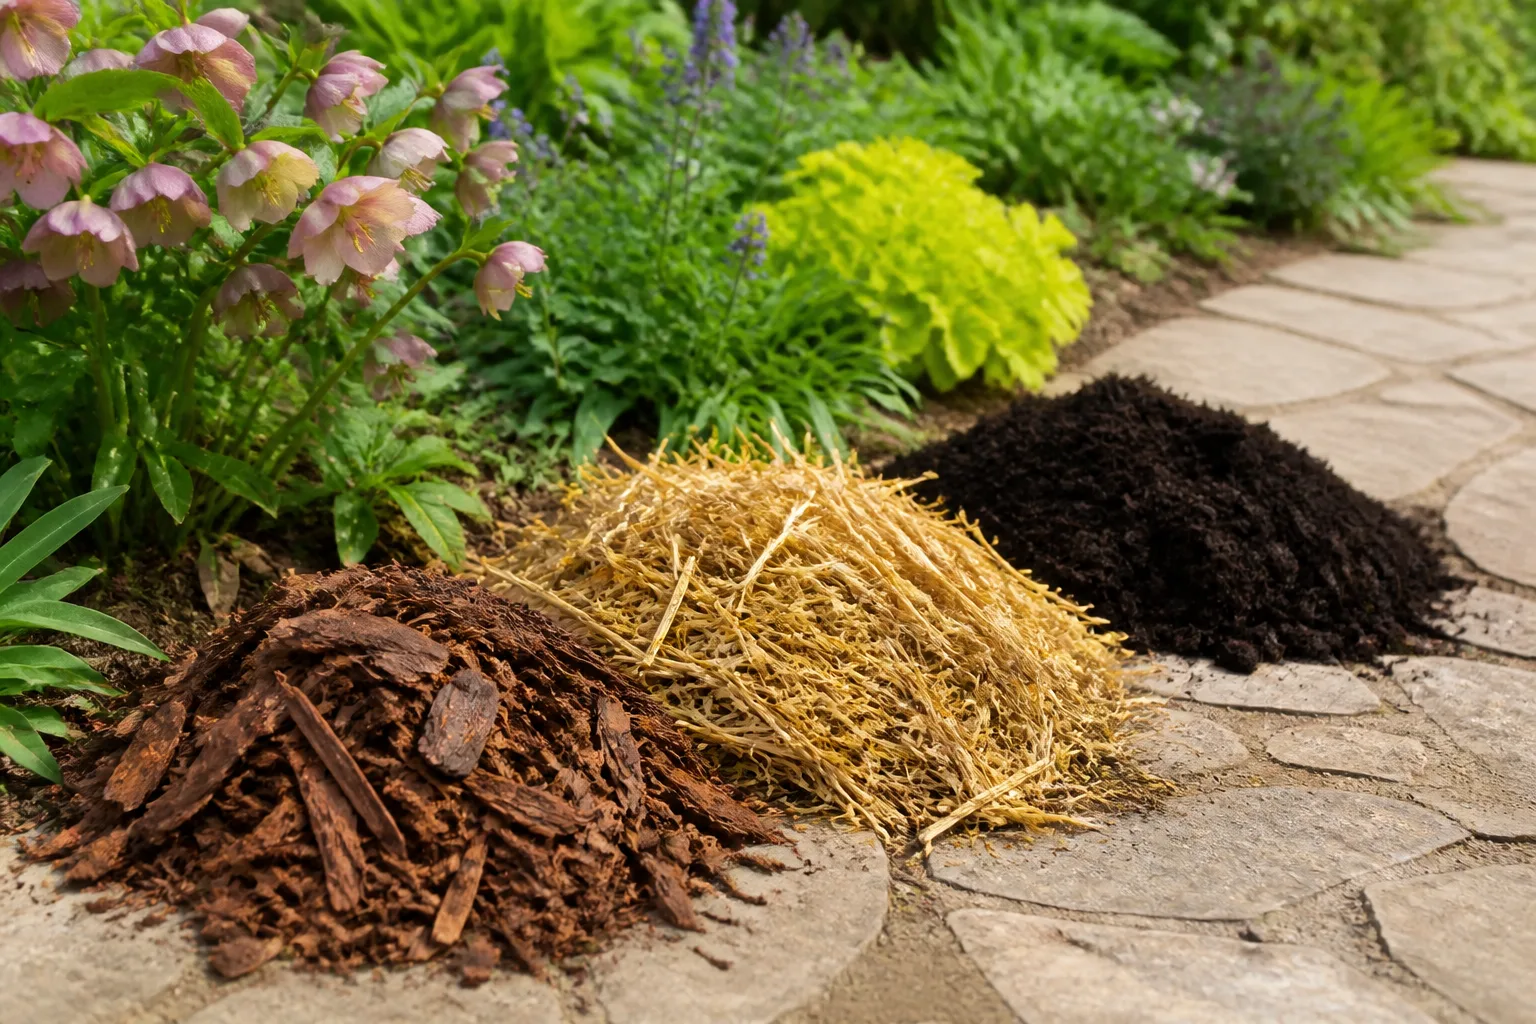
Used grounds make terrible mulch on their own. Left as a thick surface layer, they compact, dry into a hard crust, and repel water—exactly the opposite of what mulch should do. During wet weather, that same crust can support fungal growth (including harmless but unsightly slime molds) that gardeners often mistake for disease.
Weed suppression is weak compared to wood chips, shredded bark, or even grass clippings used properly. Weed seeds still germinate; the grounds simply look messy while doing little to block light. For actual mulch benefits—moisture retention, temperature moderation, weed control—use materials designed for the job. Our mulch guide walks through types and application depth.
Compost First: The Best Way to Use Coffee Grounds
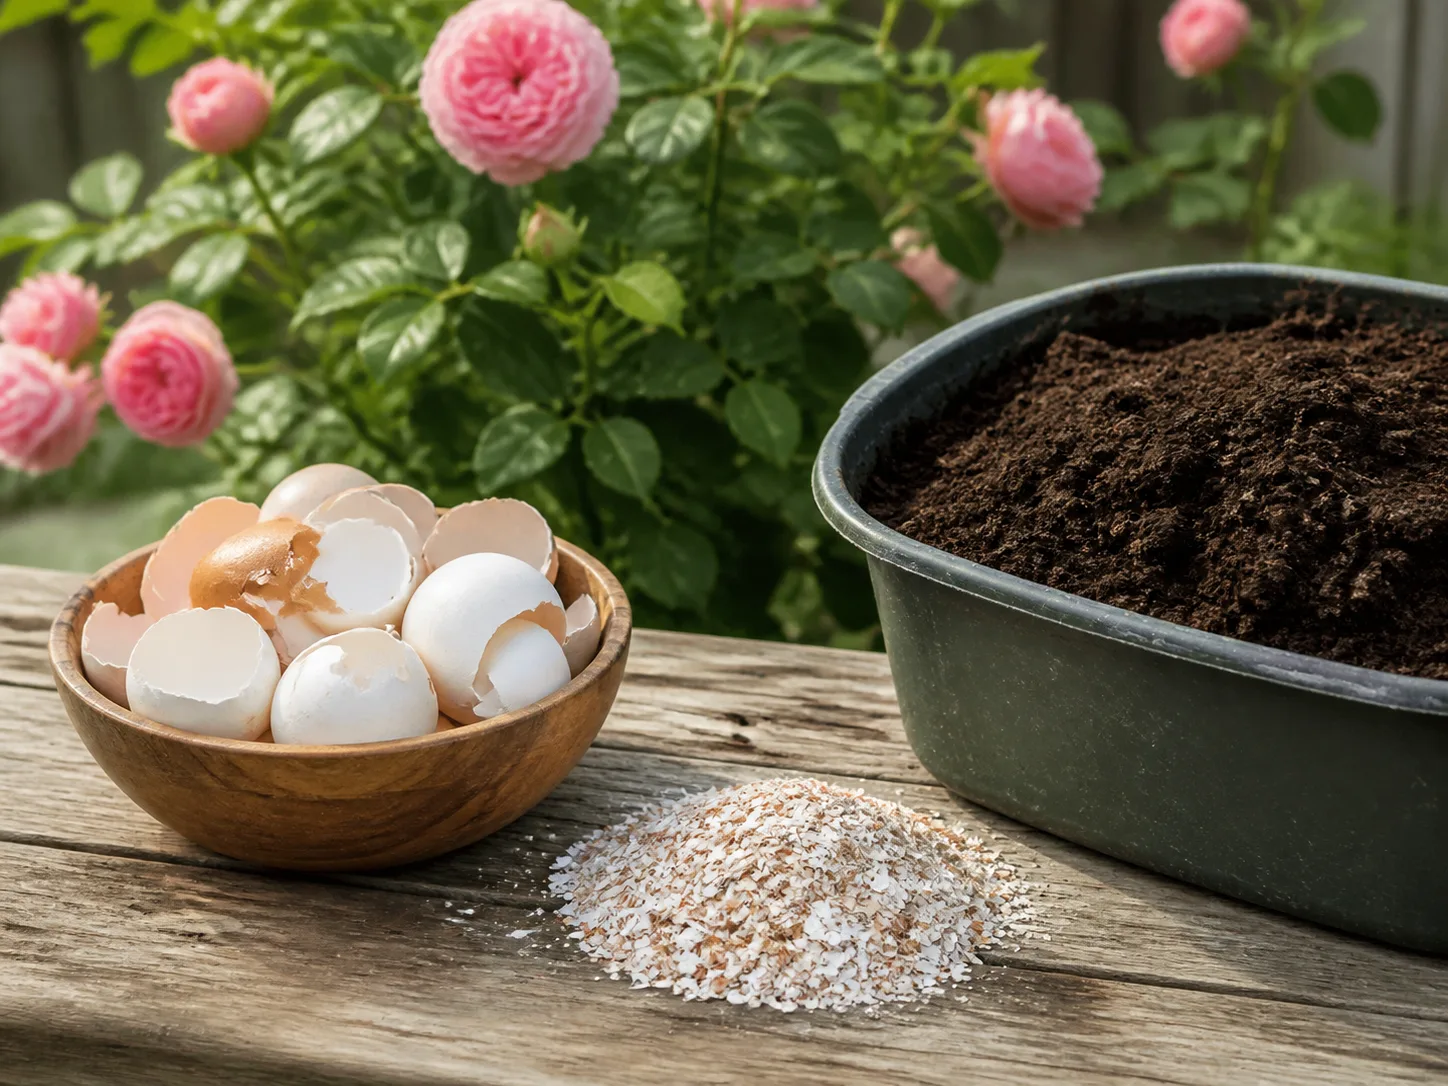
The expert consensus is clear: compost coffee grounds before relying on them to improve garden soil. Composting finishes the decomposition that would otherwise happen in your beds, stabilizes nutrients, breaks down caffeine residues, and blends grounds with carbon sources that keep the pile aerobic.
A simple workflow:
- Collect grounds (and unbleached paper filters) in a countertop bin or freezer bag until you have a few cups.
- Balance each addition with roughly equal volumes of brown material—dry leaves, shredded cardboard, straw, or wood chips.
- Limit coffee grounds to no more than 25% of the pile’s volume at any time; many gardeners cap at one-third when the pile is already active.
- Turn or tumble regularly to maintain oxygen; grounds can pack down if added wet in clumps.
- Apply finished compost as a 1–2 inch top-dress or incorporate before planting.
Coffee filters compost well. Unbleached paper counts as a brown. Bleached filters break down too in home piles, though purists sometimes skip them; the chlorine residues are tiny relative to pile volume.
Balancing Greens and Browns in Your Pile
A reliable starting mix for grounds-heavy compost: equal parts coffee grounds, shredded leaves, and fresh grass clippings—then adjust based on moisture and smell. The pile should feel like a wrung-out sponge. If it smells sour or ammonia-like, add browns and turn. If it will not heat up, add more greens or water lightly.
Grounds can sustain elevated temperatures in a hot pile—reportedly 130–150°F for a day or two when added in quantity—because they are fine-textured and nitrogen-rich. That heat helps kill weed seeds and pathogens, but only if the rest of the pile is balanced and aerated.
For gardeners without space for a large pile, a compost tumbler or enclosed bin on a balcony works. Scale down the ratios but keep the same green-brown logic.
Worm Bins and Smaller-Scale Composting Options
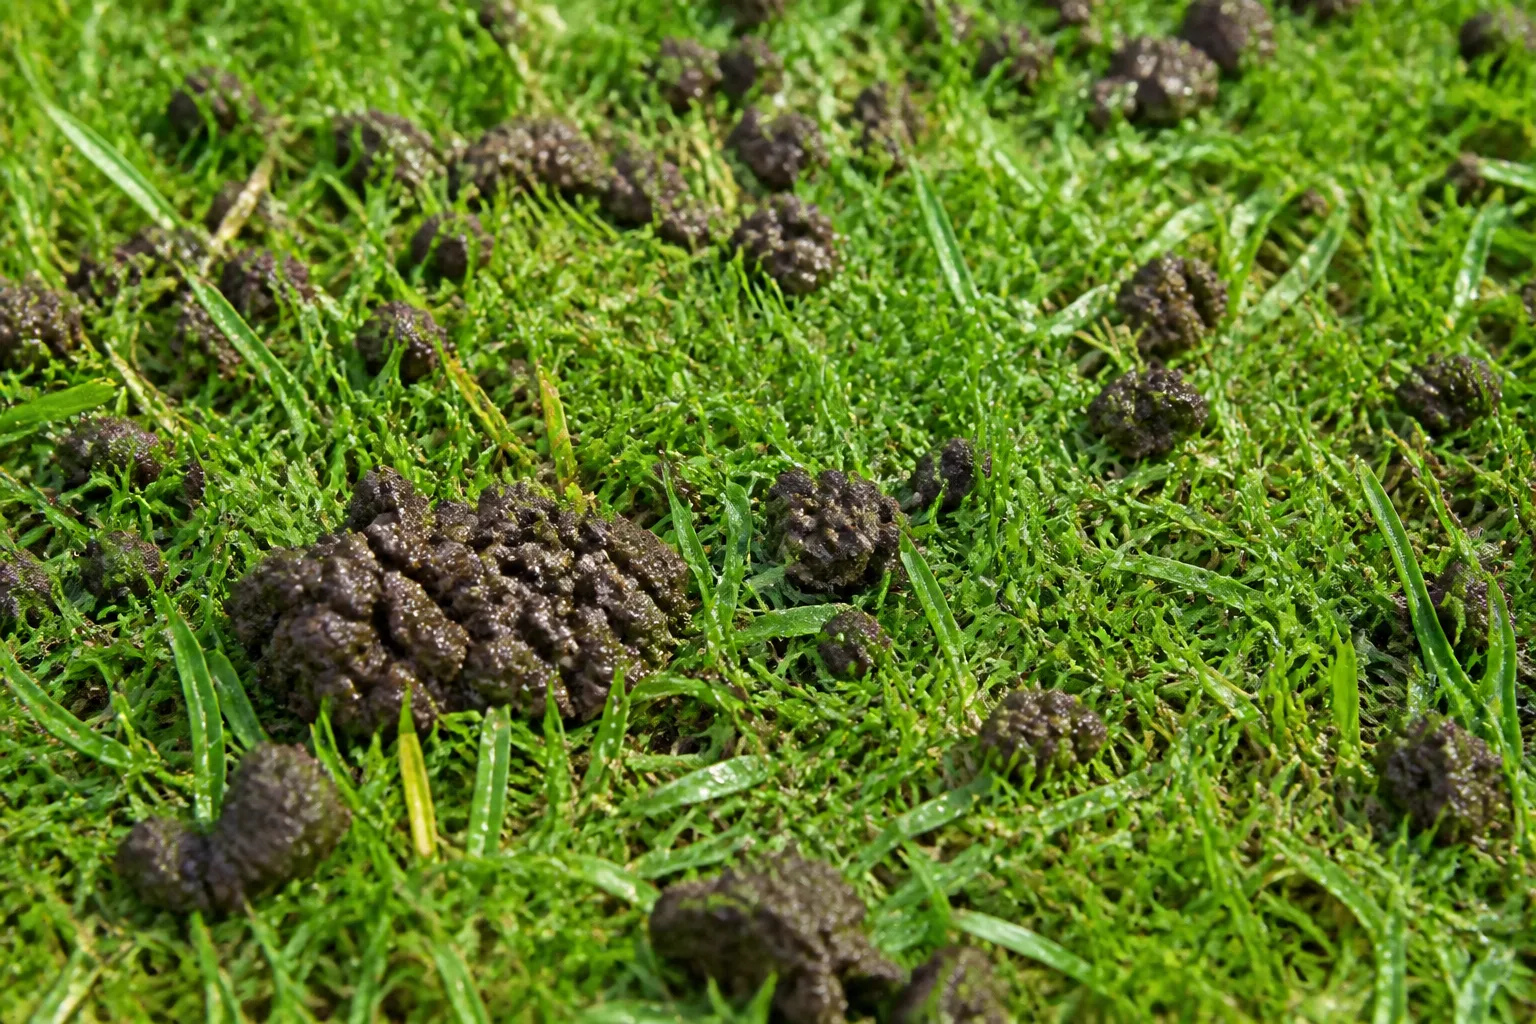
Red wigglers love coffee grounds. In a worm bin, sprinkle grounds in thin layers mixed with shredded newspaper, coconut coir, or cardboard bedding. Introduce them gradually if your worms are new to coffee—sudden large doses can heat or acidify a small bin (finished grounds are neutral, but microbial activity can spike temperature in confined spaces).
The grit in grounds may also help worms process food scraps, similar to how eggshells aid digestion in vermicompost systems—though eggshells primarily supply calcium while grounds supply nitrogen and organic matter.
Bokashi—anaerobic fermentation in a sealed bucket with inoculated bran—is another small-footprint option. Add grounds every few days with other kitchen scraps; the fermented pre-compost finishes in soil or a traditional pile within weeks.
Can You Add Coffee Grounds Directly to Garden Soil?
Yes, in small amounts, with mixing—not as a top-dressing left to dry on the surface.
For a single household producing one French press or drip pot daily, scratching a thin layer into the top inch of a perennial bed or vegetable row is reasonable. Cover with leaf mold or finished compost if you are not turning soil immediately. The volume is low enough that nitrogen immobilization is minor and crusting unlikely.
Scale up the volume, scale up the caution. If you are hauling five-gallon buckets from a coffee shop weekly, direct soil application will overwhelm a typical home garden. Compost those buckets.
Container gardeners should be especially conservative. Potting mixes have limited buffering capacity; concentrated organic inputs can shift moisture dynamics and salinity faster than in open ground. For houseplants, finished compost tea or a small fraction of worm castings beats raw grounds every time.
In raised beds and patio containers, a tablespoon of finished compost per gallon of potting mix is a safer organic boost than fresh grounds. If you over-applied grounds to an outdoor container and see surface mold, scrape off the crust, replace the top inch of mix with fresh potting soil, and let the plant dry slightly before the next watering cycle.
Myths About pH, Slugs, Weeds, and Instant Fertilizer
Myth: Coffee grounds acidify soil for blueberries and hydrangeas. False for used grounds. Use a soil test and proper acidifiers instead. See our acid-loving plants guide for species-specific needs.
Myth: Coffee grounds are a free nitrogen fertilizer. Misleading. They contain nitrogen, but it is not immediately plant-available. Label them an organic matter source; fertilize based on crop demand and test results.
Myth: Coffee grounds replace mulch. Poor weed control, crusting, and fungal mats make them a bad mulch substitute. Use wood chips, straw, or leaf mulch.
Myth: Coffee grounds reliably kill slugs. Oregon State University research found that a 1–2% solution of caffeine killed slugs; grounds themselves deter slugs in lab and field observations, but the mechanism—caffeine toxicity vs abrasive texture—is still debated. At best, grounds are a mild supplementary deterrent, not a replacement for hand-picking, copper barriers, or iron phosphate baits. Do not expect a ring of grounds to save slug-damaged hostas.
Myth: Any kitchen scrap works the same. Coffee grounds are not baking soda, vinegar, or Epsom salt. Each pantry item has distinct chemistry and risk profile. Treat them as separate tools.
How Much Coffee Ground Is Too Much?
Use these practical ceilings:
| Application method | Maximum recommended proportion | Why |
|---|---|---|
| Hot compost pile | 25–33% of total volume | Prevents anaerobic slime; keeps C:N balanced |
| Worm bin | Thin layers; <25% of weekly feed | Avoids heating and acidity spikes in small bins |
| Direct soil incorporation | Small household volumes only; mix into top 2–3 in. | Limits nitrogen immobilization and crusting |
| Surface mulch | Not recommended | Water repellency and fungal growth |
If you exceed these limits and notice sour smells, white fungal mats, or yellowing plants, stop adding grounds, turn or fluff the pile, add browns, and let decomposition catch up before planting hungry crops in that zone.
Where to Get Free Coffee Grounds Responsibly
Home brewing may not produce enough for a large compost operation. Coffee shops often give away spent grounds for free—Starbucks popularized the practice with its Grounds for Your Garden program, and many independent cafés bag grounds on request.
Ask politely, bring your own bucket, and accept only what you can compost within a week. Wet grounds mold in sealed bags. If a shop adds trash or food waste to the bucket, sort contaminants before composting.
Store excess in the freezer until compost day, or share with a community garden. The environmental win is diverting organic waste from landfills—not hoarding more than your soil system can process.
Timing tip: Add fresh grounds to an active pile in spring and fall when microbial activity is highest in most climates. In winter, frozen piles will not process new inputs quickly—store grounds frozen or in a lidded bucket until temperatures rise. In hot, dry summers, moisten the pile when adding grounds so they do not bake into a dry lump on the surface.
Quality check before you haul: Good shop grounds smell like coffee, feel damp but not soupy, and contain minimal trash. Reject buckets with plastic cups, stir sticks, or non-compostable liners mixed in. A few paper filters are fine; a dozen plastic pods are not.
Conclusion
Coffee grounds help soil when they are composted into stable organic matter and hurt soil when they are dumped thick, left on the surface, or mistaken for fertilizer or acidifier. Treat them as a nitrogen-leaning green for your compost pile or worm bin, balance them with browns, cap volume at roughly one-quarter of the pile, and apply finished compost to beds—not raw clumps around seedlings.
Ignore the myths about acidity and instant plant food. Use a soil test for pH and fertility decisions. Save your grounds—they are worth recycling—but let microbes do the heavy lifting before your plants see the benefit.



