4 Fruits and Vegetables You Can Grow From Scraps
Learn how to grow green onions, sweet potatoes, tomatoes, and celery from scraps, with the right water, soil, timing, and harvest expectations for each.
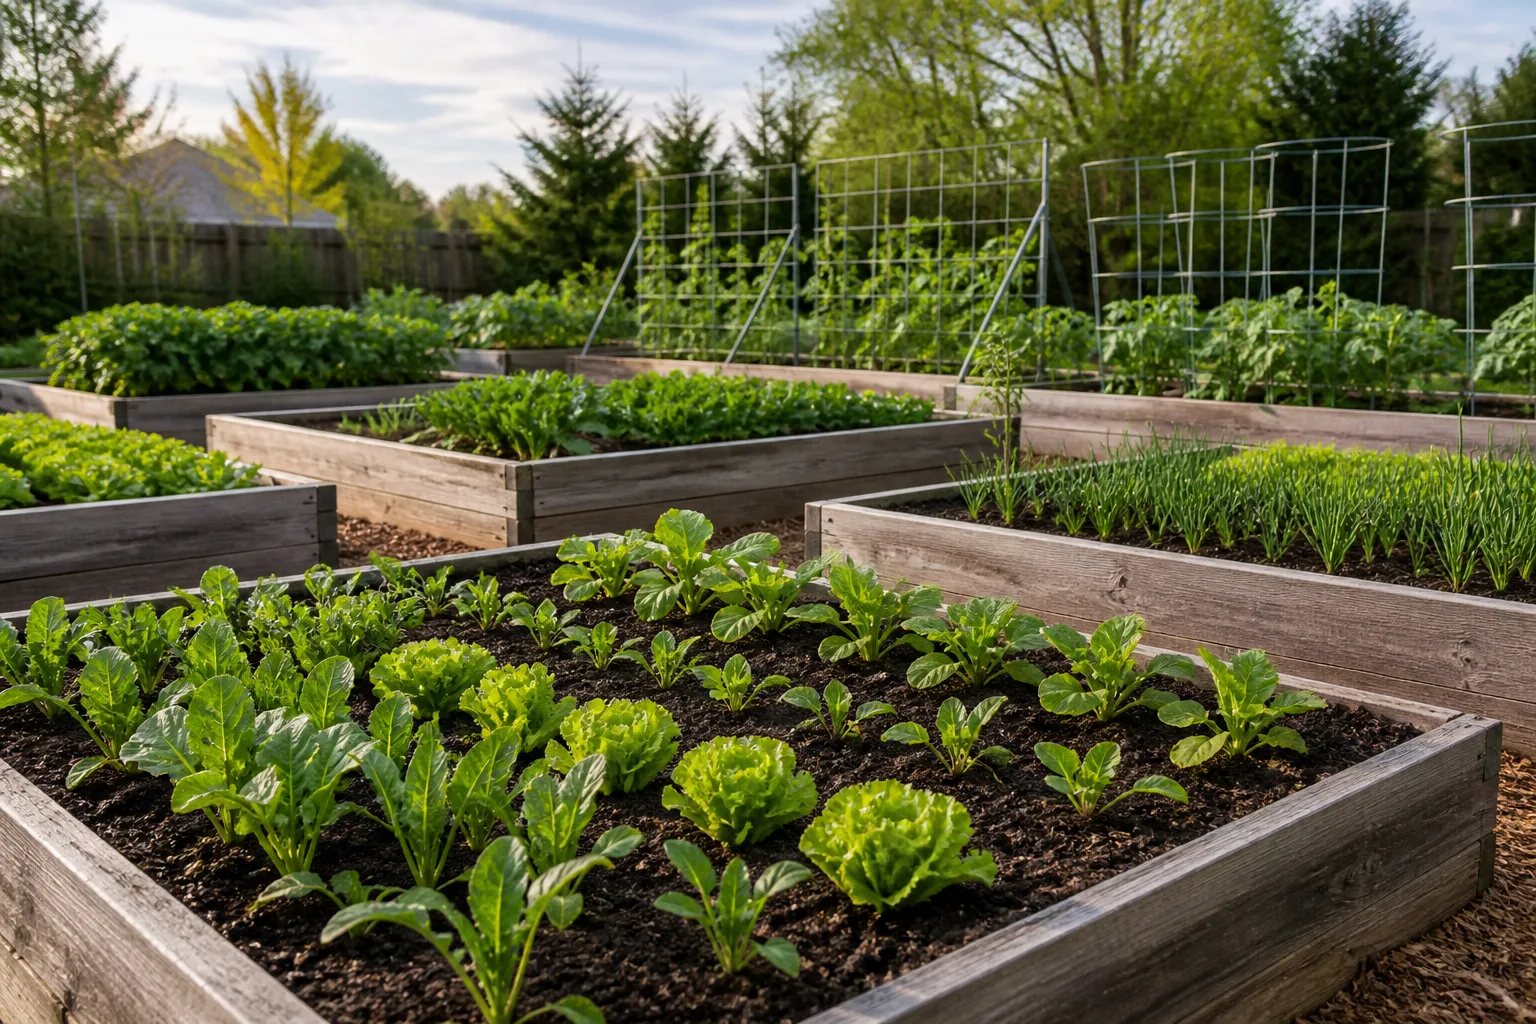
The easiest kitchen scraps to grow are not random leftovers. They are pieces that still contain a growing point, root tissue, a viable seed, or enough stored energy to produce a new shoot. Save the right piece and you can harvest green onion tops, raise sweet-potato slips, start tomatoes, or push new celery growth on a windowsill.
The important distinction is what “grow” means for each crop. Green onions and celery can give you fresh leaves from a cut base, but water alone will not replace an entire grocery bunch indefinitely. A sweet potato produces slips—new plants that can make a crop later—while a tomato scrap gives you either seeds with variable genetics or a cutting that is a clone of the parent plant.
This guide matches each scrap to its best method, tells you when to move it into soil, and flags the shortcuts that create mold instead of roots. The University of Michigan’s kitchen-scrap propagation guide is a useful starting point for the idea; the practical details below take the next step by matching the method to the crop.
“Grow from scraps” means saving the right living plant part
An edible portion is not automatically a planting portion. A carrot top can produce leaves but not a new carrot root, and a lettuce base can push a little more foliage without making another full head. For this list, the useful scrap is the part that can either form roots and shoots directly or contains a seed or storage organ with enough energy to start a new plant.
Greens, roots, slips, and seeds do different jobs
Think of the four crops as four different propagation projects. Green onions use the root end and basal plate to restart leaves. Celery uses the crown at the base of the stalks. Sweet potatoes use the storage root to make slips, which are then separated and planted. Tomatoes use either seeds from ripe fruit or a stem cutting from a living plant.
That difference changes the harvest. A water jar is perfect for watching green onion roots and celery crowns wake up, but it supplies little nutrition and limited room for a mature plant. Soil becomes necessary when you want a bigger root system, repeated harvests, or a plant that must support fruit and storage roots.
Sanitation matters too. Use scraps from sound produce and healthy parent plants, rinse containers between uses, and discard any piece that is soft, foul-smelling, or covered in spreading mold. Regrowing a diseased or badly damaged plant does not make the problem disappear; it can carry the same weakness into the next plant.
Choose water or soil before you start
Water propagation is useful because you can see roots and notice trouble early. It is not automatically better. Roots formed in water may need a gentle transition to potting mix, and a base that sits too deep in water can run out of oxygen and decay.
| Goal | Start in water when… | Start in soil when… |
|---|---|---|
| Quick green harvest | You want to watch green onion or celery regrow on a windowsill. | You want the plant to keep producing beyond the first flush. |
| Visible root development | You need to see whether a stem or slip is rooting. | You already have a rooted piece or a tuber that makes slips in place. |
| Lowest rot risk | You can keep only the roots or basal tissue wet and change the water often. | You can provide airy, moist—not saturated—potting mix with drainage. |
| A full garden crop | You are rooting a tomato cutting or sweet-potato slip for a short transition. | You are growing the plant on after roots appear and the weather fits it. |
Use a clean glass or shallow dish, bright light, and room-temperature water. The rule is simple: keep the tissue that needs to breathe above the waterline. If the water turns cloudy, the base smells sour, or the roots become brown and slimy, cut back to firm tissue, clean the container, and restart with fresh water—or move a healthy piece to fresh potting mix.
1. Green onions regrow fastest from root ends
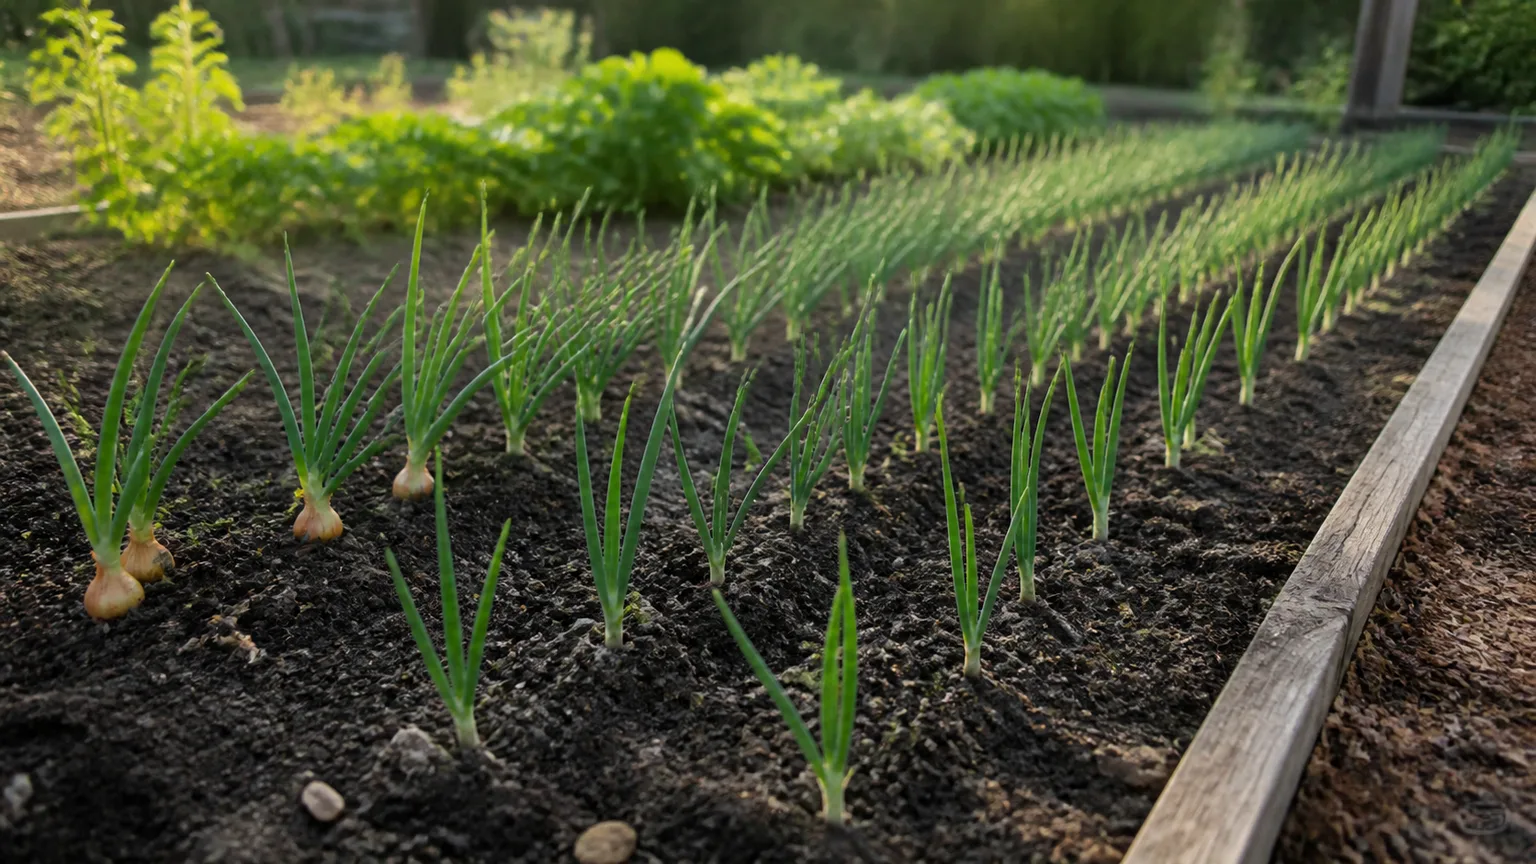
Green onions, also called scallions, are the best first experiment because the scrap already contains a small basal plate and roots. When you cut the green tops, leave about 1–2 inches of the white base attached to the roots instead of trimming all the way down to the root ends.
Start green onions in shallow water
Stand the root ends upright in a narrow glass or shallow container. Add only enough water to cover the roots and the very bottom of the white base; the cut green tops should remain above the water. A bright windowsill works, although the new growth will be paler and thinner if the light is weak.
Change the water every two or three days, sooner if it becomes cloudy. The University of Michigan’s propagation guidance describes green onions as one of the easiest scraps to restart, and that ease comes from preserving the growing center—not from submerging the whole base.
New shoots often become visible within a few days. Start harvesting when the tops are tall enough to snip cleanly, taking the green leaves and leaving the white base intact. Cutting only what you need keeps the growing point working; pulling the entire base removes the part that makes the experiment worthwhile.
Move them to soil for stronger, longer growth
Water is a good nursery, not a complete long-term garden. After the base has made fresh roots and several shoots, plant it in a small pot or garden space with drainage and rich, evenly moist soil. Set the base so the roots are covered but the growing center is not buried under a heavy layer of mix.
Keep the soil moist while the roots adjust, then harvest the outer leaves as needed. The regrown leaves may be milder or thinner after repeated water-only harvests because the scrap’s stored energy is finite. Fresh root ends can be started in rotation every week or two if your goal is a steady supply of garnish rather than full-size bulbs.
Do not expect a cut green onion to become a large dry storage onion in a jar. For that result, you need the right variety, soil, light, growing season, and time. The reliable payoff from a scrap is a repeat crop of tender green leaves.
2. Sweet potatoes grow new plants through slips
Sweet potatoes are the most useful crop on this list if you want to turn one kitchen item into multiple garden plants. The edible storage root does not have the same “eyes” as a regular potato. Instead, it produces leafy shoots called slips; a rooted slip is the transplant you grow into a vine-producing sweet-potato plant.
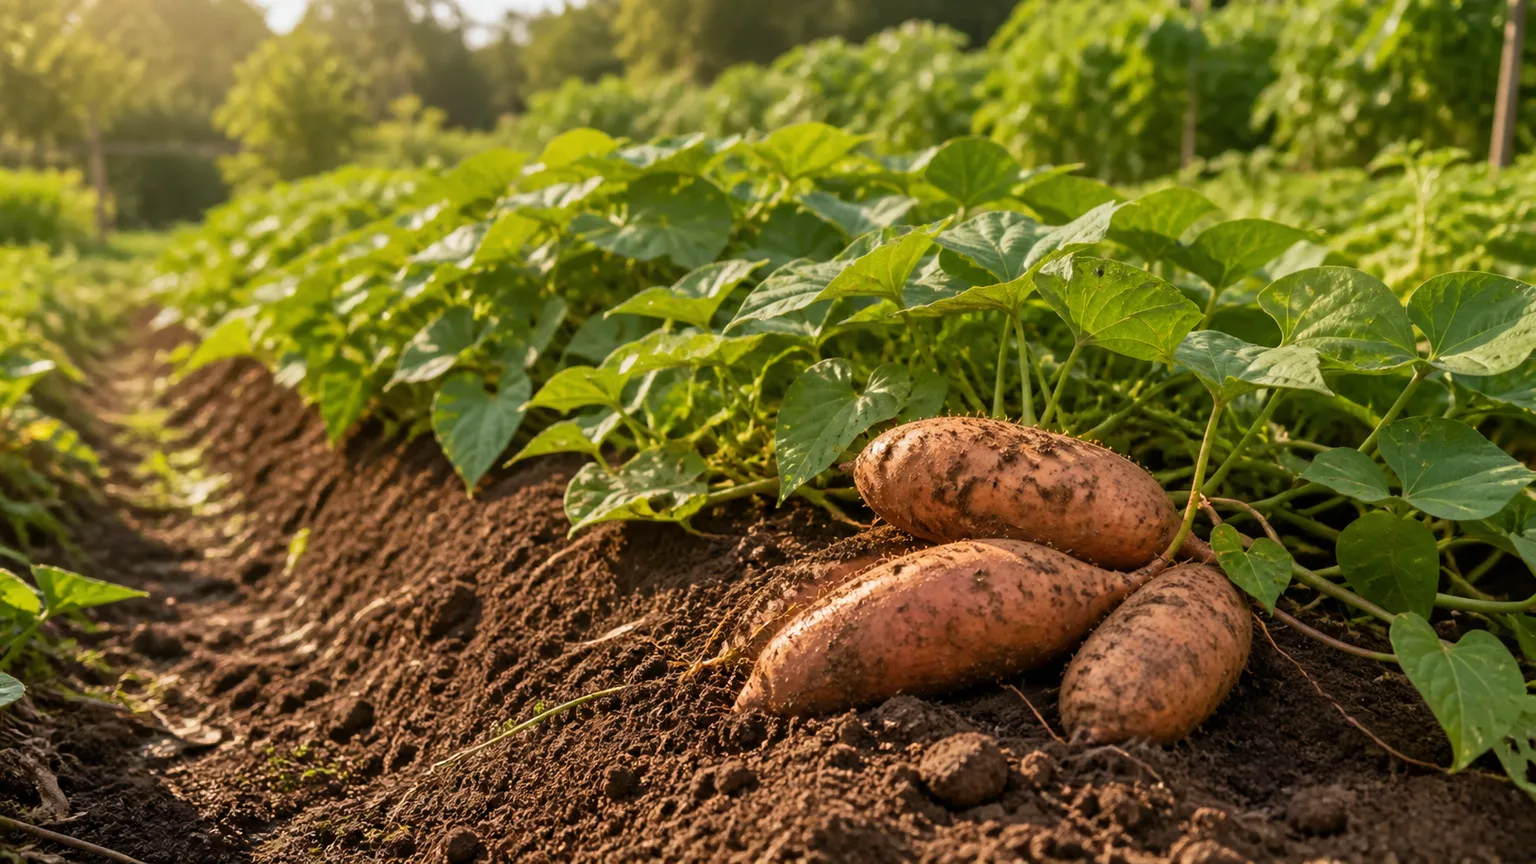
Choose a firm, undamaged sweet potato. An organic root is often recommended because it is less likely to have been treated to delay sprouting, but it is not a guarantee of success. If one grocery-store root refuses to sprout, try a different source or a saved root rather than keeping a rotten potato in a warm corner.
Start slips in warm, moist soil
The soil method is a good choice when you want the new slips to root as they grow. Lay the sweet potato horizontally in a tray of pre-moistened seed-starting mix or light potting soil. Cover it partly or fully according to the depth of your tray, keep the mix warm and evenly moist, and give the setup strong light from a sunny window or a grow light.
The Piedmont Master Gardeners’ sweet-potato guidance notes that slips commonly take about six weeks to become ready and that the tuber can produce several sprouts. Treat that as a planning range, not a promise; cool rooms, an older root, and weak light can slow the process.
You can also suspend a whole sweet potato over water with the lower portion touching the water, but that method makes it easy to keep too much of the root wet. Refresh the water and watch for soft spots. Soil-grown slips often have the advantage of forming roots in place, which removes one transition later.
Separate rooted slips and plant after cold weather passes
Wait until a shoot has several leaves and visible roots before separating it. Twist the slip away carefully or cut it close to the tuber with a clean blade. If the shoot has leaves but no roots, place its lower stem in clean water or moist potting mix until roots form rather than planting a bare, fragile stem straight into the garden.
Sweet potatoes need warm soil and a long, frost-free growing season. Plant slips after the danger of frost has passed and the soil has warmed; the Piedmont guide specifically warns that cold early-spring conditions can inhibit growth or cause the original tuber to rot. The Seasonal Homestead’s practical slip guide also emphasizes hardening off tender slips so their leaves adjust to outdoor sun and wind.
Set rooted slips into prepared soil with the roots and lower stem covered, leaving the growing leaves above ground. Give the vines room to run, keep moisture consistent while they establish, and avoid treating the first green shoot as proof that the harvest is guaranteed. A late start, short season, heavy shade, or cold autumn may produce attractive vines without enough time for large storage roots.
3. Tomatoes give you two scrap-to-plant options
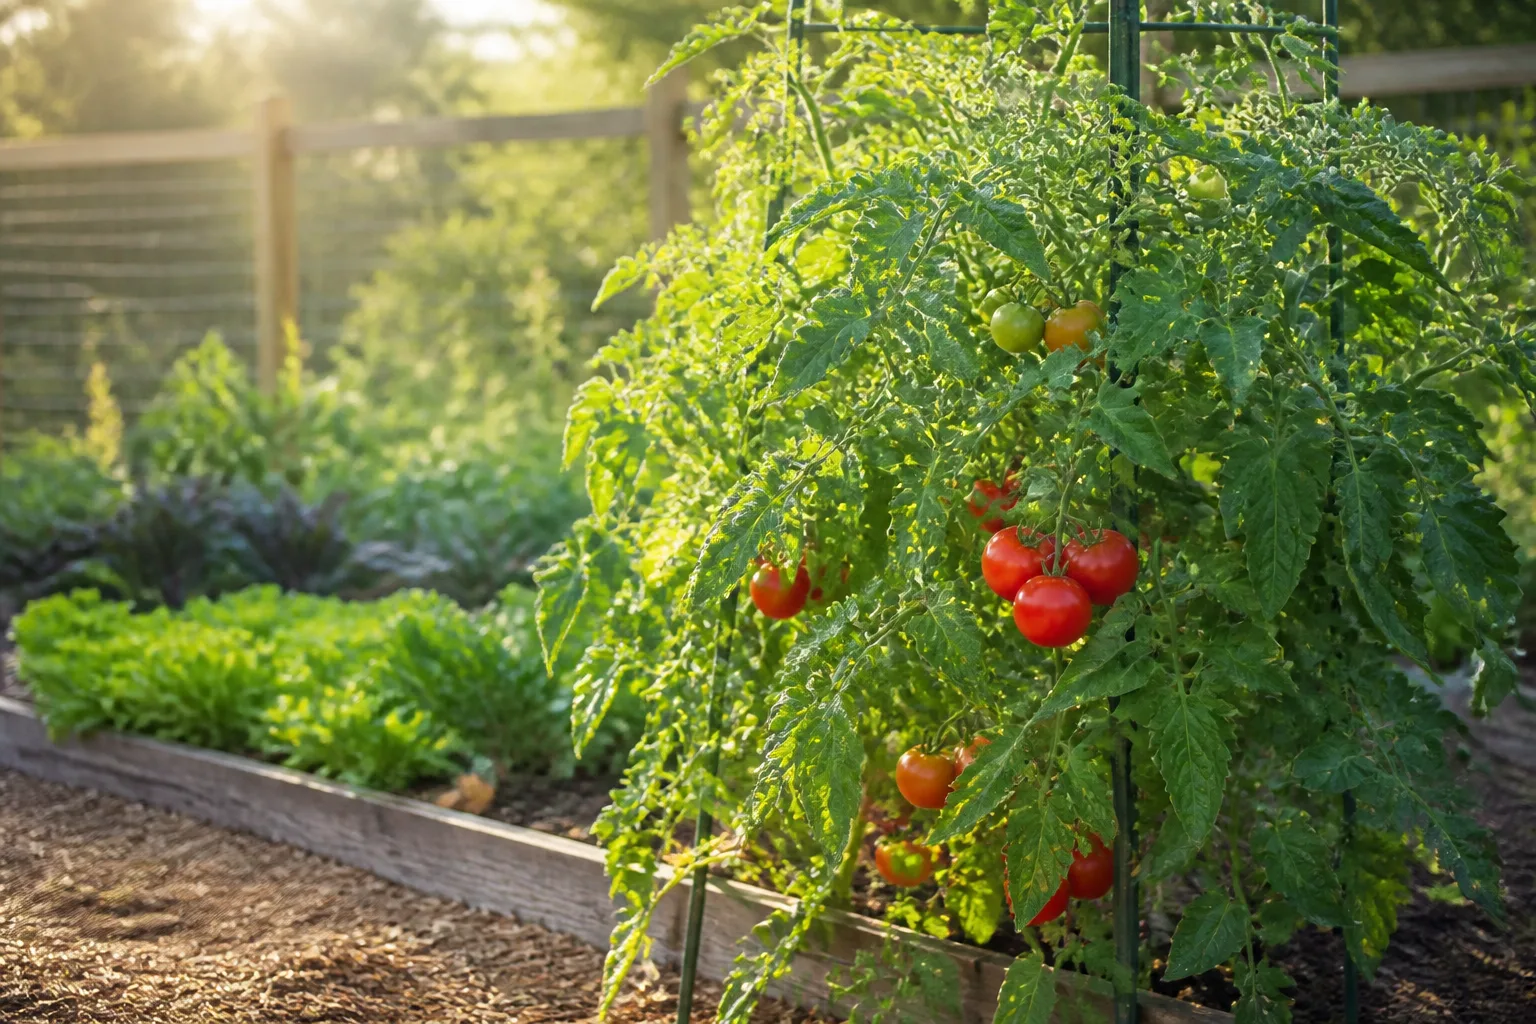
Tomatoes are technically fruit, which is why they fit this list’s title even though gardeners often group them with vegetables. They are also the crop where “grow it from a scrap” can mean two very different things: save seed from the fruit or root a cutting from a living plant.
Save seed from a ripe tomato
Seed saving is the most direct way to use a tomato from the kitchen. Choose a fully ripe tomato from a healthy plant, scoop the seeds and their gel into a small container, add a little water, and let the mixture sit loosely covered for a few days. Rinse away the pulp, spread the clean seeds to dry completely, and store them in a labeled envelope in a cool, dry place.
The Gardening Know How tomato propagation guide recommends this approach for heirloom tomatoes but points out the key limitation: seed saved from a hybrid may not produce a plant identical to the fruit you ate. Cross-pollination and hybrid genetics can change the next generation. If you want a predictable copy of a favorite hybrid, use a healthy cutting instead.
When you are ready to plant, sow the dried seeds in a clean seed-starting mix and keep them warm, evenly moist, and well lit. Do not bury them deeply. Once seedlings have true leaves and a strong root system, pot them on carefully and harden them off before outdoor planting.
Avoid planting a thick slice of tomato directly into a pot and expecting an orderly seed tray. The pulp can stay wet, encourage mold, and leave seedlings crowded together. Separating and cleaning the seeds gives each seedling room, makes watering easier, and lets you discard weak sprouts early.
Root a side shoot to clone a favorite plant
If you already have a healthy tomato plant, a side shoot is often the quickest route to another one. Choose a vigorous, disease-free shoot about 4–6 inches long, cut it with clean shears, remove the lower leaves, and place the bare stem in a glass of water. Keep the remaining leaves above the water and set the cutting in bright, indirect light while roots develop.
Change the water every few days. When the roots are about an inch long and branching, pot the cutting into a small container of airy, well-drained mix. Keep it evenly moist while it transitions, then gradually increase its light and move it outdoors only after the weather is suitable.
The Lovely Greens guide to tomato cuttings describes side shoots as easy-to-root material and recommends keeping the cutting short with only a few leaves. That small-leaf rule is practical: until roots form, the cutting has limited ability to replace water lost through a large canopy.
Rooted cuttings are clones. They preserve the parent plant’s variety and maturity, which can help late-season gardeners start a new plant with a head start. They also preserve the parent’s problems, so do not propagate a plant with suspicious leaf spots, wilt, severe pest pressure, or weak growth just because the cutting is convenient.
4. Celery can regrow from the cut base
Celery is a good windowsill project, but it needs honest expectations. The cut base can push new leaves and sometimes form roots, giving you a fresh flush of celery growth. Producing thick, tender stalks like a supermarket bunch requires much more time, moisture, nutrition, space, and favorable temperature than a shallow dish can provide.
Root the base in clean water
Cut the base from a bunch of celery, leaving roughly 2 inches of the crown. Remove damaged outer pieces, rinse away debris, and place the base cut-side up in a shallow dish with about an inch of clean water. The bottom should be wet, but the entire crown should not be submerged.
Set it in bright light and refresh the water every couple of days. New leaves should emerge from the center; roots may develop at the bottom as the crown reactivates. The University of Michigan kitchen-scrap reference includes celery among the vegetables that can restart from a base, while Utah State University Extension’s celery guidance explains why the next stage depends on fertile soil, regular moisture, and a well-established root system.
Use the new leaves as soon as they are large enough, especially if your goal is a quick garnish. If the water smells, the base becomes soft, or the center turns brown, discard it. A healthy celery crown should look firm and produce new central growth; it should not be kept alive in dirty water just because it once came from a fresh bunch.
Transplant celery when the new growth is established
Move the crown into a pot with drainage once it has fresh growth and roots. Use moisture-retentive but well-drained soil, cover the roots and lower base, and keep the new leaves above the mix. Water thoroughly, then keep the soil consistently moist rather than allowing it to swing from dry to flooded.
Celery has a shallow root system and does not tolerate drought well. Utah State University Extension recommends fertile soil, regular water, and protection from temperature stress; use those principles when deciding whether to keep the plant in a pot or set it into the garden. A cool-season planting window is usually easier than trying to bulk up celery in intense heat.
Harvest the outer stalks only after the plant has built a useful crown. If the new plant stays small, use the leaves and accept the project for what it is: a way to stretch a scrap into fresh flavor, not a guaranteed full-size replacement. Start several bases in rotation if you want a meaningful amount of celery.
Troubleshoot scraps that turn slimy, pale, or weak
Most failed regrowth projects fail for a recognizable reason. Check the scrap and its conditions before adding fertilizer or moving it to a bigger pot.
- Slimy roots or a sour smell: The water is dirty, too deep, too warm, or not being changed often enough. Cut away soft tissue if firm tissue remains, clean the container, and restart with shallow fresh water.
- Pale, stretched shoots: Light is too weak. Move the container closer to a bright window or add a grow light, but introduce strong outdoor sun gradually.
- No sweet-potato slips: The root may be treated, damaged, too cold, or simply slow. Keep the medium warm and evenly moist, then try a fresh, firm root rather than watering a rotting one.
- Tomato seeds mold over: Too much pulp and stagnant moisture can smother the seeds. Clean the seed gel away, let the seeds dry fully, and start them in fresh mix.
- Tomato cutting wilts: Too many leaves, direct hot sun, or a dry rooting medium can overwhelm an unrooted stem. Reduce the leaf load, provide bright indirect light, and keep the rooting medium evenly moist.
- Celery produces leaves but no stalks: That is a normal limit of a windowsill crown. Give the plant soil, nutrition, cooler conditions, and time—or harvest the leaves instead of forcing a full bunch.
- The transplant collapses outdoors: Water-grown roots and tender slips need a transition. Pot them up first, harden them off, and plant only when the crop’s temperature and frost requirements are met.
Do not use rooting hormone, liquid fertilizer, or homemade plant food as a first response to a rotting scrap. More inputs cannot compensate for low oxygen, poor light, diseased tissue, or the wrong season.
Build a scraps garden around season and harvest goals
Start with the crop that fits your immediate goal. For a bright kitchen windowsill and a harvest within days, choose green onions. For a longer warm-season project with a real underground harvest, start sweet-potato slips well before your planting window. For a named tomato variety, choose a cutting when a healthy parent plant is available; choose saved seed when you are growing an heirloom or enjoy genetic variation.
Celery sits between those choices. It is satisfying in water and can be moved to soil, but it needs sustained moisture and a cool enough season to bulk up. The same scrap can therefore be a quick garnish project in an apartment or a serious transplant experiment in a garden, depending on how much light, space, and time you can provide.
Keep a simple label on every pot: crop, source, date started, and method. That turns a one-time kitchen trick into useful garden information. If a sweet potato takes seven weeks to make slips in your room, or a tomato cutting roots in ten days, you will know how early to start next season.
Think in rotations rather than promises. Save two green onion bases each week, start celery only when you can give it consistent water, and avoid filling every sunny window with sweet potatoes before you know how many slips your garden can hold. The best scraps garden is small enough to monitor and productive enough that you will actually use the harvest.
Conclusion: save the part that can actually regrow
The winning kitchen-scrap method is the one that matches the crop’s biology. Root ends restart green onion leaves, celery crowns push new center growth, sweet potatoes make slips that become garden plants, and tomatoes give you either seeds or cloneable side shoots.
Start with clean water or airy soil, keep the growing point above the waterline, move established pieces into soil when the project calls for a full plant, and respect frost and temperature. If you treat scraps as living plant parts instead of magic fertilizer, you can turn four ordinary leftovers into useful new growth—and know exactly what kind of harvest to expect.



