6 Common Gardening Mistakes to Avoid
Learn which common gardening mistakes stress plants, from heat and deep planting to fertilizer and watering, plus the first fix for each problem.
When a garden looks weak, the instinct is often to do more: add water, add fertilizer, move the plant, or cover every bare patch with something that grows fast. That reaction can turn a manageable problem into root damage, salt buildup, frost injury, or a plant that never fits its site.
The better approach is to look for a repeated habit that conflicts with what the plant needs below ground. These six common gardening mistakes cover the most preventable sources of stress, but the useful part is not the warning—it is the check that tells you what to do next.
Start With a 5-Minute Plant Triage
Before changing the routine, walk the bed and record five things: the weather over the last week, when the plant was installed, how wet the soil feels below the surface, how much sun reaches the leaves, and whether the damage is new growth, old growth, roots, or the whole plant. A wilted leaf is a clue, not a diagnosis.
Use this quick order:
- Check the soil before watering. Wet soil with wilted leaves points away from simple thirst.
- Look at the soil line. A buried crown, stem, or root flare can cause slow decline even when the leaves look fine at first.
- Review recent inputs. New fertilizer, a fresh transplant, a sudden move into hot sun, or a frost event can explain a fast change.
- Compare the plant with its neighbors. If only one plant is failing, root damage, pests, or a planting error is more likely than a weather-wide problem.
- Change one variable at a time. Otherwise, you cannot tell whether the fix worked.
Look for patterns before you blame a single care decision. A whole bed that wilts after a hot, dry week may need a water and shade response; one plant that wilts while its neighbors remain firm may have a damaged root ball, a pest at the crown, or a drainage pocket. Plants in containers also change faster than plants in the ground because the root zone is smaller and exposed on more sides, so a schedule that works for a border can be too much or too little for a pot.
1. Planting or Transplanting in the Wrong Weather
Midday heat stacks two stresses on a new plant: the roots have been disturbed, and the leaves are losing water quickly. A plant that was thriving in a nursery pot can wilt after a hot transplant even when the soil is technically damp, because its reduced root system cannot replace moisture as fast as the foliage loses it.
The safer window is a cool, cloudy day, early morning, or late afternoon after the strongest sun has passed. Fine Gardening’s practical transplanting sequence also emphasizes hardening off indoor seedlings, watering them before planting, preparing the hole first, and keeping the root ball protected from sun and wind (Fine Gardening).
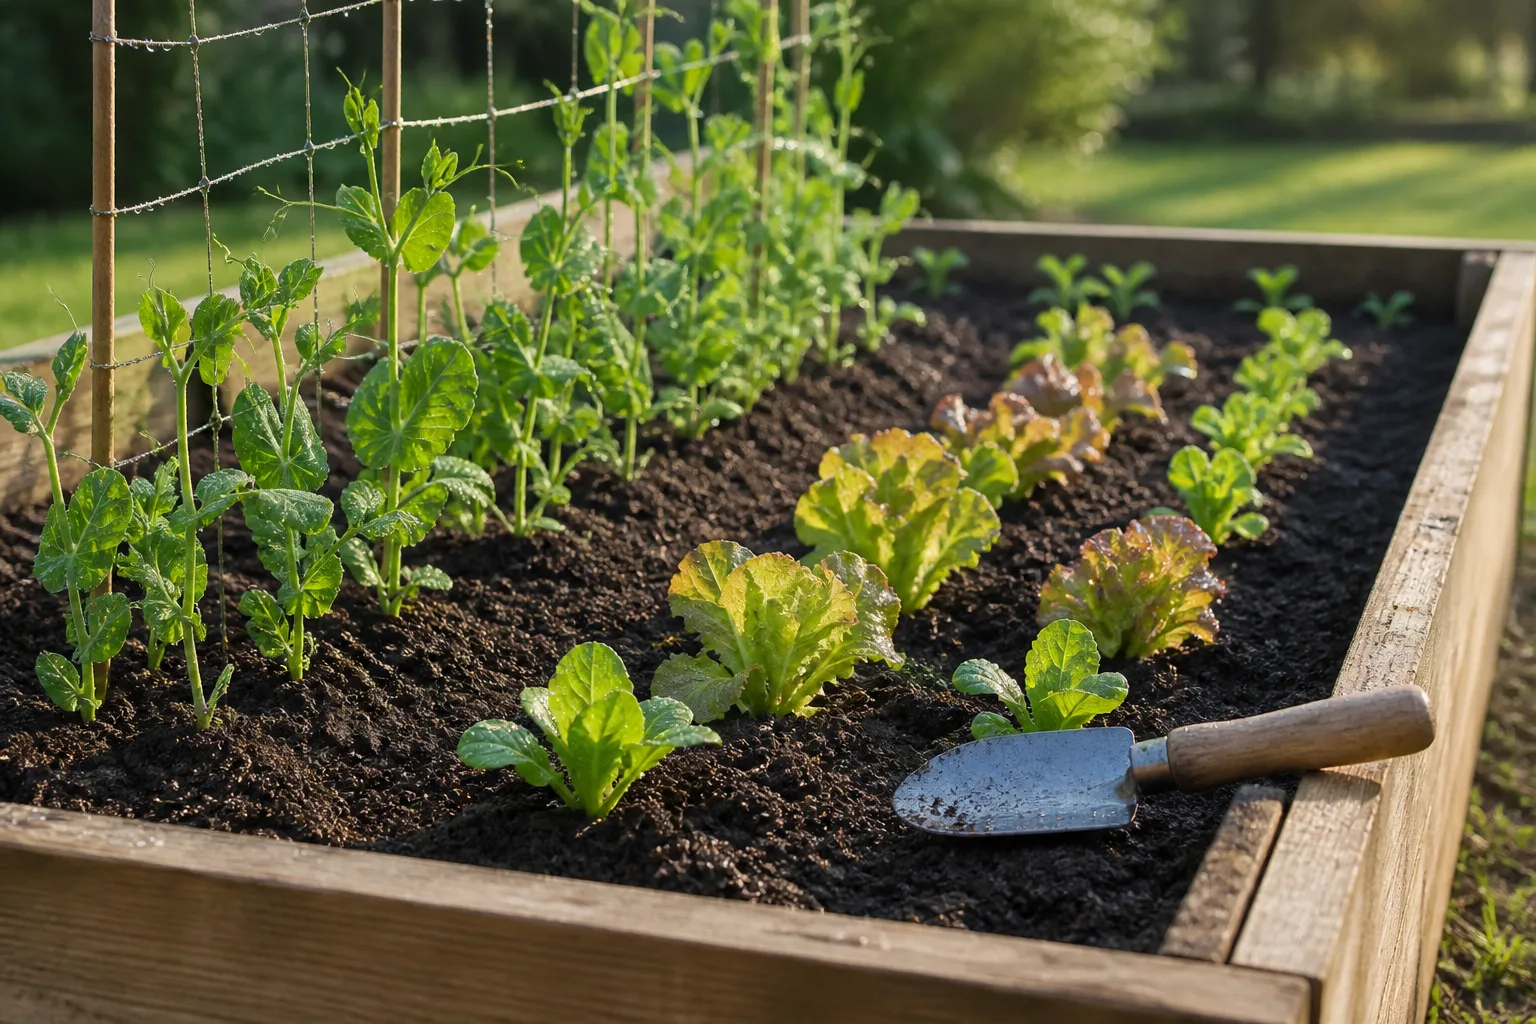
This does not mean you must never plant in summer. A container-grown shrub can be installed during a warm season if the soil is workable and you can provide careful aftercare. The mistake is combining a hot, windy afternoon with a dry root ball, exposed roots, rough handling, and no plan for the following week.
After planting, water the soil slowly enough that the root ball and surrounding soil make contact. A shallow sprinkle can leave the original nursery mix dry inside a wet-looking hole, while a flood on heavy clay can leave the new roots without air. Check the soil the next day and again during the following hot spell instead of assuming the first watering settled the schedule.
Harden Off Plants and Choose a Safer Planting Window
Seedlings raised indoors or under cover need a gradual introduction to outdoor light, wind, and temperature. Start with short outdoor periods in a sheltered spot and increase exposure over several days; a plant that has been hardened off is better prepared for the transition than one moved directly from a dim room into full sun.
Before planting, set the unopened container beside the prepared hole. Water the root ball if it is dry, slide it out without pulling the stem, and keep the roots shaded until they are in the ground. Water the soil around the root zone after planting, then use temporary shade cloth during a heat wave if the plant’s foliage is collapsing in afternoon sun.
Do not respond to heat stress with a heavy fertilizer dose or aggressive pruning. Give the plant stable moisture, reduce the immediate sun load, and wait for new growth before deciding that it needs more food.
2. Planting the Root Ball Too Deep
A wide planting hole helps roots move into surrounding soil; a deep hole that lets the root ball sink does the opposite. Buried crowns and root flares stay in a low-oxygen, overly moist zone, and the plant may decline slowly enough that the original planting error is forgotten.
The correct soil line depends on the plant. For a shrub or perennial, the crown should sit at the level it grew in the container unless its care guidance says otherwise. For a tree, the trunk should widen into a visible root flare above the soil line rather than disappearing straight into a mound of mulch. Colorado State University Extension recommends setting the root ball on undisturbed soil, keeping the top slightly above grade when appropriate, and making the hole wider rather than deeper (CSU Extension).
“Bigger” is not automatically wrong. A hole several times wider than a root ball can be helpful, especially for a tree, while the depth should be measured against the actual root ball and the first structural roots. The common failure is digging a deep cylinder, backfilling loose soil underneath, and assuming the plant will stay at the original level after watering and settling.
Check the Root Flare or Crown Before Backfilling
Place the plant in the hole while it is still in its container and compare the soil surface with the surrounding grade. If the stem disappears into the potting mix, gently expose the crown or root flare before setting the final height. Backfill around the sides, not over the top of the root ball, and water to settle the soil rather than packing it down with your feet.
If you discover the mistake immediately, lift the plant, correct the hole depth, and replant it. If a mature shrub or tree has been buried for years, do not excavate a large root system impulsively; removing major roots can create a second problem. Expose the flare gradually and ask a certified arborist for help when the trunk flare is buried, the tree is declining, or structural roots may be involved.
Mulch should conserve moisture, not hide the soil line. Keep it away from the crown or trunk and spread it in a thin, even layer over the surrounding root zone.
The same rule applies in raised beds and amended planting pockets. A soft, enriched hole surrounded by dense native soil can act like a bowl, holding water around the root ball after rain. Improve the bed’s overall structure and drainage when needed; do not create a tiny pocket of perfect soil that the roots cannot leave.
3. Feeding by Calendar Instead of Evidence
Fertilizer is not a general-purpose plant rescue. If a plant is in the wrong light, sitting in waterlogged soil, suffering from root damage, or reacting to heat, extra nutrients can increase stress instead of correcting the cause. Excess soluble fertilizer can raise the salt concentration around roots, while excess nitrogen can produce lush, soft foliage without the flowering or fruiting you expected.
Start with the plant’s normal growth pattern. Pale new growth, weak flowering, or poor yield can have several explanations, so repeated problems are a good reason to use a soil test through a local extension service rather than guessing from leaf color. Epic Gardening’s vegetable-garden guidance similarly recommends finding out what soil lacks before adding a general feed (Epic Gardening).
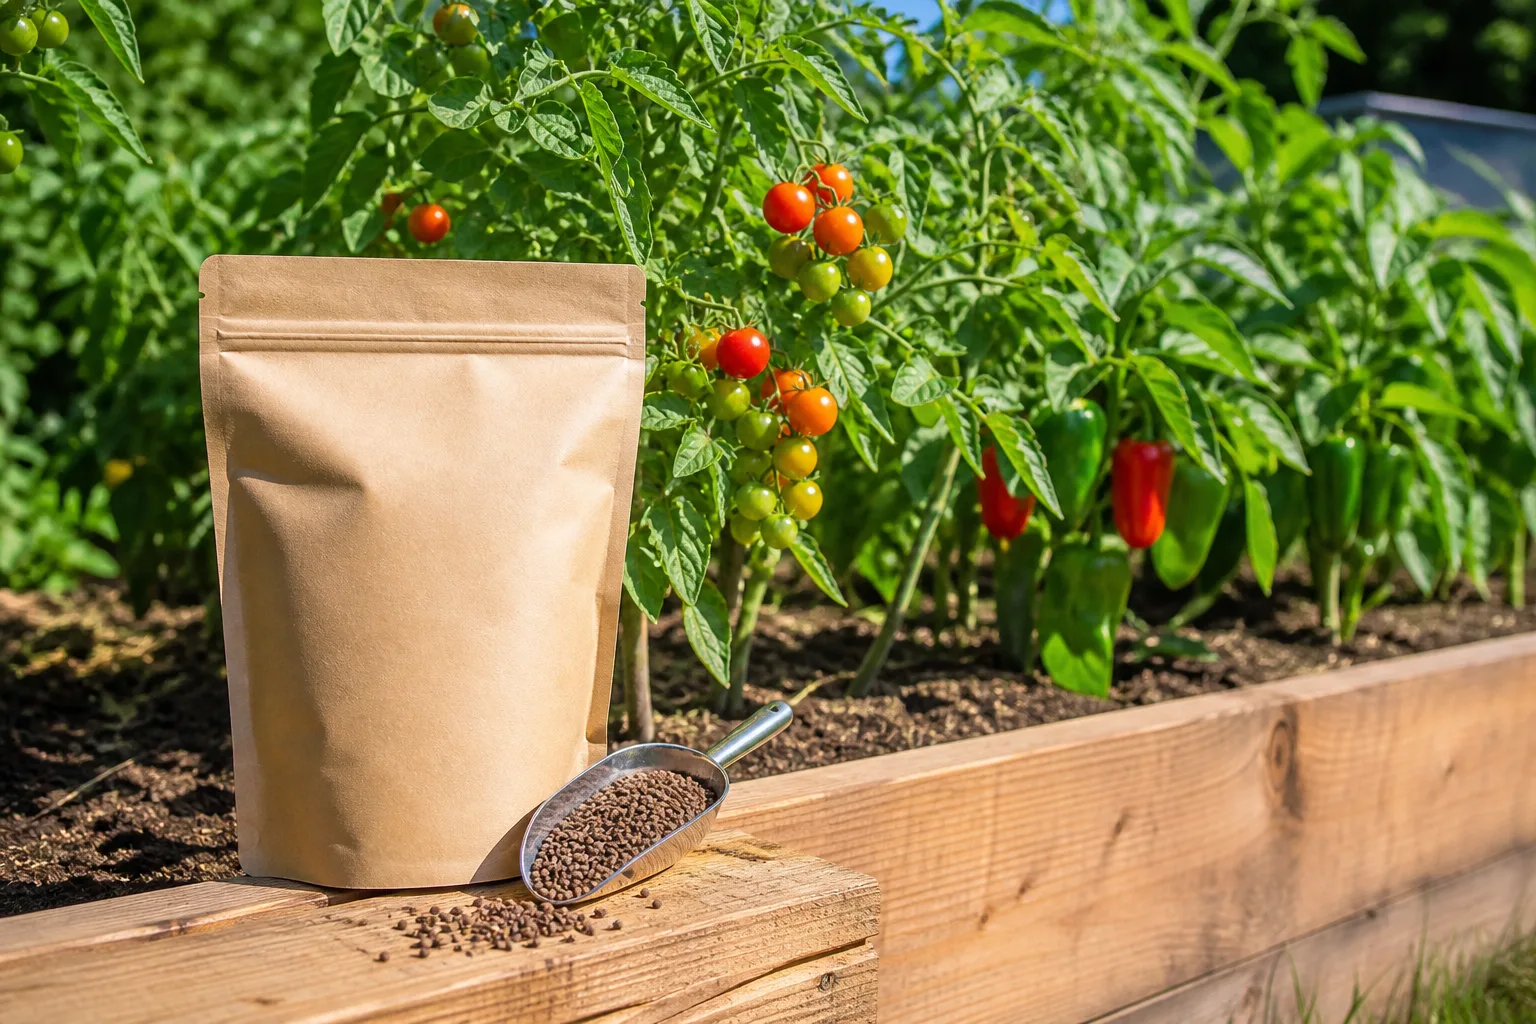
Fertilize Without Adding Salt or Root Stress
Read the label for the crop, the application rate, and whether the product is intended for soil or foliar use. More product does not make a plant catch up faster. Granular fertilizer should not sit against stems or crowns, and a concentrated liquid should be diluted exactly as directed.
Delay routine feeding when a plant has just been transplanted, is visibly wilted from heat, or has damaged roots. Once it is hydrated and producing new growth, use the lightest rate that fits the product label and season. A slow-release product may reduce the chance of a single large dose, but it is not permission to apply extra granules.
If you see a crust on the soil, brown leaf margins after feeding, or a sudden decline after fertilizing, stop adding nutrients and inspect the root zone. Container plants can often be flushed with clean water if the mix drains freely; an in-ground bed needs a more careful response based on soil drainage and test results. Do not keep “balancing” an unknown problem with more amendments.
Remember that the three fertilizer numbers describe the percentage by weight of nitrogen, phosphate, and potash—not a ranking of quality or a reason to choose the biggest number. Different plants and soils need different nutrient balances, and a fertilizer designed for a lawn or a heavy-feeding vegetable is not automatically appropriate for a native border or a newly planted shrub. A label rate is a ceiling for that product, not an invitation to combine several products on the same day.
4. Treating Frost Dates as Suggestions
The last spring frost date is a planning estimate, not a guarantee that every plant is safe to set outside. Tender annuals such as basil, marigolds, and warm-season vegetables can be damaged by a brief cold night, while hardy greens and established perennials may tolerate conditions that would injure them. Soil temperature, wind exposure, elevation, and a cold pocket in the yard can shift the real planting window.
Use the local frost-free season and the plant’s temperature tolerance together. The National Gardening Association’s frost-protection guidance shows how cloches, cold frames, and low tunnels can extend the season, but protected planting still requires hardening off and ventilation (National Gardening Association). A cover that touches tender foliage, traps too much heat, or stays on all day can create a new problem.
Use a weather forecast as one input, not the entire decision. A sheltered wall can warm a planting pocket, while an open low spot can be colder than the official station used for a frost map. If you are growing expensive annuals from a flat or planting a marginally hardy perennial, keeping a few replacements protected is often wiser than putting every plant out on the earliest possible date.
Match the Plant to the Weather You Actually Have
For tender annuals, wait until the forecast is reliably above the plant’s minimum temperature and the soil is warm enough for active growth. If you want an earlier start, use a row cover or cloche sized to the plant, remove or vent it as temperatures rise, and keep checking the forecast rather than assuming one protection setup will last all season.
Fall planting has its own timing rule. Newly planted perennials with small root systems can be pushed upward by repeated freeze-thaw cycles. Missouri Botanical Garden explains that frost heaving breaks roots and exposes crowns; well-drained beds, early-fall planting that allows establishment, and a moderate mulch layer can reduce the risk (Missouri Botanical Garden). If a plant is lifted by frost, cover exposed roots with soil when conditions allow and correct the drainage or planting timing that made it vulnerable.
5. Watering on Autopilot
A fixed watering schedule is convenient, but weather, soil, plant size, and recent rain change the amount a garden needs. The phrase “one inch per week” is a useful starting point for some established beds—not a prescription for every container, seedling, sandy soil, clay soil, or heat wave.
The National Gardening Association recommends checking moisture in the active root zone and notes that too much water displaces air around roots. Its practical guide suggests checking several inches below the surface and watering deeply enough to reach the plant’s main roots rather than wetting only the top layer (National Gardening Association’s watering guide). A small rain gauge can also show whether an irrigation timer is running on top of meaningful rainfall.
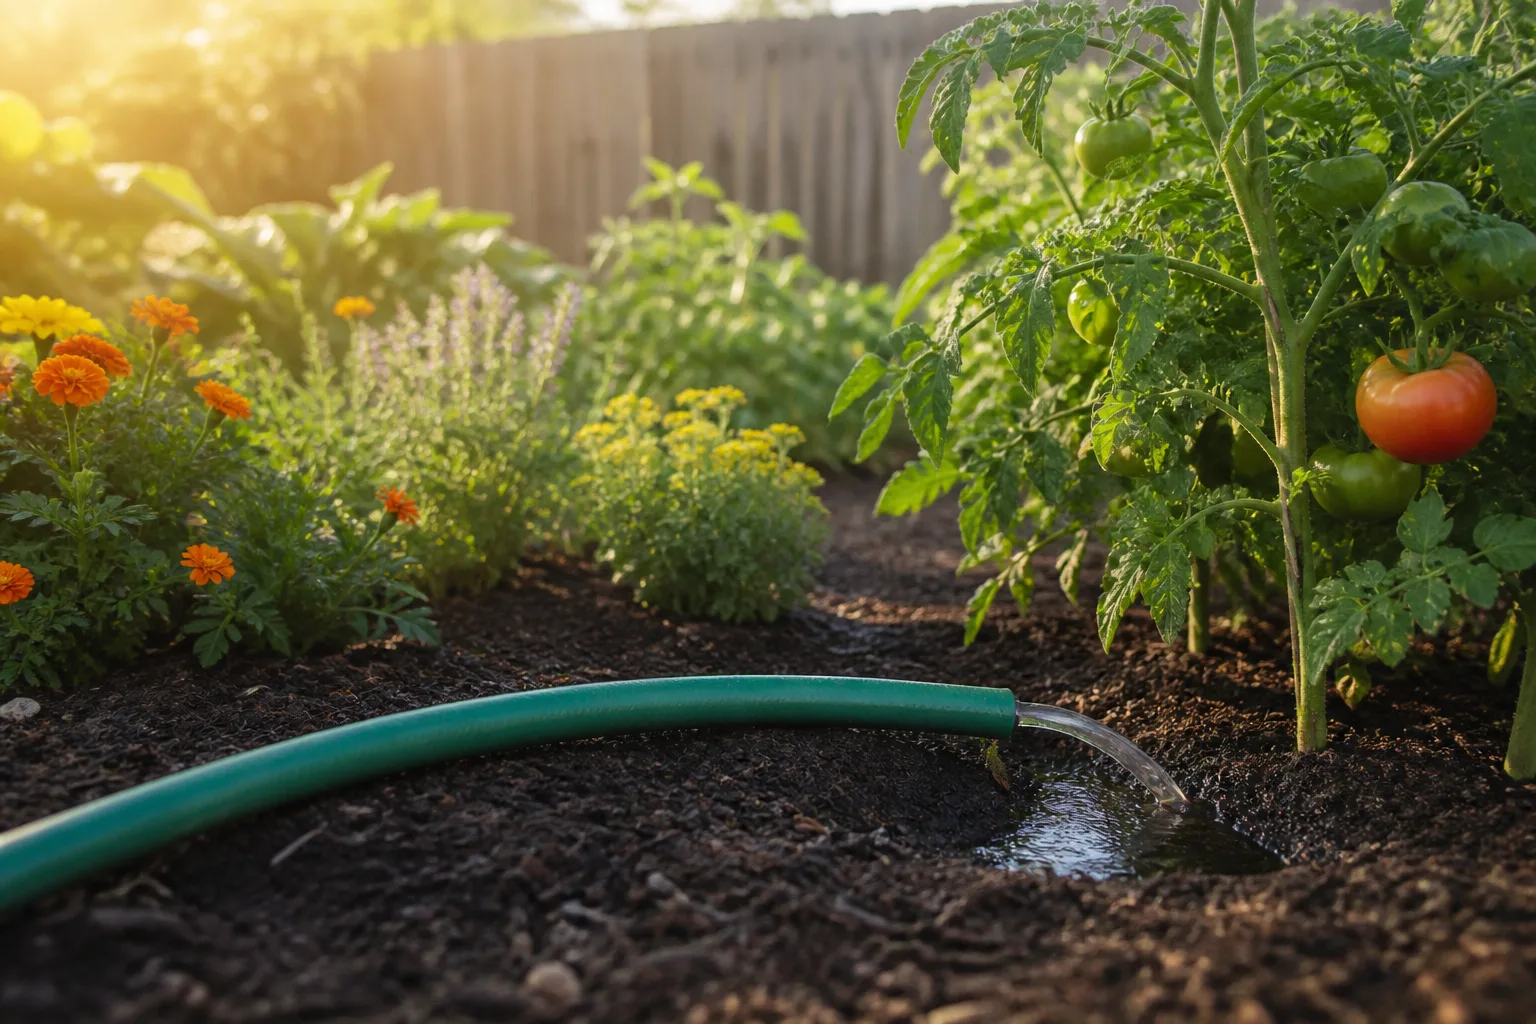
Tell Thirst From Drowning Before You Water
Check the soil before interpreting the leaves:
- Dry soil plus crisp, drooping, or curling leaves is consistent with underwatering. Water slowly around the root zone until the soil is moist at the intended depth; very dry soil may need a second pass after the first water soaks in.
- Wet soil plus soft wilt, yellowing, leaf drop, or a sour smell points toward overwatering or poor drainage. Pause irrigation and look for pooling, compacted soil, blocked drainage, or a broken timer.
- Wilting only during the hottest part of the day can be heat response. If the plant recovers in the evening and the soil is already moist, more water may not be the right answer.
Established beds usually benefit from a deep soak followed by a check, not a shallow splash every day. New transplants, seeds, containers, and plants in sandy soil are exceptions and may need more frequent monitoring. Water early in the day when possible, keep disease-prone foliage dry, and use drip or soaker systems when they suit the bed.
Mulch can slow evaporation and buffer soil temperature, but it cannot correct a blocked drain or make a drought-tolerant plant happy in a constantly wet bed. Keep the layer loose and away from stems, and pull it back temporarily when you need to feel the soil. The goal is a root zone that cycles between moist and aerated—not a permanently saturated surface.
Do not repot, prune, fertilize, and rewater a wilted plant all at once. First confirm whether the root zone is dry or saturated. That single check prevents the common cycle of adding water to an already drowning root system.
6. Choosing a Plant Because It Thrives Somewhere Else
A plant that is vigorous in a neighbor’s yard may be a poor choice for your bed. It may be suited to a different rainfall pattern, soil texture, winter temperature, amount of sun, mature size, or maintenance level. “Low maintenance” often means the plant is strong in the right conditions, not that it will thrive anywhere.
Read the full label, not just the bloom photograph. Look for mature spread, hardiness range, moisture preference, soil texture, whether the plant is a clumper or a runner, and whether it produces viable seed. A plant that is sold as a quick screen may need regular pruning, a broad root zone, or a boundary that your yard does not have.
Before buying, match five conditions: light at the planting spot, soil drainage, available water, mature height and width, and the plant’s behavior in your region. Then check a local invasive-plant list or ask your extension office or native-plant society about spread risk. Invasive status is regional; do not assume a plant is safe—or harmful—based only on a national list or a nursery label.
Perfect Earth Project’s interviews with conservation and landscape experts make the same practical point: choose the right plant for the site, then evaluate local climate, light, water, drought, and compaction before substituting a native alternative (Perfect Earth Project). A native plant can still fail in the wrong microclimate, and a non-native ornamental can still require responsible containment.
Screen Every Plant for Site Fit and Invasive Risk
Use this buyer’s check before planting:
- Find the mature dimensions. Leave enough room for the plant’s adult canopy, not just the size in the nursery pot.
- Confirm the moisture zone. Do not put a dry-site herb beside a bed that receives daily irrigation for thirsty annuals.
- Check how it spreads. Ask whether it self-seeds, roots outward, climbs into neighboring plants, or is difficult to remove.
- Verify local status. Search your state or province’s invasive-plant resources and local extension recommendations.
- Choose an alternative by function. If you want a screen, pollinator value, fall color, or ground cover, find a plant that performs that job without exceeding the site’s limits.
If you already planted an aggressive spreader, remove seed heads before they mature, keep runners out of natural areas, and dispose of invasive material according to local guidance rather than adding it to a casual compost pile. For established woody plants or plants regulated in your area, get local removal advice before disturbing them.
A Simple Recovery Sequence for a Struggling Garden
When several plants look poor at once, use a reset instead of six simultaneous fixes. The goal is to restore stable conditions and gather evidence.
What to Do First, Next, and Last
First: pause the extras. Stop fertilizer, daily watering, unnecessary pruning, and moving plants around until you know whether the bed is dry, saturated, heat-stressed, frost-damaged, or poorly planted.
Next: inspect the root zone and environment. Push a finger or probe below the surface, look for standing water or compacted soil, check the soil line around stems and crowns, and note the hours of direct sun. Look for chewing, spots, or distorted new growth before assuming a cultural mistake.
Then: correct the highest-confidence cause. Water a dry plant deeply; improve drainage or pause irrigation around a wet one; shade a fresh transplant during extreme heat; replant a recently buried crown; or protect tender plants from a forecast frost. Do not “fix” a tree’s buried root flare by cutting large roots without professional guidance.
Finally: observe for one growth cycle. New leaves, firmer stems, stable soil moisture, and the absence of fresh damage are more useful than a dramatic overnight change. Keep a short note of rainfall, irrigation, fertilizer, and weather so the next decision is based on what happened in your garden.
If the plant improves only where you changed the routine, repeat that condition gradually rather than turning a one-time rescue into a rigid schedule. If it does not improve, revisit the diagnosis instead of escalating the same treatment. Gardening becomes much easier when each intervention teaches you something about the site.
When a “Bad Habit” Is Not the Real Problem
Sometimes the routine is reasonable and the plant is still failing. Other explanations include a pest or disease, herbicide drift, compacted construction soil, a damaged root system from nursery production, a pH or nutrient issue, a plant that is not hardy in the site, or competition from nearby roots. If only one species is affected, compare its care requirements with the bed rather than applying a garden-wide treatment.
Escalate when the damage spreads quickly, the stems collapse at the soil line, roots are black and soft, a tree has dieback, or multiple plants decline after a chemical application. A local extension office, diagnostic lab, certified arborist, or experienced native-plant specialist can help when the cost of guessing is higher than the cost of a diagnosis.
Conclusion
Healthy gardening is less about perfect timing than about noticing when a routine no longer matches the plant. Plant in a cool window when possible, keep the root flare or crown at the right level, feed from evidence, respect frost and heat, water according to the root zone, and choose plants for your actual site and region.
If a plant is struggling today, begin with the soil—not the fertilizer bag. Confirm whether the roots are dry or drowning, identify the most likely stressor, make one careful change, and give the plant time to respond.



