8 Simple Ways to Get Your Garden Ready for Spring Planting
Get your garden ready for spring planting with a climate-aware checklist for seeds, pruning, tools, soil, and seedlings—plus signs that tell you when to wait.
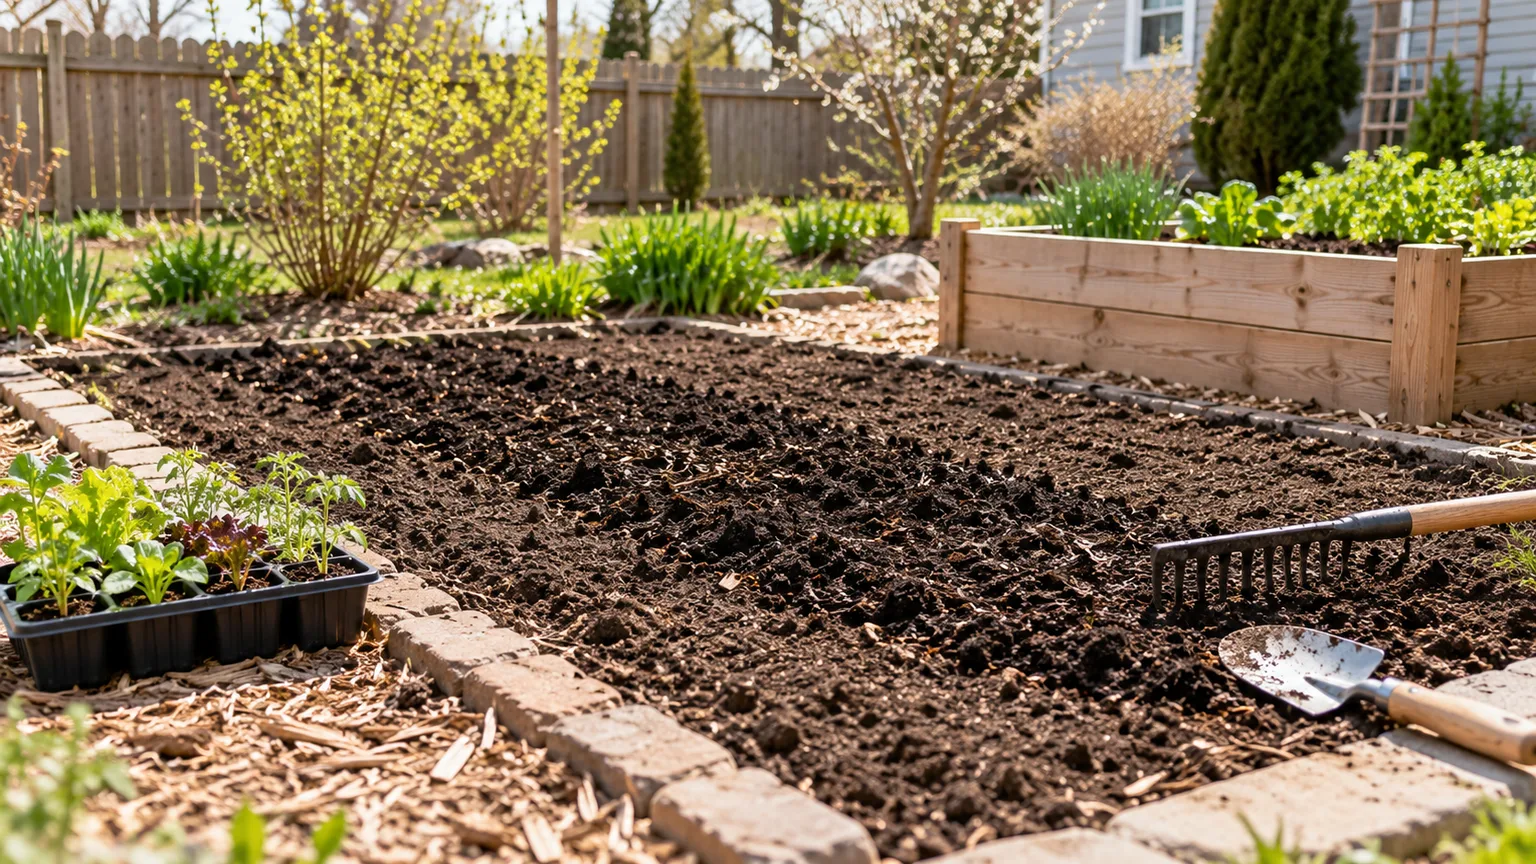
Spring preparation is not one big cleanup day. A garden can be ready for planning while its soil is still too wet to touch, and a seedling can be ready for a bigger pot weeks before it is safe to plant outdoors. Treating those jobs as separate decisions saves both time and plants.
Use the eight steps below to move from winter notes to a planting-ready garden. You can do the first few from a kitchen table; the bed work comes later, when local conditions—not a date on a generic calendar—say it is time.
How to know when spring prep can begin
You can start planning as soon as you know what you want to grow. Check your local average last-frost information, then compare that date with the seed packet’s indoor-starting and direct-sowing directions. Your USDA Plant Hardiness Zone helps you understand winter cold and perennial survival, but it does not by itself tell you when this spring’s soil is warm enough or whether frost is forecast for your garden.
There are two clocks to track: weather and soil. A clear, warm afternoon may be comfortable for you but follow a cold night, while the top inch of a raised bed may dry before heavier ground does. Cool-season crops such as peas and lettuce can tolerate cooler conditions than heat-loving tomatoes, beans, or basil, so plan a sequence rather than one universal “planting day.”
Treat frost date and soil condition as separate clocks
Use frost dates as a planning guide, not a promise. A low spot, north-facing wall, windy balcony, and south-facing raised bed can each run warmer or colder than the official station nearby. Keep a simple note of frost pockets and the first warm spots in your yard; next spring, that record will be more useful than a hardiness-zone number alone.
Soil condition is a separate gate for digging, transplanting, or walking across a bed. If the ground is still frozen, saturated, or sticky enough to smear, plan from indoors and leave the soil alone. The first action that does not depend on weather is to collect last year’s notes, measure the garden, and decide which crops need a head start.
1. Set a planting calendar
Start by writing down the crops and flowers you actually expect to grow, then sort each one into an indoor-start, direct-sow, or nursery-start group. Follow the seed packet’s weeks-before-last-frost guidance for indoor sowing and its instructions for direct sowing; some crops tolerate cool soil, while others stall or suffer when planted into a cold bed. A calendar becomes useful when it connects a crop to a real action, such as “sow peas when the bed can be worked” or “move tomatoes outside after frost risk has passed and nights are suitable.”
Do not use the back of a seed packet as a substitute for local information. Packet timing is a starting point, and regional Extension calendars can account for local frost patterns, soil temperatures, and the length of the growing season. The University of Minnesota Extension’s garden-timing guidance, for example, emphasizes matching planting decisions to soil temperature, air temperature, and crop type rather than following a date alone.
Build in a little flexibility. If an early spring turns wet or cold, the plan should let you postpone a transplant without forcing a hurried decision; if weather warms quickly, a later succession sowing may still keep the harvest going. Keep a “ready when conditions allow” list beside any dates so you can use a warm window without planting tender crops too early.
2. Map the space and plan rotations
Walk the garden before you place seed orders. Note where sunlight reaches the bed, where water collects after rain, what casts shade as trees leaf out, and which paths or hoses need access once plants grow. A quick sketch does not have to be to scale; it just needs enough detail to stop you from putting a tall trellis in front of shorter plants or filling the only walkway with pots.
If you grow vegetables, record where plant families grew last year. Moving tomatoes, peppers, and eggplants away from the same soil each season can help break cycles of some recurring pests and diseases; rotate by broad family when space allows rather than trying to perfect a companion-planting chart. When a small garden makes rotation difficult, prioritize removing diseased residue, keep notes on recurring problems, and choose a different crop where you can.
Reserve space for succession planting instead of filling every square foot at once. A short row of lettuce, radishes, or other quick crops can be sown again after the first harvest, while slower plants need room and support for their full season. Mark where stakes, cages, trellises, row cover, or drip lines will go before seedlings make it hard to reach the bed.
3. Audit seeds and order what you need
Pull out saved seed packets, bulbs, labels, and any stored tubers before shopping. Sort them into three groups: use this year, test first, and replace. A packet’s age is not a reliable pass-or-fail rule by itself: viability depends on the species and how consistently the seed stayed cool and dry, and some crops lose germination faster than others.
For ordinary seeds with no special pretreatment, a small germination check can prevent an empty row. Place ten seeds on a damp paper towel, keep them at the temperature the packet recommends, and check them over the stated germination period; if eight sprout, you have a rough 80 percent germination rate and can sow a little more densely or replace the packet. This is a practical estimate, not a laboratory test, and it does not work as written for seeds that require stratification, scarification, light, darkness, or another packet-specific treatment.
Once you know what is usable, order only varieties that fit your map, climate, and time. Check days to maturity against your growing season, confirm whether a plant needs a support or more sun than the bed can provide, and avoid buying extra seed just because a catalog makes a variety look irresistible. Local nurseries and garden centers can be helpful for transplants, but ask when they expect to stock cool-season and warm-season plants and protect tender starts if cold weather is still likely.
4. Inspect tools, containers, water lines, and supports
Before planting rush begins, find the tools you rely on: pruners, loppers, a hand trowel, spade, rake, hose, watering wand, seed trays, pots, stakes, and supports. Look for loose handles, cracked pots, bent blades, clogged emitters, split hoses, damaged row cover, and trellises that need to be anchored again. Repairing a small leak or replacing a broken stake now is easier than discovering it while a bed is ready for seedlings.
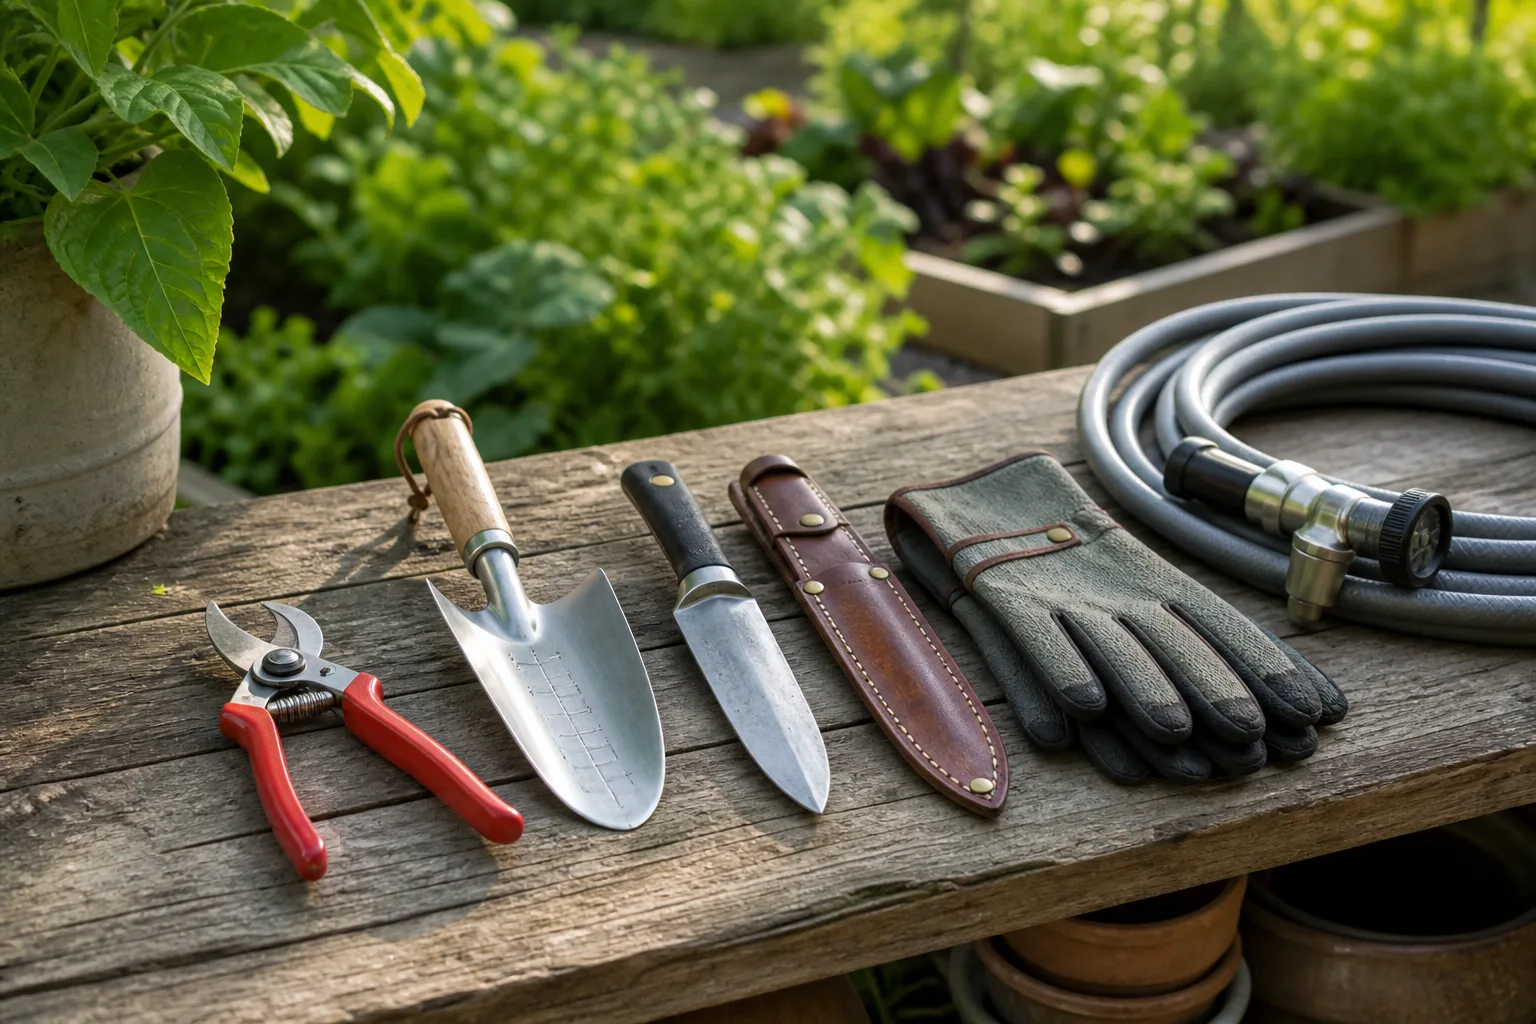
Brush loose soil from tools, wash away sap and grime, dry metal before storing it, and sharpen cutting or digging edges only if you can preserve their original angle. Disinfection is a separate step from ordinary cleaning. UF/IFAS Extension explains that disinfecting horticultural tools can reduce the spread of disease-causing pathogens; make it a priority after pruning a plant with a known disease or when moving between affected plants, and follow the product’s directions for coverage and contact time.
Use detergent and water for routine dirt rather than treating every shovel like a surgical instrument. Disinfecting everything with an improvised chemical mixture can corrode metal, damage handles, or expose you to products you do not need. For containers, empty old roots, scrub off soil and mineral crust, check that drainage holes remain open, and replace potting mix that is degraded, sour-smelling, or associated with a serious disease problem.
Stage the items you will need in the order you will use them. Put stakes and cages near the beds where they belong, place the hose so it can reach without crossing a planting area, and set row cover where it can be grabbed before a cold night. If you garden on a patio, wash pots, check saucers and drainage, and group containers by how much sun and water they need rather than by appearance alone.
Clean tools, then disinfect only when risk warrants it
Epic Gardening includes cleaning and sharpening tools among its spring tasks; the useful habit is to make the tools safe and functional, not to buy a new set each year. A sharp, aligned pruner makes a cleaner cut than a loose blade, while a dull hoe that skates over soil may need an edge before it is useful. If a tool has a cracked handle, a head that will not stay attached, or a blade that cannot close correctly, repair or replace it before putting force behind it.
Keep disinfectant away from children and pets, and never combine cleaners. If a plant has had a serious disease, clean off visible debris before using a disinfectant and follow local Extension guidance for the disease; sanitation reduces transfer risk but does not guarantee that a garden will stay disease-free. Ordinary dirt, healthy plant residue, and disease risk are different problems, so match the cleaning step to what you are trying to prevent.
5. Prune according to the flowering habit
Do not treat “spring pruning” as permission to cut every shrub in late winter. The key question is when the plant makes its flower buds. Many shrubs that bloom before mid-June set flowers on old wood—growth from the previous season—so cutting them before bloom removes this year’s display.
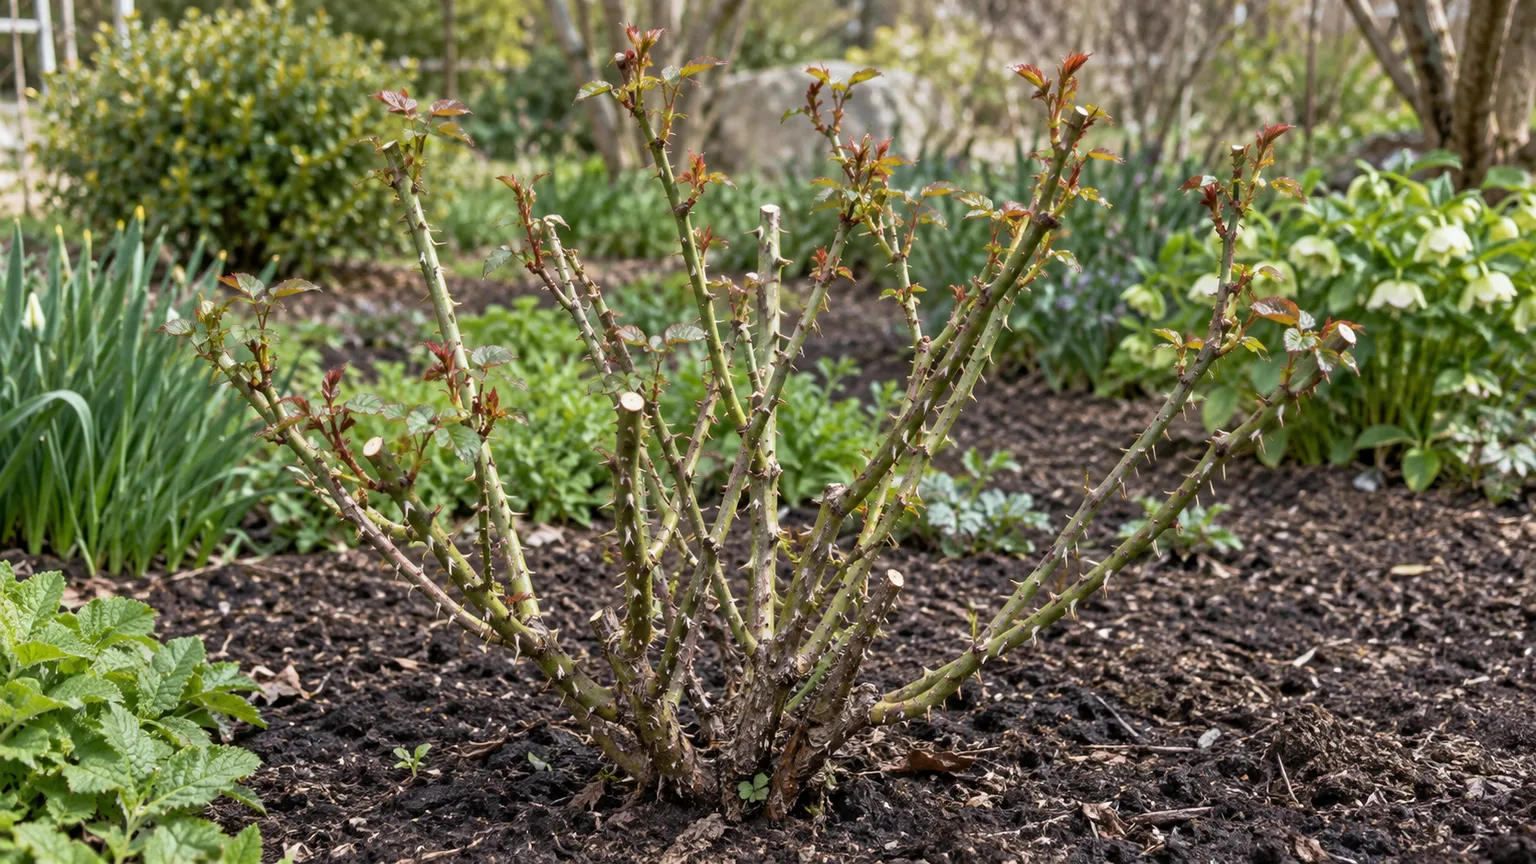
Penn State Extension advises pruning spring-flowering shrubs after they bloom and late-winter pruning many summer-flowering shrubs whose flower buds form on new growth. Lilac, azalea, forsythia, rhododendron, and weigela are examples of spring bloomers that are generally pruned after flowering; summer-blooming shrubs that flower on current-season growth can often be pruned before they begin active growth. A plant name matters more than a broad rule, so confirm the species and its pruning group before making major cuts.
For a shrub that is ready, begin with dead, broken, or diseased branches and then make selective cuts that preserve its natural shape. Avoid shearing every branch to the same height unless the plant is meant to be a formal hedge, and do not remove large amounts of healthy growth simply because the shrub looks untidy. New plantings often need little corrective pruning while they establish, and fruit trees follow species-specific training and disease guidance rather than the same schedule as ornamental shrubs.
If you cannot identify a shrub or do not know whether it blooms on old wood, wait until after it flowers before making a shaping cut. You can still remove an immediate safety hazard or clearly broken branch, but avoid turning one uncertain limb into a severe renovation. Mark the plant for identification and take a photo of its leaves or flowers for a local Extension office or nursery if you need a reliable answer.
6. Clear beds with weather and wildlife in mind
Start spring cleanup with trash, broken labels, fallen branches that block paths, and plant material you know was diseased. Pull weeds while they are small and before they set seed, but do not rake every leaf and cut every stem simply because the bed is brown. Some hollow stems and leaf litter shelter beneficial insects through winter, and a little patience can preserve that habitat without keeping the entire garden messy.
Savvy Gardening recommends delaying a full cleanup where possible because native bees and other beneficial insects can still be sheltering in stems and leaf litter during early spring. Its specific temperature threshold is a regional cue, not a universal calendar rule; warming arrives at different times in different climates, and insects respond to local conditions. When you need to clear an area sooner, leave short stem stubs, set cut hollow stems in a loose bundle near the bed, or move healthy leaves to a quiet garden edge rather than shredding or bagging everything.
Separate the material by condition. Healthy leaves and stems can be composted or used as a light mulch once the soil is warming and dry enough, while visibly diseased material should be handled according to local guidance rather than left in a cold compost pile that may not heat evenly. If you are unsure whether a patch is diseased or simply winter-worn, remove only the affected plant tissue and keep the rest of the bed intact until you can see new growth.
Wait to pull back winter mulch around spring bulbs until the shoots are emerging and the layer is no longer needed for protection; do not strip a bed bare during a forecast cold snap. On the other hand, thick wet mulch pressed against crowns or stems can hold too much moisture, and a dense mat may smother small emerging plants. Rake gently, keep a little cover where it is useful, and avoid walking across saturated beds while you work.
Decide what to remove, compost, or leave standing
Use a three-way sort instead of a blanket cleanup. Remove trash, broken supports, and plants with active rot or obvious disease; compost healthy soft plant material if your compost system can process it; and leave or relocate some hollow stems and dry leaves where they can shelter insects without blocking the new garden. That rule also helps you avoid disturbing overwintering wildlife in the parts of the yard that do not need to be planted immediately.
7. Test the soil and make restrained amendments
Before adding fertilizer or a truckload of compost, find out what the bed actually needs. A soil test can report pH and available nutrients and give recommendations tied to the crop, which is more useful than guessing from leaf color or applying the same fertilizer to every bed. University of Minnesota Extension describes soil testing as the most reliable way to decide how to fertilize and notes that unnecessary nutrients can create environmental problems as well as waste money.
Sample the area you plan to treat, not the whole yard as one blended average. Follow the laboratory’s instructions about depth and sampling; for a uniform vegetable bed, collect several small subsamples from representative spots, mix them in a clean bucket, and send the amount the lab requests. Keep a distinct sample for a bed with very different soil, management history, or plant performance, and test at a consistent time when you want to compare results over the years.
Read the recommendation before buying amendments. Add lime only when a soil test indicates a pH adjustment, and use fertilizer at the rate and timing recommended for the crop rather than adding it as a spring ritual. A thin surface layer of finished compost can improve organic matter and protect the surface, but compost is not a precise substitute for every nutrient a crop might need; repeated heavy applications can also add nutrients the soil already has.
Use soil moisture, not impatience, to decide whether to dig
Squeeze a handful of soil from the bed. If it feels cool and damp but breaks into crumbs when you open your hand, a small amount of preparation may be reasonable; if it smears, sticks into a dense muddy ball, or shines with water, wait. This quick check is not a substitute for soil testing, but it helps prevent the common mistake of turning wet ground into hard clods.
Working or walking on saturated soil squeezes air spaces out and can leave compaction that roots and water have difficulty moving through. Penn State Extension warns about compaction when soil is wet; if the bed still clings to boots or tools, do another task instead. Rain is not a signal to hurry—the soil may need days, not hours, to drain and become workable.
You do not have to till an established garden every spring. If the soil is already loose and covered, leave its structure alone, pull weeds, and top-dress with a modest layer of finished compost when the ground is ready. For a compacted new bed or a heavy layer of residue that needs incorporating, use the least disruptive method that solves the problem, and never rototill when the soil is wet. Penn State Extension also emphasizes reducing traffic on wet ground, while its soil-management guidance explains that tillage has trade-offs rather than being automatically good or bad.
8. Start seeds on schedule and stage transplants
Start seeds indoors only when the crop benefits from that head start and you have enough light and space to care for the seedlings. Follow the packet’s recommended number of weeks before the local last frost instead of starting every vegetable at the same time; a seedling started too early can become tall, crowded, or root-bound while the outdoor bed is still cold. Direct-sow crops that grow well in place when the soil and weather suit them, rather than transplanting simply to make the garden look busy sooner.
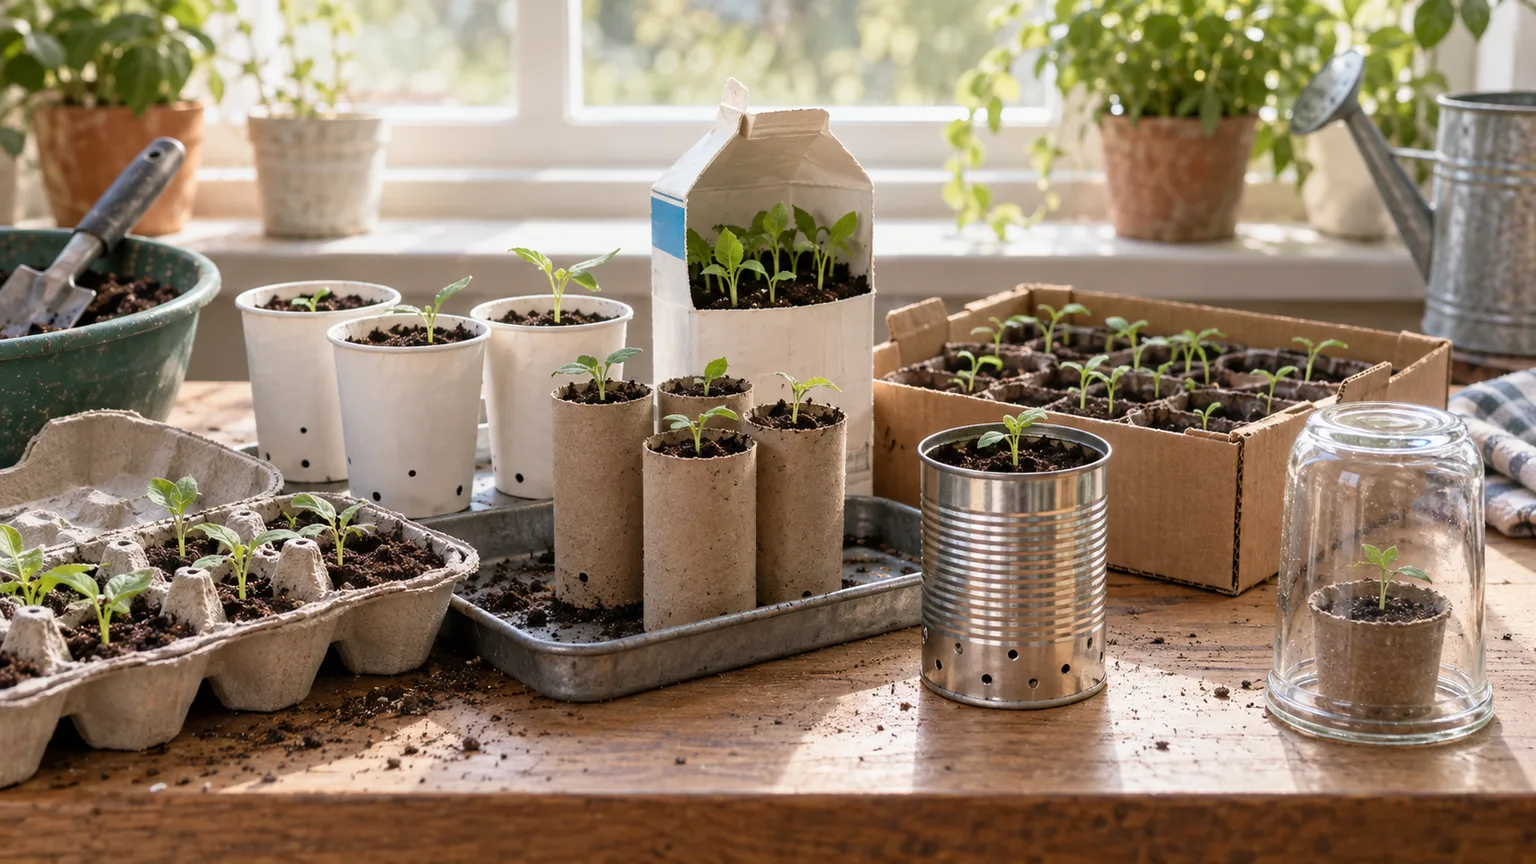
Use clean containers with drainage and a seed-starting mix that stays evenly moist without becoming waterlogged. Label each tray with the crop and sowing date, and keep notes on germination so next year’s schedule is based on what happened in your home rather than a generic chart. If a seed needs a cold period, soaking, or light to germinate, follow the instructions for that species; putting it in a warm tray early may not replace the treatment it requires.
Check seedlings before setting them outside. A crowded or root-bound plant may need a larger cell or pot, but disturbance-sensitive crops do not always recover equally well from repotting. University of Minnesota Extension notes that transplant size, root binding, temperature, and soil moisture can all affect establishment, and that hardening off is the gradual conditioning of greenhouse-grown plants to less predictable outdoor conditions.
Harden seedlings before their permanent move
Give transplants a gradual transition instead of moving them from a protected room straight into full sun and wind. Over about a week or longer, expose them to short periods outdoors in a sheltered, shaded place, then increase the time and sun exposure as weather allows; bring them back inside or protect them if temperatures, wind, or rain are unsuitable for the crop. Reduce watering only enough to prevent overly soft growth—wilting a seedling is not a useful hardening technique.
Plant into soil that is workable and appropriate for the crop, water the root ball in, and use temporary cover if a brief cold spell is possible. Do not use a warm afternoon as the only go-ahead for tender tomatoes, peppers, or basil; cool nights and cold soil can slow their roots even when the air feels pleasant. Cool-season plants can go out earlier, but they still need gradual exposure and protection from severe conditions.
A three-pass spring preparation schedule
It helps to break the work into three passes instead of trying to complete everything on the first mild weekend:
| Pass | Best time to do it | Main jobs |
|---|---|---|
| Plan | Any time before outdoor soil work | Check local frost information, map beds, audit seed packets, order varieties, and schedule indoor sowing. |
| Stage | As the garden begins to thaw | Repair tools and supports, test irrigation, wash containers, and prune only plants whose timing is clear. |
| Prepare and plant | When beds are workable and crop conditions fit | Remove problem debris, test or amend soil as needed, sow cool-season crops, then wait for suitable weather before planting tender starts. |
If a season is already underway, skip the urge to “catch up” by digging or feeding everything at once. Start with the bed you will plant next, check its moisture, clear only what needs clearing, and prepare one crop group at a time. A small garden can be ready in an afternoon; a larger garden is easier to manage when you prioritize by planting window and repeat the same sequence across beds.
Conclusion
Getting your garden ready for spring planting is mostly a matter of good order: plan around local frost and crop needs, inventory before buying, prepare tools and supports, prune by flowering habit, clean beds carefully, and amend soil only after checking it. The one step to delay is bed work in sticky, saturated soil, because a few days of patience can protect the structure you will rely on all season.
Once the beds are workable, prepare only the area you will plant next and keep the rest covered or undisturbed. That approach gives you a ready garden without turning spring into a race against the calendar.



