How to Grow and Care for Croton Plants
Learn how to grow and care for croton plants with practical light, watering, soil, humidity, pruning, propagation, pest, and wintering advice.
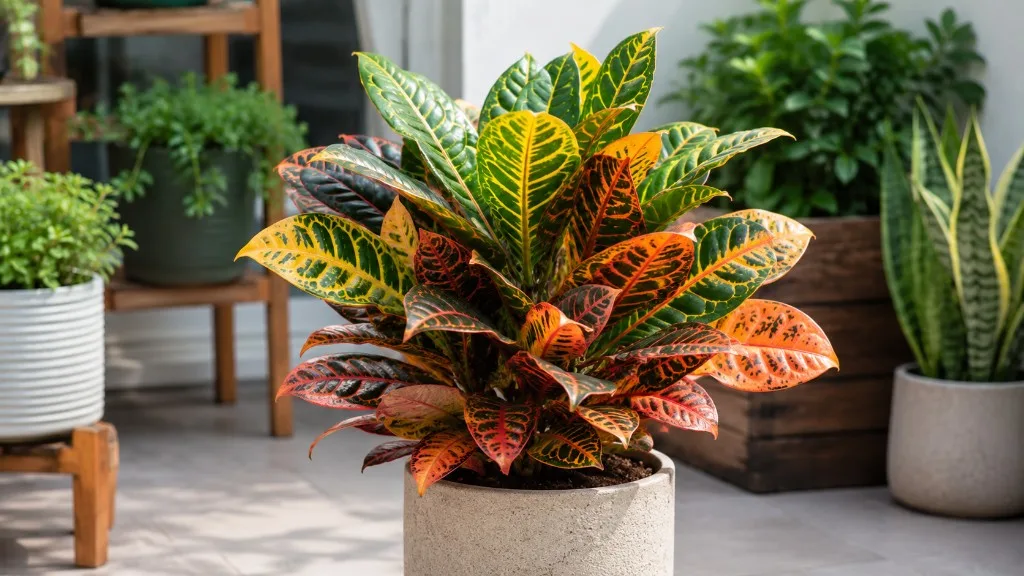
Croton plants (Codiaeum variegatum) are living color swatches: one healthy plant can carry green, yellow, orange, red, bronze, and burgundy leaves at the same time. That color comes with a price. Crotons are less forgiving of dim rooms, cold drafts, abrupt moves, and soggy roots than many common foliage houseplants.
The reliable approach is to manage light and stability first, then match watering to the pot and the plant’s growth rate. Crotons can recover from a lost leaf or a hard prune, but repeated stress can leave a bare stem for months. Use this guide to choose a good location, establish a root-friendly routine, propagate a cutting, and diagnose the reason for a croton’s leaf drop before changing five things at once.
Croton at a Glance
Croton is a woody, broadleaf evergreen shrub in the spurge family, Euphorbiaceae. NC State Extension describes the species as native to Malaysia, Pacific islands, and northern Australia; in those warm climates it can become a large landscape shrub, while an indoor plant is more often kept near 3 feet tall. Cultivars differ dramatically in leaf width, curl, spotting, veining, and mature habit, even though they belong to the same species. NC State Extension lists full sun or partial shade, high-organic-matter soil, and good drainage among its cultural conditions.
Indoors, think of a croton as a bright-light tropical shrub in a container, not as a low-light tabletop plant. It may survive several feet from a window, but survival and good color are different goals: low light often produces greener, duller foliage and a thinner shape. Outdoors, crotons are year-round plants only in genuinely warm, frost-free regions; elsewhere they are summer container accents that need a planned move indoors.
Pick the Right Indoor or Outdoor Spot
Light Is the Color-Control Lever
Place an indoor croton close to the brightest window you have, usually an unobstructed east, south, or west exposure. A few hours of gentle direct sun can deepen color, but the plant should be acclimated rather than moved from a dim shop corner straight into intense afternoon glass. If the newest leaves are mostly green, stems stretch between leaves, or the plant leans toward the window, increase light gradually before increasing fertilizer.
Outdoor crotons prefer full sun to partial or dappled shade, depending on cultivar and climate. Bright light is necessary for strong variegation, while scorching heat through a west-facing wall or glass can bleach or crisp the leaf margins. Better Homes & Gardens recommends a sunny indoor site but dappled light outdoors because hot direct exposure can scorch lighter-leaved selections. Better Homes & Gardens
Temperature, Humidity, and Stability
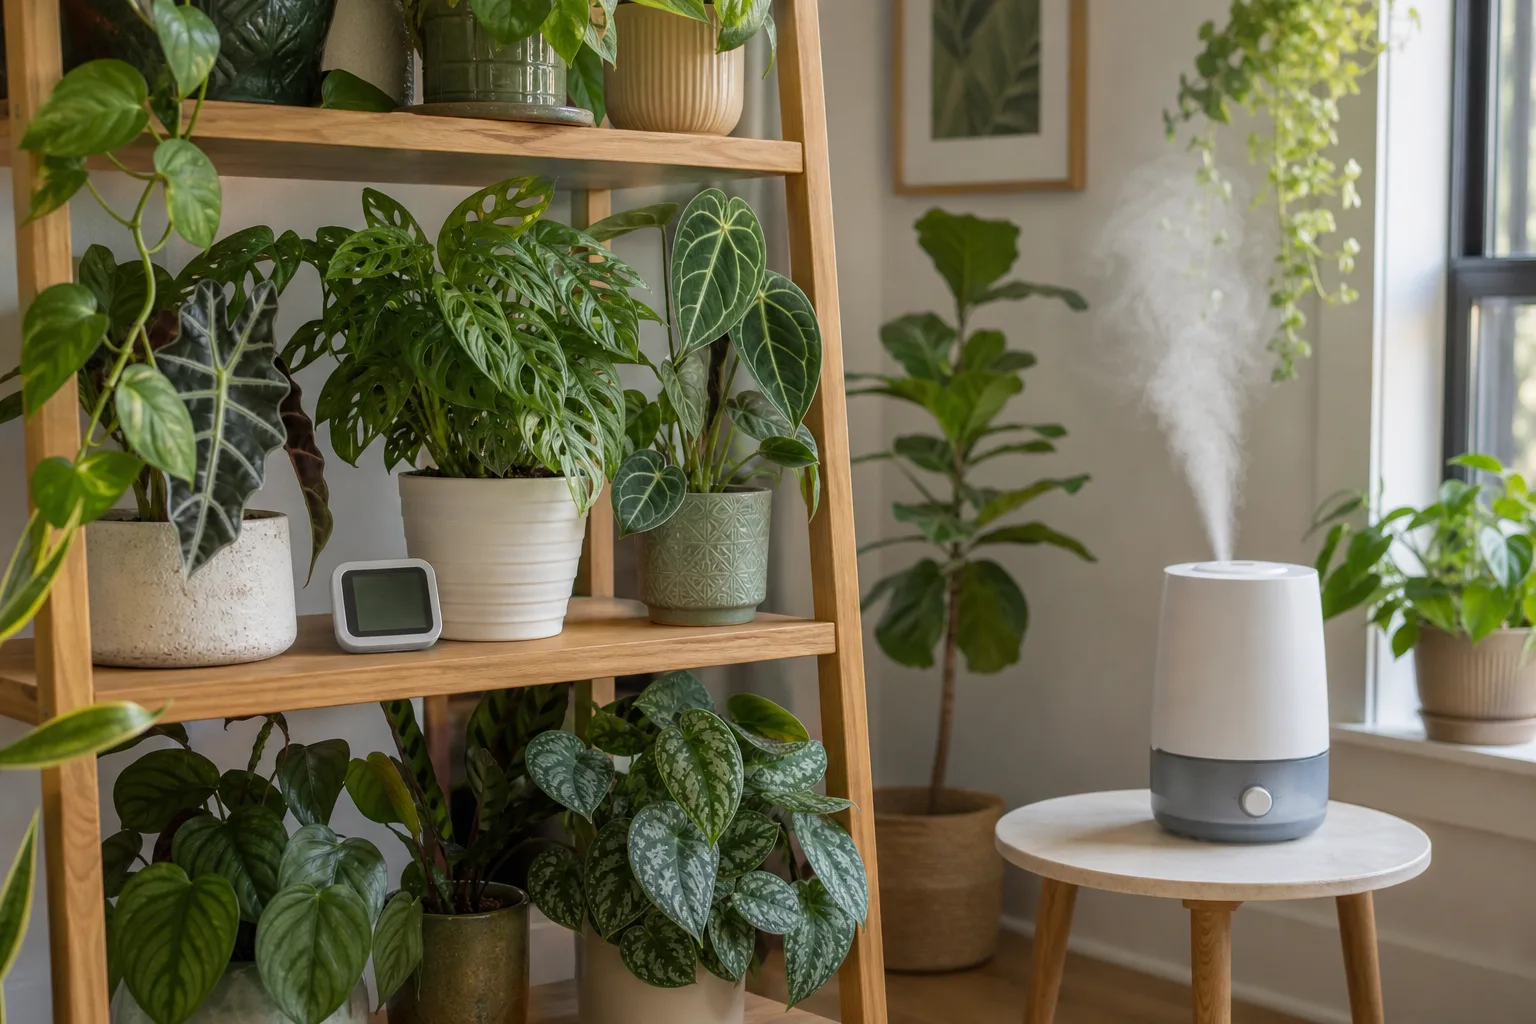
Warmth matters more than chasing a perfect humidity reading. Keep an indoor croton away from exterior doors, drafty windows, heat pumps, and air-conditioning vents; an otherwise bright plant can drop leaves after repeated temperature swings. A practical target is a room that stays above 60°F, with growth most comfortable in the mid-60s°F and warmer.
Average household humidity is survivable, but dry air can magnify browning and spider-mite pressure. Homes & Gardens quotes a practical threshold of roughly 40–45 percent or higher, while The Sill notes that Croton Petra benefits from added humidity but can tolerate normal room conditions. Homes & Gardens The Sill Measure near the plant with a hygrometer before buying a humidifier. If the reading is low, group plants, use a properly maintained humidifier, or place a croton on a pebble tray with the pot above the waterline; misting leaves is a short-lived adjustment, not a substitute for stable room humidity and airflow.
The most overlooked factor is location consistency. Do not rotate a croton between a dim dining room and a bright window every few days, or move it repeatedly to make room for guests. It can adapt to a new location, but give that change time: move it in stages and expect some older leaves to yellow or drop after a major environmental shift.
Build a Well-Draining Root Zone
Croton soil should hold some moisture after watering while allowing excess water to leave quickly. Use a quality indoor potting mix amended with perlite, fine bark, or another airy component if the mix stays dense and wet. The goal is not a gritty cactus mix that dries in a day; it is a root zone that can be thoroughly watered and then gets oxygen back as it drains.
Choose a pot with a real drainage hole and an outer cachepot that can be emptied. Do not rely on a layer of gravel at the bottom to repair a waterlogged pot; that simply changes where the perched water sits. A saucer is useful, but it should never hold runoff against the pot for hours.
For outdoor planting, select a site where rainwater does not collect. Croton likes humus-rich soil and can handle occasional drying better than stagnant, saturated soil. If the bed is heavy clay, improve the entire planting area or keep the plant in a container rather than placing a tropical shrub into a permanently wet pocket.
Water Croton by Soil, Not Calendar
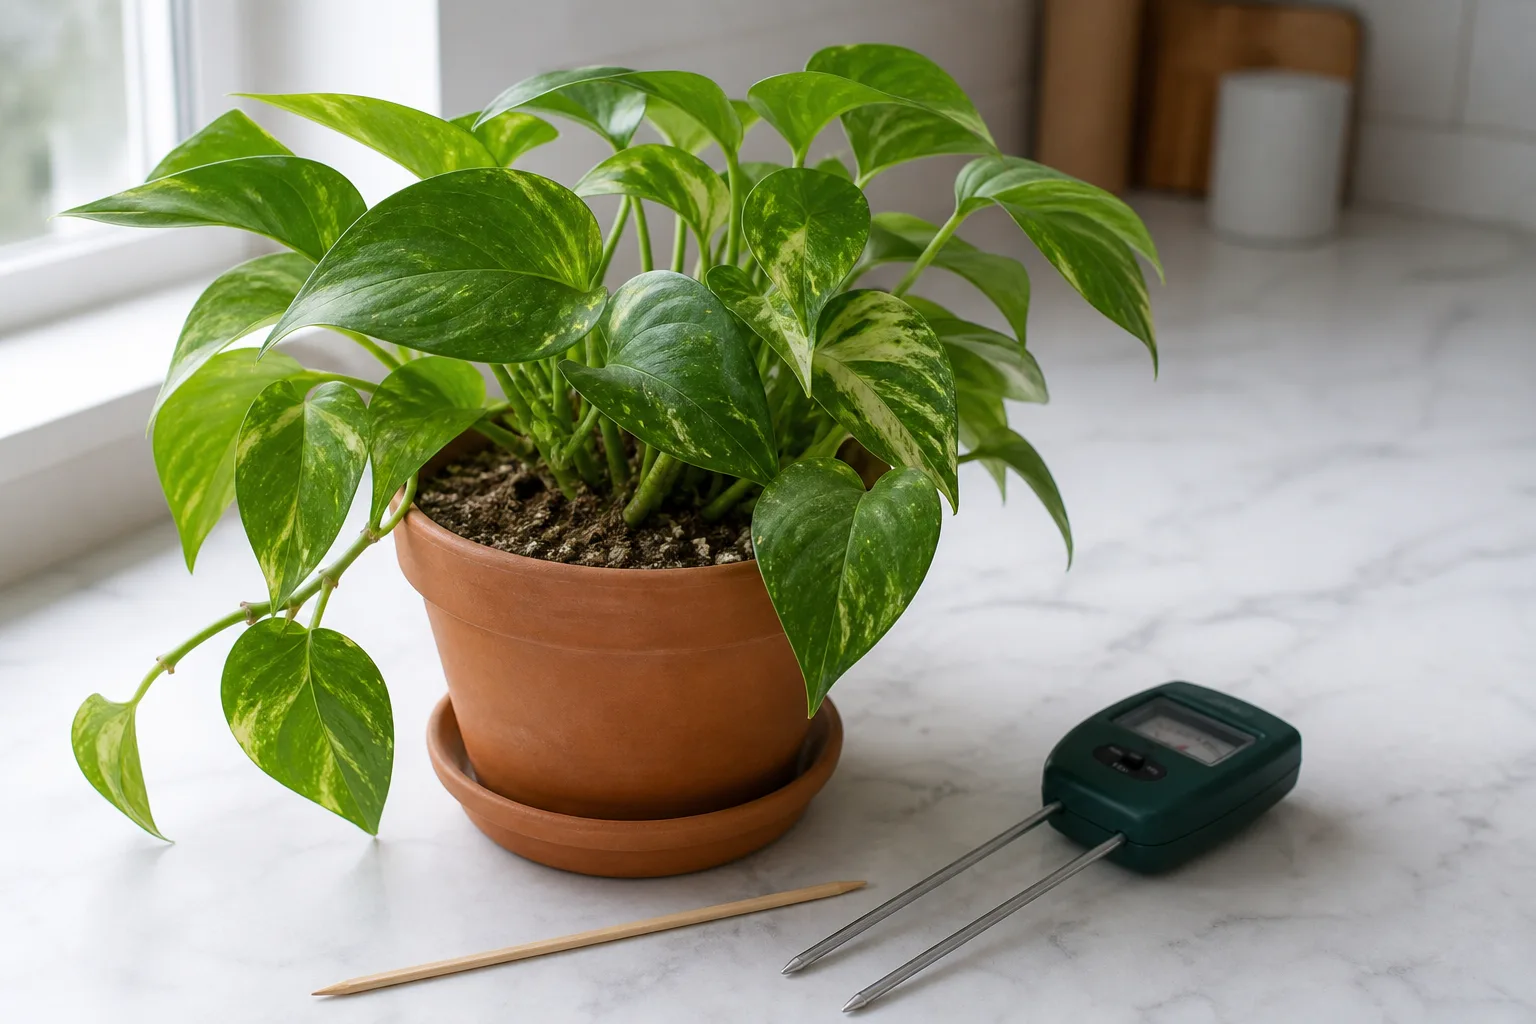
Water when the top quarter to one-third of the potting mix has dried, then water slowly until some drains from the bottom. In a small pot, this may correspond roughly to the top inch; in a large floor pot, check deeper with a finger or wooden skewer so you do not mistake a dry surface for a dry root ball. Homes & Gardens recommends allowing roughly the top 25–33 percent of the mix to dry, and Better Homes & Gardens uses the top 2 inches as a practical guide. Homes & Gardens Better Homes & Gardens
After watering, empty the saucer and note how quickly the pot becomes light again. A plant in bright light, warm air, and a small porous pot may need water more often than a shaded croton in a large plastic container. Seasonal schedules are useful reminders to check, not instructions to water every Sunday. NC State Extension describes more generous watering from spring through autumn and reduced watering in winter, which reflects slower growth and evaporation—not a reason to let the roots become bone-dry. NC State Extension
When leaves wilt, test the soil before adding water. Dry mix that pulls from the pot edge points toward thirst; wet mix paired with drooping, yellowing, or a sour smell points toward root stress. Repeated small sips can wet only the upper layer, so use a full soak when the plant truly needs water, followed by drainage.
Feed for Color Without Salt Buildup
Feed a growing croton lightly and consistently rather than trying to force color with extra fertilizer. A balanced liquid houseplant fertilizer used at the label rate every four to six weeks in spring and summer is a reasonable starting point; slow-release fertilizer can work when the label is followed. Better Homes & Gardens describes spring and summer feeding for potted plants and reduced feeding as growth slows, while Homes & Gardens recommends a four-to-six-week interval during the active season. Better Homes & Gardens Homes & Gardens
Never fertilize a plant with bone-dry soil, fresh root damage, or active root rot. Water first if the mix is dry, and pause during a heatwave, after a move, or when the plant is dropping leaves from cold stress. Brown margins, a white crust on the soil, or stalled growth despite wet soil can indicate salt buildup; flush the pot thoroughly with clean water and let it drain, then resume at a lower frequency. Fertilizer can support healthy leaves, but it cannot compensate for insufficient light.
Potting and Repotting Without Shock
Repot when roots circle densely, emerge from drainage holes, the mix has collapsed and drains poorly, or the plant dries unusually fast. Move up only one pot size, or choose a container about one-third wider than the root ball. A much larger pot holds more wet mix around a relatively small root system, raising the risk of overwatering.
Repot in spring or early summer when the plant is actively growing. Slide the croton out by supporting the root ball rather than pulling its stems, inspect for mushy or black roots, and set it at the same soil depth as before. Backfill with fresh, airy mix without packing it hard around the trunk, water once to settle the mix, and return it to a similarly bright, warm location.
Expect a short pause after repotting. Do not respond to that pause with extra fertilizer or daily watering. The best recovery signal is new growth at a node, not an immediate burst of leaves; keep the plant stable while the roots occupy the new mix.
Prune for Shape and New Branches
Prune a croton when it is leggy, top-heavy, too tall for its location, or carrying dead or damaged growth. Use clean, sharp pruners and wear gloves because cut stems release sap. Make a cut just above a leaf node or leaf set; new shoots can emerge below that cut and gradually make the plant bushier.
Avoid removing more than about one-third of the plant at one time. If a neglected croton is nearly bare, a hard reset may be possible during active growth, but staged pruning is less stressful and gives you a chance to see whether the location is supporting new leaves. Remove dropped leaves from the soil surface and wipe sap from tools promptly; NC State Extension notes that the clear sap can irritate skin and permanently stain fabric. NC State Extension
Propagate Croton From Stem Cuttings
Stem cuttings are the practical way to make a new croton that resembles the parent plant. Seed-grown plants are not a dependable way to preserve a named cultivar, and a colorful “sport” or offshoot may not repeat the exact pattern you want. Propagation is most successful when the parent plant is actively growing and the cutting can stay warm and bright.
A Reliable Cutting Sequence
- Put on gloves, disinfect your pruners, and choose a healthy, pencil-thick stem with several leaves. A 3- to 4-inch cutting with 3–5 leaves is a manageable size, consistent with the stem-cutting method described by Better Homes & Gardens. Better Homes & Gardens
- Cut just below a node, remove the lowest leaves, and leave two or three leaves at the top. If the cutting is dripping sap, allow the cut surface to stop oozing before planting; keep it away from children and pets.
- Insert the lower node into a small pot of pre-moistened, well-draining propagation mix. Rooting hormone is optional, not a guarantee. Firm the mix around the stem so it stands upright without burying the leaves.
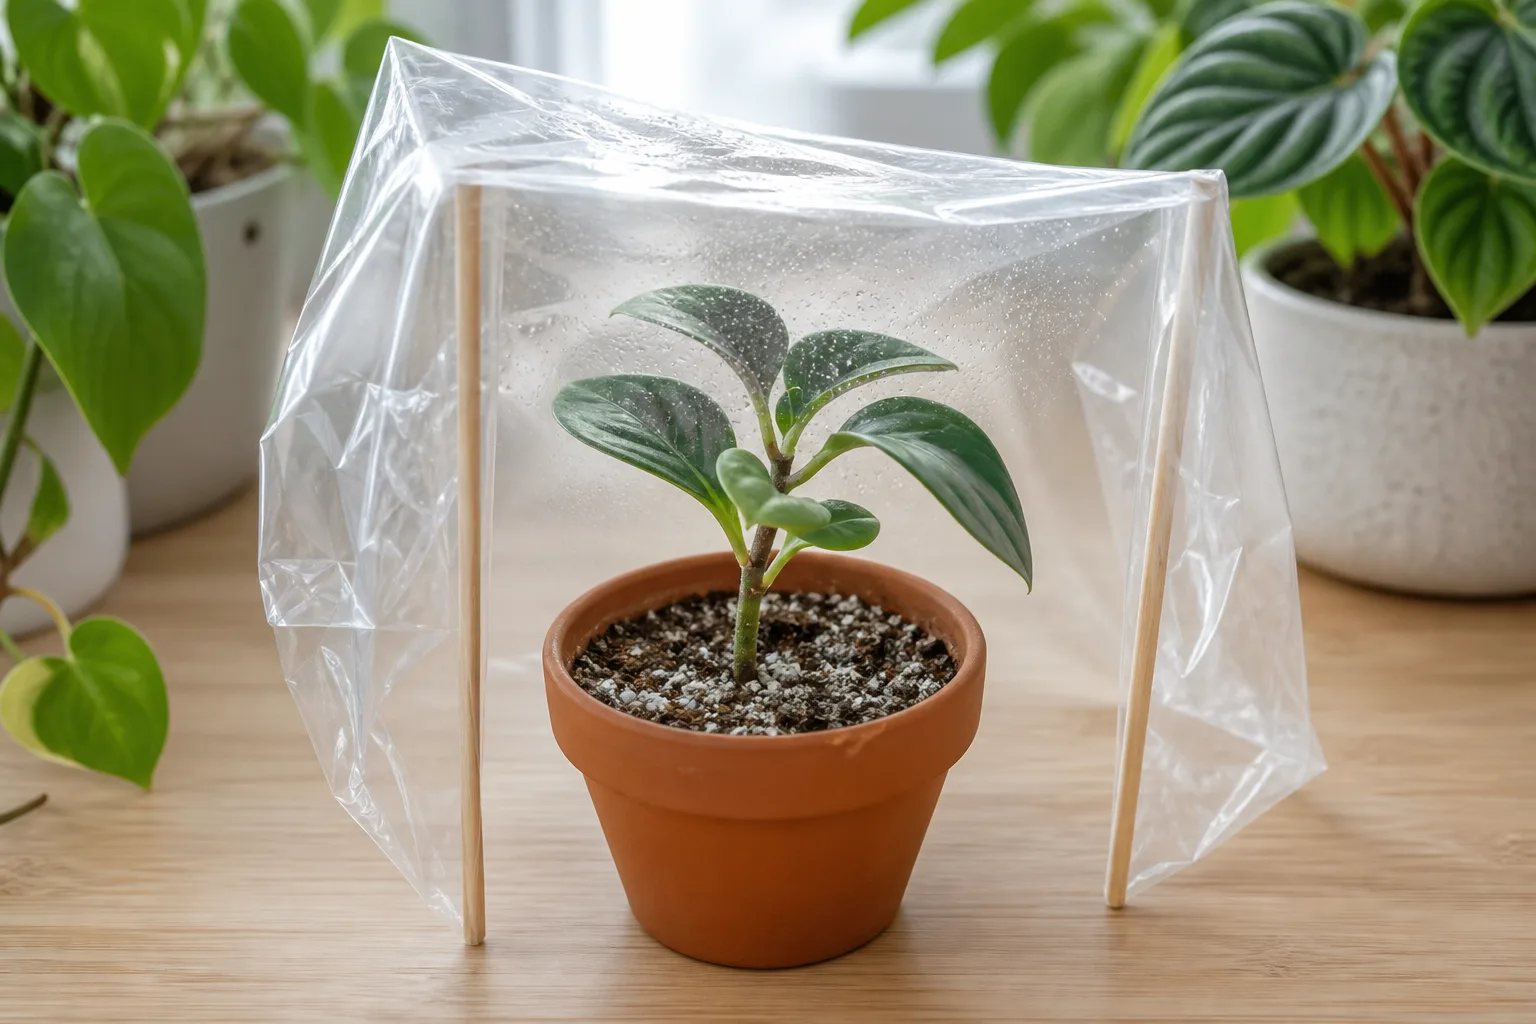
- Place the pot in bright, indirect light at about 70–80°F. Covering it loosely with a clear bag can conserve moisture, but leave room for airflow and remove the cover if condensation stays heavy or fungus appears. The mix should be evenly damp, never muddy.
- Check for resistance after several weeks rather than tugging every day. New growth is a better sign than a loose cutting, and roots commonly take about a month in warm conditions. Wait for vigorous new growth before moving the plant into a larger pot.
If the cutting fails:
A blackening stem or sour, wet mix usually means the cutting stayed too wet or the container drained poorly. Start again with a fresh cutting, a smaller pot, and a lighter mix; do not try to rescue a rotting stem by adding more humidity. A cutting that remains firm but does nothing may be too cool, too dim, or taken from a stressed parent.
Leaf drop from a cutting is not automatically failure. Remove only leaves that are clearly dead, keep the node in contact with damp mix, and avoid moving the pot. If the stem shrivels from the top down, the cutting is losing water faster than it can root; a loose humidity cover and warmer, brighter conditions can help, but saturated soil will not.
Croton Varieties Worth Growing
Choose a cultivar by the shape and color you want, then confirm its mature size on the nursery label. ‘Petra’ is widely grown for broad leaves with strong yellow, orange, and red veins. ‘Gold Dust’ carries green leaves speckled with gold and often branches into a compact-looking plant while young. ‘Mammy’ is known for narrower, twisted, multicolored leaves, and ‘Red Iceton’ develops changing tones as leaves mature.
Other crotons may have oak-like, narrow, curled, lobed, or very broad leaves. The same cultivar can look greener in low light and more strongly colored in bright light, so a plant’s current appearance is partly a record of its conditions. For a small apartment, choose the smallest habit available rather than assuming every croton will stay at its store size.
Move Croton Outdoors and Back Indoors
Treat outdoor placement as a seasonal move unless you live in a warm, frost-free climate. NC State Extension places croton’s reliable outdoor hardiness in USDA Zones 11a–12b and recommends bringing plants indoors when temperatures reach 50°F; other horticultural references use broader zone ranges, so your local frost pattern and summer heat should carry more weight than a generic tag. NC State Extension
In spring, harden off an indoor croton over 7–14 days: start it in bright shade, add gentle morning sun, and increase outdoor exposure gradually. In autumn, reverse the process before cold nights arrive. Inspect leaf undersides and the pot rim for pests before bringing it inside, and do not place a newly relocated plant directly beside your collection.
Outdoor crotons can grow faster, but full afternoon sun, wind, and reflected heat can dry or scorch them. A sheltered patio with morning sun and afternoon shade is often easier to manage than an exposed south-facing bed. Bring container plants in before a cold snap rather than waiting for visible damage; cold-stressed crotons can drop leaves days after the temperature has recovered.
Read Leaf Drop, Fading, and Curling
Croton leaf drop is a symptom, not a diagnosis. Start with three observations: Is the mix dry, evenly moist, or saturated? Did the plant move or experience a cold draft? Are pests visible on the undersides, along midribs, or in leaf axils? That order narrows the likely cause more effectively than spraying or repotting immediately.
A recently purchased croton may shed older leaves after the change from a bright, humid greenhouse or store to a darker, drier home. Give it one stable, bright location and correct the root-zone moisture; do not keep moving it to chase the dropped leaves. New growth over the next several weeks tells you whether the plant is adapting.
Brown Edges and Crispy Leaves
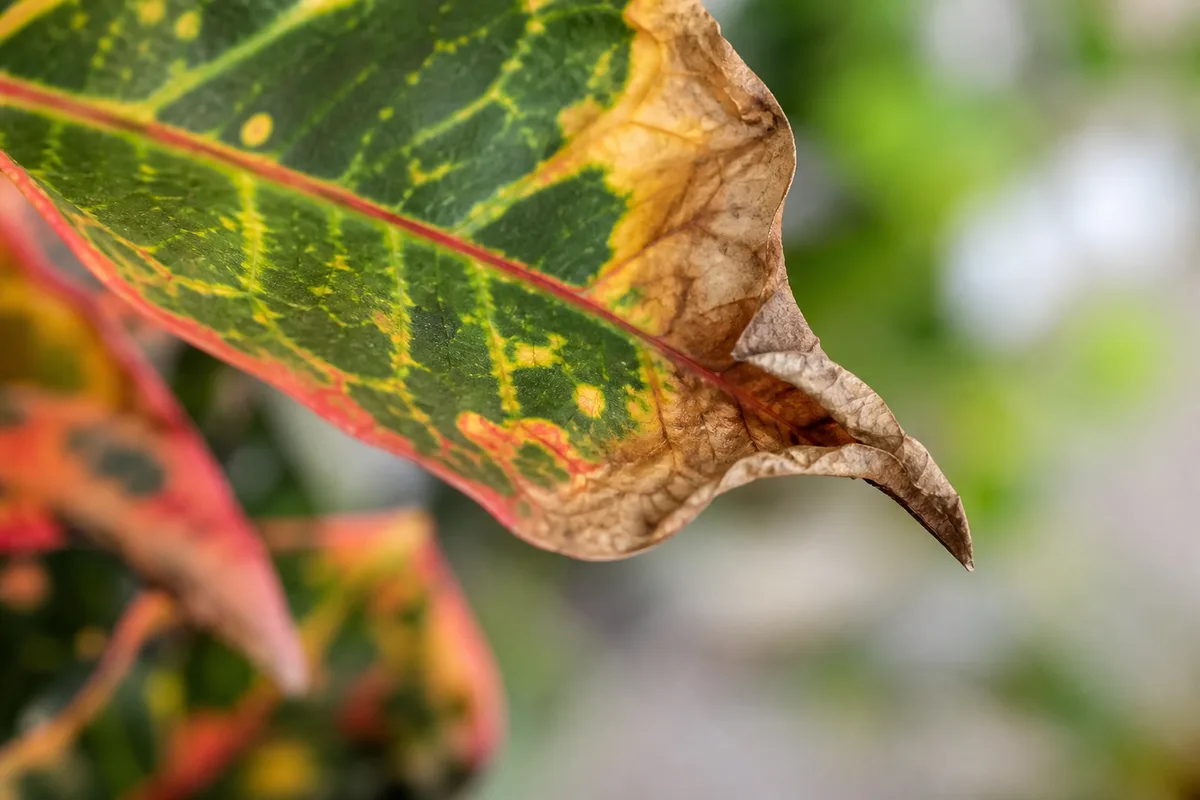
Crispy brown edges can follow dry roots, low humidity, hot window glass, salt buildup, or a combination. If the soil is dry deep into the pot, water thoroughly and shorten the interval between checks. If the mix is wet, increasing watering will make the problem worse; inspect drainage, roots, and the plant’s distance from a heat source instead.
Low humidity is especially plausible when browning starts at tips and edges while the mix is being managed correctly. The Croton low-humidity pattern can resemble sun scorch, so compare the damaged side of the leaf with the side facing the glass and check whether nearby leaves show stippling or fine webbing. Move the plant from harsh reflected heat, raise room humidity if needed, and remove only fully dead tissue.
Yellow Leaves and Mushy Stems
One older yellow leaf is not an emergency; leaves age and the plant may shed after relocation. Several yellow leaves with consistently wet soil, a sour odor, or a soft stem at the soil line are more concerning for root or stem damage. Stop watering, confirm the drain hole is open, and inspect the roots during repotting if the mix remains saturated.
Yellowing with dry, compacted mix points in the opposite direction. Rehydrate slowly, then improve the watering method so the whole root ball receives water when it is ready. If leaves stay green but lose red, orange, or yellow intensity, check light before adding feed: insufficient light is a more common color problem than a shortage of fertilizer.
Pests and Diseases: Inspect Before You Spray
Crotons can attract spider mites, mealybugs, scale, and thrips, especially when plants are stressed or moved indoors. Inspect the undersides of leaves, the newest growth, petioles, and stem joints with a bright light. Fine stippling and webbing suggest mites; cottony clusters suggest mealybugs; immobile bumps can be scale; silvery scarring or distorted new leaves can point toward thrips.
Isolate a suspect plant, remove heavily infested leaves, and rinse or wipe accessible pests before choosing a treatment. Repeat inspections because one cleaning rarely reaches every life stage. If you use insecticidal soap, horticultural oil, or another product, follow its label for the plant, concentration, temperature, ventilation, and reapplication interval; “natural” does not mean harmless to foliage or people.
Wet foliage, poor airflow, and damaged leaves can also invite disease. California’s Department of Food and Agriculture describes anthracnose on croton hosts as leaf and stem spotting that can progress to wilt or dieback. California Department of Food and Agriculture Remove badly affected material with disinfected tools, keep leaves from touching neighboring plants, improve airflow, and seek a local extension diagnosis if spotting continues or spreads. Do not jump to a copper spray without checking the product label and confirming the problem.
Is Croton Toxic?
Yes. Croton sap can irritate skin, and all plant parts should be kept away from children and pets that chew plants. NC State Extension describes low-severity poison characteristics and lists nausea, vomiting, diarrhea, and dermatitis among possible symptoms; Pet Poison Helpline reports mild oral and gastrointestinal irritation in pets, including drooling, vomiting, and diarrhea, after ingestion. NC State Extension Pet Poison Helpline
Wear gloves when pruning, propagating, or handling broken stems, then wash your hands and clean sap from tools. Place the plant where a curious cat, dog, or child cannot reach fallen leaves. If a pet may have eaten croton or shows symptoms after exposure, contact a veterinarian or a pet poison service promptly; do not wait for the plant to “settle” the problem.
Conclusion
Croton care becomes predictable when you stop treating the plant as a calendar-based houseplant. Give it bright, stable light; use a pot that drains; water when the upper portion of the mix has dried; feed only while it is actively growing; and protect it from cold snaps and abrupt moves.
When something goes wrong, inspect soil moisture, light, temperature, and pests in that order. That simple sequence prevents the common spiral of adding water to a root problem, adding fertilizer to a light problem, or moving a stressed plant again. With a steady location and a little patience after pruning or relocation, a croton can keep producing the dramatic leaves that made you bring it home.



