5 Supermarket Herbs You Can Propagate Into Plants
Learn how to propagate mint, basil, oregano, rosemary, and thyme from grocery-store stems, with the right cut, rooting method, pot, light, and harvest plan.
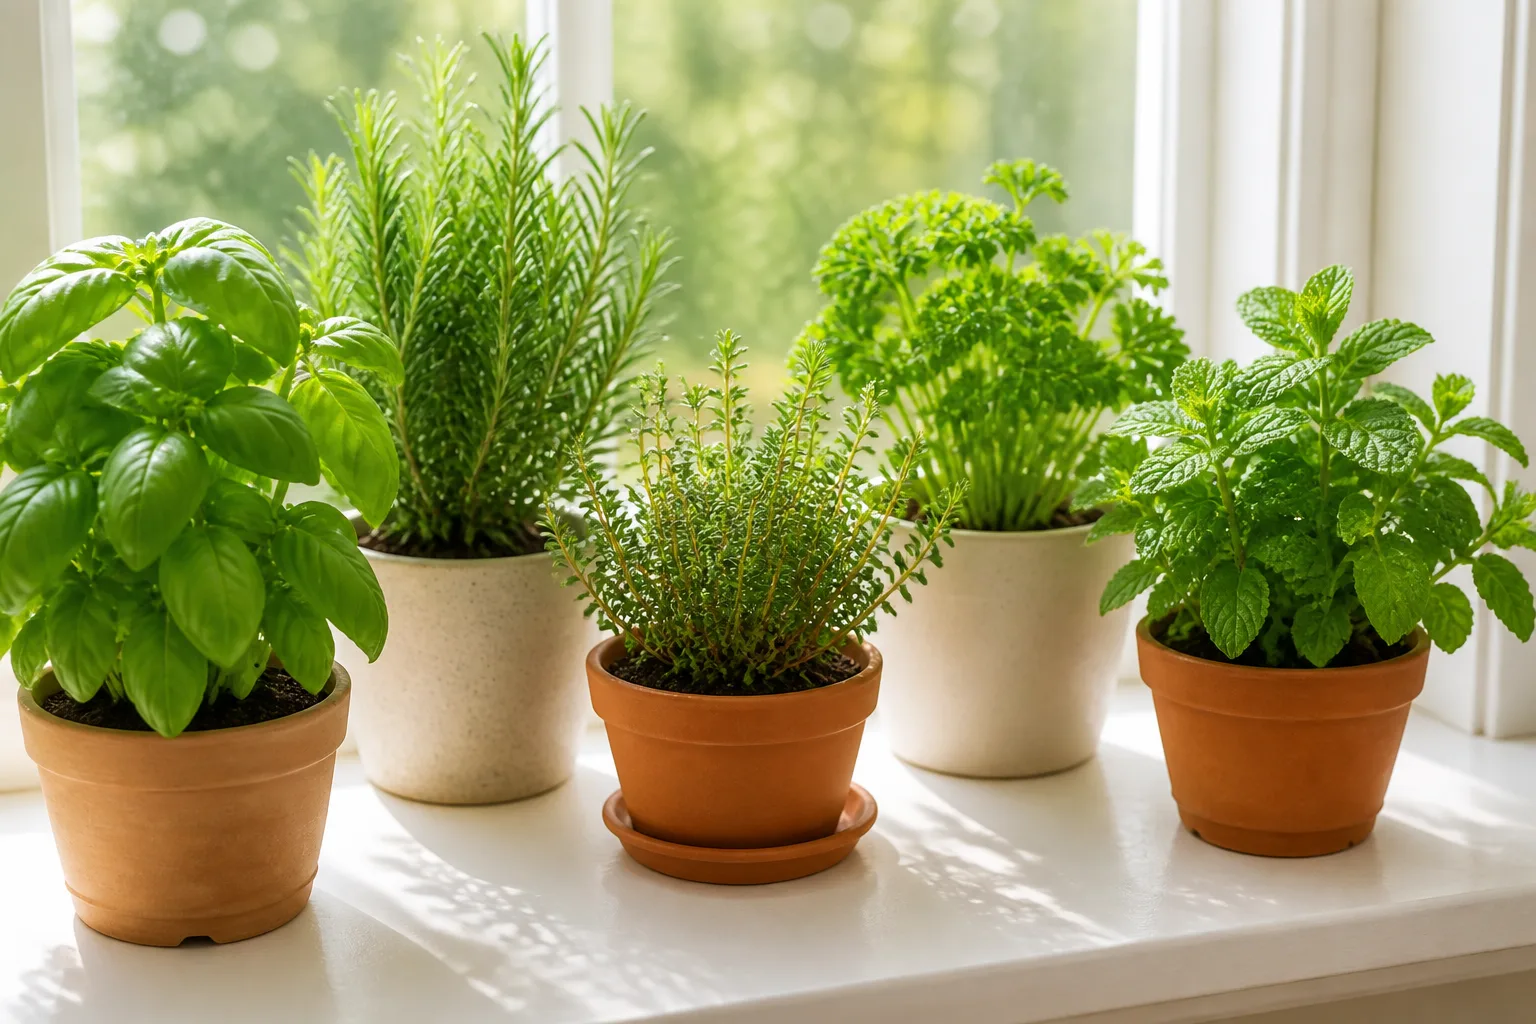
That bunch of herbs in your refrigerator can be more than a one-meal ingredient. If the stems are fresh, green, and still carrying usable leaf nodes, you can often turn a few of them into rooted plants for a windowsill, balcony, or garden pot. The result is not an unlimited supply overnight, but it can be a satisfying way to get a second harvest from something you already bought.
The important distinction is that herbs are not interchangeable cuttings. Mint and basil commonly root quickly in water. Oregano and thyme can root from young stems but need brighter, drier aftercare. Rosemary is a woody, slower project and is often more dependable in a gritty soilless medium than in a glass of water. The RHS guide to propagating herbs supports this species-by-species approach: it lists softwood cuttings for oregano and mint, and softwood or semi-ripe cuttings for rosemary and thyme.
What to buy and why grocery cuttings can work
You have two different supermarket opportunities. A package of loose sprigs gives you stem cuttings. A “living herb” sold in a small pot or with roots attached is already a plant; it usually needs dividing and transplanting rather than rooting from scratch. Treating both products as the same is the first reason a promising herb experiment fails.
Cut sprigs can root because a stem is not just a drinking straw for leaves. At each node, where a leaf or branch joins the stem, the plant has active tissue capable of producing new growth. Montana State University Extension explains that nodes contain regenerative cells and recommends including several nodes in a cutting whenever possible. That is why a short piece of bare stem with no nodes is unlikely to become a plant, no matter how carefully you change its water.
The supermarket version is less predictable than a cutting taken from a healthy garden plant. Stems may have been chilled, dehydrated, bruised in transit, or held too long after harvest. Some bunches are also mature and woody instead of young and flexible. So think in terms of giving yourself good odds, not guaranteeing that every stem will root. Take several healthy candidates, then keep the few that respond.
Sprigs versus living potted herbs
If the package contains loose leaves and cut stems, look for stems that are crisp rather than limp, with green tissue and several intact leaf joints. Avoid stems that are black at the base, slimy, badly crushed, flowering heavily, or covered in spots. A small amount of cosmetic wilting can improve after a fresh cut and clean water; decay cannot.
If the supermarket herb comes with a root ball, do not cut it into water unless the roots are missing or severely damaged. Garden Betty’s practical guide to transplanting supermarket “living herbs” points out that these plants are often sown densely so a small pot looks full. Gently separating that crowded root ball into smaller clumps, then potting the divisions promptly, can be more useful than trying to make new roots from stems.
Hydroponic living herbs sit between the two categories. If the roots are intact and firm, rinse away any packing material and pot the plant. If the root system is tiny and the plant is wilted, a short stay in clean water can rehydrate it while new roots develop. Do not let roots dry out during the transition, and do not bury the crown or pack wet soil around it.
Look for nodes and green growth
Before cutting, hold the stem horizontally and identify the points where pairs of leaves emerge. Choose a section with at least two, preferably three, nodes and a leafy tip. The lowest cut should sit just below a node so that the node is included in the rooting portion. The top leaves stay above water or soil and continue making energy while the base begins to form roots.
The best grocery stems are usually young green growth, not the oldest brown section. That rule matters most for rosemary and other woody herbs. A flexible stem that bends slightly and still has green tissue is a better candidate for a beginner’s cutting than a dry, brittle branch. Remove flower heads when possible: active flowering shifts the plant’s resources toward reproduction, while a cutting needs those resources for survival and root formation.
A reliable grocery-herb propagation method
Start with a clean glass, fresh room-temperature water, sharp scissors, and a small pot with drainage holes. If you are rooting directly in a medium, use a fresh, airy seed-starting or cutting mix rather than heavy garden soil. Purdue Extension’s herb propagation guidance recommends moist media such as soil mix, vermiculite, or perlite for cuttings and emphasizes taking the cut at a node.
1. Refresh and prepare the stems
Make a new cut just below the lowest node, removing the dry or compressed end that formed after harvest. A straight cut is fine; the angle is less important than a sharp blade and a clean surface. Work promptly after cutting so the exposed tissue does not sit around and lose water.
Strip leaves from the bottom third to half of the stem. Every leaf placed under water is a future rot site, and every leaf buried in wet mix can decay against the stem. Keep two or three healthy leaf sets at the top, reducing the top growth further if the cutting is tiny or wilting. A cutting with fewer leaves has less water loss to manage while it has no roots.
Wash the jar and scissors before starting. You do not need a laboratory, but you do need to avoid adding old plant residue and cloudy water to a fresh wound. If several herb types share a jar, label them; mint, oregano, and thyme can look surprisingly similar once the leaves are removed from the lower stem.
2. Root the cutting in water or a soilless mix
For water propagation, place the bare lower stem in a narrow, stable glass with one or two nodes submerged and all leaves above the waterline. Set it in bright, indirect light. Direct midday sun can heat the glass and increase water loss from the leaves before roots exist. Top up with clean water as needed and replace it when it becomes cloudy or develops an odor; rinsing the jar is more useful than adding fertilizer.
Roots may appear in days for vigorous basil or mint, and take longer for woody rosemary. Judge progress by the cutting, not by a fixed calendar. Healthy new roots are usually pale and firm. Brown, slimy tissue, a sour smell, or a stem that collapses at the waterline means the cutting is rotting rather than rooting.
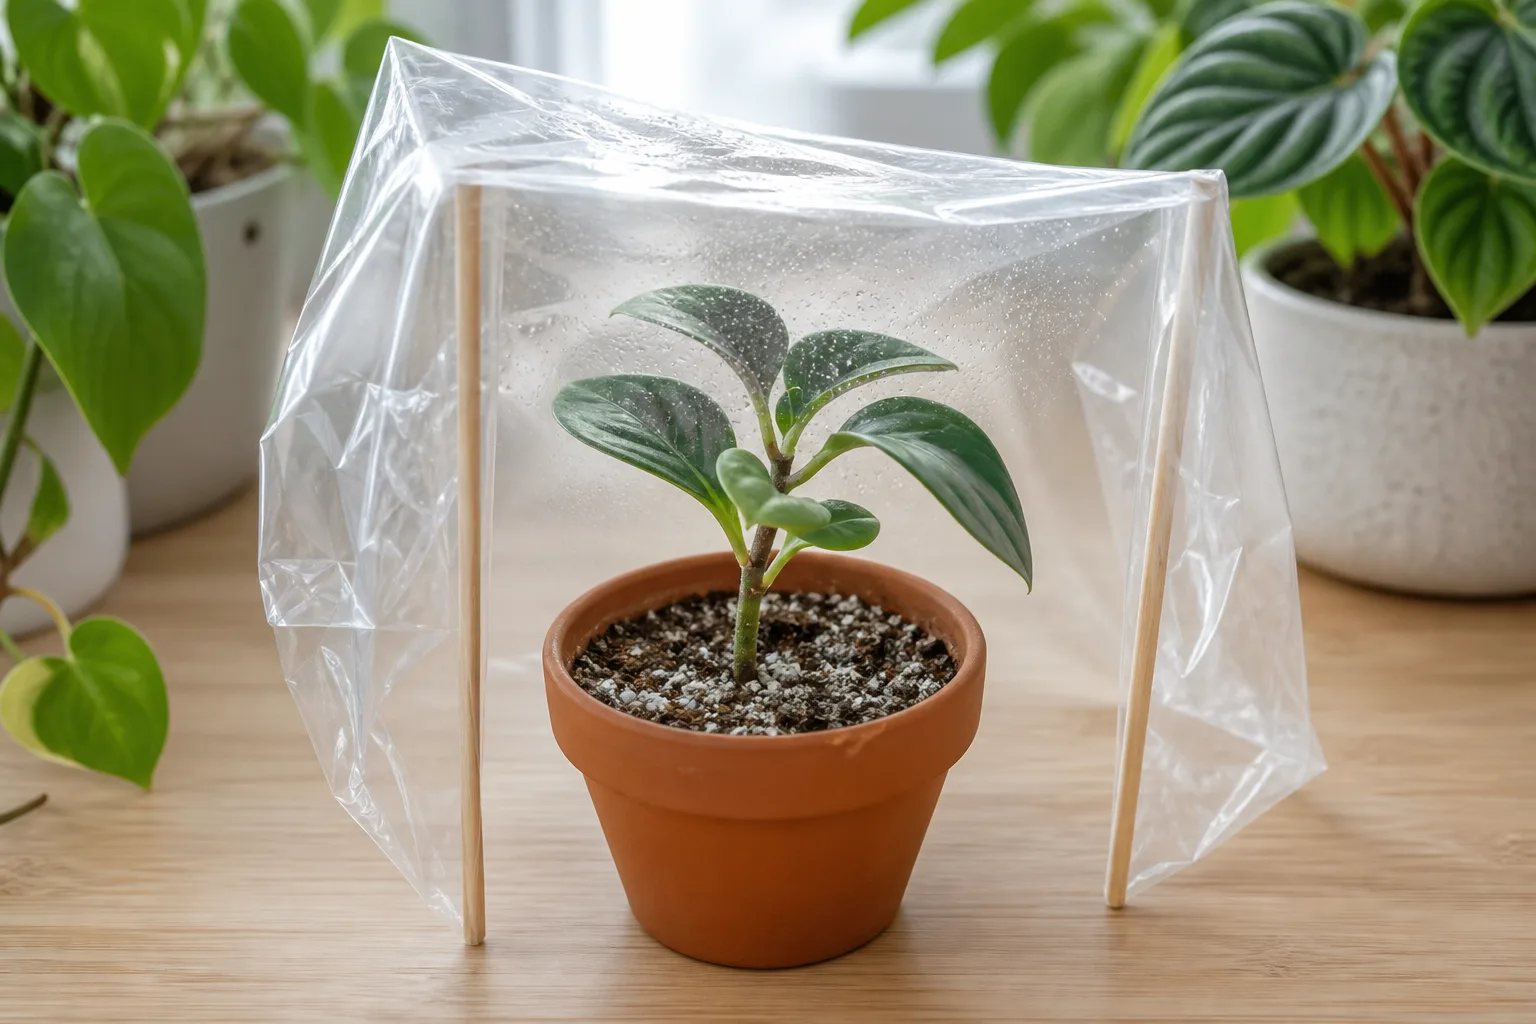
Direct soil propagation makes more sense for rosemary and for any cutting that is already showing signs of water stress. Fill a small pot with damp, well-draining mix, make a hole with a pencil, and insert the leafless portion so at least one node is below the surface. Firm the mix just enough to hold the stem upright. A loose clear cover can slow moisture loss, but leave room for air and keep plastic from resting on foliage.
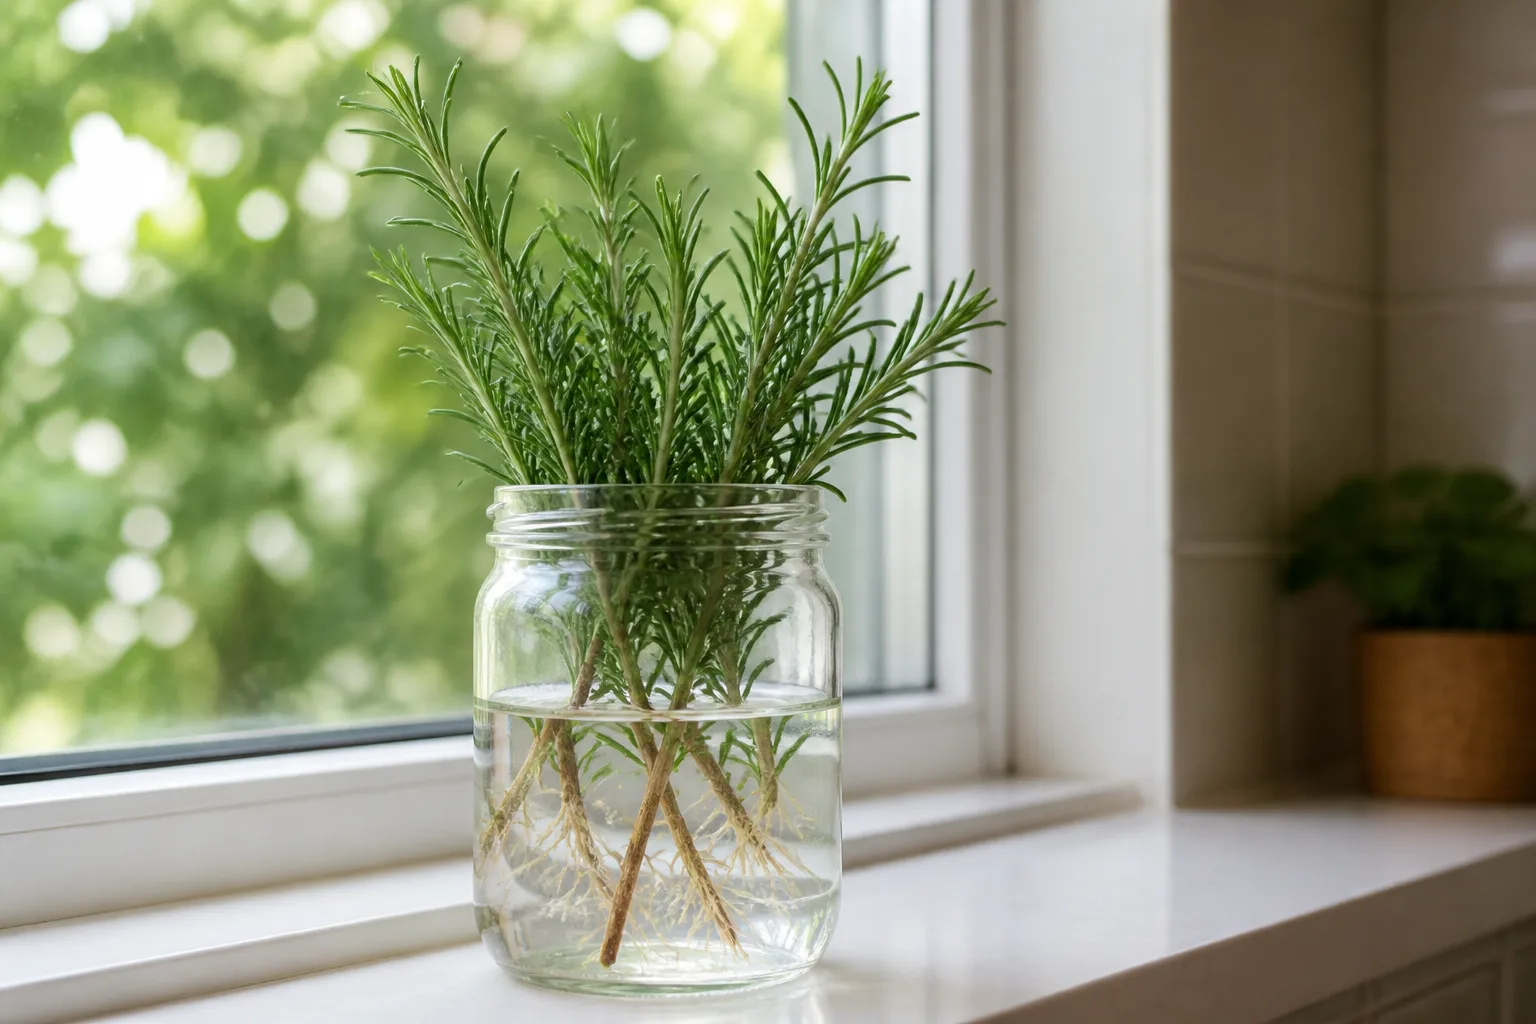
Rooting hormone is optional, not a requirement for basil or mint. It can be useful for slower woody cuttings in a solid medium, but too much powder does not compensate for old material, soggy mix, or insufficient light. Follow the product label, especially when a plant is intended for cooking, and never use an unlabeled household chemical on edible herbs.
3. Move new roots into potting mix
Water-rooted cuttings are ready for soil when they have several healthy roots around 1 to 2 inches long. That range is long enough to handle gently but short enough that the roots are not a tangled water-grown mass. Montana State University Extension also recommends transplanting into moist media at roughly this stage and advises against adding fertilizer to the water while roots are forming.
Fill a small pot with a quality potting mix, moisten it, and make a hole deeper than the roots. Lift the cutting by the stem, guide the roots down without folding them sharply, and firm the mix around the base. Water until a little drains from the pot, then empty the saucer. The first goal is contact between roots and mix, not a constantly saturated pot.
Keep the new plant in bright indirect light for several days, then increase direct sun gradually. A cutting that looked fine in water can wilt after transplant because water roots and soil roots function in different surroundings. Temporary drooping is a signal to reduce leaf stress and improve moisture contact, not an invitation to keep the pot waterlogged.
The five best supermarket herbs for cuttings
These five herbs are good candidates because they can produce new plants from stem pieces, but each has a different point of failure. Use the general method above, then adjust the rooting method and aftercare to the herb.
Mint: the easiest water-rooting experiment
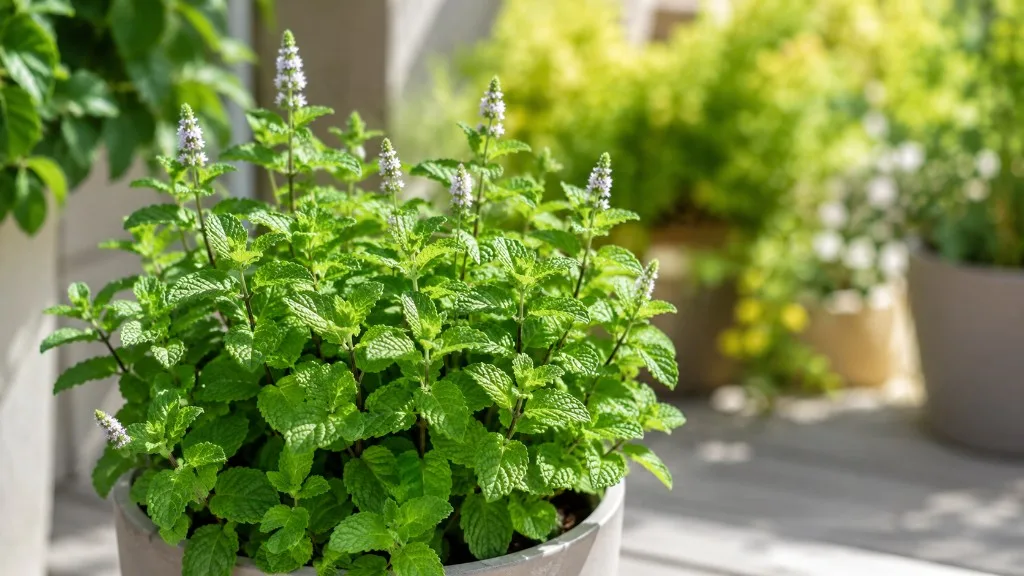
Mint is the forgiving place to start. Choose upright green sprigs with several leaf joints, make a fresh cut below a node, and place the lower stem in clean water. New roots often develop quickly, especially when the sprigs are fresh and the room is warm. Keep the upper leaves dry and remove any that would otherwise sit at the waterline.
Once the roots are established, pot mint into ordinary well-draining potting mix and keep it evenly but not constantly wet. Give it bright light with some protection from the hottest glass-filtered afternoon sun while it adjusts. Mint can grow vigorously after rooting, so pinch the tips once it has resumed growth to encourage branching.
The larger decision is where to plant it. In open ground, mint can spread through underground stems and become difficult to contain. A pot with drainage is the safer choice if you want a kitchen supply without mint traveling into neighboring beds. The RHS herb-growing guidance likewise describes mint as a moisture-loving herb that may become invasive. A container is not a punishment for mint; it is a practical boundary.
Basil: fast roots, fast growth, and fast flowering
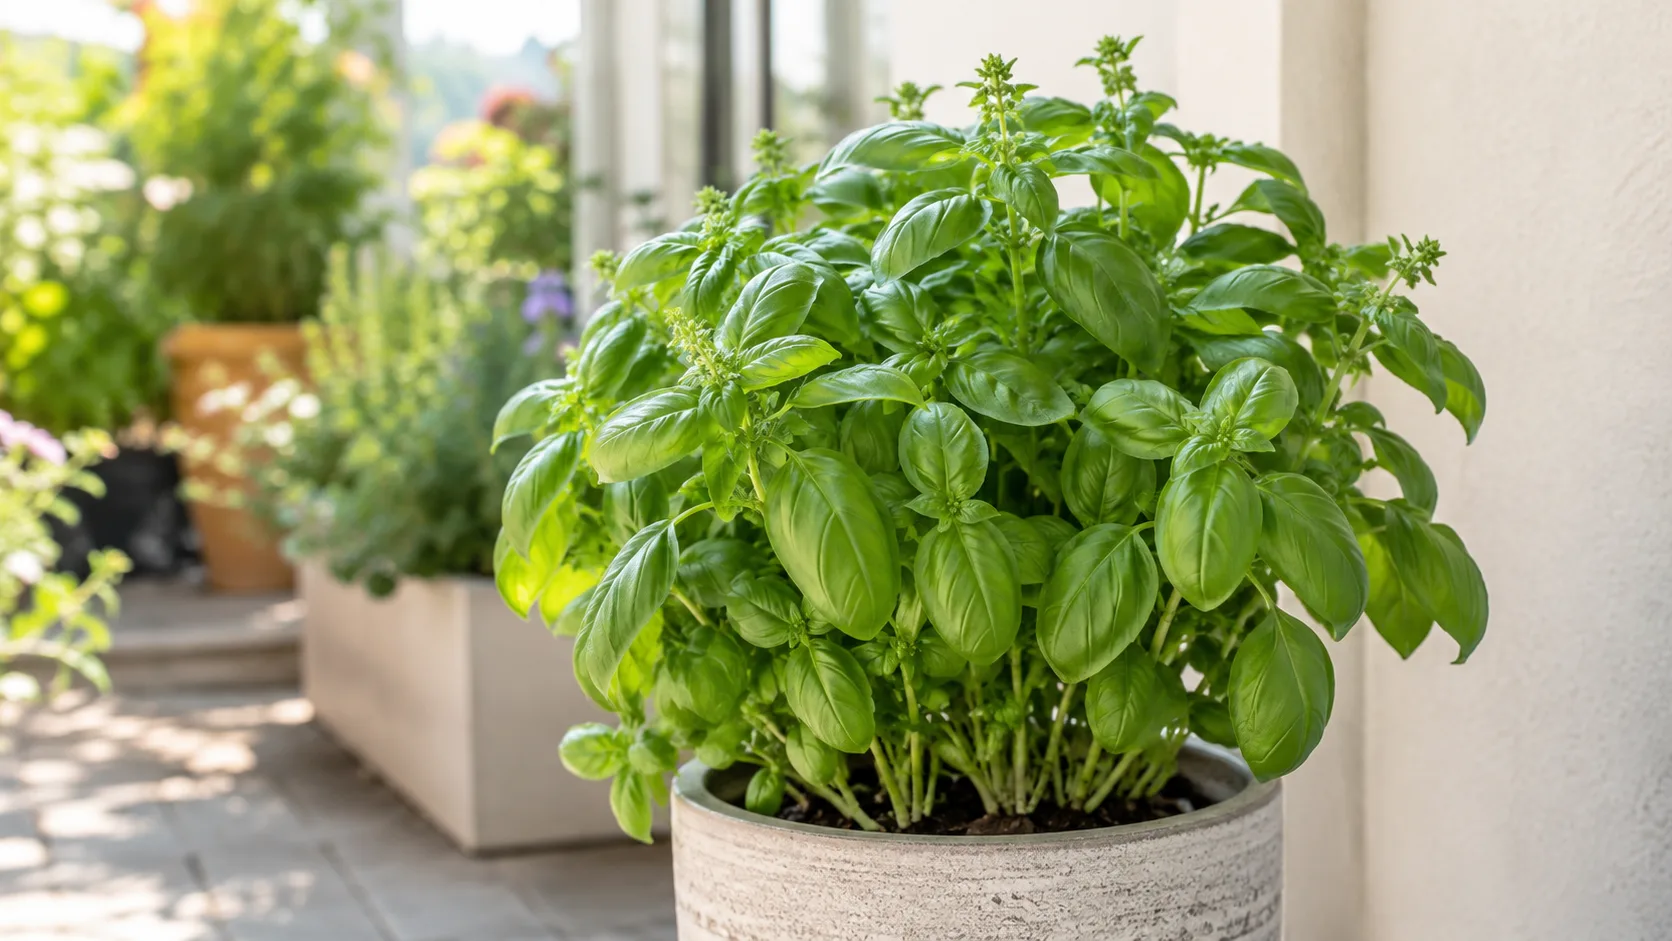
Basil cuttings are ideal for a windowsill experiment because soft green stems often root readily in water. Take a non-flowering tip or side shoot, cut below a node, and leave a small crown of leaves above the glass. If the supermarket bunch is already flowering or has blackened stem bases, select the freshest pieces and expect to discard more failures.
After potting, basil needs stronger light and warmer conditions than a typical houseplant. It grows quickly when light, warmth, moisture, and feeding line up, but it also flowers and declines sooner than perennial woody herbs. Pinch flower buds when you want more leafy harvest, and pinch the top just above a pair of leaves once the cutting is actively growing. That turns one tall stem into two branches instead of letting it become a thin, top-heavy plant.
Keep basil’s potting mix lightly and evenly moist, never standing in a saucer of water. If a sunny window overheats the pot, move it back slightly or use a sheer curtain. If the plant is kept for months, a light, label-directed feed during active growth can help; newly rooted cuttings do not need fertilizer immediately.
Oregano: choose flexible stems and bright light
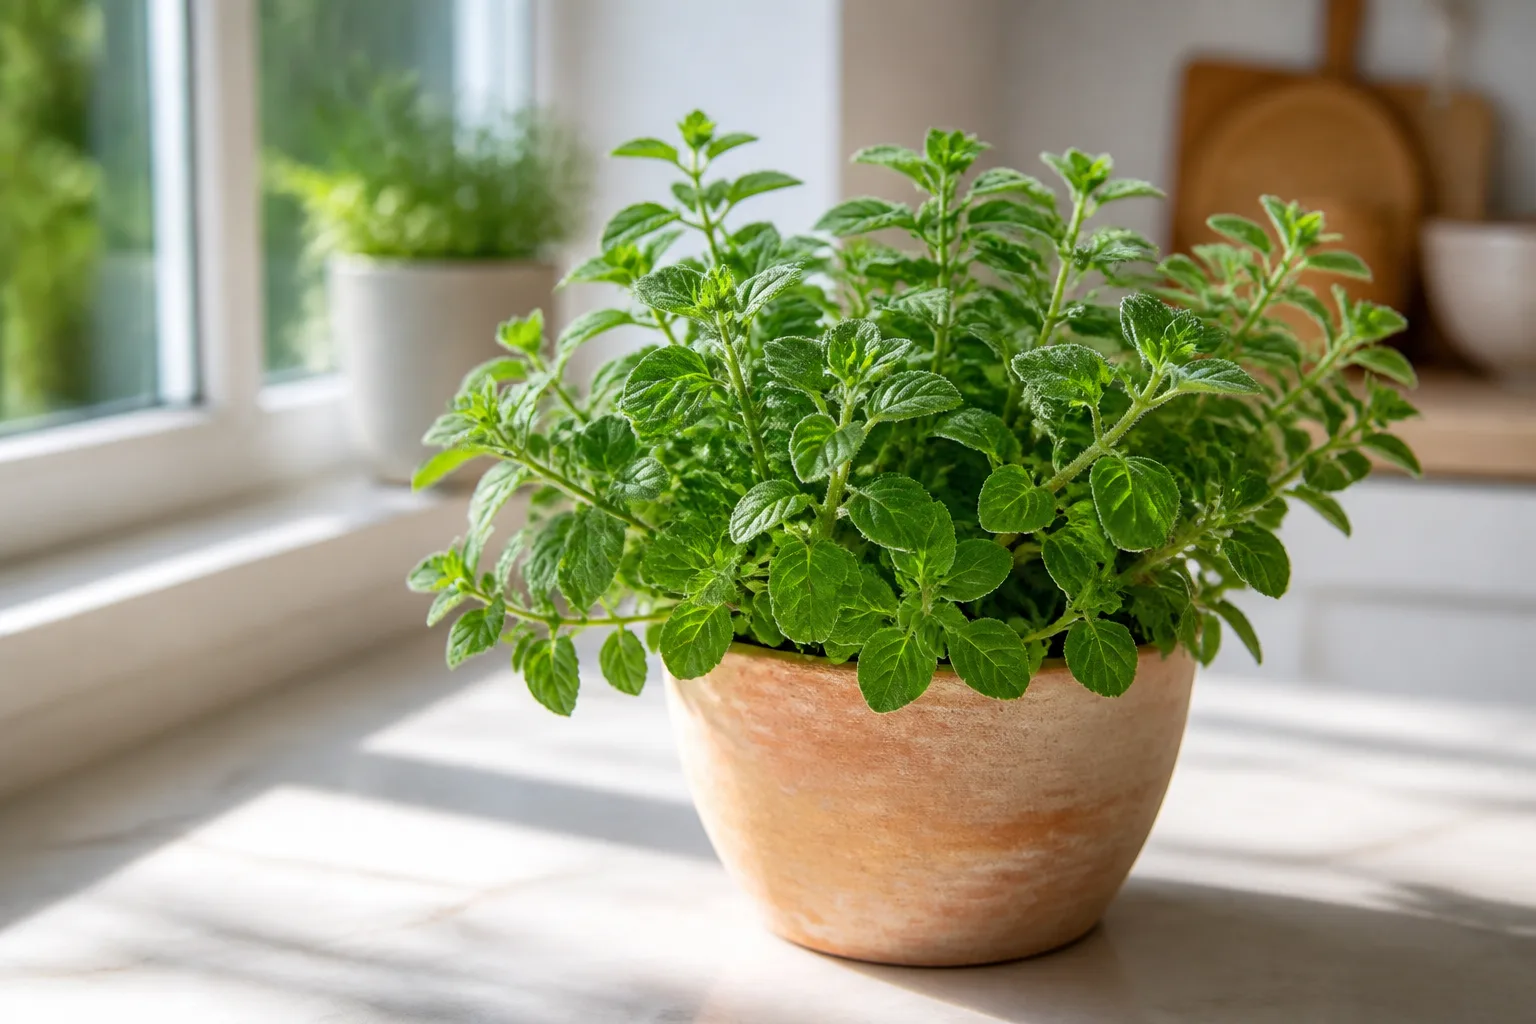
Oregano is a perennial herb with a more structured stem than basil. Select young, flexible shoots rather than old, hard wood. Strip the lower leaves and root the cuttings in water if they are fresh and leafy, or start them in a damp, airy medium if the stems are already firm or waterlogged.
The RHS propagation guide lists softwood cuttings in summer as one route for oregano and also notes division as an option for established plants. That distinction helps explain why a tired winter grocery sprig may be less cooperative than a fresh spring or summer shoot. If the cuttings remain unchanged after a reasonable wait and begin to yellow at the base, start again with younger material rather than adding more water.
Once rooted, give oregano plenty of light and let the surface of the mix dry somewhat between thorough waterings. Oregano is not a plant to group in the same pot with basil just because both are used in tomato sauce. Basil prefers steadier moisture, while oregano is happier when the root zone is not continually wet. Separate pots make both herbs easier to manage.
Rosemary: the woody herb that rewards patience
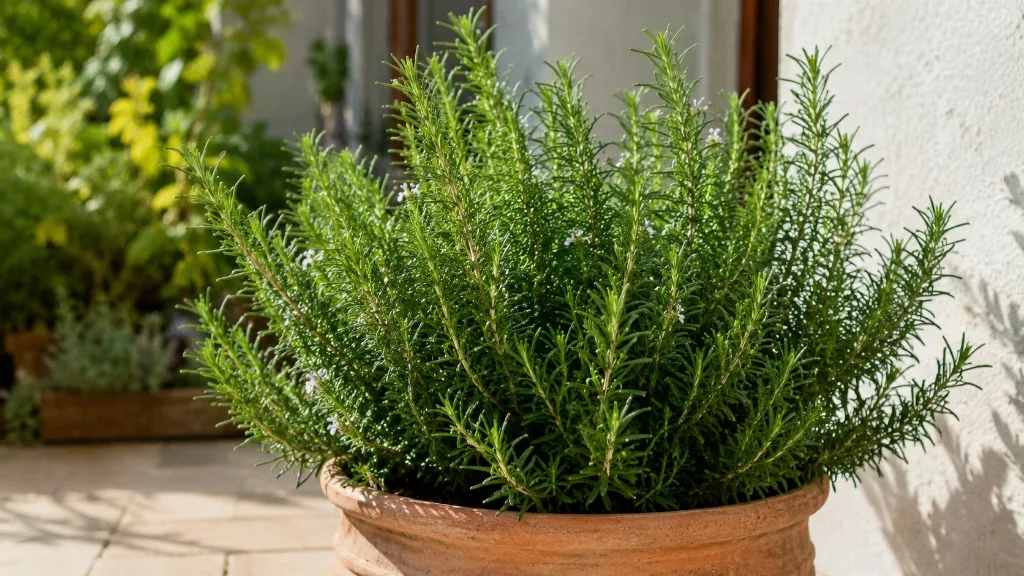
Rosemary is the most useful reality check in this list. It can be propagated from cuttings, but the rigid, mature stems sold for cooking are not as cooperative as young green shoots. Choose the freshest green-tipped sprigs you can find, preferably with a lower section that is firm but not completely brown and brittle.
Water rooting can work, but soft young rosemary pieces are prone to rotting in stagnant water. For a higher-control approach, place a 2- to 4-inch cutting with its lower leaves removed into a gritty, well-draining medium. A small pot, bright indirect light, and a loose humidity cover help the cutting stay hydrated while it makes roots. Savvy Gardening’s rosemary propagation guide and BBC Gardeners’ World’s step-by-step rosemary cutting method both emphasize clean cuts, lower-leaf removal, and a well-drained rooting medium.
Do not keep rosemary in a wet mini-greenhouse indefinitely. Vent the cover and remove it gradually once the cutting resists a gentle tug or begins to produce new growth. After potting, give rosemary the brightest location of the five herbs and let the mix dry more deeply between waterings than you would for basil or mint. Its roots need air as well as water; frequent small sips can leave the lower pot wet for too long.
Thyme: small cuttings with a dry-side aftercare plan
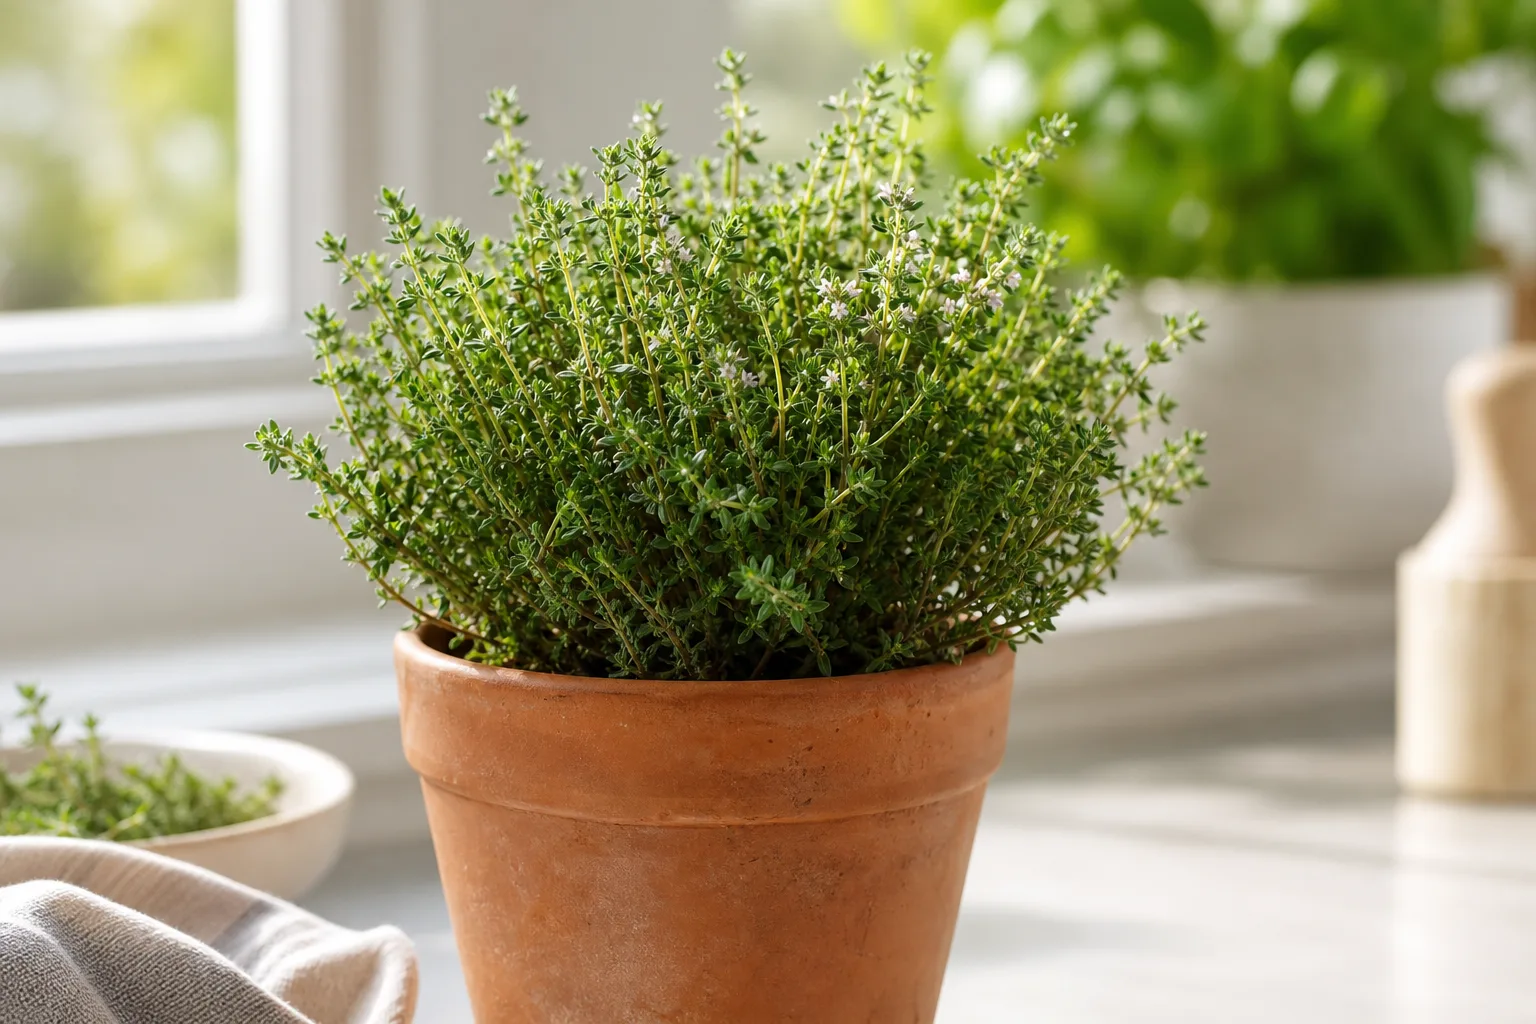
Thyme’s leaves are small, so it can be harder to see exactly where the nodes are, but the same anatomy applies. Choose green or partly flexible stems, make a cut below a leaf joint, remove the lower leaves, and use several cuttings rather than relying on one. Water rooting is possible with fresh pieces; soil rooting in a light mix is often easier to control once the stems are thin or woody.
The RHS lists 2- to 3-inch softwood cuttings for thyme in late spring or summer and notes that the plant becomes woody over time. A grocery bunch is not necessarily taken at the ideal season, so give the cutting extra attention to freshness and warmth. If a stem is dry from end to end, it is not a good candidate; no rooting trick can restore living tissue.
After roots form, pot thyme in a small container with excellent drainage and bright light. Water thoroughly, then wait until the mix is mostly dry before watering again. Thin, leggy growth usually means the plant needs more light rather than more fertilizer. Harvest the tips lightly at first, and do not strip every leafy shoot from a recently rooted plant.
Care that turns a rooted cutting into a harvestable plant
Propagation ends when roots appear; plant care begins when the cutting has to support itself in a pot. The first few weeks are an adjustment period. A rooted cutting has a small root system, little stored reserve, and a top that can lose water faster than the roots can replace it. Give it stable conditions before asking it to produce a large harvest.
Light and temperature after potting
Use bright indirect light during the first transition from water to soil, then move toward the herb’s adult preference. Basil and mint can cope with bright windowsill light if temperatures stay warm and leaves do not press against hot glass. Oregano, rosemary, and thyme need a much brighter position to stay compact and flavorful. If the window is dim, a suitable grow light may be more reliable than repeatedly moving a struggling pot.
When moving a rooted herb outdoors, harden it off over about a week. Put it outside in a sheltered, bright location for short periods, then extend the time gradually before exposing it to wind, full sun, or cold nights. Garden Betty recommends hardening supermarket living herbs before a direct move into outdoor sun, and Montana State University Extension similarly advises gradual exposure to lower humidity, changing temperatures, and stronger light.
Do not confuse a change in light with a change in water need. A pot that was fine on a kitchen counter can dry quickly on a sunny balcony, while a crowded indoor shelf can leave the same mix wet for days. Check the soil and the plant’s growth rather than following a fixed calendar.
Water, feeding, and airflow
Water when the mix reaches the dryness appropriate for that herb. Basil and mint generally prefer more even moisture. Oregano, rosemary, and thyme prefer a dry interval and fast drainage. In every case, water deeply enough to moisten the root ball, allow excess to drain, and empty the saucer instead of letting the pot stand in runoff.
Purdue Extension offers a simple check for potted herbs: water when the top inch feels dry and apply enough to produce some drainage. That is a starting point, not a command to treat all five herbs identically. A tiny thyme pot in terracotta may need water sooner than a larger basil pot in plastic, even on the same windowsill.
Wait to fertilize until the cutting has rooted and is making new growth. Fresh potting mix often supplies enough nutrition at first, and a concentrated feed can damage tender new roots. Later, use only a product labeled for edible plants and follow the label’s dilution and interval. Good airflow matters too: crowded leaves, wet foliage, and a sealed cover create conditions for mold and soft rot.
Harvest without setting the plant back
Harvest only after the plant has resumed active growth. Take the growing tips just above a pair of leaves, leaving several leafy nodes behind. This gives the plant places to branch and keeps enough foliage to continue making energy. The one-third rule is a useful ceiling for a young plant: remove less if the plant is still small, pale, or newly transplanted.
Basil benefits from regular pinching above leaf pairs, while mint can be cut back more readily once vigorous. Rosemary and thyme should be harvested from green leafy tips rather than cut hard into old bare wood. Oregano can be clipped before flowering for leafy use, but a flowering stem is not automatically a failed plant.
Grocery-store propagation is most satisfying when you treat the first harvest as a test, not a repayment. Let the plant establish, watch how quickly the pot dries, and then harvest at a pace that matches new growth. The goal is a durable little herb plant, not one dramatic meal followed by a bare stem.
Fix the common failures before starting over
The stem turns brown, soft, or slimy. Remove it from the water or mix, cut back to firm green tissue if any remains, and restart in a clean container. The usual contributors are submerged leaves, cloudy water, a heavy mix, or a cutting that was already damaged. If the entire base is soft, discard it and choose a fresher stem.
The leaves wilt immediately. A cutting without roots cannot replace water lost through a large canopy. Remove the worst leaves, reduce the top growth, move it out of direct sun, and improve humidity only temporarily. In soil, use a loose cover that does not touch leaves; in water, keep the waterline below the foliage. A wilted cutting can recover if the stem is still firm.
Nothing happens after several weeks. Check the basics in order: does the cutting include a node, is the lower end oriented down, is the material green and alive, is the rooting medium warm and lightly moist, and is the light bright but indirect? If all five answers are yes and the stem is still firm, wait a little longer for rosemary or thyme. If the cutting is yellowing or shrinking, replace it instead of extending a bad experiment.
Roots form but the transplant collapses. The roots may have been too short, damaged during potting, or moved into stronger sun too quickly. Replant gently in moist mix, shade it from harsh light for several days, and avoid both drought and saturation. New soil roots need time to connect with the surrounding mix.
Mold appears around a soil cutting. Open the cover, increase air movement, and let the surface dry slightly while keeping the rooting zone from becoming bone-dry. Remove visibly decaying leaves and avoid misting the foliage repeatedly. If the stem base is also soft, start over with a clean pot and fresh medium.
Finally, know when not to propagate. A limp bunch with black stems, a flower-heavy bunch that has been refrigerated for too long, or a few dried rosemary needles may be better used in cooking or composted. A living herb with a healthy root ball is usually better divided than cut. And if you need a dependable mature harvest this week, buy a potted plant or nursery start; propagation is a low-cost experiment, not a substitute for immediate production.
Conclusion: buy a bunch, select the right stems, and grow on
The five supermarket herbs most worth trying from cut stems are mint, basil, oregano, rosemary, and thyme. Start with the freshest green material, cut below a node, keep leaves out of water, and choose the rooting method that fits the stem instead of repeating one recipe for every herb. Water is a friendly entry point for basil and mint; a light, controlled medium often gives woody rosemary a better chance.
Once roots reach a usable size, pot the cutting in a draining container, ease it into stronger light, and wait for new growth before harvesting. Mint needs a boundary, basil needs warmth and pinching, and rosemary and thyme need patience plus a dry-side watering rhythm. A few careful stems from one grocery run can become a small, productive herb collection—and the next bunch will give you better cuttings because you will know exactly what to look for.



