How Often to Water Tomato Plants for Best Growth
Learn how often to water tomato plants in beds, raised beds, and pots. Use soil checks, weather cues, and deep watering to prevent cracks and blossom-end rot.
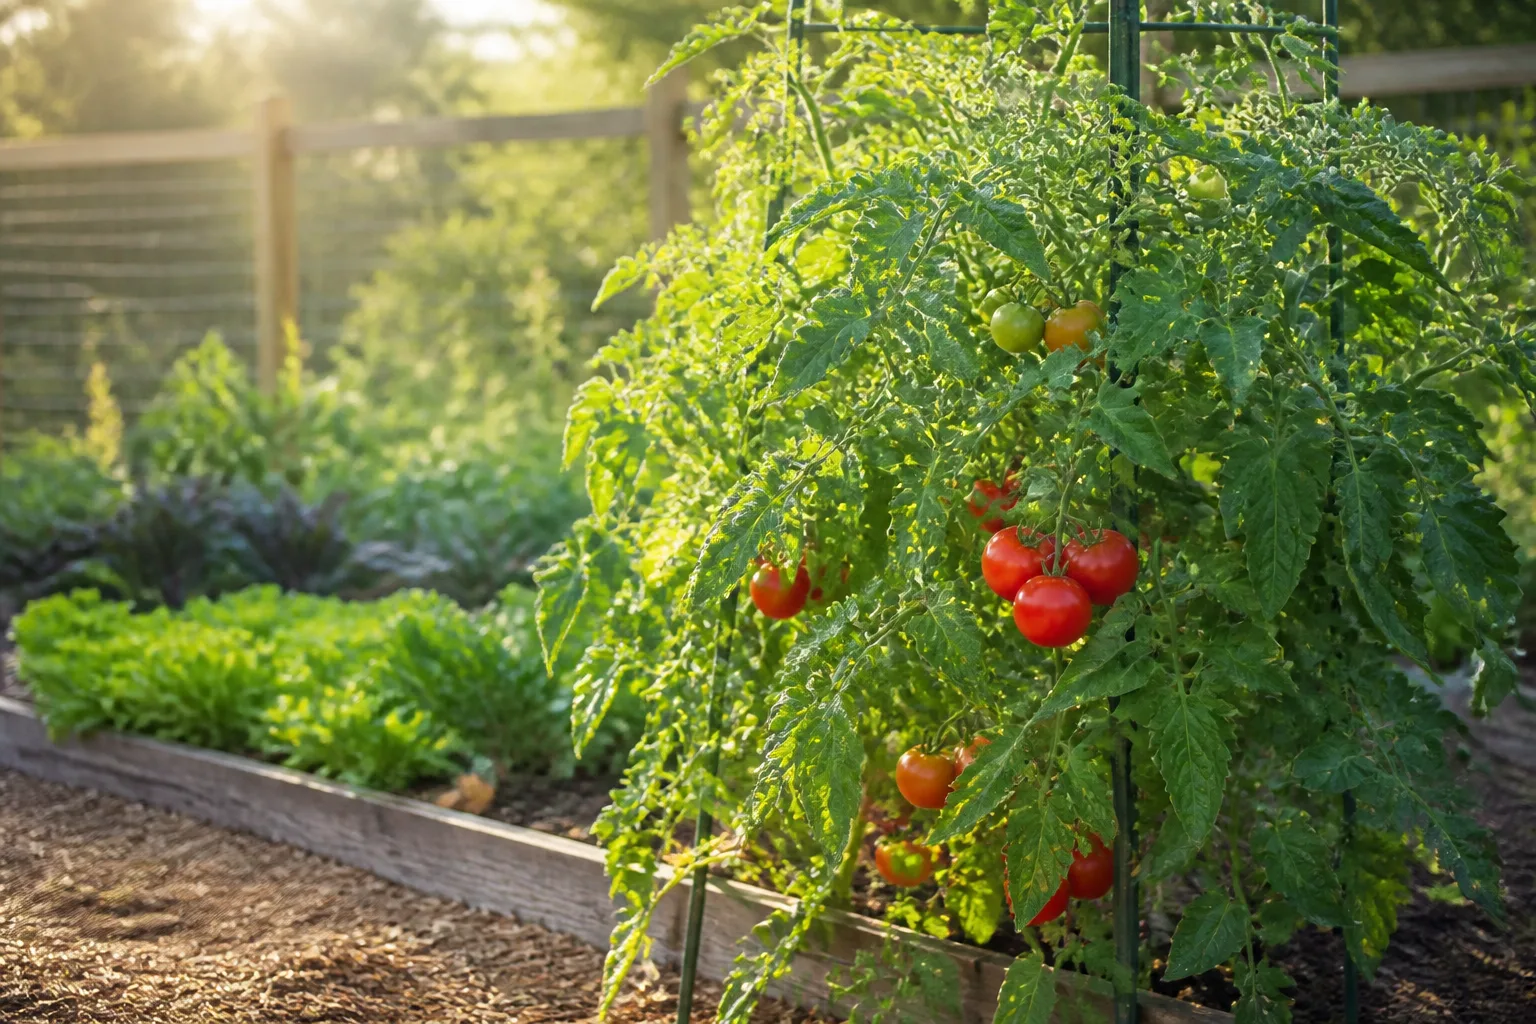
Tomato plants do not need water on a rigid Monday-Wednesday-Friday schedule. They need a root zone that stays evenly moist, well oxygenated, and never bone dry for long. The same plant may need one deep watering a week in a mulched, heavy garden soil, several waterings during a heat wave, or a daily check in a small container.
As a starting point, established tomatoes usually need about 1 to 2 inches of water per week, including rainfall. That number is a planning benchmark, not a command to pour the same amount on every plant. UConn Extension uses the 1–2 inch range while emphasizing consistent soil moisture, and UGA Extension recommends wetting the soil to roughly 6–8 inches deep so roots can explore a larger, more stable reservoir. (UConn Extension) (UGA Extension)
The practical answer is simple: check the soil, account for recent rain and weather, then water slowly enough to reach the active root zone. That approach produces stronger growth and fewer problems than reacting to a wilted plant with either a daily sprinkle or one huge drench.
The quick answer: use a moisture target, not a fixed schedule
For an established tomato in a garden bed, start by checking the soil every day or two during hot, dry weather and less often after cool weather or rain. Water when the soil is beginning to dry in the root zone, then soak deeply. In many gardens, that works out to one to three deep waterings per week; sandy soil, wind, full sun, and shallow raised beds push the frequency higher, while clay soil and dependable rain push it lower.
Newly planted tomatoes are different. Their small root systems cannot draw moisture from a wide area, so they need more frequent checks and smaller, gentler waterings while roots move into the surrounding soil. Once the transplant has begun new growth and the root ball no longer feels like a separate plug, shift toward deeper, less frequent irrigation.
Do not measure success by how long the hose ran. A hose, soaker line, and drip emitter all deliver different volumes, and the same number of minutes can leave one soil wet to six inches and another wet only at the surface. A rain gauge or straight-sided container can help you track rainfall, but the final test is still the soil: after watering, probe several inches down near—not directly against—the stem.
Check the soil before you water
Look at the plant, but let the soil make the decision. Push a finger, wooden plant label, or narrow trowel into the soil about 2–3 inches from the stem and to a depth of several inches. If the upper root zone feels cool and slightly damp, wait. If it feels dry and crumbly well below the surface, water deeply rather than giving the plant a token splash.
Check more than one spot when possible. A dense mulch layer can look dry while the soil underneath is moist, and a leaky irrigation emitter can create one wet patch beside a dry root ball. On the other hand, a container’s surface may look damp even though the center has dried around the roots. Lift a pot when it is fully watered and again before watering; the change in weight becomes a useful second signal.
The best schedule is the one that keeps moisture from swinging between extremes. A plant that wilts, receives a large rescue watering, dries again, and repeats the cycle is under more stress than a plant that receives a measured deep soak whenever the root zone begins to dry.
When heat, wind, and rain change the schedule
Weather changes water demand faster than a calendar can. Hot sun increases evaporation and plant transpiration; wind dries leaves and exposed soil; a cool cloudy stretch slows both. A brief shower may wet the mulch without delivering meaningful water to the roots, while a slow soaking rain can cover most of the weekly requirement.
After rain, do not water automatically. Probe the soil and check whether the rain reached several inches deep. After a heat wave, check containers and shallow beds at least once a day. If the soil is moist but leaves droop only in the hottest afternoon hours, wait and recheck near sunset or the next morning before adding water. Temporary heat wilt is not proof of drought.
Adjust watering by growth stage
Water use rises as the plant grows, but the goal changes too. Seedlings need protection from drying out; established plants need a deep reservoir; fruiting plants need steady moisture because rapid swings can affect fruit quality.
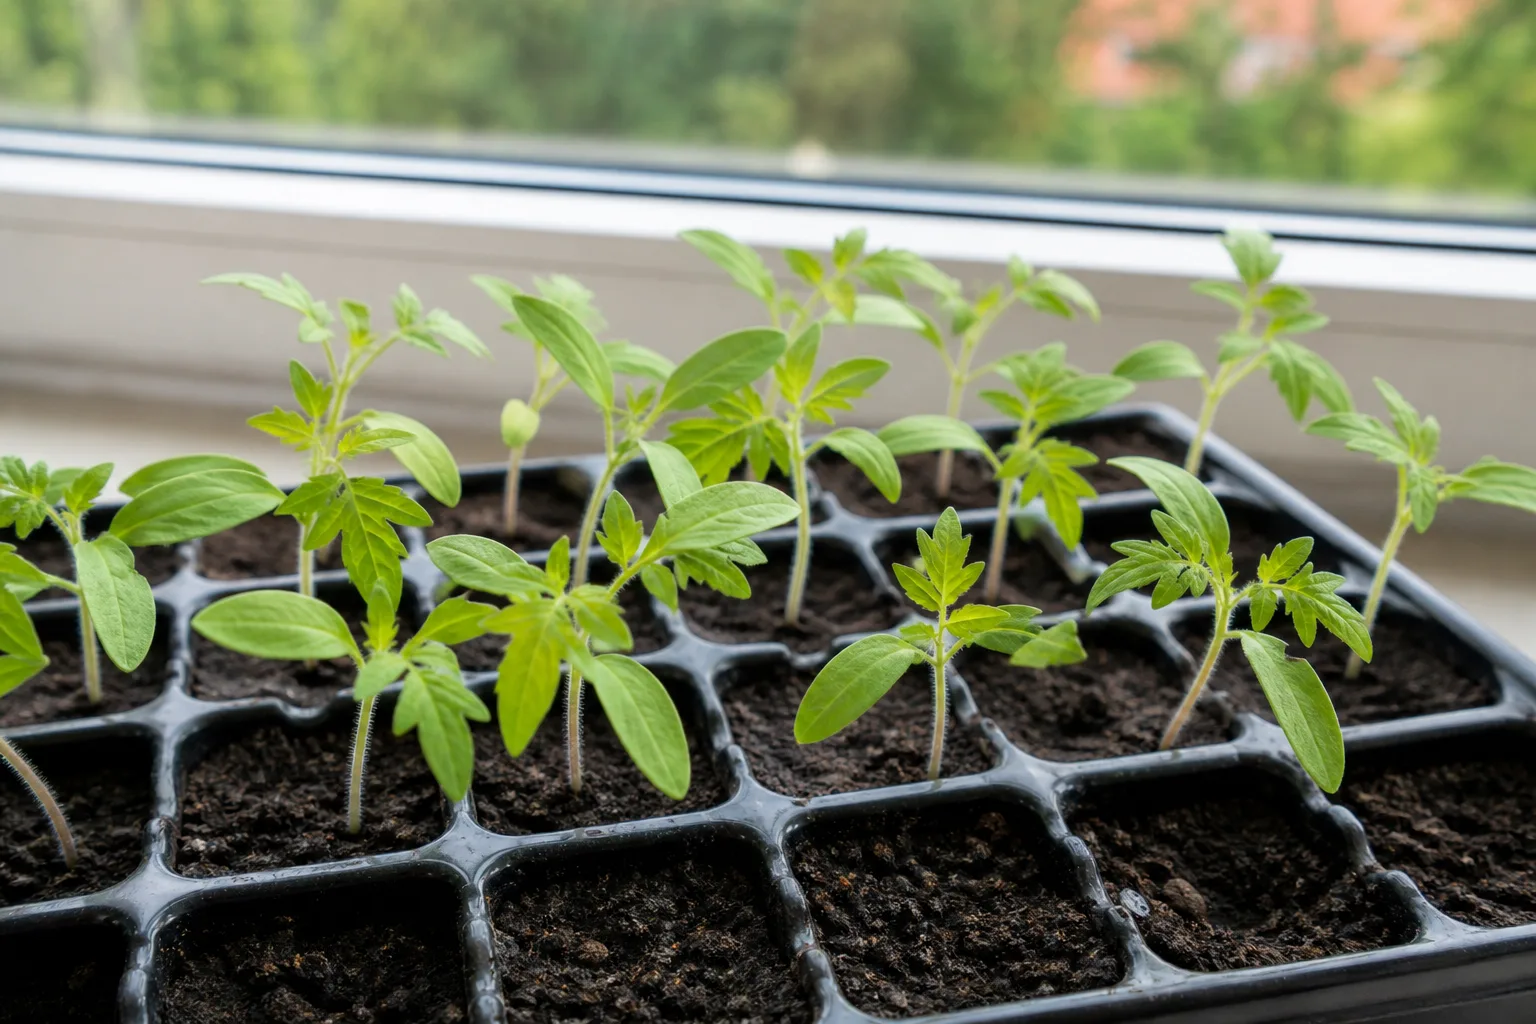
Seedlings and fresh transplants
Keep seed-starting mix or the small transplant root zone consistently moist but not saturated. Check seedlings at least once a day because shallow cells and small pots can dry rapidly, especially near a sunny window or under a grow light. Use a gentle stream at the soil surface so the stem is not bent and the mix is not washed away.
For a garden transplant, water the planting hole thoroughly at planting and keep checking the surrounding soil through the first week or two. The exact frequency depends on temperature, wind, soil texture, and whether the plant was hardened off. A light daily check is more useful than automatically watering a mature volume of soil every day.
As new leaves and stems grow, widen the watered area gradually. Watering only the original nursery root ball can leave the surrounding soil dry and encourage roots to stay confined. Once the plant is established, move toward fewer, deeper waterings that wet the soil beyond the original plug.
Flowering and fruiting plants
Flowering and fruiting tomatoes need a reliable supply of moisture, especially when temperatures are high and fruits are enlarging quickly. Keep the soil evenly moist rather than letting the plant wilt between waterings. UGA Extension connects consistent moisture with better calcium movement into developing fruit, while UConn explains that both overly dry and overly saturated soil can interfere with root uptake. (UGA Extension) (UConn Home & Garden Education Center)
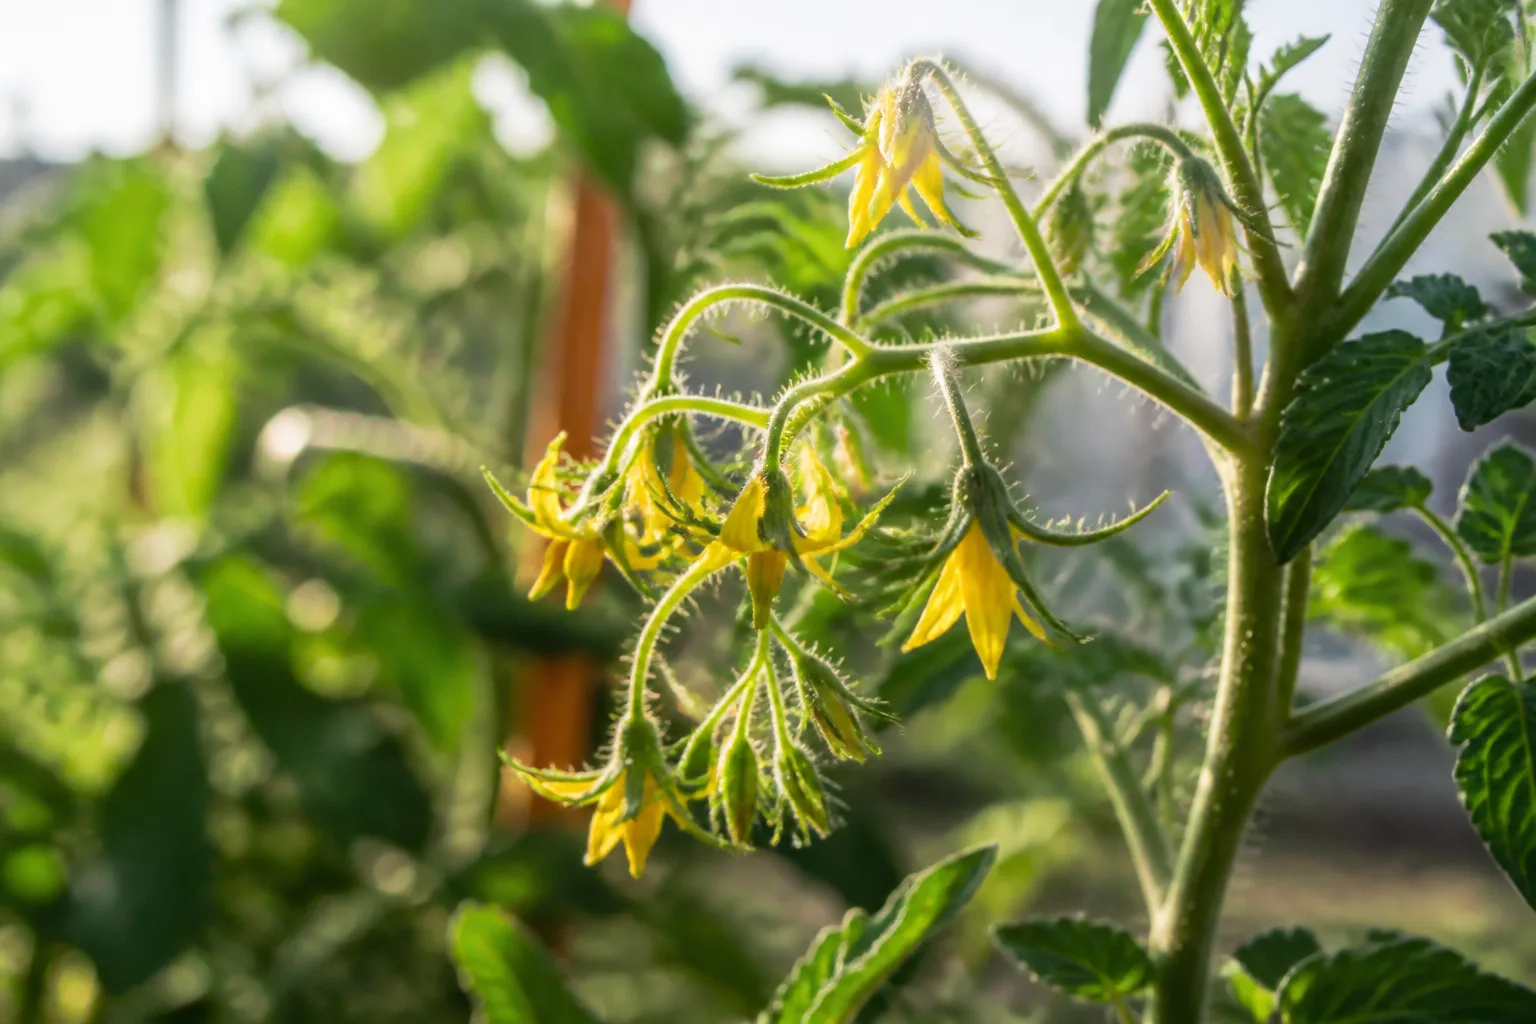
Do not deliberately starve a ripening plant to “concentrate flavor.” A sudden heavy watering after a dry spell is more likely to swell fruit quickly and contribute to cracking. If rain has already kept the soil saturated, pause irrigation until the root zone begins to drain; that is different from withholding water from dry plants.
Match frequency to where tomatoes grow
The container, bed, and soil itself create different water reservoirs. Treat them as separate systems even if they sit side by side.
In-ground garden beds
In-ground soil usually gives mature roots the largest moisture reserve. Start with a deep watering once or twice a week when rain is absent, then adjust by soil texture and weather. Heavy clay may still be damp several inches down after a week, while sandy soil may need more frequent irrigation.
Water a broad circle around the plant instead of making a small puddle at the stem. Tomato roots spread outward as well as downward, and a broad wetting pattern encourages the plant to use more of the bed. Keep water off the foliage when practical; wet leaves and splashing soil can move disease-causing organisms between plants.
Raised beds
Raised beds often drain better and warm earlier, but that also means they can dry faster than the surrounding ground. A deep bed with compost-rich soil may hold moisture well; an 8-inch bed over fast-draining soil can need a much more frequent check during summer.
Use the same 6–8 inch wetting target, then test beneath the mulch. If the top is damp but the lower root zone is dry, extend the irrigation time or water in two slow passes separated by a few minutes. If water runs down the sides or pools on top, slow the application and improve the soil rather than simply watering longer.
Containers and grow bags
Tomatoes in pots, fabric grow bags, and planters dry faster because the soil volume is limited and the sides are exposed to sun and wind. A mature container plant may need a daily soil check in hot weather, and a small pot or fabric bag may need water more than once a day during extreme heat. In cool, cloudy weather, the same plant may need much less.
Water slowly until the mix is evenly wet and a little drains from the bottom. That runoff confirms that water traveled through the container rather than stopping at a dry pocket, but do not leave the pot standing in a saucer of water. Choose a container large enough for the variety, use a free-draining potting mix, and keep the drainage holes open. Savvy Gardening notes that container size, material, potting medium, plant size, and weather all change the schedule; its practical baseline is to check more often as plants mature and fruit in summer. (Savvy Gardening)
Large containers generally buffer mistakes better than tiny ones. Terracotta and fabric dry more quickly than many plastic pots, while dark containers in full sun can heat and dry the root zone faster. These are reasons to change the check frequency, not reasons to keep the soil constantly wet.
How to water for deep, healthy roots
The aim of deep watering is not to flood the bed. It is to replace moisture through the root zone while allowing excess water and air to move through the soil. Apply water slowly enough that it infiltrates instead of running off.
For a garden plant, place the nozzle or irrigation line near the root zone and move around the plant as roots spread. After watering, push a probe into the soil at several points. If moisture stops at the top inch or two, the watering was too light; if the soil is sticky and airless for days, the soil or drainage needs attention.
Hand-watering, soaker hoses, and drip irrigation
Hand-watering with a wand is useful when you want to inspect every plant. Aim at the soil, use a gentle flow, and water the base without blasting soil onto lower leaves. A soaker hose or drip system is more efficient for rows and raised beds because it releases water close to the roots and keeps foliage drier.
Lay irrigation lines before plants become dense and cover them lightly with mulch, but inspect the line at the start of the season. Emitters can clog, hoses can shift, and one end of a long line may receive less water than the other. Run the system, then test soil moisture at both ends of the bed.
Savvy Gardening recommends deep watering and describes soaker hoses and drip irrigation as ways to deliver moisture slowly to the root zone without splashing leaves. (Savvy Gardening) The method is helpful, but it does not remove the need to check soil: an irrigation timer can overwater a clay bed just as reliably as it can rescue a dry one.
The best time of day to water
Morning is the most forgiving time to water because plants can use the moisture during the day and any stray droplets on foliage have time to dry. Gardeners’ World also recommends watering tomatoes regularly, directing water onto the soil, and avoiding leaf splash because excess moisture and swollen fruit can contribute to disease and splitting. (BBC Gardeners’ World Magazine)
Evening watering is acceptable when the soil is genuinely dry and morning is not practical. Water the root zone rather than the leaves, and avoid leaving foliage wet overnight. Midday watering is not automatically harmful; if a plant is dry and stressed, water it. The priority is correcting the dry root zone without turning the foliage into a wet surface for disease.
Prevent cracks, blossom-end rot, and disease
Good watering prevents several problems at once, but it does not cure every tomato disorder. Fruit symptoms are clues, not a complete diagnosis.
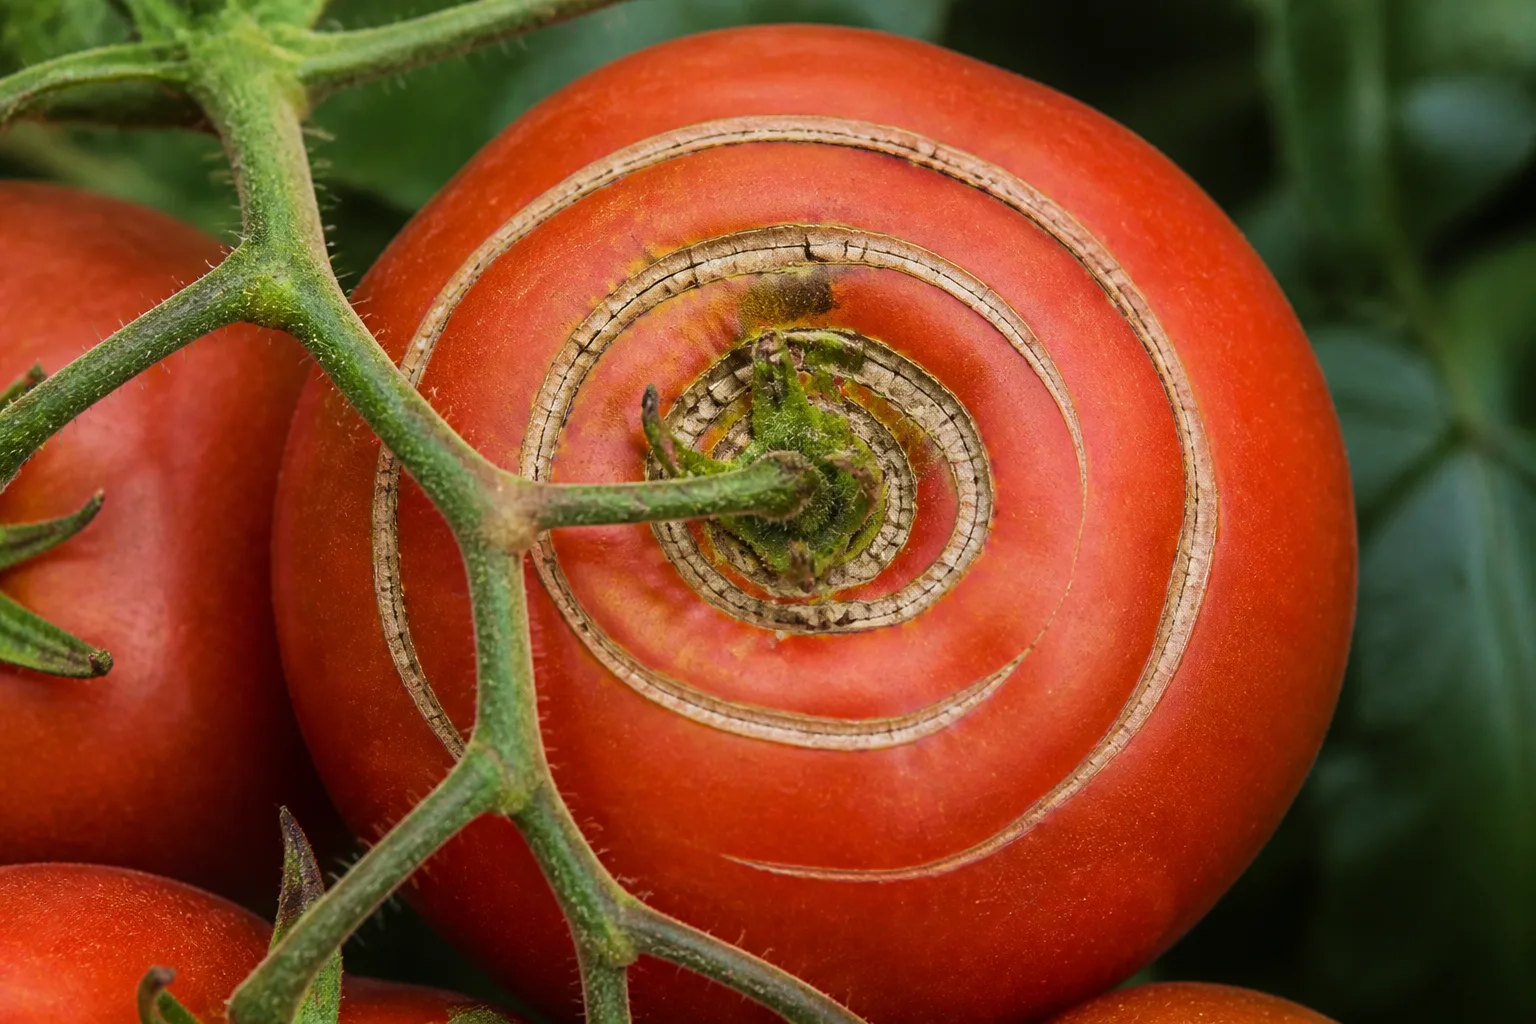
Fruit cracking commonly follows uneven moisture: the skin cannot expand as quickly as the inside of the fruit after a plant goes from dry to very wet. Keep the root zone more consistent, mulch the soil, and harvest ripe or nearly ripe fruit promptly during periods of rain.
Blossom-end rot appears as a dark, sunken lesion at the end opposite the stem. It is a physiological disorder involving calcium uptake and transport, not a contagious disease. UConn and Wisconsin Extension both explain that adequate calcium may still be present in soil when drought stress, alternating wet and dry conditions, root damage, waterlogged soil, or excess fertilizer interferes with uptake. (UConn Extension) (University of Wisconsin Extension)
Do not respond by adding lime or calcium blindly. A soil test can tell you whether calcium or pH is actually low, and adding amendments without that information can create a different nutrient imbalance. First stabilize watering, improve drainage, avoid root damage, and use fertilizer according to the soil test and product directions.
Mulch and soil structure
Once the soil has warmed, apply about 2–3 inches of clean straw, shredded leaves, or another suitable organic mulch around the plant. Leave a small gap around the stem so the crown stays dry and rodents do not get a protected tunnel to the plant. Mulch slows evaporation, buffers soil temperature, reduces splash, and makes a deep-watering schedule easier to maintain.
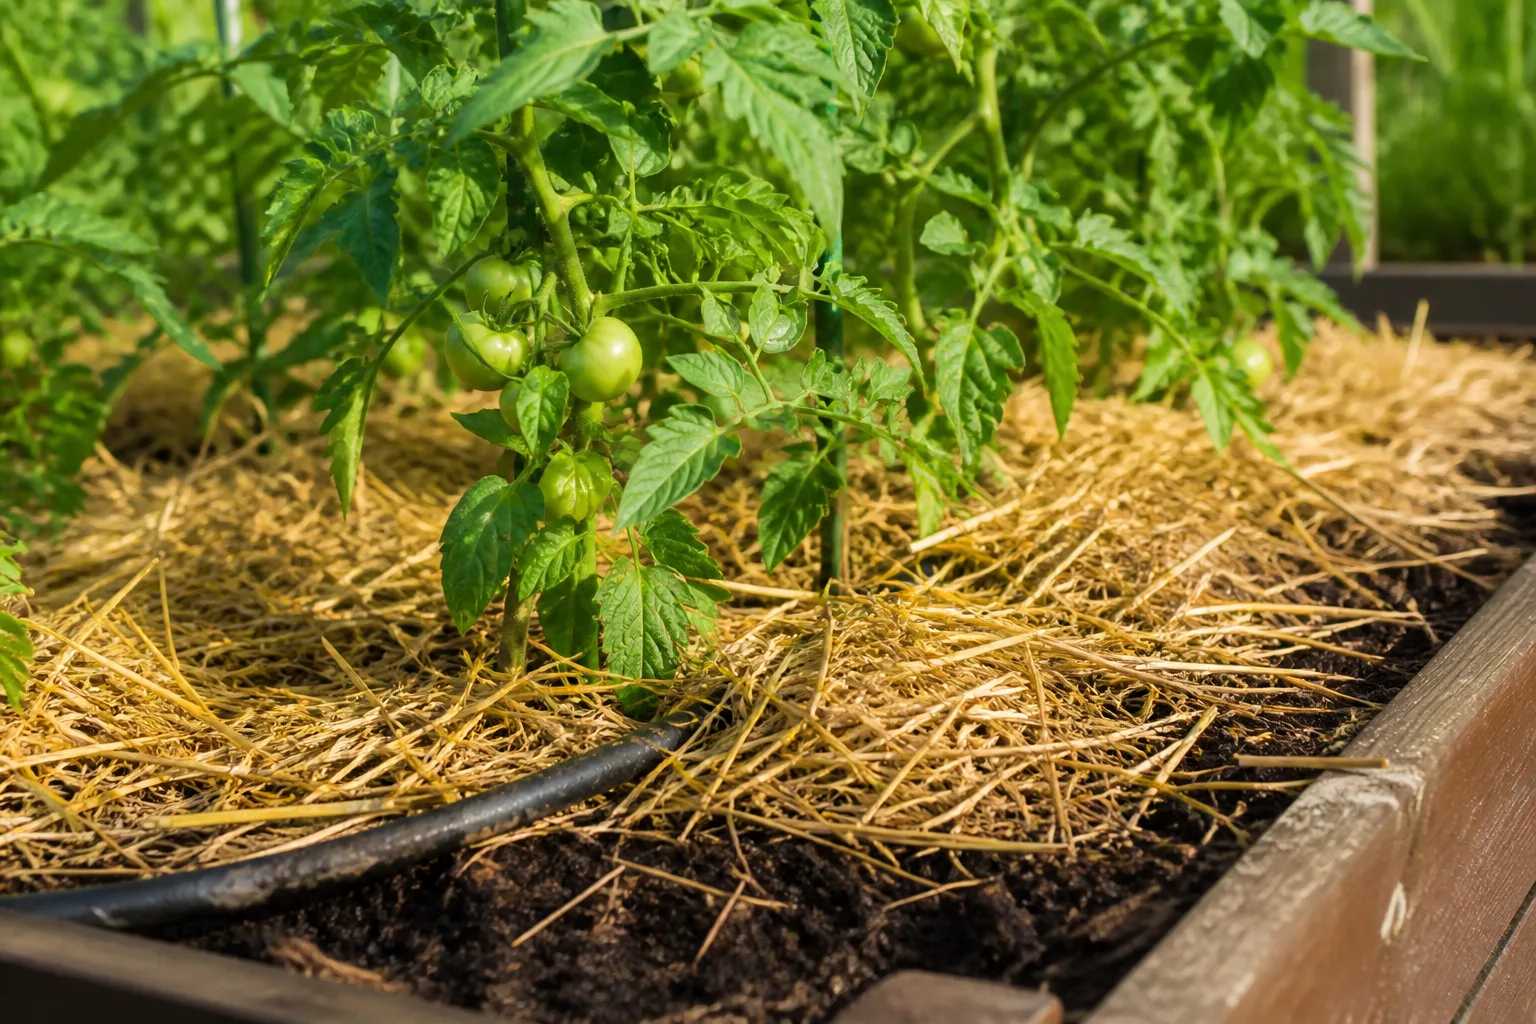
Healthy soil has both water-holding capacity and air-filled pore space. Compost can help improve structure, but adding more organic matter is not a substitute for drainage in a bed that stays saturated. In containers, use a quality potting mix rather than garden soil, and never block drainage holes with a rock layer.
Diagnose wilt, yellow leaves, and soggy soil
Wilting is a prompt to investigate, not an automatic watering instruction. Use this quick triage:
- Check the soil several inches down. Dry soil plus persistent wilt points toward underwatering; damp soil plus wilt points toward root stress, heat, disease, or another problem.
- Check the time of day. Afternoon droop that disappears in the evening can be heat response. Morning wilt is more concerning, especially if soil is dry.
- Check the leaves and fruit. Curling, yellowing, lesions, cracked fruit, and a black blossom end each require different follow-up; water alone will not fix a nutrient, disease, or root problem.
- Check drainage. Standing water, a sour smell, algae on the surface, or soil that stays saturated for days indicates too much water or too little drainage. UConn notes that saturated soil can reduce oxygen around roots and interfere with water and nutrient uptake. (UConn Home & Garden Education Center)
If the soil is dry, water deeply and recheck the plant the next morning. If the soil is wet, stop adding water until it begins to drain, then address compacted soil, blocked holes, or an irrigation timer that is running too long. Remove badly damaged fruit, but do not keep changing the watering schedule every few hours; give the root zone time to respond.
Conclusion
The best answer to how often to water tomato plants is a starting range plus a reliable observation habit. Use 1–2 inches per week, including rain, as a benchmark for established plants, aim to wet the soil roughly 6–8 inches deep, and adjust for growth stage, soil texture, bed depth, container size, heat, wind, and recent rain.
Water at the soil level, preferably in the morning, and keep the root zone evenly moist rather than cycling from drought to flood. Mulch after the soil warms, inspect irrigation lines, and diagnose wilt by checking the soil before you water. That combination gives tomatoes the steady moisture they need for vigorous roots, healthy foliage, and a better chance at a full, crack-free harvest.



