How to Fill Raised Garden Beds: Layers, Soil and Tips
Learn how to fill raised garden beds with the right soil depth, safe organic materials, drainage checks, volume math and low-cost maintenance.
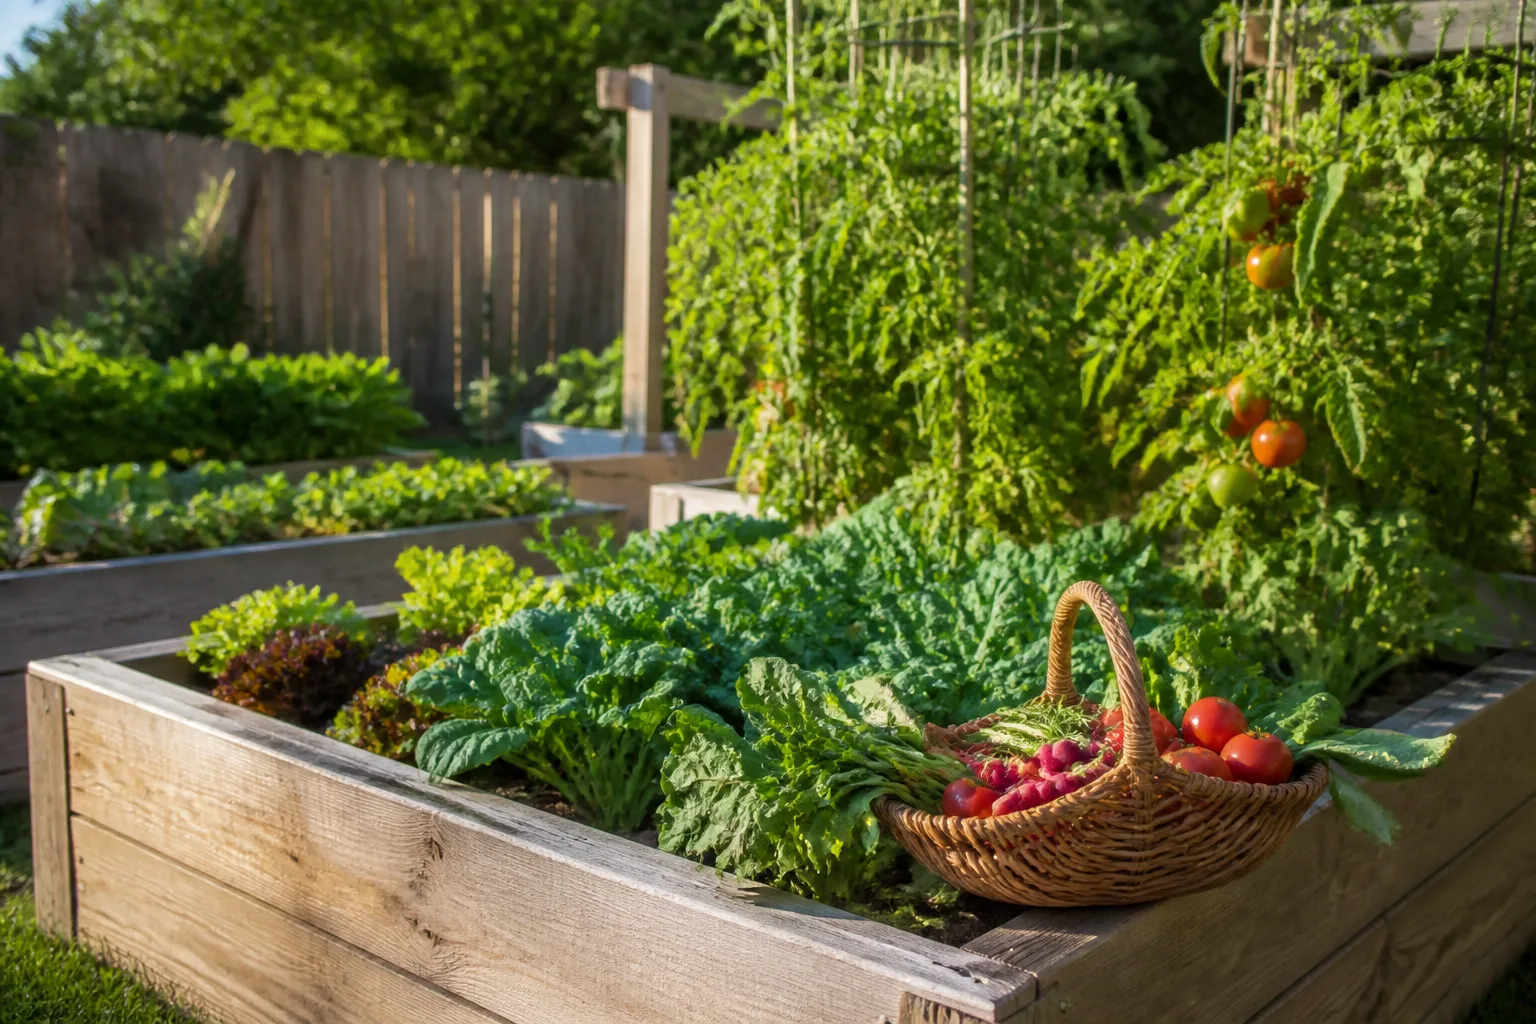
An empty raised bed is not automatically a good growing bed. The frame gives you height and boundaries, but the plants depend on what fills it: enough depth for their roots, a stable planting mix, oxygen after rain, and nutrients that are available without burning seedlings.
The most dependable plan is to put a clean, fertile planting zone where roots will grow and use low-cost organic material below it only when the bed is deep enough to make that worthwhile. In a shallow bed, filling the entire box with quality soil is usually simpler. In a deep, freestanding bed, a carefully built organic core can reduce the amount of purchased soil while giving you useful moisture-holding material as it decomposes.
How to Fill a Raised Garden Bed at a Glance
Use this sequence: measure the inside dimensions, decide the root depth your crops need, inspect the site for drainage and contaminants, cover turf or persistent weeds if necessary, add coarse woody material only in a deep bed, fill the upper planting zone with screened soil and mature compost, water in layers, and top up after the first settling period.
For a 12-inch bed growing lettuce, herbs, beans, or most annual flowers, a full 10 to 12 inches of planting mix is a sensible default. For an 18- to 24-inch bed, you can reserve the lower portion for coarse, clean organic material if the bed drains freely and the top planting zone remains deep enough for the crops. Do not turn the root zone into a thin cap over a loose pile of branches. University of Minnesota Extension likewise recommends choosing depth and soil based on the crops and site rather than assuming every raised bed needs the same recipe.
Decide Whether a Layered Fill Fits Your Bed
Layering is most useful in a bed that is deep, open-bottomed, and being built on clean ground. It is less useful in a low bed, a bed with a sealed base, a container that must stay lightweight, or a bed intended for carrots and other long roots throughout its full depth.
The method sometimes called hugelkultur uses logs and branches under soil. The idea is practical when the wood is clean and the bed is deep enough to hold a substantial planting zone. The trade-offs matter: fresh woody material can settle, temporarily tie up available nitrogen near the root zone, and make the surface uneven as it decomposes. A full soil fill costs more at the start but gives you a predictable root environment.
Measure the Bed and Calculate Materials
Measure the inside length, width, and fill depth in feet. Multiply length × width × depth to get cubic feet. Divide by 27 for cubic yards. Bagged soil is often sold by cubic feet, so keep both numbers visible when comparing prices.
Example: a 4-by-8-foot bed filled 1 foot deep holds 32 cubic feet, or about 1.19 cubic yards. If you want 8 inches of planting soil, that upper zone alone needs about 21.3 cubic feet. Add a little extra for settling and uneven surfaces, but do not order double simply because the first load looks low; soil compacts as it is watered.
For irregular beds, divide the shape into rectangles or estimate the average width. It is better to buy in two stages than to guess an enormous volume. Fill the frame partway, water it, let it settle, and then finish the planting layer.
Choose Soil Depth by Crop
Depth should follow the crop, not the height of the frame. The University of Minnesota Extension and other extension programs emphasize matching bed depth to root space and site conditions rather than treating every raised bed alike.
Shallow-Rooted Crops
Lettuce, spinach, radishes, onions, many herbs, strawberries, and annual flowers can perform in roughly 6 to 10 inches of good soil, provided the bed does not dry out too quickly. Small roots still need a stable, nutrient-rich layer, so shallow does not mean a skim of compost over poor fill.
Deep-Rooted Crops
Tomatoes, peppers, eggplants, cucumbers, squash, carrots, parsnips, potatoes, and perennial herbs benefit from more room. Aim for 12 to 18 inches of usable planting soil, and choose 18 to 24 inches when the crop is large, the underlying ground is compacted, or the bed sits on paving.
If a carrot is forked or a tomato repeatedly wilts in a well-watered bed, do not immediately add fertilizer. Check whether the root zone is deep, loose, and evenly moist. A shallow planting layer over rough fill can create exactly the restriction you are trying to avoid.
Check the Site Before Adding Anything
Raised beds still depend on the site beneath them. Choose a location with the sun your crops require, access to water, and enough room to work around the frame. On soil, loosen compacted ground below the bed if you can; this improves continuity between the bed and native soil. On concrete or a roof, treat the bed as a container and plan drainage, weight, and irrigation accordingly.
If the ground has a known history of industrial contamination, treated timber debris, painted construction waste, or roadside fill, do not cover the concern with compost. Use a soil test and local extension guidance before growing food. A raised frame is not a remediation plan.
Prepare the Base and Weed Barrier
For a bed placed over lawn, scalp the grass, loosen the surface, and use a sheet of plain corrugated cardboard or several layers of uncoated newspaper only as a temporary weed-suppression layer. Overlap seams and wet the material so it contacts the ground. It will decompose; it is not a permanent floor.
Do not add landscape fabric across an open-bottomed bed if your goal is for roots, earthworms, and water to move into the native soil. A fabric layer can also make later soil renewal harder. Use a barrier only for a specific, known reason, such as separating a food-growing bed from questionable soil, and understand that it changes drainage and root behavior.
Build the Coarse Bottom Layer
In a deep bed, start with clean, untreated hardwood logs, branches, and coarse woody pieces. Pack them firmly enough to avoid large voids, but do not build a sealed wood floor. Smaller sticks can bridge gaps. The purpose is to occupy volume and create a decomposing core, not to manufacture a gravel drainage trench.
Keep the woody layer below the future root zone. For an 18- to 24-inch bed, a 6- to 10-inch coarse layer may be reasonable; leave at least 10 to 12 inches of settled planting mix above it for general vegetables, and more for deep roots. In a 12-inch bed, skip the logs unless you are willing to accept a smaller planting depth.
Add the Middle Organic Layer Carefully
Top the coarse material with partially decomposed leaves, straw, chipped branches, or finished-but-rough compost. Use material that is damp enough to settle but not sour, slimy, or packed into an airless mat. Mix different particle sizes so water can move through the layer.
Avoid a thick band of fresh grass clippings, fresh manure, or wet leaves. These can heat, mat, smell, or deplete oxygen as they break down. University extension guidance consistently favors mature compost and well-decomposed organic matter for planting areas; unfinished material belongs in the composting process, not around delicate roots.
Mix the Planting Zone
The top zone is where you should spend your soil budget. A useful general blend is about half quality topsoil and half mature compost or other stable organic matter, adjusted for the texture of the products you buy. The finished mix should hold together when squeezed lightly, then crumble when touched. It should not form a sticky ball or feel like dusty sand.
For containers or beds on hard surfaces, a small amount of coarse mineral material can improve structure, but do not substitute fine sand for a soil blend; fine sand mixed with clay can become dense. Coconut coir or leaf mold can help with moisture management, but neither is a complete fertilizer. Amendments are tools, not a recipe that rescues poor bulk soil.
Choose a Reliable Raised-Bed Soil Blend
Read the bag label and ask where bulk soil came from. Look for screened material, mature compost, and a texture that is not dominated by wood chips. If a product is mostly fresh bark, it may shrink and temporarily compete for nitrogen. If it smells sour or anaerobic, leave it behind.
Soil tests are worthwhile when you are filling multiple beds or reusing existing soil. They can identify pH, phosphorus, potassium, and organic-matter conditions so you do not add lime or fertilizer by guesswork. The USDA Natural Resources Conservation Service explains that soil structure, organic matter, pore space, and water movement work together; a dark color alone does not prove that a mix is fertile or well-drained. University of Maryland Extension also treats organic matter as a soil-health input, not a substitute for sound texture and drainage.
Know Which Materials to Avoid
Never use painted, pressure-treated, creosote-treated, or visibly contaminated wood in the soil. Avoid glossy colored paper, plastic packaging, synthetic carpet, construction rubble, and unknown fill. Do not use cat litter, pet waste, or manure from an uncertain source in a food bed.
Rocks are not a universal drainage fix. A coarse stone layer under fine soil can create a perched water zone rather than improving drainage. The first drainage question is whether water can leave the bed at all. If the answer is no, redesign the base or site; adding rocks inside the box will not solve it.
Fresh manure can contain soluble salts and pathogens and may burn roots. Use only well-composted manure from a trustworthy source, follow local food-safety recommendations, and observe any waiting period required for crops that will be eaten raw.
Fill, Water and Settle the Bed
Add material in lifts rather than dumping everything at once. Place a few inches of coarse fill, water lightly, add the next layer, and repeat. Finish with the planting mix slightly above the frame because it will settle, but leave enough room for mulch and irrigation.
Water slowly until the whole profile is moist and excess water exits or moves into the native soil. If water pools for hours, stop and diagnose the base. A new bed should not be permanently saturated simply because it is new.
Wait several days before planting if you used a substantial organic core. Measure the surface again. If the level drops, add planting mix and mature compost rather than topping with fresh wood. The first settling cycle is useful information about how stable your materials are.
Planting and Mulching After the Fill
Plant into the upper soil only after you can dig a clean hole without hitting large branches. Firm the soil gently around transplants; do not compact it by walking in the bed. Follow the crop’s spacing and place tall plants where they will not shade the rest of the bed.
Add a thin layer of clean organic mulch after the surface has warmed and seedlings are established. Straw, shredded leaves, and fine bark can reduce evaporation and soil splash, but keep mulch a little away from stems. Mulch is a moisture-management layer, not a substitute for a deep, fertile planting zone.
Maintain Soil Level and Fertility
Raised beds lose volume through decomposition, harvesting, erosion, and settling. Each season, remove dead plants, check the surface, and add enough mature compost and soil to restore planting depth. Do not automatically add a full new layer of fertilizer; test or observe the crop and soil first. Cornell Cooperative Extension recommends using finished compost to build soil while avoiding additions that are not matched to a soil test.
Water deeply enough to moisten the root zone, then allow the crop-appropriate surface to dry before watering again. Raised beds often warm and drain faster than ground soil, so check during hot, windy weather. Drip irrigation or a soaker line can reduce surface crusting, but it cannot compensate for a blocked base.
Rotate crop families when practical, use cover crops where a bed will sit empty, and keep diseased plant debris out of home compost unless your system reaches and maintains the required heat. These habits protect the soil you paid to build.
Troubleshoot Settling, Sogginess and Poor Growth
If the bed sinks sharply, identify what disappeared. Fresh wood, loose leaves, and immature compost shrink much more than screened soil and finished compost. Refill in small amounts, water, and observe before planting a deep-rooted crop.
If the bed stays wet, inspect the bottom edge, native soil, downspouts, and irrigation schedule. Do not respond by adding more rocks. If only one corner is soggy, the frame may be out of level or a buried obstruction may be holding water.
If plants are pale and growth is slow, test the soil before adding a strong fertilizer. The mix may be low in available nitrogen, but it may also be waterlogged, too alkaline, compacted, or full of undecomposed wood. A diagnosis prevents an amendment spiral.
Conclusion
The right way to fill a raised garden bed is to protect the planting zone first. Measure the box, match usable soil depth to the crops, confirm that water can escape, and use only clean, stable materials. Layered organic fill can save money in a deep open-bottomed bed, but it is not a shortcut for a shallow bed or a poor site. Finish with fertile soil, water it in, let it settle, and maintain the level with mature compost and sensible watering. That approach gives roots the three things they need together: moisture, nutrients, and air.



