How to Get Rid of Cutworms in Your Garden
Learn how to get rid of cutworms fast with nighttime scouting, seedling collars, hand-picking, soil cleanup, and safer treatment choices for vegetable beds.
If a row of young plants is lying on the soil in the morning with stems severed cleanly at ground level, act that evening. Cutworms are moth larvae, not a single species, and many feed at night before hiding in the top layer of soil or under plant debris. The quickest dependable response is a short sequence: confirm the damage, search with a flashlight after dusk, remove any larvae you find, and put a physical barrier around every vulnerable seedling.
Sprays and powders are not automatically faster. A surface-feeding cutworm can be blocked by a collar tonight, while a climbing species, a root-feeding larva, or a different pest needs a different response. This guide uses the damage pattern and the insect’s behavior to help you choose the smallest intervention that protects the crop.
What to Do Tonight
Your first job is not to buy an insecticide; it is to prevent a second night of losses. Walk the affected row before dark, mark every plant with a fresh cut or wilt, and gather a flashlight, gloves, a small trowel, a container of soapy water, and collar material such as cardboard or a paper cup.
Use this order of operations:
- Check several damaged stems for chewing at or just below the soil line.
- Search the soil surface, plant base, and underside of nearby debris after dusk.
- Hand-pick and remove any caterpillars you find.
- Replant or firm up salvageable seedlings, then collar each one before you leave the bed.
- Inspect the same row at first light and again the following evening.
This sequence matters because a barrier protects a plant from a larva you have not found, but it cannot rescue a caterpillar already trapped inside the collar. The Connecticut Agricultural Experiment Station’s cutworm guidance likewise puts nighttime inspection, hand-picking, collars, cultivation, and other controls together rather than treating one method as universal.
Confirm Soil-Line Damage Before Treating
Look for a fresh, chewed stem with the plant top collapsed beside it. The cut may be at soil level or slightly below it, and the remaining stump may show ragged chewing rather than a clean mechanical break. Check more than one plant because wind, a hoe, transplant damage, and damping-off can also make seedlings fall over.
If the stem is bent but still attached, press the surrounding soil gently around it and keep the plant evenly watered while it recovers. A collar can protect the damaged area from another bite, but do not bury a soft, wounded stem deeply unless that plant is known to root from its stem; a collar is a barrier, not a cure for every broken transplant.
Cutworms are more likely when the damage appears overnight, several seedlings in a row are affected, and the injury is concentrated low on the stem. Slugs leave slime and irregular rasped edges, flea beetles make many tiny holes in leaves, and larger animals usually leave higher or more ragged damage. If the pattern does not fit, pause before treating so you do not spend time solving the wrong problem.
Find the Cutworm After Dark
Go out roughly an hour after sunset with the beam aimed at the base of the plants, not just across the leaves. Look on the soil, under a loose leaf, beside the stem, and in the first inch or two of soil; a cutworm often curls into a tight C when disturbed and may be surprisingly close to the plant it damaged.
If you find nothing on the first pass, check again in the early morning. Cool, cloudy conditions can extend activity, and larvae may remain just under the surface after feeding. The Maine Board of Pesticides Control’s cutworm information notes that species vary in host plants and damage, while the caterpillars generally hide during the day and feed at night.
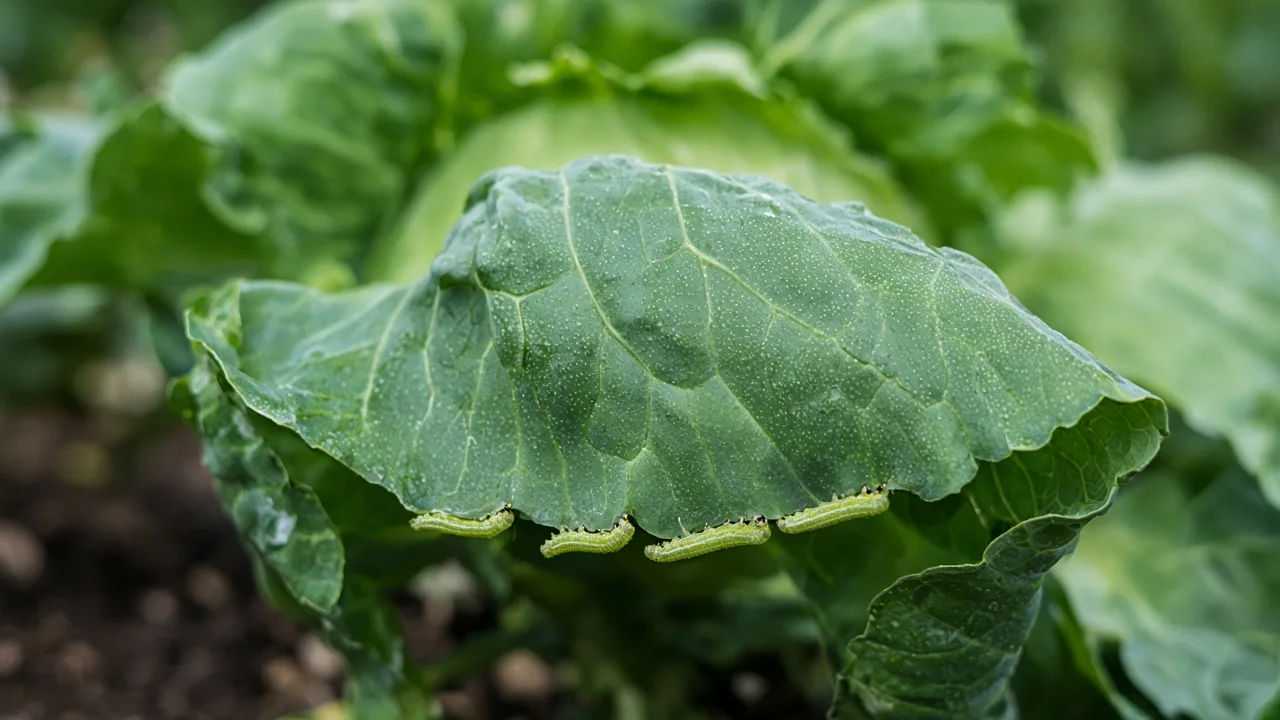
Do not assume that every caterpillar on a leaf is the same insect that cut a seedling. A climbing cutworm may be above ground, but many leaf-eating caterpillars have different habits and may be better handled by hand-picking or a product specifically labeled for caterpillars on that crop.
How to Tell Cutworms From Similar Pests
“Cutworm” is a useful garden name for the larvae of several night-flying moths in the family Noctuidae. That broad label explains why advice sometimes seems contradictory: some larvae wrap around stems at the soil line, some climb to leaves and buds, and others stay underground and feed on roots or underground stems.
The practical diagnosis is behavioral. A soil-line severing pattern points toward a surface cutworm and makes a collar especially valuable; holes higher on the plant suggest a climbing type or another caterpillar; missing roots without a severed stem calls for a different investigation. The Maine source emphasizes that cutworm species differ in feeding behavior and preferred hosts, so “use a collar” should not be the end of your diagnosis.
What Cutworms Look Like
Most garden cutworms are stout, smooth-bodied caterpillars about 1 to 2 inches long when mature. They may be gray, tan, brown, black, pink, or green, with solid, spotted, or striped markings; color alone is unreliable because several species can share a bed.
The most useful clues are the hard head, soft cylindrical body, nighttime activity, and defensive C-shaped curl. During the day, inspect the soil immediately around a damaged plant and the underside of debris rather than searching only the foliage.
An adult moth is not the plant-cutting stage. Night-flying moths can lay eggs in or near garden vegetation, grass, weeds, or debris, but the larva is the stage that chews stems. Killing every moth you see is neither practical nor a reliable diagnosis; put your effort into the larvae and the conditions that shelter them.
Which Plants and Growth Stages Are Most Vulnerable
Nearly any tender garden plant can be attacked, but newly emerged seedlings and recently set transplants are the highest-risk stage. Tomato, pepper, lettuce, cabbage, broccoli, beans, corn, flowers, and many weeds can all serve as food, especially when a new bed was recently cleared from grass or has a weedy edge.
A mature plant with a thickened stem can often tolerate feeding that would kill a two-leaf seedling. That is why the same garden may look fine in midsummer while every early transplant disappears in spring. Prioritize collars and scouting for the first few weeks after germination or transplanting, then keep monitoring until stems are sturdy and the plant canopy is clearly above the soil.
The Fastest Control Methods for an Active Infestation
For a small home bed, physical control is often the most targeted option. It removes the larvae that are present, buys time for seedlings to toughen, and avoids coating the entire crop when only a few plants are at risk.
Hand-Pick and Remove the Cutworms
Wear gloves, search at dusk or before sunrise, and lift the caterpillar from the soil or plant base. Drop it into a container of soapy water or crush it; the point is to remove it from the bed rather than simply knock it into another hiding place.
When a plant has been cut, use a trowel to loosen the top inch or two of soil in a small circle around the stump. Check under clods and debris, then repeat around nearby plants because one larva can move to another seedling after finishing the first. Harvest to Table’s practical cutworm calendar also recommends nighttime hand-picking and shallow soil inspection around damaged plants.
Avoid spraying a homemade dish-soap mixture over the crop. Direct contact may kill a small exposed larva, but a stronger or repeated soap spray can injure tender leaves, and it does nothing for larvae hidden in soil. Soapy water is useful as a disposal container for larvae you have already found, not as a substitute for diagnosis.
Install a Collar Around Each Seedling
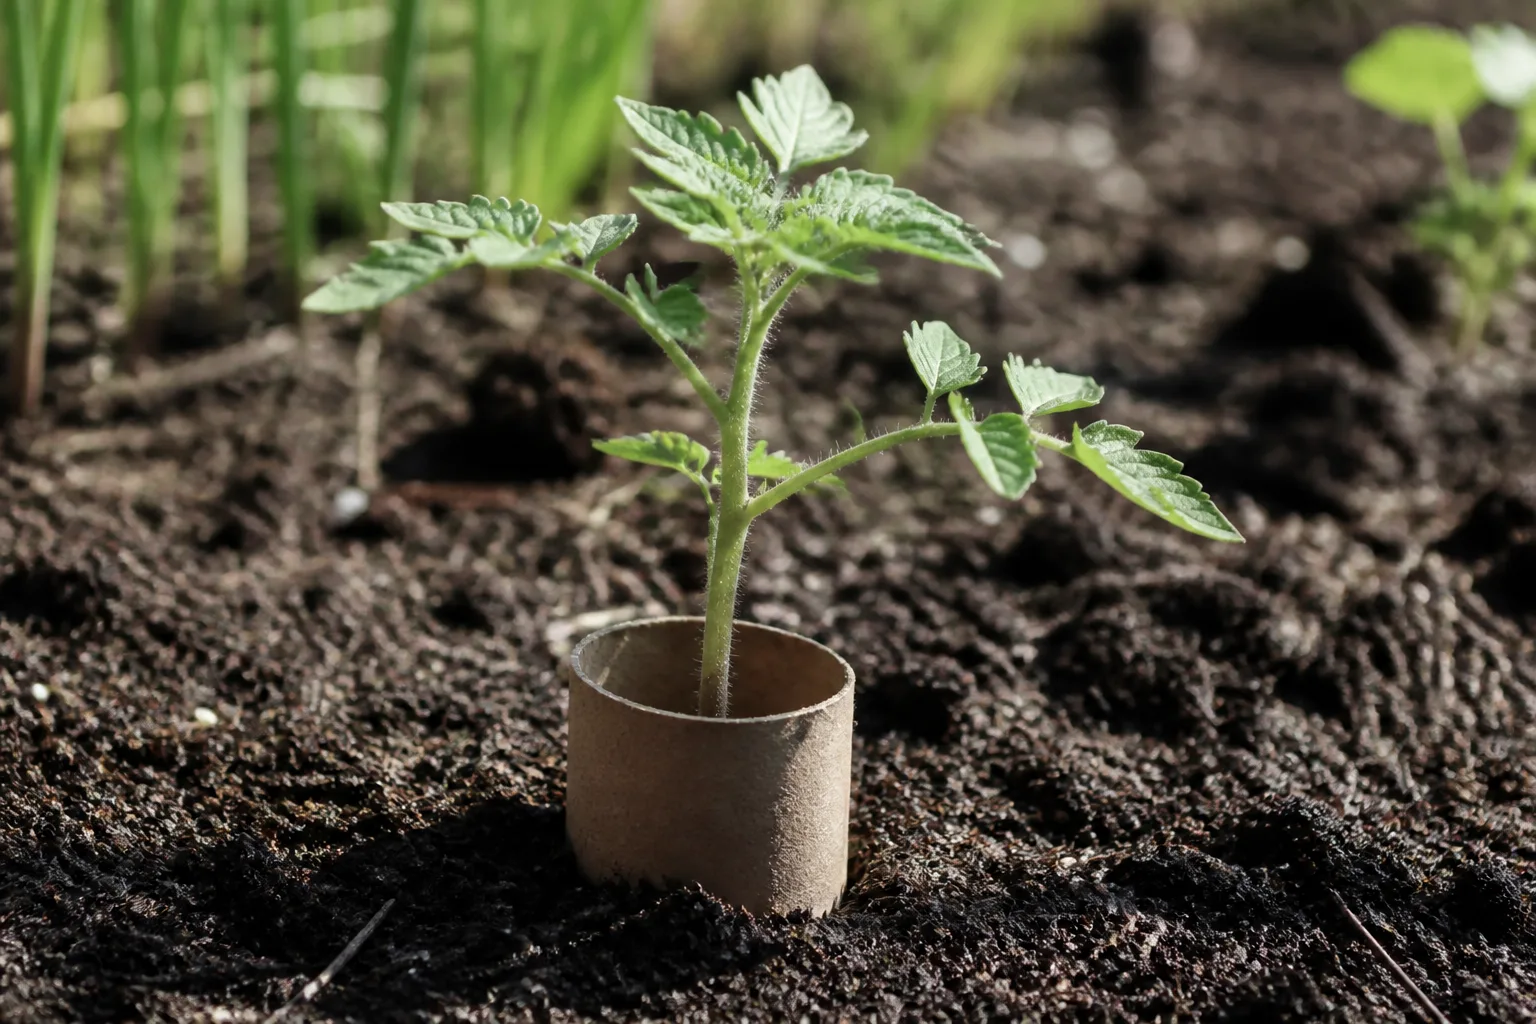
A collar is the best immediate protection for surface cutworms because it interrupts the route to the stem. Use a stiff strip of cardboard, a paper cup with the bottom removed, a clean plastic container, or another material that will hold its shape in damp soil.
Make the collar roughly 3 to 4 inches high and bury about 1 to 2 inches below the soil surface, leaving the rest above ground. Close the seam around the stem with no gap at the soil line, firm the soil around the outside, and check inside the collar first so you do not trap a cutworm next to the plant.
The collar should not clamp the stem. Leave enough room for growth, keep the edge from rubbing leaves, and inspect it after watering or heavy rain. The Connecticut Agricultural Experiment Station describes a stiff collar at least 3 inches high and buried in the soil as an effective barrier; the exact material matters less than the continuous above-and-below-soil wall.
Cardboard eventually softens, so treat it as a seasonal tool rather than a permanent structure. In a wet climate, plastic or a sturdy reusable collar may last longer, but remove or widen it if the stem begins to fill the opening. Keep collars in place through the vulnerable seedling stage, then decide whether the plant’s stem is thick enough that the barrier is no longer worth maintaining.
Use a Cover for a Bed, Not Just One Plant
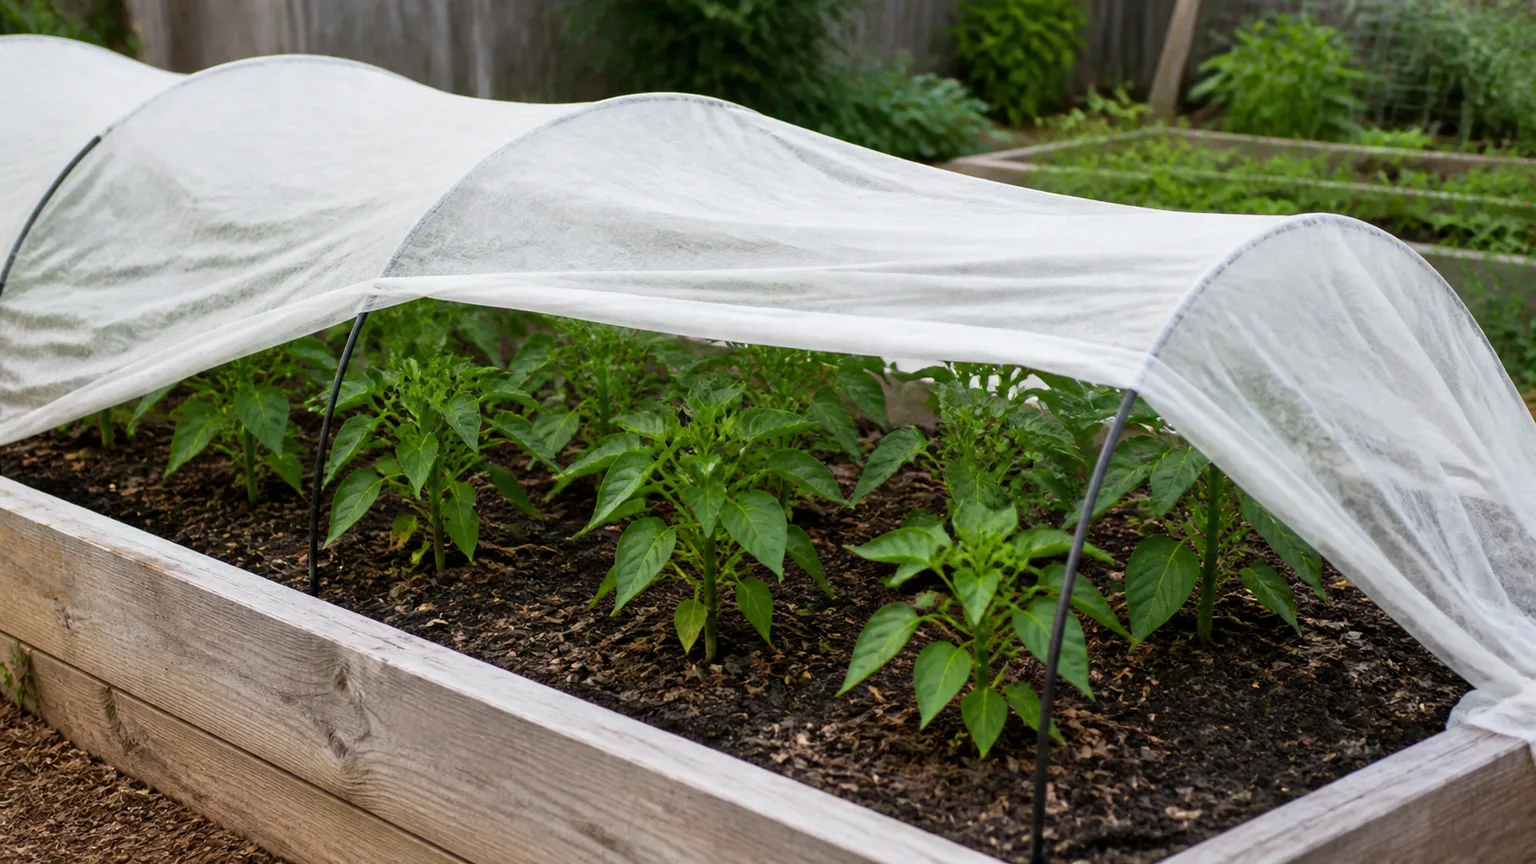
A lightweight row cover can make sense when many seedlings are at risk or when the bed is newly planted. Set it over hoops or a frame so the fabric does not press on the leaves, and secure the edges against the soil; an unweighted edge is an opening that a crawling larva can use.
Row cover is most useful as an exclusion tool for a bed that has not yet been colonized. If cutworms are already under the fabric, the cover can protect moths and larvae along with the crop, so scout and remove pests before sealing the edges. A cover also changes temperature and humidity, and it must be removed when the crop needs pollinators or when heat becomes a problem.
For a few tomatoes or peppers, individual collars are usually simpler and easier to inspect. For a dense row of lettuce or brassicas, a secured cover plus clean soil edges can protect more plants with less repeated hand work. Choose the barrier that matches the bed’s shape rather than adding every barrier at once.
Prevent Cutworms Before Next Planting
Once the surviving plants are protected, reduce the places where larvae can hide and overwinter. Prevention is not a promise that no moth will ever reach the garden; it is a way to lower the number of larvae waiting beside the next crop.
Clear Shelter and Cultivate at the Right Time
Remove dead annual plants, dense weeds, dropped fruit, and loose plant debris from the bed after harvest and before planting. Pull or mow tall grass near the planting area so the edge is visible and less useful as daytime shelter. Do not leave a pile of pulled weeds beside the bed; move it to a managed compost system only if it will heat adequately, or dispose of it according to local rules.
In an unplanted bed, light cultivation in fall and again shortly before planting can expose larvae and pupae to weather and predators. The goal is shallow disturbance of the planting surface, not repeated deep tillage. Harvest to Table suggests cultivating before sowing or transplanting where cutworms were a previous problem, and the Connecticut guidance also identifies fall and preplant cultivation as useful exposure tactics.
Timing and soil condition matter. Do not till saturated soil, do not churn an established root zone, and do not use cultivation as an excuse to destroy a healthy no-till bed. If protecting soil structure is your priority, rely more heavily on debris removal, clean edges, collars, covers, and night scouting.
Manage Edges, Weeds, and Mulch
Pay special attention to a bed that borders lawn, an overgrown path, or ground that was recently converted from grass. A clean, walkable strip between the edge habitat and the seedlings makes larvae easier to spot and removes some shelter, although it is not a guarantee that they cannot cross.
Keep weeds down while seedlings are small because weeds can feed young larvae before the crop is planted. In a known problem area, hold thick organic mulch a few inches away from the seedling row until stems toughen. Mulch is valuable for moisture and soil protection, so this is a temporary scouting adjustment, not a rule to leave every vegetable bed bare.
Avoid unmonitored trap crops and moth lures as a first response. A trap plant can provide more food and a lure can attract adults without removing larvae already in the soil; these tactics only make sense when the species is known and you are committed to frequent scouting and removal. For most small gardens, a clean edge and physical seedling protection are easier to measure.
When Diatomaceous Earth or Beneficial Nematodes Make Sense
Diatomaceous earth can create a dry, abrasive line that irritates or damages soft-bodied larvae crossing it. It is most plausible as a supplementary barrier on dry soil; rain, irrigation, and heavy dew reduce the value of the line, and a cutworm may simply approach through a gap or under debris. Reapply only as the product label allows, and avoid creating airborne dust around people, pets, or food crops.
Treat diatomaceous earth as a backup to collars and scouting, not a force field. Extension guidance lists abrasive materials as an option, while practical experience collected by Gardener’s Path also points out that the method can discourage larvae without reliably stopping every one. If a seedling must survive tonight, a physical collar gives you a clearer, inspectable barrier.
Beneficial nematodes are a different tool. Products containing appropriate Steinernema species are applied to soil so the microscopic organisms can seek susceptible insect larvae. They are more relevant when larvae are living in the soil across a bed, but they are not an instant replacement for hand-picking a caterpillar currently wrapped around a stem.
Nematodes need careful handling: follow the specific product directions, apply when soil is suitable and not baking dry, protect the application from direct sunlight as directed, and keep the soil appropriately moist afterward. The Connecticut source notes that damp soil and cool, dark application conditions can improve the opportunity for beneficial nematodes to find hosts. Their performance depends on product quality, species, soil conditions, and timing, so evaluate the bed over several days rather than expecting a visible overnight kill.
Pesticides, Baits, and Bt: Choose by Feeding Habit
Escalate to a pesticide only when the damage is confirmed, barriers and hand-picking are impractical or insufficient, and the expected crop loss justifies the risk. A cutworm bait placed on the soil may suit a surface-feeding larva, while a foliar treatment may be relevant to a climbing type; neither choice should be made from the active ingredient name alone.
Some extension guidance lists products containing carbaryl for cutworms, and other registrations may be available depending on your location and crop. The legal use is the current label for the exact product, crop, site, pest, application method, protective equipment, and harvest interval. A product sold for lawns is not automatically legal for edible vegetables, and an “organic” or “natural” label does not remove the need to follow directions.
Bt deserves a precise explanation. Bacillus thuringiensis var. kurstaki works by ingestion against susceptible caterpillars feeding on treated foliage, but it is not a universal soil-line solution for every insect called a cutworm. If a product label specifically lists cutworms on your crop, use it exactly as directed; otherwise, do not improvise a homemade bran, molasses, or powder bait and assume the bacteria will reach a hidden larva.
Apply any labeled product at the time and location specified on the label, often with attention to the caterpillar’s active period. Keep children and pets away as directed, protect pollinators and waterways, wear the listed protective equipment, and observe the reentry and preharvest intervals. The goal of integrated pest management is not to avoid every product at any cost; it is to use a justified, targeted product after lower-risk steps have been matched to the actual pest.
Read the Label Before Applying Any Product
Before opening the container, confirm five things: the pest is named, the crop or site is named, the application method matches the feeding habit, the weather and soil conditions fit the directions, and the harvest interval works for your schedule. If one of those pieces is missing, stop and ask a local extension service or licensed garden professional rather than guessing.
Never mix products because two labels sound compatible, never increase a rate to make a treatment “work faster,” and never spray a windy or rainy garden simply to finish the job. Keep the original label, measure accurately, store the product securely, and dispose of leftovers according to local requirements. These details protect the gardener, the crop, beneficial insects, and the soil community that helps the garden recover.
Why Common Home Remedies Fail
Baking soda is not a reliable cutworm control, and scattering kitchen powders around seedlings creates the appearance of action without addressing a hidden caterpillar. The same is true of coffee grounds, strong spices, and random essential-oil mixtures: evidence is inconsistent, coverage is temporary, and concentrated household materials can change soil conditions or injure plants.
Dish soap has a narrow use as a contact insecticidal material in properly formulated products, but a homemade spray is not a good answer to a soil-line pest. It cannot reach a larva under soil, it may burn tender foliage, and it encourages repeated spraying when the real fix is a collar or nighttime removal.
Diatomaceous earth fails when it is wet or when the larva bypasses the treated line. Row covers fail when their edges are open or when pests are already underneath. Collars fail when the seam leaves a gap, the below-ground portion is too shallow, or the cutworm was trapped inside; each failure points to a specific correction, which is more useful than simply declaring the method useless.
Heavy tillage can also be a poor trade. It may expose larvae in an empty bed, but repeated disturbance damages soil structure, dries the surface, and disrupts organisms that contribute to a healthy garden. Use it as a targeted preplant or postharvest tactic where appropriate, not as a reflex every time a seedling disappears.
A Seven-Day Recovery and Monitoring Plan
On day one, remove damaged plants that are fully severed, firm up any partially attached plants, and protect every remaining seedling. Search after dark and record where you find larvae or fresh cuts. A simple sketch of the affected row helps you see whether the problem is concentrated near grass, debris, a compost edge, or one crop.
On days two and three, inspect at dusk and early morning, check inside collars, and repair gaps after watering. Replace soft cardboard, secure row-cover edges, and keep the base of the plants visible. If new cuts stop, leave the barrier in place while the stems thicken rather than removing it after one quiet night.
On days four through seven, reassess the diagnosis. If you still see soil-line cuts despite intact collars, look for larvae inside the barriers and at the bed edge; if the damage is now on upper leaves, reconsider whether a climbing cutworm or a different caterpillar is involved. If no caterpillar signs appear but plants wilt at the soil line, investigate root damage, damping-off, water stress, and transplant injury instead of escalating pesticides blindly.
Replant losses with slightly older, sturdier transplants when possible, but do not delay a needed crop beyond its suitable planting window just to avoid cutworms. A healthy transplant still benefits from a collar on a problem bed. Once the first flush of growth is above the danger zone, remove barriers that are constricting stems, continue edge cleanup, and make a note to prepare the bed before next season.
Conclusion
The fastest way to get rid of cutworms is a behavior-based response: confirm the soil-line bite, look after dark, hand-pick what you find, and block every remaining seedling with a properly installed collar. Then reduce the next wave by clearing weeds and debris, cultivating only suitable empty soil, managing the bed edge, and monitoring for a week.
Use diatomaceous earth or beneficial nematodes only when their conditions fit, and reserve pesticides, baits, or Bt for a confirmed problem and a product label that covers the crop and pest. Cutworms are frustrating because the damage is sudden, but a small garden can usually turn the situation around without a blanket spray once the intervention matches where the larvae feed.