How to Grow and Care for Blackberries
Learn how to grow blackberries from planting and soil prep to trellising, pruning, watering, harvesting, containers, and disease prevention.
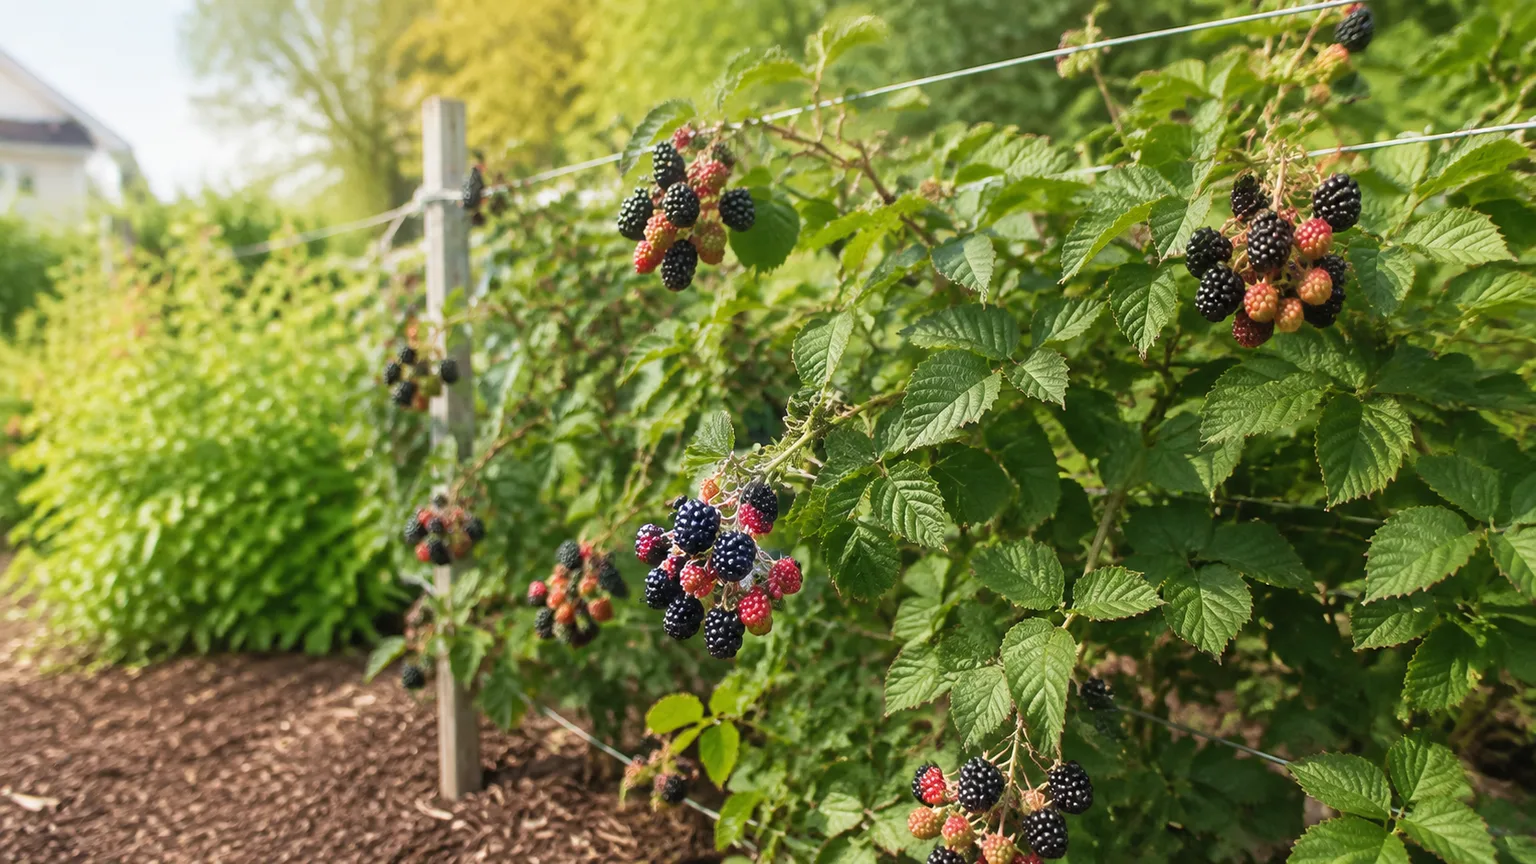
Blackberries are easy to grow once you make two decisions correctly: choose a cultivar that fits your space, and learn which canes will fruit next. The roots live for years, but most traditional blackberry canes live on a two-year schedule—one year of leafy growth, one year of flowers and fruit, then death. Pruning becomes straightforward when you stop treating every cane as interchangeable.
Choose a Blackberry That Fits Your Garden
The best blackberry is not automatically the thornless, largest-fruited, or most heavily advertised one. Start with your climate, the space you can spare, whether you are willing to install support, and whether you want a single summer crop or a cultivar that can fruit on first-year growth. Named cultivars are usually more productive and predictable than random wild brambles, but their performance still varies by region.
Erect, semi-erect, or trailing: the support decision
Erect blackberries grow on sturdier canes and can sometimes stand without a permanent trellis, though temporary support is useful while young canes are flexible and later when fruit loads make them lean. Semi-erect plants form a broader clump and are easier to manage with a trellis. Trailing types produce long, arching canes that need support if you want clean fruit, safe access, and orderly pruning.
| Type | Best fit | Support and space trade-off |
|---|---|---|
| Erect | Small beds, hedgerows, and gardeners who want simpler support | May stand alone, but a low trellis improves stability and keeps fruit off soil |
| Semi-erect | Productive home rows with moderate space | Needs a trellis; thornless cultivars are easier to tie and pick |
| Trailing | Long fences, walls, or dedicated fruit rows | Needs strong wires and more room; rewards careful training with accessible fruit |
UGA Cooperative Extension describes the same practical split: trailing types require trellising, while erect types can grow without extra support but still benefit from light support in the early years. When shopping, read the nursery label for growth habit, mature spread, thorn status, fruiting type, and regional hardiness instead of choosing from the berry size alone.
Floricane or primocane fruiting: the pruning decision
Most traditional blackberries are floricane-fruiting. A first-year cane, called a primocane, grows leaves and wood but does not normally carry the main crop. In its second year it becomes a floricane, flowers and fruits, then dies after harvest. The new primocanes emerging from the crown are the canes you keep for the following season.
Some newer cultivars are primocane-fruiting, sometimes sold as everbearing. They can produce a crop on current-season canes, usually later in the year, and some can produce an additional crop from overwintered canes. Do not cut every blackberry to the ground until you know which fruiting system you bought; that cut is useful for a fall-managed primocane crop but can remove next year’s summer crop on a floricane variety.
Give Blackberries the Right Site and Climate
Choose a site with six to eight hours of direct sun, good air movement, and soil that drains after heavy rain. Blackberries tolerate light shade, but shade usually means softer growth, later ripening, and less sweetness. Avoid a low pocket where cold water or runoff collects; a productive cane cannot compensate for roots sitting in saturated soil.
Hardiness depends on the cultivar, not just the general plant name. Winter cold can injure exposed canes, while warm regions can bring heat, drought, humidity, and disease pressure. UGA’s home-garden guidance emphasizes checking local performance and avoiding standing water; a local extension office or reputable fruit nursery can tell you which erect, trailing, thornless, or primocane varieties are reliable in your area.
Keep cultivated blackberries away from unmanaged wild brambles when possible. Wild plants can harbor pests and diseases, and a thorny hedge close to the bed also makes sanitation, bird netting, and picking harder. If you cannot remove nearby wild growth, give your planting more separation and be strict about inspecting new plants and pruning out suspicious canes.
Prepare Soil Before Planting
Blackberries prefer fertile, well-drained soil with a slightly acidic to near-neutral reaction. A soil test is more useful than guessing with lime, sulfur, or fertilizer; UGA Extension lists approximately pH 6.0 to 6.5 as a productive target for brambles. If the test shows a different range, amend according to the laboratory’s recommendation rather than applying a generic dose.
Improve poor soil with finished compost or well-rotted organic matter mixed into the planting area, but do not turn a wet bed into a deeper wet bed. In heavy clay, the durable fix may be a raised row or a different site with better drainage. In very sandy soil, organic matter helps hold moisture, but you will still need a dependable watering plan during establishment.
If you are comparing fruiting shrubs, our guide to growing and harvesting blueberries explains why a soil test matters even more for acid-loving crops. Blackberries are more forgiving than blueberries, but both reward you for correcting the root zone before planting rather than chasing symptoms later.
Clear perennial weeds before planting and keep the row relatively open. Weeds compete for water, hide suckers, reduce airflow, and make it difficult to see whether a cane is dead or diseased. Do not mound mulch against the crown or bury the base of the canes; a damp, covered crown is an invitation to rot.
Plant Blackberries Without Burying the Crown
Plant dormant bare-root stock in late winter or early spring, or plant container-grown stock while the soil is workable and the weather is not hot and dry. The best planting date is the one that lets roots settle before severe heat or freezing, so local climate matters more than a universal calendar rule. Have the support system ready before a vigorous plant starts throwing long canes.
Bare-root and container-grown planting:
Use this sequence for either form:
- Water a container plant before removing it, or keep bare roots damp and cool until planting.
- Dig a hole wider than the root system and loosen the surrounding soil without creating a deep basin that collects water.
- Set a container-grown plant at the same level it was growing in the pot. For bare-root plants, keep the upper roots about two inches below the soil surface unless the nursery gives different instructions.
- Spread circling roots outward rather than leaving them wrapped around the hole.
- Backfill with the excavated soil amended only as recommended, firm gently, and water slowly to settle air pockets.
- Add a two- to three-inch organic mulch layer over the root zone, leaving a small gap around the crown.
Spacing must reflect the cultivar’s mature spread and growth habit. A compact erect plant may fit a few feet from its neighbor, while a vigorous trailing cultivar can need many more feet and a row wide enough to access both sides. The RHS blackberry guide recommends allowing roughly eight to eleven feet between moderately vigorous plants and up to thirteen feet for especially vigorous varieties; nursery spacing guidance should take priority for your specific cultivar.
Do not expect a newly planted blackberry to make a full harvest immediately. Removing flowers the first season can redirect energy into roots and structural canes, especially when the plant is small or bare-root. A year spent establishing is not lost time; it is the foundation for a bed that can carry fruit without collapsing into weak, crowded growth.
Build a Trellis That Makes Care Easier
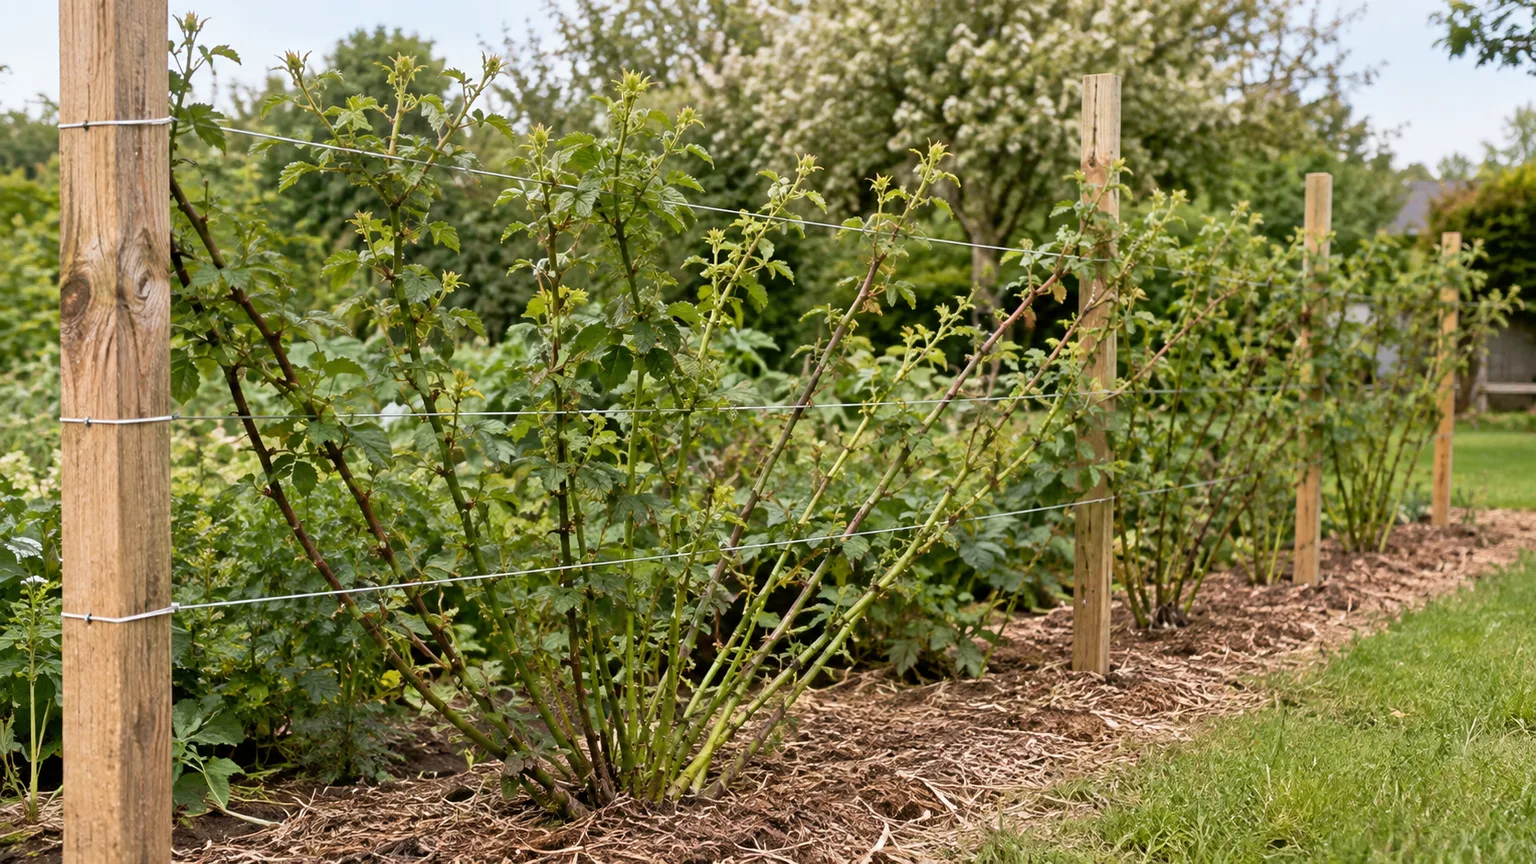
A trellis is not just cosmetic support. It separates old fruiting canes from new replacement canes, keeps fruit off the ground, improves airflow, and lets you reach the crown without pushing through a thorny mass. Build it before planting so you do not damage roots later while driving posts.
For a home row, use sturdy end posts and weather-resistant wire or another durable support. The RHS suggests horizontal wires about 18 inches apart, with the lowest wire about 18 inches above the ground. UGA’s trailing-bramble guidance uses strong posts set deeply, three wires, and wide row spacing; the exact dimensions can be scaled down for one plant, but the principle remains: the support must survive years of cane growth and a wet crop.
Train according to the cultivar. With a trailing plant, spread the canes in a fan or along a two-sided “alternate bay” system: keep one year’s fruiting canes on one side and the new primocanes on the other. For an erect plant, a simple low wire or temporary string can keep first-year canes from dragging through soil while a permanent structure may be unnecessary.
Use soft ties and leave room for the cane to thicken. Do not cinch wire, twine, or plastic around a growing cane, and do not force a brittle cane into a sharp bend just to reach the next wire. It is better to shorten an overlong cane at a sensible cut than to split it at the crown.
Water and Mulch for Steady Growth
Water deeply after planting and during dry weather while roots establish. The goal is a moist root zone, not a permanently wet surface; UGA advises wetting soil to roughly eight to ten inches deep during dry parts of the season. Drip irrigation or a soaker hose is useful because it puts water at the ground without repeatedly wetting foliage and fruit.
Check soil beneath the mulch rather than watering on a fixed timer. A new plant may need water more often in sandy soil, a container, or a heat wave, while an established bed in a rainy climate may need little supplemental irrigation. If leaves wilt in the morning, berries shrivel, and the soil is dry several inches down, water deeply; if the soil stays wet and leaves yellow, improve drainage instead of adding more water.
Refresh organic mulch in early spring or when it thins. A two- to three-inch layer conserves moisture, moderates root temperature, and suppresses weeds, but it should never touch the crown. Pull mulch back before checking the base of the plant or pruning low canes so you can see exactly where each cane emerges.
Fertilize Without Forcing Weak Canes
Blackberries need nutrients for new cane growth and fruit, but more fertilizer is not automatically more berries. Excess nitrogen can produce lush, soft growth that is harder to support and more vulnerable to winter injury or disease. Start with the soil test and use a fertilizer labeled for fruiting plants at the rate for your soil and cultivar.
Many established beds do well with a spring application as growth begins, while weak or poor-yielding plants may need a second, light application after harvest. RHS guidance notes that a regularly mulched bed may need little extra feeding unless harvests are poor or deficiency symptoms appear. Keep granules away from the crown, water them in, and do not fertilize drought-stressed or newly transplanted roots until they have settled.
Prune Blackberries by Cane Age
The safest pruning rule is simple: remove the cane that has already fruited, preserve healthy first-year canes, and thin for light and airflow. GrowVeg’s pruning guide uses the same cane-age distinction for blackberries. Wear thick gloves and long sleeves for thorny varieties, use sharp clean pruners for small cuts, and disinfect tools when moving from a diseased plant to a healthy one.
Clean, sharp tools make these cuts easier and reduce the chance of moving pathogens between plants; see our guide to cleaning and disinfecting garden tools before a large pruning session.
Summer heading and post-harvest cuts
As soon as a floricane finishes fruiting, cut it at ground level and remove it from the row. It will die anyway, and leaving it in place shades new primocanes, increases tangling, and gives disease organisms more dead tissue to colonize. Look for empty fruit clusters, peeling or browning cane tissue, and the branch structure that carried this year’s berries.
For erect or semi-erect plants, tip-prune vigorous primocanes in summer when they reach the height you can manage—often around three to four feet for a small home planting. This heading cut encourages lateral branches lower on the cane, which can carry more fruiting sites next year and reduce the risk of a tall cane bending over. Do not keep cutting a weak or drought-stressed plant just to make it look tidy; first correct water, root, or disease problems.
Primocane-fruiting cultivars need a different choice. You can leave strong primocanes for an earlier crop next year and a later crop on their new growth, or cut all canes to the ground after the fall crop for a simpler one-crop system. The second option sacrifices the early crop, so use it when ease, winter protection, or a cleaner bed matters more than extending the harvest.
Dormant-season thinning and lateral cuts
In late winter or early spring, remove winter-killed, broken, thin, or diseased wood before new growth begins. Keep the strongest healthy primocanes and remove crowded extras at the base; a less crowded plant often produces better fruit than a tangled plant with more total cane length.
On established floricane plants, shorten side branches to roughly twelve to eighteen inches, leaving several healthy buds. Remove very low laterals that would put fruit near splashy soil, animals, and weeds. Training the remaining canes onto their wires after pruning makes the next season’s flowering and harvest easier to inspect.
If you cannot tell whether a cane is alive, scratch a small patch of outer bark. Green, moist tissue beneath suggests living wood; dry brown tissue suggests dieback. Make the cut lower until you reach healthy tissue, but do not keep cutting into the crown without a clear reason.
Manage Pollination, Birds, and Weeds
Many blackberry cultivars are self-fruitful, so one plant can produce berries, but that does not mean pollinators are irrelevant. Bees visit blackberry flowers and can improve pollination across a bed; USDA Agricultural Research Service research highlights the role of bees in pollinating blackberries and raspberries. Avoid spraying open flowers with any product not specifically labeled for that situation, and provide nearby nectar plants without crowding the blackberry row.
Birds often discover ripe fruit before you do. If damage is consistent, cover the row with bird netting held above the canes on a frame so fruit is not pressed against the mesh. Fasten it securely and inspect it often; loose netting can entangle birds and other wildlife. Harvesting every few days also reduces the time ripe berries remain exposed.
Keep weeds down with mulch, hand pulling, or shallow cultivation that does not injure the shallow root system. Do not let lawn grass grow into the crown, and keep mower traffic away from new canes that are being held for next year’s crop. Root suckers can be removed at ground level when they appear outside the row, or dug and replanted if you want another plant.
Harvest Blackberries at Full Ripeness
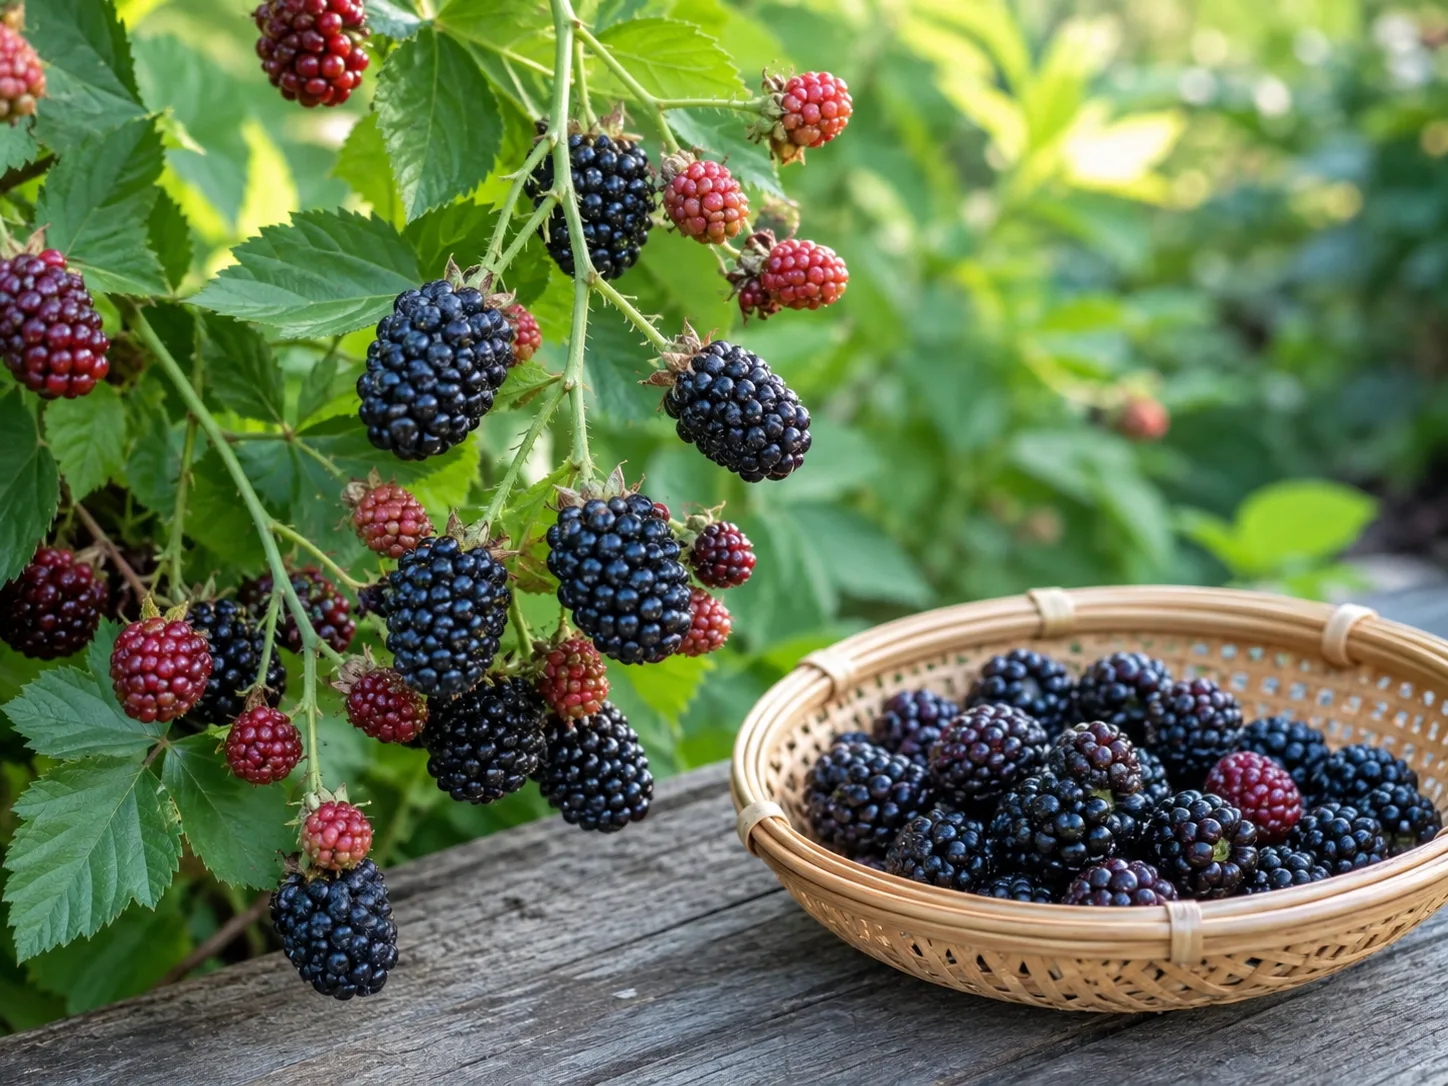
A ripe blackberry is fully colored, plump, and slightly dull rather than shiny. It should release with a gentle pull; if you have to tug hard, leave it for another day. The RHS harvest guidance likewise advises picking plump, juicy fruits as soon as they are ripe because they do not continue ripening after harvest.
Pick every two or three days during the main crop, preferably after morning dew dries and before the day becomes hot. Place berries in a shallow container no more than a few layers deep, keep them shaded, and refrigerate them promptly. Blackberries do not improve in sweetness after picking, so a slightly soft, fully ripe berry is usually a better eating choice than a firm, glossy one.
Sort damaged or moldy fruit immediately and avoid washing the full harvest until you are ready to eat or process it. Refrigerated berries are delicate and short-lived; freeze extras on a tray before transferring them to a container, or turn them into jam, sauce, baked fruit, or puree while they are fresh.
Grow Blackberries in Containers
Container growing is possible, but it is not a way to make a vigorous trailing blackberry behave like a houseplant. Choose a compact erect or dwarf cultivar, a pot at least 18 inches wide and deep with drainage holes, and a sturdy support if the plant’s label calls for one. A container that is too small dries quickly, tips under wind, and leaves too little root volume to support a crop. Savvy Gardening’s container-berry guidance covers the same small-space trade-off.
Use a high-quality, free-draining container mix rather than dense garden soil. Place the pot in full sun, water whenever the mix is drying through the root zone, and expect to check it more often than an in-ground plant—especially during flowering, fruit swelling, and hot weather. Set the pot where its final weight and thorny canes will not block a walkway.
Refresh the mix or move the plant up one container size when roots circle densely, drainage slows, or the plant dries unusually fast. Savvy Gardening’s container guidance makes the trade-off clear: berries can suit patios and small spaces, but containers require more consistent watering and root-space management than a well-prepared garden row. In a hot, windy location, an in-ground erect cultivar may be easier than a neglected pot.
Propagate Blackberries by Tip Layering
Blackberries can be propagated by tip layering, a simple method that uses the cane’s natural tendency to root where its tip touches moist soil. In mid- to late spring, guide a vigorous young cane tip to the ground, pin it lightly beneath the soil or a container of mix, and keep the spot evenly moist without making it soggy.
Once roots and new growth develop, separate the rooted tip from the parent plant and transplant it while the weather is mild. This method is most reliable when the parent is healthy and true to a named cultivar. Do not propagate from a plant with unexplained yellowing, distorted flowers, severe cane lesions, or suspected virus symptoms; you may multiply the problem instead of the plant.
Prevent and Diagnose Common Problems
Good sanitation prevents more trouble than a late spray. UGA Extension identifies sanitation, healthy stock, wild-bramble removal, and weed control as key disease-management practices. Buy vigorous, disease-free plants, keep weeds controlled, remove spent and diseased canes promptly, and dispose of infected cuttings away from the bed. Avoid overhead irrigation late in the day, and thin crowded growth so foliage dries more quickly.
Small, dry, or seedy berries can result from drought during fruit fill, excessive heat, poor pollination, premature harvest, or a cultivar that does not fit the site. Check soil moisture at root depth, inspect flowers for bee activity, and let berries reach full dull-black ripeness before deciding the variety is poor. If the problem repeats despite good care, ask a local extension office whether the cultivar is adapted to your climate.
Yellow leaves are not a diagnosis by themselves. Yellowing with wet soil points toward root stress, while yellowing with orange pustules on leaf undersides can indicate a rust disease. Sudden dieback, cracked canes, swollen sections, malformed flowers, or a plant that declines despite correct water deserve an extension diagnosis rather than a guessed pesticide.
Common pests include aphids, stink bugs, Japanese beetles, mites, and cane borers, with the exact mix varying by region. Inspect leaf undersides, flowers, and cane swellings weekly during active growth. Prune and destroy infested canes when appropriate, encourage beneficial insects, and use only a product whose label covers blackberries, the pest, the timing, and the preharvest interval in your location.
Protect Plants Through Winter and Reset the Bed
Before winter, finish removing spent floricanes and tie healthy replacement canes so wind cannot whip them against the wires. Mulch the root zone with organic material, keeping the crown clear; in cold regions, additional protection for exposed canes may be useful for tender cultivars. Container plants are more vulnerable because their roots are above ground, so move them to a sheltered unheated space or insulate the pot without sealing it in standing water.
After the coldest weather, inspect every cane before pruning heavily. Scratch-test questionable wood, cut back to live tissue, and wait for buds to show where the extent of injury is unclear. A bed that looks sparse in early spring can still recover from cane loss if the crown and roots remain healthy, but persistent crown rot or a spreading virus is a reason to remove the plant and replant with certified stock.
The yearly rhythm is manageable: feed and mulch in spring, tip-prune vigorous new growth in summer, remove fruited canes as soon as harvest ends, thin and tie replacement canes during dormancy, then repeat. That sequence gives you a cleaner crop and makes each next pruning session easier because the plant’s cane ages remain visible.
Conclusion
To grow blackberries well, match the cultivar to your climate and available space before you dig. Give it sun, free-draining fertile soil, steady moisture during establishment, and a trellis when its growth habit requires one. The crucial care skill is reading the canes: preserve healthy first-year growth, remove the wood that already fruited, and treat primocane varieties according to the harvest system you choose.
If you get the site, support, and pruning cycle right, blackberries repay relatively modest work with years of summer fruit. Start with one well-placed plant, observe how its canes grow through a full season, and adjust water, ties, and pruning based on what the plant actually shows you.



