How to Make a Pothos Fuller: 6 Easy Methods at Home
Learn how to make a pothos fuller by improving light, pruning at the right node, rooting cuttings back into the pot, and choosing a climbing or trailing shape.
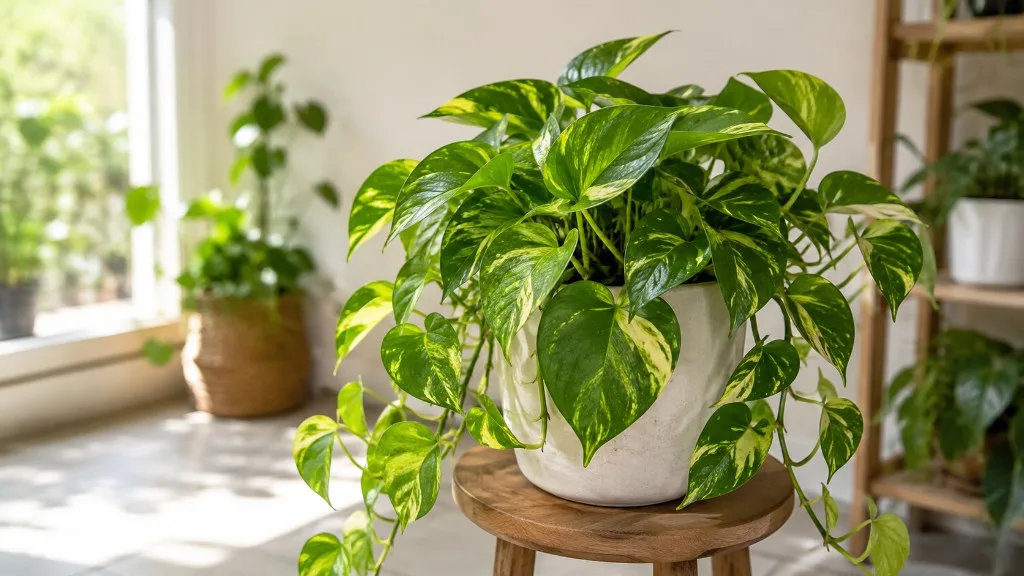
A pothos can send out long, healthy vines and still look sparse in its pot. That is because “fuller” can mean two different things: more leafy stems emerging around the soil, or longer vines that carry leaves more evenly. For a visibly denser pot, the most reliable change is to root healthy cuttings and plant them back around the rim; pruning shapes the vines you already have, while light and sound care help new growth keep its leaves.
Start with the plant’s pattern before reaching for scissors. If the gaps between leaves have grown longer and the newest leaves are smaller, improve the light; if the pot contains only one or two healthy vines, add rooted cuttings; if leaves are yellowing while the soil stays wet, solve the root problem first. These are different jobs, and doing them in the right order saves healthy foliage.
Decide what “fuller” means for your pothos
Pothos (Epipremnum aureum) is a climbing vine, not a naturally compact shrub. Each stem extends along a series of nodes, the joints where leaves and aerial roots form. A young nursery pot often looks bushy because it contains several rooted cuttings. A single cutting can grow into a long cascade without ever filling the soil surface with new stems, even when it is healthy.
Choose the method to match the look you want. To cover bare soil or fill the top of a hanging basket, increase the number of rooted stems by returning cuttings or layering a vine. To shorten a straggly cascade, prune above a node and let a nearby bud make a side shoot; the result is less predictable than adding cuttings. To create a taller display with leaves along a vertical support, train the plant to climb. A support changes its silhouette and can encourage larger mature leaves, but it does not automatically add more stems at the pot’s edge.
| Your goal | Best first move | What it changes |
|---|---|---|
| Fill an open pot or basket | Root several cuttings and plant them around the rim | Adds new stems at soil level |
| Shorten a few long vines | Prune each selected vine above a retained node | Removes length and may encourage side growth |
| Make a vertical focal point | Attach vines to a moss or coir pole or trellis | Trains the same vines upward |
| Stop new growth from looking stretched | Move to brighter indirect light | Supports closer-spaced, healthier new leaves |
You do not need to apply every method at once. A plant with firm stems and a sound root system may need only brighter light and a few cuttings. A plant that is yellow, soft, or losing leaves needs diagnosis and recovery before heavy pruning or feeding.
1. Improve the light before reshaping the vines
Insufficient light is a common reason pothos produces long stretches of stem between small leaves. The vine grows toward the brightest area, so a pot on a dim shelf may extend toward a window and leave a thin section behind. Variegated cultivars can also lose some of their cream or yellow pattern in low light. Trimming the old vine will change its length, but the replacement growth may stretch again if the plant remains in the same dark spot.
Aim for bright, indirect light: near an east- or west-facing window, or a little back from a strong south-facing window behind a sheer curtain. Pothos tolerates lower light, but tolerance is not the same as compact growth. The RHS growing guide recommends bright indirect light and cautions that too little light can reduce variegation and growth. North Carolina Extension’s pothos profile likewise describes bright, indirect light as preferred and notes that low light can reduce variegation.
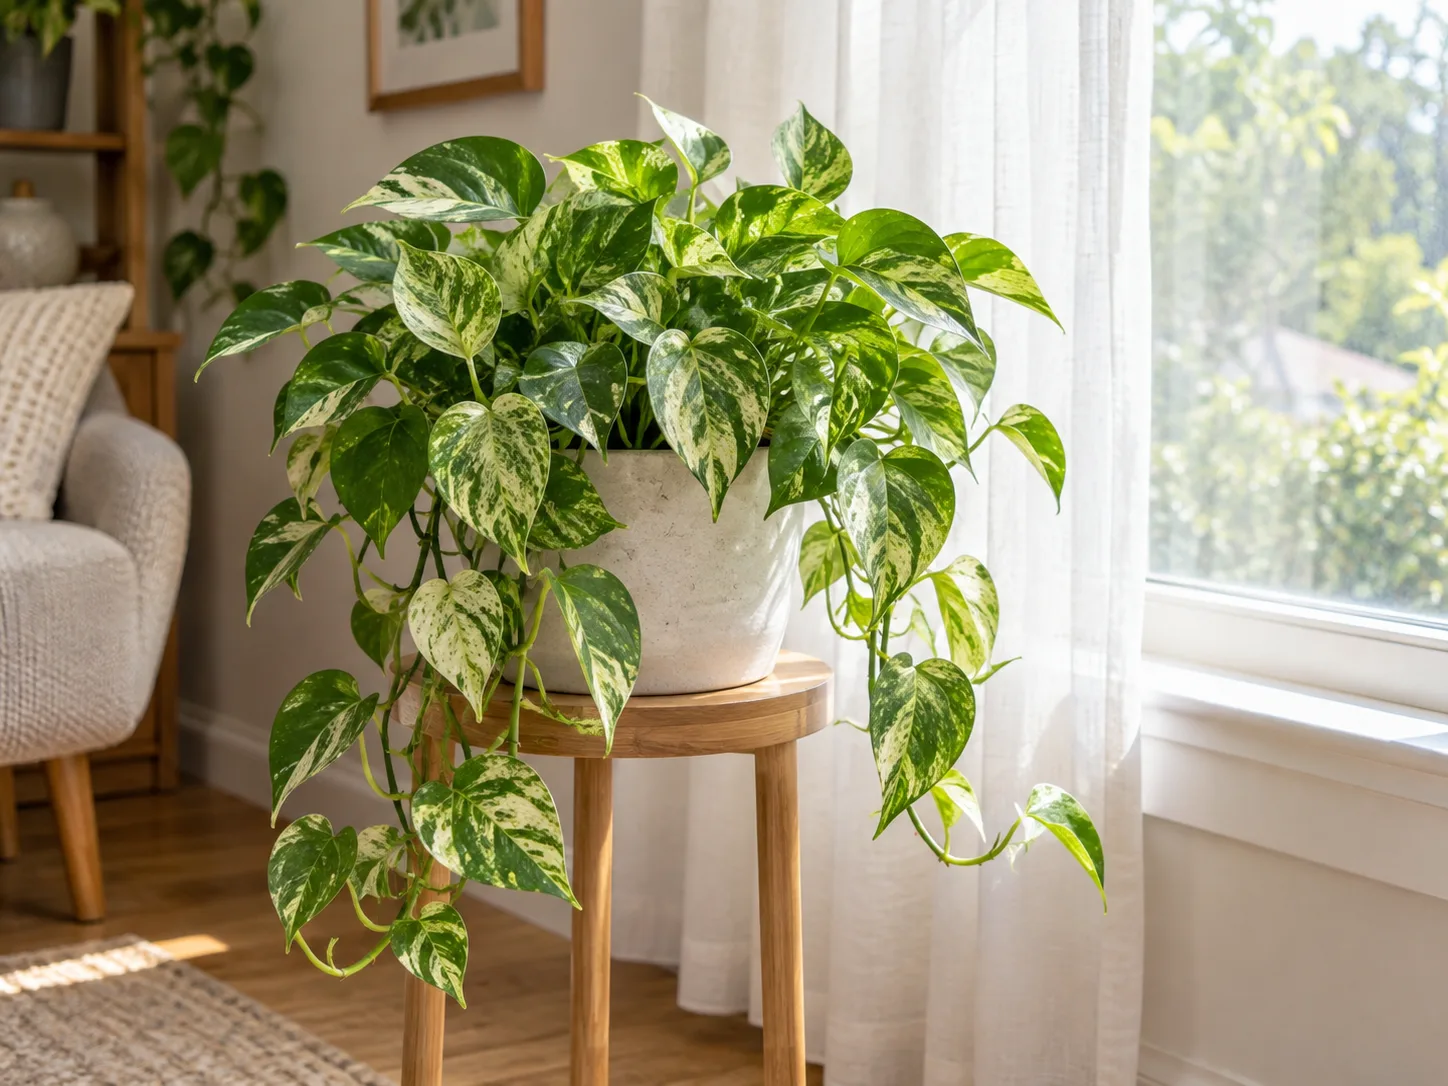
Move a plant gradually if it has been kept in deep shade. Give it a brighter position without putting it directly into hot afternoon sun; direct sun through glass can scorch leaves that were not acclimated. If a window is unavailable, a full-spectrum grow light can support growth, but set its distance and daily run time according to the fixture maker rather than assuming all bulbs provide the same intensity.
Rotate the pot occasionally so the side facing the window does not monopolize new growth. Wiping dust from the leaves with a soft, damp cloth also helps keep the leaf surfaces clean. Neither task can repair an already bare stretch of stem, but better light gives the new leaves a stronger chance of staying closer together. Give the plant a few weeks in its new position before deciding that the change has failed; indoor growth responds gradually, especially in winter.
2. Prune sparse vines to change their shape
Pruning removes length, old leafless sections, or a vine that has grown away from the shape you want. It can also prompt a new shoot from a leaf joint below the cut. It does not reliably make every node on every vine branch, so do not treat pruning alone as a guaranteed way to fill an empty pot. The RHS advises cutting long stems just above a leaf joint to encourage denser growth; choose a healthy plant and prune when it is actively growing, usually in spring or summer in temperate homes.
Use clean, sharp scissors or pruners. Follow a long vine back to the point where you want growth to resume, then identify a healthy node that will remain attached to the plant. Cut a short distance above that node. The node is the slight joint where the leaf stalk meets the stem; a small aerial root may be visible there. Cutting too close can damage the bud, while leaving a long stub above the node leaves dead stem that may dry back.
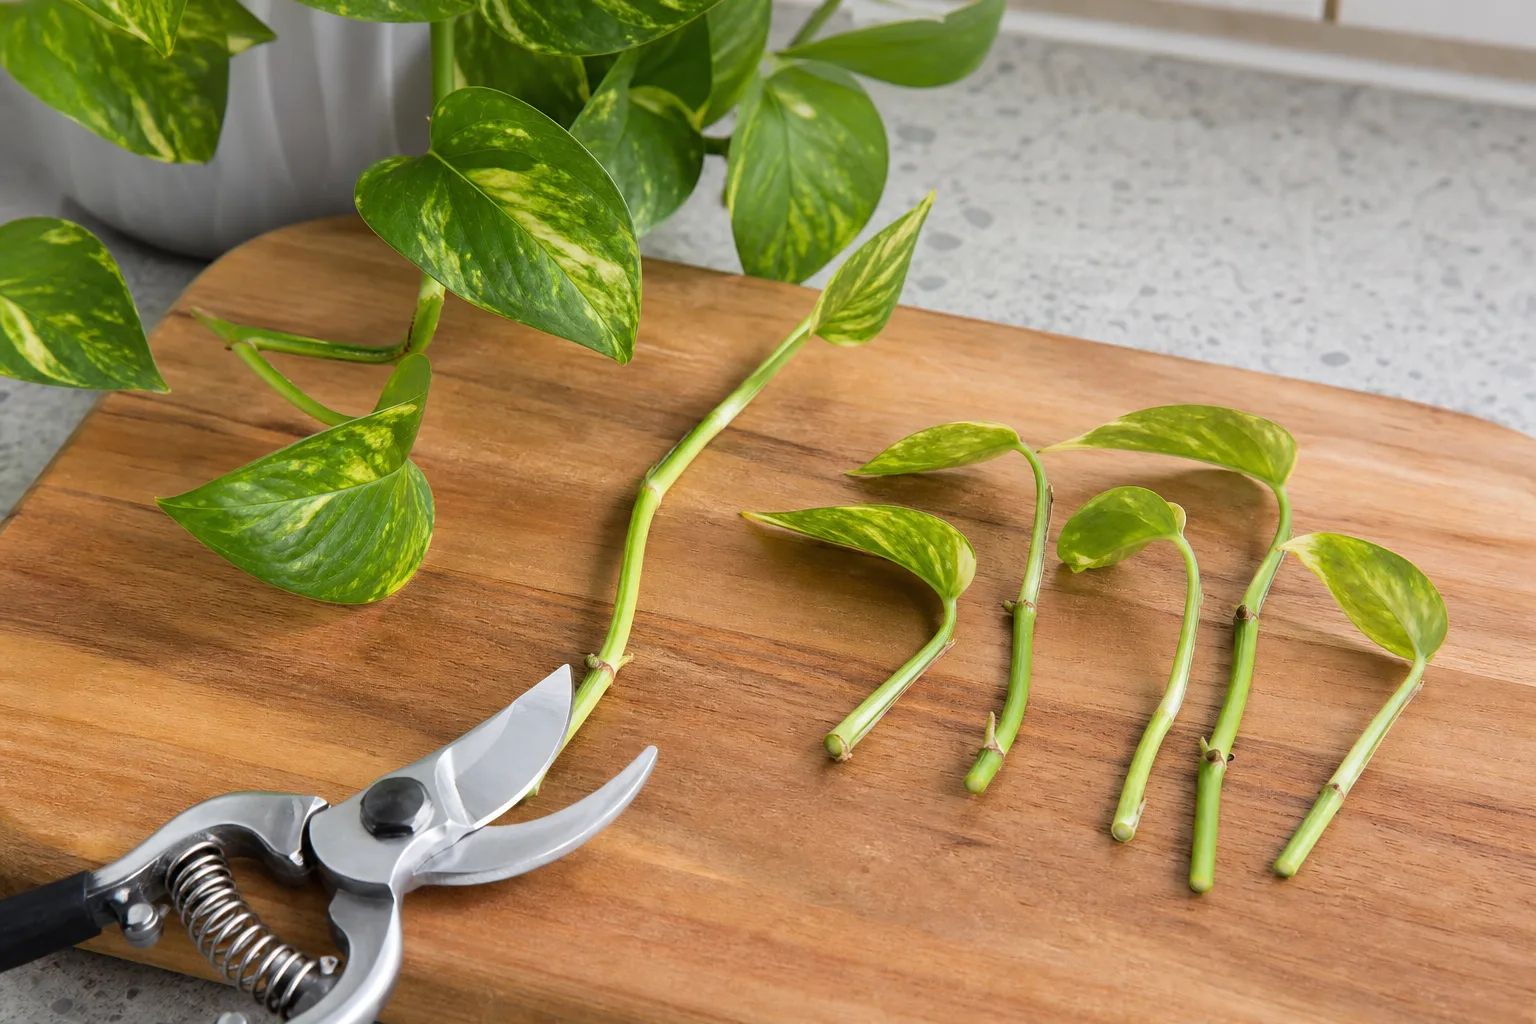
For a fuller-looking basket, shorten only the longest few vines first and leave plenty of leafy growth to keep the plant supplying energy. If the plant is vigorous, you can take more cuttings over a few sessions; if it is weak or recently repotted, do less and let it recover. Avoid shearing every vine back to the soil at once unless you are deliberately restarting a healthy plant and can tolerate a long period with less foliage. A cautious series of cuts gives you a chance to see which nodes respond before you reshape the entire plant.
Wear gloves if sap irritates your skin, and collect the trimmings rather than leaving them where a pet can chew them. Pothos contains insoluble calcium oxalates and is toxic to cats and dogs if eaten, according to the ASPCA’s plant guide. Keep both the parent plant and discarded cuttings out of reach.
Cut above a node on the plant and below one on a cutting
The two cuts serve different purposes. On the parent plant, cut just above a node you are keeping; that leaf joint remains on the rooted plant and may produce a side shoot. On the piece you plan to propagate, make the lower cut just below a node so that the cutting includes the joint that can make roots and a new shoot. A leaf by itself, with no stem node, will not grow into a new vine.
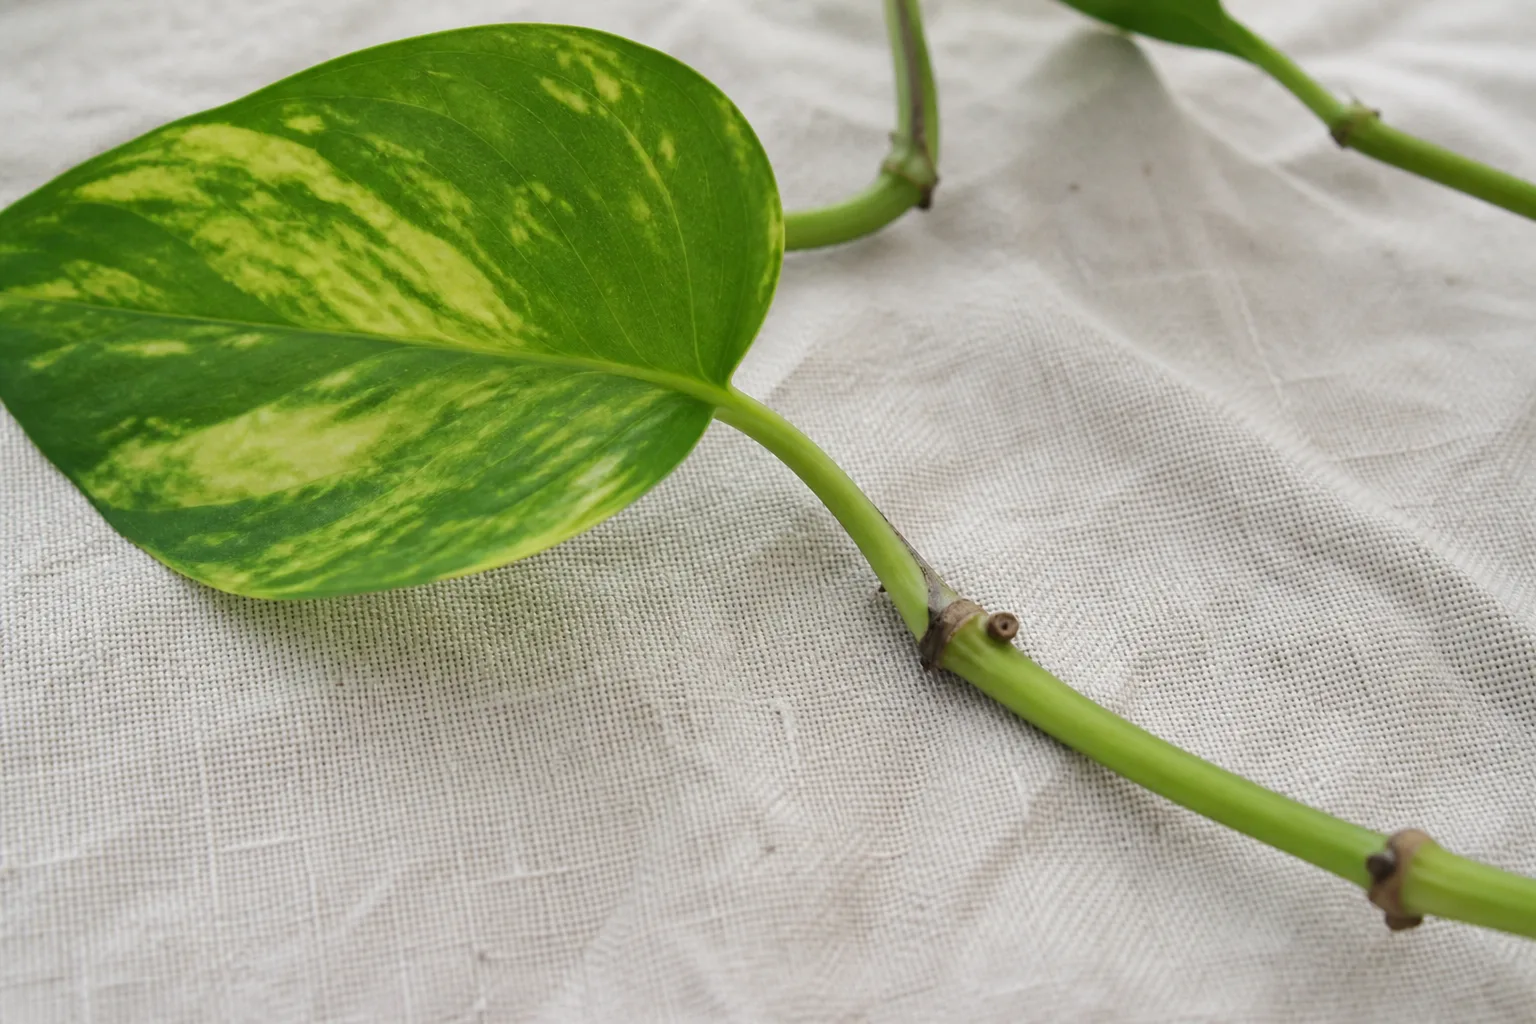
If the vine has several healthy nodes, you can divide the removed length into shorter pieces, each with at least one node and preferably a leaf. Short cuttings take less space in a propagation jar, and each rooted piece can become a new stem for the mother pot. Use a clean cut between the nodes rather than crushing the vine; discard sections that are soft, blackened, or pest-damaged instead of propagating them.
3. Root cuttings and plant them back into the pot
If a pothos has only a few long vines, adding stems is usually the clearest route to a fuller pot. Take several healthy node-bearing cuttings, root them, and plant them around the open areas near the pot’s edge. This creates more starting points for leaves than waiting for one old vine to branch repeatedly. The UF/IFAS production guide describes node-bearing stem cuttings as the standard propagation method; in its commercial production setting, buds break in a few weeks and rooting follows over several more weeks. A home cutting may take longer because light, warmth, and water conditions vary.
Choose soft, healthy vine tips or firm mid-stem sections. Remove any leaf that would sit underwater or be buried in soil, but leave a leaf above the rooting medium to support the cutting. Place the node in water or press it into pre-moistened, free-draining potting mix. Keep the propagation setup warm and in bright indirect light, then wait for roots rather than tugging repeatedly at the stem.
When a water cutting has several roots around an inch or two long, pot it into a small hole in the parent container, positioning the node just below the surface and the leaf above it. If the parent pot is already crowded with roots or the soil stays wet for a long time, root the cuttings separately or use a new container with similar-sized drainage holes instead of squeezing in more stems. Water the newly planted cuttings gently so the mix settles around them, then let excess water drain away.
Space the new stems around the rim and angle them toward open parts of the plant rather than packing all of them into one hole. Several cuttings placed around the pot tend to distribute leaves more evenly. They may look small at first; as they establish and extend their own vines, they knit into the older growth. The improvement comes from adding rooted stems, not from burying a bundle of long leaves or petioles in the soil.
Choose water or soil rooting
Water rooting makes it easy to see whether roots are forming. Put the node underwater and keep leaves above the water line; replace the water if it becomes cloudy or develops an odor. Once the cutting has several roots, pot it up rather than leaving it indefinitely in a decorative jar if your goal is to thicken a soil-grown plant. Gardening Know How’s pothos propagation guide gives both water and soil options and recommends moving water-rooted cuttings into potting mix after roots develop.
Direct soil rooting avoids the later move from water to a pot. Place a node in lightly moist mix, keep the leaf above the surface, and maintain even moisture while roots establish; soggy soil can rot the cutting before it roots. New growth is a useful sign that roots are working, but do not yank the cutting to check. Use whichever method you can monitor consistently, and plant the rooted cuttings in the parent pot only when they are stable enough to handle.
4. Layer a trailing vine across the soil
Layering, sometimes called basketing, lets a still-attached vine root at one or more nodes while it lies across the potting mix. Gently curve a flexible vine over the soil, press a node into contact with the surface, and pin it with a small plant clip or bent wire. Keep the node in contact with lightly moist mix while leaving the leaves above the soil. Roots can form at the buried joint; once the section is established, you can leave it attached or cut between the new rooted portion and the original vine.
This method suits a long, flexible vine when you want to fill the pot without first rooting cuttings in a jar. It is less useful when the pot is already too wet, the soil surface is densely packed, or the vine is brittle and would kink if bent. Do not bury multiple leaves or bury a long length of stem; one or two nodes touching the mix is enough to start. The RHS layering instructions recommend pinning a trailing stem into free-draining compost and waiting for roots at the leaf joint; Penn State Extension’s pothos profile also describes layering from node-borne aerial roots.
If you have space beside the parent container, layer the vine into a small second pot instead. This makes it easy to keep the propagation mix moist without changing the watering needs of the mother plant. Once the new roots hold the stem in place, you can cut the connecting vine and keep the new pot separate or move it back into the main container if that container has room.
5. Train vines upward for a climbing display
In nature, pothos climbs using aerial roots at its nodes. Indoors, a moss- or coir-covered pole, trellis, or other sturdy support can turn dangling stems into a vertical column of foliage. North Carolina Extension notes that with support and adequate light, pothos can produce larger, more mature leaves. That is a different kind of fullness from a crowded pot: it builds height and leaf size along the existing vine rather than increasing the number of stems at the soil line.
Set the support securely in the pot and guide the vines upward with soft plant ties, leaving enough room for the stem to thicken. Do not cinch ties tightly around a node or petiole. A moss pole needs to stay damp if you want aerial roots to attach to it; a dry trellis still gives the stems a structure to follow but may need soft ties to hold them in place. Choose a support only if you like the vertical shape and can keep it stable as the plant grows.
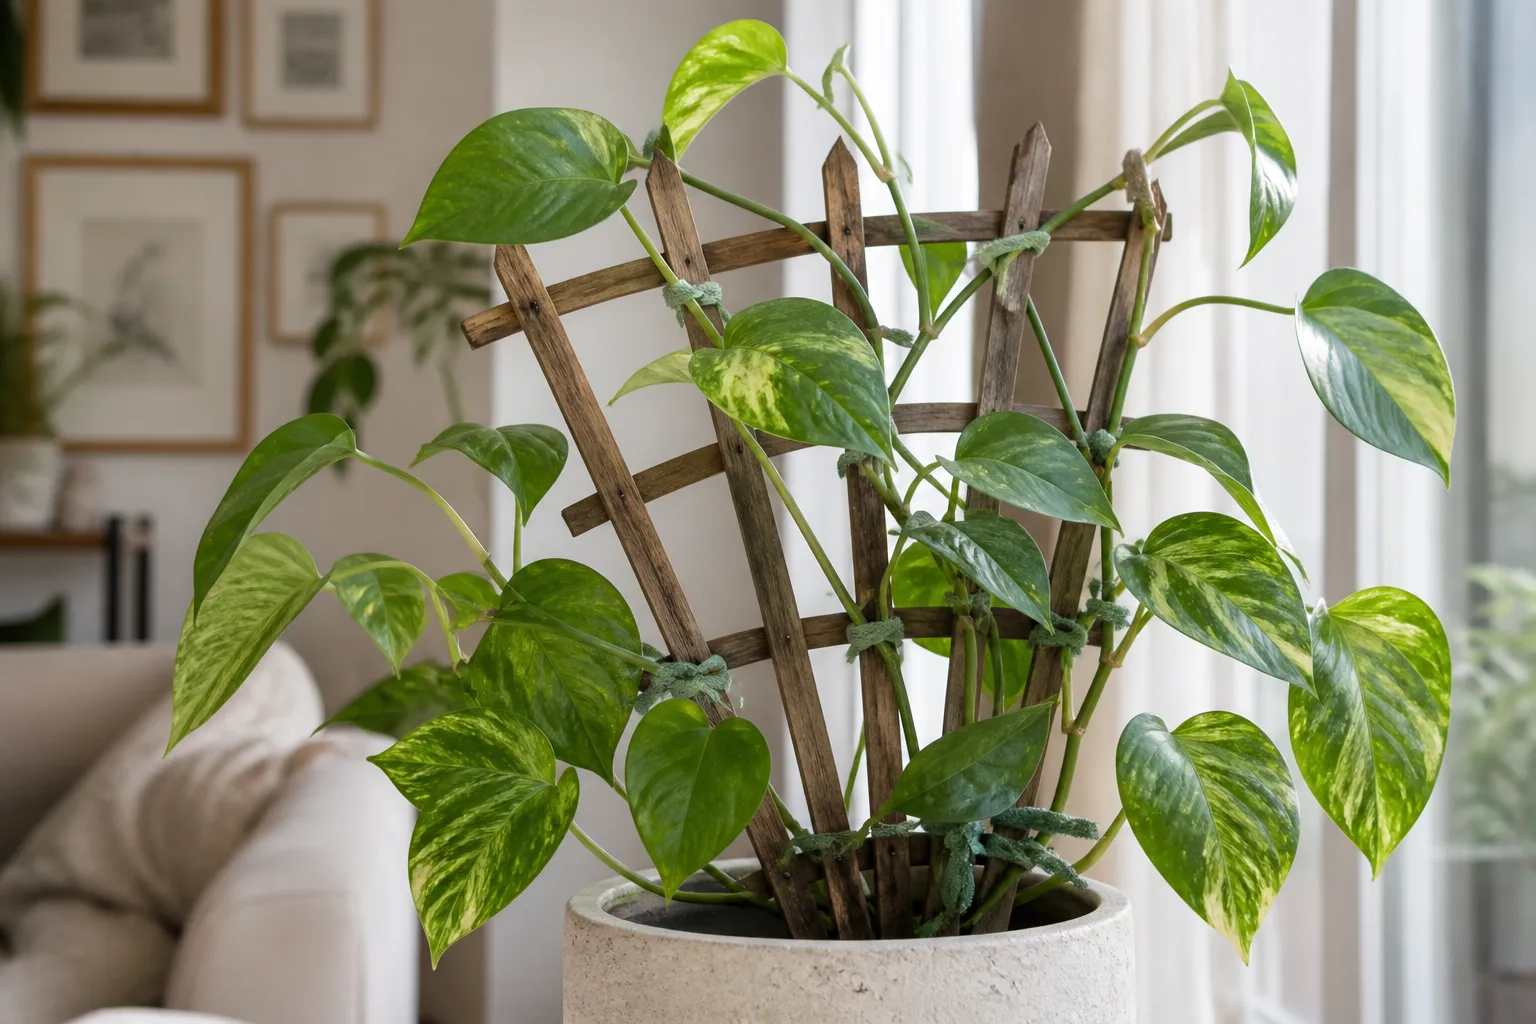
Do not buy a pole expecting it to turn one sparse cutting into a bushy tabletop plant. If the goal is a denser crown, root more cuttings around the pot first. If the goal is a living column, the pole gives existing vines a path to climb, and bright indirect light supports fuller leaves along that path. The RHS guide to epipremnum training notes that stems may need tying in and that damp moss or coir encourages aerial roots to attach.
6. Support steady growth with sensible care
Light, water, and nutrients do not substitute for adding stems, but they determine whether the new growth stays attractive. Let the surface layer of potting mix approach dryness before watering, then water thoroughly until excess drains from the bottom. Empty the saucer rather than leaving the pot sitting in standing water. A calendar schedule can fail because a small pot near a warm window dries faster than a large pot in a cool room.
Pothos can tolerate some drying, but repeated severe drought can cause wilt and leaf loss. Constantly wet mix deprives roots of air and can cause rot, which also leads to yellow leaves and thinning vines. The University of Wisconsin Horticulture Extension pothos guide recommends an aerated growing medium, allowing it to dry slightly, and watering when the surface is dry. If a plant remains limp while its mix is wet, check drainage and roots before watering again.
Feed only when the plant is actively growing and the potting mix is not already carrying a recent dose of slow-release fertilizer. Extension and horticultural recommendations vary: Wisconsin suggests feeding every other month except during winter, while the RHS recommends monthly feeding during its stated growing season. That difference is a reason to follow the label for your specific product and use a conservative houseplant dose, not to combine both schedules. A current Homes & Gardens pothos-care guide also pairs active-season care with restrained feeding and warns that overdoing fertilizer can work against a compact shape. More fertilizer will not force a fuller shape; excess salts can damage roots and leaf tips.
Keep the plant away from cold drafts and hot glass, and avoid changing light, watering, repotting, and fertilizer all in the same week. Changing one or two conditions at a time makes it easier to spot the real cause if the plant declines. Stable warmth, adequate light, an airy mix, and measured watering give pruned nodes and new cuttings a chance to establish.
Repot only when the roots need more room
A larger pot is not a shortcut to fuller foliage. A pot much larger than the root ball holds more unused wet mix, which can stay saturated while a small root system struggles to take up water. Repot when roots circle densely, emerge from drainage holes, or the mix has degraded and no longer drains well. Choose a container only one size larger, with drainage holes, and keep the plant at the same soil level.
If you are adding cuttings, test the soil surface and container first. A few small cuttings can fit around the edge of a healthy pot without changing its size. If there is no room, start a second pot or wait until the parent needs repotting; do not cram roots into a compact root ball or force the plant into a much larger container. The RHS advises moving epipremnums to a slightly larger pot when roots are crowded and warns that excess compost in an oversized pot can stay wet and increase root-rot risk.
If you uncover dark, mushy roots or a sour smell, remove damaged roots with clean scissors and repot into fresh, free-draining mix in a suitably sized pot. Hold off on fertilizer while the plant re-establishes. Root stress is not a cue for an aggressive haircut: remove dead or damaged growth, preserve healthy leaves, and let the root system recover before taking more cuttings.
Give cuttings and pruned vines time to respond
A fuller pothos is usually a gradual project rather than a one-week makeover. At the start, correct the light and decide which vines to keep. Take healthy cuttings from the longest bare stretches, root them, and then add them around the pot once their roots can handle planting. Layering can fill one open area while you wait. The remaining vine may make a new shoot from a node, but not every retained node will necessarily grow at once.
UF/IFAS reports bud break in two to three weeks and rooting in three to four weeks for its commercial node-cutting production. Those figures describe a managed growing environment, not a promise for a living-room shelf. A cool, dim room or winter slowdown may stretch the timeline, and a water-rooted cutting still needs time to settle into potting mix. Watch for firm stems, new leaves, and roots that hold the mix rather than expecting a specific date for a finished, dense plant.
After adding cuttings, keep the mix modestly moist while roots establish, then return to the normal dry-surface check. Avoid repeatedly moving or unpotting the plant to see if the roots have grown. Once new vines extend, pinch or prune selectively to maintain the shape you prefer. If you want a long trailing plant, let some stems cascade; if you want the rim covered, keep adding rooted stems over time rather than shortening every vine to the same length.
Troubleshoot a pothos that stays thin
If new leaves keep arriving far apart, reassess light first. Long internodes, smaller leaves, and a vine leaning toward one window point to a plant reaching for brighter conditions. Move it to indirect light and rotate the pot so new growth is not concentrated on one side. Variegated leaves losing their pattern can also signal insufficient light, though individual cultivars naturally differ in how much color they show.
If the newest growth is healthy but the pot still looks empty, the issue may simply be a low number of rooted stems. Add more cuttings near the open sides instead of increasing fertilizer. If older leaves gradually yellow and drop from the base while the rest of the plant looks healthy, some leaf loss is normal as a trailing vine ages; cuttings can replace stems that have become bare. If several leaves yellow quickly, stems soften, or the mix remains wet, inspect the roots and drainage before pruning.
Small leaves can reflect low light, but also remember that a trailing indoor pothos usually stays in its juvenile form. A support and better light may encourage larger leaves, but a pole cannot guarantee dramatic mature foliage in an ordinary room. If the plant is already healthy and you simply like its natural cascade, there is no horticultural requirement to make it bushier. Shape is a preference, not a diagnosis.
Separate low light, normal aging, and root stress
Look at the whole pattern. A vine with longer spaces between leaves and a strong lean toward the window suggests light is limiting compact growth. A few old leaves dropping while new growth remains firm is different from widespread yellowing. Yellow leaves plus damp, sour-smelling mix, mushy stems at the soil line, or soft brown roots point toward excess moisture or poor drainage; pause watering and inspect before applying fertilizer.
Pests can also weaken a plant, so check leaf undersides and stem joints for scale, mealybugs, or webbing before propagating. Use only clean, healthy stem sections for new cuttings. If the plant is stressed, fix the cause and wait for stable new growth before reshaping it; removing too much foliage from a struggling vine reduces the leaves that support recovery.
Conclusion
For a denser pothos at the soil line, improve the light, prune selectively, and root healthy node-bearing cuttings back into open parts of the pot. Layering can fill a gap with less interruption, while a pole is better for a taller climbing display. Keep watering tied to soil moisture, feed modestly during active growth, and repot only when crowded roots need space. The new shape takes time, but a few deliberate steps give the plant a fuller look without pushing it into soggy soil or overfeeding it.



