How to Prune Basil for Bushier Growth and More Leaves
Learn where to cut basil, when to start pruning, how much to remove, and what to do about flowers, leggy stems, containers, and frost.
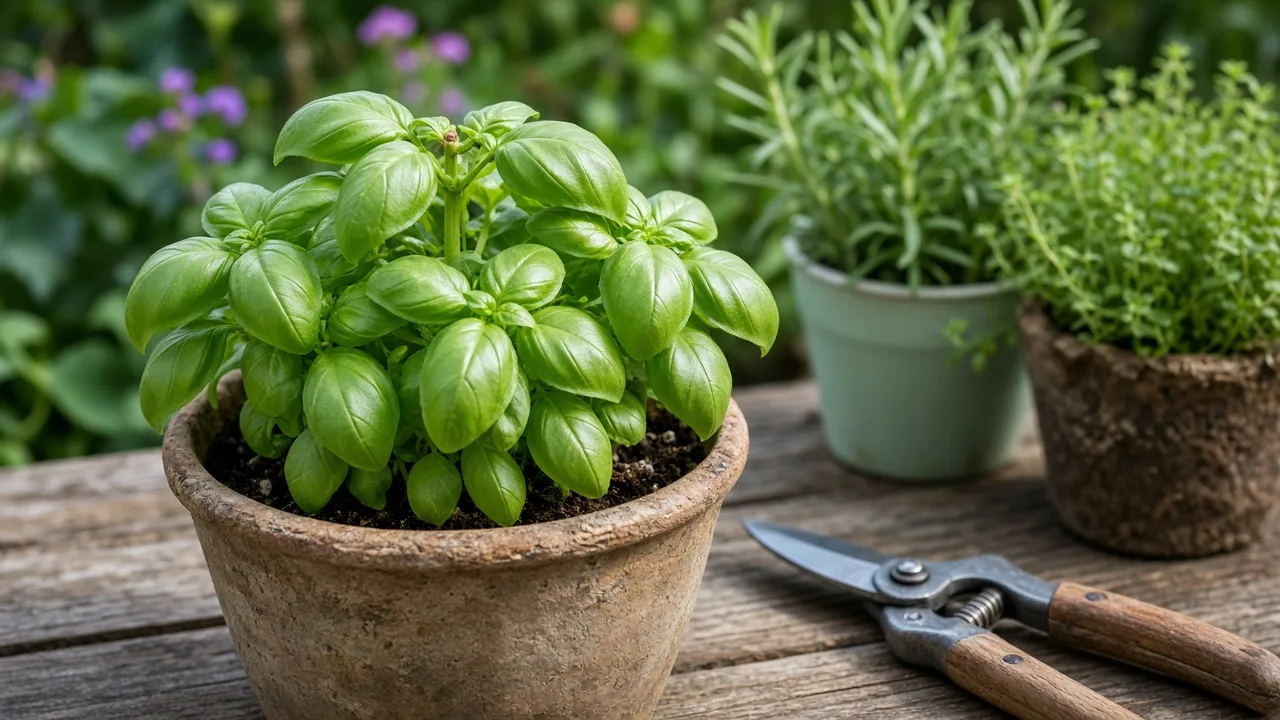
The best basil pruning cut is small, deliberate, and made in the right place. Find a pair of leaves on an actively growing stem, then cut just above the point where those leaves join the stem. The buds tucked into those leaf axils can grow into side shoots, turning a single upright stem into a wider, more productive plant.
That technique works for sweet basil, Thai basil, purple basil, and most culinary types, but the plant has to be ready for it. Basil that is cold, recently transplanted, badly wilted, root-bound, waterlogged, or diseased may need its growing conditions corrected before it can respond well to pruning.
The short answer: cut above a leaf node
A basil node is the joint on the stem where a pair of leaves emerges. Make the cut a short distance above that joint, leaving the leaves and the small buds in their axils below it. Do not cut through the node, and do not leave a long leafless stub above it.
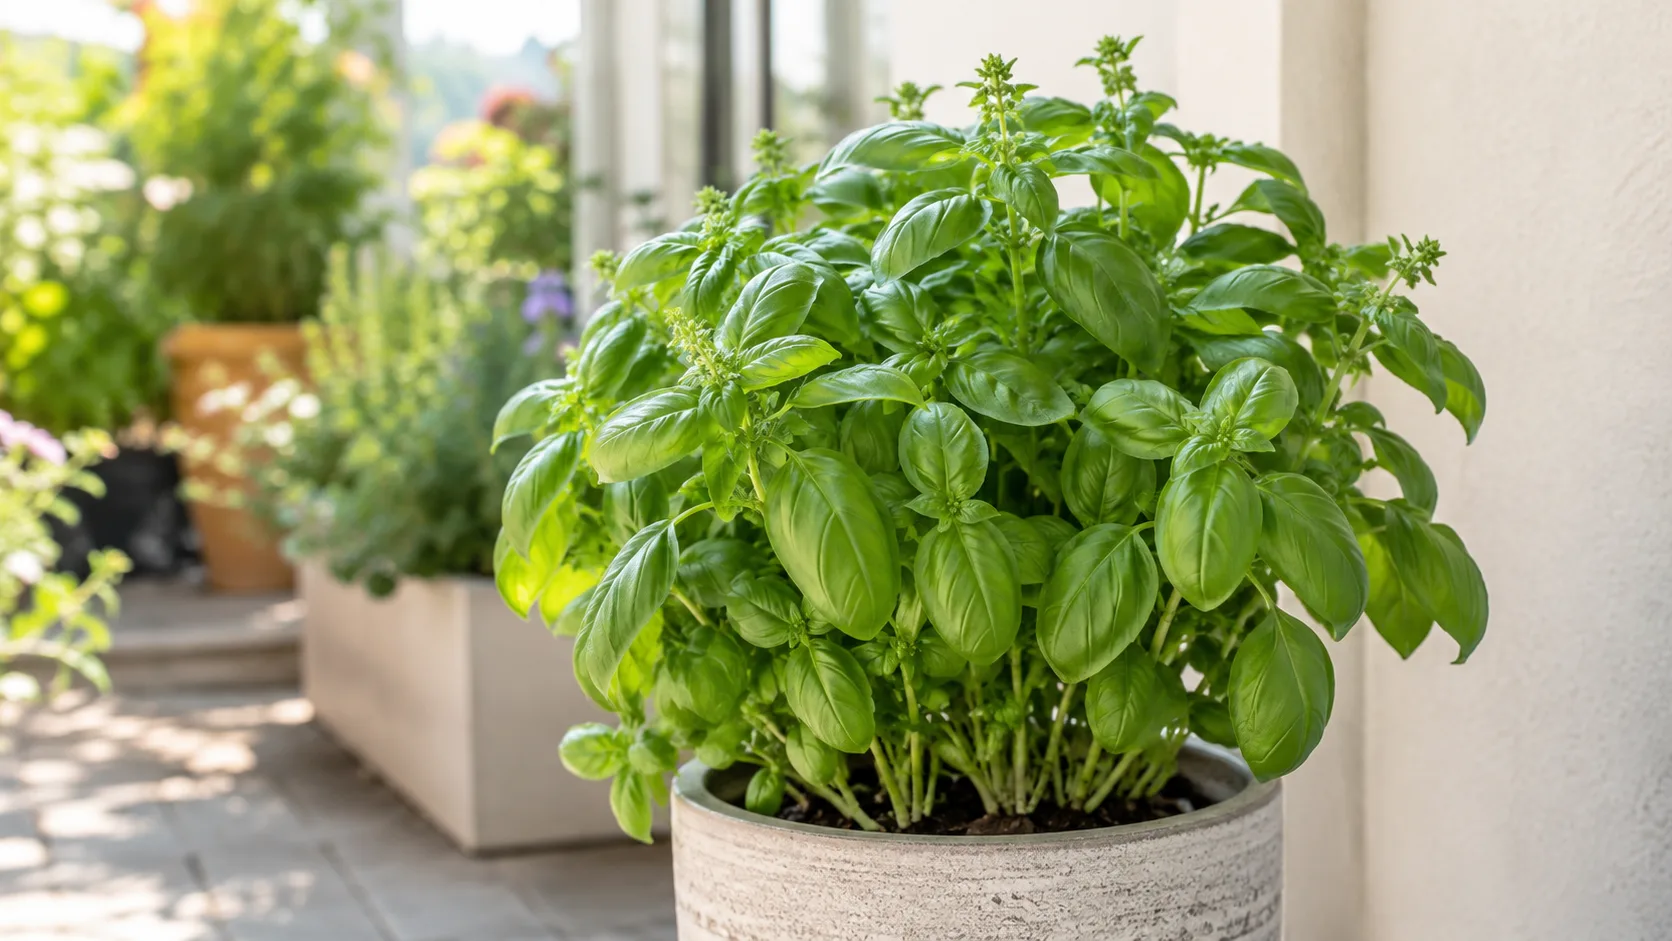
For a young plant, choose a node that leaves several healthy leaf pairs below the cut. For an established plant, select a tall or flowering stem and cut it back to a strong, leafy node that points toward an open part of the canopy. The aim is to preserve enough foliage to power regrowth while moving the next growth points outward.
The first cut is often made when basil has about six to eight true leaves, but leaf count is a readiness check rather than a magic number. The plant should be rooted, upright, green, and producing new growth. Penn State Extension and Utah State University Extension both connect the first harvest or pinch with this established, leafy stage.
Why pruning makes basil branch
Basil naturally prioritizes its terminal growing tip, the newest point at the top of a stem. That upward preference is often described as apical dominance. When you remove the terminal tip, the buds at the node below it have more opportunity to elongate, so one stem can produce two new shoots.
The result is not instant doubling. A cut creates the opportunity for branching, but the new shoots still need warmth, light, water, and functioning roots. A plant in deep shade may produce two thin shoots instead of two sturdy branches, while a plant sitting in saturated soil may fail to push either bud.
This is why pruning should be understood as a growth-direction tool rather than a cure-all. It changes where healthy basil can grow next; it cannot manufacture energy when the plant lacks light or has damaged roots.
Read the plant before you cut
Start at the top and work downward. Look for flexible green stems, firm leaves, visible nodes, and small side buds. Those are good signs that a cut can be followed by active regrowth.
Pause before making a structural cut if the plant is limp in dry soil, standing in wet soil, newly moved into a pot, covered with suspicious spots, or exposed to a cold night. Remove only broken or clearly dead material if necessary, then solve the immediate problem and wait for new growth. This short inspection prevents the common mistake of pruning a plant that is already struggling to replace leaves.
When to make the first pruning cut
Wait until a seedling has several sets of true leaves and enough root growth to support the remaining canopy. A useful starting point is roughly six to eight true leaves and a stem around 6 to 8 inches tall, provided the plant is growing steadily. Penn State Extension recommends pruning after the first six leaves, while the exact height varies with variety, light, and whether the plant was grown from seed or bought as a transplant.
Do not pinch a newly emerged seedling just because it has a visible top. Cotyledons and the first tiny true leaves are the plant’s initial solar panels, and removing them can slow establishment. Let the stem gain thickness and let the root ball settle before asking it to branch.
A nursery plant may already be tall enough when you buy it, but that does not mean it should be cut on the same day it is transplanted. If it has just been divided, repotted, or hardened off outdoors, give it a little time to stop wilting and resume growth. A sturdy plant that has recovered from the move is a better pruning candidate than a taller plant still losing water through transplant shock.
Find the node and make the first cut
Use this sequence for a first cut on a young basil plant:
- Trace the central stem from the growing tip downward until you find a healthy pair of opposite leaves.
- Check the angles above that leaf pair for small buds or short side shoots.
- Choose the second or third strong leaf pair on a small plant, leaving several leafy joints below it.
- Pinch or snip a few millimeters above the node, keeping the cut clean and the buds intact.
- Use the removed tender tip in the kitchen instead of throwing it away.
The cut does not need to be exactly 1/4 inch above every node. It only needs to be close enough that the remaining stem does not become an awkward dead stub, while far enough away that the node is not crushed or sliced. A slightly angled cut can help shed water, but precision at the node matters more than the angle.
Afterward, return the plant to its normal light and watering routine. Do not compensate for pruning by adding a heavy dose of fertilizer or watering a pot that is already moist. The plant’s response will be governed by its growing conditions, not by how dramatically you react to the cut.
Repeat small cuts to build a bushy plant
The first two shoots that emerge below the cut become the next leaders. Let each one develop several leaf pairs before shortening it again. Then make a new cut above a healthy node, preferably one that directs the next growth toward an open side of the plant.
This repeating pattern creates a branching framework: one stem becomes two, the two produce more tips, and the canopy gradually fills in. It is more controlled than waiting until basil is tall and flowering, then shearing the entire plant to one height.
Check fast-growing basil once or twice a week. You do not have to prune every branch during every visit. Prioritize stems that are rising above the canopy, crowding the center, or developing flower buds. Selective cuts keep the plant leafy while avoiding the flat, stressed shape that can follow indiscriminate shearing.
The best node is not always the lowest node. A lower cut may shorten a stem more, but it can also remove too much leaf area or place the new branches in a crowded center. Choose the lowest strong node that leaves enough healthy foliage and gives the new shoots room to spread.
How much basil can you remove at once?
Use one-third of the leafy plant as a conservative routine limit. It is a practical guardrail, not a botanical law: a large, vigorously growing basil can sometimes tolerate a bigger harvest, while a small, stressed, or newly transplanted plant should lose much less. Epic Gardening’s pruning guidance also uses the one-third rule to prevent a routine cut from becoming a recovery project.
Leave at least two or three healthy leaf pairs on a young stem whenever possible. Utah State University Extension describes harvest cuts that leave only a few leaves on a mature plant, but that advice assumes the plant is established and growing actively. When in doubt, remove less now and make another cut after the plant has pushed new shoots.
Large recipes are a good reason to grow several basil plants rather than strip one plant bare. Divide a pesto harvest across different stems or pots. Each plant keeps enough leaf area to recover, and you reduce the chance that a single missed watering or cold night will set back the whole supply.
Avoid hard pruning during the hottest part of a dry day. If a large harvest is necessary, make it after the plant has been watered appropriately and when it will not immediately face intense heat or a cold night. The goal is to reduce leaf area without stacking several stresses on the same afternoon.
Pinching, snips, and clean tools
Soft basil tips can be pinched between clean fingers. Pinching is convenient for removing a tender growing point or a tiny flower bud, and it makes it easy to feel where a leaf pair meets the stem. Use herb snips when stems are thicker, the cut needs to be exact, or you are working through a large planting.
Sharp blades make a smooth cut instead of crushing the stem. Wipe soil and plant residue from the blades before you start, and clean them again before moving from a questionable plant to healthy basil. Tool hygiene is especially important in a dense container display where one pair of snips can touch many stems.
Harvest dry foliage when possible. Wet leaves and wet wounds stay damp longer, and handling a plant while it is wet can move spores and soil from one stem to another. A clean cut is helpful, but it does not make overhead watering or poor airflow harmless.
Flower buds: remove them or keep them?
Choose based on your goal. If your priority is tender culinary foliage, pinch or cut flower buds as soon as you notice them. Follow a developing flower spike down to a leafy node and remove the tip there, rather than merely plucking one open blossom and leaving a long, reproductive stem in place.
Basil flowers are not poisonous or useless. They can feed pollinators, decorate a dish, and produce seed. The trade-off is that a flowering branch is moving toward reproduction, and leaf flavor and tenderness may decline as flowering advances. The RHS basil guide notes that regular harvesting keeps basil bushy and productive, while flowers are enjoyed by bees; Penn State Extension likewise recommends removing buds when the goal is a longer leafy harvest.
You can split the difference across several plants. Keep most plants tipped for leaves, allow one attractive purple or African Blue basil to bloom, and harvest the remaining plants for cooking. This is more satisfying than repeatedly fighting a plant whose flowers are part of the reason you chose its cultivar.
If basil has already flowered
A few open flowers do not mean the plant is finished. Cut the flowering stem back to a healthy leafy node, leaving green leaves below the cut, then resume ordinary care. Remove more than one flowering stem only if the plant is vigorous enough to keep at least two-thirds of its leafy canopy.
If the whole plant is old, woody, heavily flowered, or approaching cold weather, a hard reset may not be worth the delay. Harvest the usable leaves and take clean stem cuttings from vigorous tips if you want another plant. A young midsummer basil has a better chance of returning to leafy growth than an exhausted plant at the end of its annual cycle.
Fix leggy basil by correcting the cause
Leggy basil has long gaps between leaf pairs, a thin central stem, and a canopy that leans toward a window or open sky. Low light is a frequent cause, but crowding, a small root zone, inconsistent moisture, and cold can contribute. Pruning the stretched stem without changing the cause simply gives you shorter, stretched branches.
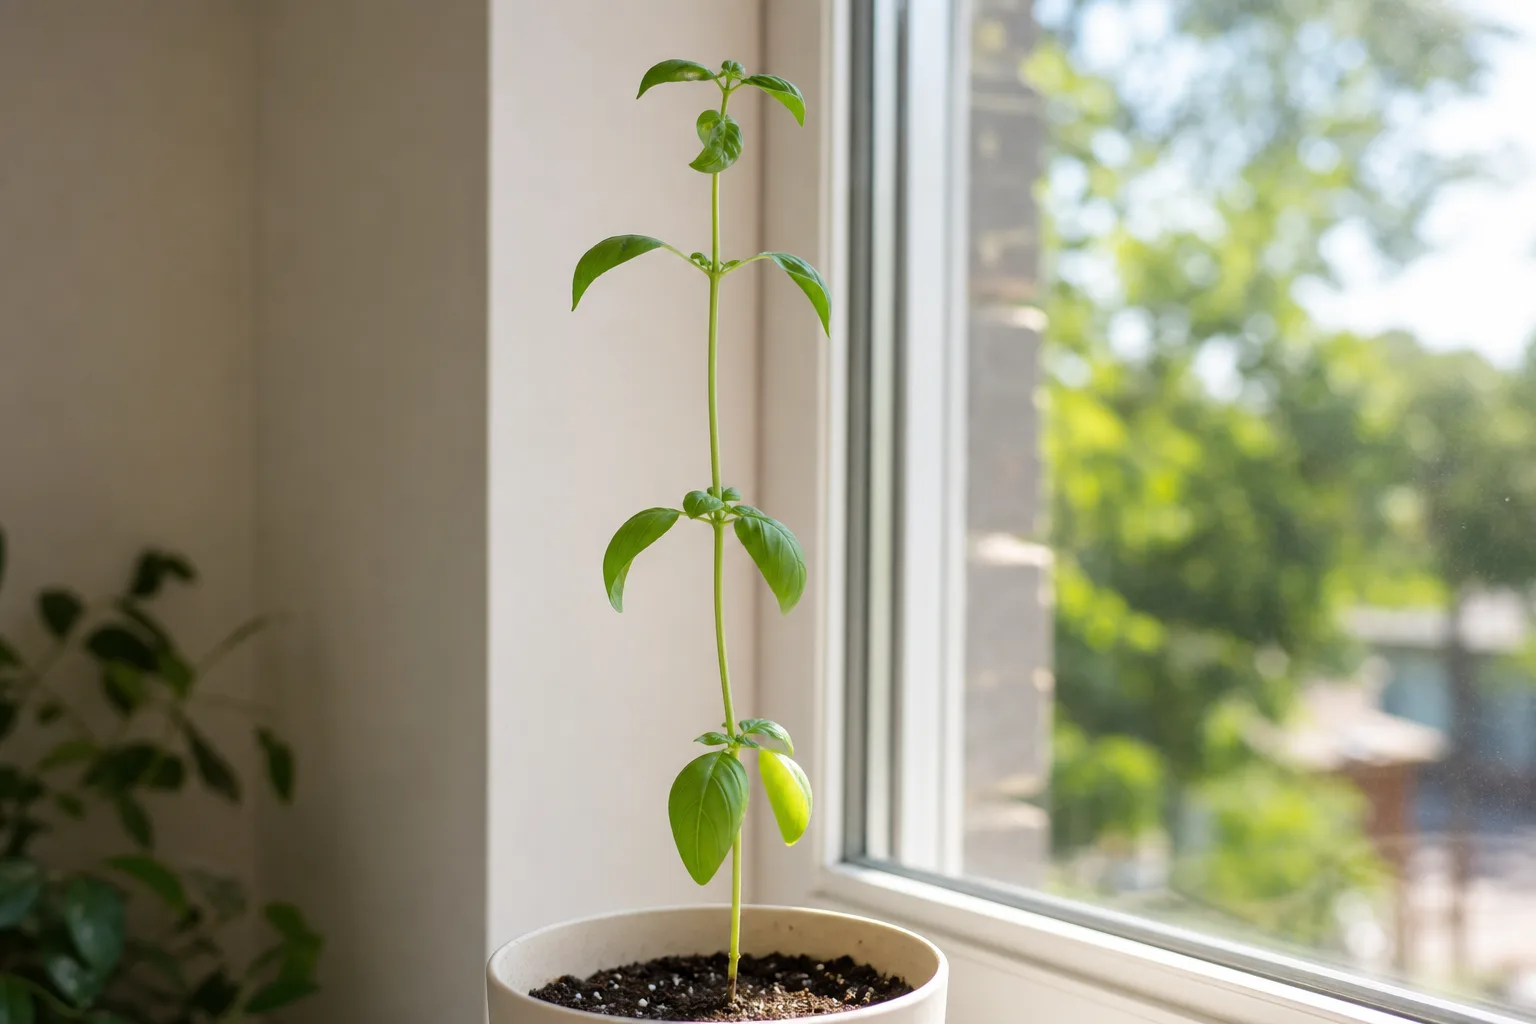
First move the plant toward stronger light gradually, especially if it has been in a dim indoor spot. Outdoor basil generally needs a sunny, sheltered location, and Penn State Extension recommends roughly six to eight hours of sun; indoor basil may need a bright window plus supplemental light when the season is too dim.
Next, find the lowest healthy node that still has green leaves and active buds. Shorten one or two of the longest stems above those nodes rather than cutting every bare stem at the soil line. Leave the plant enough foliage to recover, then reassess after new shoots appear.
If the lower stem is completely bare and woody, do not assume it will reliably sprout just because basil can branch. Take a healthy upper cutting for propagation or sow a replacement while preserving the old plant for any usable leaves. Correcting the light and planting density is the long-term fix.
Container and indoor basil adjustments
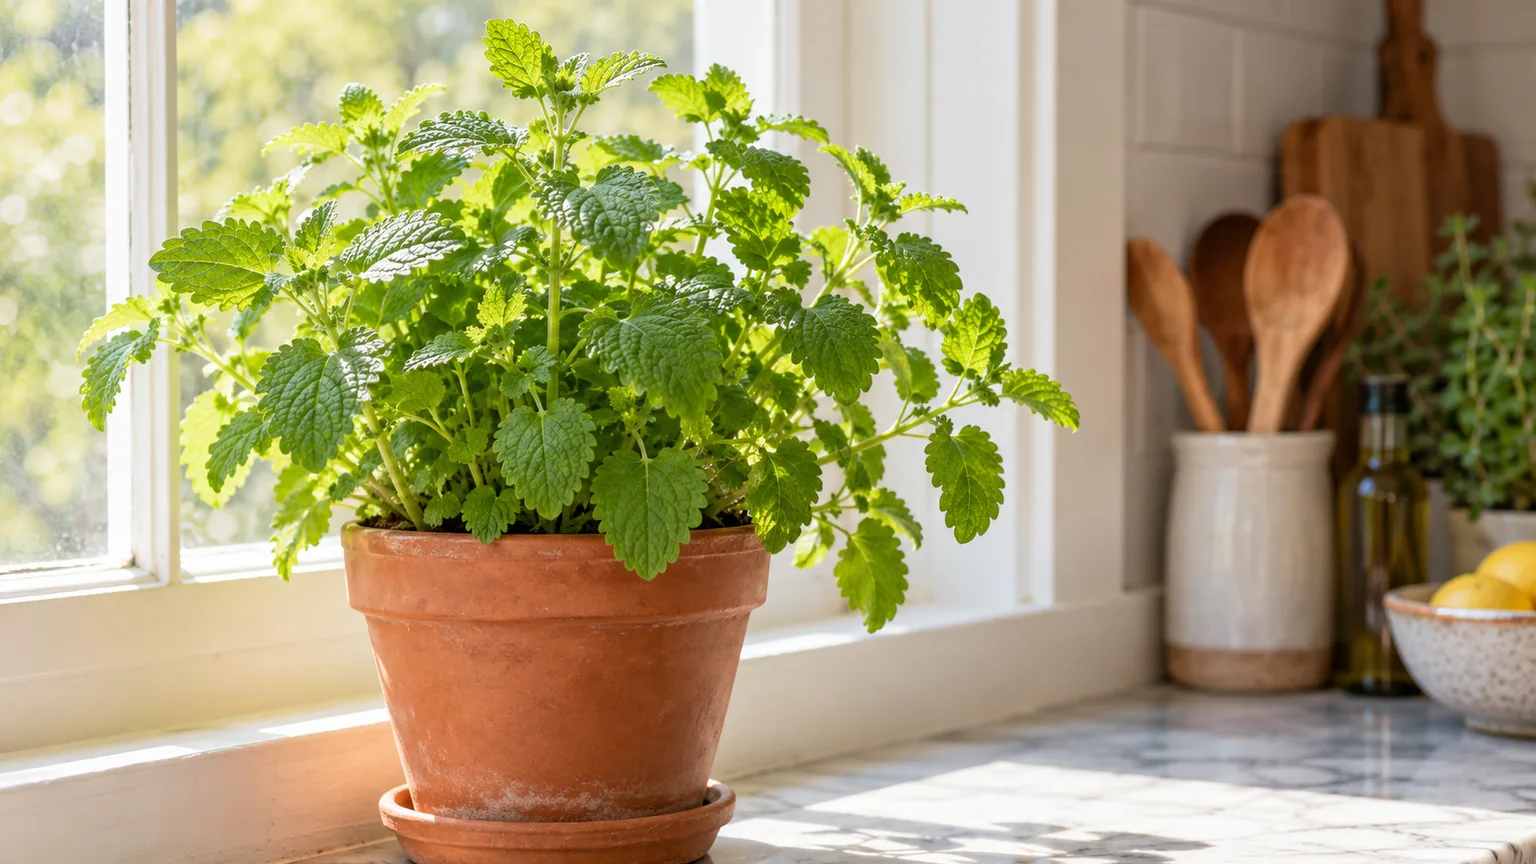
Node-based cuts work the same way in pots, but container mistakes become visible faster. A small pot can dry out in a hot afternoon, while a cachepot without drainage can keep the root ball wet for days. After pruning, check the soil below the surface rather than watering on a fixed calendar.
Basil likes consistent moisture but not stagnant, waterlogged roots. The RHS basil guide recommends watering containers regularly and avoiding conditions that leave roots wet overnight. Water the soil at the base, let excess drain, and empty a saucer that is holding runoff.
Keep enough space between indoor plants for light and air to reach the center of the canopy. A crowded supermarket pot may contain many seedlings sharing one root zone; dividing and repotting can be more important than pruning if the plants are collapsing together. Do that work when they are actively growing, then wait for recovery before a major structural cut.
Container basil also has a smaller nutrient reserve. Use a balanced fertilizer according to its label only when the plant is actively growing and the potting mix needs replenishment. More fertilizer will not correct weak light, a saturated root ball, or a plant that was cut below its living nodes.
Cultivar differences: sweet, Thai, purple, and dwarf basil
Genovese and other large-leaf sweet basils usually reward a clear central-tip cut followed by repeat pruning. They can produce a substantial rounded canopy when light, warmth, spacing, and water are adequate. Large leaves may tempt you to harvest from the bottom, but top-stem harvests do more to preserve the plant’s branching structure.
Thai basil branches from nodes in the same basic way, and it may produce flower spikes readily in hot weather. Cut a flowering tip back to a leafy joint if leaves are the priority, or let a few purple flower spikes remain when you want seed or ornamental value.
Purple basil is also pruned at nodes, but its color and flower display may be part of the design. In too much shade, purple foliage can look greener and stems can stretch; pruning cannot replace adequate light. Choose outward-facing nodes to keep a mixed container open and attractive.
Greek bush or globe basil naturally has short internodes and a compact habit. It needs lighter, more frequent tip harvests than a tall Genovese plant, and deep cuts into bare brown stems are more likely to leave holes in its shape. African Blue and other ornamental or pollinator-friendly types can be allowed to flower on selected branches without treating that choice as a failure.
Turn pruning into harvest and storage
Pruning a healthy basil stem is usually harvesting with a second benefit. Take the clean tender tip to the kitchen, strip leaves from any portion you will not use immediately, and put the stems in water if you need to hold them briefly. Penn State Extension recommends keeping cut basil at room temperature rather than exposing it to cold that can discolor the leaves.
For small amounts, use the leaves fresh toward the end of cooking so their aroma stays bright. For a large harvest, freeze whole leaves or chopped basil in portions, with water or oil depending on how you plan to use it. Utah State University Extension notes that thawed leaves can be soft, which is why frozen cubes or pesto are often better for sauces than for a fresh garnish.
Drying can work when leaves are spread in a warm, dry, well-ventilated place away from strong sun. Do not pack partially damp leaves into an airtight container; they need to be crisp and dry before storage. The storage method should match the intended use, so you are not tempted to leave too much mature growth on the plant simply to avoid “wasting” a pruning.
Clean, vigorous stem tips can also become cuttings. Remove the lower leaves and place the stem in clean water or a suitable propagation medium, keeping the remaining leaves above the waterline. Propagation is a bonus, not a reason to remove every tip from the parent plant.
Know when pruning is the wrong first move
Diagnose before cutting when the plant is visibly failing. Basil wilting in dry soil needs a thorough root-zone watering; basil wilting in saturated soil needs a drainage and root-health check. Yellow lower leaves can have several causes, and fertilizer or pruning is a poor guess until you have checked moisture, light, and the condition of the roots.
Cold is another limit. Basil is a warm-season annual, and a plant that has been chilled may stop growing even after a perfectly placed cut. The RHS basil guide describes basil as a tender herb that needs warmth and sunlight, while extension guidance places outdoor planting after frost and warm soil.
Crowded seedlings may be thin because they are competing for light rather than because they need a haircut. Separate or thin them, improve their light, and reserve pruning for plants with enough root and leaf mass to recover. When a plant is badly damaged, replacing it with a new sowing can be faster and healthier than trying to force bare stems back into production.
Disease, sanitation, and cleanup
Pruning can open the canopy and improve air movement, but it cannot cure an established disease. Basil downy mildew often shows as yellowing on the upper leaf surface with gray or purplish downy growth beneath; the Connecticut Agricultural Experiment Station’s basil notes are a useful diagnostic reference for distinguishing disease symptoms from ordinary aging.
If you see suspicious spots, stem lesions, or unexplained wilt, isolate the plant or stop moving through the row. Clean tools between plants, avoid handling wet foliage, and remove badly infected material according to local guidance. Do not put obviously diseased basil into a home compost pile where the pathogen may be carried into future plantings.
Good spacing, morning watering at the root zone, sunlight, and airflow reduce the conditions that favor wet foliage and fungal disease. Penn State Extension specifically recommends air movement and avoiding overhead watering for downy mildew-prone basil. Pruning supports those habits when it opens the center of the plant, but it is only one part of disease management.
A weekly pruning routine
Use this quick routine during warm, active growth:
- Inspect first. Check for wilt, wet soil, cold damage, pests, spots, and new growth before you touch the snips.
- Remove flower tips. If leaf production is the goal, trace each flower spike to a leafy node and cut there.
- Shorten the tallest stems. Choose healthy nodes that leave plenty of leaves and point new growth into open space.
- Harvest what you need. Spread larger cuts across several stems or plants instead of stripping one plant.
- Check the canopy. Make sure leaves are not piled against wet soil or packed so tightly that air cannot move.
- Reset the tools. Remove residue and clean the blades before moving to another plant, especially if anything looked diseased.
In very warm weather, check more often because basil can move from a leafy tip to a flower spike quickly. In cool or cloudy weather, check less for new cuts and more for wet soil, slow growth, and stretched stems. Fine Gardening describes pruning intervals that may be around four weeks in one garden, while other extension and horticulture guidance favors weekly or biweekly tip harvests; the plant’s growth rate should decide the schedule.
Before a vacation, harvest the tallest usable stems and remove visible flower spikes, then arrange normal watering. Before the first frost, stop trying to preserve the outdoor shape and make a final harvest of healthy leaves and stems. If the season is ending, a clean final harvest or a few cuttings are better uses of the plant than a severe cut that has no warm growing period left.
Conclusion
Prune basil by cutting actively growing stems just above healthy leaf nodes. Start when the plant is established with several sets of true leaves, repeat modest cuts as new branches develop, and remove flower spikes back to leafy joints when tender leaves are the priority.
Keep at least two-thirds of a healthy plant’s leafy growth during a routine session, and read the plant before every cut. Strong light, warm conditions, steady moisture, drainage, spacing, and clean tools determine whether pruning becomes a fuller harvest or simply adds stress. Once you treat each tip as both a meal and a branching decision, basil becomes much easier to keep compact, productive, and ready for the next recipe.