How to Start and Grow a Kitchen Garden
Learn how to plan, plant, and maintain a kitchen garden with the right crops, containers, soil, watering routine, succession planting, and pest fixes.
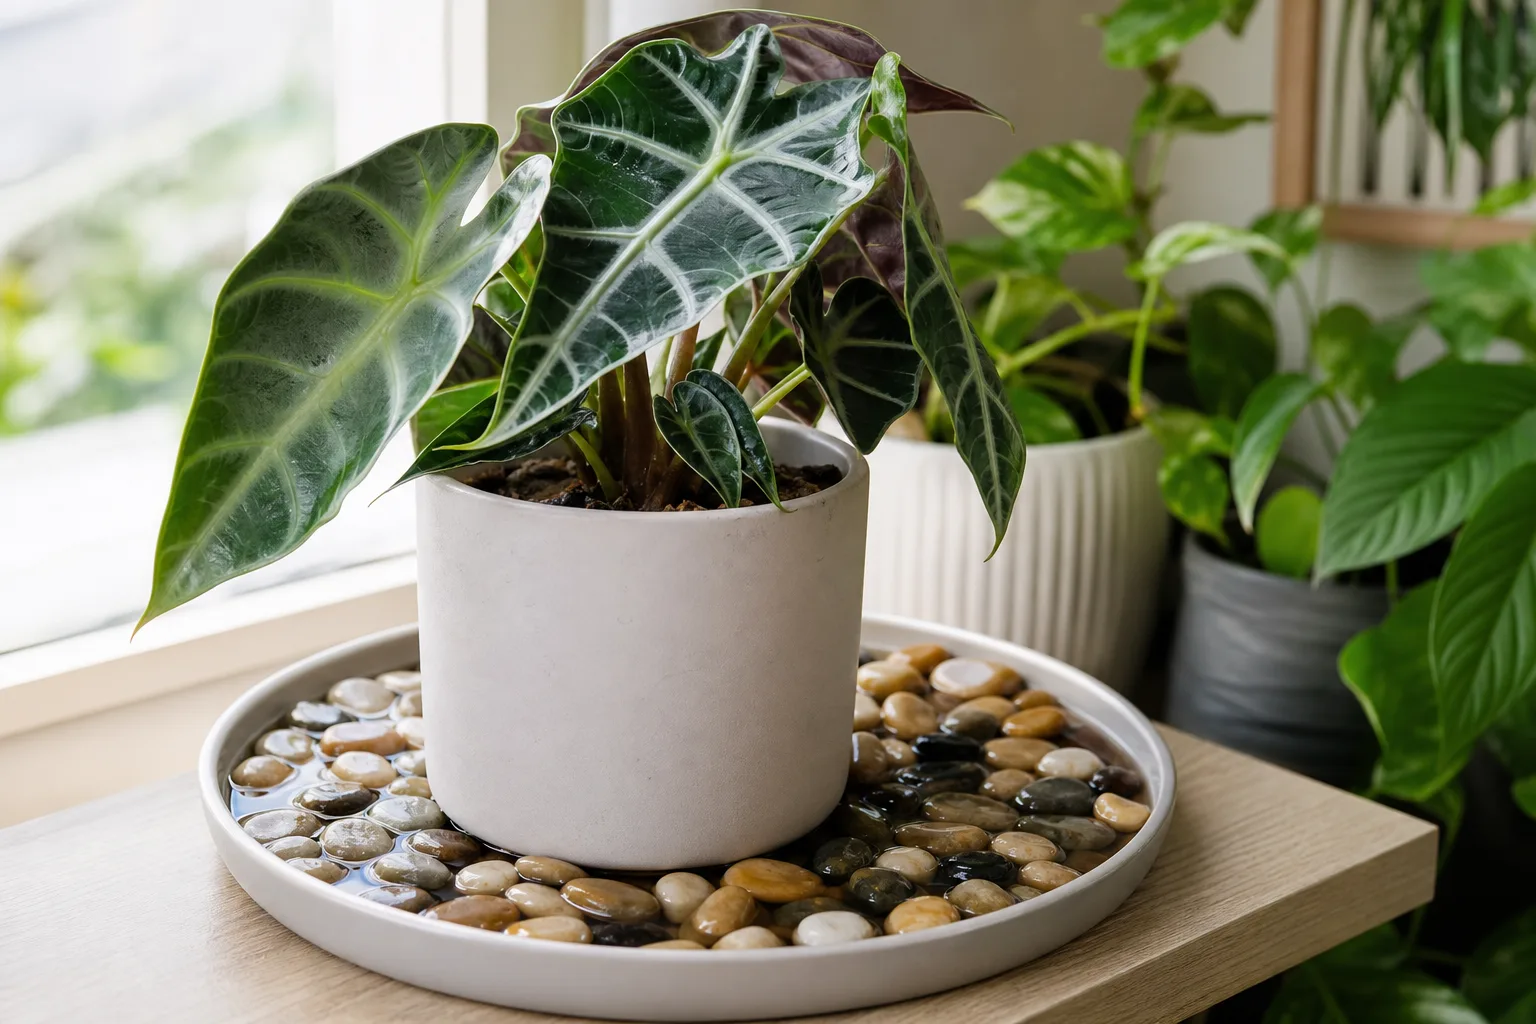
A kitchen garden is an edible garden planned around the meals you cook, not around how many varieties you can squeeze into a bed. It might be a few herb pots beside the back door, a raised bed outside the kitchen, or a productive balcony full of greens and compact tomatoes. The defining feature is convenience: you can reach it often enough to harvest while cooking and notice problems before they become disasters.
The most reliable way to begin is to make the garden smaller than your enthusiasm. Start with the herbs, greens, and one or two vegetables you already buy every week. A modest plot that gets harvested is more useful than a large plot that becomes weedy, thirsty, and discouraging by midsummer.
Define the garden around the way you cook
Before choosing a layout, write down five ingredients you use repeatedly. If you make salsa, tomatoes, peppers, cilantro, and scallions may matter more than an impressive collection of lettuces. If you cook soups and roast vegetables, parsley, thyme, kale, chives, and compact carrots may earn their space.
This use-first approach also prevents a common beginner mistake: growing a crop because it is easy to find as a seedling, then discovering that one plant produces far more than your household can eat. A single zucchini plant can be generous; a row of zucchini can become a weekly obligation. Your garden should reduce shopping and waste, not create a new form of both.
Choose crops you will actually harvest
For a first season, combine quick wins with one longer project. Quick wins include cut-and-come-again lettuce, radishes, baby spinach, chives, parsley, and basil. A longer project might be a tomato, cucumber, pepper, pole bean, or eggplant that needs heat, support, and patience but rewards you later.
Herbs differ in how they behave. Basil, cilantro, parsley, and chives are useful in frequent pinches and can be succession-sown. Thyme, oregano, and rosemary prefer leaner, sharply drained soil and less frequent watering. Mint is vigorous enough that a pot is usually safer than planting it directly in a bed.
Find the best site before buying plants
The perfect kitchen-garden site is not merely the closest patch of ground. It is the place with enough light, reliable water, good drainage, and a route you will use when it is raining or you are carrying a hot pan. A garden that is ten steps from the door often outperforms a more spacious garden that requires a special trip.
Most vegetables and fruiting herbs need six to eight hours of direct sun for strong growth and dependable yields. Leafy greens and some herbs tolerate less, especially in hot climates, but shade reduces tomato, pepper, cucumber, and bean production. Watch the site at several times of day for a week if possible; a bright-looking space can lose afternoon sun behind a wall, tree, or neighboring building.
Water access matters as much as sunlight. If you must drag a hose across a driveway or carry cans up stairs, you are more likely to postpone watering during the week plants need it most. Keep a watering can, hose connection, or drip line close enough that a five-minute check stays a five-minute check.
Sun, water, access, and protection
Avoid low spots where rain stands, the narrow strip beneath a roof drip line, and areas exposed to reflected heat from masonry. Do not place edible beds where runoff from a treated lawn, painted structure, or busy road can enter the soil. If you are unsure about old urban soil, use a laboratory soil test and consider raised beds filled with known soil rather than guessing.
The USDA Plant Hardiness Zone Map helps with perennial herbs and winter survival, but it does not tell you the whole planting calendar. Annual crops depend more on local frost dates, soil temperature, day length, and heat. Your county or state extension service is the best source for the local last-frost and first-frost windows.
Choose in-ground beds, raised beds, or containers
Use an in-ground bed when the soil drains well, has not been contaminated, and can be amended without major excavation. In-ground soil usually holds moisture longer than containers and large raised beds, but it may warm more slowly in spring and can be harder to improve if it is compacted or full of roots.
Raised beds are useful where drainage, soil quality, or accessibility is a problem. They warm earlier and let you control the growing medium, but they can dry quickly at the edges and cost more to fill. Keep beds narrow enough that you can reach the center without stepping on the soil; roughly three to four feet wide is manageable from both sides, while a one-sided bed should be narrower.
Containers are the most flexible option for renters, balconies, patios, and gardeners who need to move plants. They also have the sharpest trade-off: a small pot can go from adequately moist to dangerously dry in a hot afternoon. Choose the largest container that fits the crop, ensure it has drainage holes, and use a quality potting mix rather than dense garden soil.
Match the setup to space and mobility
For limited mobility, a waist-high raised bed or tall container may be worth the extra cost because it reduces bending and makes harvesting easier. Put frequently harvested herbs at the front edge and taller crops behind them so the garden does not require reaching through a jungle.
Group plants by water preference. Basil, lettuce, and cucumbers can share a consistently moist zone; rosemary, thyme, and oregano should not. This simple grouping prevents you from overwatering drought-tolerant herbs just because a neighboring lettuce needs a drink.
Prepare safe, healthy growing media
Healthy soil is more than a bag labeled “garden soil.” Plants need a root zone that holds water while allowing air to move through it. Before planting in the ground, test pH and major nutrients through a reputable laboratory. Add only what the results call for; excess fertilizer can damage roots and wash into waterways.
Compost improves structure and adds organic matter, but it is not a universal cure. Work a modest layer into depleted soil rather than building a deep pocket of rich material that dries or settles differently from the surrounding ground. In containers, use a purpose-made potting mix that contains porous ingredients and drains freely.
Soil testing, compost, and drainage
Do not use fresh manure around edible crops. It can burn roots and may carry pathogens. Follow local guidance for finished compost, especially when compost includes animal bedding or materials from an unknown source. Wash produce after harvest and keep garden tools clean when moving between diseased plants.
Mulch the soil surface after seedlings are established. A two- to three-inch layer of clean straw, shredded leaves, or composted material reduces evaporation, buffers temperature, and limits soil splashing onto leaves. Keep mulch a little away from stems so damp material does not stay pressed against them.
Build a simple kitchen garden layout
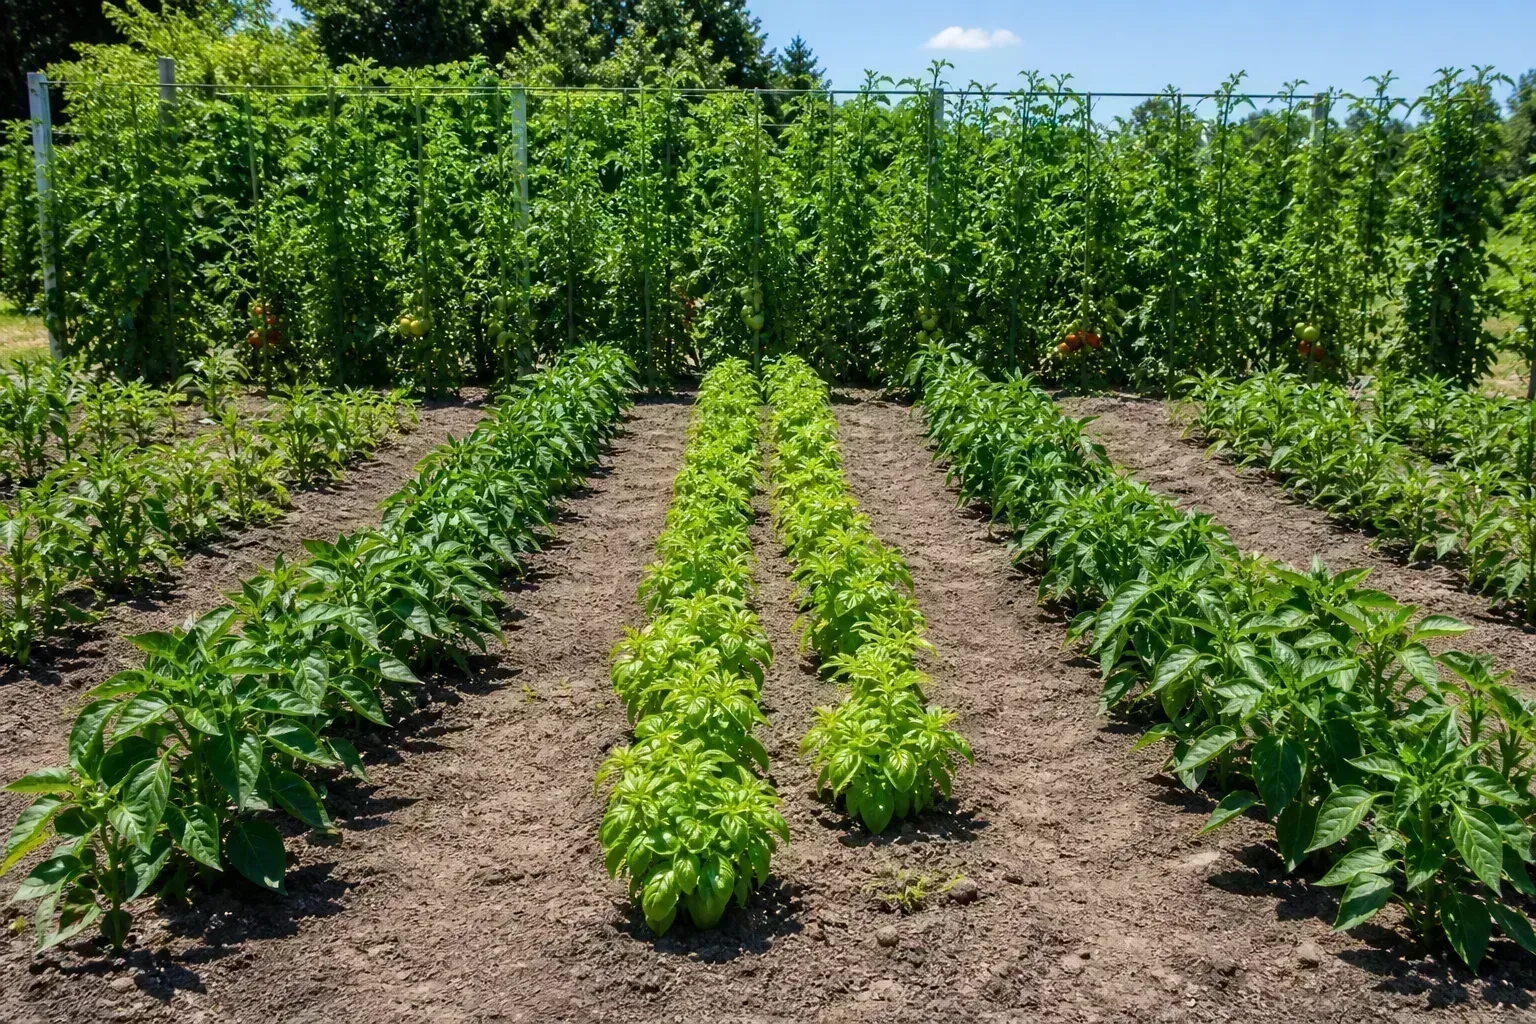
Draw the garden on paper before planting. Mark north, the water source, the path, and the mature height of each crop. Put tall tomatoes, trellised cucumbers, and pole beans where they will not shade low crops; a trellis on the north side is a useful rule in the Northern Hemisphere.
Plant intensively only when you can still reach and inspect the plants. Crowding may look productive at first, but it restricts airflow, hides pests, and makes harvesting painful. Use the mature spacing on the seed packet as a starting point, then adjust for your climate and whether you harvest baby leaves or full-size plants.
Spacing, succession, and vertical growing
Succession planting is the secret to a steady kitchen harvest. Instead of sowing one huge row of lettuce, sow a short row every two or three weeks while weather remains suitable. Repeat with radishes, cilantro, bush beans, and other crops that mature in waves. This gives you a sequence of usable harvests rather than one glut followed by an empty bed.
Vertical growing saves floor space but adds work. Cucumbers and beans need a sturdy support before vines become heavy. Tie tomatoes early, prune only according to the variety and your chosen system, and never let a support become an afterthought that damages roots while you install it.
What to plant through the seasons
Cool-season crops tolerate chilly weather and often dislike midsummer heat. Lettuce, spinach, peas, radishes, kale, parsley, cilantro, and many onions can begin in cool spring soil or return for a fall crop. In hot regions, give greens afternoon shade and choose heat-tolerant varieties; in cold regions, use row cover or a cold frame when a late frost threatens.
Warm-season crops need more heat and should wait until the danger of frost has passed in your area. Tomatoes, peppers, basil, cucumbers, beans, and squash grow quickly once nights and soil are warm. Planting them too early can set them back more than waiting an extra week, particularly in cold, wet soil.
A small garden can remain productive beyond summer. Replace tired lettuce with kale or chard, sow fall radishes, and bring tender potted herbs indoors only when they have enough light and no pests. Winter success depends on local climate; do not promise yourself year-round outdoor basil if frost is routine.
Start seeds or buy transplants
Buy transplants for crops that need a long season, such as tomatoes, peppers, and eggplant, especially if your summer is short. Direct-sow crops that dislike root disturbance, including carrots, beets, peas, beans, and radishes, when the soil and weather suit them. Lettuce and herbs can be either direct-sown or transplanted while young.
Choose compact or determinate varieties for containers, disease-resistant varieties where local problems are common, and cultivars bred for your season length. Read the seed packet for days to maturity, but remember that the number usually assumes favorable conditions and may start from transplanting rather than germination.
Plant and establish the garden
Water a transplant before removing it from its pot. Tease apart tightly circling roots gently, set the plant at the recommended depth, firm the soil around it, and water the root zone. Tomatoes can often be planted deeper than they grew because buried stem tissue may form roots, but peppers and most herbs should not be buried indiscriminately.
For direct sowing, make a shallow furrow at the packet depth and keep it evenly moist until emergence. Thin seedlings rather than letting every sprout compete. Thinning feels wasteful, but overcrowded plants stay small and invite disease; use edible thinnings in salads when the crop is suitable.
Give new plants a few days of protection from intense midday sun or wind if they were raised in sheltered conditions. Harden off nursery or indoor-grown plants gradually before full outdoor exposure. A plant that survives transplanting but stops growing for weeks was probably moved from soft conditions to harsh conditions too quickly.
Maintain it with a short weekly routine
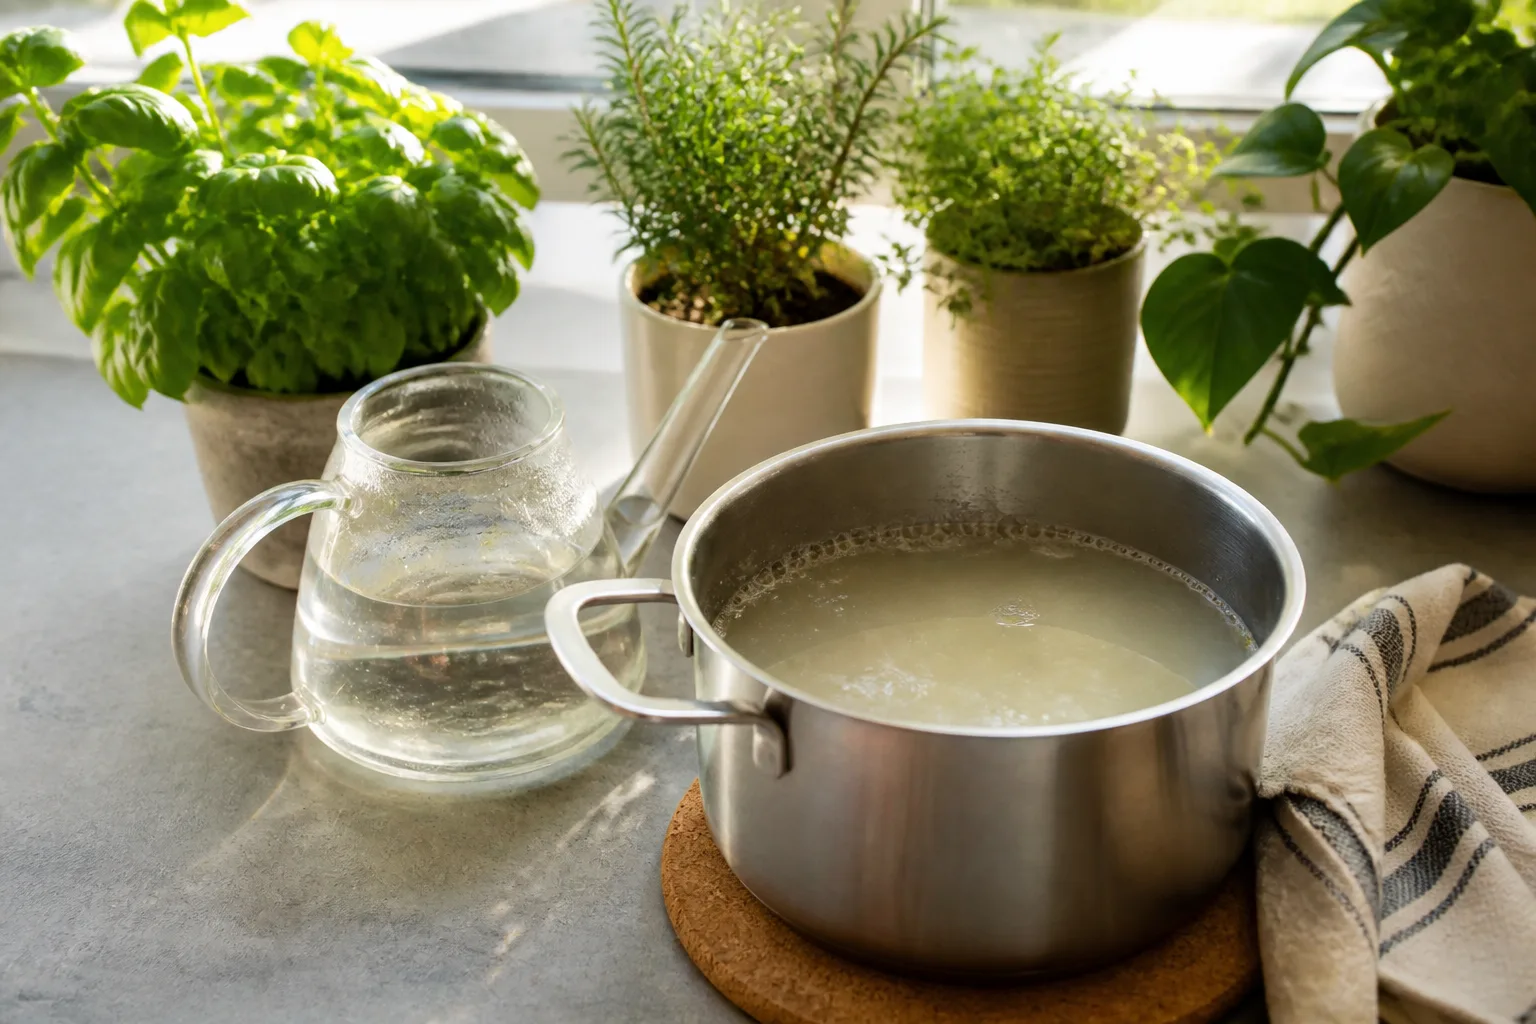
Inspect the garden two or three times a week, ideally while harvesting. Check the soil with a finger or trowel rather than watering by calendar. Water deeply enough to moisten the root zone, then allow the surface to dry slightly for plants that prefer moderate moisture. Containers may need daily checks in hot weather, while established in-ground plants may need less frequent but deeper watering.
Water at the soil line in the morning when possible. Wet foliage that stays damp overnight can encourage disease, and a midday sprinkler loses more water to evaporation. Drip irrigation or a soaker hose is efficient, but still inspect emitters; an automated system can quietly fail.
Feed according to the crop and soil test. Leafy crops need enough nitrogen for growth, while excess nitrogen can produce lush tomato leaves with fewer flowers. Slow-release fertilizer can reduce chores in containers, but always follow the label and account for nutrients already present in compost or potting mix.
Water, mulch, feed, and support
Harvesting is maintenance. Pinch basil above a pair of leaves before it flowers heavily, cut outer lettuce leaves while the plant is young, pick beans frequently, and harvest herbs in the morning when they are hydrated. Regular picking keeps many plants producing and reveals chewed leaves, disease spots, or overcrowded growth early.
Keep paths clear and remove weeds while they are small. Pull diseased leaves into the trash if local rules advise against composting them, and disinfect pruners between visibly diseased plants. Rotate crop families between beds when space permits; do not put tomatoes in exactly the same soil year after year if soil-borne disease is a recurring problem.
Harvest for more production
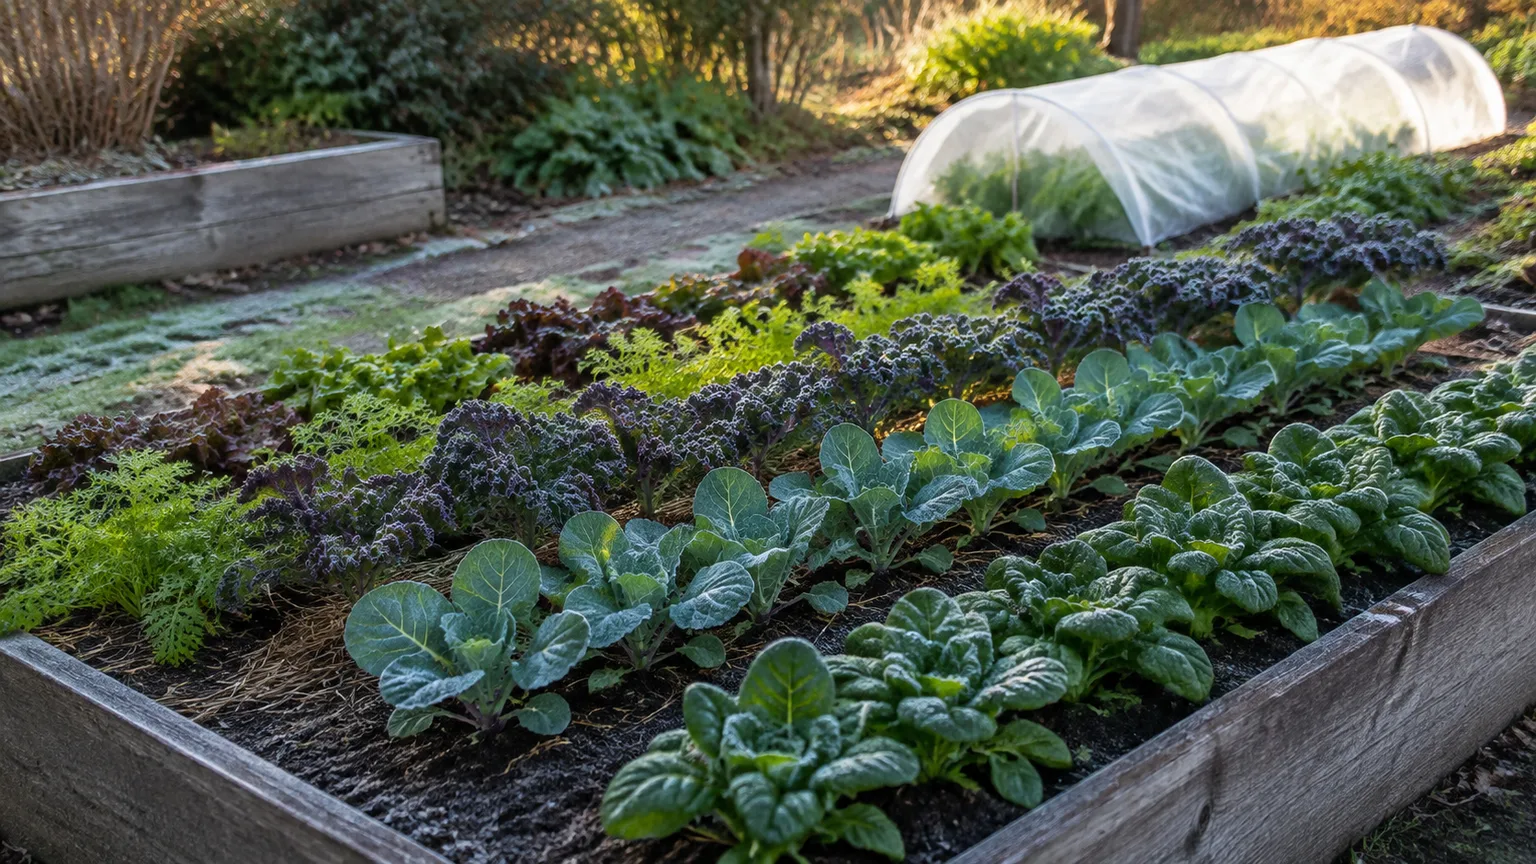
Harvest greens before they bolt in hot weather, and pick herbs often enough that stems do not become woody. Tomatoes taste best when they have developed full color appropriate to the variety; cucumbers become bitter or seedy when left too long. If you cannot use a harvest immediately, cool it promptly and store each crop in the way that preserves texture.
Harvesting also tells you what to change next season. If you repeatedly miss the window for cilantro, grow smaller successive sowings. If you cannot keep up with beans, plant fewer. Keep a short note of what was eaten, what was wasted, and what failed; that record is more useful than an idealized garden plan.
Prevent and solve common pests and diseases
Start with observation, not a spray. Look under leaves for aphids, caterpillar droppings, eggs, and stippling; check the soil surface for slugs; inspect stems for chewing. A few holes on a vigorous plant may not justify treatment, while a newly planted seedling stripped overnight needs immediate protection.
Use the least disruptive effective step first: hand-pick large pests, wash soft-bodied insects from sturdy leaves, add a physical barrier, improve airflow, or remove badly infected tissue. Fine mesh can exclude some insects, but it must be installed before pests arrive and removed or managed when pollinators need access to flowers.
If a pesticide is necessary, choose a product labeled for the specific crop and pest, follow the edible-crop waiting period, and do not assume “organic” means harmless to bees, aquatic life, or beneficial insects. The EPA’s pesticide and food-safety guidance and your local extension service are better references than a homemade recipe. Neem oil and other products can injure plants in heat or sun and should never be applied casually to edible foliage.
Protect the garden from heat, frost, and winter
Heat protection starts with moisture and timing. Mulch the soil, water deeply before a heat spike, provide afternoon shade for greens, and harvest tender leaves early in the day. Do not fertilize a drought-stressed plant heavily; roots need water and recovery before they can use extra nutrients.
Before frost, harvest tender herbs and ripe or nearly ripe fruit. Cover outdoor crops with breathable fabric supported above the foliage; plastic touching leaves can create cold injury and should not be treated as a permanent cover. Hardy greens may tolerate light frost, but protection depends on the crop and the expected temperature.
At the end of the season, remove diseased plant debris, empty annual containers, and store tools dry. Leave healthy roots to decompose in place only when local disease pressure is low and the bed will not be replanted immediately with the same crop family. Plan next year while the successes and failures are still fresh.
Fix the most common beginner mistakes
If plants are tall and pale, they probably need more light rather than more fertilizer. If leaves wilt every afternoon but recover at night, check container size, root crowding, and soil moisture before assuming disease. If the soil stays wet for days, improve drainage or move the crop; watering less often will not fix a pot with no drainage hole.
If a plant flowers but sets no fruit, look at heat, pollination, and excessive nitrogen. Tomatoes may drop flowers during extreme temperatures. Cucumbers can produce male flowers first. Give the plant time, encourage pollinators without spraying open blooms, and verify that the variety suits your season.
When a crop fails, do not automatically replace it with the same plant. Ask whether the problem was timing, light, water, soil, pests, disease, or simply an unsuitable variety. A kitchen garden improves fastest when each failure produces one specific adjustment rather than a larger shopping list.
Conclusion
Starting and growing a kitchen garden is a design problem before it is a gardening problem. Put it where you will visit, grow what you cook, match plants to their water and sunlight needs, and leave enough room to harvest without wrestling the garden. A few well-chosen herbs, greens, and seasonal vegetables can provide more meals than a crowded plot full of crops you never wanted.
Build the soil carefully, plant by local weather rather than a generic calendar, and use succession sowing to spread the harvest. Then keep the routine simple: inspect, water when the root zone needs it, harvest often, mulch, support, and respond to pests early. The best kitchen garden is not the biggest one; it is the one that keeps giving you a reason to walk outside.



