How 100+ Houseplants Stay Happy at Home
A practical plant-care system for growing a large houseplant collection: map light, water by evidence, prevent pests, and move plants outdoors safely.
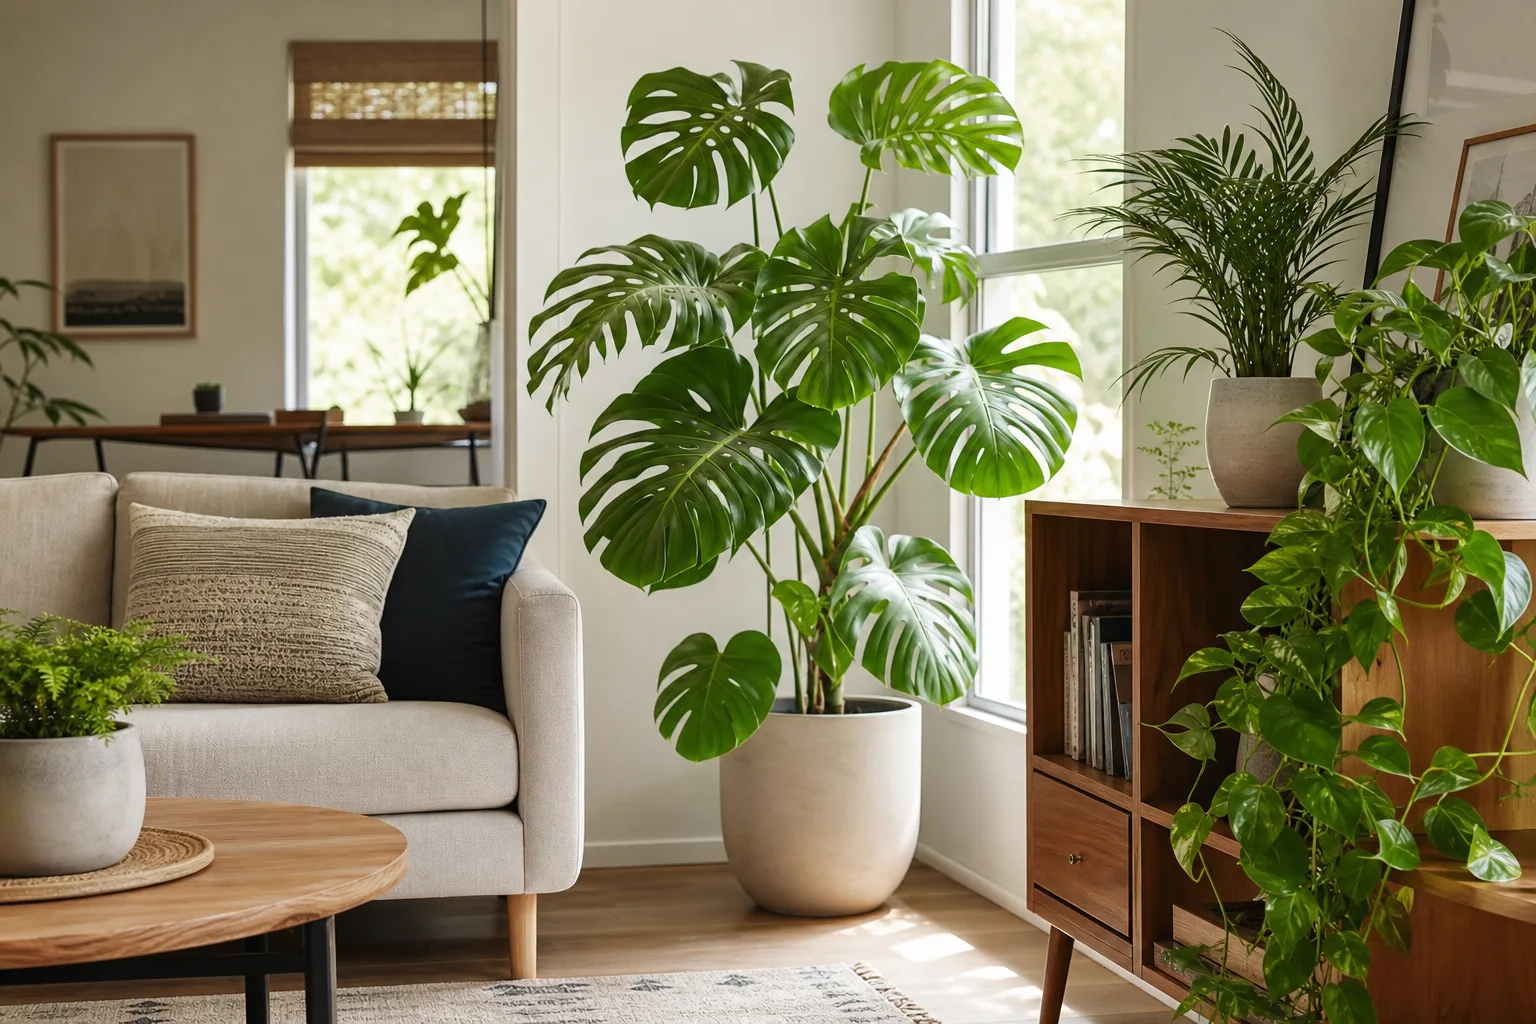
Kamili Bell Hill does not treat plants as decorations that happen to need water. Her home is organized around them: a porch becomes a place to sit among summer foliage, bright rooms become growing space, and even a room swap creates better light for both people and plants. She has also built an outdoor garden with hydrangeas, roses, and trees while caring for a houseplant collection that has grown past 100.
That scale changes the question. The trick is not memorizing 100 watering schedules or possessing a mysterious green thumb. It is building a home where the right plants get the right light, where care tasks are visible, and where a small problem is caught before it becomes a collection-wide emergency. The same system works for a beginner with three plants; a large collection simply makes the weak points impossible to ignore.
The real secret is designing a care system, not having a green thumb
Large collections stay healthy through repeatable decisions, not constant attention. A useful system has four parts: a light plan, an evidence-based watering round, a pest-inspection habit, and a seasonal plan for plants that move between indoors and out. If any one of those is missing, people usually compensate with more fertilizer, more misting, or more anxious watering.
Bell Hill’s most useful lesson is permission to learn in public. A plant can fail even when the gardener is experienced, and a collection can still improve when every loss leaves behind a note: the room was too dim, the pot stayed wet, the move outside was too abrupt, or the plant was never a good match for that home. That is a better definition of success than keeping every plant alive forever.
The system also needs triage. Plants that are actively growing, flowering, newly purchased, infested, or recently moved deserve the closest look. A mature, stable plant in a good location can often be checked less often. Treating every pot as equally urgent is how a collection becomes exhausting.
Give every plant a home based on light and access
The most beautiful plant corner is not necessarily the most functional one. Place plants where you can reach the soil, rotate a pot, wipe leaves, empty a saucer, and inspect the back of the canopy. If a plant is so tightly packed into a display that you cannot see its stems or lift the nursery pot, you have created a pest blind spot and a watering problem.
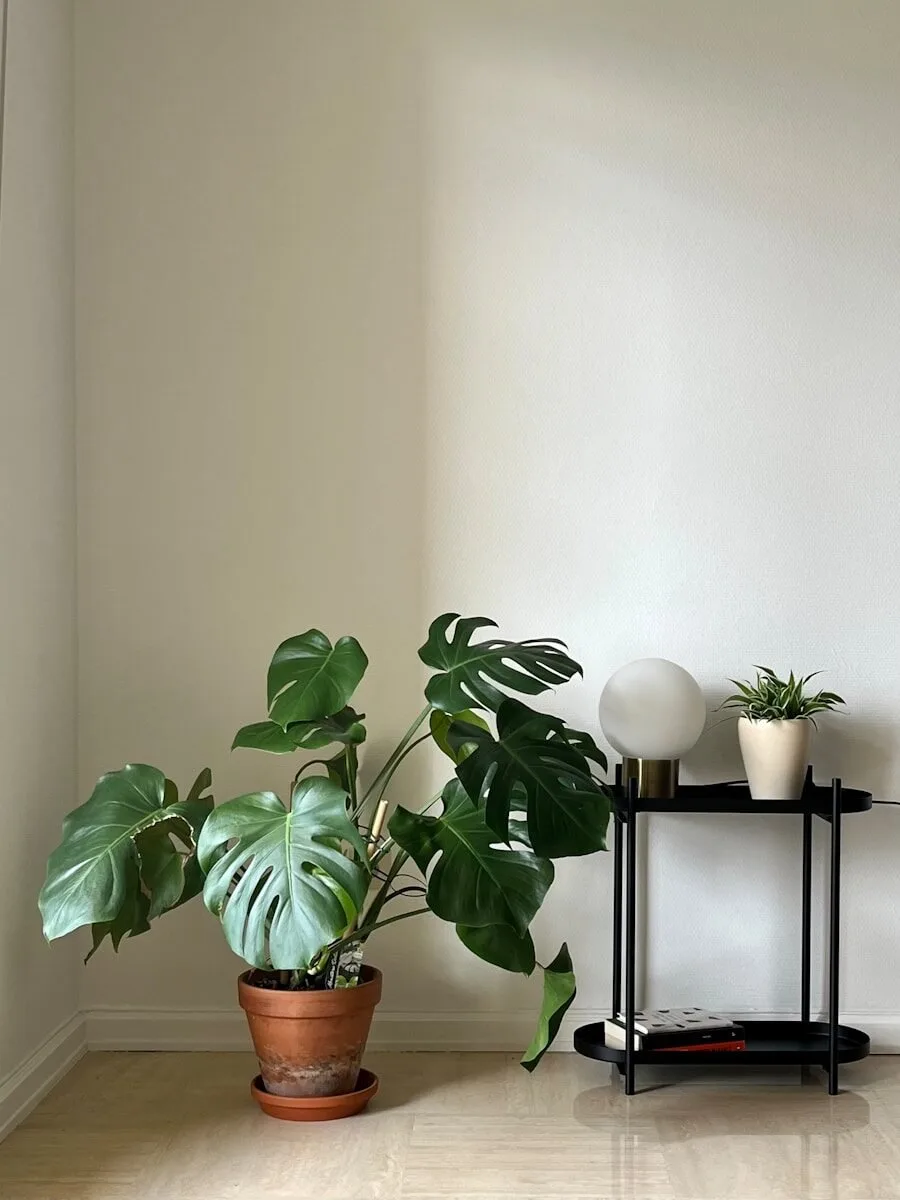
Think of the home as a set of light zones rather than one average room. A bright window zone can hold plants with higher light demand; a filtered zone can hold many tropical foliage plants; a low-light zone should be reserved for tolerant plants or supported with supplemental light. Group plants by compatible conditions, not merely by pot color or height.
Access matters just as much outdoors. A porch with a chair and a clear path is not only more inviting; it makes the daily garden walk more likely to happen. When a care task is pleasant and visible, it gets done before the plant reaches crisis stage.
Build a light map before you buy another plant
Start by standing where each plant will live and watching the room at morning, midday, and afternoon. Note the direction of the window, exterior shade from trees or buildings, how far the leaves sit from the glass, and whether direct sun lands on the foliage. A wide window can be bright at the sill and surprisingly dim several feet into the room.
Then compare the plant’s new growth with the location. Long gaps between leaves, pronounced leaning, smaller successive leaves, and weak color point toward inadequate light; bleached or papery patches concentrated on the window-facing side suggest an exposure jump that was too strong. Brown edges alone are not enough to diagnose light because dry air, salts, root damage, and erratic watering can look similar. UC Integrated Pest Management lists low light, overwatering, poor drainage, low humidity, and sudden environmental changes among common causes of houseplant decline, so read the whole pattern rather than reacting to one leaf.
If you want a number, use a light meter or phone sensor as a comparison tool, not as a promise. Measure at the leaf surface, not beside the window, and measure the newest leaf on a broad plant. A reading that helps you compare two positions is more useful than a precise-looking number taken in the wrong place.
Use grow lights to solve the dim corners
Grow lights are most useful when they solve a specific constraint: a north-facing room, a deep shelf, a winter window, or a plant whose canopy extends beyond the bright part of the room. Bell Hill’s instinct to use LED grow bulbs in ordinary lamps is practical because supplemental light does not have to turn a living room purple or look like a greenhouse.
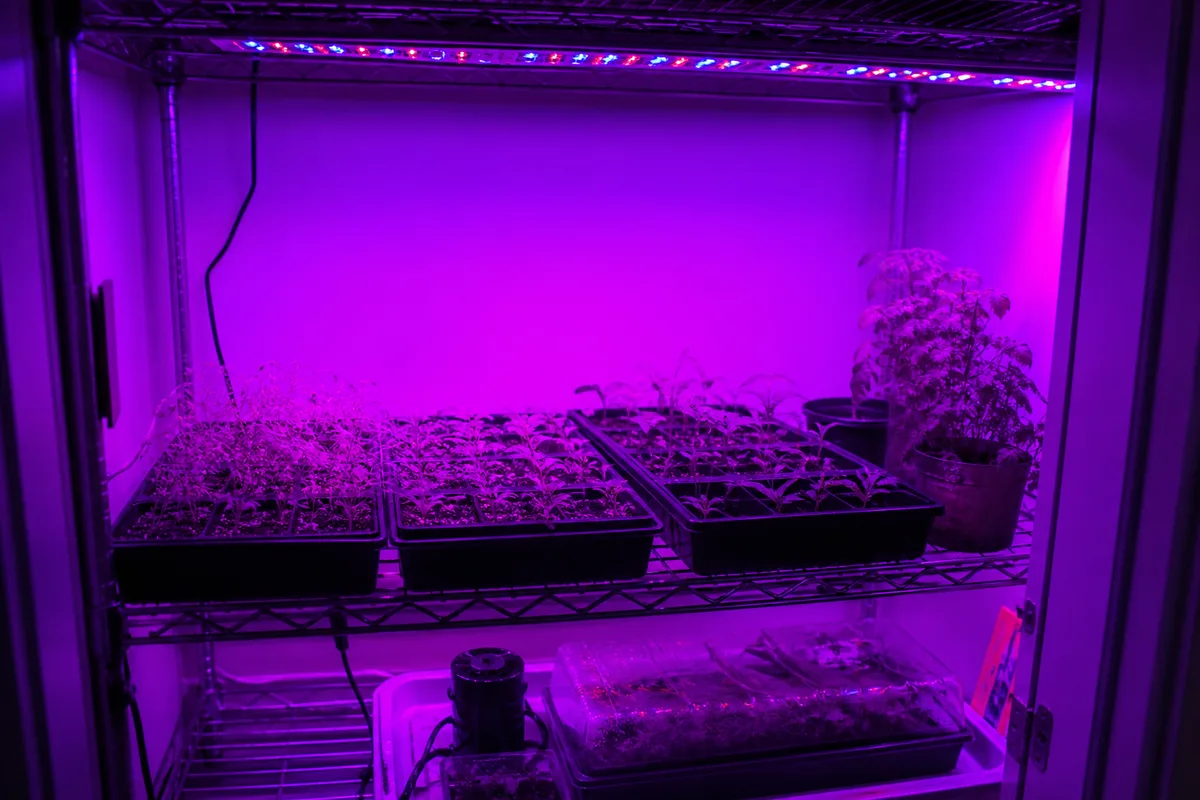
For foliage plants, University of Minnesota Extension’s lighting guidance is a useful starting point: aim for a consistent daily light period, commonly around 12 to 14 hours when artificial light supplies most of the exposure, and give plants a dark period. Use a timer so the routine does not depend on memory. The fixture’s distance and output still matter; “full spectrum” on a package does not tell you how much light reaches a leaf.
Watch the plant while you tune the setup. If new growth remains stretched, the fixture may be too weak, too far away, or covering too little of the canopy. If leaves bleach, cup, heat up, or develop crisp patches, increase the distance or reduce the exposure. A grow light can fix a light shortage, but it cannot rescue roots that are staying wet, a plant that is cold, or a pot that has no drainage.
Water by evidence, not by calendar
Watering 100 plants every Sunday sounds organized, but it is not necessarily good care. Pots differ in size, soil texture, root density, plant species, light, temperature, and airflow. The same room can contain one pot that needs water today and another that is still wet in the middle.
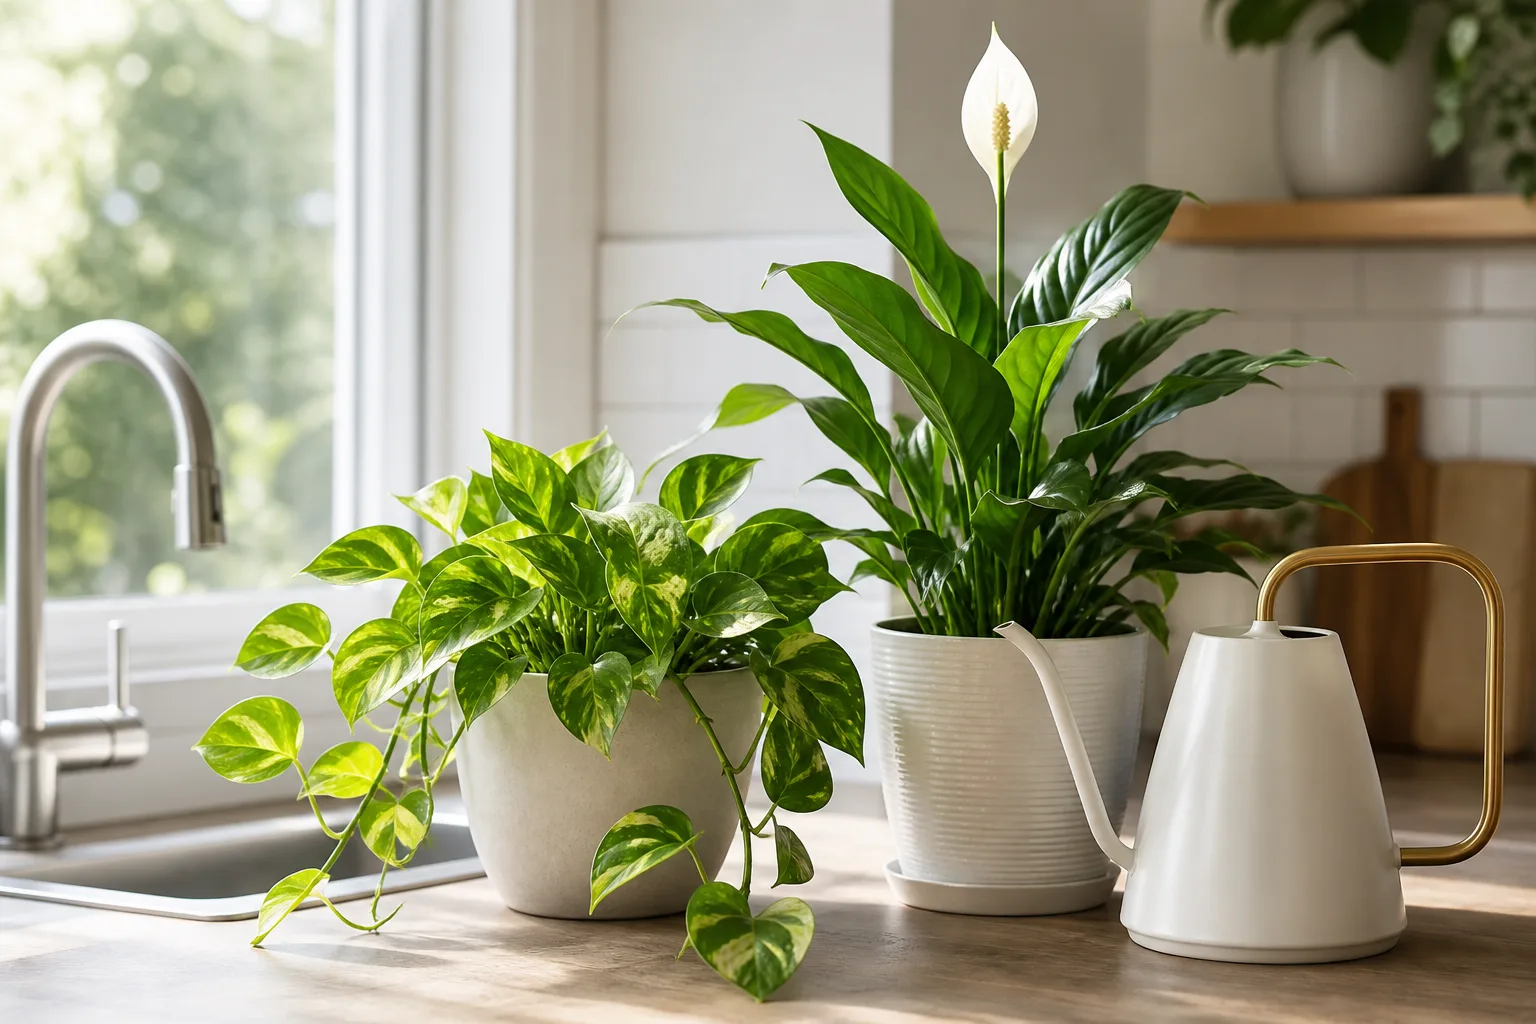
The better rule is simple: check first, water second. UC IPM says improper watering is one of the most common causes of houseplant decline and recommends matching the response to the actual problem. A soft leaf can reflect thirst, but wilting can also come from root decay after overwatering; adding more water without checking the root zone can push the plant farther from recovery.
Make watering a plant-by-plant round
A large collection is easier to manage when watering becomes an inspection round rather than a chore done on autopilot. Move through the room with a finger, chopstick, moisture meter, or the weight of the pot. Check the soil at the depth where the roots live, then look at leaves, stems, and saucers before deciding.
When a plant is ready, water the mix thoroughly until some drains from the bottom, then empty collected water. For a pot that is still damp, do not add a small “top-up” simply because the rest of the collection is being watered. Small, frequent additions can keep the center of the root ball wet while the surface gives a misleading impression of dryness.
Make the route visible. Put a small mark on a plant-care list for pots that were skipped because they were still wet, and note anything that needs a second look. That record is not bureaucracy; it reveals patterns. If a shelf stays wet for ten days, it may need more light, a faster-draining mix, a smaller pot, or a different plant—not a stricter watering calendar.
Use leaves as a prompt, not a diagnosis. Softness, curling, yellowing, crisp edges, or leaf drop should send you back to the root zone, light, temperature, and recent changes. The plant is giving evidence, but it is not speaking in a single universal code.
What changes when plants live on a porch
Outdoor air can increase drying because heat, wind, and brighter light raise water loss. At the same time, rain can saturate a pot far more thoroughly than an indoor watering can, and a roof edge can dump water onto one plant while leaving another dry. Check the pot after rain instead of assuming a storm solved the watering task.
Use containers with drainage holes, keep plants out of roof runoff, and place tall or top-heavy specimens where wind cannot topple them. A porch is a better growing environment when you can reach every pot, see the weather, and move sensitive plants under cover quickly.
Move houseplants outdoors like a transition
Putting indoor plants outside can be rewarding, but “summer vacation” is not a care instruction. Outdoor light is dramatically stronger than most indoor light, even in open shade. Wind changes water loss, rain changes the root zone, and outdoor insects can turn a healthy collection into a pest-reintroduction project when autumn arrives.
The decision should be plant-specific. Tough tropical foliage may benefit from a sheltered, gradually brighter position; thin-leaved, fuzzy-leaved, newly repotted, stressed, or very large plants may gain little from the move. A plant that is already healthy indoors does not need to go outside merely because the calendar says summer.
Pass five gates before an outdoor move
Before carrying a plant to the porch, check five gates:
- Temperature: Nighttime lows are reliably warm for the species, with no near-term cold snap.
- Health: The plant is not already struggling with root problems, pests, or transplant shock.
- Drainage: The pot can release rainwater quickly, and the saucer will not hold a deep reservoir.
- Shelter: The first location is bright shade protected from hard wind, reflected heat, and roof runoff.
- Re-entry: You have a realistic plan to inspect and bring the plant back inside before cold weather.
Better Homes & Gardens recommends waiting for stable warm nights, using pots with drainage, starting in shade, and increasing exposure over one to two weeks. Those gates matter more than a generic claim that every tropical houseplant loves being outside.
Acclimate to shade first, then add sun
Start with a few hours in bright shade. After several days without scorch, bleaching, or severe wilting, extend the time outdoors; only then experiment with gentle morning sun if the species can handle it. Do not use “shade” as a synonym for darkness: outdoor shade can still be much brighter than a room several feet from a window.
Keep the variables steady while the plant adjusts. Avoid moving it outside, repotting, fertilizing, pruning, and changing the watering method in the same week. If something goes wrong, you want to know whether the cause was light, wind, roots, water, or the move itself.
Inspect before the return trip. Look under leaves, along petioles, around drainage holes, and across the soil surface. UC IPM specifically recommends checking plants that have spent time outdoors before bringing them indoors, isolating a problem plant immediately, and continuing to monitor it after the move.
Prevent pests with inspection and quarantine
In a large collection, prevention is more powerful than a dramatic rescue spray. Every new plant, bouquet, bag of potting mix, and summer outdoor move is a possible introduction point. That does not mean treating every plant as contaminated; it means creating enough distance and observation time to prevent one unnoticed pest from becoming 100 infested plants.

Quarantine new plants in a separate room or as far from the collection as possible for a couple of weeks. Check leaf undersides, new growth, stem joints, pot rims, and soil each time you water. Epic Gardening recommends this kind of isolation and inspection because eggs and hidden pests may not be obvious on the day a plant comes home.
Add a quick pest check to the watering route. Fine webbing and pale stippling suggest spider mites; white cottony clusters suggest mealybugs; brown bumps that cling to stems may be scale; small flies around damp soil point toward fungus gnats. Sticky residue on leaves or nearby surfaces can indicate honeydew from sap-sucking pests. Do not spray until you have a reasonable identification, because a treatment aimed at leaf insects will not solve larvae living in wet soil.
Neem, soap, and water each have a different job
Water is often the safest first step for a small population of soft-bodied pests. Rinse leaves and stems thoroughly, especially undersides and new growth, then let the plant dry in good airflow. Repeat as needed because water dislodges insects but does not reliably remove eggs, attached scale, or soil-dwelling larvae.
Neem oil and insecticidal soap are not interchangeable household ingredients. A product labeled for indoor use and for the specific pest is the safer basis for treatment. UC IPM recommends washing, sanitation, isolation, and correctly labeled insecticidal soap or horticultural oil for several common houseplant pests, while also warning that pesticide use indoors is limited and label directions must be followed.
That is why a homemade mixture of neem oil, Castile soap, and water should not be treated as a universal formula. Soap concentration, oil quality, plant sensitivity, sun exposure, and application frequency all change the risk of leaf burn or chemical injury; “natural” does not mean harmless. Test any product on a small area first, keep treated foliage out of harsh light until it dries, and follow the label rather than copying a recipe from another plant collection.
For fungus gnats, correct the wet conditions that support their larvae, remove standing water, and use yellow sticky cards to monitor adults. For a persistent infestation, discard a plant when rescue would put the rest of the collection at greater risk. A large collection needs a clear stop rule, not an obligation to save every pot at any cost.
Make the garden easier to manage
The outdoor garden does not need to be maintenance-free to be sustainable. It needs a layout and routine that make the next action obvious. Bell Hill’s first homeowner planting—a hydrangea—illustrates the emotional side of gardening, but the practical side is choosing plants, paths, mulch, and tools that reduce unnecessary work.
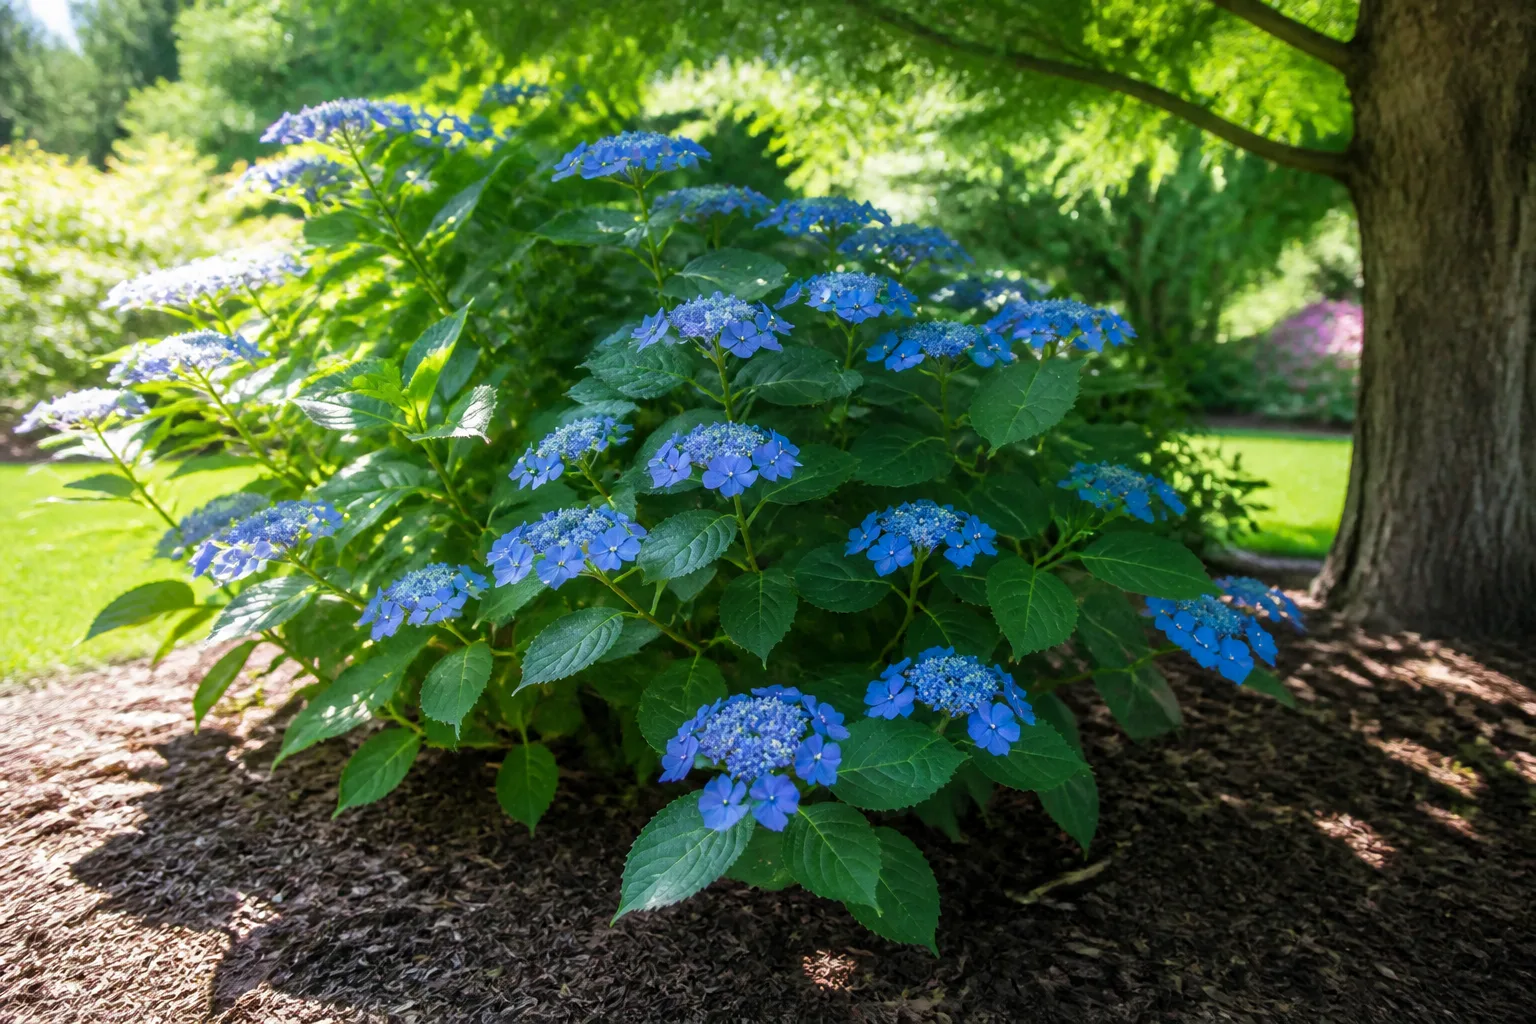
Use the porch or garden walk as a daily observation route. Notice wilt before leaves collapse, weeds before they seed, and a chewed leaf before an infestation expands. A short walk with a clear purpose can prevent a long weekend of emergency work.
Weed early and protect the plants you want
Small weeds are a hand-removal task; established perennial weeds can become a soil and root problem. UC IPM’s landscape guidance emphasizes preparation, mulch, hand-weeding, and removing weeds before they flower and set seed. That approach also protects desirable plants from drift and accidental contact that can happen when a broad-spectrum spray is used in a crowded bed.
Keep mulch at a sensible depth and away from direct contact with stems. Water near the plants instead of wetting every bare patch, and clean soil from tools before moving from a weedy area to a prized bed. These are modest habits, but they compound across a season.
Choose precision over the illusion of speed. If a weed is growing beside a hydrangea, roses, or a young tree, a hand tool and a few minutes of careful work may be safer than a spray designed for open areas. If you do use a pesticide, read the label for the site, target, weather, drift, and plant-safety directions; a precise sprayer does not make a nonselective product selective.
Use relationships to shorten the learning curve
Local plant shops and nurseries are part of a care system, not just places to buy more plants. Staff who grow plants in the same climate can help you choose species that match your windows, humidity, winter temperatures, and outdoor space. They can also tell you whether a plant is commonly sold under several names, whether a problem is seasonal, and which supplies are actually useful.
Bring a question instead of asking for a miracle. A photo of the whole plant, a close-up of the damage, the pot size, the window direction, and your recent watering pattern will produce better advice than “What is wrong with it?” The more specific the evidence, the less likely you are to buy a product for the wrong diagnosis.
Relationships also create accountability. A gardener who trades cuttings, compares notes, or visits a nursery regularly is more likely to notice patterns and try again after a failure. Curiosity is not a personality trait reserved for experts; it is a practical tool.
Learn from losses without turning care into guilt
Even an experienced gardener loses plants. Some losses are caused by a mismatch that was visible only after living with the plant: the room is too dim, the air is too dry, the pot is too heavy to move, or the plant outgrows the only workable spot. Others happen because pests or root disease were found too late. A collection becomes stronger when the gardener records the cause instead of turning the loss into a verdict about personal ability.
Use a short post-mortem: What changed? Where was the plant living? How long did the soil stay wet? Was the newest growth healthy? Were there pests below the leaves or at the soil line? Did the plant move recently? This turns “I killed it” into a testable next decision.
The honest limit is that not every plant can be saved. UC IPM notes that advanced decline may be impractical to reverse and that discarding a badly infested or diseased plant can be the best way to protect others. Starting over is not failure when it prevents a small problem from becoming the dominant care task in the room.
Conclusion: Build a home where your plants can actually live
The most transferable lesson from a 100-plus-plant home is not a particular oil, bulb, or watering trick. It is the design of the environment: place plants where their light and care needs fit, make watering an observation round, use grow lights when windows cannot do the job, quarantine newcomers, and treat outdoor moves as gradual transitions. Build garden paths and routines that make inspection easy, too.
That approach leaves room for joy. A porch can still be a morning coffee spot, a spare room can become a plant room, and a hydrangea can still be the first planting that changes how a house feels. The goal is not to keep every leaf perfect. It is to make the next right action easy enough that your plants—and you—can keep growing.



