How to Grow and Care for Rain Lilies
Learn how to grow rain lilies with the right sun, soil, planting depth, watering, fertilizer, container care, propagation, and winter protection.
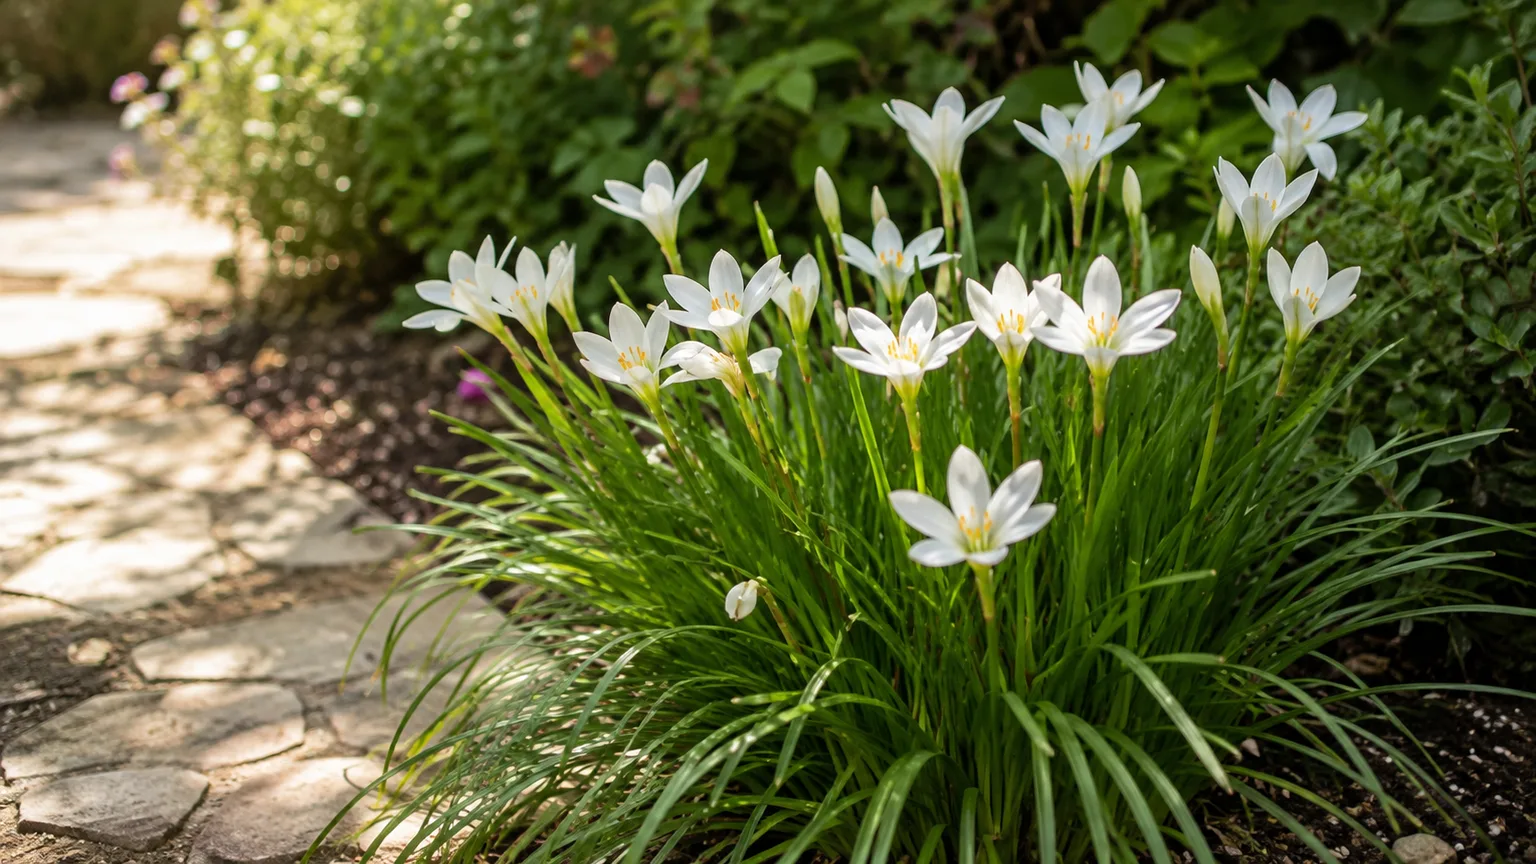
Rain lilies are small, warm-season bulbs that can look dormant for weeks and then send up a flush of flowers after a soaking rain. The common name covers many Zephyranthes species, but the white rain lily, Zephyranthes candida, is the familiar garden plant: a compact clump of narrow, grassy leaves with white, funnel-shaped flowers and orange stamens.
The secret to dependable rain lily care is not keeping the soil wet. Give the bulbs sun, drainage, a sensible planting depth, and a full season of green foliage. Then let rainfall—or one thorough drink during a dry spell—provide the moisture cue without turning the bed into a bog. In USDA Zones 7–10, Z. candida can return as a perennial, while colder gardeners can grow it in containers or lift the bulbs before frost. NC State Extension lists the species for Zones 7–10 and recommends cool, dry storage where it cannot remain outdoors.
Know What You Bought
“Rain lily” is a common name rather than one precise species. Zephyranthes contains many rain lilies with white, pink, yellow, or peach flowers, and garden centers may label them only by color. Their bloom time, heat tolerance, mature size, and winter performance can vary, so keep the plant tag or photograph it before planting.
The plant is a bulb in the amaryllis family, not a true lily in the genus Lilium. That distinction matters for plant identification and pet safety. It also explains why a rain lily’s narrow leaves and flowers can resemble a small crocus while behaving like a warm-season bulb that grows and blooms in response to summer moisture.
White Rain Lily (Zephyranthes candida)
The white rain lily is usually 6–12 inches tall and about as wide. Its narrow, bright-green leaves form a grassy tuft, while each flower rises on a short stem roughly as tall as the foliage. The silvery-white blooms are typically about 1–3 inches across and funnel-shaped, with six petals and orange stamens. NParks describes the species as a 15–30-centimeter plant with linear foliage, six-petaled white flowers, and tolerance for clay, sand, occasional wetness, and several soil pH ranges.
The small stature is an important design clue. A single bulb can disappear in a deep border, but a clump along a path or at the front of a bed reads as a deliberate patch of late-summer color. The plant may be semi-evergreen in mild winters and can slowly naturalize by producing offsets, so leave room for a colony rather than treating every bulb as a permanent solitary specimen.
Pink and Yellow Rain Lilies
Pink rain lilies such as Zephyranthes carinata and yellow species such as Z. citrina share the same broad care pattern, but the label is still worth checking. Some types tolerate intense heat particularly well, while others are better known for late-summer or early-fall flowering. Z. drummondii ‘Fedora’, for example, is a white-flowering selection with a different flowering habit from the classic daytime white rain lily.
Treat general care advice as a starting point, not a guarantee that every named cultivar will bloom on the same week. Better Homes & Gardens notes that Zephyranthes includes roughly 70 species and that rain lilies vary in color, bloom timing, and winter use. If a nursery label gives a species name, use that name when checking mature size and hardiness.
Pick the Right Site
Choose the sunniest practical spot you have, ideally with at least six hours of direct light during the growing season. A front-of-border strip, rock garden, path edge, raised bed, or open slope works well because the foliage stays low and the flowers are easy to see at close range. In partial shade the leaves may remain healthy, but flowering usually becomes less reliable.
Drainage is the deciding factor when two locations receive the same light. Rain lilies can tolerate an occasional wet period, and they are drought-tolerant once established, but water that lingers around a dormant bulb in winter is a different problem from a summer rainstorm that drains away within hours. Avoid the bottom of a downspout, a sealed clay pocket, or a bed that stays shiny with standing water after ordinary rain.
In very hot climates, morning sun with protection from the harshest afternoon exposure can be a useful compromise. NC State Extension specifically notes that extreme heat and intense afternoon sun can cause foliage dieback and reduce floral display. Do not interpret that exception as permission to place the bulbs in deep shade; bright light remains the priority.
Prepare Soil for Roots and Bulbs
Rain lilies are adaptable to loam, sand, and even clay when the bed does not stay saturated. Aim for soil that crumbles or breaks apart after watering rather than forming a sealed, airless mass around the bulb. You do not need a special bulb blend, and adding a large amount of rich organic matter to a poorly drained hole can make the problem worse by creating a water-holding pocket.
Before planting, loosen the bed several inches deeper than the bulb will sit. If the soil is heavy, improve the whole planting area with finished compost and, where appropriate, use a raised mound or a gently elevated bed so water can move away. Do not put a layer of gravel in the bottom of a planting hole as a drainage shortcut; changing the grade and texture of the entire bed is more useful.
A slightly acidic to neutral soil is a comfortable target, but Z. candida tolerates a broader range when drainage and fertility are reasonable. Gardenia lists the species for well-drained chalk, loam, and sand and warns gardeners to protect it from winter wet. If you are unsure, a simple soil test is more informative than adding lime or sulfur by guesswork.
Plant Rain Lily Bulbs Step by Step
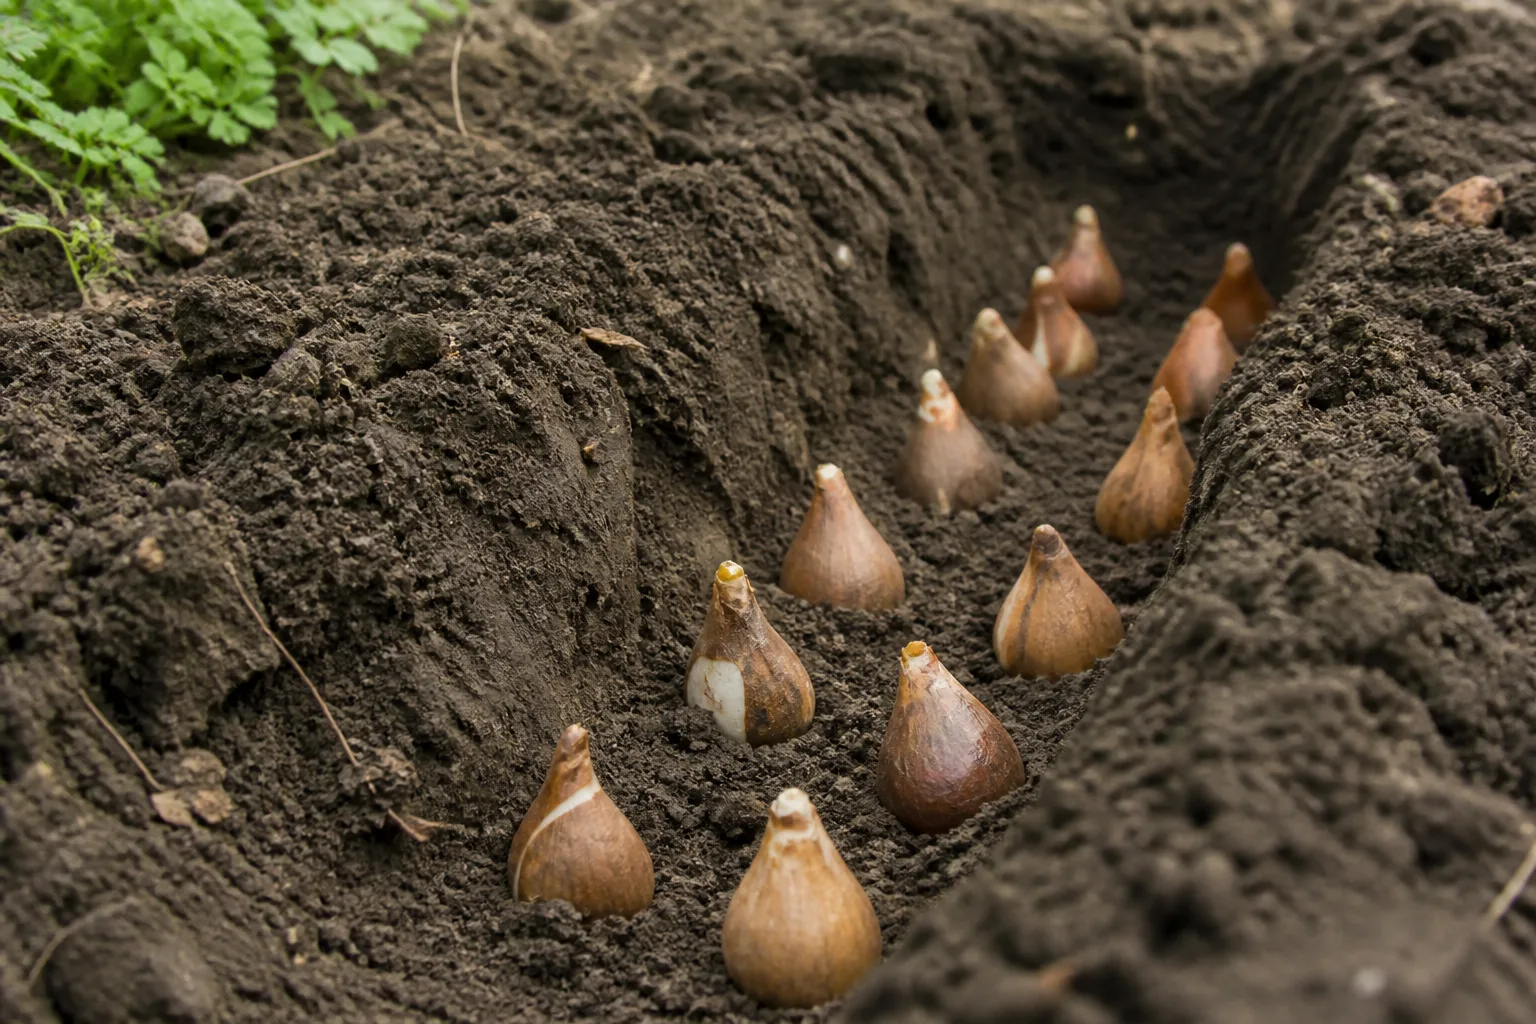
Plant rain lily bulbs in spring after the soil is workable and the threat of hard frost has passed. This gives the bulbs a warm growing season to establish roots before they face their first winter. In warm, frost-free gardens, fall planting can also work when the soil drains well, but spring is the safer default for an unmarked climate or a newly purchased bulb.
Start with firm bulbs that are free of soft spots, leaking tissue, or a sour odor. Loosen the soil, set each bulb upright with the pointed neck facing up, cover it, and water the bed once thoroughly. A thin layer of fine mulch can reduce surface crusting, but keep mulch from forming a wet, deep collar directly over the bulb neck.
Depth and Spacing Rules
For an average rain lily bulb, cover the top of the bulb with about 2–3 inches of soil. Measure from the bulb’s shoulder or neck to the soil surface, not from the bottom of the planting hole. Better Homes & Gardens recommends 2–3 inches of planting depth, while Gardenia lists 3 inches for Z. candida. That range is deep enough to anchor the bulb without burying a small bulb so far that shoots struggle to emerge.
Plant tiny offsets a little shallower than mature bulbs, especially if they have only a small root plate. In loose, fast-draining sand, you can use the deeper end of the range; in dense, cold-wet soil, correct drainage before compensating with extra depth. Planting a bulb eight inches deep is not a universal rule for rain lilies and can delay emergence or make a weak offset difficult to find.
Space bulbs about 3–4 inches apart for a planted clump, or slightly closer in a container where a full display is the goal. Closer spacing gives quicker visual impact but means the clump will need dividing sooner. For a naturalized look, plant a group of 10 or more bulbs in an irregular drift instead of arranging them in a rigid grid.
Watering: Let Rain Trigger Blooms Without Rot
The name describes a pattern, not a watering schedule. Rain lilies often flower after a substantial summer rain because an established bulb receives a sudden moisture pulse during warm conditions. They do not need to be watered every day, and constantly damp soil can reduce vigor or encourage bulb and root problems.
Use this sequence:
- After planting: Water deeply once to settle soil around the roots, then wait until the surface begins to dry.
- Established in-ground clumps: Let ordinary rainfall do the work. During a prolonged hot, dry period, water slowly and deeply rather than giving frequent sips.
- Before expected bloom: If the foliage is firm but the bed has been unusually dry, one thorough watering can provide the moisture cue. It may produce flowers, but it cannot force an immature or poorly lit bulb to bloom.
- Containers: Check more often because pots lose moisture from every exposed side. Water when the upper inch or two of mix is dry, then let excess drain completely.
Do not leave a container standing in a saucer of water, and do not use a sprinkler timer that keeps the potting mix perpetually wet. A rain lily that wilts in a dry pot needs water; a rain lily sitting in saturated mix needs better drainage, not more water.
Light, Heat, and Airflow
Bright light powers the stored energy that a bulb uses for leaves, roots, offsets, and flowers. Six or more hours of direct sun is a useful target for garden beds, with partial shade reserved for climates where afternoon heat is severe. A bright patio can suit a container, but a covered porch that receives only reflected light may produce leaves without many flowers.
Give foliage room to dry after rain. Crowding rain lilies with dense, constantly wet groundcovers can hide slugs and reduce airflow even when the bulbs themselves are healthy. A thin mulch layer is fine; a thick, soggy blanket against the leaves is not.
Flowers may open for only part of a day and individual blooms can last just a few days. That is normal, not evidence that the plant is failing. The display comes from successive flowers and repeated flushes through summer and early fall rather than from one flower remaining perfect for weeks.
Fertilizer: Feed Lightly, If at All
Rain lilies rarely need routine fertilizer in a reasonably prepared garden bed. A light spring application of finished compost is a sensible way to support soil structure and modest fertility. If a soil test shows a real deficiency, correct that deficiency according to the test rather than applying a strong general fertilizer by habit.
Too much nitrogen can create abundant grassy leaves without the flowers you want. It can also encourage soft growth that is less resilient during heat or wet weather. Avoid placing fresh manure or concentrated fertilizer directly against the bulb.
Container-grown plants are a different case because repeated watering can wash nutrients from the pot. During active growth, an all-purpose soluble fertilizer diluted to half strength about monthly can be reasonable, especially when the potting mix contains little compost. Stop feeding as the plant slows toward dormancy, and do not compensate for shade or rot with extra fertilizer.
Care Through the Seasons
Think of rain lily care as a yearly cycle rather than a list of chores. In spring, establish new bulbs, separate offsets if needed, and refresh the soil surface. In summer, watch for drought and enjoy the foliage while waiting for bloom flushes. In late summer and early fall, let flowers finish and allow the leaves to recharge the bulb.
The weather cue is not perfectly predictable. A storm may bring flowers quickly in one year, while a short shower produces little response in another. Bulb size, prior-season leaf growth, temperature, light, and soil moisture all affect the result, so judge the plant over a season rather than by one missed flush.
After Blooming
Remove spent flowers if you want a tidier clump or do not want seed to form. Pinch or snip the faded flower stem without cutting the leaves. If you want seedlings, leave a few flowers in place until the seed capsule matures, then collect the seed when it is ripe and sow it promptly; seed-grown plants take more patience than offsets.
Do not cut healthy green foliage just because the flowers are finished. Those leaves are still making and storing energy for next year’s growth and offsets. Wait until foliage yellows, collapses, or becomes naturally dormant before removing it, and use clean scissors if it pulls at the bulb rather than releasing easily.
Winter in Warm and Cold Zones
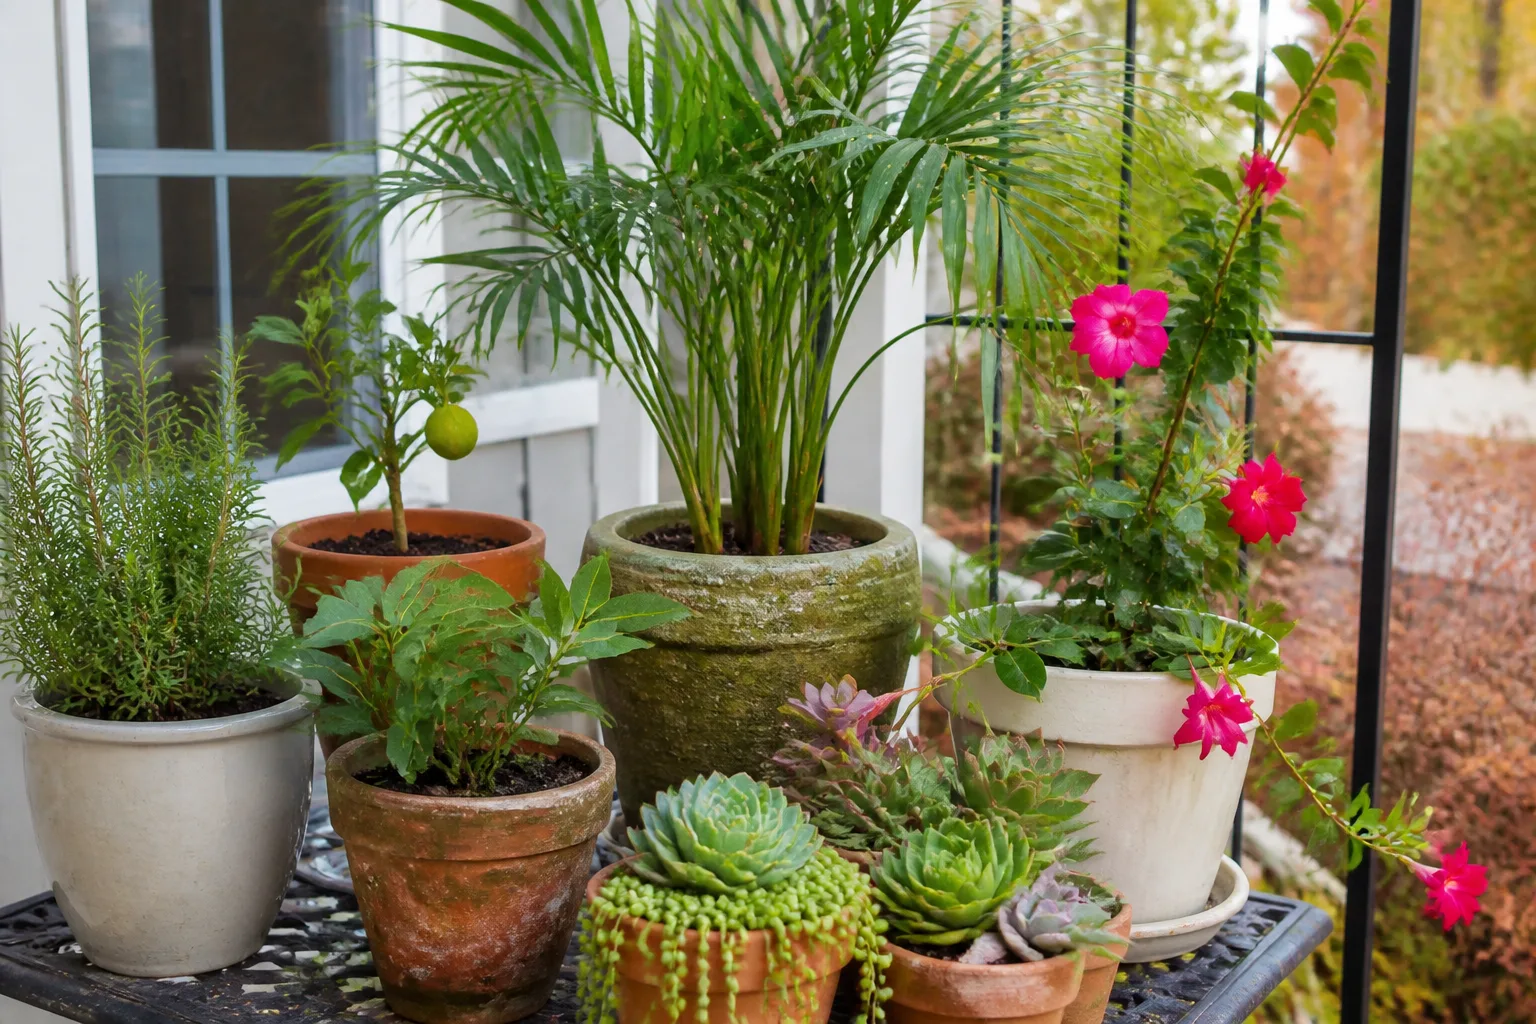
In Zones 7–10, Z. candida can remain in the ground, but Zone 7 gardens are not identical. A sheltered, well-drained bed may succeed where a low, wet exposure loses bulbs. The combination of frost and winter wet is more dangerous than a brief cool spell in dry soil.
In colder zones, dig bulbs before the first hard frost. Lift them gently, brush off loose soil, and discard any bulb that is soft, bruised, or diseased. Let the healthy bulbs dry briefly, then store them in a cool, dry, frost-free place in a breathable container. Do not seal damp bulbs in plastic, and do not store them beside fruit, where ethylene and moisture can complicate storage.
For a container, move the pot to a cool, frost-free location before freezing weather. Keep the mix only slightly moist—enough to prevent the bulbs from shriveling completely, not enough to keep roots actively wet all winter. Return the pot to bright light in spring and resume watering as new growth appears.
Grow Rain Lilies in Containers
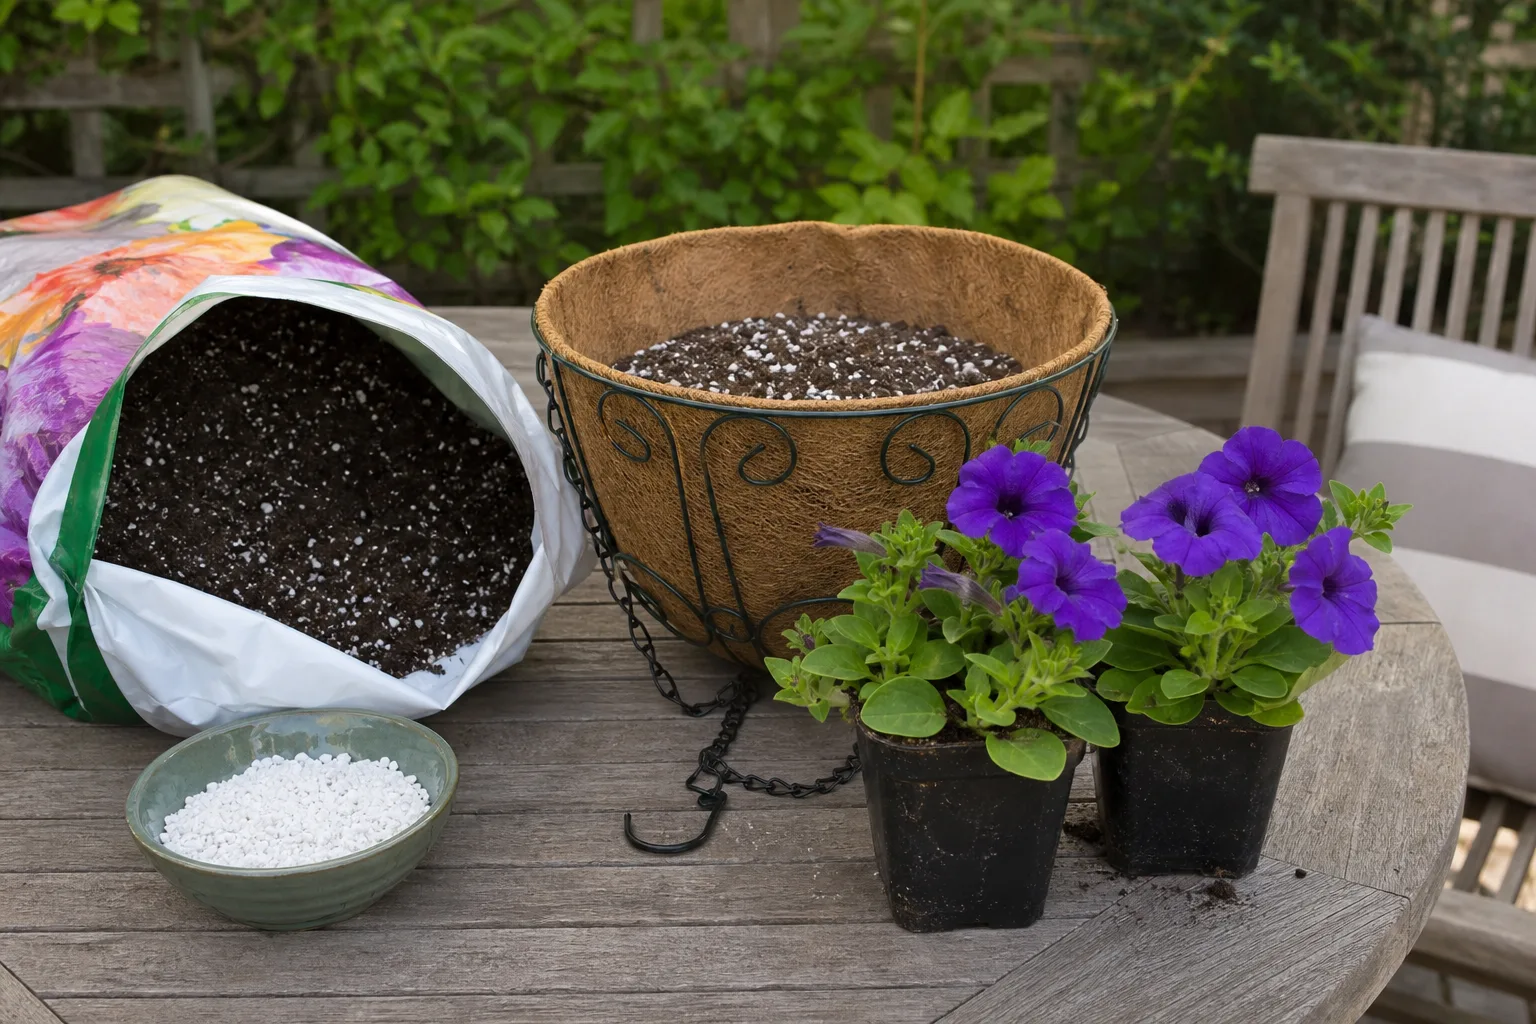
A container is the simplest way to grow rain lilies where winter is too cold for a permanent bed. Choose a pot with drainage holes and enough width for a clump. A container about 12 inches in diameter can hold a generous group of bulbs, while a smaller pot works for a starter clump if you are prepared to divide or move it later.
Use a quality, free-draining potting mix rather than garden soil alone. Set bulbs at the same 2–3-inch cover depth, keep them close enough to make a display, and water thoroughly after planting. The pot should drain within minutes; if water continues to pour from the drainage holes long after watering, the mix may be too fine or the container may be sitting in a blocked saucer.
Pots dry more quickly than garden beds, especially on a hot patio or in a dark wind-sheltered storage area where you cannot see moisture loss. Check the mix with your finger and lift the pot when possible. In summer, a sunny container may need water more than once a week, while a cool, cloudy week may require none; a calendar cannot replace that check.
Propagate by Offsets or Seed
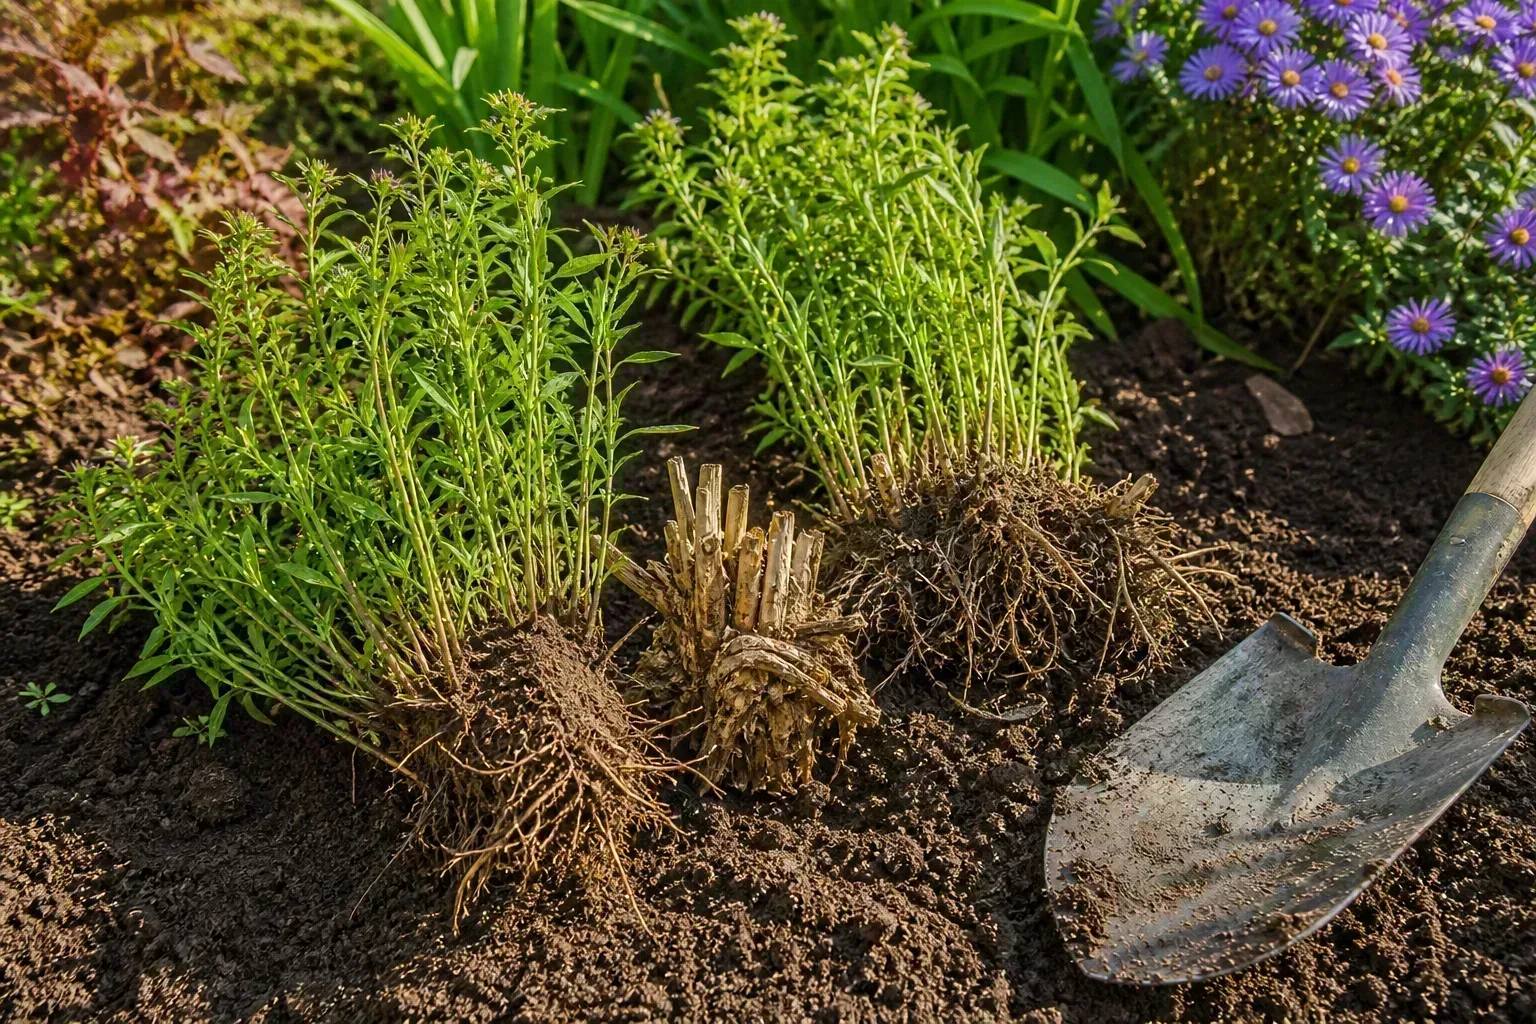
Offsets are the practical propagation method for gardeners who want more flowering plants. Divide in spring when the clump is actively restarting or when the soil is workable. Dig around the clump, lift it without slicing through the bulbs, and gently separate the small daughter bulbs from the mother bulb.
Replant offsets promptly so their roots do not dry out. Set large offsets at the normal depth and small ones a little shallower, then water the soil once. A small offset may produce leaves before it produces flowers; that first season is an investment in bulb size, not a failure.
Seed is useful when you want genetic variation or have a plant that sets seed readily, but it is slower and less predictable. Let a few flowers mature, collect fresh seed, and sow it in a clean, lightly moist medium. Keep the seedlings growing in bright light, protect them from cold, and expect a longer wait for a mature flowering clump.
Pests, Rot, and Other Problems
Rain lilies are generally low-maintenance, but slugs and snails may chew the foliage or flowers, particularly after wet weather. Inspect at dusk or after rain, clear dense debris from around the clump, and use the least disruptive control that fits your garden. Spider mites are more likely when plants are stressed by hot, dry conditions; first improve watering and airflow, then inspect the undersides of leaves.
Soft bulbs, a sour smell, blackened tissue, or leaves collapsing in consistently wet soil point more strongly to rot than to thirst. Dig one bulb to confirm the problem, remove damaged tissue and the wettest soil, and replant healthy material in a raised or better-drained location. Do not rescue a rotting clump by adding fertilizer.
The word “lily” can create dangerous confusion around pets. True lilies in Lilium and daylilies in Hemerocallis can cause severe kidney injury in cats, while Pet Poison Helpline lists rain or prairie lily under a separate group associated with gastrointestinal upset and emphasizes that common names overlap. Its lily-safety guidance recommends contacting a veterinarian or poison service promptly after an exposure and identifying the exact plant. Treat rain lily bulbs and foliage as ornamental plants, not edible material, and keep them away from children and chewing pets. Colorado State University also maintains a plant-safety record for rain lily.
Why Rain Lilies Aren’t Blooming
Start with the most likely cause and change one thing at a time. If the clump has healthy leaves but no flowers, check direct light first; shade is a more common explanation than a need for stronger fertilizer. Next ask whether the bulbs are new or recently divided, because small offsets and newly planted bulbs may need a full season or two to reach flowering size.
If the bed has been dry for weeks, give it one slow, thorough watering and then let it drain. Do not keep watering on a daily schedule while waiting for buds. If the soil stays wet, correct drainage before trying again; bulbs that are losing roots cannot respond well to a bloom cue.
If foliage is lush and floppy with no flowers, review feeding history. High-nitrogen lawn fertilizer washing into the bed or repeated liquid feeding can favor leaves over flowers. Stop routine feeding, allow the foliage to mature naturally, and improve light rather than pruning the leaves away.
If flowers appeared after rain and disappeared quickly, that may be the plant’s normal rhythm. Look for additional buds at the base before deciding the flush is over. A clump that has no foliage at all may be dormant, frost-damaged, or rotting; in that case, inspect one bulb instead of watering blindly.
Design Ideas and Companion Plants
Plant rain lilies in a broad ribbon along a path so their small flowers are viewed at eye level. A drift at the front of a perennial border gives late-summer interest without hiding taller plants, while a rock garden provides the sharp drainage and open light they prefer. They can also work in a rain-garden edge if the planting pocket drains between storms; do not put them in the permanently saturated center of a basin.
Use companions that share the same light and watering pattern. Low sedums and creeping thyme can echo the plant’s fine texture in a dry border, while a patio container can pair rain lilies with other sun-loving plants that tolerate a dry-down between waterings. Leave enough open soil around the bulbs to see the foliage and inspect for slugs rather than burying the clump under a dense mat.
The best visual effect usually comes from repetition. Ten bulbs in one loose group look more intentional than one bulb repeated at random intervals, and the offsets will gradually thicken the planting. Divide the clump when it becomes crowded or flowering weakens, then replant the extras in another sunny, well-drained spot.
Conclusion
Rain lilies reward a light touch. Plant the bulbs 2–3 inches deep in a sunny, well-drained bed, water after planting and only during meaningful dry spells, feed sparingly, and let the foliage remain until it naturally fades. The rain may cue the flowers, but the previous season’s light, leaves, and drainage determine how much energy the bulbs have to respond.
In a warm Zone 7–10 garden, the clumps can return and expand for years; elsewhere, containers or lifted bulbs make the same late-summer display possible. If bloom is missing, check light, bulb age, moisture, drainage, and fertilizer in that order. That routine keeps rain lily care simple while leaving room for the weather-driven surprise that makes these small bulbs memorable.



