11 Free DIY Raised Planter Box Plans for Every Space
Compare simple beds, tall planters, trellises, tiered boxes, and wicking designs, with practical build notes on depth, soil, drainage, and safe lumber.
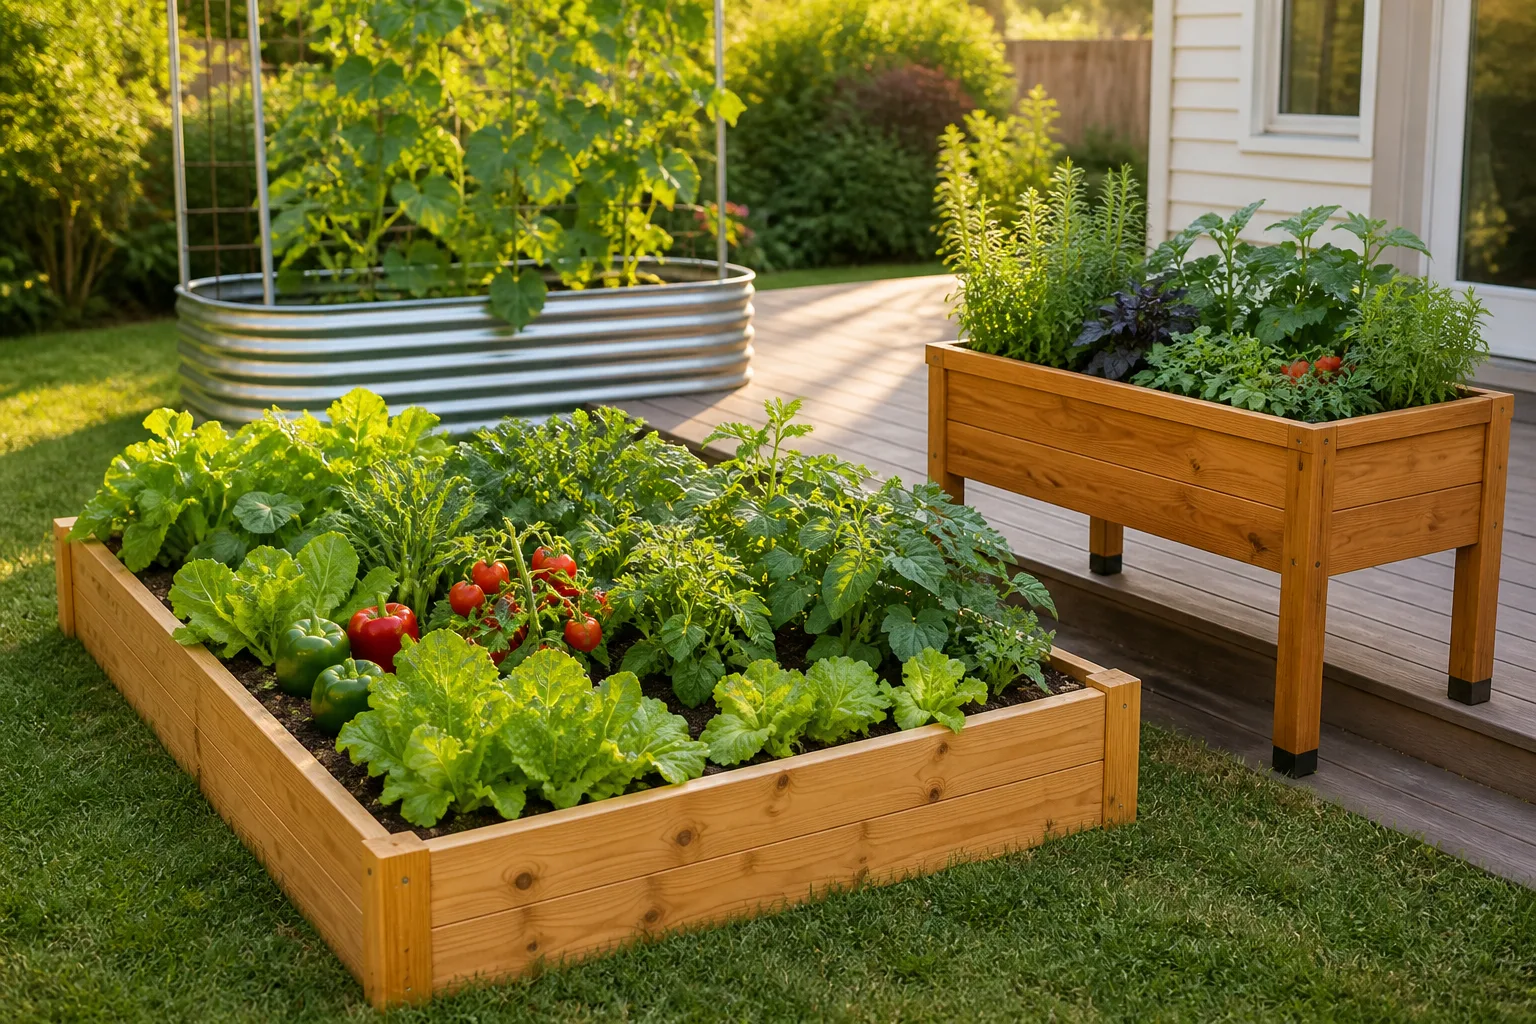
A raised planter works best when its shape fits the way you garden. A ground-level bed keeps construction simple; a box on legs can bring herbs within reach; a trellis saves floor space but adds wind load; a rolling box is useful only while it is light enough to move. These 11 DIY raised planter box plans are adaptable starting points, with sample dimensions and the trade-offs to consider before you cut lumber.
Dimensions below describe the finished outside footprint unless stated otherwise. Lumber is sold by nominal size: a 2-by-6 board is usually about 1½ by 5½ inches, so always measure your actual stock and adjust cuts to suit the joinery. Use exterior-rated screws and pilot holes where the board ends might split. Penn State Extension’s raised-bed build guidance stresses planning the design and site first, using eye and hearing protection, and fastening into corner posts rather than relying on end grain alone.
Choose a planter by reach, roots, and location
Start with the plants and the place, not the most elaborate woodworking plan. A box that sits on soil can share root space with the ground below; a freestanding planter with a solid bottom cannot. That difference determines how deep the growing area needs to be, how much it weighs, and whether the frame needs legs, a floor, or extra bracing.
Match soil depth to the crop
For a ground-contact bed, a frame around 6 to 12 inches tall can be enough when the soil below is loose and roots can continue downward. For a planter with a floor, plan a deeper soil column: roughly 10 to 12 inches suits many herbs and leafy crops, while tomatoes, peppers, and other deeper-rooted vegetables benefit from more room. Shallow boxes are better for salad greens, radishes, or flowers with modest root systems than for crops that need a long, stable root run.
The depth figures are planning ranges, not promises that every variety will thrive in any box. Joe Gardener recommends keeping a bed narrow enough to reach without stepping into it and notes that 6 inches is a minimum for a raised bed, with deeper soil giving roots more room. If the native soil is compacted or contaminated, do not count it as usable root depth; choose a bottomed container or resolve the site question first.
Size the footprint for access and load
If you can reach the bed from both long sides, 3 to 4 feet wide is a practical maximum for most gardeners; against a wall or fence, keep it closer to 2 feet so you can reach the back without leaning on plants. Length is flexible, but long walls need center stakes or cross-braces to resist the outward force of wet soil. For a wheelchair-accessible or seated garden, make the box narrower than a standard ground bed and set the rim at a comfortable height for the gardener who will use it.
Measure the path, door, window, railing, and hose route before building. Soil is heavy, and it gets heavier when wet: a planter placed on a balcony or deck should be treated as a structural load, not a decorative pot. Ask the property manager or a qualified professional about the surface’s capacity before filling a large box overhead, and never assume casters make a fully loaded bed safe to move.
11 free DIY raised planter box plans
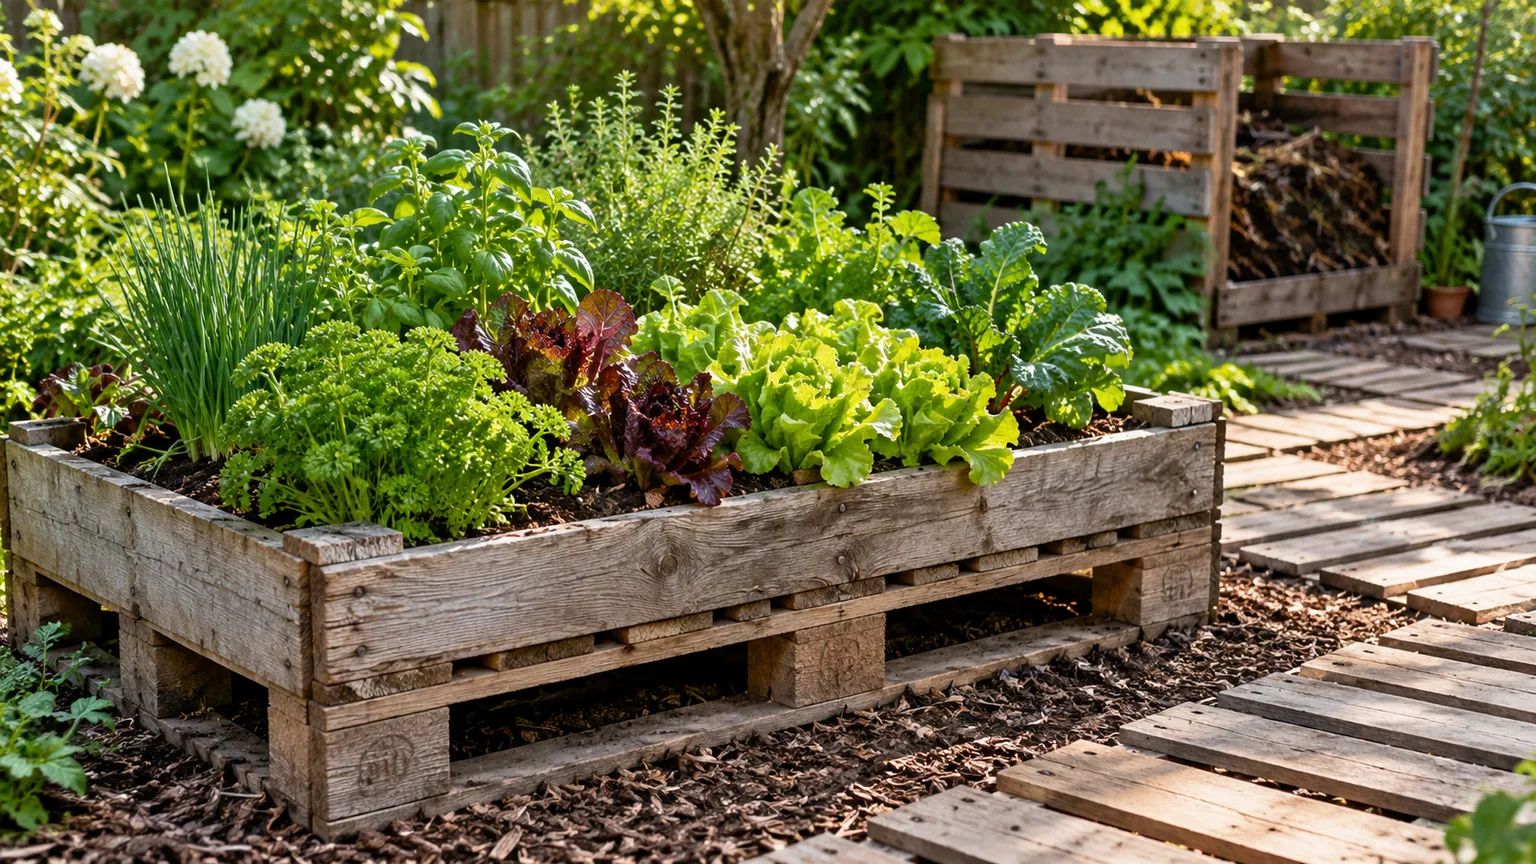
1. Classic 4-by-8-foot garden bed
This is the simplest first build for a sunny yard with workable soil. For a finished footprint close to 4 by 8 feet and about 11 inches tall, start with six 2-by-6-by-8-foot boards, four short corner stakes cut from 2-by-4 stock, and exterior screws. Cut four boards to 8 feet for the long sides; cut the other two into four short pieces around 45 inches long, adjusting for your chosen corner overlap and actual board thickness. Stack the pieces in two courses and fasten them to the stakes at each corner.
Set the rectangle on level ground, remove sod or cover it with cardboard if appropriate, and loosen compacted soil beneath before filling. Add mid-wall stakes on long sides if the boards bow when you press them outward. This plan is easy to lengthen or shorten, but it is not a tabletop planter: leave the bottom open so roots can reach the soil below, and use hardware cloth only if local burrowing animals make it necessary.
2. Compact herb planter on legs
For a patio or a small kitchen-garden corner, build a 24-by-36-inch trough with 10 to 12 inches of soil depth and a finished rim around 30 to 34 inches high. The basic cut list is two long side boards, two end boards, four sturdy legs, and several closely spaced bottom slats; a lower shelf is optional and should hold tools rather than the wet soil load. Assemble the sides as a box, screw the bottom slats across the underside with small drainage gaps, then attach the legs inside the corners and add a crossbrace between them.
This design is a good fit for basil, parsley, chives, lettuce, and compact flowers. It is too shallow and narrow for large tomato plants unless you increase the soil depth and strengthen the frame. Keep the growing area within arm’s reach from each side, and test the empty frame for wobble before adding soil; a planter that rocks now will feel worse once its center of gravity is high.
3. Accessible U-shaped raised bed
A U-shaped bed gives more planting edge without forcing the gardener to reach across a broad center. One adaptable layout uses a 6-by-6-foot outside footprint with a 2-foot-wide opening in the front and a 2-foot-wide center aisle, leaving three reachable planting arms. Build it at 18 to 24 inches high from stacked boards or masonry, then add corner posts and mid-wall supports wherever a long run would flex.
The interior aisle is the key feature: it brings the back of each planting arm within reach and can accommodate a chair or mobility device if sized for the actual user. Keep the arms no deeper than about 2 feet when they are accessible from only one side. This plan uses more material and soil than a rectangle, so build one small cardboard mock-up first and check that the path, turn space, and working height feel right before cutting.
4. Rolling patio planter
A 24-by-30-inch box on four locking casters can follow the sun or move out of a walkway while it is empty or lightly planted. Use a shallow 8- to 10-inch trough with a reinforced base, four legs or corner blocks, and casters selected for the planter’s expected load. Install one caster under each corner, add a center support if the base spans more than about 2 feet, and orient the locks where they are easy to reach.
A rolling planter should be built around mobility from the start: use a compact footprint, lightweight structure, and a mix suited to containers rather than filling it with dense garden soil. Even then, move it before adding a large volume of wet mix whenever possible. Lock the wheels when parked and keep the surface smooth, level, and clear; small casters can jam in deck gaps and do not make a tall box stable in strong wind.
5. Trellis-backed vegetable box
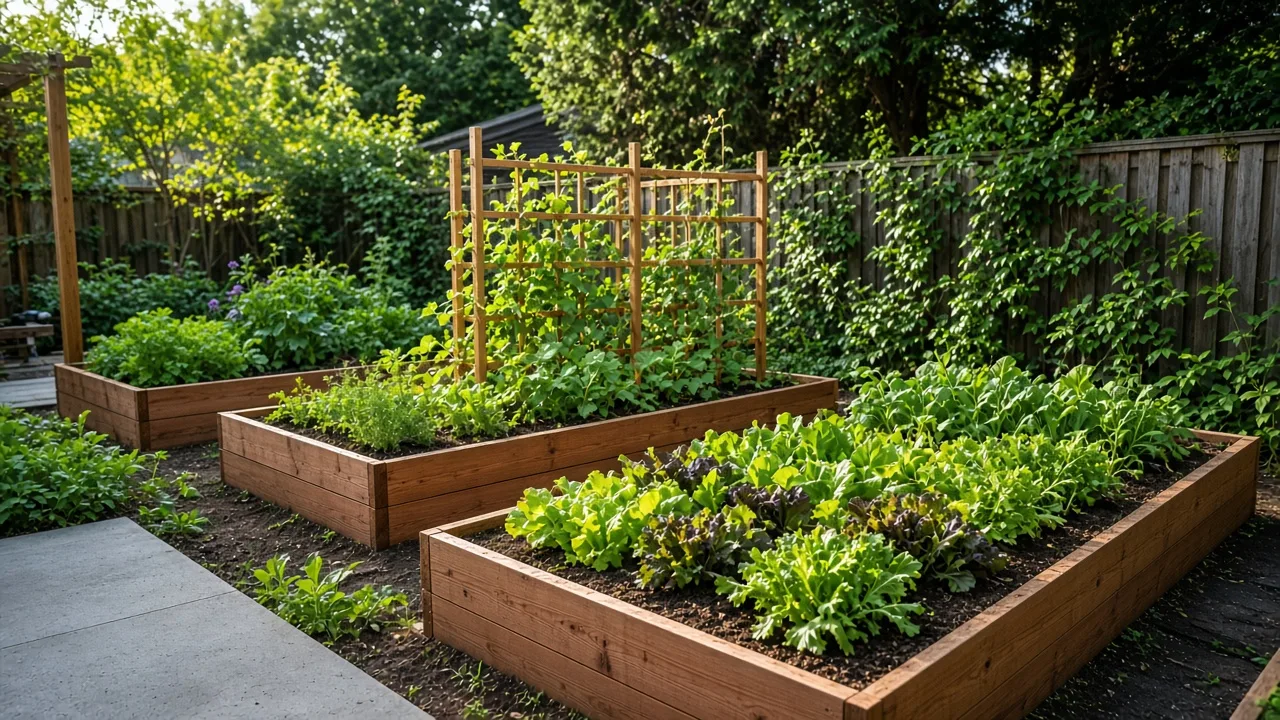
For beans, peas, cucumbers, or compact vining tomatoes, build a 24-by-48-inch bed about 12 inches deep and anchor a 5- to 6-foot trellis along the back edge. The box can use two courses of 2-by-6 boards with corner posts. Build the trellis from two uprights and a wood lattice or galvanized panel, then bolt or screw its posts into the planter’s corner frame rather than fastening it only to thin side boards.
Place the trellis on the north side of the bed in a Northern Hemisphere garden so it is less likely to shade shorter crops during the day. Add a center brace if the box’s long side flexes, and keep the structure away from a fence or siding unless it is independently anchored. Vines catch wind like a sail; a freestanding trellis needs a stable base, and a high bed on legs may require ground anchoring or a lower trellis to prevent tipping.
6. Self-watering wicking planter
A wicking planter is useful where containers dry quickly or daily watering is difficult, but it is more complex than drilling a few holes. Make a 24-by-36-inch frame around 16 to 18 inches deep, then install a watertight reservoir at the bottom, a perforated water-distribution pipe or chamber, a fill tube that reaches the reservoir, and an overflow outlet set at the intended maximum water level. Separate the reservoir from the growing mix with a durable permeable layer so soil does not clog the water space.
Keep the soil in contact with the wicking area and test the fill tube and overflow before adding the full mix. Water rises through capillary action; it does not replace drainage design. A failed overflow can leave roots saturated, so make the outlet visible and easy to clear. Savvy Gardening’s guide to self-watering raised beds describes the reservoir, fill tube, and wicking principle, while also showing why these builds need careful leveling and a clear water path. Choose a conventional open-drain planter if you do not want to monitor the reservoir.
7. Tiered strawberry and greens planter
Use three shallow boxes to make a stair-step planter for strawberries, lettuce, herbs, or trailing flowers. A workable footprint is about 36 inches wide by 24 inches deep, with a 5- to 6-inch soil depth at each level; make the lower trough 36 inches long, the middle roughly 28 inches, and the upper about 20 inches. Set each smaller box toward the back, fasten the tiers to a shared frame, and add a full bottom with drainage slots under each planting compartment.
Do not treat the boxes as three deep beds stacked vertically. Their shallow profile suits crops with compact roots and dries faster than a large ground-level bed, particularly in hot or windy spots. Keep the unit level and brace the back so the weight cannot pull the tiers forward. For a deeper-rooted crop, choose a single trough instead of trying to add height to every step.
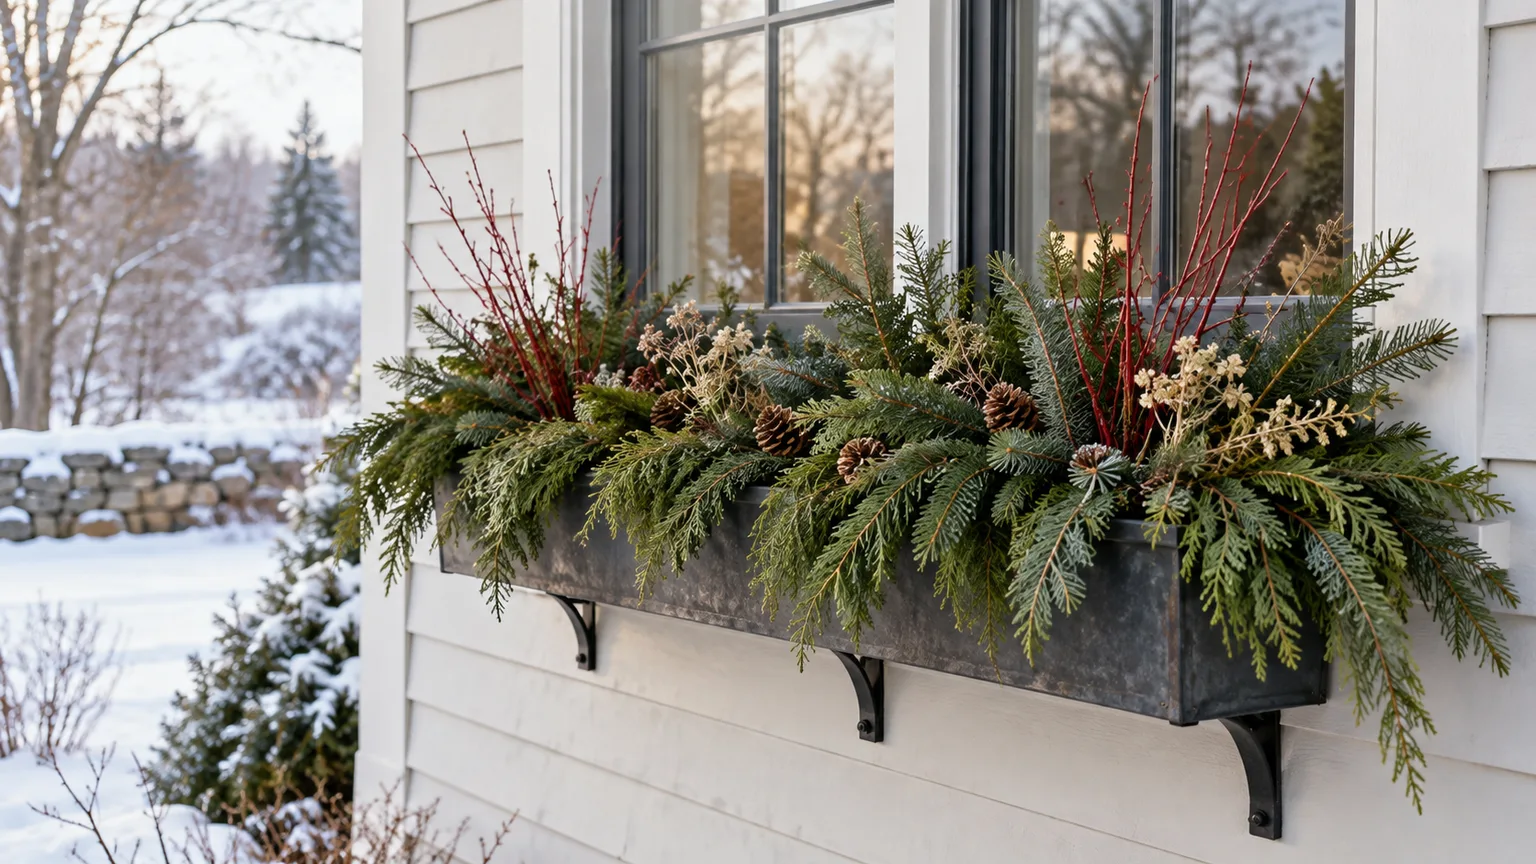
8. Window or railing planter
A 30- to 36-inch window box can be built from exterior boards, a fully lined interior, and a removable plastic growing insert with drainage. Keep the planter depth near 8 inches for herbs and seasonal flowers, and make it narrower than the sill so water can drain without running down the wall. Attach strong brackets into framing or masonry with fasteners rated for the substrate; siding and decorative trim alone are not structural supports.
For a balcony railing, use a purpose-built bracket that fits the rail securely and prevents the box from tipping inward or outward. A box filled with wet soil is far heavier than an empty one, so do not hang a deep wooden planter from a narrow railing without checking its load and fastening method. A removable liner makes it easier to clean and replant, but leave enough drainage outlets so water cannot pool against the wood.
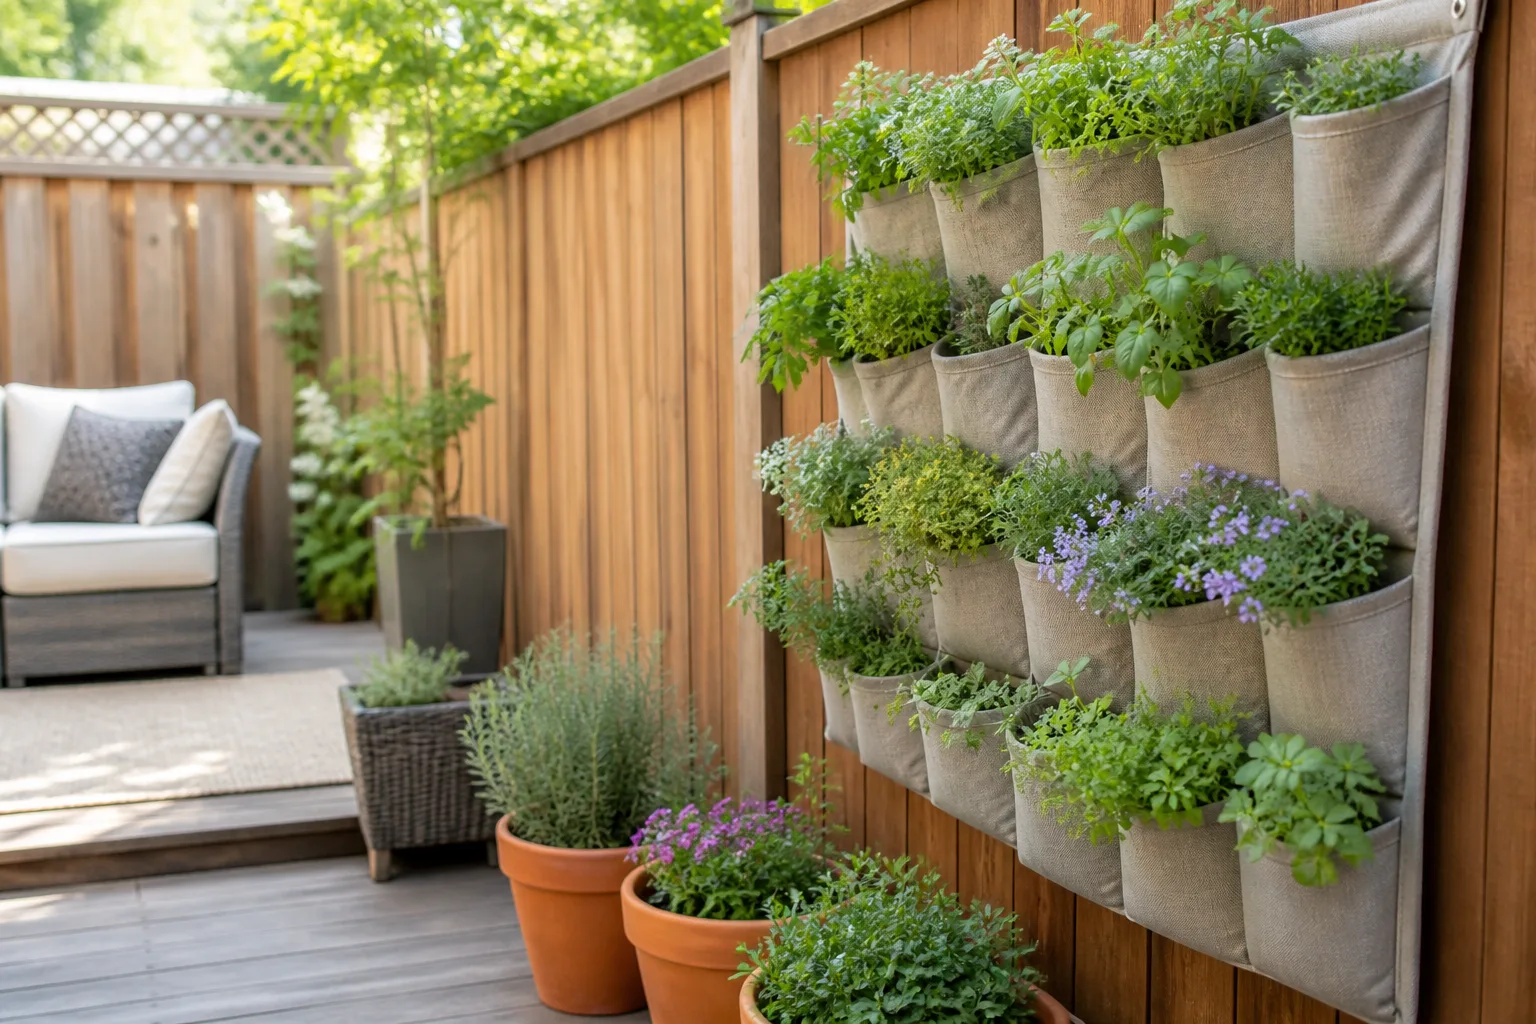
9. Vertical pocket planter
When floor space is limited, a wall-mounted pocket garden creates several small planting bays instead of one deep bed. Build a freestanding frame about 24 inches wide by 48 inches tall, attach outdoor-rated pocket fabric or shallow slatted boxes, and leave room behind it for airflow and drainage. Secure the frame to posts or masonry with appropriate anchors; do not rely on a fence panel that can lean under the weight of saturated pockets.
Use the upper pockets for drought-tolerant herbs and flowers and the lower ones for plants that prefer more consistent moisture, because runoff may pass downward. This format is best for small-rooted herbs, salad greens, and ornamentals rather than large vegetables. Water slowly from the top, check every pocket rather than assuming the lower tiers are wet enough, and protect the wall behind the frame from persistent moisture.
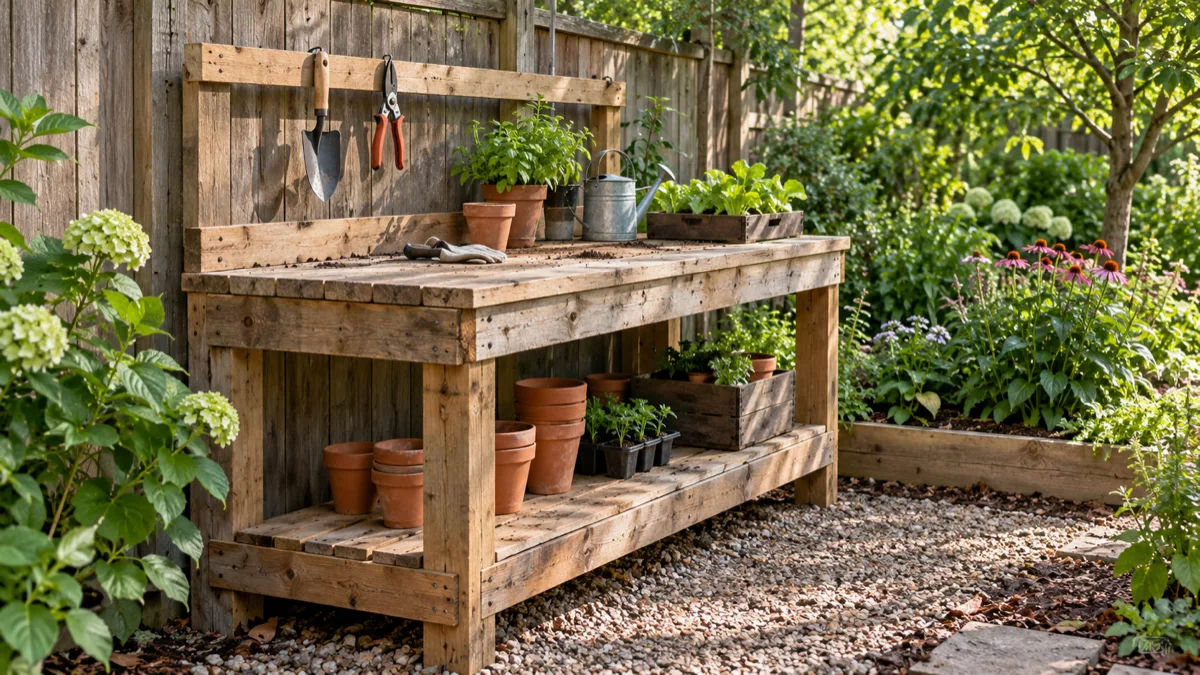
10. Planter bench with storage shelf
Combine a work surface and planting troughs by building two 18-by-24-inch planters at the ends of a 30-inch-high bench, with a clear worktop or open potting surface between them. Use four legs, a crossrail on each long side, and a lower slatted shelf for empty pots and hand tools. Give each planter its own removable liner and drain holes; do not let soil or standing water sit directly on the bench structure.
This is a practical choice for sowing seedlings, potting herbs, or keeping frequently used plants near the door. It is not a shortcut to a full-length raised bed: small end boxes dry out quickly and should hold compact plants. Anchor the planter boxes to the frame, keep the bench square, and treat any shelf as storage rather than extra support for a heavy soil-filled container unless it is designed for that load.
11. No-cut concrete-block planter
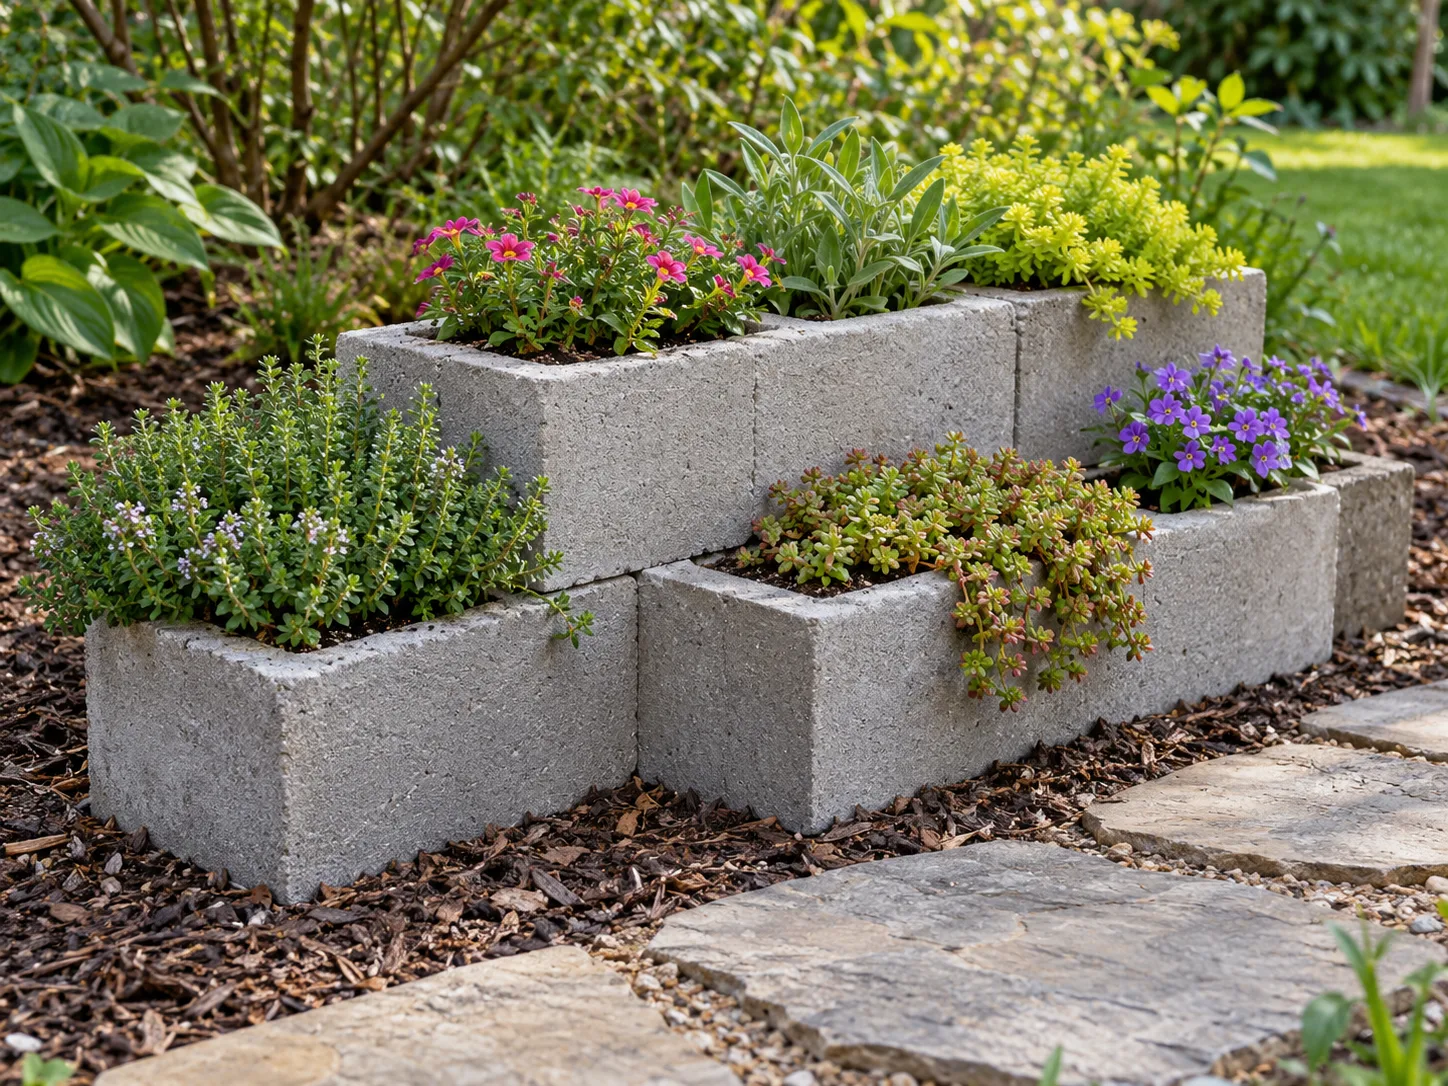
For a quick layout that avoids saw work, set concrete landscape blocks in a 3-by-6-foot rectangle and dry-stack a second course if you need more root depth. Fit a rigid, open-bottom liner or landscape fabric only where needed to retain the soil, and leave the base open to the ground so excess water can escape. If the bed sits on paving, drill suitable drainage openings through the liner or use a purpose-made trough instead of sealing soil into a watertight shell.
This design is heavy and permanent, so build it where it will stay and set the first course on a firm, level base. Standard concrete blocks vary in material and condition; for edible crops, use products with known composition and avoid old or questionable salvaged units. Savvy Gardening notes that masonry can be useful for stable, inexpensive beds but advises gardeners to consider the block material. This plan needs no lumber cuts, but it still needs careful leveling and a check that the location can carry the load.
Build details that make a planter last
Plan the bottom, drainage, and safe materials
A ground-contact bed usually has no solid floor: water drains into the soil below, and roots can grow beyond the frame. A freestanding planter needs a floor strong enough to hold damp growing mix, with gaps or drainage holes that let excess water escape. Do not line every planter with plastic and then forget to provide an outlet. The exception is a deliberately engineered wicking bed, whose reservoir must be watertight below the overflow level while the growing area remains connected to the wick.
For edible crops, start with new untreated, naturally decay-resistant wood such as cedar when the budget allows; hemlock, redwood, and other local species may also be suitable depending on availability and climate. Pressure-treated wood is a more nuanced choice than older advice suggests, but preservatives can move into nearby soil. National Pesticide Information Center (NPIC) advises checking the wood’s label and use category, wearing gloves when handling unsealed treated lumber, using a dust mask while cutting it, keeping edible plants farther from the sides, and washing produce. University of Maine Cooperative Extension describes the risk as low but not zero and recommends untreated, rot-resistant wood for gardeners who want to avoid that uncertainty. Do not reuse railroad ties, unknown deck boards, or stained pallet wood for food beds when you cannot identify their treatment history.
Penn State Extension’s construction video recommends appropriate protective gear, careful measuring, pilot holes where needed, and screws driven into posts; those practices help prevent splitting and wobbly corners. Before using a pallet, look for clean, known-origin wood and reject pieces with spills, chemical odors, stains, or uncertain previous use. The lowest-cost material is not a bargain if you cannot verify what it carried or how it was treated.
Brace the frame and estimate the soil
Wet soil pushes outward. Add stakes or posts at the corners, support the midpoint of long walls, and consider a cross-tie on especially wide or tall beds. Use exterior-rated screws and keep the fasteners away from board ends; for elevated boxes, join legs to the frame with structural screws or bolts and add diagonal bracing if the unit can sway. The framework should be complete and stable before you fill it, because reworking a box under hundreds of pounds of soil is difficult.
Estimate the fill in cubic feet by multiplying the inside length, width, and depth in inches, then dividing by 1,728. A 2-by-4-foot planter with 10 inches of inside depth holds about 6.7 cubic feet before settling; buy a little extra rather than leaving a hollow corner. Penn State Extension shows one raised-bed mix using two parts topsoil to one part compost, while Joe Gardener and Savvy Gardening emphasize a well-structured mix and the value of matching materials to the site. Use a quality raised-bed or garden-soil blend, amend based on a soil test or crop needs, and avoid filling a finished box with heavy, pure compost.
Conclusion
The best raised planter box plan is the one that matches your crop roots, reach, and location while staying stable when the soil is wet. Start with the simple ground bed if you have usable soil, choose legs or a bench when access matters, and add wheels, a trellis, or a water reservoir only when you can support the extra weight and upkeep. Measure the site, verify the wood, build in drainage, brace long walls, and estimate the soil before buying materials; those choices matter more than decorative trim.



