How to Revive an Orchid: A Root-First Rescue Plan
Learn how to revive an orchid by checking roots first, fixing root rot, repotting safely, resetting light and water, and encouraging healthy reblooming.
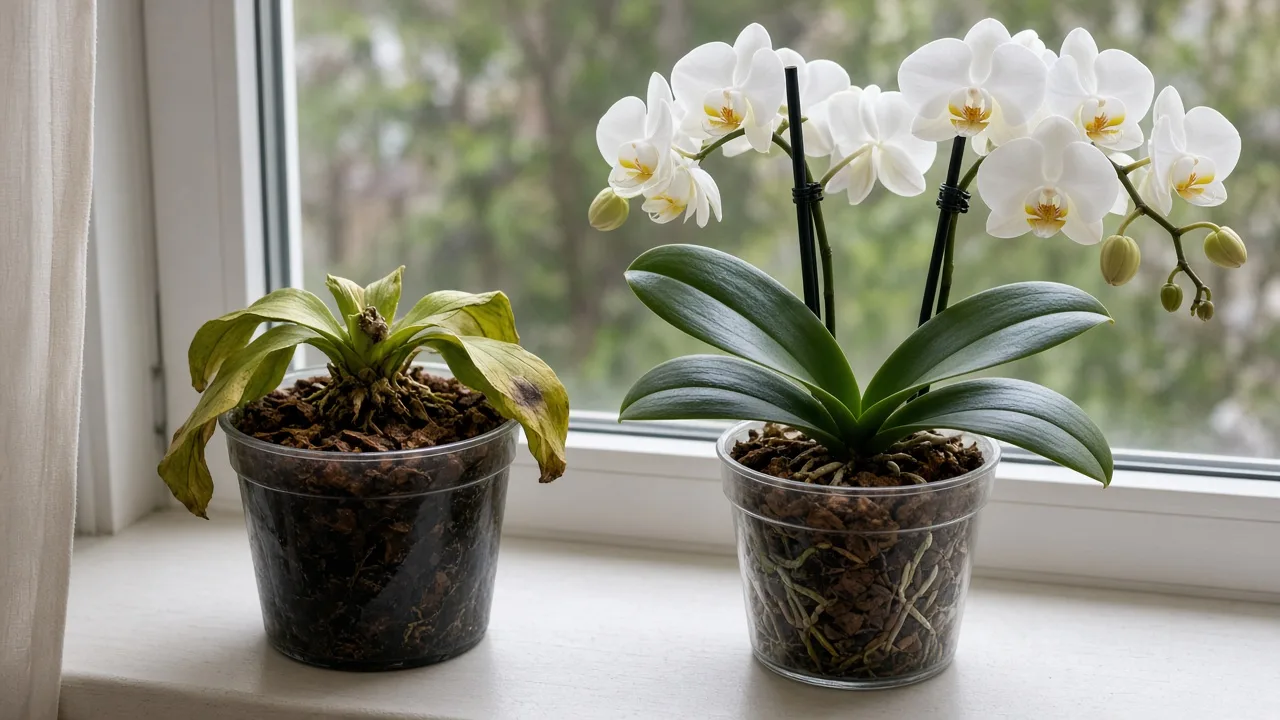
To revive an orchid, start with the part you can usually learn the most from: the roots. Limp leaves, wrinkling, yellowing, dropped buds, and a long pause between blooms can all reflect root trouble, but they do not all call for more water. A dehydrated orchid may need a thorough drink; an overwatered orchid may already have lost the roots that would absorb that drink.
The common moth orchid, or Phalaenopsis, is the model used here because it is the orchid most often sold as a houseplant. It has fleshy leaves, no large water-storage pseudobulbs, and roots covered by a spongy outer layer called velamen. Cattleya, Dendrobium, Oncidium, Paphiopedilum, Vanda, and other groups can need different dry periods, light levels, and rest cues, so identify the genus if you can before applying a schedule.
The goal is not to force flowers from a weak plant. The goal is to preserve viable tissue, restore a breathable root environment, and give the orchid enough stability to resume growth.
Decide whether the orchid is truly declining
An orchid without flowers may be perfectly healthy. Blooming is one phase of the plant’s cycle, not a permanent condition. A moth orchid that has finished a long display and still has firm green leaves, firm roots, and a new root tip may simply be rebuilding before its next spike. One oldest lower leaf yellowing and loosening can also be normal aging.
Decline looks more convincing when several signals appear together: multiple leaves lose firmness, new growth stops or dies, roots collapse, the potting medium smells sour, the plant wobbles because it has little root support, or the crown becomes soft. Rapidly expanding wet-looking spots are a different warning because they can point to bacterial or fungal disease rather than a simple watering error.
Start by naming the actual complaint. “It has not bloomed” is a light, maturity, temperature, or post-bloom-care question. “The leaves are getting softer every week” is a root or crown question. That distinction prevents an unnecessary repot or a heavy feeding when the plant is only between flowering cycles.
Put the orchid where you can inspect it safely
Move the orchid to a bright work surface away from the rest of your collection. A clean towel, a sharp pair of pruners, fresh orchid medium, and a clean pot are enough for a basic inspection. You do not need a cabinet of treatments to make the first decision.
If the orchid sits in a clear nursery pot inside a decorative cachepot, lift the inner pot out. Empty any water collected in the outer container. A cachepot is not automatically harmful, but it becomes dangerous when the draining pot stands in water for hours or days, especially in a dense or decomposing medium.
Check the drainage holes and the texture of the medium. Bark should still have identifiable pieces and open spaces. Moss should not be a cold, sour, compacted mass that stays wet long after the rest of the room has dried. If the plant is planted in ordinary potting soil, do not try to correct the problem by adjusting a calendar; plan to move it into a porous orchid medium.
Handle the plant by its base or pot, not by pulling on a leaf or flower spike. If the plant is currently blooming, leave a healthy plant alone unless there is an urgent problem such as standing water, a blocked drain, a rotting crown, or decomposed medium. Saving the root system takes priority when the pot is actively harming it.
Read the roots before changing the routine
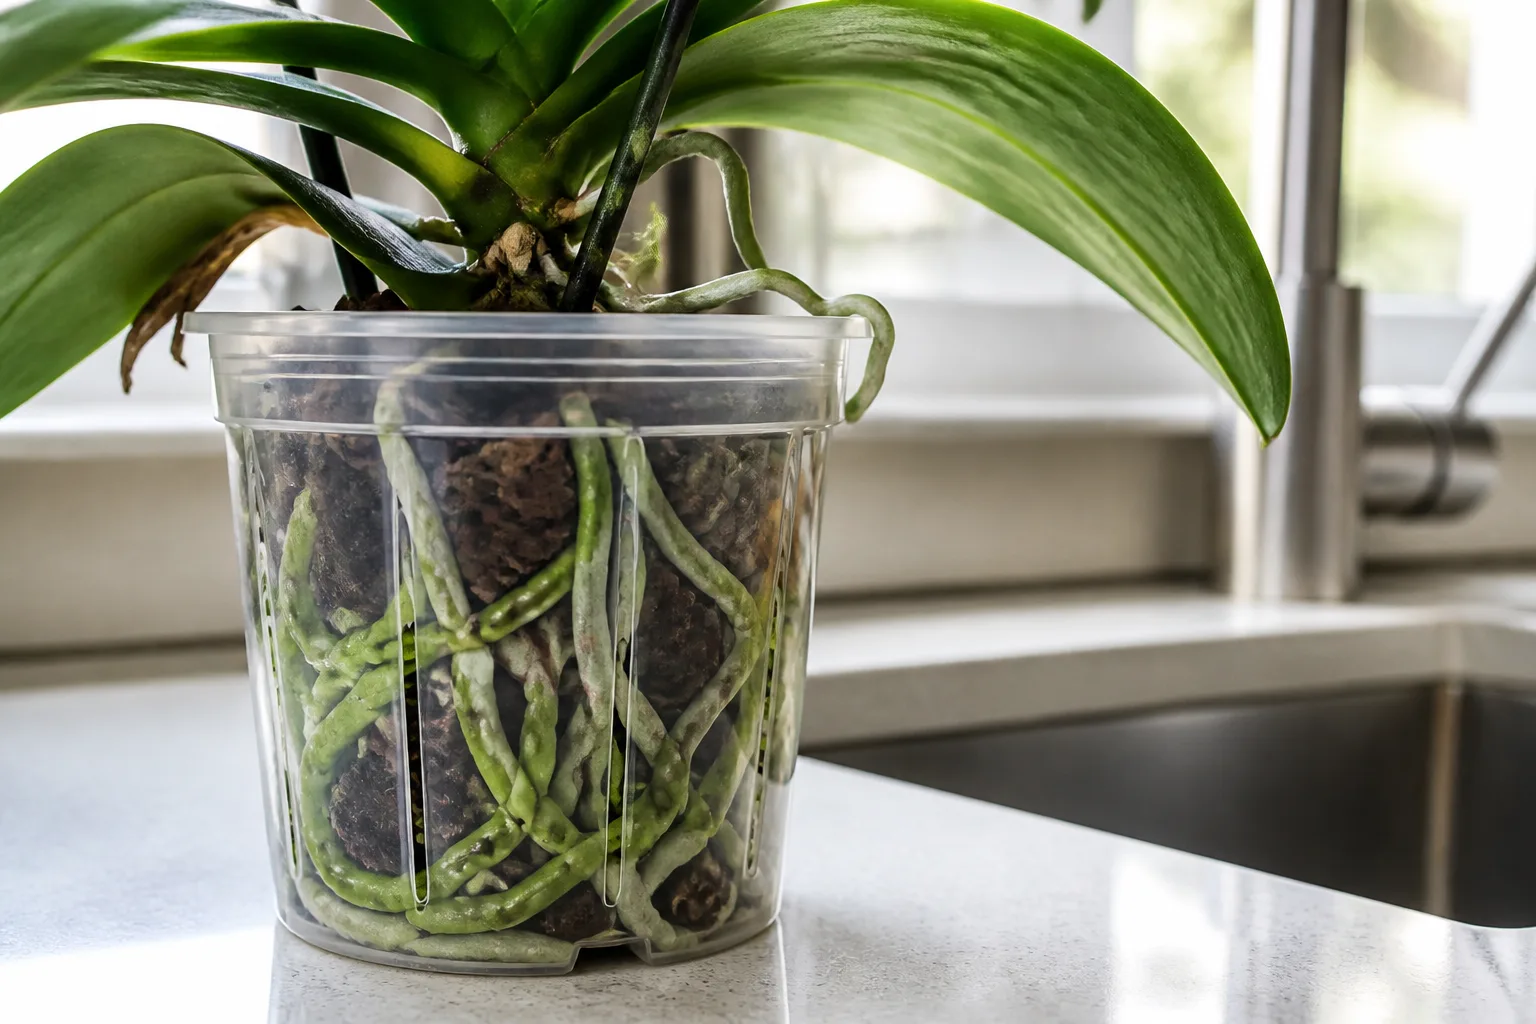
Roots tell you whether the leaves are receiving water, not just whether water is present in the pot. In a clear pot, a wet Phalaenopsis root often looks green because the velamen is saturated. As it dries, the same root can look silver-gray. That color shift is useful, but firmness matters more than color.
Healthy or potentially useful roots are firm and resilient. They may be green, silver, cream, or tan depending on moisture and age. Aerial roots outside the pot can be completely normal; do not cut them merely because they are exposed or point upward.
Dead roots are usually brown or black, mushy, hollow, papery, or reduced to a thin string. The outer layer may slide off when touched. A dry root that is still firm is not the same as a rotten root. If you are unsure, keep it until you can observe it after the plant has been cleaned and repotted.
The American Orchid Society explains that epiphytic orchid roots need both water and air. Its watering guidance also describes the frustrating overlap between drought symptoms and overwatering: when wet conditions destroy roots, the plant can no longer take up enough water, so the leaves wrinkle as if the plant were thirsty. Inspecting the root system breaks that cycle. (American Orchid Society watering guidance)
Match the root pattern to the likely cause
Use the root-and-medium combination, not a single leaf, to choose your next move.
| What you find | More likely explanation | First response |
|---|---|---|
| Many firm roots, very dry medium, silver-gray roots, limp but intact leaves | Underwatering or fast drying | Water thoroughly, drain fully, then adjust the interval to the drying speed. |
| Brown or black mushy roots, wet compacted medium, sour smell | Root rot from prolonged wetness or poor aeration | Unpot, remove dead tissue, replace broken-down medium, and use a smaller draining pot. |
| Few firm roots, wrinkled leaves, medium not especially dry | Root loss from earlier overwatering, damage, or poor medium | Re-root in a small pot with humid air and restrained moisture. |
| Pale bleached patches on the sun-facing side after a move | Sunburn or sudden light stress | Shift to bright filtered light; do not strip every marked leaf. |
| Soft center where new leaves emerge, dark or foul-smelling tissue | Crown rot or severe crown injury | Isolate, keep water out of the crown, and seek orchid-specific disease guidance. |
| Firm roots and leaves but no flowers | Insufficient light, unsuitable temperature cue, recent stress, or normal cycle | Improve culture gradually; do not treat the lack of flowers as root rot. |
These are working diagnoses, not laboratory results. A spot can have more than one cause, and a plant weakened by poor roots is more vulnerable to pests and disease. If tissue is spreading quickly, wet-looking, or foul-smelling, sanitation and isolation matter more than trying several home remedies.
Repot when the medium has broken down
Repotting is useful when it corrects the root environment, not simply because a plant looks sad. Bark and other organic media break down over time. The pieces become smaller, the air gaps disappear, and the container stays wet longer. Water that cannot move through the pot promptly is a warning that the medium may be too dense for the roots.
The American Orchid Society’s Phalaenopsis culture sheet places normal repotting roughly in the one-to-three-year range, but condition is more useful than a date on the calendar. Repot when the medium has decomposed, when drainage has become unreliable, or when roots are dying in a soggy mix. For a healthy plant, spring or the period just after flowering is often gentle; for a plant in rotting medium, waiting for a perfect season can cost more roots. (American Orchid Society Phalaenopsis culture sheet)
Use a porous orchid mix made from materials such as bark, with the texture chosen for your watering habits and environment. Sphagnum can work, but it holds moisture differently from bark and is less forgiving if you water on autopilot. Never bury a Phalaenopsis in ordinary potting soil. The root zone needs spaces that let air circulate after watering.
Cut only dead roots and protect living tissue
Slide the orchid out gently and remove loose old medium. Sterilize a sharp cutting tool before you begin, and clean it again before using it on another plant. Do not cut a root because it is gray, exposed, or growing outside the pot. Cut only roots that are clearly mushy, hollow, collapsing, or diseased, trimming back to firm tissue.
Resist the urge to make the root ball look tidy. A firm aerial root may be helping the plant while it recovers, and a slightly discolored root may still contain functioning tissue. Removing living roots reduces the plant’s ability to replace water lost through its leaves.
Choose a pot that fits the remaining root mass with only a little room for new growth. A large pot full of wet medium can take too long to dry, which is especially risky when the orchid has few roots. Anchor the plant in the medium without packing bark tightly and keep the crown, where new leaves emerge, above the mix.
After repotting, do not compensate for the root pruning with constant soaking. The plant has fewer roots and needs time to form new ones. Keep the medium appropriate for the remaining root mass, provide gentle light, and observe before adding another intervention.
Re-root an orchid with few or no roots
An orchid can sometimes recover after severe root loss if the crown, stem, or a viable pseudobulb remains firm. It is a qualified “sometimes,” not a promise. A completely soft crown or a plant with no living tissue has no growing point from which to rebuild.
The American Orchid Society’s re-rooting guidance uses a useful balance: a small container, a moist atmosphere, and medium kept on the dry side. Humid air slows water loss from the leaves while the plant waits for new roots. Constantly wetting the base does not create roots and can continue the rot that caused the loss. (American Orchid Society re-rooting guidance)
Use a small, clean pot that can hold the remaining base securely. Put the orchid in a warm, shaded or gently lit spot with air that is humid but not stagnant. A loose humidity tent can help in some settings, but it must not press wet plastic against the leaves, trap condensation on the crown, or eliminate airflow. Open it regularly and remove it if mold or soft tissue appears.
Water the medium sparingly enough that it can approach dryness, then wait and watch for new root tips. Re-rooting may take days or weeks in favorable conditions and longer in short, dim days. The first new root tip is more meaningful than a temporarily plumper leaf because it shows the plant is rebuilding its water-delivery system.
Reset watering around dryness, not a calendar
There is no reliable rule that every orchid gets water every seven days. Drying depends on species, pot size, medium type and age, temperature, humidity, air movement, and light. A small bark-filled pot in a bright warm room can dry far faster than a large pot of old moss in a cool room.
For a Phalaenopsis, water when the medium is nearly dry rather than allowing the plant to remain bone-dry for an extended period. For orchids with pseudobulbs, the appropriate dry interval can be longer. Check the roots through a clear pot, lift the container to notice its weight, inspect the medium, and use a wooden skewer where it can be inserted without damaging roots.
If the plant has many firm roots and the medium is genuinely dry, give it a full watering. If the plant has mostly dead roots, more frequent water is not the answer. If the medium remains wet for many days, fix the container or medium before you try to fine-tune the schedule.
Skip ice cubes and fixed measured pours. They may wet only a small part of a dry root system and do not solve standing water or compacted medium. Room-temperature water applied thoroughly gives you a chance to rewet the mix and see whether it drains freely.
Water thoroughly and keep the crown dry
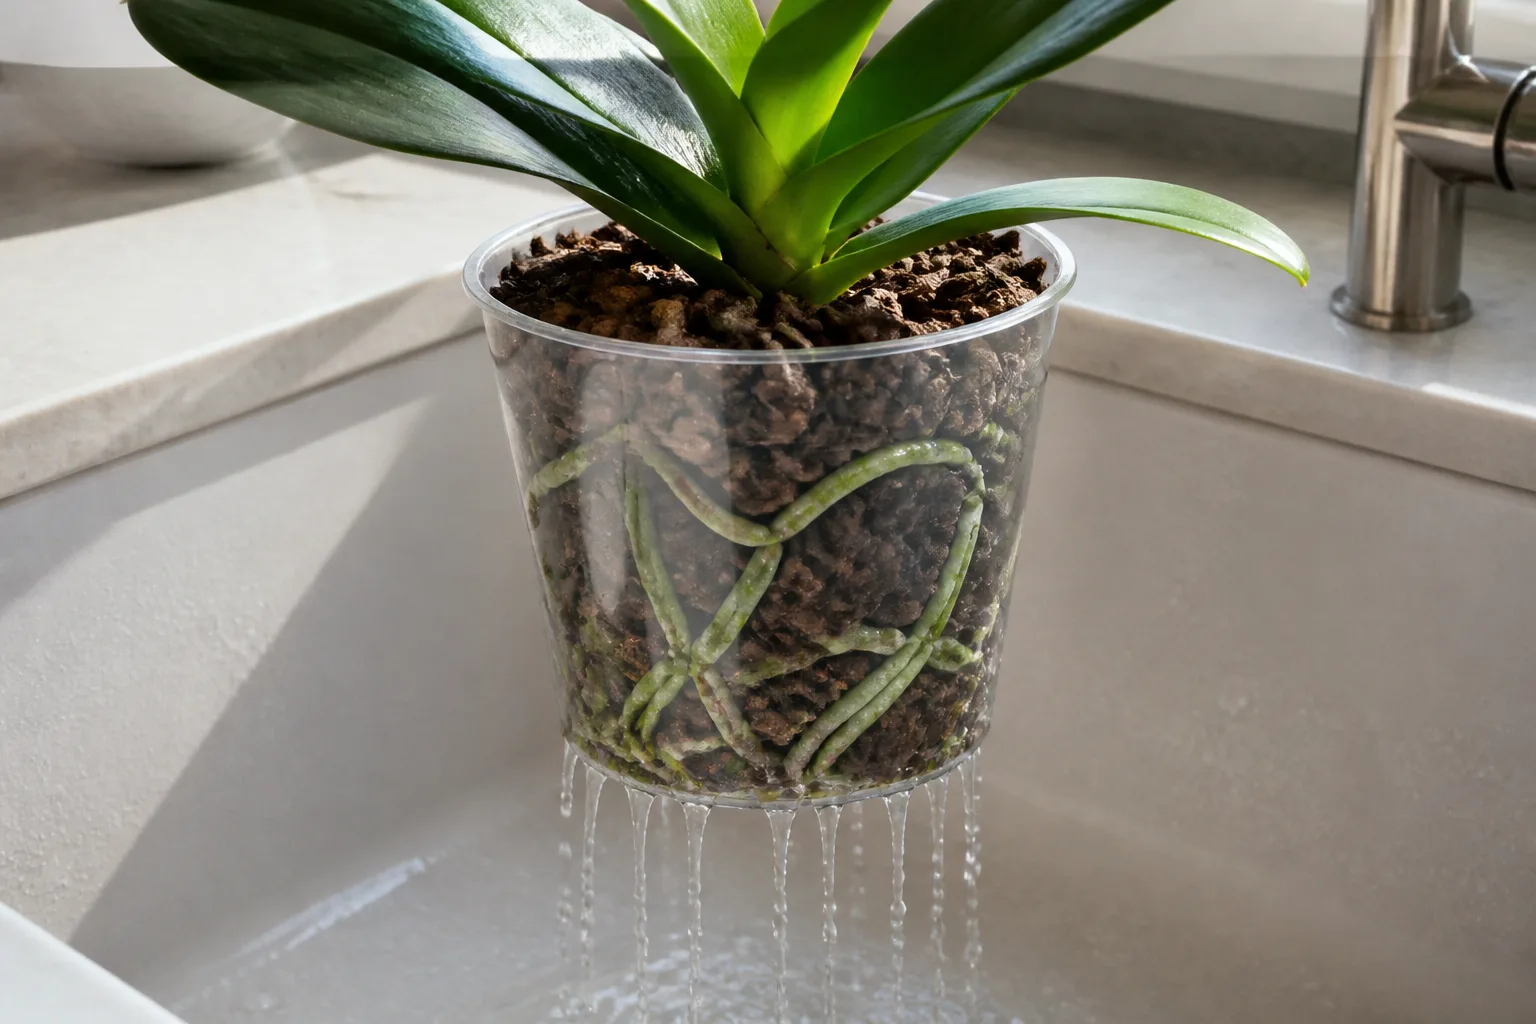
When it is time to water, run room-temperature water through the medium until it flows freely from the drainage holes. This wets the root zone more evenly than a few drops on the surface. The American Orchid Society notes that thorough watering also helps flush salts that accumulate from water and fertilizer; if fine material comes out like coffee grounds, the medium is breaking down.
Let the pot drain completely before returning it to a decorative cover or saucer. Do not let the inner pot sit in standing water. Water in the morning so leaves and the crown have time to dry. The center of a Phalaenopsis is a growing point, not a reservoir; water trapped there can lead to crown rot.
Keep airflow gentle and continuous, especially when humidity is high. Do not dunk several orchids in one bucket. Shared water can move pathogens between plants, and individual watering makes it easier to see how each pot drains. (American Orchid Society watering techniques)
Restore light, temperature, humidity, and airflow
An orchid recovering from root loss needs enough light to make energy, but sudden intense sun adds another injury. Phalaenopsis generally grows well in a bright window with little direct sun; an east window or a shaded south or west exposure is a practical starting point. Increase light gradually if the plant has been kept in a dim room.
The American Orchid Society’s current Phalaenopsis guidance describes normal nights above 60°F and daytime temperatures around 75–85°F, with nights near 55°F for several weeks in autumn helping initiate flower spikes. Those are culture references, not a reason to put a sick plant beside a freezing pane or heater. Avoid cold drafts, hot glass, heat vents, and abrupt swings while the plant is rebuilding.
Humidity helps reduce water loss, but more is not automatically better. The same culture sheet gives a broad 50–80 percent range and pairs humidity with air movement. A pebble tray can modestly increase local moisture when the pot sits above the waterline; it cannot make a waterlogged root system safe. A small humidifier with clean air movement is often easier to control than repeated misting. (American Orchid Society Phalaenopsis culture sheet)
Treat no-bloom problems separately
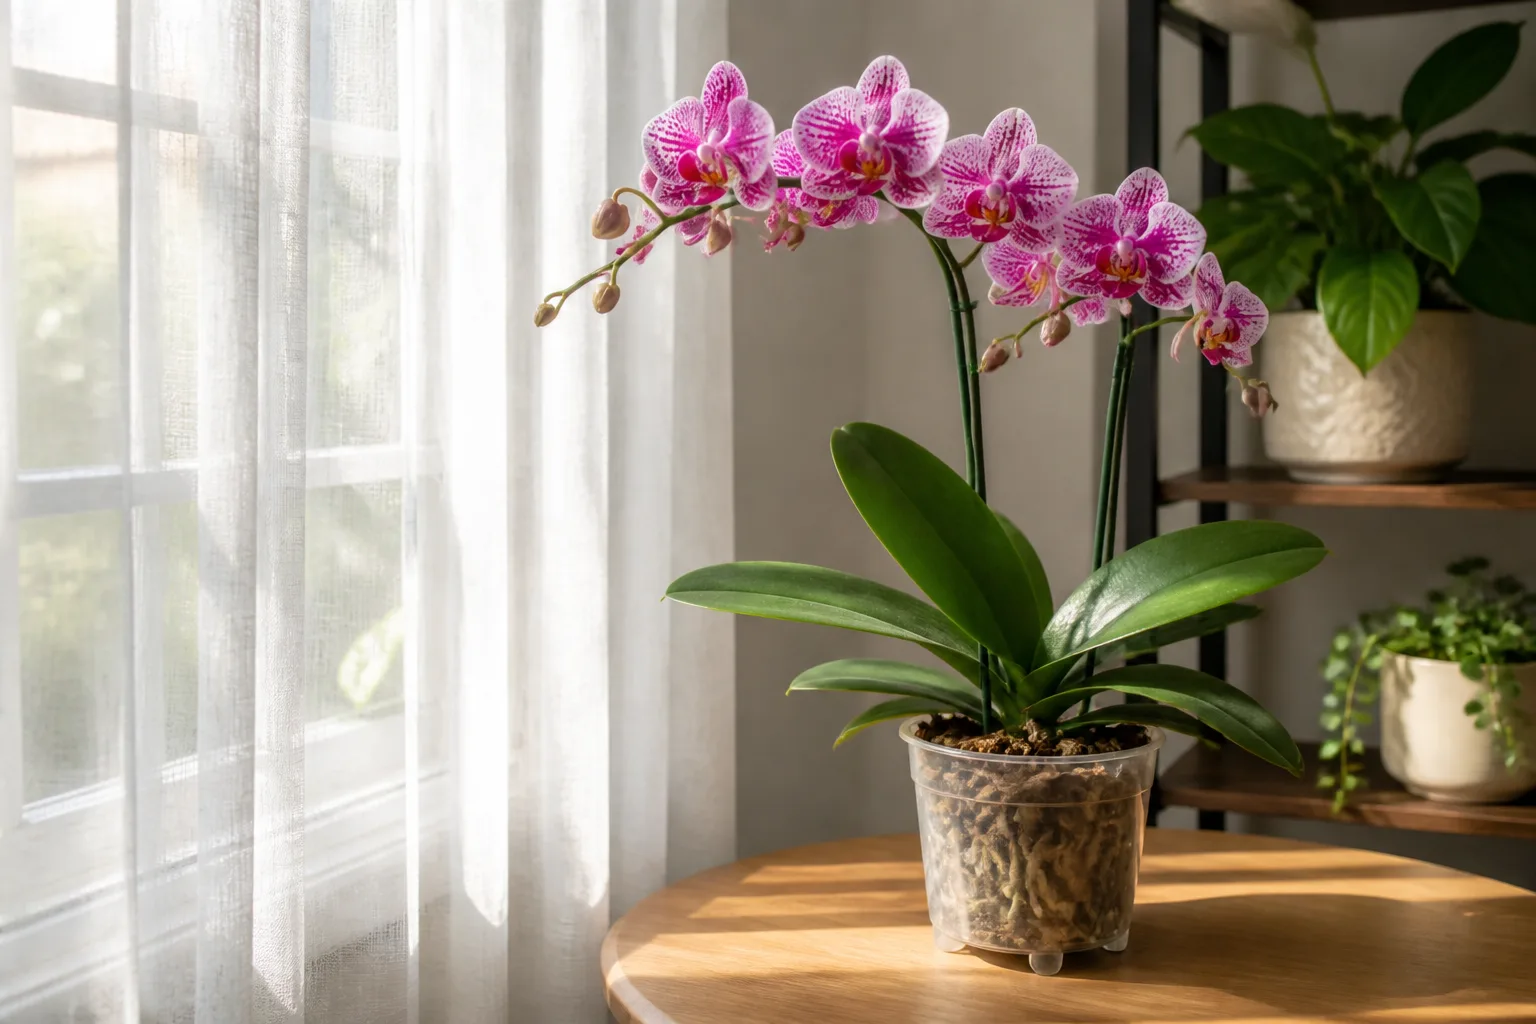
If the leaves are firm and the roots are healthy, lack of flowers is not an emergency. Begin with light. The American Orchid Society identifies insufficient light as a common reason Phalaenopsis fails to rebloom, and the United States Botanic Garden’s orchid guidance likewise emphasizes choosing an environment that supplies the plant’s actual light and temperature needs.
Once the plant is stable, a modest cooler night period in autumn can help a mature Phalaenopsis initiate a spike. Keep the temperature change gradual and avoid cold drafts. A healthy plant may also need time after repotting or root recovery before it has resources for flowers.
After flowering, a green spike can be left, shortened above a node, or removed to the base depending on the plant’s strength and the grower’s goal. A yellow or brown spike is no longer carrying active flowers and can be removed. The Royal Horticultural Society advises cutting a moth-orchid spike back to a node after flowering and warns that temperature extremes can cause bud drop. Ohio Tropics also emphasizes that inadequate light, improper watering, fertilization, and temperature can all affect reblooming. (RHS moth orchid tips; Ohio Tropics Phalaenopsis guide)
Do not sacrifice a recovering root system to preserve a weak spike. Flowering is a later result of stable culture, not proof that the underlying problem is solved.
Sort yellow leaves, sunburn, and leaf spots
One oldest lower leaf turning yellow slowly is often different from several leaves yellowing in quick succession. Check the roots and crown before you pull the leaf away. If the tissue is still firmly attached, let natural senescence proceed; tugging can tear healthy tissue.
Sunburn often follows a light change and appears on the side facing the strongest exposure as bleached, tan, or dry patches. The scar will not turn green again, but an otherwise healthy leaf can continue working. Move the plant to filtered light rather than cutting off every marked leaf.
Disease is more concerning when a spot expands, becomes water-soaked, smells bad, or spreads toward the crown. Connecticut’s orchid pest and disease handbook and the American Orchid Society both emphasize sanitation, ventilation, and reducing opportunities for wet foliage when disease is suspected. Isolate the plant, remove only clearly affected tissue with a sterile tool when appropriate, and seek an orchid society, extension service, or diagnostic laboratory for an uncertain or rapidly spreading problem. (Connecticut Agricultural Experiment Station orchid handbook; American Orchid Society root-rot guidance)
Check for pests and isolate first
Inspect leaf undersides, leaf joints, flower spikes, buds, and the edge of the pot. Scale can look like fixed bumps, mealybugs like cottony clusters, and mites can leave fine stippling or dull foliage. Thrips may distort new growth and flowers. Fungus gnats are often a sign of persistently wet medium, but their presence alone does not explain every wilted leaf.
Move a suspect orchid away from other plants before treating it. Identify the pest, read the label of any product intended for orchids or ornamentals, and test sensitive foliage when the label recommends a test. Do not mix dish soap, alcohol, oil, peroxide, and insecticides into a homemade cocktail. A stressed orchid can suffer chemical injury even when the pest is minor.
Sanitize tools and working surfaces after handling an infected plant. Dispose of badly contaminated medium rather than putting it into another pot. Isolation buys you time to diagnose without allowing a local problem to become a collection-wide problem.
Fertilize after the roots are working
Fertilizer is not medicine for a plant that cannot absorb water. A rootless or recently trimmed orchid is better served by a breathable medium, stable moisture, suitable light, and time. Concentrated fertilizer salts around damaged roots add another stressor and will not force new roots to appear.
When you see active root tips or new leaf growth, resume a weak fertilizer routine suited to the orchid and the medium. Follow the product label; do not double a dose because the plant missed a feeding. Water the medium first when it is dry, then apply diluted fertilizer rather than placing concentrated salts onto dehydrated roots.
The American Orchid Society culture sheet notes that feeding frequency changes with growth, warmth, and light. That is a better model than treating “weakly, weekly” as a universal command. A plant in cool, dim conditions uses less water and fertilizer than one growing actively in warm bright conditions.
Follow a staged orchid rescue plan
Make one diagnosis-led change at a time. This order keeps the rescue understandable:
- Identify the orchid as closely as possible, especially whether it is a Phalaenopsis or a type with pseudobulbs.
- Decide whether the problem is true decline, a normal post-bloom pause, or a single aging leaf.
- Remove the inner pot from any cachepot and confirm that drainage works.
- Inspect roots, medium, crown, and leaf patterns together.
- Isolate the plant if pests or disease are possible.
- If medium is decomposed or roots are rotting, repot into a porous mix and a small, draining pot.
- Trim only tissue that is clearly dead; preserve firm roots and a viable crown or stem.
- If roots are scarce, use humid air with medium kept on the dry side rather than constant soaking.
- Place the orchid in bright filtered light with stable warmth and gentle airflow.
- Water thoroughly only when the medium is nearly dry for that orchid, and drain completely.
- Wait for new root tips or growth before resuming normal feeding or expecting a flower spike.
Do not repot, move into direct sun, fertilize heavily, spray several chemicals, and water repeatedly on the same day unless an urgent disease or drainage problem requires immediate action. Too many simultaneous changes make it impossible to tell what helped and can push a weak plant past its remaining margin.
Watch for signs of real recovery
The earliest useful sign is often a new green root tip. Leaves may remain wrinkled because damaged tissue does not instantly regain its former shape. A recovering orchid may look unchanged above the pot while roots slowly re-establish below it.
Other good signs include a plant that becomes more securely anchored, a new leaf emerging from a firm crown, medium that dries predictably, and leaves that stop losing firmness between waterings. New flowers are a later bonus, not the first test. A spike can appear on a plant that is still short on roots, so do not assume flowers prove that the underlying problem is solved.
Photograph the plant every two or three weeks from the same angle. Track root tips, leaf firmness, crown condition, and the time the medium takes to dry. A simple record is more reliable than daily adjustments based on a single glance.
Recovery speed depends on the amount of living tissue, season, light, temperature, and the original cause. An orchid with dry but mostly healthy roots may look better within weeks. An orchid rebuilding from root rot may need several months before its leaves and root system look strong again.
Know when the plant cannot be saved
Rescue is realistic when some firm root, crown, stem, or pseudobulb remains. It becomes unrealistic when all roots are hollow or mushy, the crown and stem are completely soft, or a confirmed systemic disease has destroyed the plant’s viable growing tissue. A plant that is actively decaying can also threaten nearby orchids through pests or pathogens.
If you suspect a virus, do not diagnose it from one mottled leaf. Virus symptoms vary among orchids, and a diagnostic service or experienced orchid group is more reliable than a photograph search. Keep the plant isolated while you decide. If there is no viable tissue left, discarding it and sterilizing the pot is kinder to the rest of the collection than maintaining a source of decay.
Conclusion
The most reliable way to revive an orchid is to inspect the roots before you change its watering routine. Firm roots in dry medium call for thorough watering and better timing; mushy roots in wet, broken-down medium call for sanitation, a smaller draining pot, and fresh porous material. Few roots call for humid air and restrained moisture, not a constantly wet base.
For a common Phalaenopsis, protect the crown, provide bright filtered light, keep temperatures steady, water in the morning, and let the medium approach dryness before watering again. Feed only after roots are functioning, treat pests and disease as separate problems, and measure recovery by new roots and growth before you look for flowers. An orchid does not need to look perfect today to be worth saving; it needs enough living tissue and a root environment that lets that tissue work again.