When to Plant Garlic for Bigger Bulbs
Plant garlic at the right time for your zone, then protect the cloves with good soil, spacing, mulch, steady spring moisture, and a timely harvest.
September is the right garlic-planting month for some gardeners and a needless wait for others. The useful deadline is not a date printed on a calendar; it is the point when your soil is cooling, your cloves can root before the ground freezes, and the plants will receive enough cold to make a proper bulb.
If you live in a cold-winter climate, September may be your best chance to get hardneck garlic established before winter. If you garden in a milder zone, planting in October or November may be safer. The goal is a quiet fall root system, not a tall green crop racing into winter. This guide shows you how to choose that window and protect the harvest all the way through curing.
The planting deadline is weather, not a calendar date
The best time to plant garlic is usually in fall, early enough for roots to develop before hard freezing but late enough to limit excessive leaf growth. That balance is why two gardens in the same USDA zone can have different ideal dates: a shaded wet bed, a warm urban yard, and an exposed raised bed do not cool at the same speed.
Use the first expected hard frost as an anchor, not as a command. In colder regions, aim to plant roughly four to six weeks before the ground freezes consistently. In mild regions, planting around the first frost window or a little after it can prevent cloves from producing too much top growth while the soil is still warm. Epic Gardening’s regional guidance makes the same practical distinction between frigid, mild, warm, and frost-free climates (Epic Gardening).
Watch three signals: the forecast for the first hard frost, the condition of the soil, and the behavior of the cloves after planting. Soil should be workable and moist but not muddy. A bed that stays saturated after rain is a poor garlic bed even if the calendar says it is time, because standing moisture raises the risk of bulb rot.
If your local forecast is unusually warm, delay a little rather than planting by habit. If a sudden freeze is approaching and your cloves are ready, plant into prepared soil and mulch; garlic can tolerate cold once it is protected underground. The decision is a trade-off: late planting reduces fall root time, but premature planting can produce vulnerable shoots and leave cloves sitting in warm, wet soil.
Why fall planting makes bigger bulbs
Garlic planted in fall gets a head start below ground. The clove can build roots during cool weather, pause through winter, and then use those roots to support rapid leaf growth as spring arrives. Those spring leaves are not decoration; they are the solar panels that make the stored energy needed to swell the bulb.
Utah State University Extension reports that fall-planted garlic develops its root system over fall and winter, while the tops grow rapidly the following spring. It also notes that large tops are needed for large bulbs and that spring planting generally produces smaller bulbs in its region (Utah State University Extension). That does not make spring planting worthless. It means you should choose it knowingly, as a salvage crop or a warm-climate strategy rather than assuming it will match a well-timed fall crop.
Vernalization and bulb formation
Vernalization is the plant’s response to a sustained period of cool temperatures. Garlic usually needs roughly one to two months of cold exposure for good bulb development, but the exact response varies with cultivar, planting date, and climate. The RHS describes most garlic varieties as needing about one to two months at 32–50°F (0–10°C) for good bulb formation (Royal Horticultural Society).
Cold is only one part of the sequence. The clove also needs enough time to root, and then enough spring warmth and daylight to bulk up. Without adequate chilling, a clove may remain a single round bulb instead of dividing into a head of cloves. Without a strong leaf canopy, even a properly chilled plant may produce a small bulb because it cannot make enough sugars during the sizing phase.
Planting windows by climate
Hardiness zones are useful for a first estimate, but they do not replace local weather. Use the chart as a starting point, then shift the date according to your first hard frost, ground-freeze pattern, drainage, and garlic type.
| Climate | Starting window | What to watch |
|---|---|---|
| Zones 0–4 | September, often four to six weeks before hard freeze | Plant before the ground freezes; use cold-hardy hardneck types and generous mulch. |
| Zones 5–7 | October, adjusted around the first frost | Aim for roots without a tall shoot; late October can be better than early September. |
| Zones 8–9 | October through November | Favor softneck or locally adapted types; avoid warm, waterlogged soil. |
| Zones 10–11 or frost-free areas | Coolest season, often December through January | Use softneck types or refrigerate planting stock if the variety and supplier recommend it. |
Zones 0–4
September is often the real deadline in the coldest climates. Plant hardneck cloves while the ground is still workable, then cover the bed with about 2–4 inches of loose, clean straw or leaf mulch. Penn State Extension says this mulch can reduce cold damage, preserve moisture, discourage frost heaving, and suppress weeds (Penn State Extension).
Do not panic if a short shoot appears before winter. A few inches of growth can survive with protection, but a long, tender shoot is a sign that the cloves went in too early for that site. If the bed freezes rapidly, mulch is more useful than trying to dig up and reset the crop.
Zones 5–7
October is the usual starting point for zones 5–7, especially for hardneck garlic. In a warm autumn, wait until the soil has cooled and the first frost is near rather than planting on the first day bulbs appear in stores. The target is a rooted clove that is not making a lush canopy before winter.
This is also the easiest band for growing both types. Try hardneck varieties for larger individual cloves and scapes, or softnecks if you value longer storage. If your soil is heavy clay or your garden warms quickly, a raised bed can change the timing by improving drainage and reducing the risk of rot.
Zones 8–11
Warm-winter gardeners have a different problem: fall weather may not supply enough sustained chill. Softneck garlic is often the simpler choice because it generally needs less cold than hardneck types. Plant during the coolest reliable part of the season, following the supplier’s regional recommendation.
If you want to try hardneck garlic where winters are mild, refrigeration can provide a “false winter.” Keep sound, dry bulbs in a paper bag in a refrigerator—not the freezer—for the period recommended for that cultivar. Epic Gardening gives separate chilling ranges for softneck and hardneck garlic in warm climates and stresses keeping the bulbs dry at roughly refrigerator temperature (Epic Gardening). Refrigeration is a tool, not a guarantee: an unsuitable variety, poor drainage, or hot growing season can still limit bulb formation.
Choose hardneck or softneck garlic
Type affects both planting decisions and what you do with the harvest. Hardneck garlic is generally the better fit for cold winters, produces fewer but often larger cloves, and sends up a stiff flowering stalk called a scape. Softneck garlic tends to store longer, makes more tightly packed cloves, and is often more dependable in mild climates.
| Feature | Hardneck | Softneck |
|---|---|---|
| Cold-climate fit | Usually strongest | Better in mild regions, though local adaptation matters |
| Bulb structure | Fewer, larger cloves | More, smaller or tightly packed cloves |
| Scapes | Usually produces them | Rarely produces them |
| Storage | Often about four to six months | Often stores longer, sometimes up to a year under good conditions |
The choice is not simply “which makes the biggest bulb?” Variety, clove size, soil, and season can outweigh the category label. The RHS and Gardeners’ World both emphasize that hardnecks and softnecks differ in clove arrangement, storage, cold tolerance, and scape production (Royal Horticultural Society; BBC Gardeners’ World Magazine). Buy named planting stock suited to your region rather than guessing from a grocery-store bulb.
Start with the right cloves
Each planted clove makes one bulb, so planting stock sets a ceiling on the harvest. Separate a firm, disease-free bulb into cloves close to planting time, keep the papery wrapper attached, and choose the largest healthy cloves for the main bed. Small inner cloves can grow, but they begin with fewer reserves and commonly make smaller bulbs.
Inspect for soft spots, mold, shriveling, or a damaged basal plate. Do not plant cloves from a bulb that you suspect carried rot or a persistent disease. Saving the largest, cleanest bulbs from your own harvest is a smart cycle, but only if that crop was healthy and well cured.
Grocery-store garlic may be treated to discourage sprouting, may be poorly adapted to your climate, and can carry disease. Certified or named seed garlic costs more because it gives you a better chance of starting with viable, regionally appropriate planting material. That expense matters less than losing an entire eight-month crop to poor stock.
Prepare a sunny, well-drained bed
Choose a site with full sun and soil that drains freely after rain. Garlic roots are shallow, and the bulb sits in the ground for months; compacted, stony, or waterlogged soil can restrict roots, distort bulbs, and encourage disease. Penn State Extension identifies well-drained soil, organic matter, a pH around 6.0–6.5, and crop rotation as important production factors (Penn State Extension).
Remove weeds and old allium debris before planting. Loosen the top 6–8 inches, add a modest amount of mature compost if the soil needs organic matter, and use a soil test before adding lime or fertilizer. More amendment is not automatically better: excessive fresh manure or fertilizer can push soft, leafy growth and contribute to nutrient runoff.
Avoid planting garlic immediately after onions, leeks, shallots, or garlic if your garden has a history of white rot or other allium disease. Rotate to a different bed when possible, clean tools after working in a suspect area, and discard diseased plants rather than putting them into home compost.
Raised beds and containers for wet soil
A raised bed is useful when native soil stays wet or warms slowly. It is not a license to water more. Raised soil drains and warms faster, so monitor moisture closely and protect the bed from drying out after planting.
Garlic can also grow in a container at least about 10 inches deep, with drainage holes and enough surface area for roughly 6 inches between cloves. Containers are particularly helpful when garden soil is known to harbor an allium disease, but they need more frequent checks because they lose moisture faster and provide less insulation than ground soil. The RHS recommends modules or containers as a practical workaround for heavy, wet ground (Royal Horticultural Society).
Plant each clove for a full bulb
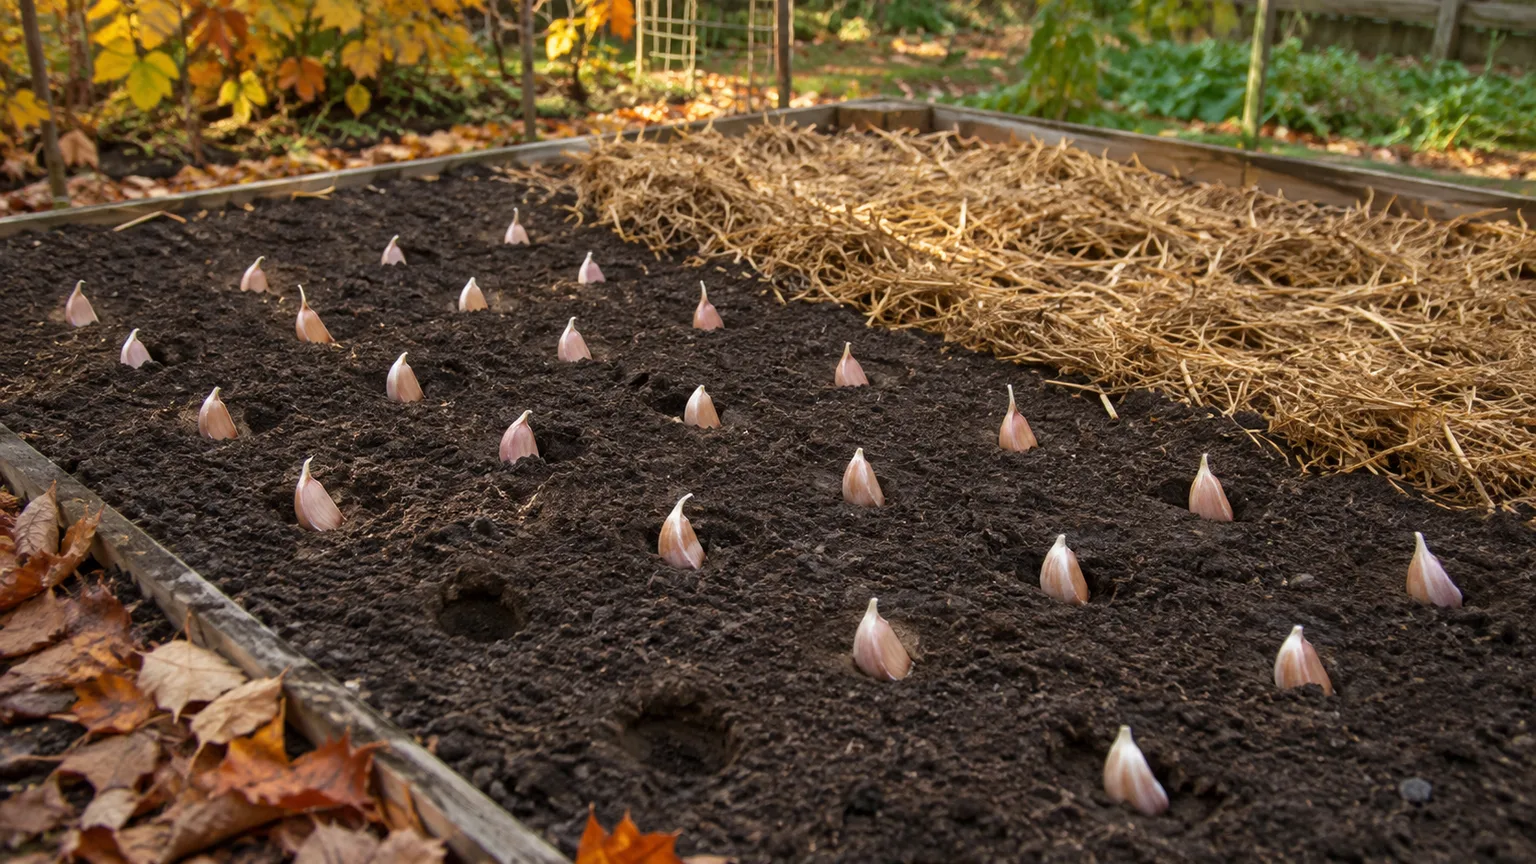
Plant on a calm day when the soil is workable. Split the bulb only as much as you need, because loose cloves dry out faster. Press each clove into a hole with its pointed end up and flat basal plate down, then cover it firmly without compacting the bed.
Depth, orientation, and spacing
Use about 2–3 inches of soil above the clove as a practical home-garden range. In light, sandy soil or an exposed cold site, a little more depth can insulate the clove. In heavy clay, do not bury it so deeply that the wet soil stays cold and airless around the bulb. The RHS gives a 1-inch tip depth for many plantings while noting that deeper planting can help in light soil; Utah State University recommends 2–3 inches for its garden guidance (Royal Horticultural Society; Utah State University Extension). Those numbers differ because soil texture and climate change the correct answer.
Space cloves about 6 inches apart when bulb size is the priority, with rows 6–12 inches apart or wide enough for easy weeding. Tighter spacing can produce more bulbs in a small bed, but it increases competition for light, water, and nutrients. Grow Organic’s practical bulb-size guidance identifies crowding as a common cause of small garlic and recommends about 6 inches as a starting point (Grow Organic).
Water once after planting to settle the soil, unless rain has already done the job. The bed should be evenly moist, never a puddle. If birds pull at new shoots, temporary netting or fleece can keep them from lifting cloves before roots anchor the plant.
Mulch for winter protection
Add about 2–4 inches of loose straw or shredded leaves after planting, increasing protection in exposed cold climates. Mulch buffers freeze-thaw swings, reduces frost heaving, holds moisture, and suppresses winter weeds. It should be loose enough for shoots to emerge and dry enough that it does not form a soggy mat against the soil.
Do not use a thick layer of wet, compacted leaves as a substitute for drainage. If mulch blows away, replace it after storms rather than piling it deeply all at once. In spring, pull back only what is smothering new growth or keeping the crown excessively wet; leave a thinner layer in place to reduce weeds and conserve moisture.
Spring care is where bulb size is won
The fall planting date starts the crop, but spring management determines how much energy reaches the bulb. Keep the bed weed-free because garlic is a weak competitor, and shallow roots make aggressive hoeing risky. Hand-pull weeds or cultivate very carefully between rows.
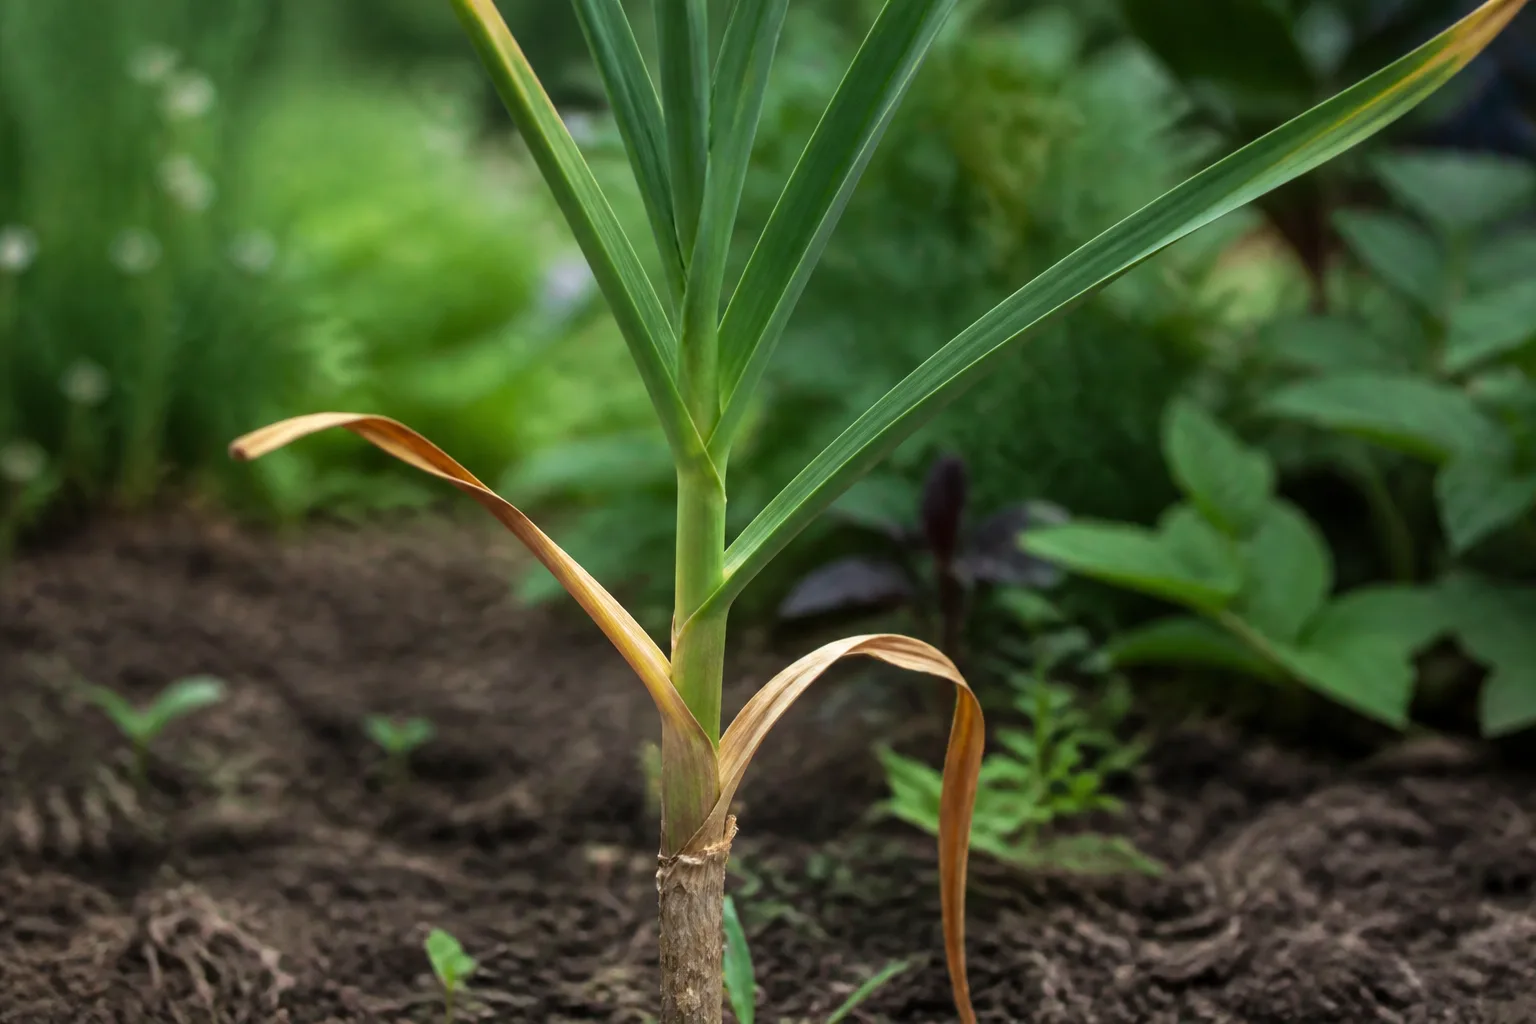
Inspect the plants as growth accelerates. A few yellowing lower leaves near harvest are normal; early widespread yellowing, silvering, twisting, or collapse points to a possible water, nutrient, pest, or disease problem. Treat the symptom as a clue rather than applying fertilizer or pesticide automatically.
Water and fertility: build leaves, then let bulbs finish
Garlic needs steady moisture during active spring growth and early bulb enlargement. Utah State University Extension recommends thoroughly moistening the root zone and stopping regular watering as leaves begin to mature; excess water late in the season can delay curing and create storage problems (Utah State University Extension). A practical routine is to check below the mulch and irrigate when the root zone is drying, adjusting for rainfall, soil, temperature, and container size.
Taper water as the lower leaves yellow and the bulbs become well formed. Do not keep a nearly mature bed wet because a calendar says it is still “growing.” Garlic is moving from sizing to curing readiness, and a drier finish helps the outer wrappers dry around the cloves.
Feed according to a soil test and the crop’s growth, not a universal internet schedule. Strong early leaf growth supports larger bulbs, but unnecessary late nitrogen can delay maturity and leave soft, poorly storing bulbs. Grow Organic recommends early feeding when needed, then tapering as bulbing begins rather than treating fertilizer as a guarantee of giant heads (Grow Organic).
Harvest, cure, and troubleshoot the crop
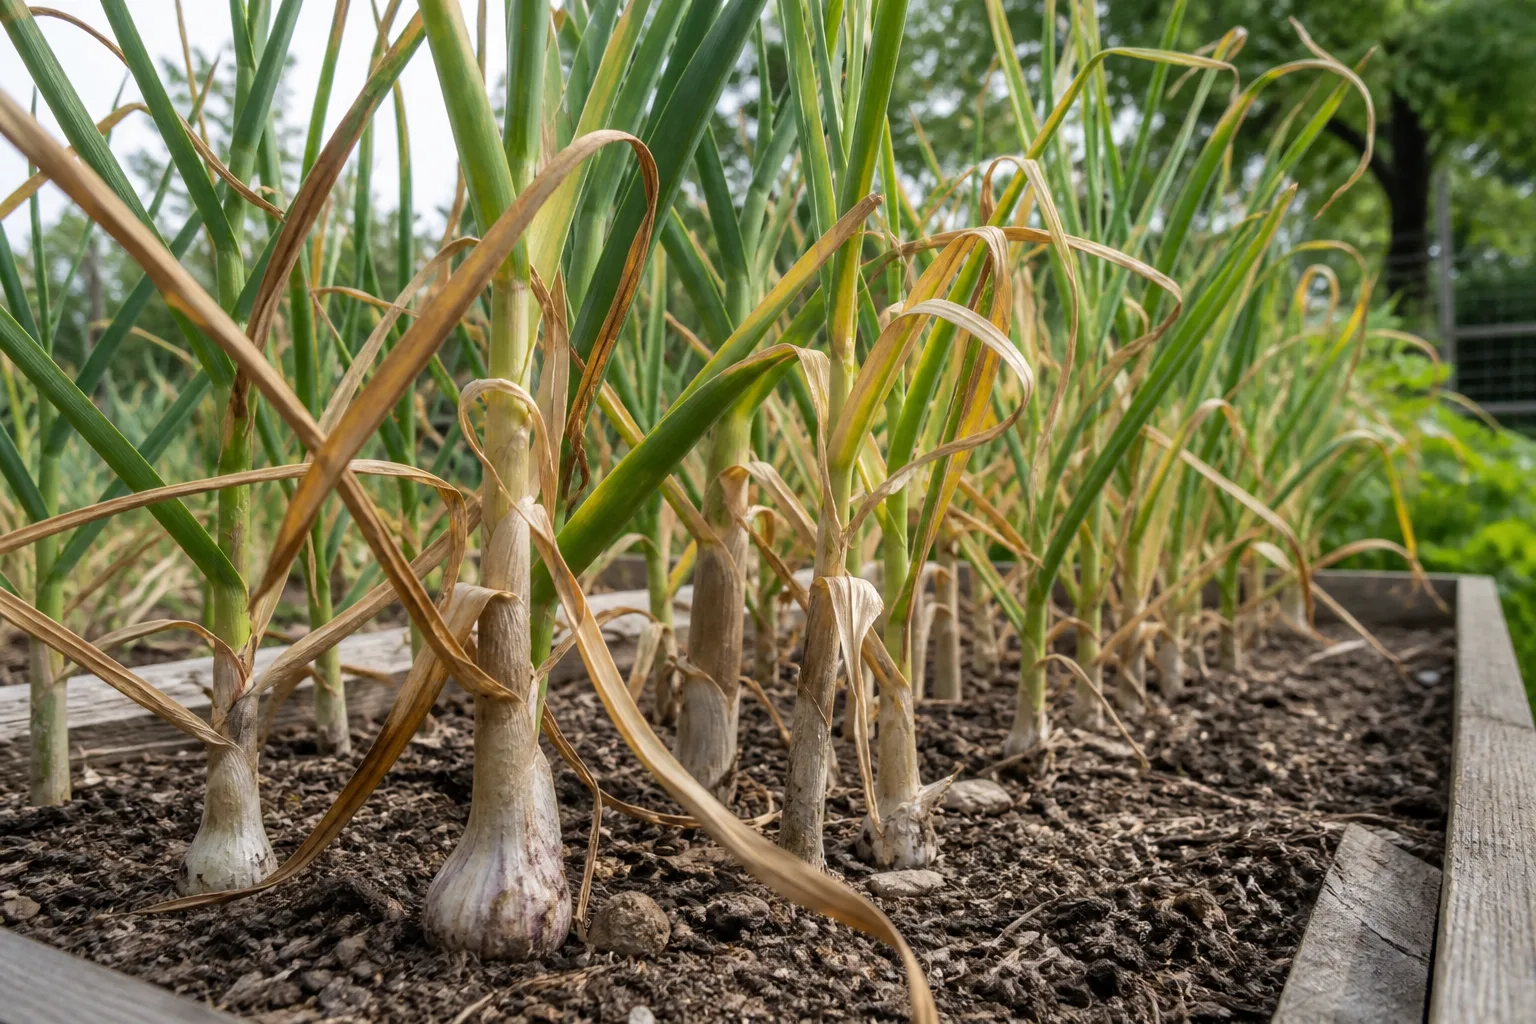
Harvest timing protects the size you worked for. Garlic is usually ready when roughly one-third to one-half of the leaves have yellowed or browned while several upper leaves remain green. Penn State Extension uses a 40–60 percent yellowing range and warns that early harvest reduces storage quality while very late harvest can leave bulbs split open (Penn State Extension).
Dig a test bulb before lifting the entire bed. Use a garden fork or trowel a little away from the stem, loosen the soil, and lift from below rather than pulling hard on the leaves. Bruises and cuts become entry points for rot during storage. If wrappers are still thin and cloves are not filling the bulb, wait a little; if the bulb is separating and wrappers are tearing, harvest promptly.
Move harvested bulbs into shade or a bright, airy place protected from rain. Do not wash them. Brush off loose soil only after the surface dries, keep roots and tops attached, and cure for roughly two to four weeks until the neck is dry and the wrappers feel papery. The RHS recommends a well-ventilated, dry setting and warns against excessive heat during drying (Royal Horticultural Society).
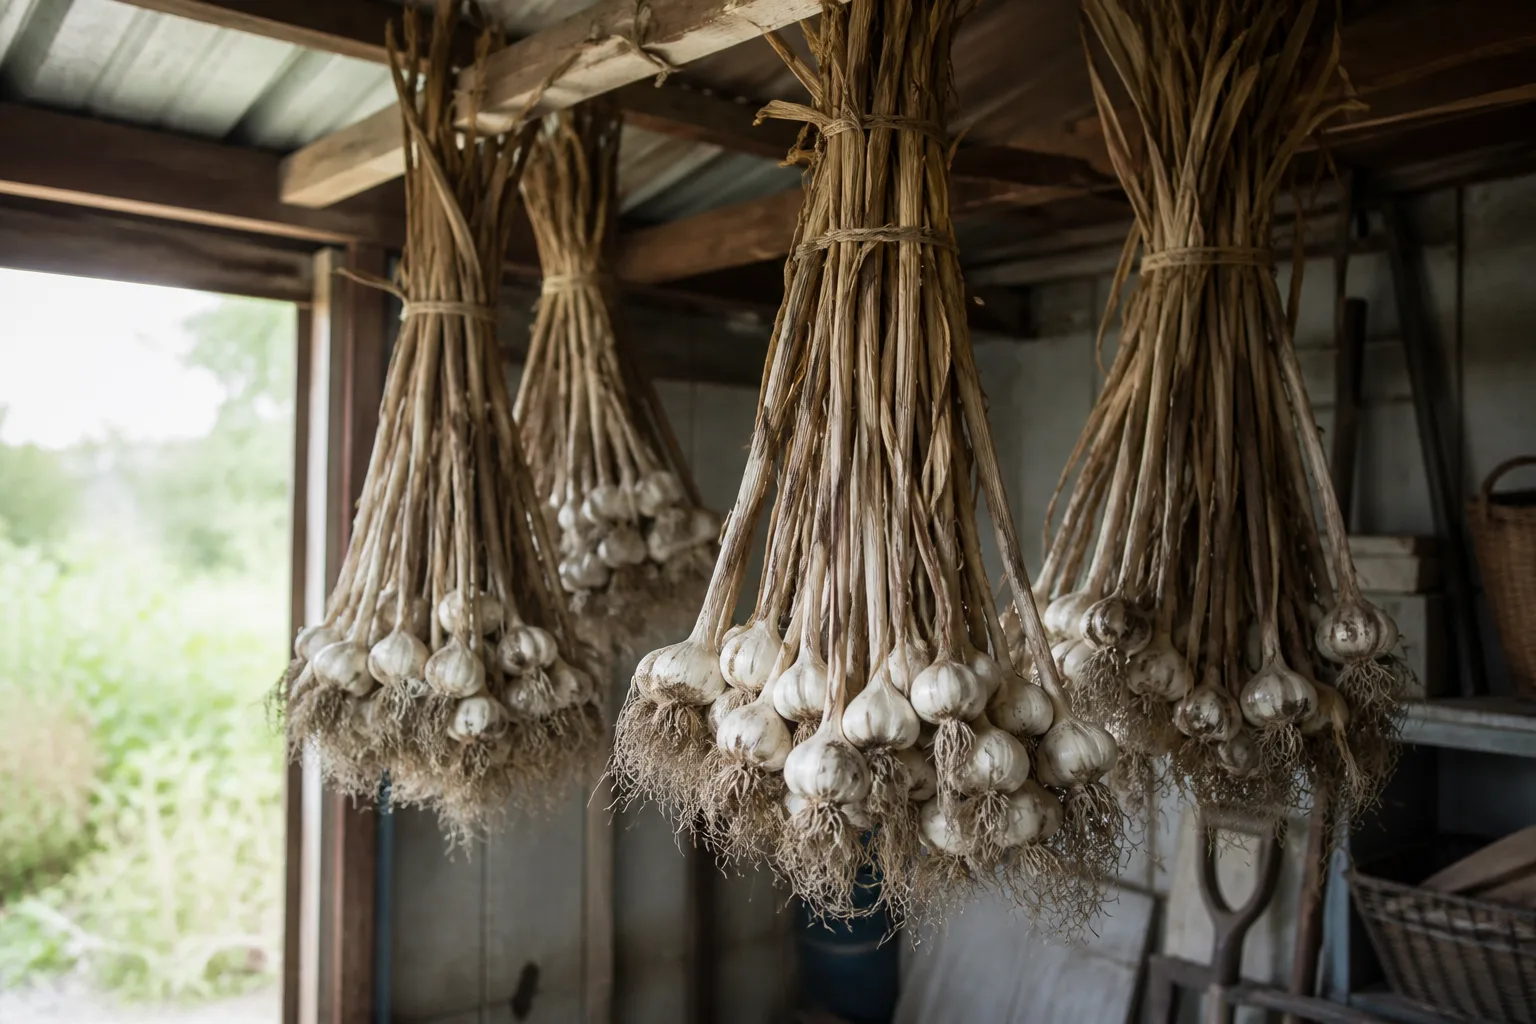
After curing, trim roots and tops or braid softneck garlic, then store sound bulbs in a cool, dry, ventilated place. Use bruised, split, or blemished bulbs first and save only clean, firm bulbs for next year’s planting. Softnecks generally outlast hardnecks in storage, but exact life depends on variety and conditions.
For the next season’s calendar, compare this planting window with our guide to how long garlic takes to grow. When harvest arrives, our garlic harvesting and storage guide covers the leaf test, curing setup, and storage decisions in more detail.
If bulbs are small, start the diagnosis with the season rather than blaming one mistake. Small starting cloves, crowded spacing, weeds, drought during spring bulbing, weak light, poor fertility, and premature harvest can all limit size. If bulbs stay single and round, insufficient cold is a leading possibility, though variety, warm weather, and immature harvest can also be involved. If bulbs are soft or rotting, correct drainage and avoid replanting suspect stock before changing fertilizer.
Conclusion
September may be your last chance to plant garlic if you garden in a short, cold season, but it is not a universal deadline. Choose the window that gives cloves time to root before hard freeze without encouraging a tall, tender canopy; then make the timing pay off with large healthy cloves, full sun, free-draining soil, about 6 inches of room, loose winter mulch, steady spring moisture, and a dry finish before harvest.
If you are holding garlic today, check your first hard-frost estimate and the bed’s drainage first. In a cold zone, prepare and plant soon. In a mild or warm zone, match the cultivar and the cold exposure to your local winter, and remember that a carefully chosen later planting is usually better than putting cloves into warm mud simply because September has arrived.



