How and When to Harvest and Store Garlic
Learn when to harvest garlic by reading the leaves, how to dig bulbs without splitting them, and the cure-and-store steps that keep hardneck and softneck garlic firm for months.
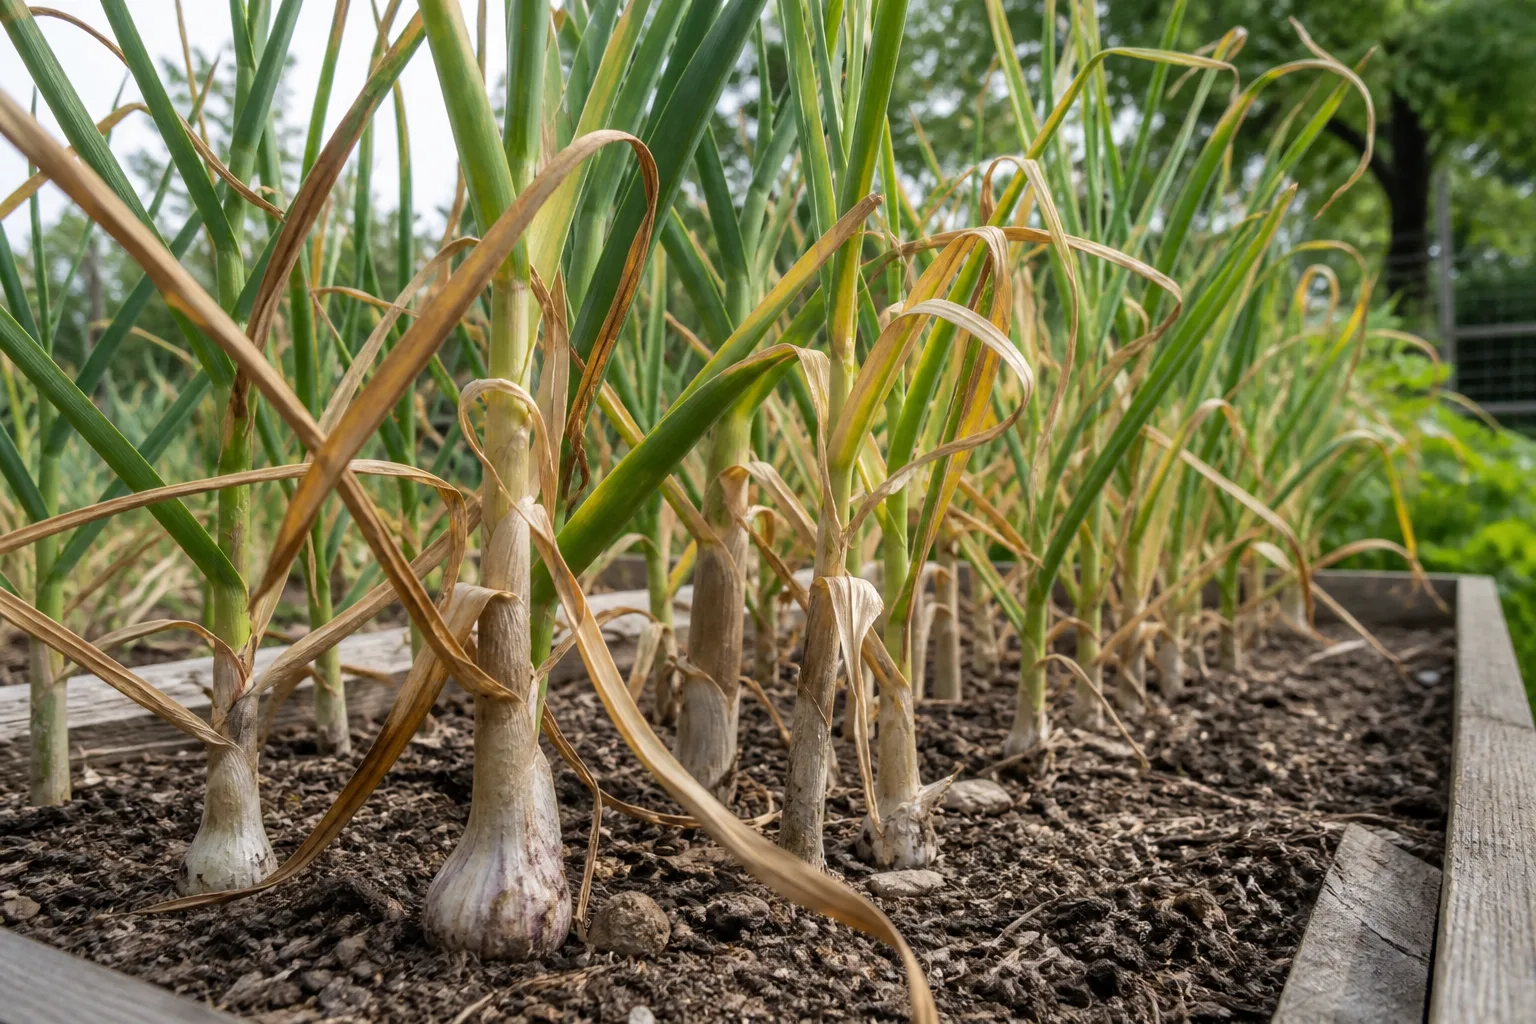
Garlic hides its ripeness underground for eight months or more, then asks you to make a one-time call based mostly on what the leaves are doing above the soil. Get that call right and you finish the season with firm, flavorful bulbs that store through winter. Dig too early and cloves stay small with thin skins; wait too long and bulbs split open in the ground, inviting rot and shortening shelf life.
The full job has three linked phases: harvest timing, curing, and storage. Each phase has clear visual checks, and the sections below walk through all three so you are not guessing at any step.
The Quick Answer: Read the Leaves, Then Cure Before You Store
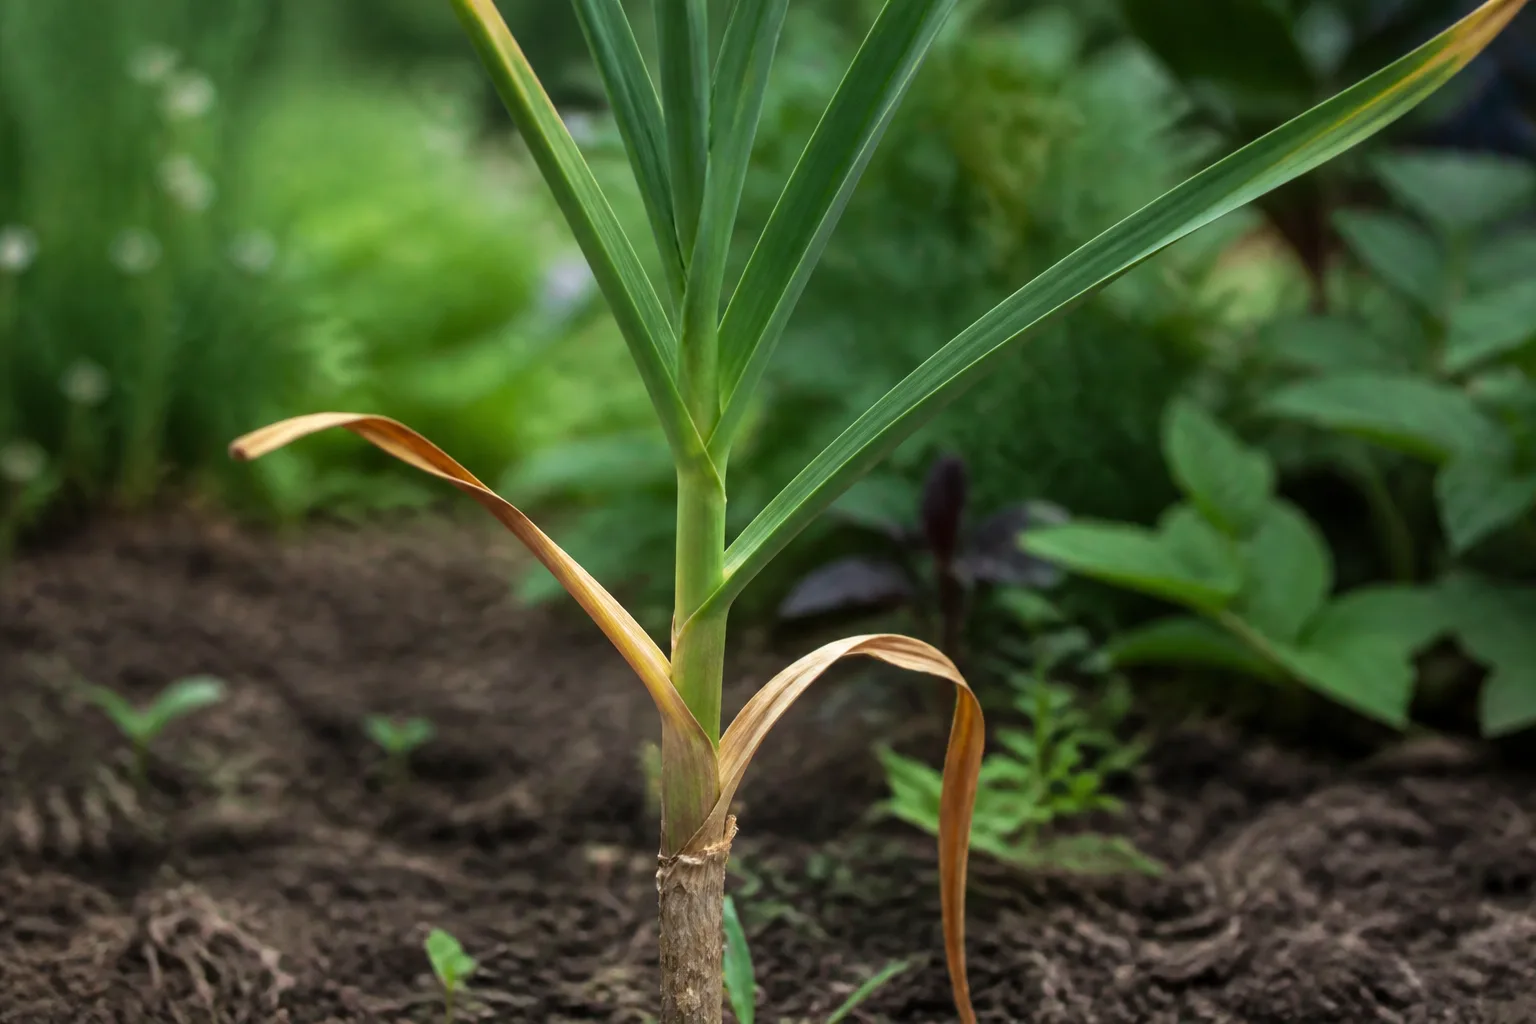
Harvest garlic when roughly one-third to one-half of the leaves have turned brown and dried, while several upper leaves are still green. University of Georgia Extension describes mature plants with tops drying, discoloring, and bending toward the ground. Seed Savers Exchange narrows the window further: about three or four dead leaves with five or six green leaves still attached.
Before you lift the whole row, dig one test bulb. Cloves should fill their papery skins without splitting apart. Stop irrigating once the tops begin to decline. Loosen soil with a fork, lift bulbs gently, and brush off loose dirt without washing. Cure bundled plants or spread bulbs in a single layer in a cool, dark, airy space for three to six weeks until necks and wrappers are fully dry. Trim roots and tops, then store in a dark, cool spot with good air movement. Softneck types generally keep longer than hardnecks at ordinary pantry temperatures.
Why Garlic Harvest Timing Matters More Than the Calendar
Calendar months are a rough guide at best. Fall-planted garlic in mild climates may be ready from late May through July depending on variety and weather. Spring-planted garlic, which is less common because bulbs often fail to size well without a long cool establishment period, may not be ready until late summer.
What actually drives maturity is the combination of vernalization (weeks of cool soil after fall planting), spring leaf growth, and then lengthening days that trigger bulbing. Once bulbing starts, leaf initiation slows. UGA Extension notes that yield depends on how much vegetative growth happens before bulbing — which is why harvest timing is really about reading whether the plant has finished filling cloves, not whether June arrived on the calendar.
Harvesting before cloves differentiate leaves you with undersized bulbs and thin wrappers that dry out quickly in storage. Delaying harvest after tops have fully collapsed risks cloves separating in the soil, skin tearing, and fungal entry. The leaf rule exists because it approximates that underground sweet spot without requiring you to guess.
Hardneck vs Softneck: How Type Changes Your Harvest Window
Softneck garlic (Allium sativum subsp. sativum) dominates supermarket shelves because it stores well and rarely sends up a stiff flower stalk. Hardneck garlic produces a woody central stem (the “neck”) and often a curly scape in late spring. Hardnecks generally prefer colder winters; softnecks tolerate milder, shorter winters.
The harvest signal is similar for both — lower leaf dieback — but varieties within each type mature on different schedules. Artichoke softnecks often finish before rocambole hardnecks; silverskins may be among the last out of the ground. If you planted more than one type, treat each block separately rather than clearing the bed on one date.
Softneck Garlic Harvest Signs
Softneck plants often have more leaves overall — sometimes eight to ten — so count carefully. When three to four lower leaves are brown and five or six upper leaves are still green, start checking bulbs. Silverskin types in particular may lodge (fall over) a week or more before you are ready to dig because their necks are weak; lodging is a heads-up, not an automatic dig order.
Softnecks are the type you can braid after partial drying because their stems stay pliable longer. That matters for storage planning: if you want a hanging braid in the pantry, harvest while stems still flex but bulbs are mature.
Hardneck Garlic Harvest Signs
Hardneck growers often use a 40 percent brown leaf threshold — roughly two to three dead leaves on a six-leaf plant, with the rest green. Remove scapes when they curl (about 10 inches long) for eating; scape removal can redirect energy to the bulb but does not replace the leaf test for harvest.
Hardnecks tend to store three to four months at room temperature, though cooler stable conditions can extend that. Plan to use hardneck stock first and reserve softnecks for longer keeping.
The Leaf Rule and Test-Bulb Checks
Standing at the row edge, count from the bottom upward. Brown, papery lower leaves mean the plant is shutting down. Green upper leaves mean the bulb may still be sizing.
| What you see | Likely meaning | Action |
|---|---|---|
| 1–2 brown lower leaves, most green | Too early | Wait; check again in a week |
| 3–4 brown leaves, 5–6 green | Likely mature | Dig a test bulb |
| Half or more leaves brown | Mature to late | Harvest soon |
| All leaves collapsed | Late | Dig immediately |
The test bulb is non-negotiable when you are unsure. Choose an average plant, loosen soil with a fork, and lift one bulb. Cloves should be plump and fully segmented inside tight wrappers. If cloves look like a single undivided mass, give the row more time. If cloves are bursting through the skin, you are already late — harvest the rest that day.
When Yellow Leaves Are Not a Harvest Signal
Yellowing or browning only on upper leaf tips while lower leaves stay green often points to nitrogen deficiency, not maturity. University of Minnesota Extension lists yellow-then-wilt patterns among garlic leaf problems tied to nutrition and stress. Feeding the current crop will not fix harvest timing; note the issue for next season’s soil prep, perhaps with a soil test and balanced fertility plan. Our guide on signs of good-quality soil can help you interpret what to test before replanting.
Do not confuse scorch from drought with maturity either. Garlic needs even moisture during spring growth; a sudden dry spell can brown tips without meaning bulbs are finished.
Stop Watering Before You Dig
When lower leaves begin to die back, stop supplemental irrigation. UGA Extension advises halting water once tops start to fall and dry, both to reduce bulb rot and to help skins toughen. You cannot control rain, but you can avoid making a wet problem worse with the hose.
A short dry spell before harvest makes digging cleaner and lowers the odds of muddy wrappers that invite mold during curing. If a heavy storm soaks the bed right before you planned to dig, wait until soil is workable rather than wrenching bulbs from saturated ground.
How to Harvest Garlic Without Splitting Bulbs
Garlic does not pull like a carrot. The neck breaks easily, and a broken stem creates an open path for decay in storage. Treat harvest as a digging job, not a yanking job.
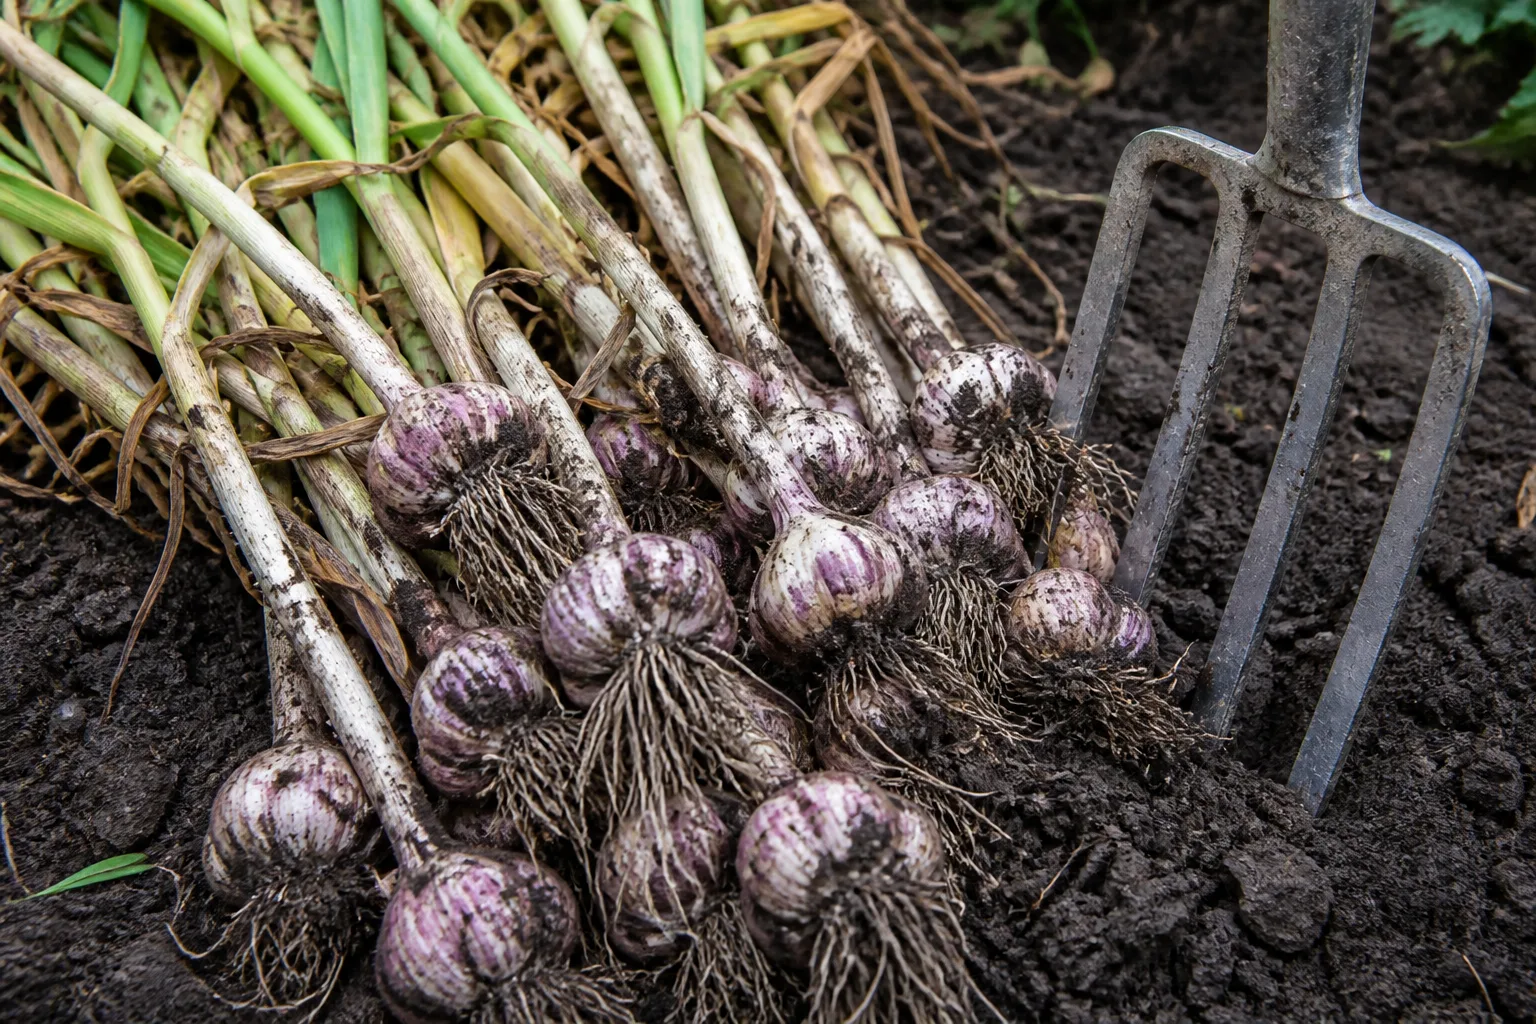
Work when soil is slightly dry if possible. Slide a garden fork or broad pitchfork into the soil several inches away from the stem, lever gently to loosen, then lift the bulb from beneath. Brush off loose soil with your hands. Leave roots and tops intact for curing.
Tools That Work Better Than Pulling
A digging fork lifts bulbs with less slicing risk than a sharp shovel, though either works if you stay wide of the bulb. Gloves with good grip help when handling muddy stems. A crate or shallow tray keeps lifted bulbs in one layer so they are not crushing each other on the way to the curing area.
If you slice a bulb with a tool, set it aside for immediate kitchen use. Damaged skins will not cure into long-keepers.
What to Do With Damaged or Immature Bulbs
Immature garlic is edible — it simply will not store well. Use small or early-dug bulbs first in sauces, roasts, and fresh salsas within a few weeks. Damaged bulbs belong in the same queue: any break in the wrapper is an invitation to mold.
You do not have to wait for curing to eat garlic. Freshly dug garlic is milder and wetter; cured garlic concentrates flavor and dries the neck for storage. If you only grew a small patch, eating a few bulbs right away while curing the rest is a reasonable split.
How to Cure Garlic for Long-Term Storage
Curing is controlled drying, not decorative hanging. The goal is to dry the neck, outer skins, and root plate so the bulb seals itself against humidity and disease. Skipping cure or shortening it is one of the fastest ways to lose a harvest to sprouting or soft cloves.
Brush off clinging soil but do not wash bulbs with water. Wet skins at this stage encourage rot. Leave stalks and roots on. Bundle eight to ten plants with twine and hang bulb-down in a shaded, dry, well-ventilated space — a garage, shed, or covered porch works. Alternatively, spread bulbs in a single layer on a raised screen or rack.
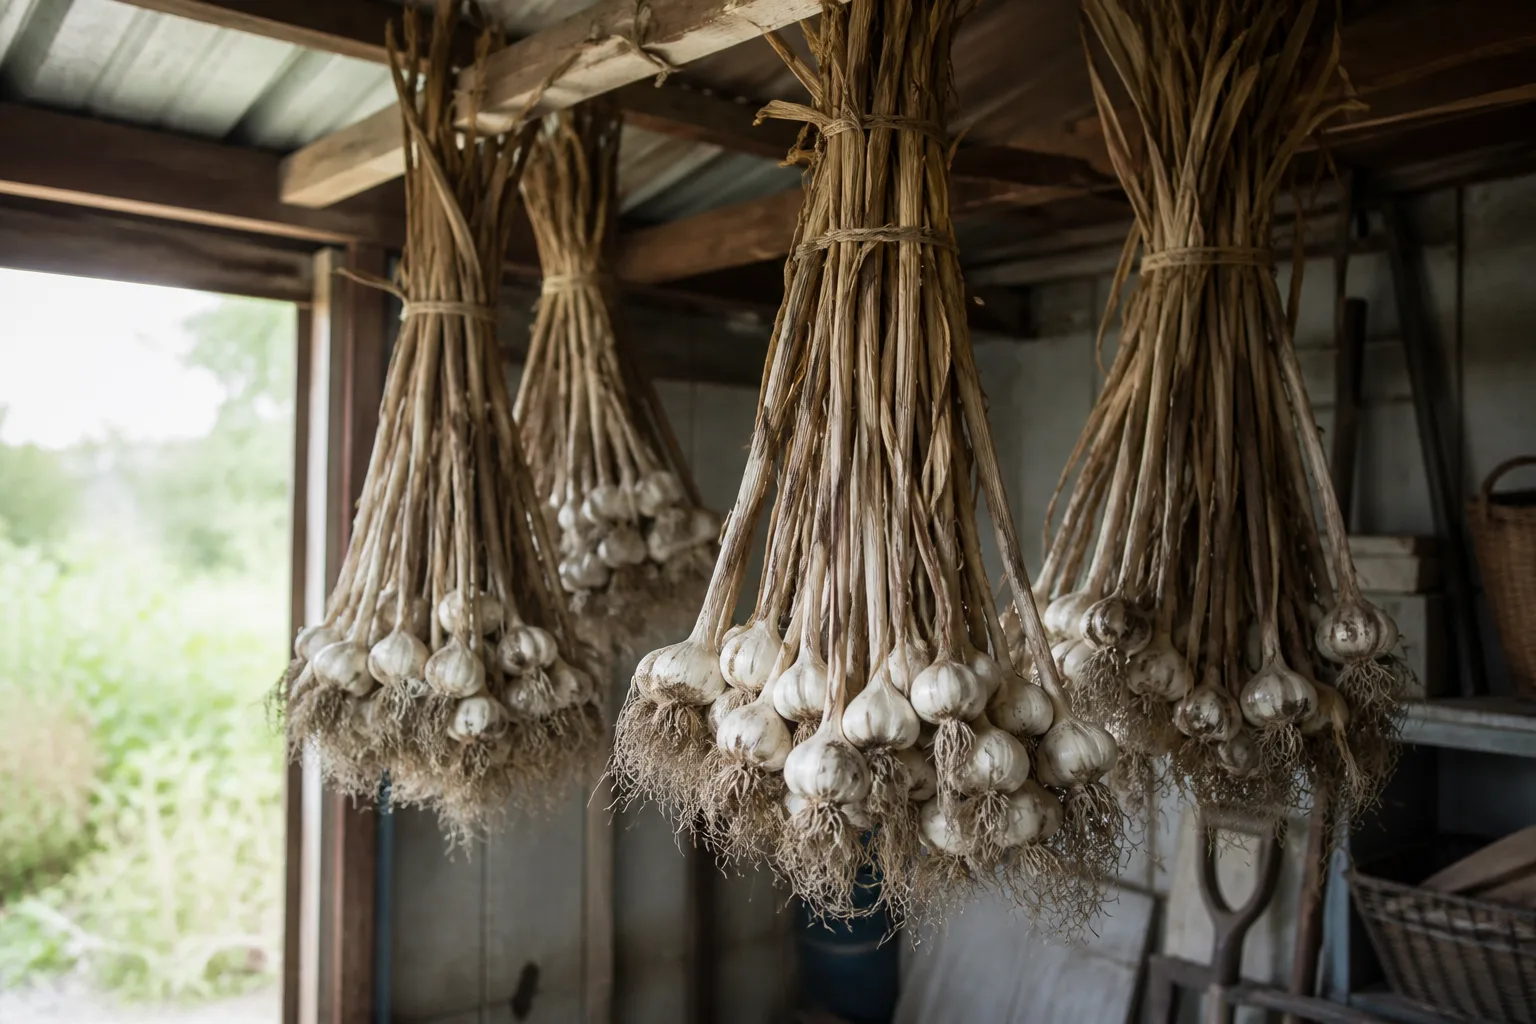
Seed Savers Exchange recommends four to six weeks of hanging time. UGA Extension suggests several days of sun drying with tops shielding bulbs from direct light, then finishing in shade until necks are brittle. Direct sun on exposed bulbs can cook and alter flavor, so prioritize shade and airflow over brightness.
Curing is complete when outer wrappers are papery, roots are dry, and the neck is stiff — you should not feel moisture where the stem meets the bulb.
Hanging Bundles vs Screen Drying
Hanging bundles save floor space and match how many gardeners picture garlic curing. Keep bundles loose enough that air reaches each bulb. Screen drying suits smaller harvests or humid climates where hanging clusters stay damp in the center. Either method works; poor airflow does not.
In very humid regions, a small fan on a low setting can help. In dry climates, check that bulbs are not desiccating to rock hardness before you trim — overly dry cloves crack when handled.
Cleaning and Trimming After the Cure
Once curing finishes, cut roots close to the basal plate and trim tops to about 1 to 2 inches above the bulb unless you are braiding. Peel away only the dirtiest outer wrapper layers, exposing as little clove surface as possible. Every naked clove is a shorter storer.
Set aside your largest, cleanest, most symmetrical bulbs for replanting before you move the eating stock to the pantry. Size of the planted clove strongly influences next year’s bulb size.
Braiding Softneck Garlic for Storage
Braid when stems are half brown but still pliable — too green and the braid may mold; too dry and stems snap. Softneck types like artichoke and silverskin are the usual candidates. UGA Extension walks through adding heads one at a time into a three-strand braid, tying off with natural fiber, and hanging the finished coil in cool darkness.
Braids are practical storage, not just kitchen décor. The same rules apply: no direct light, stable cool temperature, and good air circulation around the bulbs.
Best Storage Conditions by Garlic Type
Garlic keeps best cool, dark, and airy with modest humidity. Seed Savers Exchange suggests 50–70°F with 45–55 percent relative humidity for optimum long storage. UGA Extension notes around 70 percent humidity in a well-ventilated cupboard or cellar, protected from freezing in cold climates.
| Type | Typical pantry life | Notes |
|---|---|---|
| Softneck (artichoke, silverskin) | 6–8 months | Best for long pantry storage |
| Hardneck (rocambole, porcelain, purple stripe) | 3–4 months | Use first; cooler stable temps help |
| Damaged or partial wrappers | Days to weeks | Kitchen use only |
Store in mesh bags, open baskets, or braids — not sealed plastic, which traps moisture. Avoid the kitchen windowsill or anywhere light reaches the bulbs; light and warmth trigger sprouting. UGA Extension warns that temperature swings also push bulbs into growth.
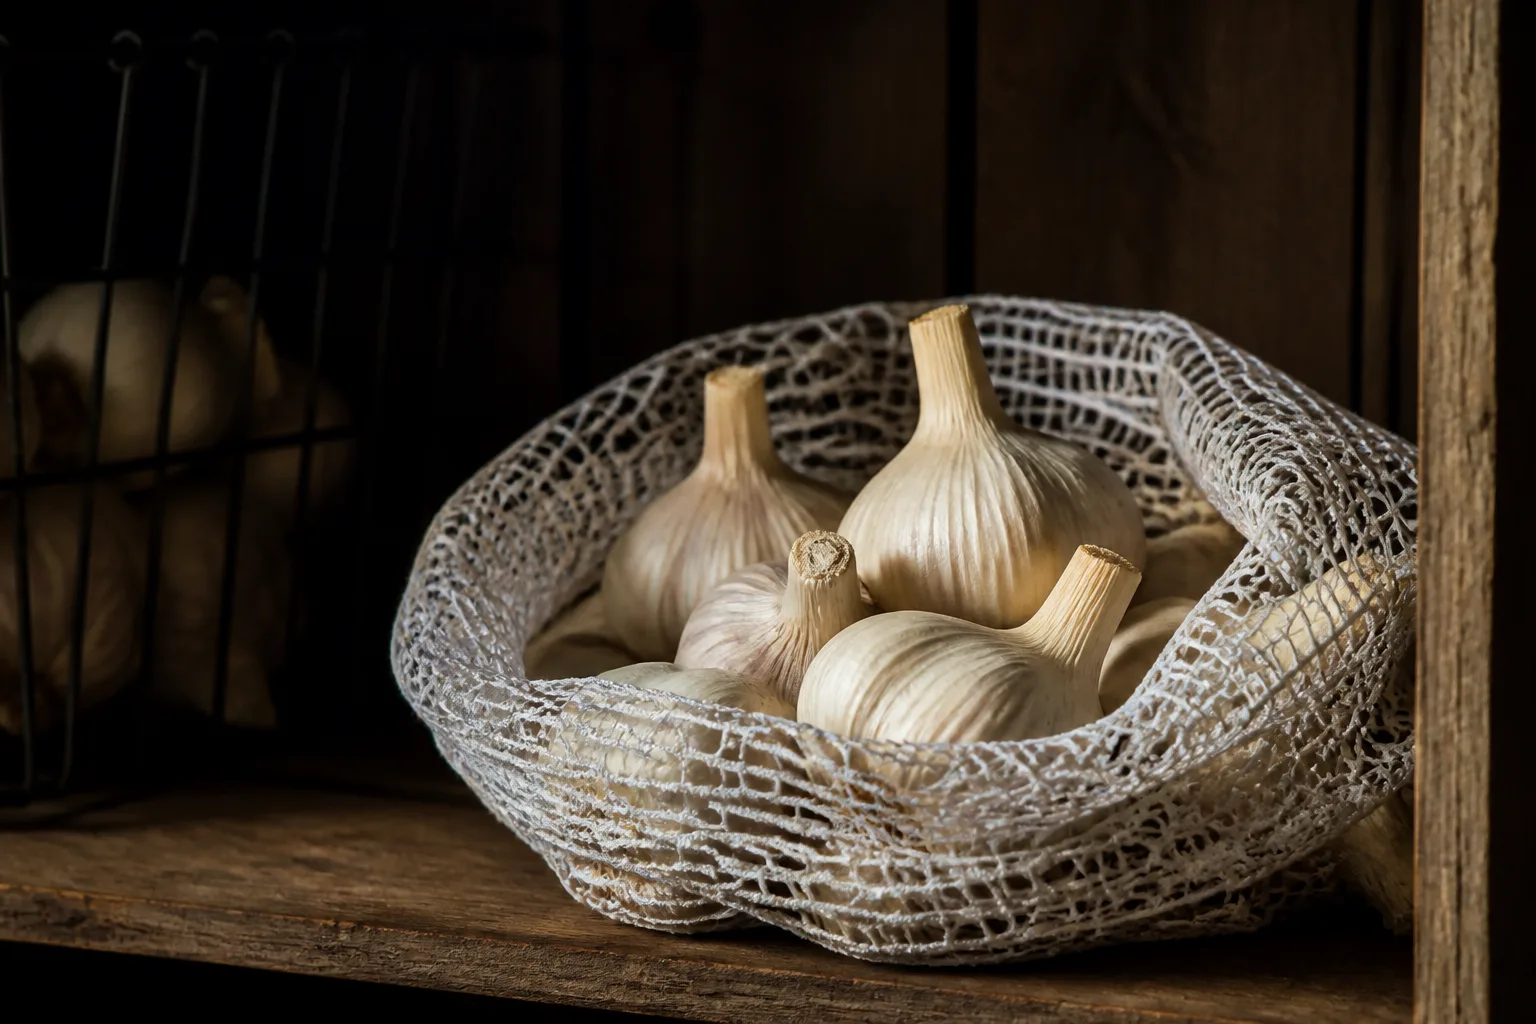
Do not store whole bulbs in the refrigerator for long-term keeping. Cold plus humidity encourages sprouting and mold. Peeled cloves in a covered container can live in the fridge for short kitchen use, but that is a different workflow from curing whole heads.
Check stored garlic every few weeks. Remove any soft, sprouted, or moldy heads immediately so problems do not spread through a mesh bag.
Saving Seed Cloves for Next Season
Garlic is planted from cloves, not true seed. Save the biggest outer cloves from your healthiest bulbs — small cloves produce small heads. Keep seed stock at room temperature with moderate humidity until fall planting so cloves do not shrivel. Seed Savers Exchange advises keeping bulbs intact until one to two days before planting, then breaking apart without peeling.
Mark varieties if you grow more than one type; they all look similar once trimmed. Rotate planting location when possible — garlic and onions share disease pressures, so avoid replanting in the same bed year after year. Our guide on why you should rotate crops explains the broader rotation logic that applies to alliums.
Fall planting timing depends on your zone; the harvest you are curing now is the proof of whether last year’s planting date and spacing worked. Adjust based on bulb size, not pride.
Common Harvest and Storage Mistakes
Digging on the calendar alone ignores variety and weather. Always pair dates with leaf counts and a test bulb.
Pulling stems breaks necks and ruins keepers. Use a fork.
Washing before cure wets skins and invites mold. Brush dry soil only.
Curing in direct sun on exposed bulbs can heat-damage flavor. Shade with airflow is safer.
Trimming too early before necks dry opens the bulb to infection. Wait for stiffness.
Storing in light or sealed plastic causes sprouting or rot. Choose dark, breathable containers.
Planting tiny cloves because they were leftovers guarantees a disappointing next harvest. Eat the small ones; plant the bold outer cloves.
If your garlic split wide open in the ground, harvest promptly, use those bulbs first, and plan a slightly earlier window next year. If bulbs were undersized, look back at planting date, fertility, weed pressure, and moisture during spring — harvest timing was only the final chapter.
Conclusion
Garlic tells you when it is ready through lower leaves browning while upper leaves stay green, confirmed by a test bulb with full, tight cloves. Stop watering as tops decline, dig with a fork, cure for several weeks in cool shade with good air movement, then store by type — softnecks for the long haul, hardnecks for earlier use. Save your largest cloves for fall replanting, and keep storage dark, cool, and breathable.
Nail those steps and a single fall planting becomes a year of cooking from your own rack or braid, without mystery mush in the mesh bag come February.



