How to Keep Container Plants Thriving All Summer
Learn how to keep container plants thriving all summer with better watering, pot choices, mulch, shade, feeding, pruning, and vacation care.
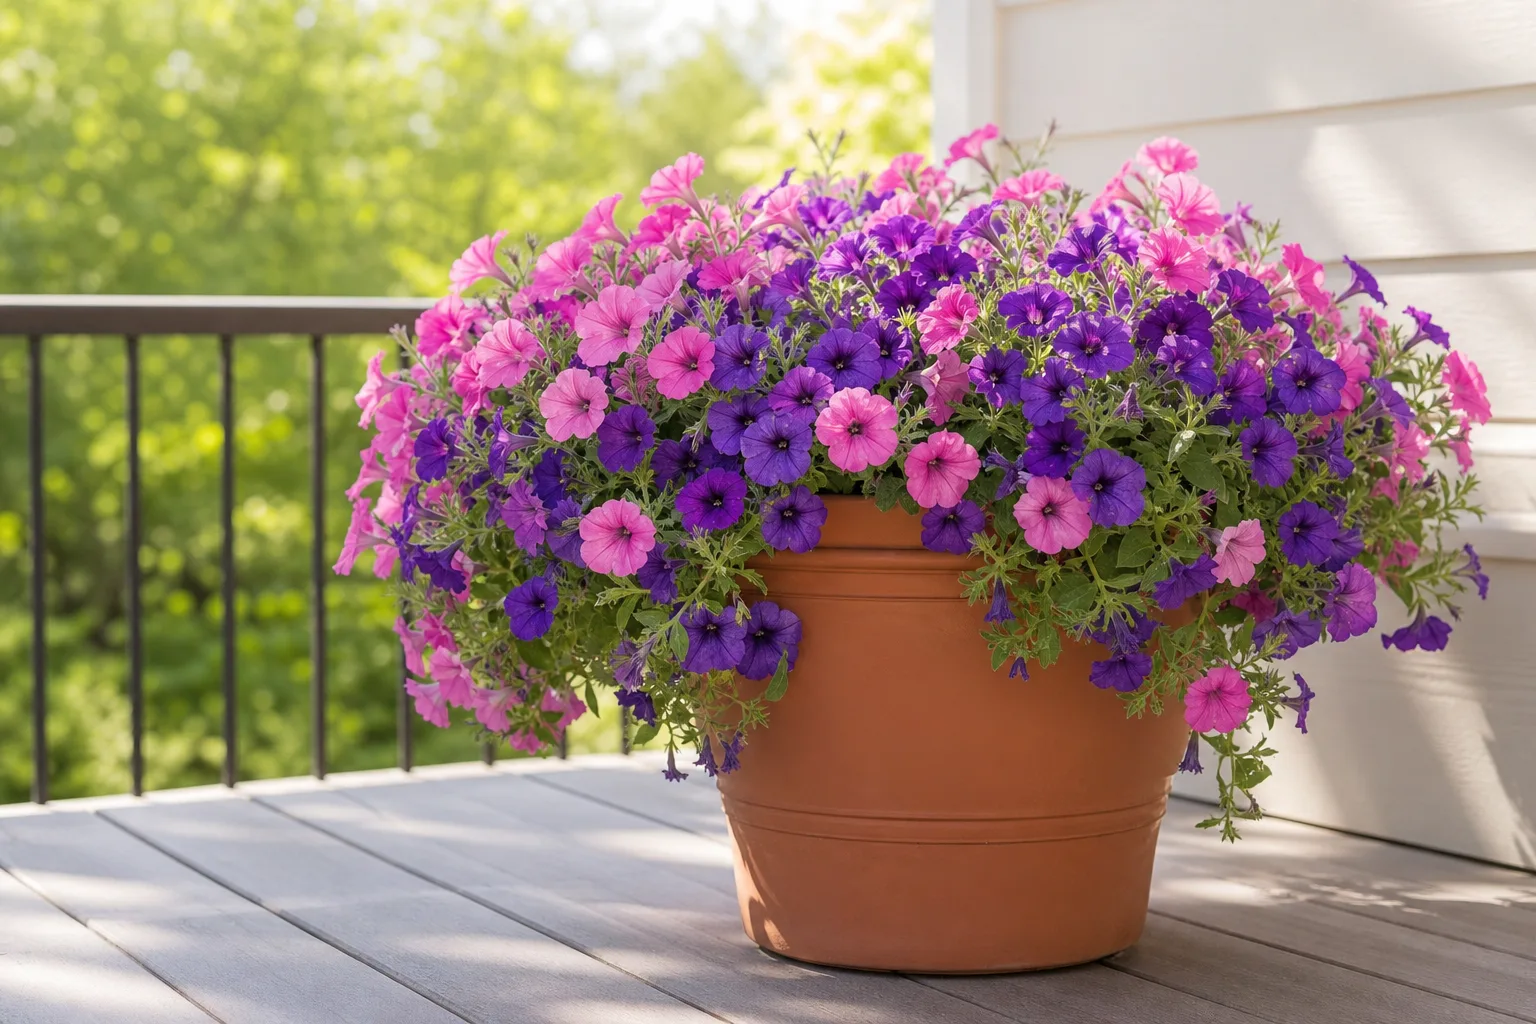
Container plants do not have the deep, buffered root zone that garden-bed plants enjoy. A pot can heat from the sides, lose water through its surface and walls, and dry out quickly when wind moves across the leaves. The answer is not automatically “water more.” The better answer is to make the root zone easier to manage, then match watering to what is actually happening inside the pot.
The most reliable summer system has five parts: a container with working drainage, a mix that holds moisture while leaving air around roots, a placement that avoids unnecessary heat and wind, a slow watering routine, and a quick check before every intervention. Add surface mulch, sensible feeding, timely pruning, and a tested vacation setup, and even a busy patio garden becomes much more forgiving.
Why summer is harder on a container than a garden bed
In-ground soil surrounds roots with a large volume that changes temperature and moisture gradually. A container has a finite reservoir, and every exposed side of the pot is part of the weather. Small pots, hanging baskets, fabric grow bags, dark surfaces, reflective walls, and west-facing exposure can all make the same plant use water at very different rates.
Heat also affects the plant, not just the potting mix. A peer-reviewed review of plant heat stress describes damage to water relations, photosynthesis, root growth, and nutrient uptake as temperatures rise, with roots often more sensitive than shoots. That is why a plant can be technically watered and still look weak if its root zone is repeatedly overheated or swings between bone-dry and saturated. (Effects of Heat Stress on Plant-Nutrient Relations)
Think of summer care as managing a small climate. The goal is not to keep every pot constantly wet; it is to slow the loss of water, give roots enough oxygen, and prevent the plant from spending every afternoon in emergency mode.
Audit every pot before the next heat wave
Walk through the collection before temperatures spike and group pots by how quickly they dry. Check the smallest containers, hanging baskets, black or metal pots, newly planted plants, thirsty vegetables, and anything sitting in wind first. Those are the containers most likely to need a setup change rather than simply an extra can of water.
Lift each pot after a thorough watering and notice its weight. Lift it again the next morning and after a hot afternoon. You will soon recognize the difference between a container that still holds useful moisture and one that has become unusually light. A practical container-gardening guide from City Cultivator also recommends combining a pot-lift check with a deeper moisture test, which is more dependable than judging only by a dry-looking surface. (How to Keep Pots Moist in Summer Heat)
Match pot size and material to the plant
Large containers usually hold moisture longer because they contain more mix, but bigger is not always safer. If a small plant goes into a huge pot, the unused mix can stay wet around a limited root ball after watering. The RHS recommends using the root ball as a guide and avoiding overlarge containers that can remain waterlogged. (RHS guide to growing plants in containers)
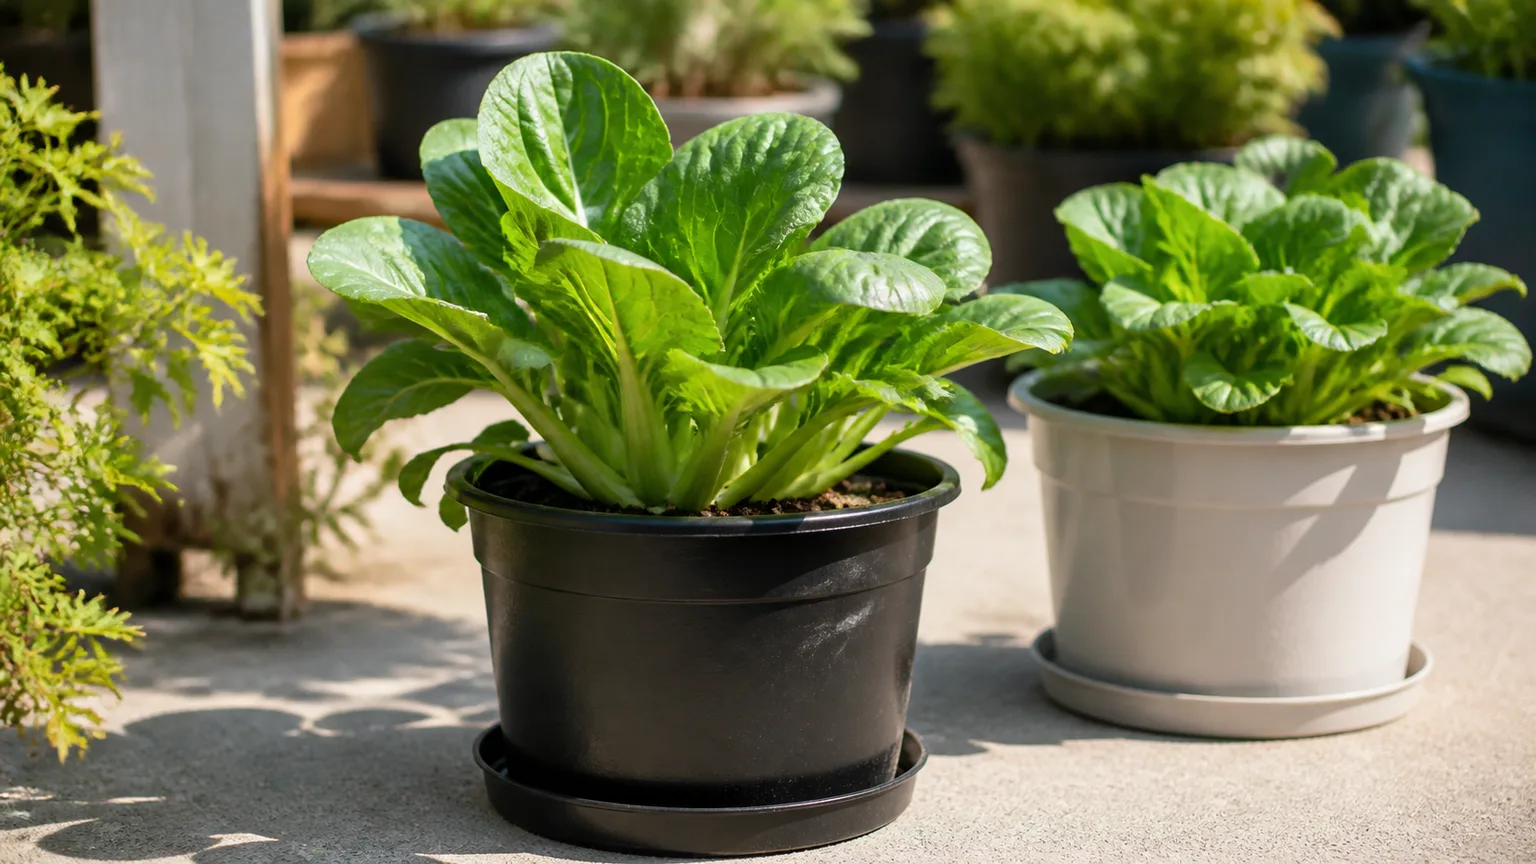
Material changes the workload. Unglazed terracotta is porous and can dry faster through its sides, while thin dark plastic and metal can become hot in direct sun. Glazed ceramic, thick resin, and other substantial containers generally buffer moisture and temperature better, although they may be heavy, expensive, or difficult to move once planted.
Fabric grow bags are useful for air-pruning roots and large vegetable plants, but their breathable sides make them demanding in hot weather. Put them where irrigation is easy, use a saucer or catchment surface that does not block drainage, and accept that they may need more frequent checks than a thick-walled pot. If a plant wilts every afternoon, first ask whether the container is simply too small, porous, exposed, or root-filled for the current canopy.
Build a root-friendly summer setup
Start with a quality potting mix made for containers, not soil dug from the yard. Garden soil often compacts inside a pot, leaving too little air around roots and creating a heavy, slow-draining mass. Choose a mix appropriate for the plant group, then add moisture-holding ingredients such as compost or hydrated coir only when the mix and plant can still drain freely.
Drainage holes are essential, but holes alone do not guarantee a healthy root zone. Set pots on pot feet, a slatted stand, or another stable riser so holes cannot seal against concrete or a flat saucer. Remove leaves and debris that collect underneath, and check that the inner pot is not sitting inside a decorative cachepot full of old water.
Do not use a layer of gravel at the bottom as a substitute for drainage. It takes away space from the root zone and does not correct a dense or waterlogged mix. If water takes a long time to leave the container, the useful fixes are a better-draining mix, clear holes, a correctly sized pot, and a placement where collected water can be emptied.
If water races down the sides and out of the bottom while the center remains dry, the mix may have become hydrophobic after drying too far or may be badly root-bound. Water in two or three slow passes, wetting the surface evenly and pausing between passes. For a small pot, a temporary soak from below can rehydrate the mix, but let it drain completely before returning it to its usual spot.
Water by root-zone moisture, not the calendar
There is no universal summer schedule. A large glazed pot in morning sun may stay moist for several days, while a small terracotta pot or hanging basket may need attention every day. The RHS suggests checking moisture about one-third of the way down the container and notes that warm, windy weather increases water loss; light rain may wet leaves without soaking the root ball. (RHS guide to watering containers)
Use a finger, bamboo skewer, or moisture probe to sample below the surface. Compare the reading with the plant’s preference: succulents and many Mediterranean herbs need a more substantial dry-down, while leafy annuals, vegetables, and thirsty tropicals may need water while the mix is still slightly moist. The test is a decision aid, not a reason to keep every plant on the same rhythm.
Use a slow, thorough watering routine
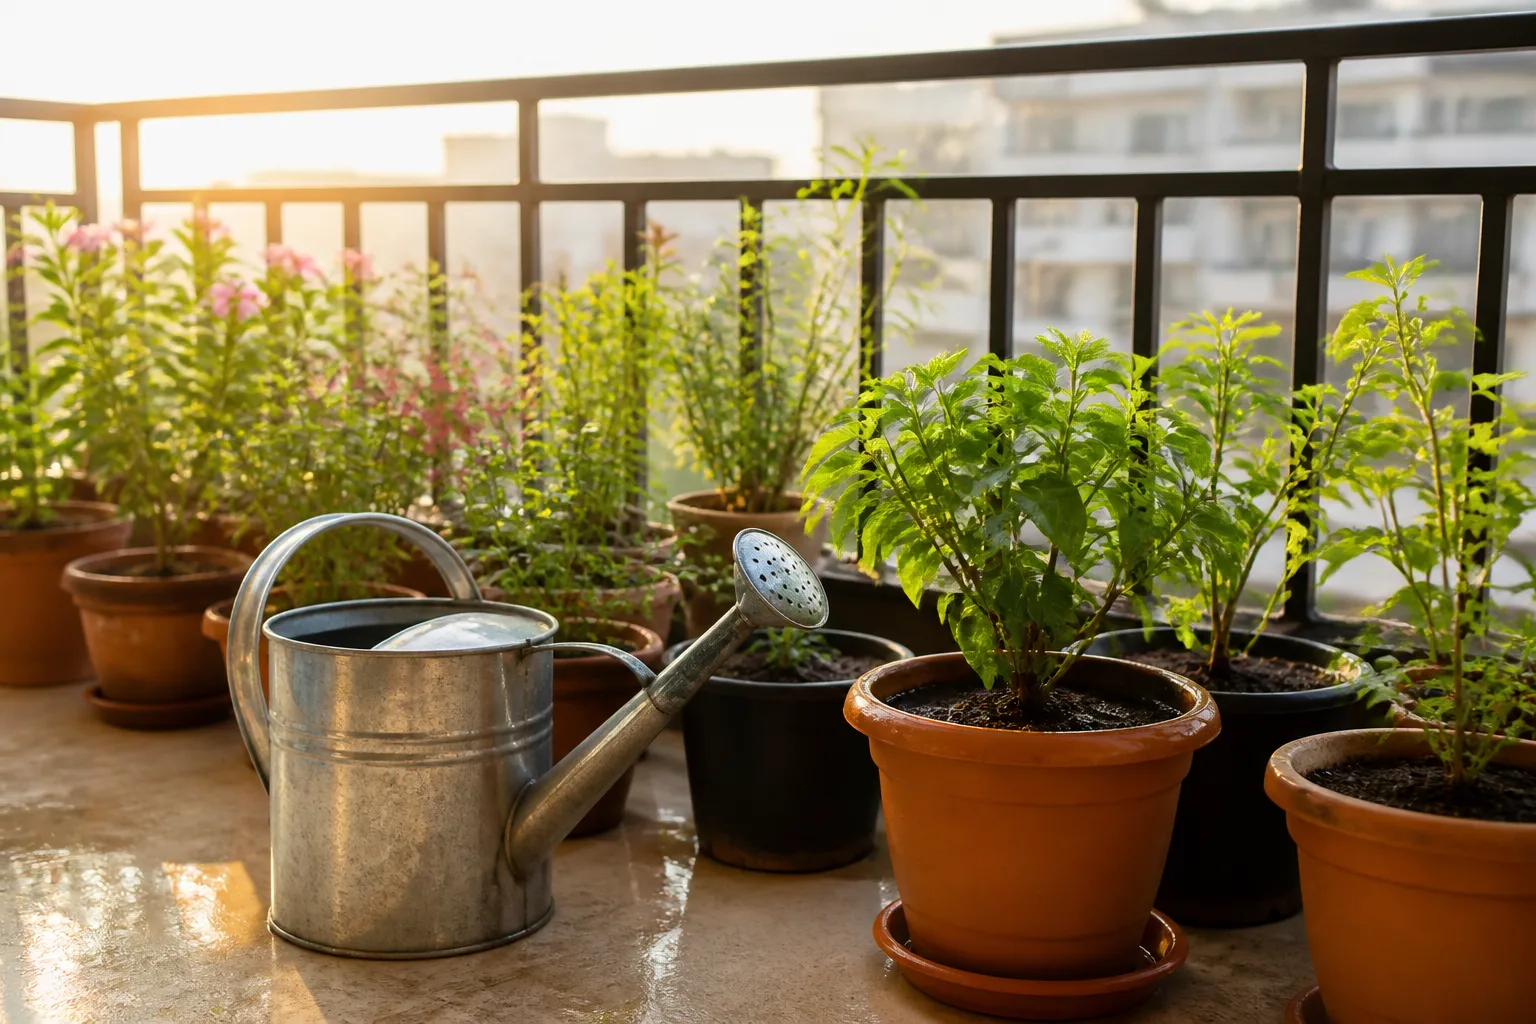
Water in the early morning when practical, before the hottest part of the day. Water at the mix around the base rather than spraying the whole canopy, because foliage intercepts water that roots need and wet leaves can stay damp into the evening. A late-day rescue is fine when the plant is truly dry, but aim the water at the root zone.
Pour slowly enough that the mix can absorb it. Wet the entire surface, pause for a minute, then repeat if the first pass ran through dry channels. Once the mix is evenly damp and a small amount begins to emerge from the drainage holes, stop and allow the pot to finish draining. Do not leave the container sitting in runoff for hours; empty a saucer after the plant has had a chance to reabsorb a little excess.
On a day above 90°F (32°C), use the temperature as a prompt to inspect more often, not as an automatic instruction to water twice. If the pot is already moist at root depth, more water may remove air from the mix and worsen heat stress. If it is dry and light, water thoroughly, then consider changing the exposure so the plant does not repeat the same crisis tomorrow.
Rain deserves a check, too. A brief shower may hit the upper leaves and the edge of a crowded container while leaving the center of the root ball dry. Tip the foliage aside, test the mix, and water only if the depth and pot weight show that the plant still needs it.
Mulch the surface without suffocating the stem
A thin surface layer reduces evaporation and keeps the upper mix from heating and crusting. Fine bark, compost, shredded leaves, clean straw, or small gravel can work, but the best material depends on the plant and the look you want. Organic mulch breaks down and may add some fertility; gravel shades the surface but does not hold water inside the pot.
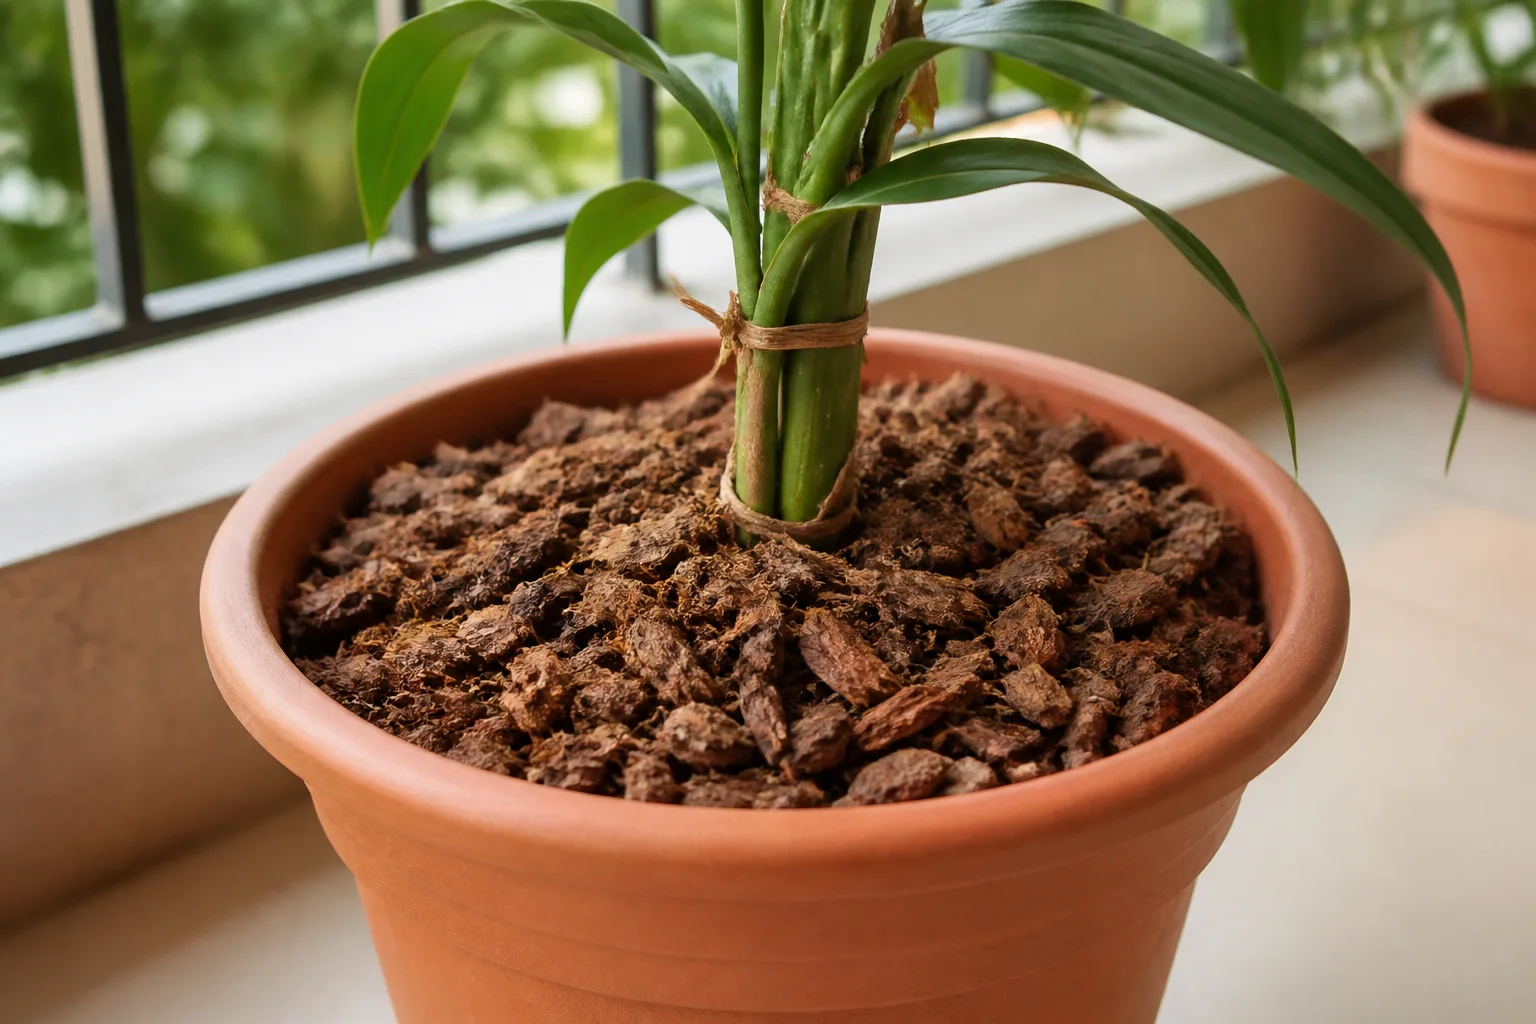
Use about 1 inch in a small container and up to 2 inches in a larger one. Keep the mulch away from the main stem or crown, leaving a visible ring of mix so moisture and organic material do not stay pressed against tender tissue. Do not pile mulch over a succulent crown or use a thick wet blanket on a pot that already drains slowly.
Mulch is a moisture brake, not a replacement for water. Check below it before watering, because the surface can look dry or damp while the root zone tells a different story. Practical summer container advice from Yard Butler also pairs a thin mulch layer with shade and grouping, a useful reminder that several small reductions in heat and evaporation work better than relying on one miracle amendment. (How to Keep Container Gardens Thriving in the Summer Heat)
Rework the location: light, shade, wind, and hot surfaces
Move a struggling container before buying another product. Morning sun with afternoon protection is often a better summer position than full exposure from sunrise to sunset, especially for plants grown for foliage or for containers that heat from all sides. A patio umbrella, shade cloth, porch edge, taller neighboring plant, or west-side wall can reduce the most punishing hours without putting a sun-loving plant into deep shade all day.
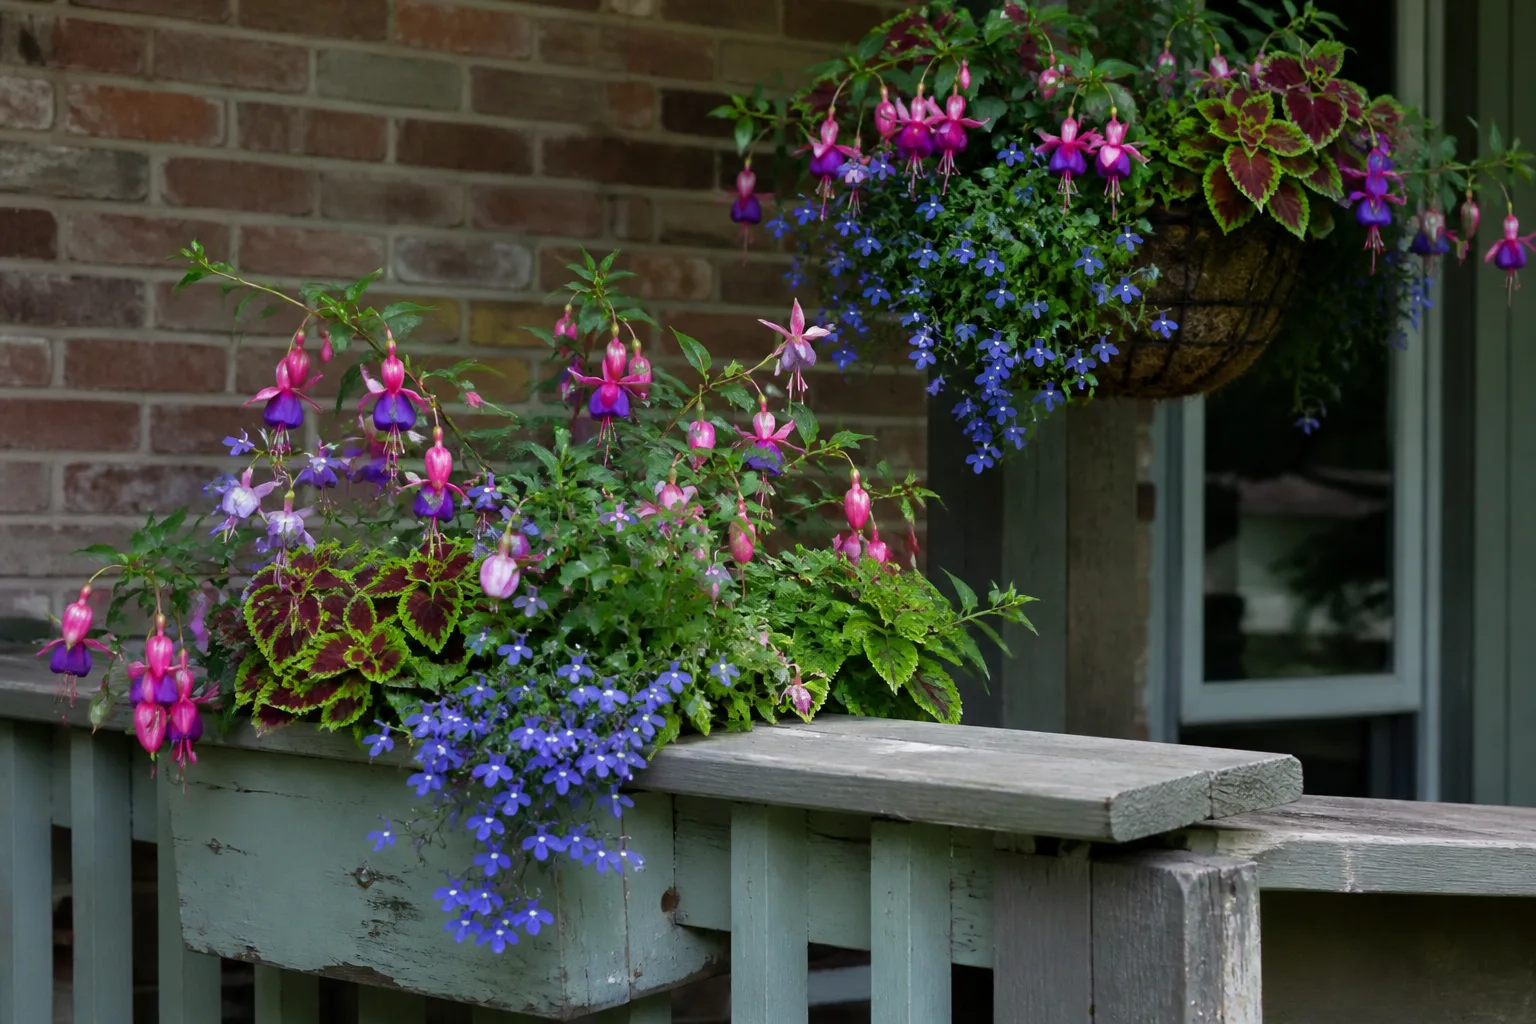
Protect the roots from radiant heat as well as direct sun. Dark paving and walls can send heat back into the pot, and a metal container can become far hotter than the surrounding air. Raise pots off hot surfaces, use a light-colored outer pot as a sleeve, or shift the group onto a cooler surface during a heat wave.
Wind is a hidden source of rapid drying. A breezy balcony can pull moisture from leaves and mix faster than a sheltered patio, while tall plants may rock enough to break new roots. Place containers near a stable windbreak, but leave enough airflow between foliage for leaves to dry after rain and for pests to be noticed.
Group pots to create a better microclimate
Cluster containers by similar water needs rather than creating one dense mass of unrelated plants. Close grouping shades pot walls and the surface of smaller containers, makes irrigation faster, and gives you a single area to inspect. Put the thirstiest or smallest pots toward the center, and keep drought-tolerant plants at the hotter outer edge.
Grouping is not permission to crowd leaves together. Leave space for air circulation, especially if a plant is prone to mildew or leaf spots. If a plant needs full sun to flower, keep it at the brighter edge and shade only its pot or the hottest afternoon side.
Feed for steady growth instead of emergency rescue
Containers have limited reserves, and regular watering can move soluble nutrients through the drainage holes. That does not mean a heat-stressed plant needs a strong fertilizer dose. Roots that are dry, overheated, or oxygen-starved are poor candidates for feeding, and extra salts in a struggling pot can add another source of root damage.
Stabilize water and temperature first. Once the plant is hydrated and producing or maintaining healthy growth, use a complete fertilizer at the label rate and timing for that crop. Slow-release products can make feeding more even in a mixed container, while liquid products are easier to adjust for an actively growing vegetable or flowering annual; neither should be applied more often than the label allows.
Watch for a pale plant, slow growth, or reduced flowering only after ruling out low light, root restriction, drought, and saturated mix. The heat-stress literature links high temperature with reduced nutrient uptake and altered water relations, so a fertilizer response may be limited until the root environment improves. If white crust appears on the mix or pot rim, pause feeding and use the product label or local extension guidance for a safe flushing plan rather than adding more fertilizer.
Prune and deadhead to keep the canopy balanced
Summer plants often look tired because spent flowers, long bare stems, and damaged leaves are using space without contributing much to the display. Pinch or trim lightly after the plant has been watered and the day has cooled. Remove spent blooms before they become a seed-making project when the plant is an annual selected for continuous flowering, and harvest herbs frequently enough to encourage fresh branching.
Avoid a hard haircut during the hottest part of a heat wave. Leaves provide shade for stems and roots, and suddenly removing too much foliage can expose previously protected tissue to sun. Remove dead, diseased, or badly scorched material first, then wait for stable conditions before doing structural pruning.
Pruning cannot compensate for a pot that is root-bound or chronically dry. If new growth is small, the mix dries within hours, and roots circle densely at the drainage holes, plan a repot after the immediate heat passes. Move up modestly and avoid placing a severely stressed plant into a huge volume of wet mix.
Make vacation watering dependable
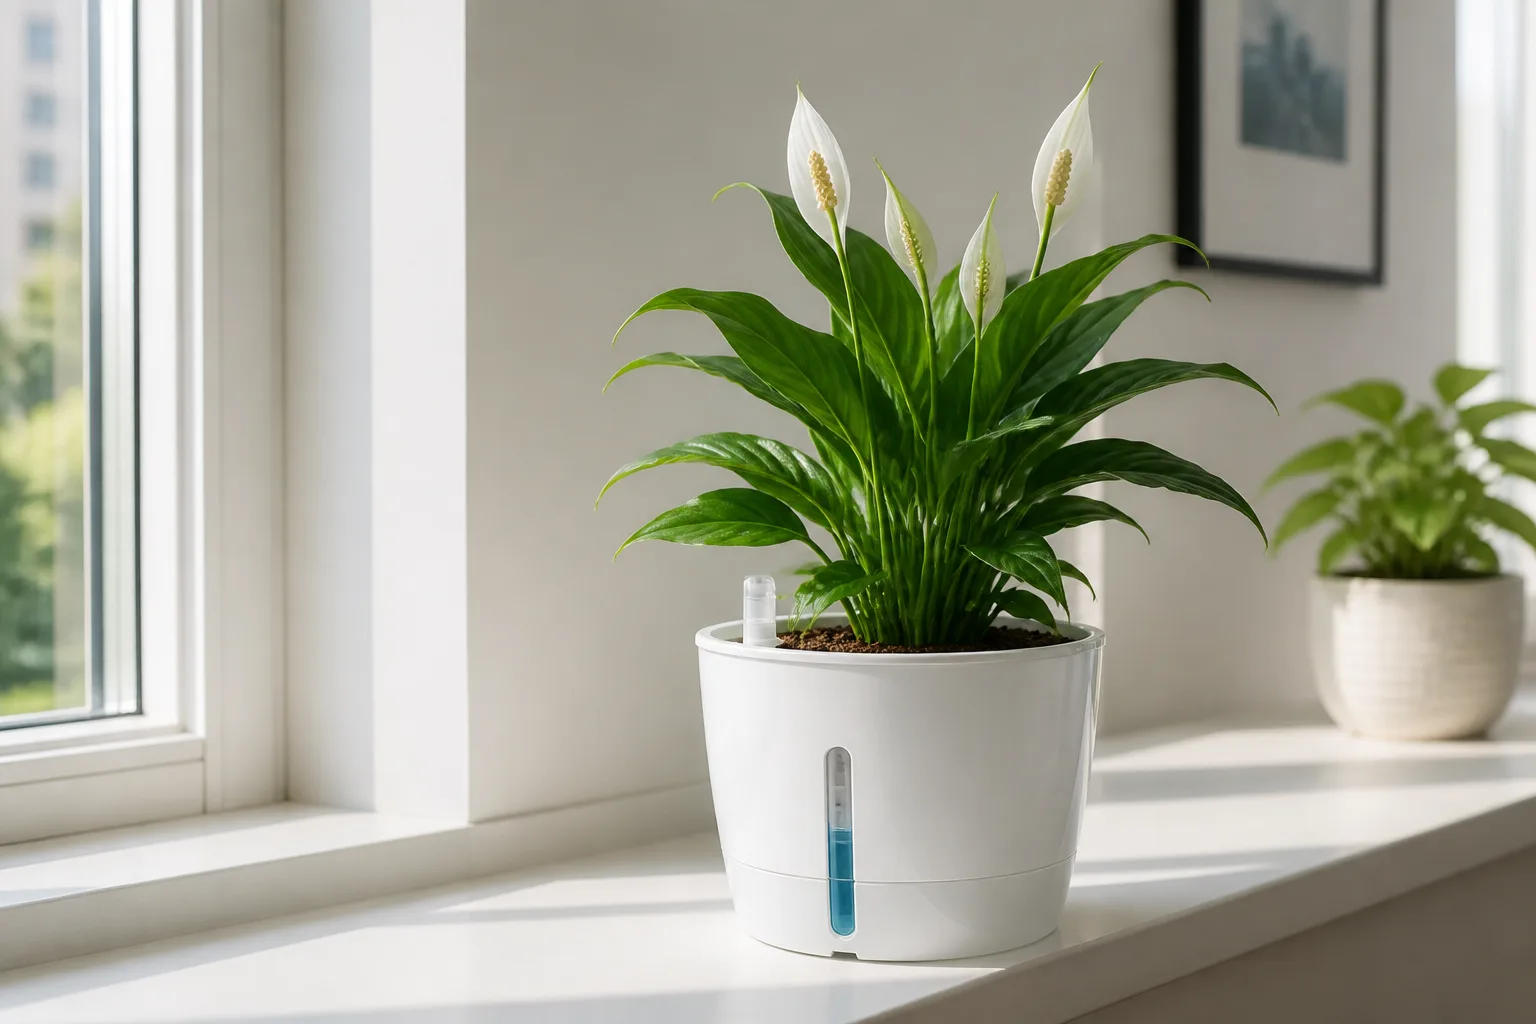
Treat an absent-week setup as an irrigation project, not a last-minute bottle trick. Before leaving, water according to the normal moisture test, move containers out of their harshest afternoon exposure, group them where they can be checked, and apply a clean surface mulch. A self-watering pot, reservoir insert, wick, olla, or drip line can all help, but each delivers water at a different rate.
For a few small pots, a tested wick or bottle spike may cover a short absence. For a larger collection or a longer trip, a timer-controlled drip system is easier to scale and inspect. Give thirsty plants separate emitters from drought-tolerant ones, and do not route every container into one schedule if their light, size, and mix differ.
Test every drip, wick, or reservoir before leaving
Run the system for several days while you are home. Check whether the water reaches the center of the root ball, whether the emitter clogs, whether the reservoir empties too soon, and whether a saucer overflows. A system that technically releases water can still fail if it wets only one corner or keeps a slow-draining pot saturated.
Keep a backup plan for valuable or newly planted containers. Ask someone to check the collection on a longer trip, leave a simple map of which pots are thirstiest, and have them lift or probe a sample rather than watering everything blindly. Never depend on a single untested bottle for a week of extreme heat.
Diagnose wilt before adding more water
Wilting is a symptom, not a diagnosis. Check the mix below the surface, the pot weight, the drainage holes, the recent weather, and the position of the container before changing the routine.
If the mix is dry and the pot is light, rehydrate slowly. Water in stages so a dry mix can absorb instead of shedding water down a gap at the edge. If the plant is in strong afternoon sun, move it temporarily to bright shade and remove only leaves that are fully dead; a wilted plant may recover once the root ball is moist and cooler.
If the mix is wet and the plant still wilts, stop adding water. Inspect for blocked holes, a saucer that never empties, an oversized pot, compacted mix, or damaged roots. Brown, mushy roots and a sour smell point toward root stress or rot rather than thirst, and the remedy is improved drainage and a root-zone assessment—not another evening soak.
Bleached or crisp patches on the sun-facing side can be scorch, especially after a plant was moved suddenly into stronger light. Protect it from the hottest hours and acclimate gradually when returning it to sun. Yellow lower leaves can also follow overwatering, nutrient imbalance, or normal aging, so do not treat leaf color alone as proof that fertilizer or water is missing.
Check leaf undersides and new growth while you are troubleshooting. Heat-stressed plants can be more vulnerable to pests, and sticky residue, fine webbing, clusters of insects, or distorted new leaves may require isolation and a plant-specific pest plan. Keep the diagnosis narrow: solve moisture and exposure first, then address pests or nutrition with the least disruptive step.
Use a simple weekly summer routine
Once a week, inspect every pot rather than watering on autopilot. Check the top and middle of the mix, lift the smallest containers, clear drainage holes, empty old saucer water, rotate plants if growth is uneven, and look under leaves for pests. Scan for roots emerging from holes, soil pulling from the pot wall, or a canopy that has outgrown its water supply.
On hot or windy days, make a shorter morning round. Water only the containers that fail their moisture test, then revisit the smallest or most exposed pots in the afternoon. Move plants before they reach collapse, remove spent flowers, harvest herbs, and adjust shade as the sun’s angle changes.
Keep a brief note for the first two weeks of a heat spell: pot type, last watering, weather, and whether the plant looked better by evening. That record turns “it always dries out” into a clear choice—larger pot, different mix, more shelter, a separate emitter, or a plant better matched to the location.
Conclusion
Lush container plants come from reducing stress before it becomes visible. Give roots a draining but moisture-buffered mix, use a pot that fits the plant, keep the container off punishing heat, and let the root-zone check—not a fixed schedule—decide when to water.
Mulch the surface with a stem gap, group compatible pots, provide afternoon relief, and feed only after water and temperature are stable. For travel, shade and mulch are useful support, but a tested drip, wick, or reservoir is what makes the plan dependable. When a plant wilts, inspect first; the fastest route to recovery is knowing whether the pot is truly dry, dangerously wet, overheated, or being attacked by something else.