What to Do With Dead-Looking Winter Houseplants
Before you toss a dead-looking winter houseplant, run three quick tests for dormancy vs decline, then follow this step-by-step revival plan from root check to recovery care.
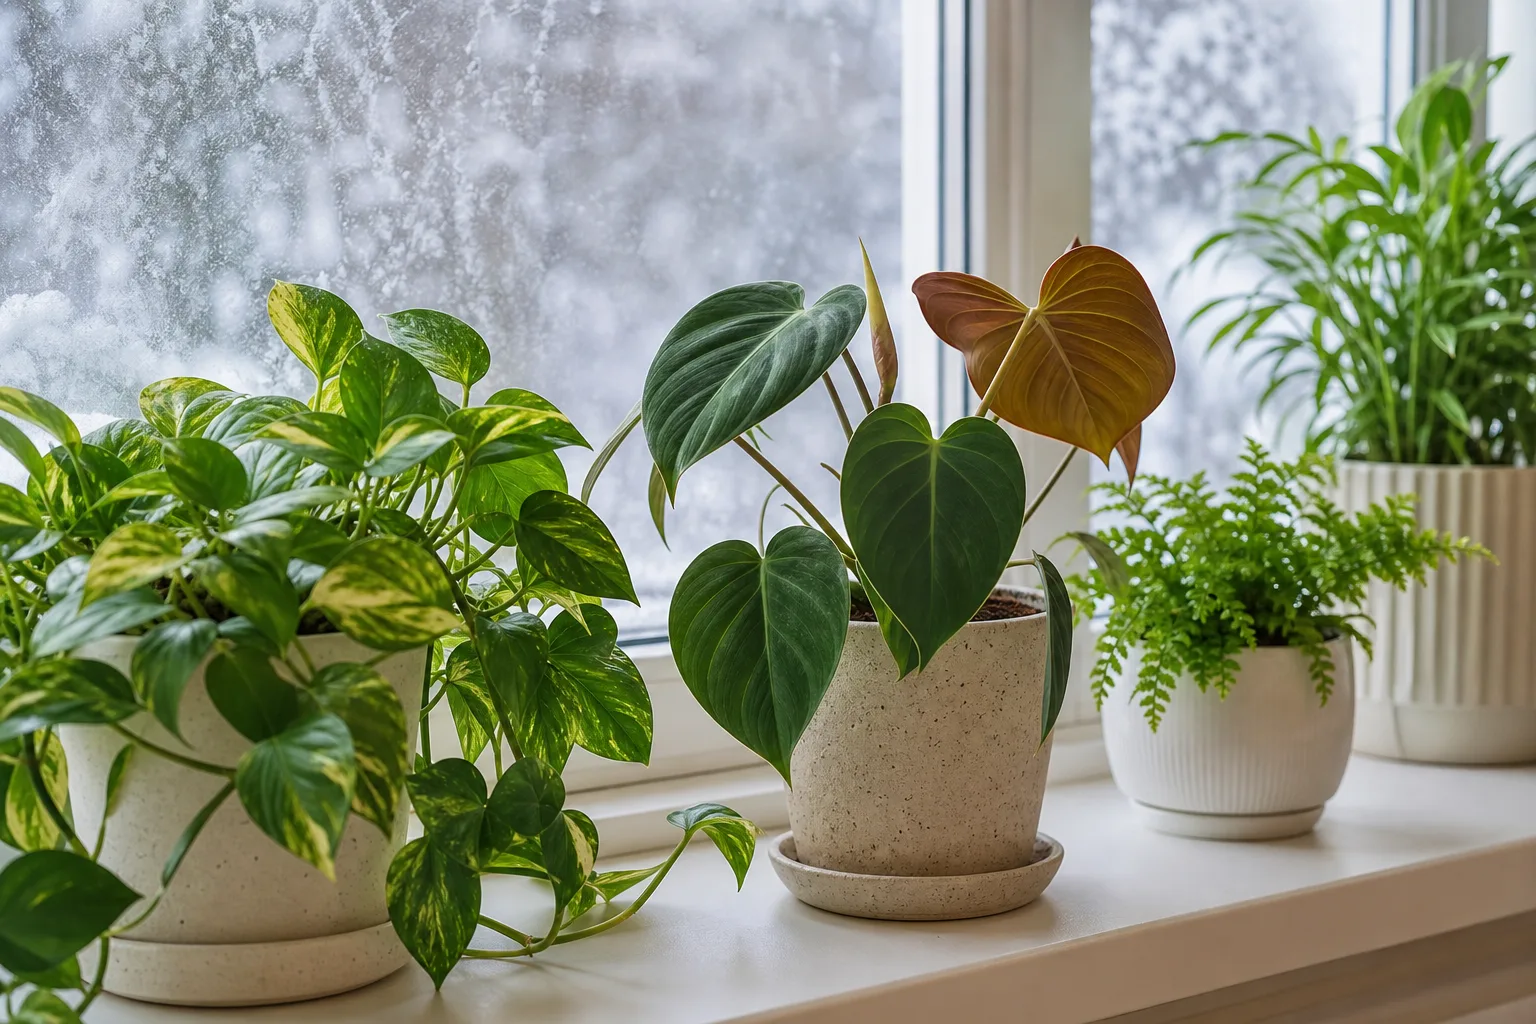
Your fiddle leaf fig looks like a stick with crumpled napkins attached. The pothos vine has gone limp and yellow. The alocasia dropped every leaf and left you staring at bare soil. In February, it is easy to assume the plant is finished — and honestly, sometimes it is. But winter is also when houseplants look their worst for reasons that have nothing to do with death: shorter days, dry heated air, cold windowpanes, and watering habits that made sense in July but drown roots in January.
The short answer: before you toss anything, run three checks — scratch a stem for green cambium, inspect the roots for firm white tissue versus mush, and look for plump growing points at nodes or under the soil line. Any live tissue means the plant may be dormant or stressed, not gone. Trim dead growth, fix root problems, repot into clean mix if needed, place the plant in stable bright indirect light, water sparingly, and hold fertilizer until you see healthy new growth. If every test fails, compost it — or take a cutting first if any stem is still green.
Start With One Question — Dormant, Stressed, or Gone?
Houseplants do not die all at once. They decline along a spectrum. Dormant or winter-resting plants slow metabolism, may shed leaves, and can look bare for weeks while roots and buds stay alive underground. Stressed plants are actively struggling — usually from overwatering, underwatering, cold drafts, or too little light — but still have recoverable tissue if you correct the cause. Gone plants have no green cambium, no firm roots, and no living meristems anywhere.
Your first job is sorting which category you are in. That single decision keeps you from throwing out a sleeping caladium and from wasting another month on a peace lily whose crown has already rotted through.
Why Winter Makes Houseplants Look Worse Than They Are
Indoor plants respond to photoperiod — hours of daylight — even when your thermostat never drops below 68°F. Shorter days signal many tropical species to throttle growth. RHS guidance on poorly houseplants notes that problems often spike in winter because growth slows while owners keep watering on a summer schedule. Soil stays wet longer. Roots sit in low-oxygen conditions. Leaves yellow and drop because the root system cannot supply water, which creates the cruel illusion of thirst.
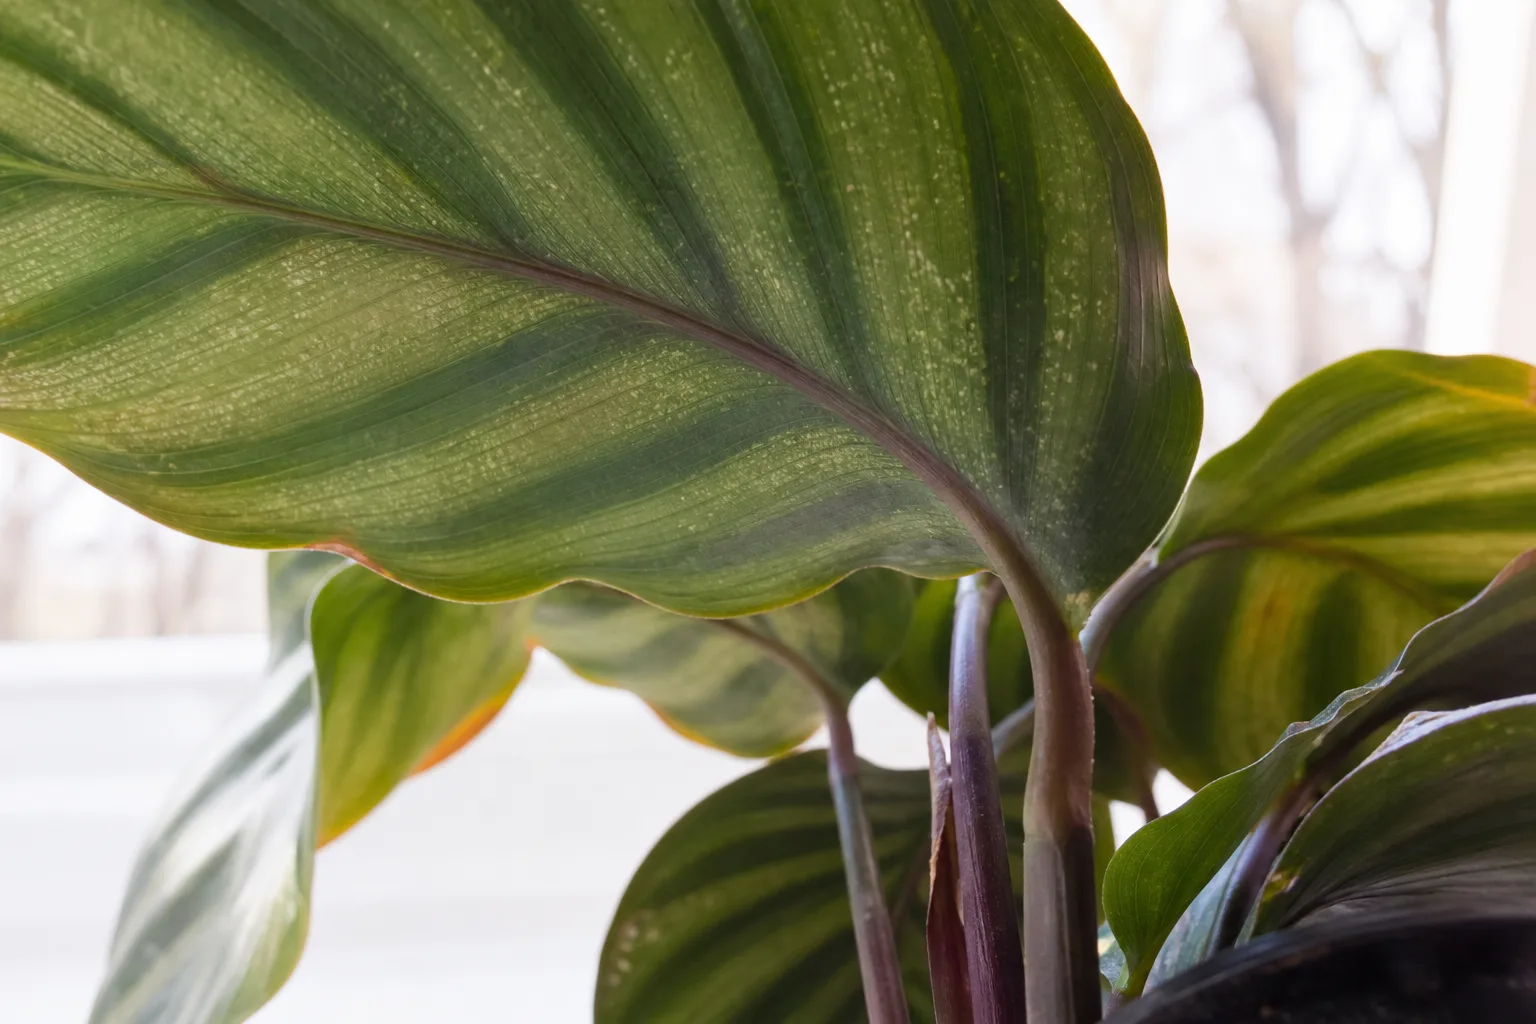
Winter also brings dry air from heating systems. Ferns, calatheas, and other humidity lovers develop crispy edges and limp foliage that reads as “dying” when the plant is actually dehydrated at the leaf surface. Cold glass against leaves on a windowsill can cause blackened patches and sudden collapse that looks fatal but may only affect exposed tissue. For a deeper read on seasonal leaf loss that is not necessarily death, see why houseplants drop leaves in winter.
Three Fast Tests Before You Open the Trash Bag
You do not need a lab. You need five minutes, clean hands, and the willingness to unpot something that already looks terrible.
The Scratch Test on Stems
The scratch test checks whether the cambium — the thin green layer just under the bark or outer stem skin — is still alive. With a fingernail or the back of a knife, gently scrape a small patch on the stem, starting near the top and working down if needed.
Bright green underneath means active, healthy tissue. Pale green or cream means alive but stressed or dormant — very recoverable. Brown, grey, or dry and fibrous means that section is dead; move lower and test again. If every scrape is brown from tip to soil line, the above-ground stem is gone, but the plant may still live from the base or roots — so do not stop here.
Woody plants like fiddle leaf figs, dracaenas, and mature rubber trees respond especially well to this test. Soft-stemmed plants like pothos and philodendron may be too tender to scratch cleanly; skip to the root check instead.
The Root Check
If foliage is inconclusive — or the plant has died back to the soil line — slide it out of the pot and look at the roots. This is the single most informative step most people skip.
Healthy or dormant-but-alive roots are white to tan, firm, and smell like clean soil. Rhizomes and tubers (ZZ plant, alocasia, caladium) should feel plump, not shriveled or mushy. Dead or rotting roots are black or dark brown, soft, slip off when pinched, and often smell sour or sulfurous. University of Maryland Extension lists dark mushy roots alongside yellowing leaves and persistently wet soil as classic overwatering damage.
You do not need 100% healthy roots to save a plant. If even 20–30% of the root mass is firm and white, and the crown or tuber is solid, recovery is realistic after trimming rot and repotting. If every root is mush and the base wobbles, you are likely past the point of rescue.

The Growing-Point Check
Every plant has meristems — growing points where new leaves and shoots form. On vining plants, look at nodes along the stem for small green bumps. On rosette plants, check the center crown. On tuberous species, look for eyes on the corm or tuber under the soil.
Plump, green, or slightly swollen points mean the plant can push new growth when conditions improve. Dry, papery, brittle nodes that snap cleanly with no flex suggest that section is dead. Finding even one live growing point is enough to justify a rescue attempt — especially if you pair it with the dormancy vs wake-up signs once days lengthen in late winter.
What Winter Stress Actually Looks Like
Dead-looking is not a diagnosis. It is a symptom bucket. Before you cut, repot, or toss, match what you see to the most likely winter driver.
Low light produces pale, stretched, or drooping foliage that may yellow from the bottom up. The plant is alive but cannot photosynthesize enough to support every leaf. Dry air causes brown crispy tips and margins while stems stay firm — classic on ferns and calatheas. Cold damage shows as blackened, water-soaked patches on leaves touching glass or sitting in a draft; stems may still be green below the damage line.
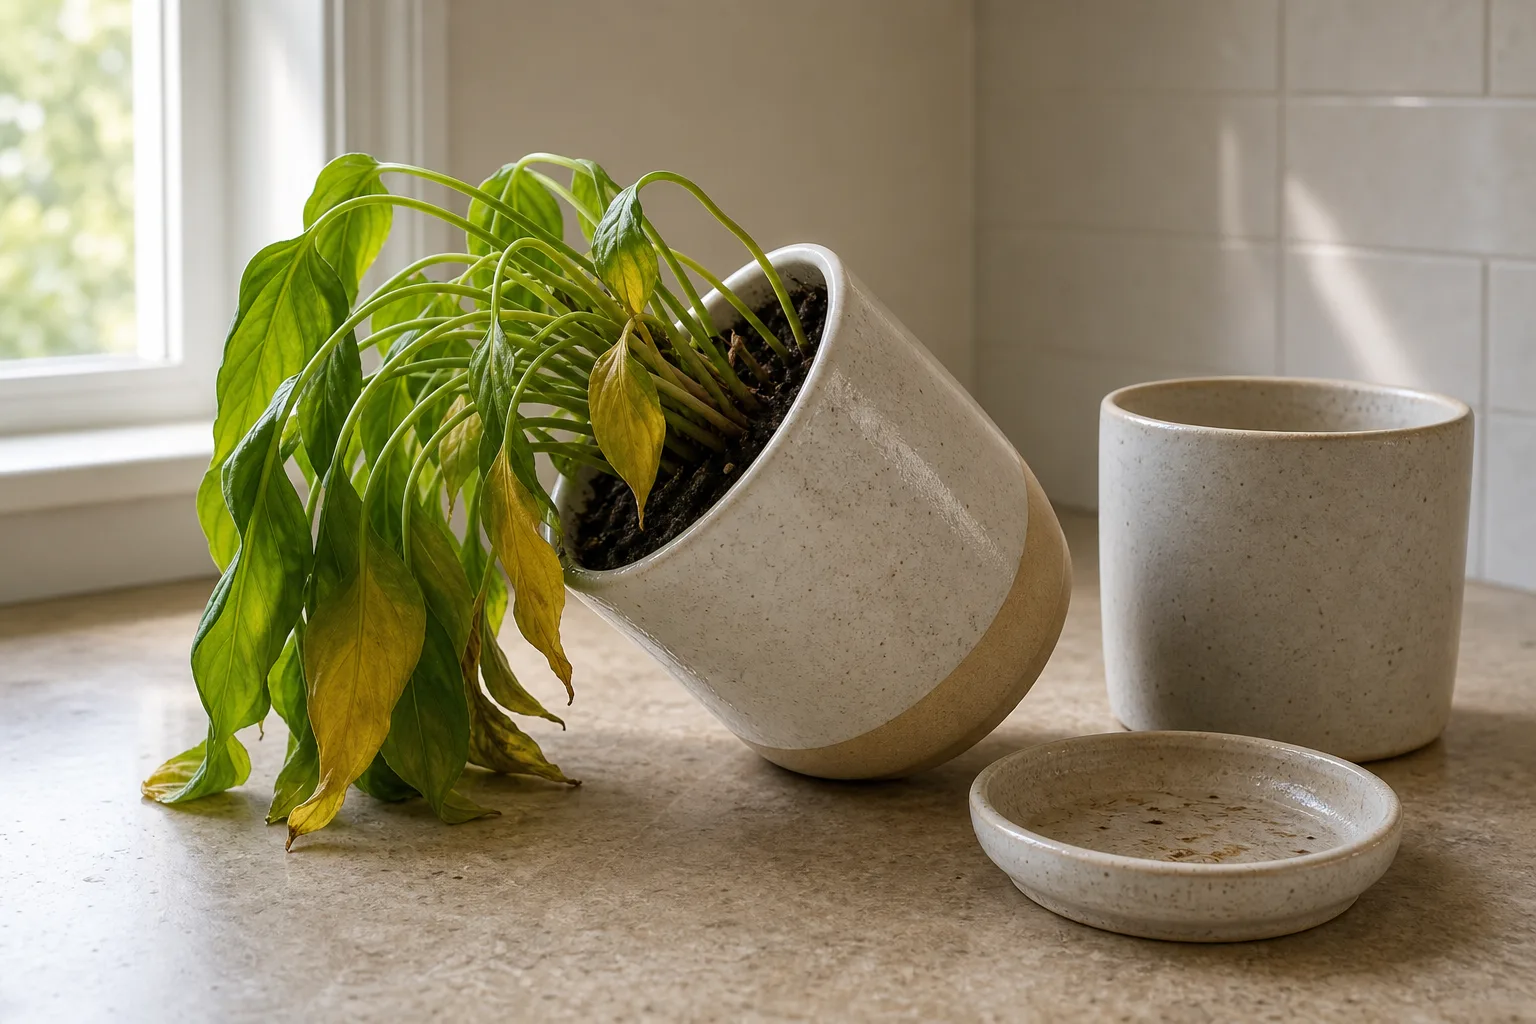
Sudden collapse after a missed watering — common on peace lilies — can look like death. Spathiphyllum are dramatic wilt machines. A thorough bottom soak often perks them up within hours if roots are still healthy. That is stress, not dormancy, and it does not require repotting.
Overwatering vs Underwatering in Cold Months
This is the winter trap. Growth slows, so soil dries slowly. Many owners keep watering weekly out of habit. Saturated mix drives root rot, and the plant wilts while wet because damaged roots cannot absorb water. That wilting triggers more watering, and the cycle finishes the plant.
Overwatering signs: soil wet for days, sour smell, yellow leaves dropping from old and new growth together, brown mushy stems at the base, black slimy roots. Underwatering signs: lightweight pot, soil pulled away from the sides, crispy brown leaf edges, soft shriveled leaves on succulents, roots pale and dry but still firm — not mushy.
If the pot feels heavy and soil is dark and clinging, stop watering immediately and read the full overwatered plant rescue workflow before you add another drop. If the pot is light and soil is dusty, bottom-water once and reassess in 24 hours before assuming the worst.
Step-by-Step Revival When the Plant Is Still Alive
Once any test shows live tissue, treat the plant like a patient leaving surgery — gentle, sterile, and boring for a while.
Trim Dead Foliage and Sterilize Your Tools
Remove fully brown, black, or mushy leaves and stems. RHS advice on poorly houseplants recommends cutting mouldy or completely brown tissue because it will not green up again and can harbor pathogens. Leave mostly green leaves even if they look sad; they are still photosynthesizing.
Use sharp scissors or pruners wiped with rubbing alcohol between cuts, especially if you suspect rot. Cut back to just above a live node on vines. On woody plants, prune to just above a green scratch-test zone. If healthy foliage remains, take a propagation cutting now — insurance if the parent declines further.
Treat Root Damage and Choose the Right Pot Size
Unpot the plant and rinse soil from the roots with lukewarm water so you can see everything. Trim soft, black, or hollow roots back to firm white tissue. Let slightly damaged roots be; they often regrow.
For wet rot, some growers spray trimmed roots with a diluted 3% hydrogen peroxide solution (one part peroxide to four parts water) or apply a biofungicide drench. Wisconsin Horticulture emphasizes that trimming and repotting in fresh pasteurized mix is the primary fix for root rot — not chemical dips alone. Hydrogen peroxide kills pathogens but also damages beneficial root-zone microbes, so treat it as emergency life support, not routine care. Full detail lives in root rot on houseplants and damaged roots.
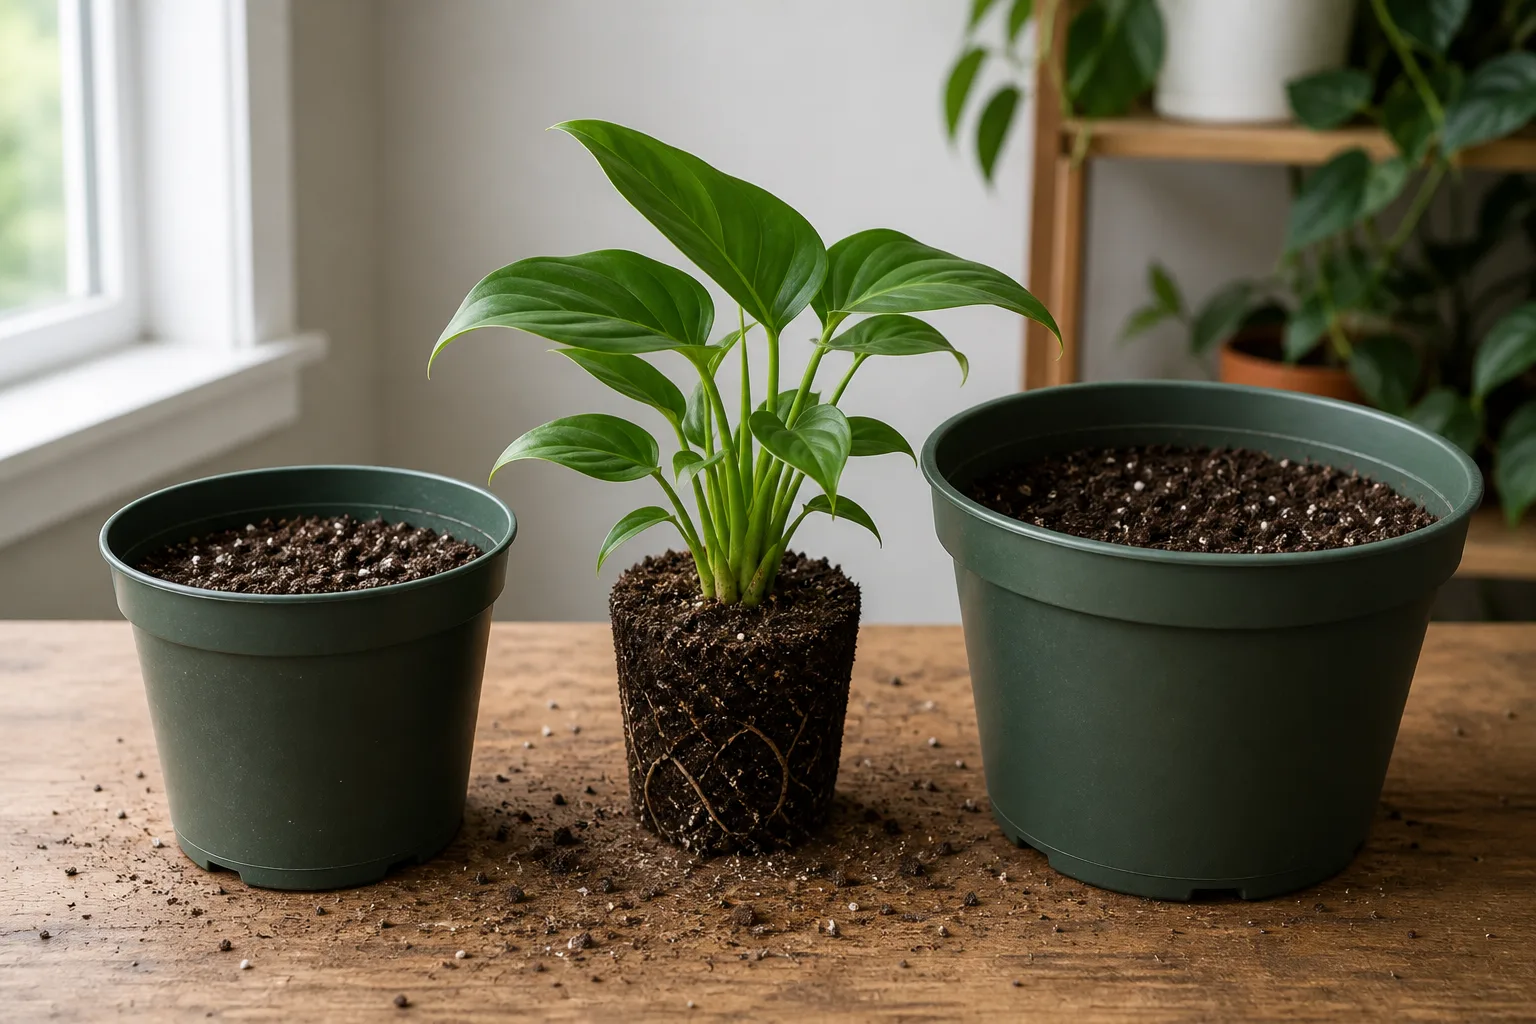
Here is the pot-size rule many articles miss: if you removed more than a third of the root mass, downsize to a smaller pot, not a larger one. Orchids especially need tight fits after heavy root loss. A huge pot full of wet soil around a tiny root ball is how winter rescues fail in March.
Repot With Fresh Mix — Not Recycled Soil
Repot into fresh, well-draining houseplant mix matched to the species — not the old soggy soil, which can carry pathogens. Missouri Botanical Garden guidance on overwatering stresses that contaminated mix reinfects trimmed roots.
Wash the old pot with hot soapy water or a 10% bleach rinse if you reuse it. Ensure drainage holes are open. Set the plant at the same depth it grew before; burying a crown that was exposed invites rot. Water lightly once to settle mix, then let the top few centimeters dry before watering again. Our repotting houseplants guide walks through mix choice and aftercare if you want a full refresher.
Recovery Conditions for the Next Few Weeks
Revival is not one dramatic repot — it is two to six weeks of stable conditions while the plant rebuilds roots before it can afford new leaves.
Place the plant in bright indirect light, not direct sun on a bare stem. A recovering root system cannot support leaves in harsh sun. Keep temperatures steady — roughly 65–75°F for most tropicals — away from heater blasts and cold window glass. Group plants or use a pebble tray if dry air was part of the problem.
Check the plant every few days, but resist the urge to “do something” daily. Lift the pot to judge weight. Sniff the soil surface. Look for new buds, not instant lushness.
When to Start Watering Again (and When to Hold Off Fertilizer)
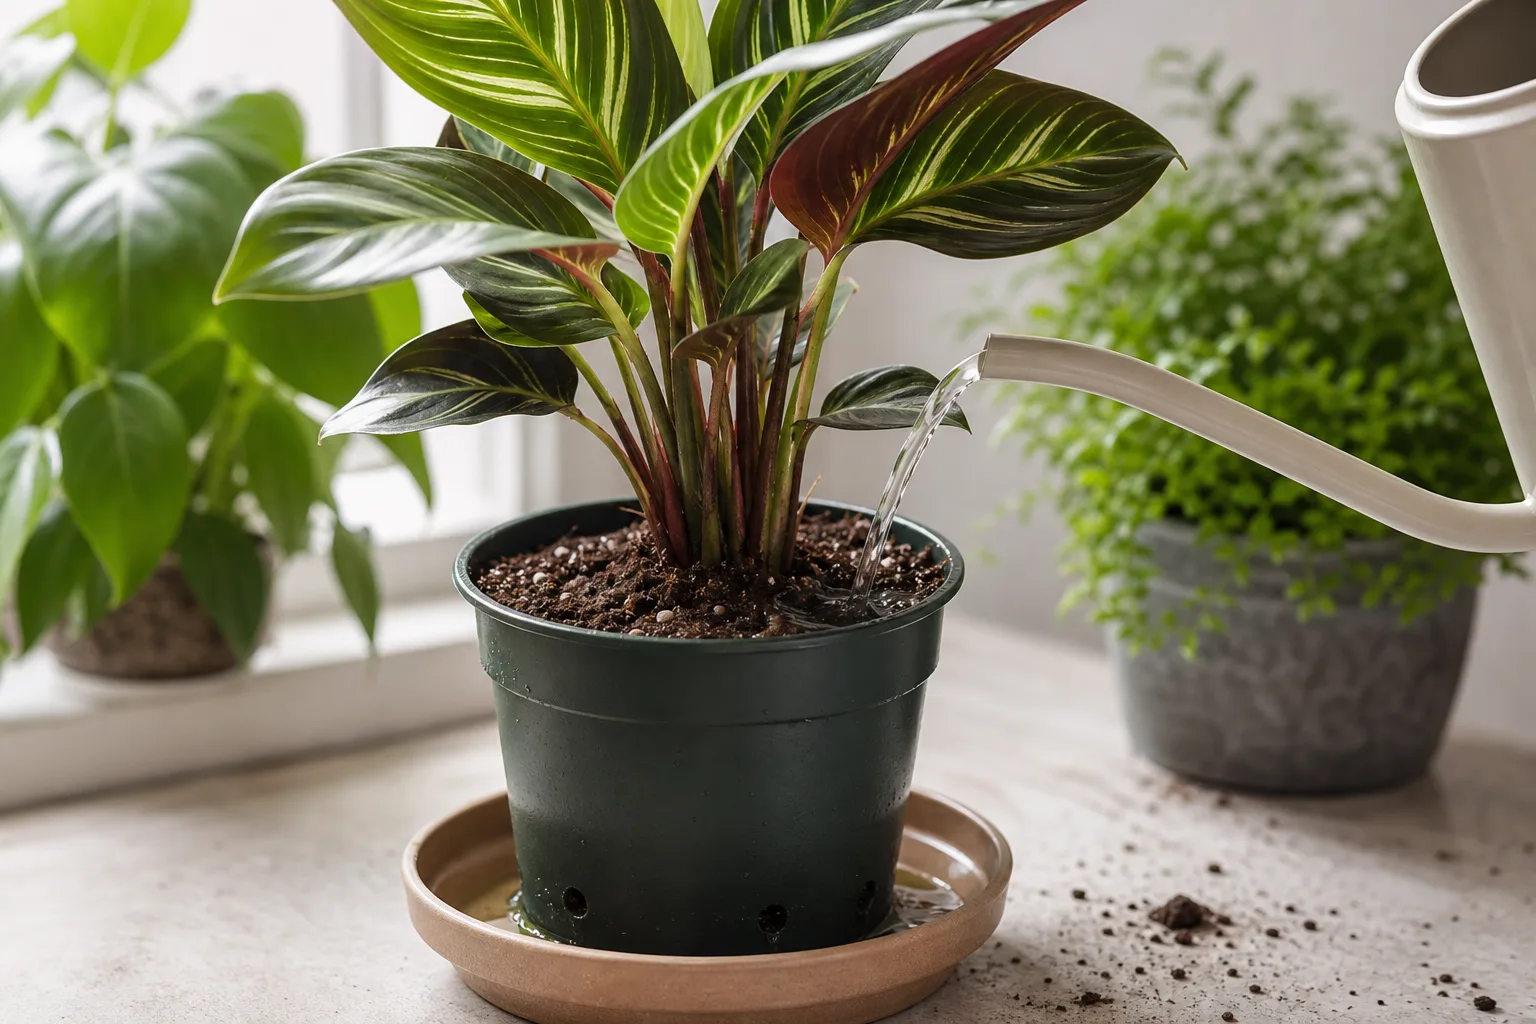
Water when the top 2–3 cm of soil is dry for most tropical foliage plants in recovery — not on a calendar. Succulents in winter rest may need even longer dry intervals. Bottom-watering works well for plants with fragile new roots because it draws moisture upward without saturating the crown.
Do not fertilize a plant in survival mode. Iowa State University Extension advises fertilizing houseplants only during active growth; salts from fertilizer on a reduced root system burn tender tissue. Wait until you see clearly healthy new growth — an unfurling leaf, a firm new shoot — then apply half-strength liquid feed once. Ramp to normal growing-season feeding only after several weeks of stable expansion.
Plants That Look Dead but Routinely Go Dormant
Some of the scariest winter pots are completely normal. Knowing which species die back on purpose saves you from composting a sleeping tuber.
Alocasia often drops every leaf when light drops or temperatures dip. The corm under the soil stays firm. Cut dead petioles, reduce watering to barely moist, and wait for warmth and longer days. Caladium vanishes above ground from autumn to spring; the tuber is the plant. Oxalis triangularis folds and sheds after blooming cycles; bulbs remain viable. Christmas cactus (Schlumbergera) can look limp post-bloom — light water and patience, not panic repotting. ZZ plant (Zamioculcas) slows dramatically in low light; rhizomes store water and can sit nearly idle for months.
Peace lilies are the opposite pattern — they collapse from drought, not dormancy, and often bounce back fast with water. Do not confuse the two. If you are unsure whether your plant is resting or waking, cross-check the four spring growth signs once February light strengthens.
When Propagation Is Your Best Insurance Policy
If the plant still has healthy green stems or leaves but the root situation looks dicey, take cuttings before you do anything drastic. A node cutting of pothos, philodendron, or tradescantia in water gives you a backup plant that may outgrow the parent.
Division works for snake plants, spider plants, and crowded peace lilies with multiple crowns. For woody plants with one main stem, air layering is slower but possible if a branch still passes the scratch test. Propagation does not save a plant with crown rot — but it turns a partial loss into a fresh start instead of a total one.
When to Compost the Plant Honestly
Kindness includes knowing when to stop. Holding a rotting corpse on the windowsill for months helps nobody — and risks spreading fungus gnats or pathogens to neighbors.
Compost when all three are true: scratch tests are brown from top to base, every root is mushy or absent with a foul smell, and no growing points show green or plump tissue. Crown rot on succulents — a black spreading base — rarely recovers. Severe stem rot on a single-stem fiddle leaf fig with no lateral buds is similarly terminal.
If tests are borderline — a faint pale green scratch, one firm root, a tiny node bump — give the plant six to eight weeks in improved conditions before the final toss. Many “dead” plants in online forums were sleeping. The ones that fail in that window were already gone; you lose nothing by waiting once.
Prevent Next Winter’s Panic
Most February rescue missions trace back to habits you can fix before next December. Match watering to soil dryness, not the calendar — stick a finger in or lift the pot. Move plants closer to windows or add a grow light when days shorten; wipe dust off leaves so light actually lands. Keep foliage off cold glass and away from heating vents. Reduce fertilizer in late autumn when growth slows.
Build a simple winter roster: which plants go truly dormant (reduce water sharply), which only rest (slow water slightly), and which stay active under lights (normal care). That one list prevents half the “is it dead?” crises before they start.
Conclusion
A dead-looking houseplant in winter is a decision problem, not a disposal problem. Run the scratch test, root check, and growing-point check before anything hits the compost bin. If live tissue remains, trim the dead, fix roots, repot clean, place the plant in stable bright indirect light, water sparingly, and withhold fertilizer until healthy new growth proves the roots are working again. Know which species routinely die back to soil — and which ones are simply drama queens that need water. Take cuttings when you can. Compost honestly when every test fails. Fix the winter habits that caused the mess, and next year you will spend less time wondering whether your plants are ghosts or just resting.



