What to Do With Old Mulch in Spring
Learn when old mulch is safe to reuse, what to remove, and how to refresh a spring bed without burying seeds or smothering new transplants.
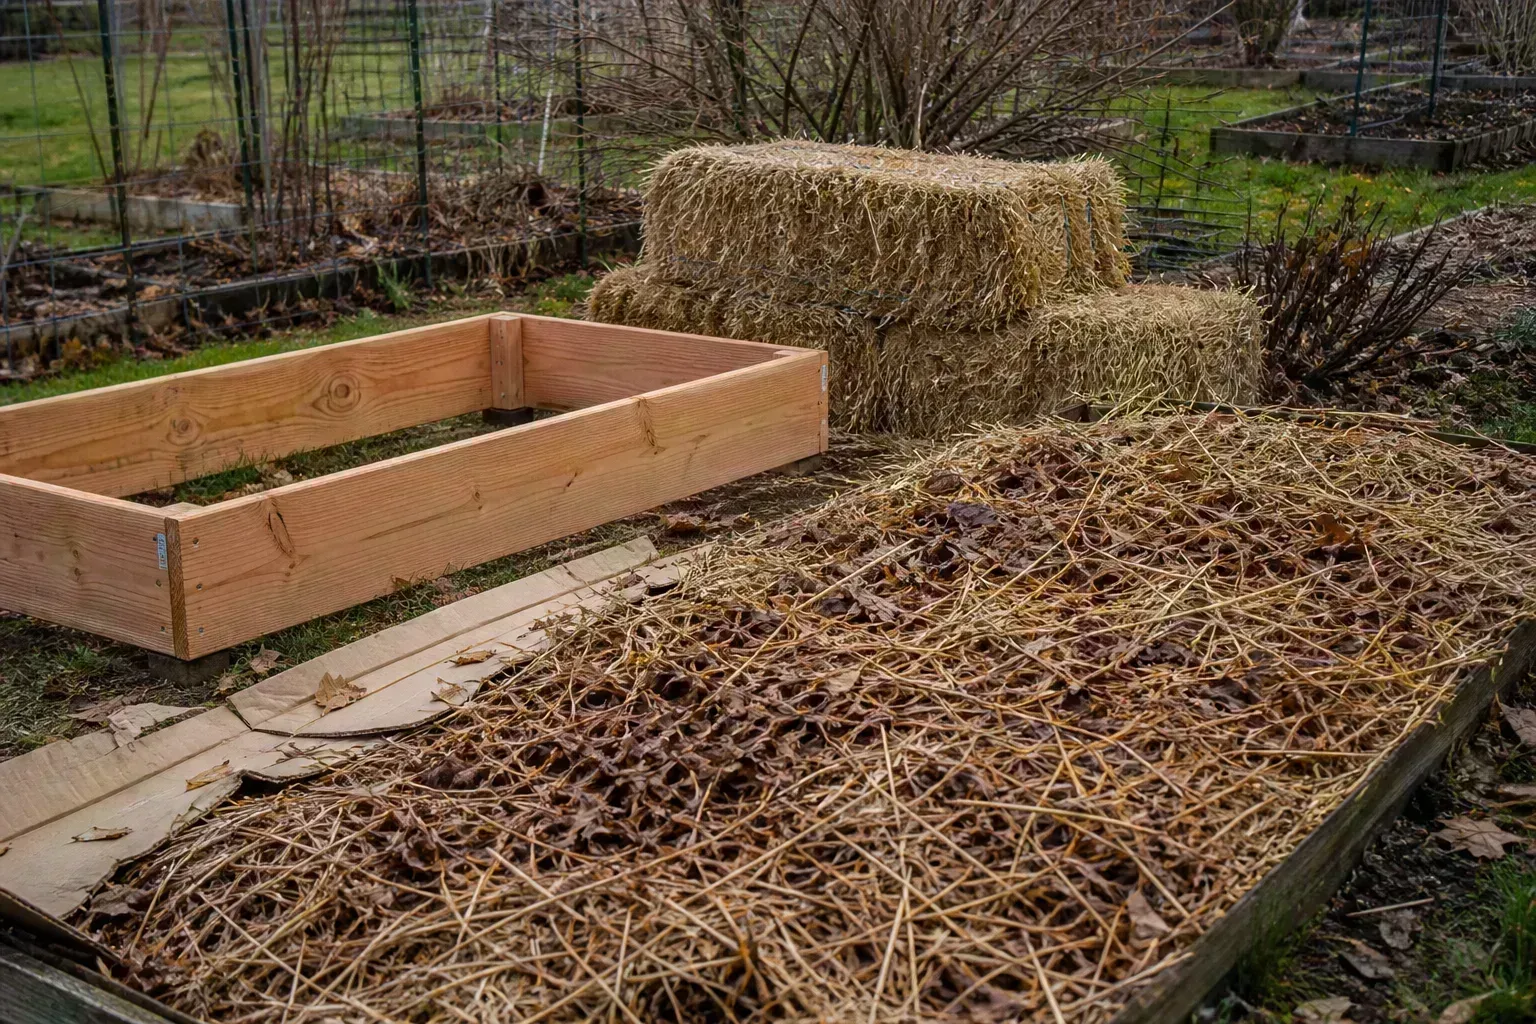
When spring arrives, old mulch is not automatically trash. If it is still recognizable, reasonably clean, and in the right amount for the crop you are about to grow, you can often keep it in the bed, move it temporarily while you prepare the soil, or reuse it after planting. Remove it only when its condition, material, or the needs of your next planting make that the better choice.
That distinction matters most in annual flower and vegetable beds that were left empty over winter. A layer of straw, leaves, or bark can protect bare soil from erosion, but it may also hide weeds, mat into a water-shedding crust, or block small seeds from emerging. The goal is not to perform a ceremonial spring mulch removal; it is to uncover the soil only where the next job requires it and return sound material where it still helps.
Start with the bed’s next use
Before you rake, decide what will grow in the bed and how it will be planted. A bed that will receive tomato transplants can tolerate a different surface treatment from a row where you plan to sow carrots, lettuce, or small annual-flower seeds directly. A path between beds, a perennial border, and an empty vegetable bed also have different needs, so do not treat every patch of mulch in the yard alike.
For an empty bed, old mulch is easiest to manage before you plant: you can inspect it, pull it aside, remove weeds, and make any needed soil changes without working around fragile seedlings. For an already planted bed, avoid broad raking or digging that could injure roots; open only the space needed around crowns, stems, or a seed line. If you are deciding about established landscape beds rather than empty annual beds, see the broader guide to reusing mulch from year to year.
The crop also determines whether the mulch should go back right away. Coarse straw may be useful around larger transplants after the soil has warmed, while a deep layer of bark or leaves can make it harder for tiny seeds to reach moist soil and emerge. Plan a clear sowing strip first, then decide where the remaining mulch belongs.
When should you inspect old mulch?
Use soil and weather conditions, not a fixed spring date. Inspect the bed once snow has melted and the soil surface has drained enough to handle light raking; wait longer if a handful of soil smears into a shiny ribbon or the bed squelches underfoot. Walking or tilling wet soil can compact it, and a mulch layer does not need to be stripped just because the calendar says spring.
In cold regions, the bed may remain frozen or saturated well after the first warm afternoon. In mild climates, winter rains may end earlier, but a wet soil profile can still be damaged by unnecessary traffic. You can make a visual check from the edge, but postpone soil preparation until the bed is no longer waterlogged and is workable at the depth you plan to disturb.
There is also no need to uncover the entire garden weeks before planting. Leaving a clean surface mulch in place continues to shield exposed soil while you wait for a crop’s local planting window. For some vegetables, the soil must warm before sowing; for others, early sowing is appropriate, so follow the crop’s temperature and timing guidance rather than removing mulch everywhere at once.
How to tell whether last year’s mulch is usable
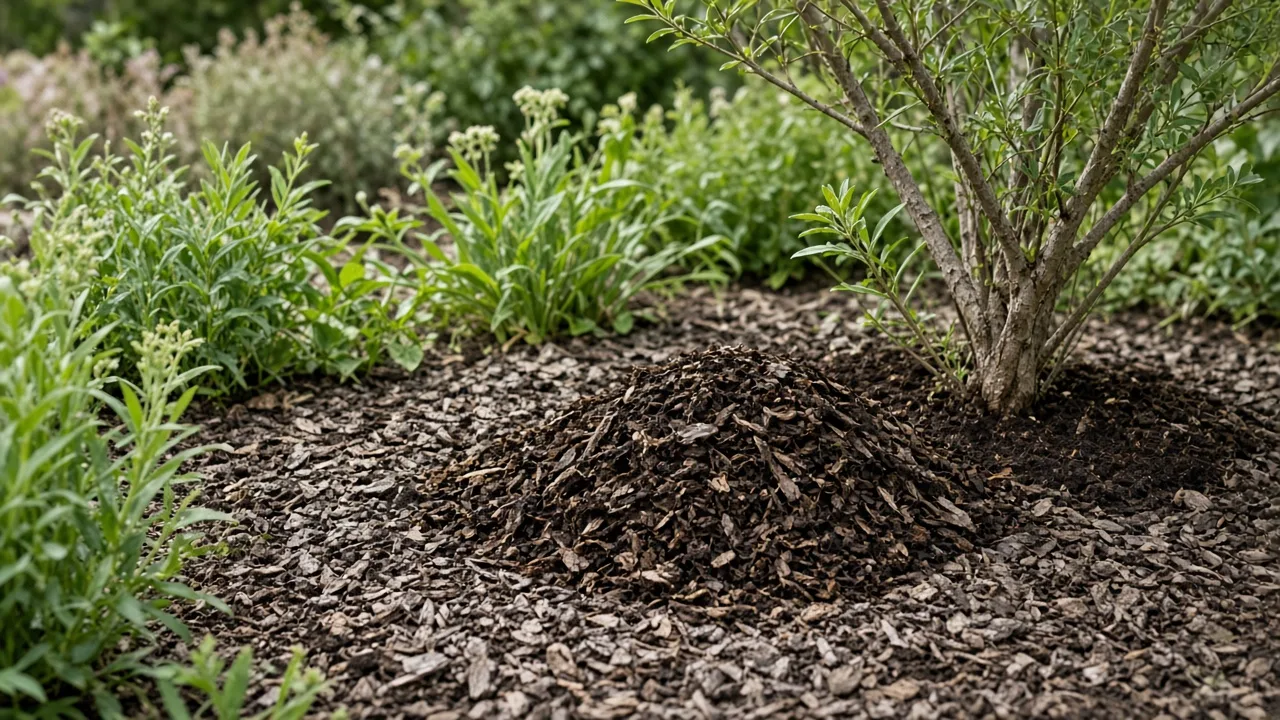
Pick up a handful in several places, including the wettest corner and the area that sat under leaves or snow. Good candidates for reuse still have recognizable pieces, smell earthy rather than sour or chemical, and can be loosened without pulling up large mats of crop residue. Their color may be faded; that is cosmetic and does not by itself make organic mulch ineffective.
Material that has broken down into fine, soil-like particles no longer behaves much like a protective surface layer. It may still contribute organic matter, but it should be considered a soil amendment rather than a fresh mulch blanket. Likewise, an intact layer can be unsuitable if it is full of weed seed heads, litter, synthetic fragments, or debris from a crop with a confirmed disease problem.
A small amount of white or gray fungal growth on damp organic matter is not, by itself, proof that the mulch is dangerous. Fungi and other decomposers help break down leaves and wood; appearance alone cannot identify a plant pathogen. Be more cautious when the previous crop had a diagnosed soil- or residue-borne disease, when the material smells putrid or has been contaminated, or when an extension diagnosis recommends removal. In those cases, keep the suspect material out of other beds and follow local disposal guidance rather than spreading it around the garden.
Keep it, move it, or discard it?
Keep mulch that is clean, loose, and still coarse enough to cover soil, especially if it is already at a modest depth and the crop is a transplant or established plant. There is no horticultural prize for replacing it with fresh material. If all it needs is a light fluffing, use a rake or gloved fingers to break up a crust and spread the layer evenly.
Move good mulch when you need access to soil for weeding, a soil test, compost, or planting. Rake it to the bed edge, into a path where it will not interfere with cultivation, or onto a tarp so it does not mix with soil. Moving it aside is a temporary step, not a commitment to discard it; after bed work, return only as much as the crop can use.
Remove mulch that is contaminated, heavily matted, saturated and sour-smelling, mostly degraded, or the wrong material for the new planting. If a plant disease was identified last year, do not assume that every brown leaf or patch of ordinary mold signals a dangerous pathogen; base removal on a diagnosis or local extension advice. For reusable material decisions beyond this spring reset, how often mulch needs replacing explains why appearance and depth matter more than an annual schedule.
Gardening Know How’s guide to reusing old mulch likewise distinguishes intact, healthy pieces from material that has broken down into soil-like fragments or came from a diseased bed. Use that as a condition check, not as a requirement to remove every layer each spring.
Spring cleanup, step by step
A deliberate sequence keeps you from raking sound mulch off, improving the bed, and then buying more to replace what you already had. Work across a small section at a time so you can keep the material separate from weeds and soil. If the bed is already planted, skip any step that would disturb roots and work around the plants instead.
Wait until soil is workable
A bed is ready for light preparation when the surface is thawed and moist but not waterlogged, and a squeezed handful breaks apart when you tap it instead of staying as a dense smear. That simple check is not a laboratory soil test, but it helps you avoid kneading wet soil into compacted clods. If the soil is too wet, leave the mulch where it is and return after it drains.
Do not use a tiller to force an early start. Rototilling wet ground can create a compacted layer below the tines and leave large clods at the surface, making later planting harder. A few days of waiting is usually less costly than repairing a damaged seedbed.
Lift mulch in manageable sections
Use a leaf rake for light straw or leaves and a garden fork or shovel for heavier, compacted material. Lift rather than scrape deeply; you want the mulch, not the top layer of valuable soil or the crowns of plants. Shake clean soil back into the bed, and set the mulch on a tarp or into a wheelbarrow so it stays separate from weeds and crop remains.
If the material is frozen in place, tangled with living groundcovers, or covering perennial crowns that are beginning to emerge, do not pull hard. Loosen small areas gently and leave a protective ring around plants until you can see where new growth is coming from. A stiff rake can snap tender shoots or dislodge shallow-rooted perennials.
Clear crop debris and weeds
Remove dead annual plants, spoiled fruit, and seed-bearing weeds before returning mulch. Healthy, non-seeding plant residue can often be composted, but residue with a known persistent disease or invasive weed seeds should not be moved to a cool backyard pile where it may survive. If you cannot identify a problem, bag and separate the suspicious material while you seek local guidance rather than scattering it through other beds.
Pull small weeds while the soil is moist enough for roots to release, taking care not to bring up large amounts of soil. If a weed has already set seed, lift the whole plant and its seed head before you put mulch back. Mulch can suppress many emerging weeds, but it will not undo a heavy seed bank or smother established perennial weeds on its own.
Amend the soil only for a reason
Old mulch can make it tempting to add compost every spring simply because the bed is uncovered. Instead, use the crop’s needs, the soil’s condition, and a soil test where appropriate to decide whether an amendment is needed. If the bed is productive and the soil structure is good, leave it alone or use a modest top-dressing of finished compost rather than adding a large volume by habit.
When compost is appropriate, keep it mature and spread it evenly. You may lightly mix it into the surface of an empty annual bed if the soil is dry enough and the crop plan calls for it, but deep or repeated tilling is not necessary for every garden. The BBC’s guide to mulches and mulching describes organic materials as soil-improving as they decompose and advises preparing and moistening the soil before applying a fresh layer; adapt the depth and timing to your crop and local conditions.
If you have not tested the soil recently, taking a sample before adding fertilizer or lime is more useful than guessing. Compost changes organic matter and nutrient levels, while lime changes pH; neither is a universal spring requirement. For a bed that needs rebuilding, use a tested recommendation and make the smallest correction that will address the identified issue.
Replant, then put mulch back
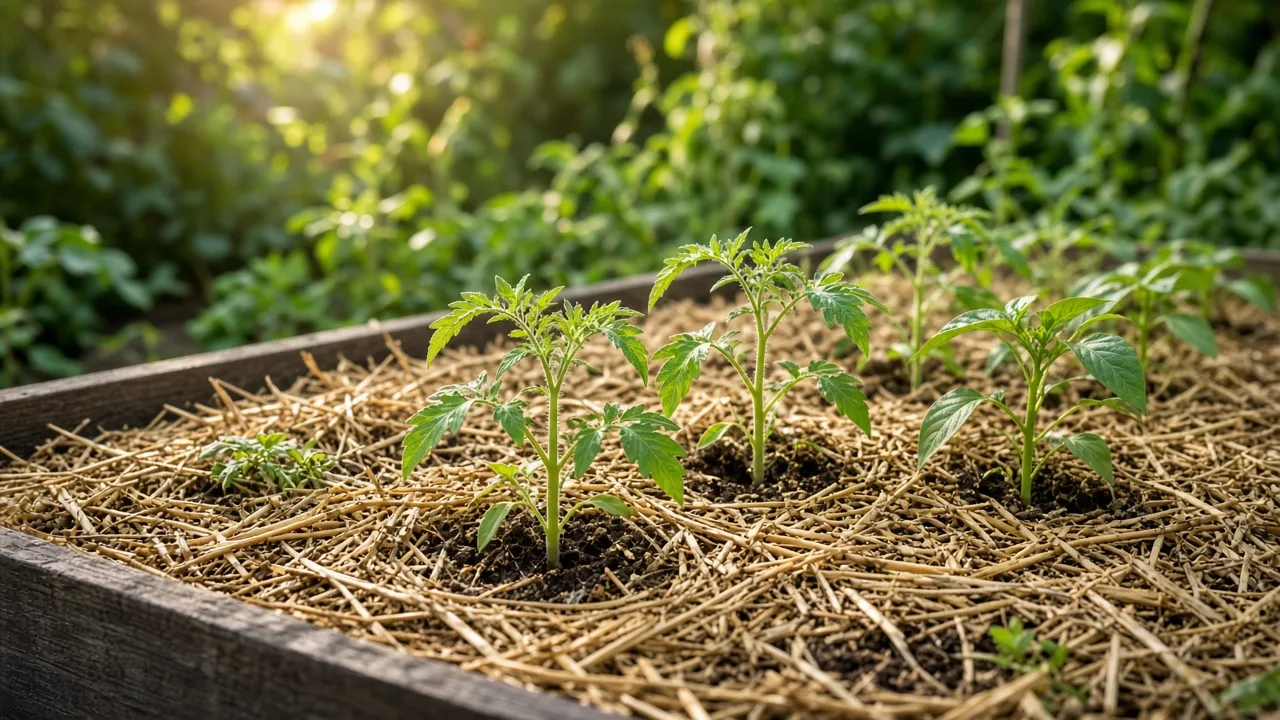
For a transplant bed, plant first and return mulch around the plants after watering. Keep a small open space around each stem so the base is not pressed against damp material, and do not bury crowns or the point where stems meet the soil. A shallow, even cover is easier to manage than a tall mound that traps moisture and hides the plant’s base.
For direct-sown seed, rake mulch away from the seed row or bed surface so the seed can contact fine, moist soil at its proper depth. Wait until seedlings are established before moving light mulch back between rows, and keep the material from covering small seedlings. Larger seeds can push through more cover than tiny seeds, but the packet’s sowing depth and emergence needs should guide the decision.
The simplest sequence is to clear and sow a narrow band, keep the saved mulch nearby, then return it between rows after the seedlings can tolerate the cover. This preserves soil protection without making a seedling fight through straw or leaf mats. Around perennial flowers, expose emerging crowns and then tuck loose mulch around them rather than over them.
What to do with different mulch materials
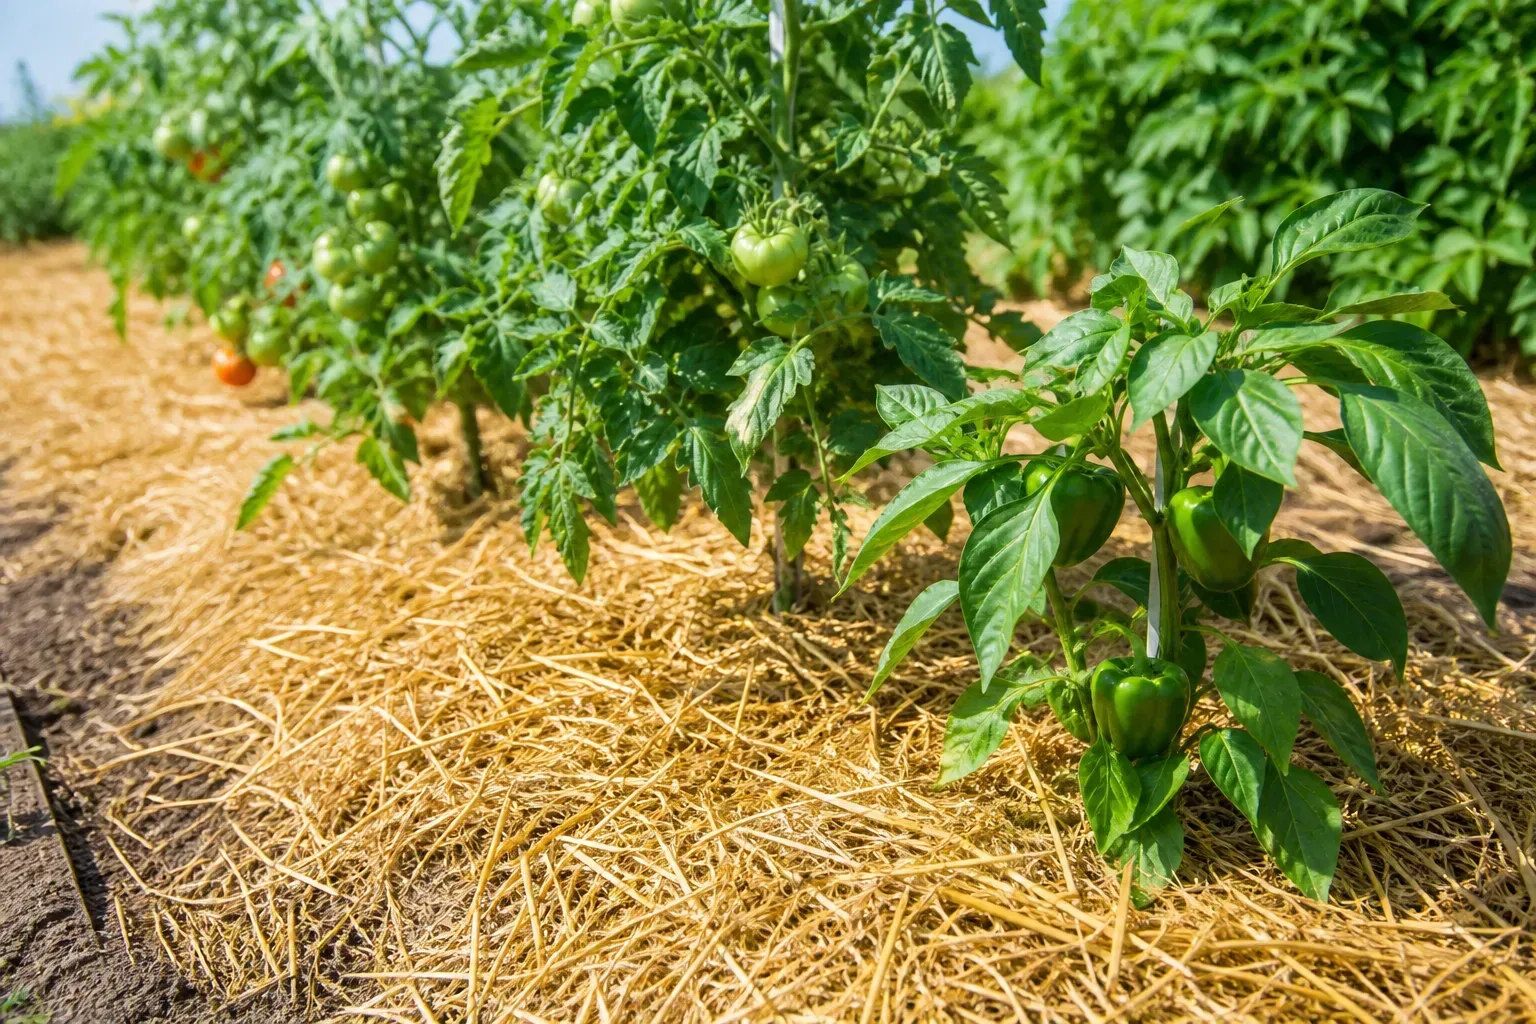
Straw is light and easy to rake aside. Reuse it if it is clean and not full of mature weed seed or diseased crop residue; loosen it if it has formed a wet mat. Straw is often useful as a surface layer around larger vegetable transplants, but keep it off direct-sown rows until seedlings are established.
Shredded leaves can be returned as a thin, airy layer once they are dry enough to separate. Whole leaves often knit together when wet, so rake or shred the mat before applying it; a compacted sheet can slow water and air movement and may block seedlings. Fine leaf fragments can also be left to decompose as organic matter rather than treated as a long-lasting mulch.
Bark and wood chips usually persist longer than straw or leaves. Keep clean, coarse chips on the surface where you want a durable cover, but do not automatically dig them into a vegetable bed because they have not disappeared by spring. Penn State Extension’s landscape mulching guidance explains that organic materials decompose at different rates and improve soil as they break down; its depth recommendations are specifically for trees and shrubs, so do not copy that numeric guidance blindly for vegetables or seedlings.
Grass clippings can mat if they were laid on thick or stayed wet. If last season’s clipping layer is slimy or sour, remove the clumps; if it is a thin, clean, decomposing layer, rake it loose and let it finish breaking down. Do not use clippings treated with a herbicide unless its label explicitly permits the intended use and waiting period.
Plastic, landscape fabric, gravel, and rubber do not decompose like straw or leaves. Lift damaged fabric or plastic carefully if you need to work the bed, remove fragments, and reinstall only if the material suits the crop; do not till it into soil. Stones can be reused as a permanent surface treatment, but they do not add organic matter and may be awkward in a bed that needs regular sowing or cultivation.
When old mulch has broken down
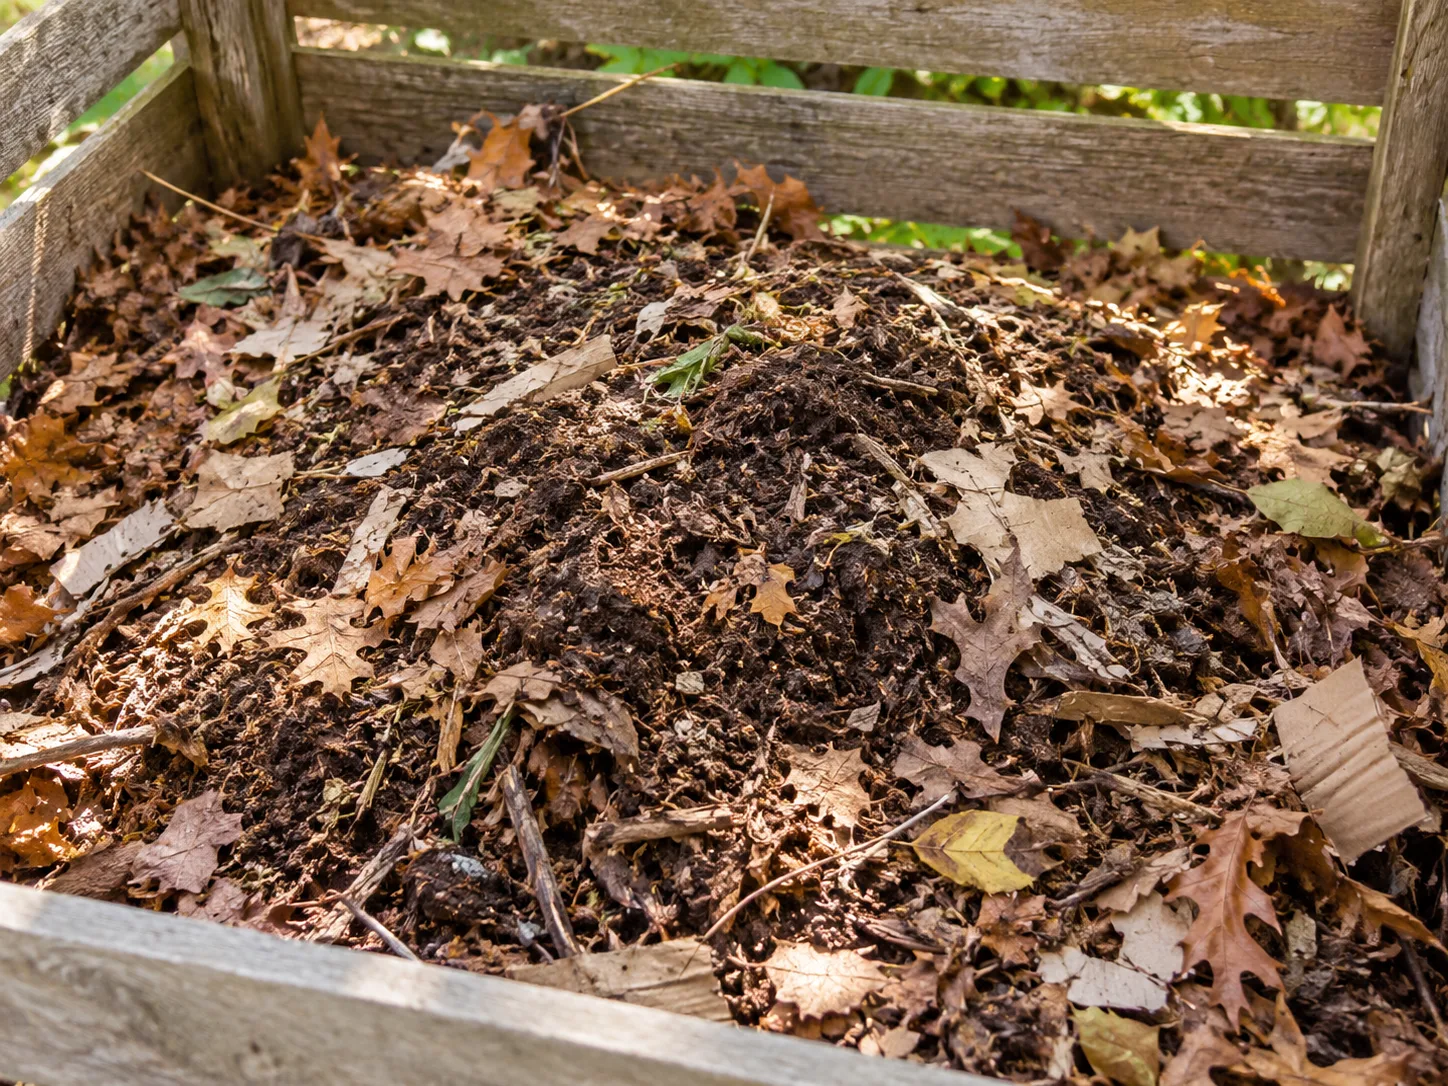
If the old layer has become indistinguishable from the soil, it has mostly stopped acting as a loose surface blanket. That does not mean it has become useless: organic material can contribute to soil structure as it decomposes. Leave it at the surface or incorporate it lightly only when the bed’s condition and planting plan call for that work, rather than treating every bit of dark material as something to remove.
If the bed needs a protective cover after preparation, choose new mulch for the crop and season. A thin layer of compost can serve both as a soil amendment and a surface cover, while coarse straw or leaves may be easier to move away from rows later. For vegetable beds, our vegetable garden mulch guide compares common materials and their trade-offs.
Do not count on degraded mulch to control weeds if it no longer forms a continuous cover. At the same time, do not rush to replace it just because it has faded or looks less tidy than fresh material. The useful question is whether the bed still has enough loose cover for its purpose and whether the next crop can grow through or around it.
Should you till the bed?
No, not by default. Tilling may be useful when you are incorporating a planned amendment into an empty bed, preparing a new seedbed, or managing a cover crop that should be turned under. But disturbing soil every spring simply to mix old mulch into it can break down soil structure and bring buried weed seeds closer to the surface.
For many beds, remove or loosen weeds, place any needed compost at the surface or mix only the shallow layer you need, then rake smooth. If you do incorporate coarse woody material, do so only with a deliberate plan and enough time before planting; woody mulch is generally better used on top, where it can decompose without being mixed throughout the crop’s root zone. For long-term soil management, match tillage to the soil type and crop rather than assuming that more digging means better preparation.
If you want to preserve the soil structure, a no-dig or low-disturbance approach can still include spring cleanup. Move mulch aside just where you are planting or top-dressing, remove debris, add finished compost if justified, and return the mulch between rows. The bed does not need to be bare to be ready for spring.
If you used a cover crop, handle it separately
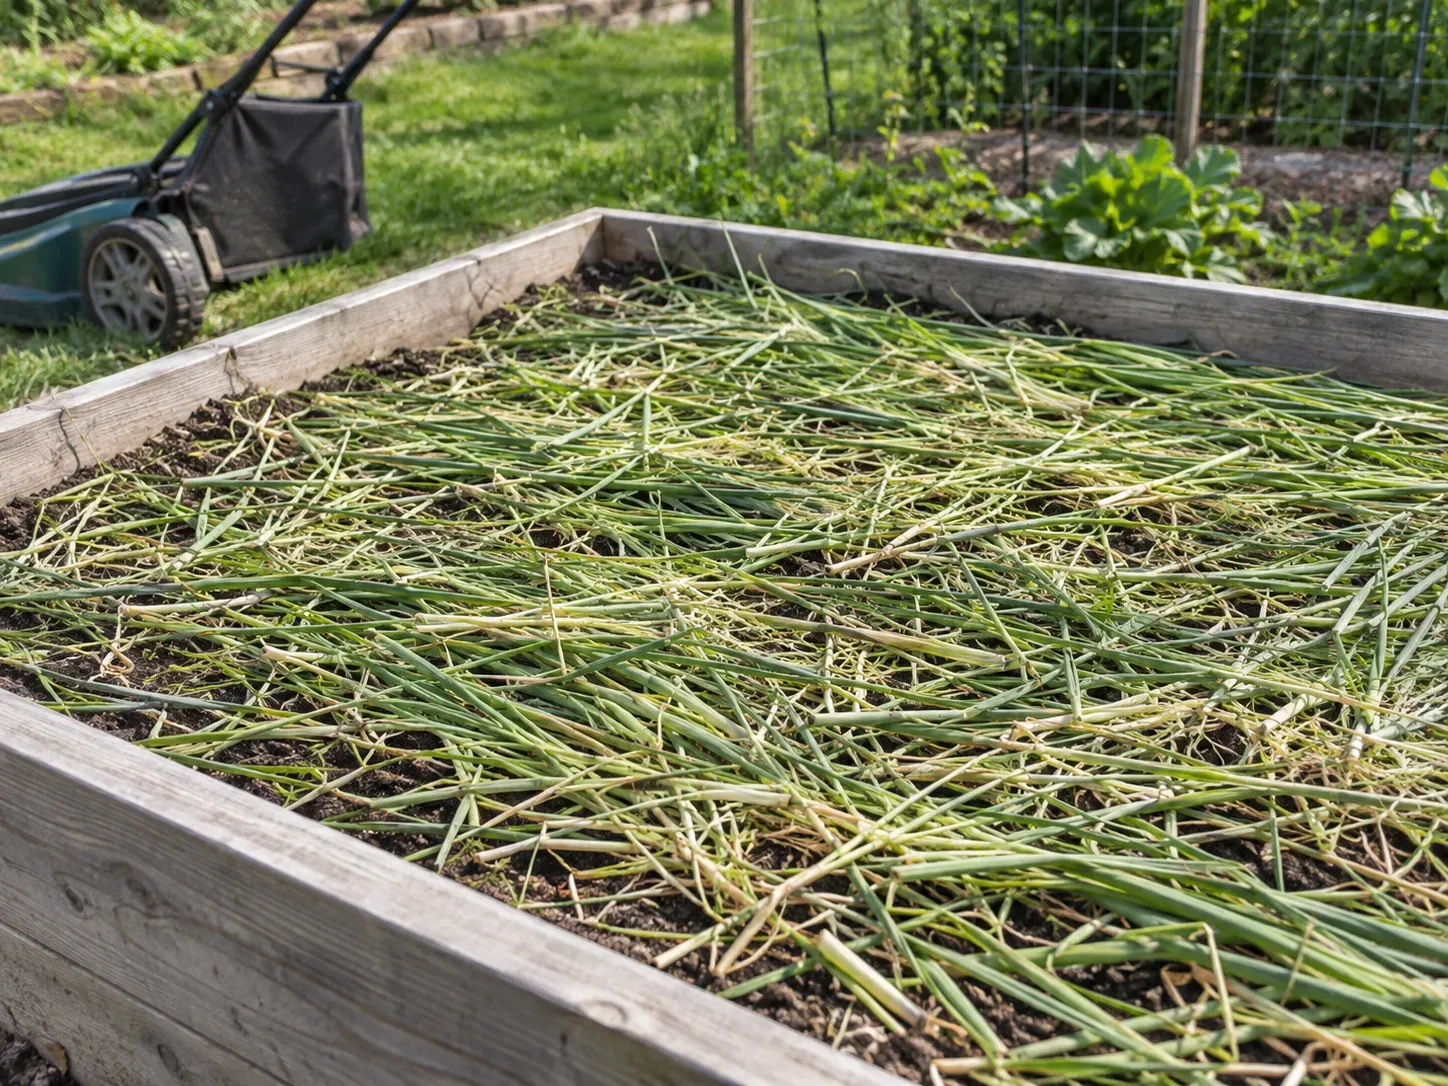
A cover crop is living vegetation, not old mulch. Rye, oats, clover, vetch, and other cover crops may have been planted to protect bare soil or add organic matter, and their spring handling depends on the species, growth stage, and crop that follows. Do not rake it aside as if it were straw, and do not let a cover crop go to seed unless you intend it to reseed.
Penn State Extension’s home-garden cover crop guidance recommends cutting cover crops at or before flowering to limit unwanted seed, and says to allow roughly two to three weeks after turning them under before planting so the organic matter can begin to decompose. That is a regional recommendation, not a universal countdown: species, size, temperature, moisture, and local planting schedules affect how quickly residue breaks down.
For a small garden, mowing, cutting, or shearing a cover crop may be more practical than tilling, depending on the species and the next crop. If you leave the cut residue on the surface, it functions as a mulch layer; keep it away from the sowing row until seeds can emerge. When in doubt, identify the cover crop and check a local extension source for termination timing before planting into a dense mat.
How deep should reused mulch be?
There is no single correct spring depth for every material and crop. Start by checking what is already there, loosen clumps, and avoid adding new material on top of a thick layer just to make the bed look uniform. A shallow, even layer is easier for rain to reach and easier to move away from a seed row than a compacted blanket.
For direct seeding, clear the planting line rather than measuring a mulch depth over the seeds. Around transplants, keep mulch a little away from the stem and use enough to cover exposed soil without burying the crown or lower leaves. In perennial beds, expose emerging growth and avoid packing material against stems; the precise depth depends on texture, drainage, and the plant.
Penn State Extension notes that depth and texture matter for landscape mulch and cautions against overapplying material around trees. Those tree-specific amounts are not a vegetable-garden rule, but the general lesson transfers: adding fresh mulch without checking the old layer can build an unnecessarily deep cover. If you cannot see the soil anywhere between the plants and the bed already holds moisture, rake excess into paths or remove it instead of stacking another layer.
Spring mulch mistakes that slow planting
One common mistake is stripping every bed bare while the soil is still wet. That exposes soil to weather and creates pressure to replace material that was still serviceable; it can also lead to compaction if you start digging too early. Inspect from the edge first, wait for workable soil, and lift only the sections you need to prepare.
Another is mixing bulky bark or chips into the growing bed because they are old. Surface use and soil incorporation are different jobs: coarse pieces are slow to break down, while a new seedbed needs a fine, even surface. Keep persistent chips on top or move them to paths rather than burying them without a reason.
A third mistake is sowing tiny seed through a full mulch layer. Even loose straw can interrupt seed-to-soil contact, shade the seedling, or dry unevenly; clear the row, sow at the recommended depth, and put mulch back only after emergence if the crop can tolerate it. Transplants are more forgiving, but mulch still should not touch stems or cover crowns.
Finally, do not diagnose disease from color alone or assume that all old mulch is safe because it looks normal. A prior diagnosed disease, contaminated material, persistent weeds, or herbicide-treated clippings changes the decision. Separate questionable material and get crop- and locality-specific advice before reusing it elsewhere.
A quick keep-or-remove decision path
Start with these questions in order. If the answer to any removal condition is yes, separate that material; otherwise, keep it available while you prepare the bed.
- Is it clean and free of a known disease, seed-heavy weeds, plastic, or contamination? If no, remove the affected material and follow local disposal guidance.
- Can you still recognize the pieces, and does the layer loosen easily? If yes, it can likely serve as surface cover again; if it has become soil-like, treat it as decomposed organic matter.
- Will you direct-sow small seeds? Clear the sowing row and keep mulch out until seedlings emerge; reuse the rest between rows.
- Will you transplant larger starts or maintain an established bed? Keep a modest, loose layer where it will protect bare soil, but leave stems and crowns clear.
- Does the bed need a soil amendment or a cover crop termination step? Handle that job before returning mulch, and use a test or local crop guidance rather than adding compost or tilling by habit.
This sequence usually leaves three practical outcomes: reuse clean material as surface mulch, repurpose sound but awkward material on paths or in a suitable compost system, or discard material that is diseased, contaminated, or no longer appropriate. A quick check is enough for most beds; you do not need to sift every handful or buy a new load automatically.
Conclusion
In spring, old mulch is a material to assess, not a chore to remove on schedule. Keep it if it is clean and still useful, move it aside while the soil is workable, and return only the amount that fits the next crop; clear seed rows and crowns so the mulch does not interfere with growth.
Remove suspect or contaminated material, handle living cover crops according to their species and maturity, and amend or till only when the bed actually needs it. That approach protects the soil, saves usable material, and gives seeds and transplants a clear start.



