When to Plant Peppers: Seed to Harvest Timing
Find the best time to plant peppers indoors or outside, with a frost-date formula, warm-soil test, transplant cues, and fixes for late starts.
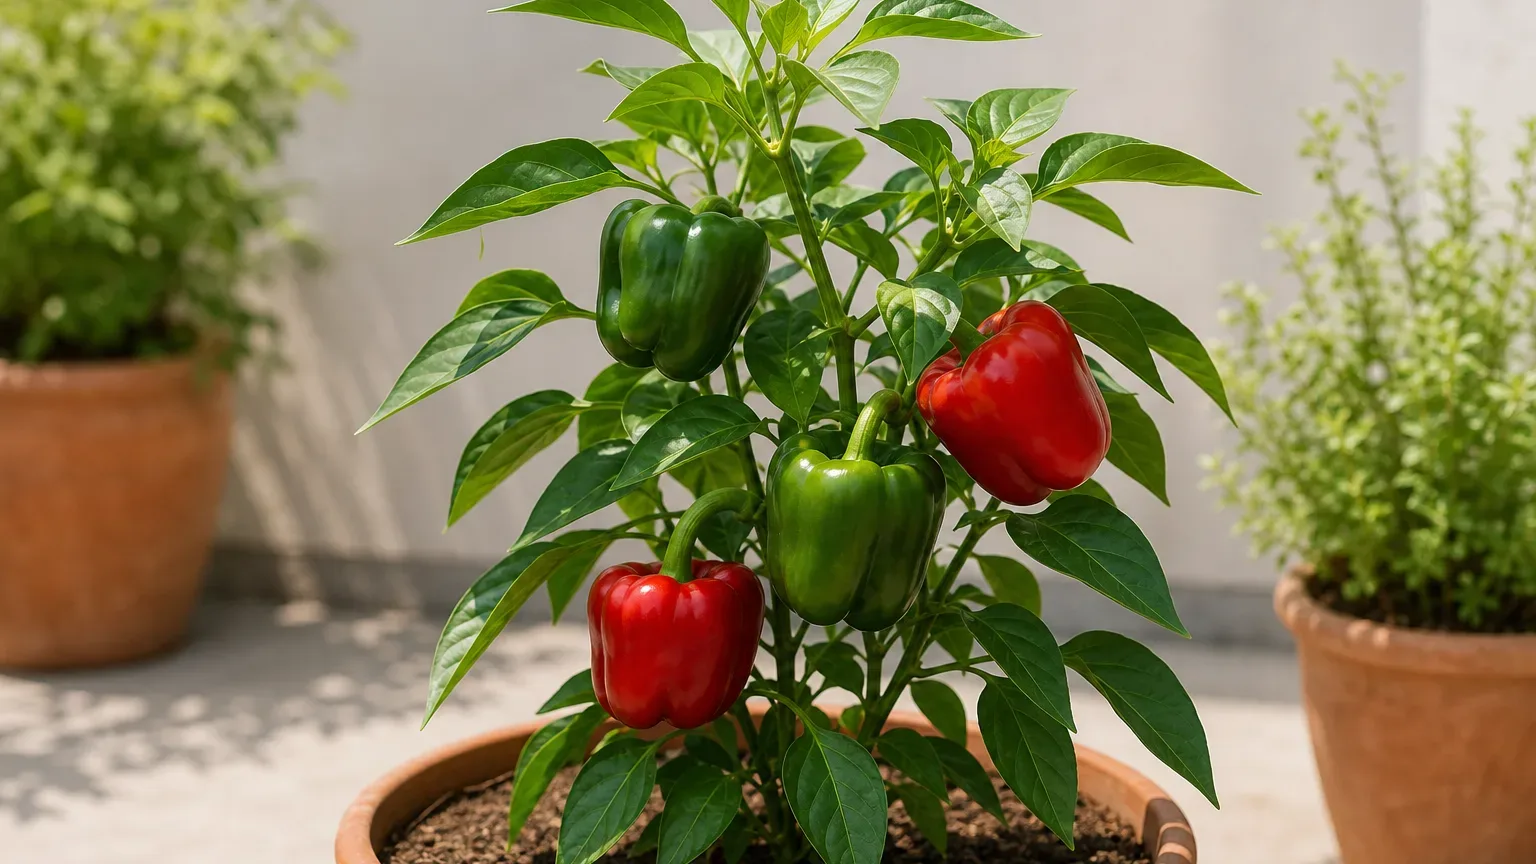
The best time to plant peppers is not a single date on the calendar. It is a short window when frost risk has passed, nights are warm enough, and the soil has stopped behaving like spring. Start seeds indoors about eight to ten weeks before your area’s last expected spring frost, then move seedlings outside only after they have been hardened off and the weather is reliably warm.
That timing works for bell peppers, jalapeños, cayenne, and most garden varieties, but the right date still depends on what you are growing and where it will live. A heated greenhouse can accept a plant weeks earlier than an exposed garden bed, while a short-season gardener may need a fast variety, a raised bed, or a container that can be moved under cover.
The short answer: use three temperature checkpoints
For most home gardens, use this sequence:
- Start seeds indoors eight to ten weeks before your local last-frost date. Use the earlier end for slow-growing or superhot varieties if you have enough light and room to pot up.
- Begin hardening off seven to fourteen days before the planned outdoor move. Extend the process if seedlings are soft, pale, or going from a sheltered room straight into windy sun.
- Transplant after frost danger has passed, nights stay near or above 55°F (13°C), and soil is at least about 65°F (18°C). Warmer soil—closer to 70°F (21°C)—usually gives a noticeably better start.
The last-frost date is only the first checkpoint. NOAA’s National Centers for Environmental Information describes its U.S. spring-freeze maps as averages built from the 1991–2020 Climate Normals, which makes them useful for planning but not a promise about the coming season. (NOAA/NCEI) Keep a layer of frost cloth or a low tunnel ready if your forecast is unsettled.
If your nights are still in the 40s, wait even when the afternoons feel summery. Peppers are warm-season plants; a few chilly nights can stall a newly transplanted plant long enough to erase the advantage of starting early. The goal is not to be first in the neighborhood—it is to get a seedling into conditions where it can keep growing.
Build your calendar from your last frost date
Find a local last-spring-freeze estimate from your cooperative extension service, a nearby weather station, or NOAA/NCEI. Use the date for your actual garden rather than relying on a broad USDA hardiness zone: hardiness zones describe average winter lows, while spring frost timing can vary dramatically with elevation, slope, pavement, bodies of water, and cold air pooling.
Once you have the date, count backward rather than guessing a month. Count back eight weeks for a quick, compact variety and a strong indoor setup; count back ten weeks for a larger bell pepper, a slow variety, a short season, or seeds that are known to germinate slowly. If you have weak light or no place to pot up, do not automatically choose the earliest date. An older, leggy seedling is not ahead simply because it is bigger.
A worked example you can shift to your garden
Suppose your local last-frost estimate is May 15. An eight-to-ten-week indoor sowing window lands around March 6 to March 20. If seeds germinate in roughly one to two weeks, you can pot them up as roots fill their cells in April, begin hardening off in early May, and aim for an outdoor move in late May—provided the soil and forecast agree.
| Your local last-frost estimate | Start seeds indoors, approximately | Begin hardening off | Typical outdoor move |
|---|---|---|---|
| April 15 | February 4–18 | Early to mid-April | Late April to early May |
| May 15 | March 6–20 | Early May | Late May to early June |
| June 1 | March 23 to April 6 | Mid to late May | Early to mid-June |
These are planning ranges, not promises. A published frost date usually reflects a probability, and a sheltered urban garden may warm sooner than a low valley while an exposed hill stays colder. Gardening Know How similarly recommends sowing peppers about eight to ten weeks before the last expected frost, then waiting for several sets of leaves, passed frost danger, and nights consistently around 55°F before transplanting. (Gardening Know How)
Match the window to your growing setup
Your “planting date” changes when the destination changes. A pepper going into an unheated garden bed must wait for outdoor night temperatures and soil warmth. A pepper in a dark plastic pot on a cold patio has nearly the same problem because the container loses heat quickly. A plant in a sunny greenhouse, polytunnel, or protected conservatory can move earlier if its nighttime temperature, ventilation, and root-zone warmth are genuinely stable.
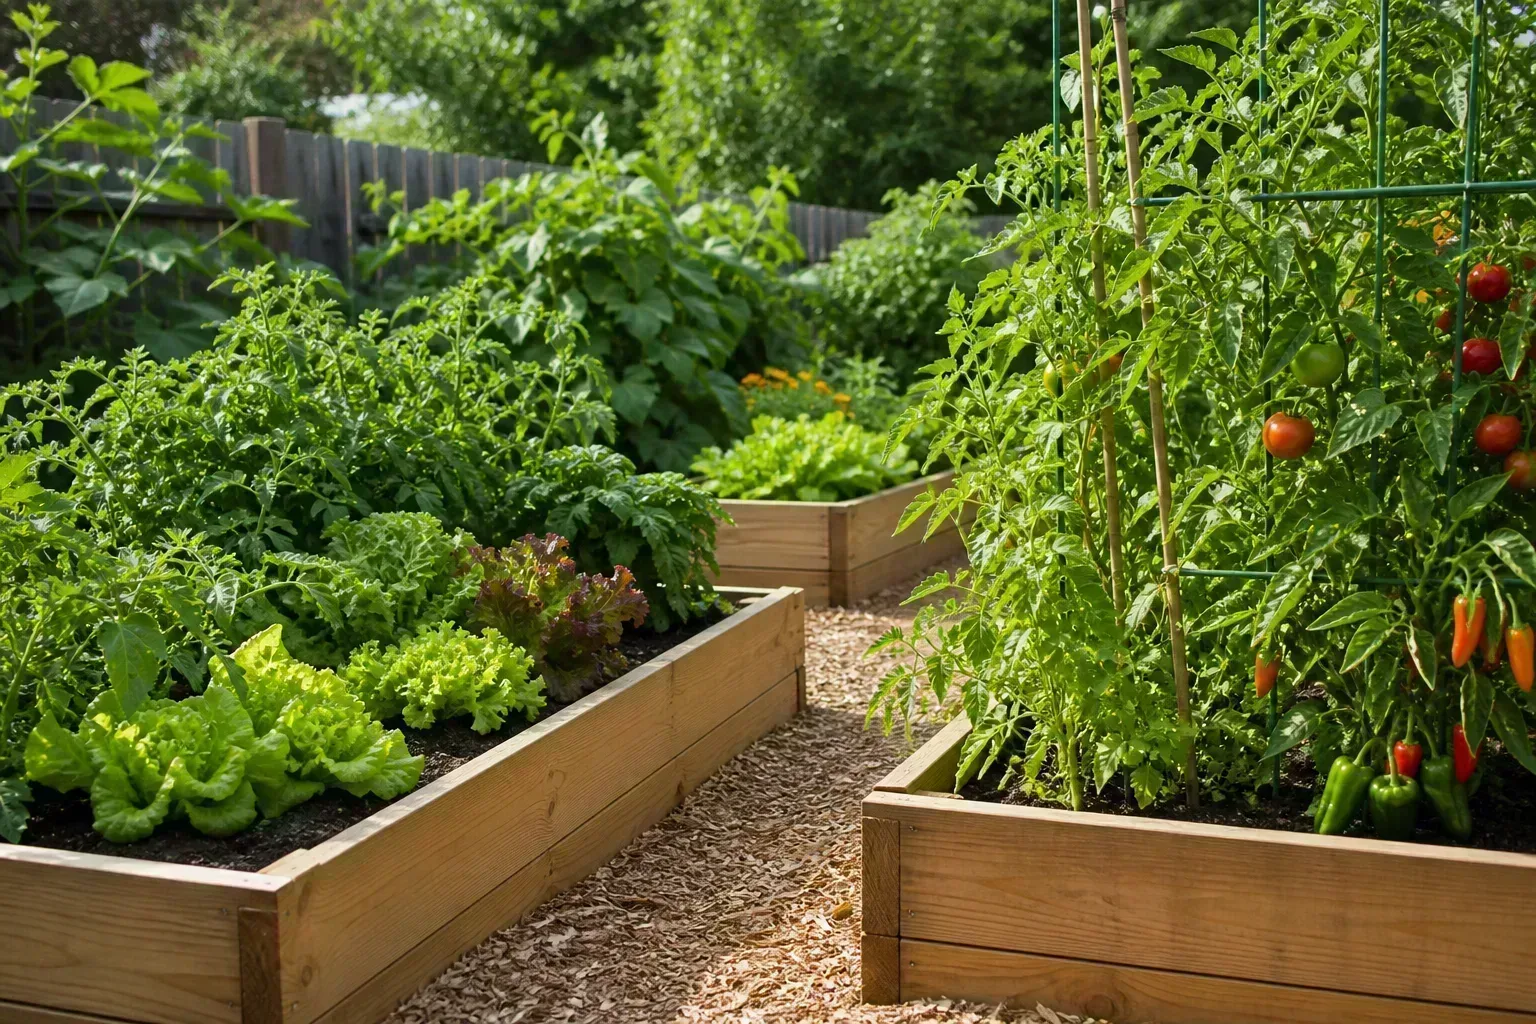
In-ground beds are the least flexible. Wait for warm soil, choose a sunny location protected from prevailing wind, and be ready to cover plants if an unexpected cold night arrives. Raised beds often warm and drain earlier, but do not treat them as frost-proof; the air above the bed can still damage a tender plant.
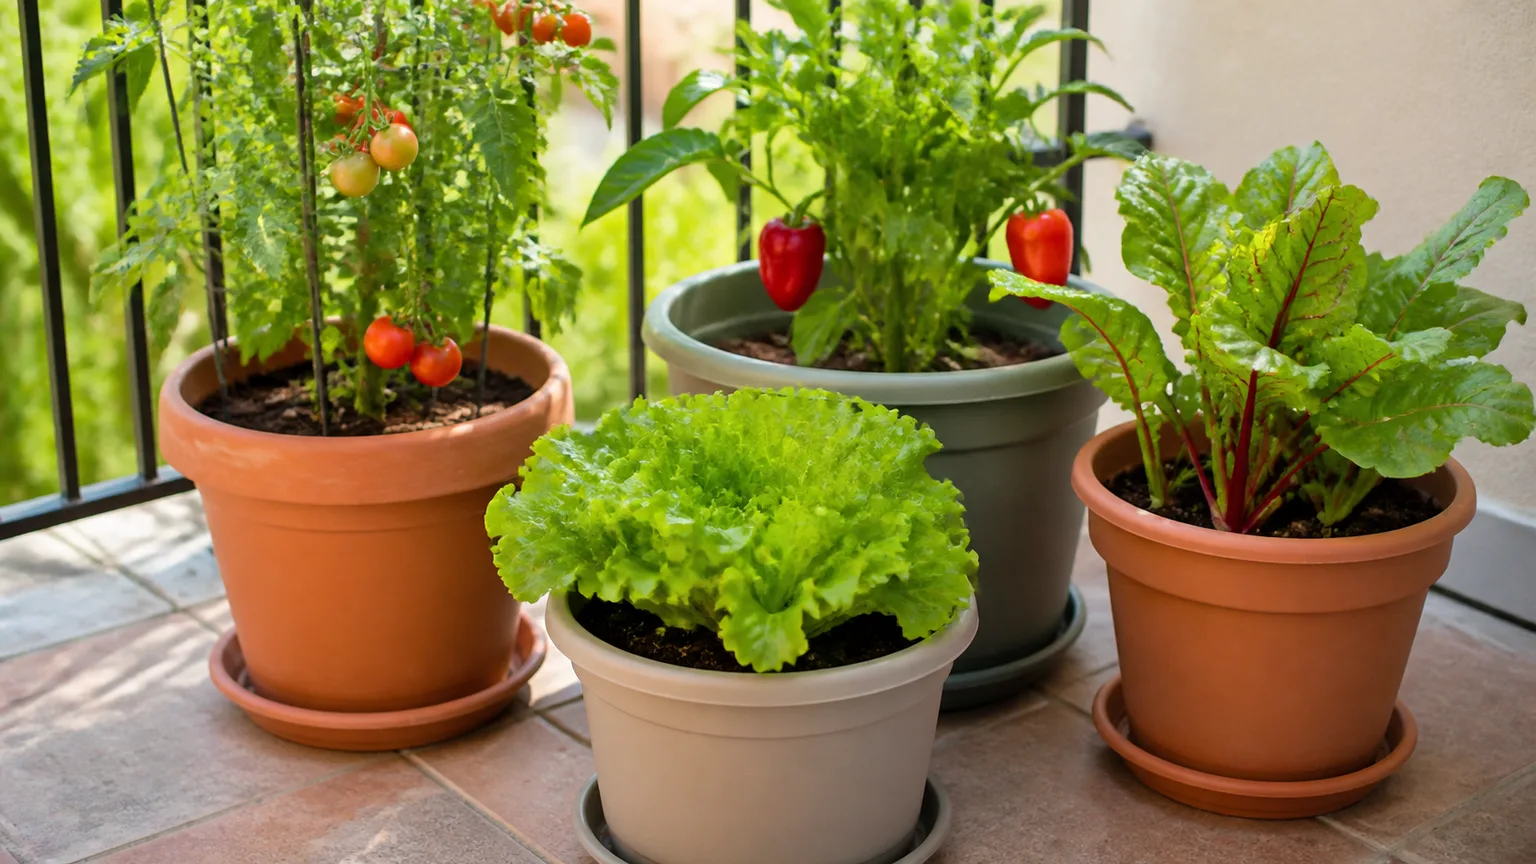
Containers give you a useful timing advantage because you can move them beside a warm wall, into a greenhouse, or under cover. They also dry faster and experience sharper temperature swings, so a container is only an early-season advantage if you can check it daily. The RHS recommends large containers for sweet peppers and notes that compact varieties are particularly useful where space is limited. (RHS sweet pepper growing guide)
Direct sowing is usually a poor bargain outside long, hot climates. Pepper seeds germinate slowly compared with many summer crops, and cold soil delays them further. Direct sow only when your soil is already warm, your frost-free season is long enough for the packet’s days to maturity, and you accept a later harvest than you would get from a healthy transplant.
Choose a pepper variety that can finish in your season
Look at the seed packet’s days to maturity, but read the label carefully: for peppers, that number commonly begins at transplanting rather than at sowing. Add the indoor seedling period, germination time, and a buffer for cool or cloudy weather. A variety listed at 70 days can need much longer to produce fully colored fruit if your nights are cool or the plant spends its first weeks sulking after transplant.
In a short season, select compact, early, or small-fruited varieties. Small peppers often color up sooner than very large bells, and a productive green harvest may be more realistic than waiting for every fruit to turn red. In a long, hot season, you have more freedom to grow large bells or slow superhots, but the very hottest peppers still need a long stretch of warmth to mature fully.
Do not choose a variety based on the USDA zone alone. A zone tells you about winter minimums, not whether your summer is long enough for a late bell pepper to ripen. A better decision uses three numbers: your frost-free window, the variety’s days to maturity, and the number of warm weeks you can realistically provide.
Start pepper seeds indoors 8 to 10 weeks before planting
Peppers benefit from an indoor start because the seedling can grow through the coldest part of spring in controlled conditions. The RHS lists sweet peppers as tender plants that should be sown in warmth, with germination around 65–70°F (18–21°C), then moved into individual pots once they have two true leaves. (RHS guidance on sweet peppers)
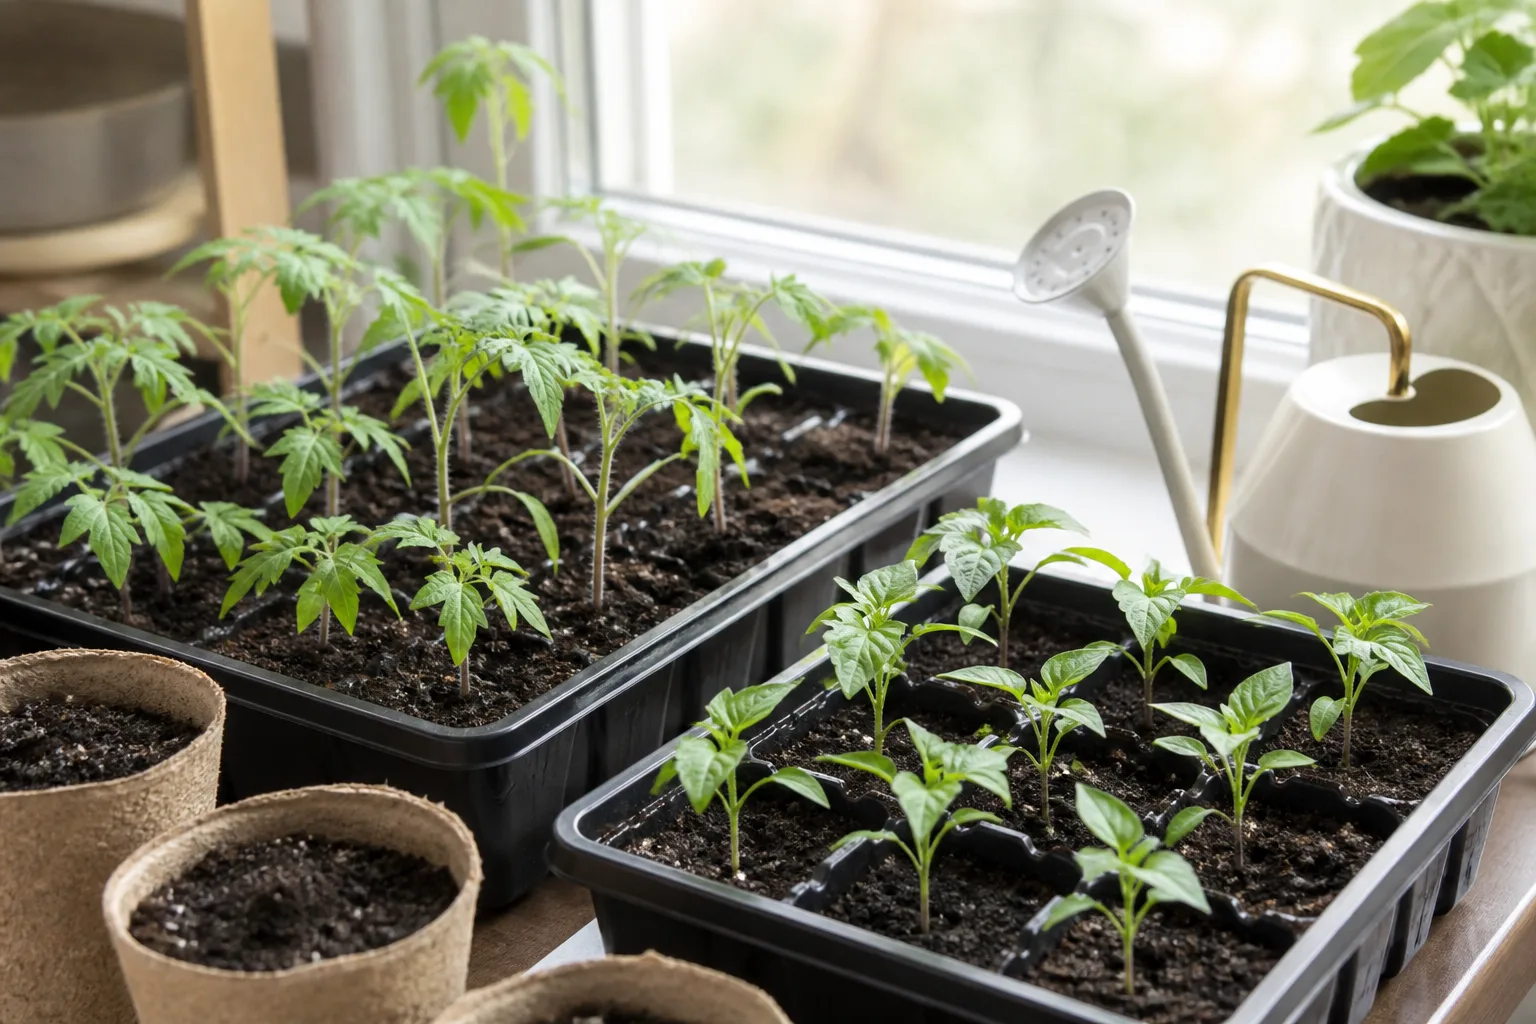
Use a clean container with drainage and a fine, free-draining seed-starting mix. Sow a few extra seeds rather than packing too many seedlings into one cell; crowded seedlings compete for light, stay wet longer, and become harder to separate without disturbing roots.
Sow shallow and keep the mix evenly moist
Plant pepper seeds about ¼ inch (6 mm) deep, or follow the packet if it gives a different depth for that variety. Press the mix gently around the seed, water so the whole cell is moist, and then let excess water drain. The surface should stay evenly damp while the seed is germinating, never glossy, saturated, or standing in a tray of water.
Check the tray every day, but do not water automatically every day. A warm room, a small cell, and a cover can dry the surface quickly; a cool room or heavy mix can stay wet for days. If the mix is still dark and moist, wait. Overwatering is not a sign of care—it removes air from the root zone and creates conditions for damping off.
Once seedlings emerge, remove any humidity cover and give them light immediately. A cover that helped germination can become a warm, stagnant environment for tender stems after sprouting.
Give seedlings warm roots and strong light
A heat mat is helpful when the room is cool, especially for slower hot pepper varieties, but it should warm the seed tray—not bake the roots. Use a thermostat or follow the manufacturer’s instructions, and move seedlings off bottom heat if the mix becomes hot or dries too quickly. Warmth speeds germination; it cannot compensate for weak light after the seedlings appear.
Place a grow light close enough to keep seedlings compact, or use the brightest reliable window you have and turn the tray regularly. A long, pale stem is a timing warning: the plant may have germinated on schedule but is not receiving enough light to build a sturdy transplant. Correct the light early, because pepper stems do not repair themselves by simply being moved outdoors.
Pot up before seedlings become root-bound
Pot up when roots have begun to hold the mix together or are approaching the sides and drainage holes—not when the seedling has already formed a dense spiral of roots. The RHS transplanting guide recommends moving young plants when roots have just filled their container and keeping transplants watered until they root into surrounding soil, generally about two weeks after planting. (RHS transplanting guidance)
Move the seedling into a modestly larger pot with fresh potting mix, keeping the stem at about the same depth unless the specific variety says otherwise. A huge pot is not a shortcut; excess wet mix dries slowly around a small root ball. Water it in, let it drain, and return it to strong light so growth continues instead of pausing.
The best outdoor transplant is compact, green, and actively growing, with several true leaves and a root ball that holds together without being strangled by roots. A tall plant with flowers already forming may look impressive, but it often needs more careful acclimation than a smaller, sturdier plant.
Harden off for 10 to 14 days
Indoor-grown seedlings are used to still air, filtered light, and stable temperatures. Moving them directly from a shelf to full sun and wind can cause wilt, sunscald, and a setback that costs more time than the gradual transition would have taken.
Start hardening off about ten to fourteen days before transplanting. On the first day, place plants outdoors for one to two hours in bright shade protected from wind. Add time each day, introduce gentle morning sun before strong afternoon sun, and increase air movement gradually. Bring them in whenever nights are too cold, storms are expected, or the plants begin to wilt.
The exact length depends on how different the two environments are. A seedling raised in an unheated porch may need less adjustment than one raised under a warm grow light, but both still need protection from sudden sun and wind. The RHS advises two to three weeks for tender plants in some conditions and specifically includes peppers among crops that need hardening off before planting outdoors. (RHS tender-plant frost guidance)
Do not fertilize heavily to “prepare” a seedling for hardening off, and do not leave it outside overnight just to save a trip indoors. The goal is a plant that can handle the new environment, not one that has been stressed into a temporary slump.
Transplant when three outdoor signals agree
Use the date as a reminder, not as the final decision. Plant when all three of these signals point in the same direction:
- Frost risk: The local forecast shows no likely frost during the establishment window, and you have a plan for an unusual cold snap.
- Night temperature: Lows are consistently around 55°F (13°C) or higher. Peppers may survive a cooler night, but survival is not the same as active growth.
- Soil temperature: The root zone is at least about 65°F (18°C), with 70°F (21°C) even better for a strong start.
The RHS uses a slightly different climate context but reinforces the same principle: peppers are tender, do better in warmth, and outdoor planting should wait until overnight temperatures are reliably mild. Its guidance places sweet peppers at a minimum around 12°C (54°F) outdoors in warm, sheltered locations and notes that cooler conditions can delay ripening. (RHS sweet pepper growing guide)
Measure soil in the morning at the depth of the root ball, not just at the surface warmed by afternoon sun. If you do not have a soil thermometer, use the temperature forecast, a raised bed that has been warming for several days, and a conservative planting date. Black plastic or a cloche can warm soil ahead of planting, but remove or vent covers before they turn a sunny bed into a heat trap.
Plant, space, and water without slowing roots
Choose a full-sun spot with well-drained soil and enough room for the variety’s mature canopy. Space most peppers roughly 18–24 inches apart, adjusting for the packet, plant size, and airflow. Crowding can make watering and inspection harder; excessive spacing is rarely harmful, but it wastes a short season if your bed is small.
Water the seedlings before planting and prepare the holes first so their roots are exposed for as little time as possible. Set each plant at the same depth it was growing in its pot, firm soil gently around the root ball, and water deeply enough to settle the soil without leaving a puddle.
Avoid adding a strong fertilizer dose directly against the roots. If the bed already contains mature compost and a soil test does not show a deficiency, the seedling’s immediate need is contact with warm, moist, oxygenated soil. Install a stake or small cage at planting if the variety will carry heavy fruit; pushing support into an established root zone later can cause avoidable damage.
Protect the first two weeks outdoors
The first two weeks are when correct timing can still be undone by wind, cold rain, harsh sun, or a dry root ball. Check plants daily for wilt, leaning, torn leaves, and soil that is drying faster than expected. A light organic mulch can reduce evaporation once the soil is warm, but keep mulch a few inches away from the stem.
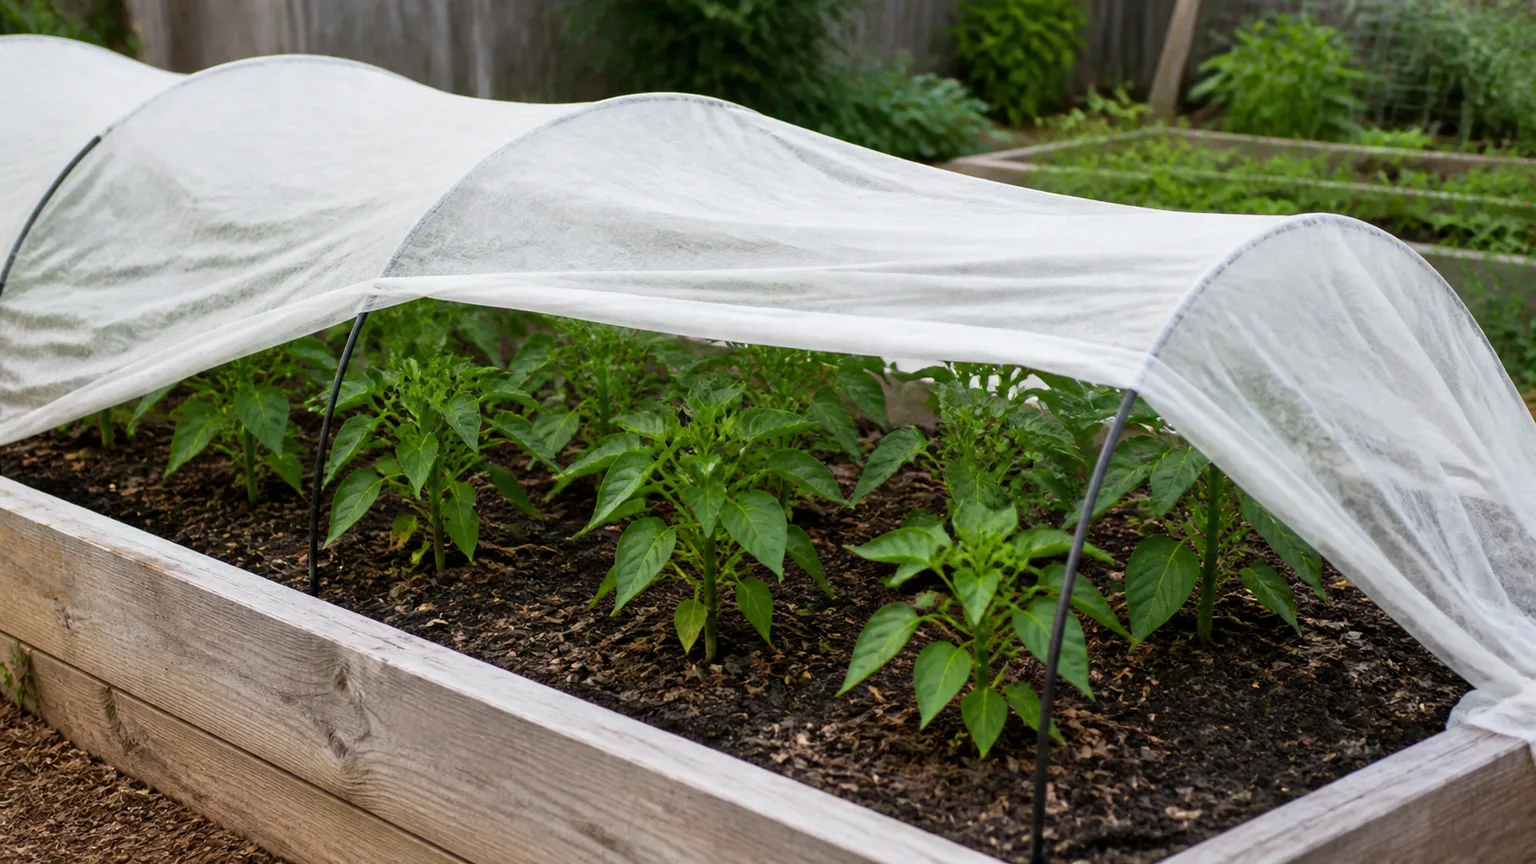
Use a row cover, low tunnel, or cloche when a cool night threatens. Cover should not rest on the foliage, and it must be vented or removed on warm sunny days so plants do not overheat. A fabric frost cover can reduce cold exposure, but it is not permission to transplant into freezing conditions.
Hot climates have a different timing trap: planting too late can put flowering into the hottest part of summer. Pepper blossoms may drop when heat is extreme, so in very hot regions, choose an early variety and aim to establish plants before the worst heat, then provide afternoon shade if needed. In cooler regions, a south-facing wall, raised bed, dark container, or protected tunnel can add useful warmth without changing the basic frost rule.
What to do if your timing is off
Timing mistakes are recoverable when you diagnose the actual constraint. A stalled seedling is not always late, and a calendar date is not always the problem. Check light, root space, moisture, temperature, and variety maturity before changing everything at once.
If you started too early
Keep early seedlings in the brightest, coolest space that still supports active growth, then pot up when roots fill the container. Do not keep them in a tiny cell to save room, and do not move them outdoors just because the plant has become tall. Leggy plants can still produce, but they are more vulnerable to wind and sun and may need support.
If the outdoor bed is almost ready but the forecast is not, use a larger container or protected structure as a staging area. That gives the root system room while you wait for warm soil. A smaller, sturdy transplant at the proper time will often outperform an oversized, stressed plant that has been held indoors too long.
If you started too late
Start anyway if the remaining season can support the variety. Choose the fastest variety available, buy a healthy transplant if it saves several weeks, or grow in a container that can be moved into a warm, bright location at the end of the season. Skip the temptation to sow directly into cold ground just because you missed the indoor window.
For a short season, harvest green or at the mature edible size rather than waiting for every fruit to reach its final color. The packet’s days to maturity are a planning aid, not a guarantee, so give late plants the warmest full-sun location and protect them from the first fall chill. You can also save notes on the variety, sowing date, germination date, and first harvest so next year’s calendar is based on your own microclimate.
Extend the harvest through heat and fall
Pepper timing does not end at transplanting. Keep soil evenly moist while plants establish, then maintain a steady watering rhythm as flowers and fruit develop. A plant that repeatedly swings from dry to saturated may grow leaves but shed flowers or produce disappointing fruit, especially in a container.
In hot weather, protect flowers from severe afternoon heat with temporary shade and keep the root zone mulched. Do not confuse a heat pause with plant death; if stems remain healthy, peppers may resume flowering when temperatures moderate. In a cool climate, use row cover early and late in the season, but open it for airflow and remove it when daytime temperatures climb.
As fall approaches, pick mature green fruit before a hard frost if full color is no longer realistic. Potted peppers can sometimes be moved into a bright protected area, while in-ground plants can be covered during short cool spells. A season-extension cover buys time; it cannot turn a frost-sensitive annual into a cold-hardy plant.
Harvest at the stage you actually want
Harvest timing affects both flavor and future production. Many sweet peppers are edible when they have reached full size and are still green, while leaving them on the plant allows them to change color and develop a sweeter flavor. Hot peppers can be picked green for many uses, but they generally need more time on the plant for full color and mature heat.
Use a sharp knife or pruner rather than twisting hard against the stem. Regular picking can encourage the plant to keep flowering, while leaving every fruit to ripen fully at once can slow the next flush of fruit. The RHS recommends harvesting peppers regularly and notes that fully ripening fruit on the plant can hinder further development. (RHS pepper harvest guidance)
Plan backward from the harvest you want. If your first frost is early, choose varieties that can be eaten green or mature quickly. If your autumn is long and warm, you can afford to wait for red, orange, yellow, or fully colored hot peppers. The “perfectly timed” crop is not the one that follows a generic month—it is the one matched to your weather, variety, and preferred stage of ripeness.
Conclusion
To decide when to plant peppers this year, start with your local last-frost estimate, count back eight to ten weeks for indoor sowing, and then wait for warm nights and warm soil before transplanting. Treat hardening off as part of the schedule, not an optional final chore.
The safest planting date is the first day when the forecast, soil, and seedling all agree. Choose a variety that fits the time you actually have, give young roots room without overwatering, protect the first two weeks, and adjust your harvest target if the season runs short. That small amount of timing discipline is what turns pepper growing from a race against spring into a plan you can repeat.



