When to Plant Allium Bulbs for Spring Flowers
Plant ornamental allium bulbs at the right fall moment with practical guidance on soil temperature, depth, spacing, containers, and aftercare.
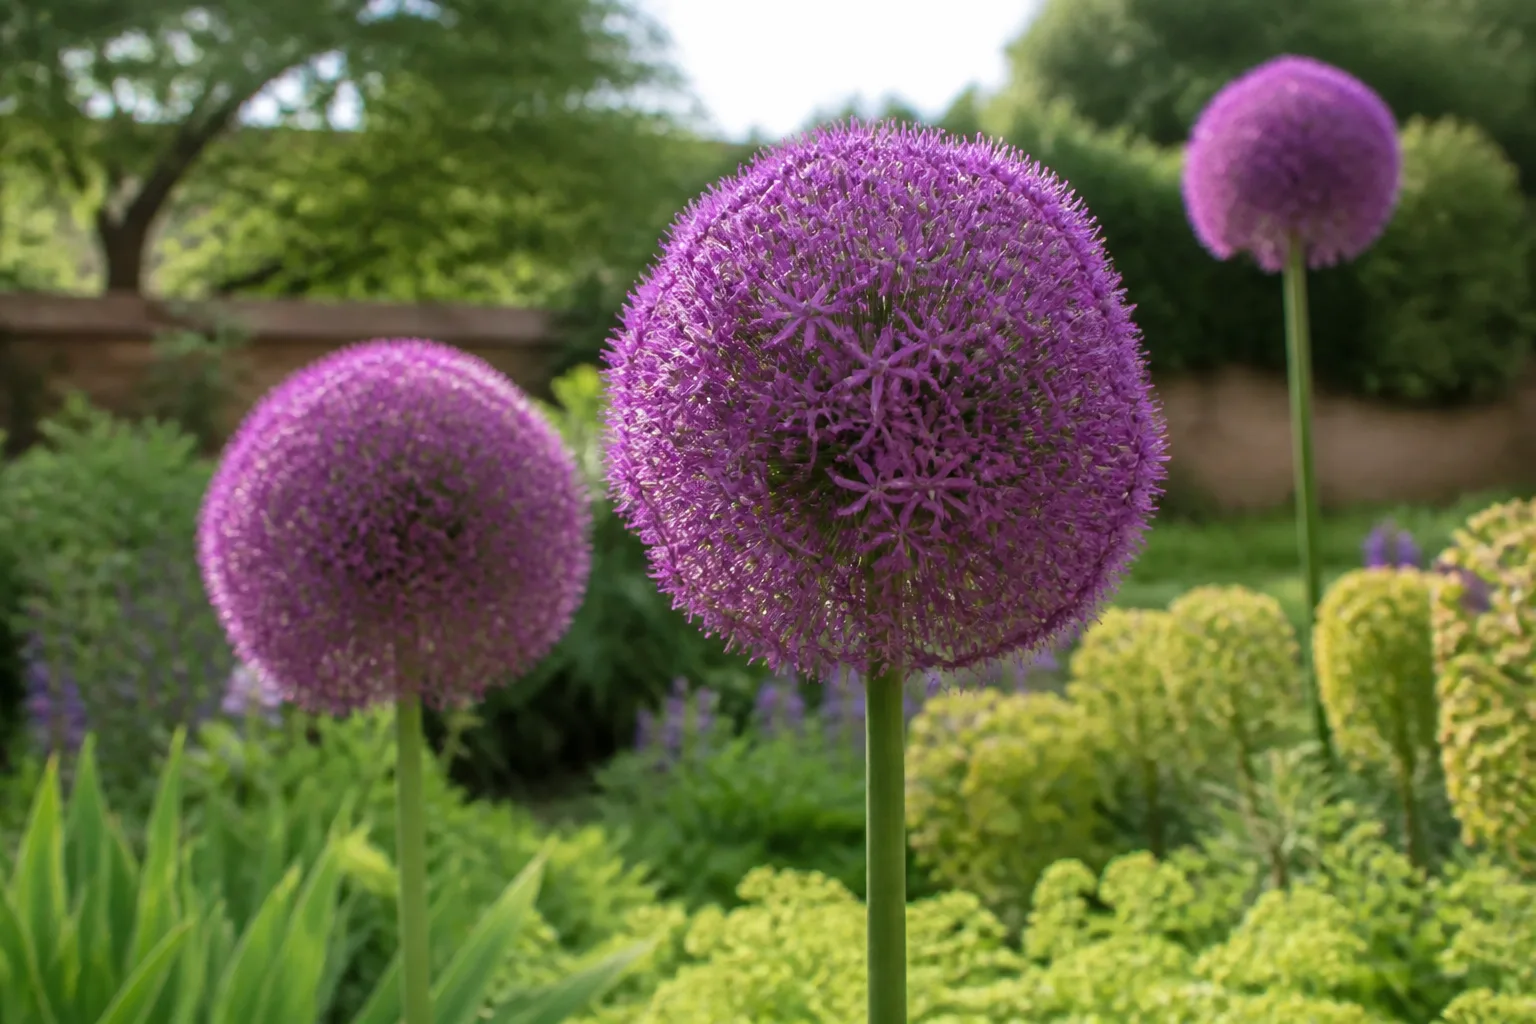
The short answer: plant ornamental alliums in fall
For most ornamental alliums, plant the bulbs in fall while the soil is cool but still workable. The practical window is usually from early autumn through late autumn, but the best date is not the same in every yard. You want enough time for roots to grow before the ground freezes solid, without leaving the bulbs in warm, waterlogged soil for weeks.
That timing is for ornamental alliums—the tall, globe-headed flowers sold for borders, beds, and containers. Edible onions, garlic, leeks, and chives are related plants, but their planting calendars and harvest goals are different. Keeping those two groups separate prevents one of the most common allium mistakes: applying vegetable advice to a flower bulb or assuming every plant sold as an “allium” will bloom on the same schedule.
The RHS summarizes ornamental alliums as spring- and early-summer bulbs that prefer full sun, well-drained soil, and dry conditions once established. The RHS growing guide for alliums also recommends early- to mid-autumn planting, while the Missouri Botanical Garden Plant Finder describes fall-planted ornamental alliums as low-maintenance plants for full sun and dry-to-medium moisture.
Let the soil and weather set the date
Use the calendar as a starting point, then make the final call from three conditions: the soil has cooled, the bulb can still be planted at the right depth, and several weeks of root-making weather remain. A cool night alone is not enough if the bed is still hot and soggy; a first frost is not an automatic deadline if the ground remains easy to dig.
The goal is root establishment before deep freezing, not a certain number of days on the calendar. Roots can grow in cool soil even when the top of the plant is quiet. That underground work anchors the bulb, helps it tolerate winter, and gives it a better chance of producing a strong scape—the leafless flowering stem—next year.
Cold-winter gardens
In regions with an early, reliable freeze, plant as soon as the soil has cooled and the bed is prepared. This may mean September or early October, depending on elevation, latitude, and the season. Aim to plant a few weeks before the soil usually freezes hard, but do not plant into a saturated bed simply because the date looks right.
If a surprise early frost arrives, check the soil rather than abandoning the bulbs. A light frost on the surface does not mean the planting window has closed. If you can still dig without cutting through frozen soil and the bulb is firm, plant it, backfill with loose soil, and water lightly once.
Mild-winter gardens
In places with mild winters, the season may shift later. Cool-climate planting advice often makes warm-climate gardeners plant too early, when warm soil and autumn rain can encourage rot or premature shoots. Wait for the soil to cool and for the weather pattern to become more consistently autumnal; late autumn or early winter may be more appropriate than September.
Cultivar tags matter in mild climates. Some large ornamental alliums perform best where winters provide a genuine cool period, while others tolerate warmer conditions or are grown as spring-started plants. If the bulb packet gives a specific regional instruction, use it over a generic month range.
Know what kind of allium you bought
The genus Allium includes hundreds of species, from culinary onions to compact ornamentals and tall hybrids. Ornamental types are grown for their spherical umbels of star-shaped florets, not for eating. Their flowers may be purple, white, pink, blue, yellow, or wine-red, and their mature height can range from a small rock-garden plant to a four-foot architectural accent.
The name on the label tells you more than “allium” does. ‘Purple Sensation’ is earlier and more compact than many giant hybrids. ‘Globemaster’ and ‘Gladiator’ need room for tall stems and large flower heads. Allium cristophii, often sold as ‘Star of Persia,’ has a loose, starry head and an especially useful dried seedhead. Allium sphaerocephalon, the drumstick allium, flowers later and has smaller, egg-shaped heads.
For a deeper overview of the range of ornamental forms and their fall planting window, Epic Gardening’s allium guide is useful practical context. The main takeaway is to buy for the mature plant, not the size of the dry bulb in your hand.
Choose a site that will stay bright and dry
Give alliums the brightest practical position you have: a sunny border, raised bed, gravel garden, or open edge where they receive roughly six or more hours of direct sun. Full sun produces sturdier stems and stronger flowering, while light afternoon shade can be helpful in very hot climates if the soil still drains freely.
Look up before you plant. Tall alliums can stand above neighboring perennials, but an exposed wind tunnel can bend or topple their stems. A position with some shelter from prevailing wind is better than an open corner, especially for giants with broad flower heads. Avoid a spot that will later be shaded by a tree in leaf if the allium is expected to flower in late spring.
Plan for the foliage, not just the flowers. Allium leaves often emerge before the stems and may yellow while or soon after flowering. That is normal, but it can leave a bare or tired patch if the bulbs are planted alone. Place them among catmint, hardy geraniums, salvia, yarrow, grasses, or other plants that can hide fading leaves without smothering the bulbs.
Fix drainage before you put a bulb in
Drainage is the non-negotiable part of allium planting. A bulb can survive cold soil; it is far less forgiving of soil that stays saturated around it. The Missouri Botanical Garden notes that overly moist soil can lead to bulb rot and recommends improving clay with compost as needed. The Missouri Botanical Garden’s allium profile is a good reminder that “moist” and “wet” are not interchangeable.
Test the bed before digging the planting holes. After a normal rain, does water disappear within a reasonable time, or does it sit in a puddle? Push a trowel into the soil: crumbly soil that holds together lightly is workable; a glossy, smeared clod usually signals excess moisture. If the bed stays wet, move the bulbs to a raised position or improve the whole bed rather than filling individual holes with loose material.
For heavy clay, blend finished compost into the planting area and create a shallow raised mound or broad slope if needed. Do not make a pocket of gravel beneath each bulb and assume that solves drainage; a small gravel-lined hole can become a sump when the surrounding clay prevents water from escaping. In containers, use a quality potting mix and drainage holes rather than garden soil.
Plant alliums at the right depth
Use the bulb itself as your measuring tool. A reliable starting rule is to plant the bulb so that the soil above it is about three times the bulb’s height, with a shallow minimum of roughly twice its height. Larger bulbs commonly end up around 4 to 8 inches deep, but the label for the cultivar should take priority.
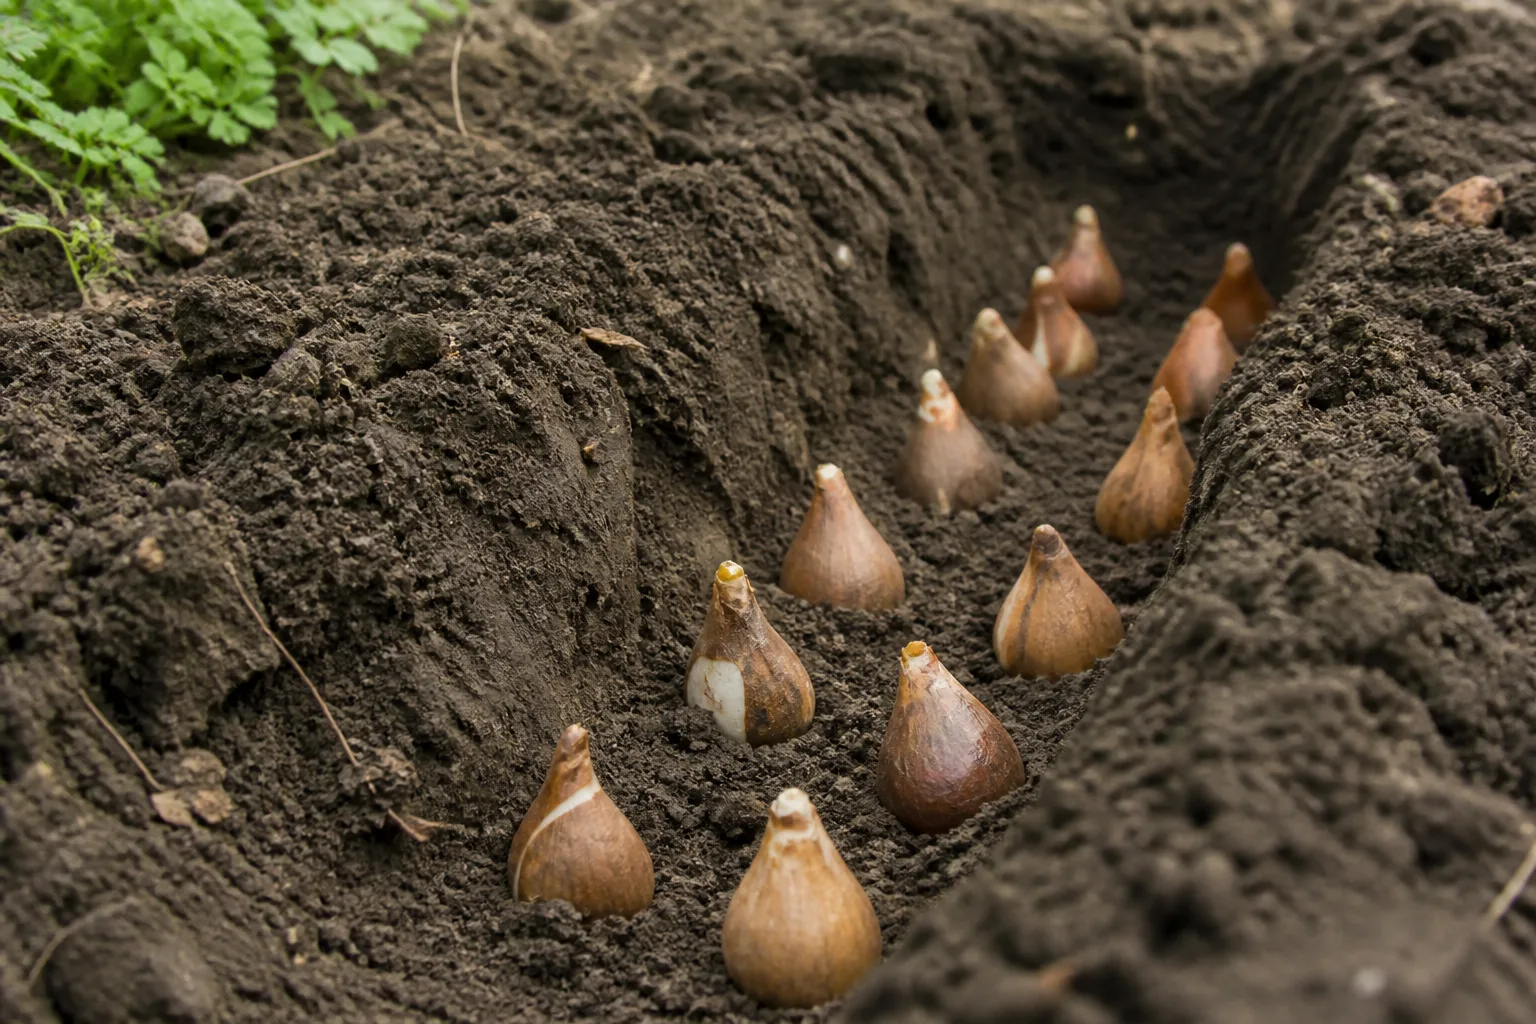
Measure from the base of the bulb to the soil surface, not from the bottom of the hole to the top of the bulb. If a bulb is 2 inches tall, aim for about 6 inches of soil over it. Planting too shallow exposes it to temperature swings, drying, and frost heave; planting slightly deeper is generally less risky than leaving the shoulder almost at the surface, provided the soil drains well.
Set the pointed growing tip upward and the flatter root plate downward. If the shape is hard to read, place the bulb on its side rather than forcing a guess; shoots can often find their way up, while a bulb planted in a permanently wet hole cannot escape rot. Do not peel off healthy outer skins or soak dry allium bulbs before planting.
Space bulbs for the display you want
Spacing should reflect mature flower-head size, not just the diameter of the bulbs when purchased. Close groups create impact, but bulbs that touch or are packed into a wet bed compete for air, roots, and moisture. The RHS recommends about 3 to 4 inches between smaller alliums and at least 8 inches for taller types; giants may need more.
| Allium type | Starting spacing | Best use |
|---|---|---|
| Small or compact | 3–4 inches | Rock gardens, front edges, containers |
| Medium flowering types | 6–8 inches | Repeated groups through a mixed border |
| Large or giant types | 8–12 inches or more | Mid-border, back of a bed, bold drift |
For a natural look, scatter bulbs across a prepared area and plant them where they land, keeping the chosen spacing in mind. For a formal rhythm, repeat groups of five, seven, or more rather than placing one bulb every few feet. Put tall types where their stems can rise above perennials, but do not hide every flower behind a shrub.
Plant allium bulbs step by step
Planting is simple when the bed has already passed the drainage test.
- Check the bulbs. Choose firm bulbs with dry skins and no soft, collapsing, foul-smelling areas. Plant them soon after purchase; if you must wait, keep them in a cool, dry, well-ventilated place away from fruit and standing moisture.
- Prepare the bed. Remove weeds, loosen compacted soil, and mix in finished compost only where it improves structure. Avoid freshly manured soil directly around bulbs.
- Mark the layout. Place bulbs on the soil surface first so you can see the spacing, mature-height groupings, and relationship to companion plants.
- Dig to the measured depth. Make each hole or shallow trench deep enough for the bulb plus the correct amount of soil above it. Keep the bottom firm enough that the bulb will not settle deeper after heavy rain.
- Set bulbs correctly. Place the root plate down and the pointed tip up. Do not press the bulb into a puddle or pack soil tightly against its skin.
- Backfill gently. Return loose soil, firm it lightly with your fingers, and leave the surface level so rain can enter evenly.
- Label unusual cultivars. A small weatherproof label prevents accidental digging when the foliage has disappeared and helps you remember where a late-blooming type is planted.
This sequence matches the practical planting advice summarized by Gardening Know How’s ornamental allium guide, with one important refinement: improve a wet site before planting instead of trying to correct it after the bulbs are buried.
Water once, then resist the urge
Water after planting to settle the soil around the bulbs and start root growth. The bed should be evenly damp, not saturated. After that first watering, let rainfall do most of the work unless the weather is unusually dry and the soil feels dry several inches down.
Dormant alliums do not need a daily drink. Repeated irrigation in cool autumn or winter soil is one of the fastest ways to turn a well-timed planting into a rot problem. In spring, water during an extended dry spell while leaves and stems are actively growing, but still let the top layer drain between waterings. Once the foliage yellows and the plant enters summer dormancy, reduce irrigation rather than keeping the bed constantly moist.
Fertilizer is similarly easy to overdo. Start with a soil test if the bed is poor or plants repeatedly fail to flower. Otherwise, a light compost top-dressing or a label-directed bulb fertilizer in early spring is usually enough. High-nitrogen feed can produce lush leaves at the expense of flowers, and extra fertilizer cannot compensate for low light, shallow planting, immature bulbs, or rot.
Growing alliums in containers
Alliums can grow well in containers when the pot is deep, stable, and genuinely free-draining. Choose a pot with drainage holes and enough depth for the bulb’s planting rule plus several inches of mix beneath it. Use potting mix, not heavy garden soil, and leave space between bulbs so they are not touching.
Container bulbs experience colder, faster temperature swings than bulbs insulated by surrounding ground. In a cold winter, group pots against a sheltered wall, protect them from repeated freeze-thaw cycles, or move them into an unheated garage or shed when the cultivar and local conditions call for it. Do not bring them into a warm living room; the goal is cool dormancy, not active indoor growth.
Containers dry faster in spring and may need more frequent checking than in-ground beds. Water deeply when the mix is dry, then let excess water escape completely. Compact ‘Drumstick’ alliums and Allium moly are easier container subjects than the largest giants, which can become top-heavy and need a very stable pot.
Protect newly planted bulbs through winter
Most ornamental alliums that suit your climate can remain in the ground over winter. Once the soil is cold and the plants have slowed, apply a thin layer of loose organic mulch if your site is exposed or your region has severe freeze-thaw cycles. The mulch should moderate temperature and reduce heaving, not form a wet lid over the bulb bed.
Keep mulch shallow enough that shoots can emerge and water can drain. Do not pile it against stems or cover the bed with plastic. In a well-drained, sheltered site, extra mulch may do more harm than good by retaining moisture. In a cold, open site, a modest layer of chopped leaves or straw can be useful after the ground has cooled.
The best winter protection starts before mulching: plant at the correct depth, avoid low spots, and enter winter with soil that is neither bone dry nor saturated. If squirrels or other animals are digging, a temporary mesh cover over the bed can protect newly planted bulbs while roots begin to form; the odor of established ornamental alliums often discourages browsing, but it is not a guarantee against every animal or site problem.
What to expect when shoots emerge
Allium shoots may appear earlier or later than you expect, especially after an unusual warm spell. A small green tip in winter is not automatically a disaster. Do not dig up a bulb just because it has emerged; cold-tolerant growth may pause and continue when conditions settle. Keep the soil drained and avoid stimulating it with fertilizer or extra water.
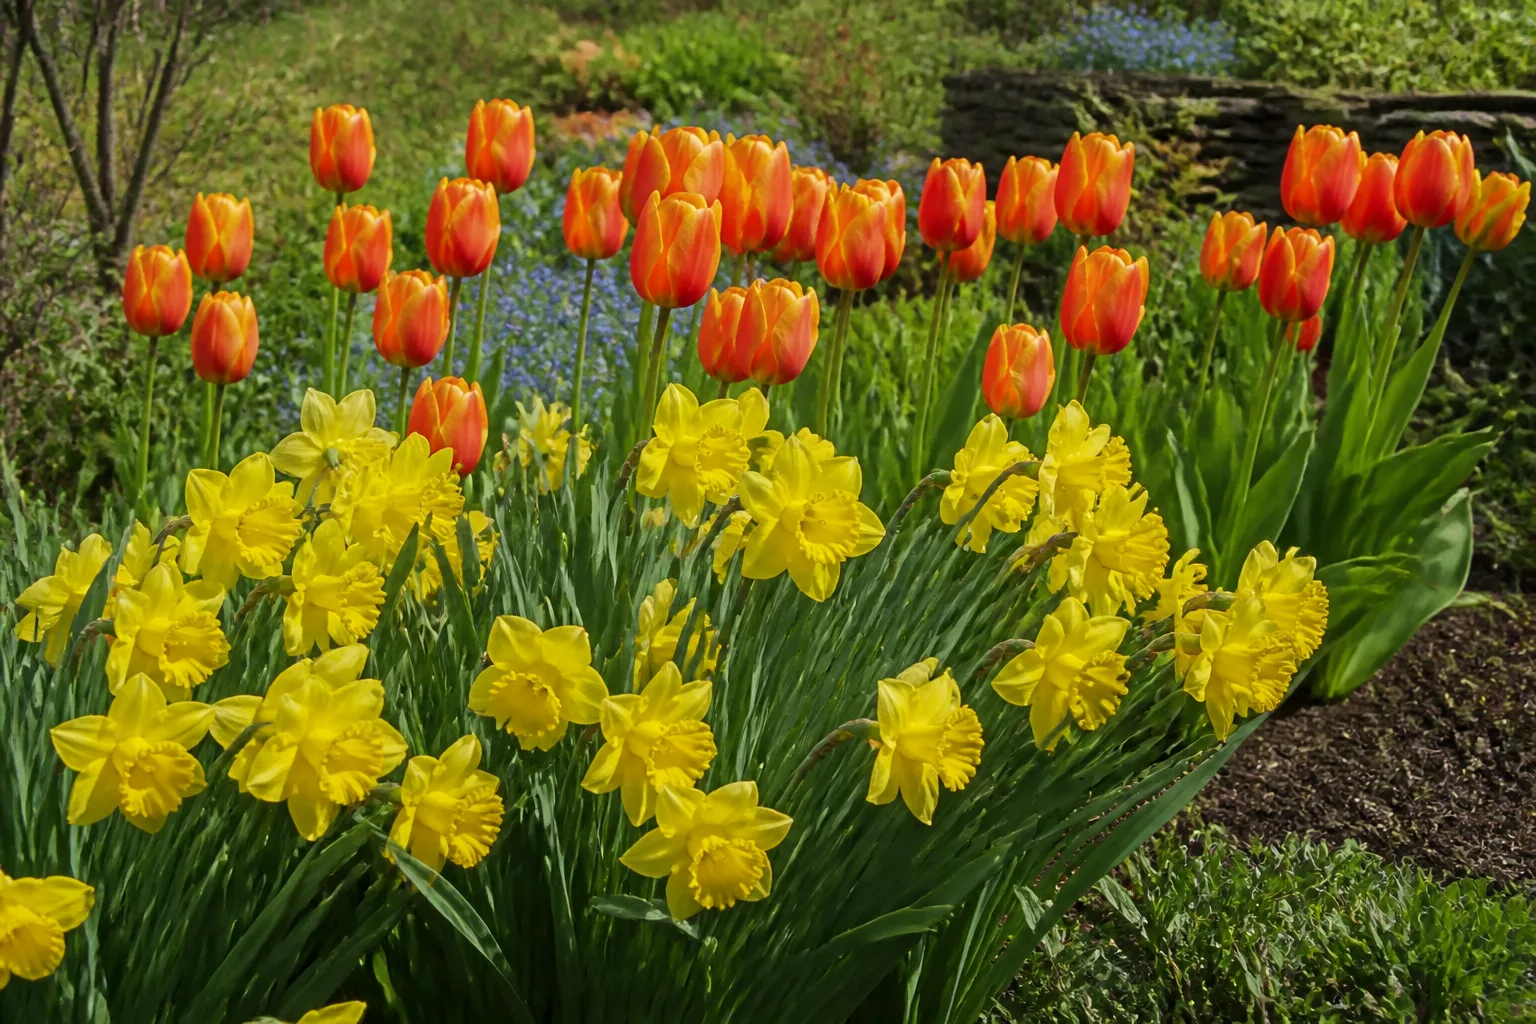
In spring, strap-like leaves usually form first. The flower stem then rises above the foliage, often carrying a swelling bud that gradually opens into a round head. Bloom time varies by species and weather: many large-flowered alliums bridge late spring and early summer, while drumstick alliums flower later.
The first season may not match the catalog photograph. Small bulbs, late planting, transplant stress, shade, and a short root-establishment period can all reduce flower size or delay bloom. Healthy foliage without a flower is a signal to review conditions, not proof that the bulb is dead.
Let foliage finish after flowering
After the flowers fade, leave the foliage in place until it has yellowed and collapsed naturally. Those leaves are still photosynthesizing and moving energy back into the bulb for next year. Cutting them while they are green may make the bed look tidier for a few weeks, but it reduces the plant’s opportunity to rebuild its stored reserves.
You can remove spent flower heads for a cleaner look or leave them standing as dried architectural forms. Their seedheads can hold shape into summer and sometimes winter. If you do not want self-sowing, cut the heads after they fade; if you enjoy natural spread, leave them and see what appears, understanding that seedlings may not match a named hybrid.
Hide the declining leaves with companion plants rather than tying, braiding, or cutting them early. Catmint, hardy geranium, salvia, yarrow, lady’s mantle, peonies, irises, and airy grasses can mask the base while allowing the tall stems and seedheads to remain visible. The DIY Gardening allium guide gives useful design context for placing companion plants around the foliage cycle.
Troubleshoot missing flowers, rot, and pests
When an allium fails, begin with the bulb and site before reaching for a treatment. Use this sequence:
- Leaves but no flower: Check whether the bulb was large and mature enough to bloom, whether it received full sun, and whether it was planted too shallowly. Review last year’s aftercare: green foliage removed early can mean less stored energy. Crowding and excess nitrogen are also plausible contributors.
- Soft or foul-smelling bulb: Dig carefully and inspect drainage. A mushy bulb in a wet hole points to rot; remove it, discard affected material, and correct the site before replanting. Do not keep watering in the hope that a rotting bulb will recover.
- Yellowing leaves before or during bloom: Some yellowing is normal, especially as flowering progresses. Early, widespread yellowing with limp growth suggests water stress, poor drainage, root damage, or disease. Compare affected plants with the soil moisture and the pattern of symptoms.
- Spotted or gray foliage: Improve airflow, water at the soil line, and remove badly affected leaves. Repeated problems call for cleaner spacing and a different site rather than routine spraying without a confirmed diagnosis.
- Chewed young shoots: Slugs and snails can damage emerging growth in cool, wet weather. Reduce hiding places, avoid excessive mulch around new shoots, and use locally appropriate controls according to their labels.
Ornamental alliums are often avoided by deer and rabbits because of their onion-like chemistry, but “resistant” does not mean invulnerable. The RHS lists pests and diseases shared with edible alliums, including downy mildew, onion white rot, onion fly, slugs, snails, and allium leaf miner. Avoid planting ornamental bulbs immediately where an onion crop has had a serious soil-borne disease problem, and do not compost diseased plant material unless your composting system reliably reaches pathogen-killing temperatures.
Divide crowded clumps or move them
Alliums can return for years in the right site, and many bulbous kinds form offsets around the original bulb. Leave a healthy clump alone if it is flowering well and has enough space. Disturbing bulbs every year is unnecessary and can create more damage than benefit.
Divide when a clump becomes crowded, flowering declines despite good light and drainage, or you need to move it from a poor location. Wait until flowering is finished and the leaves have died back, then lift the clump, separate firm offsets, and replant them promptly at the correct depth and spacing. Do not store damp bulbs in a sealed bag.
Seed is another option for species alliums, but it is slow and seedlings may vary from a named hybrid. Some species can produce aerial bulbils in the flower head. Division is usually the most predictable way to expand a planting while preserving the characteristics of the parent plant.
Pick varieties that fit your garden
Choose by height, flower size, bloom time, and the foliage problem you are willing to solve.
- For a classic purple drift: ‘Purple Sensation’ is a useful medium-to-tall choice with vivid spherical heads and a relatively early display.
- For maximum scale: ‘Globemaster’ or ‘Gladiator’ create large heads on tall stems, but need generous spacing, shelter, and companions that conceal the base.
- For a white scheme: ‘Mount Everest’ adds height and contrast without the usual purple palette.
- For a starry, dried display: ‘Star of Persia’ has open, geometric heads that remain interesting after the color fades.
- For a smaller bed or pot: ‘Drumstick’ allium or Allium moly stays more compact and is easier to place where a giant stem would overwhelm nearby plants.
The most beautiful planting is not necessarily the one with the biggest flowers. Match the bulb to the scale of the bed, give it a backdrop that handles the fading leaves, and repeat the same variety in a group large enough to read as intentional from a distance.
Conclusion
The best time to plant ornamental allium bulbs is fall, after the soil cools but before the ground freezes solid. Use local weather to choose the date: plant when the bed is workable, drainage is good, and the bulbs have time to root before deep winter. If the first frost has passed but you can still dig, you have not necessarily missed your chance.
Plant firm bulbs point up at roughly three times their height, space them according to mature flower size, water once to settle the soil, and then avoid keeping the bed wet. Give them sun, shelter from the strongest wind, and enough room for their leaves to fade naturally after bloom. That small amount of planning is what turns a dry bulb in autumn into a row of floating purple, white, or wine-red globes the following spring.



