Coconut Tree Soil Requirements: Mix, Drainage & pH
Coconut Tree Soil Requirements: Mix, Drainage & pH
Coconut Tree Soil Requirements: Mix, Drainage & pH
Coconut tree soil should hold steady moisture and nutrients while still draining fast enough that roots get air after every soak. That balance is easy to get wrong. Cocos nucifera is a coastal palm that thrives in sandy tropical ground outdoors, yet the same plant declines quickly in a dense, sour potting mix that never re-aerates between waterings.
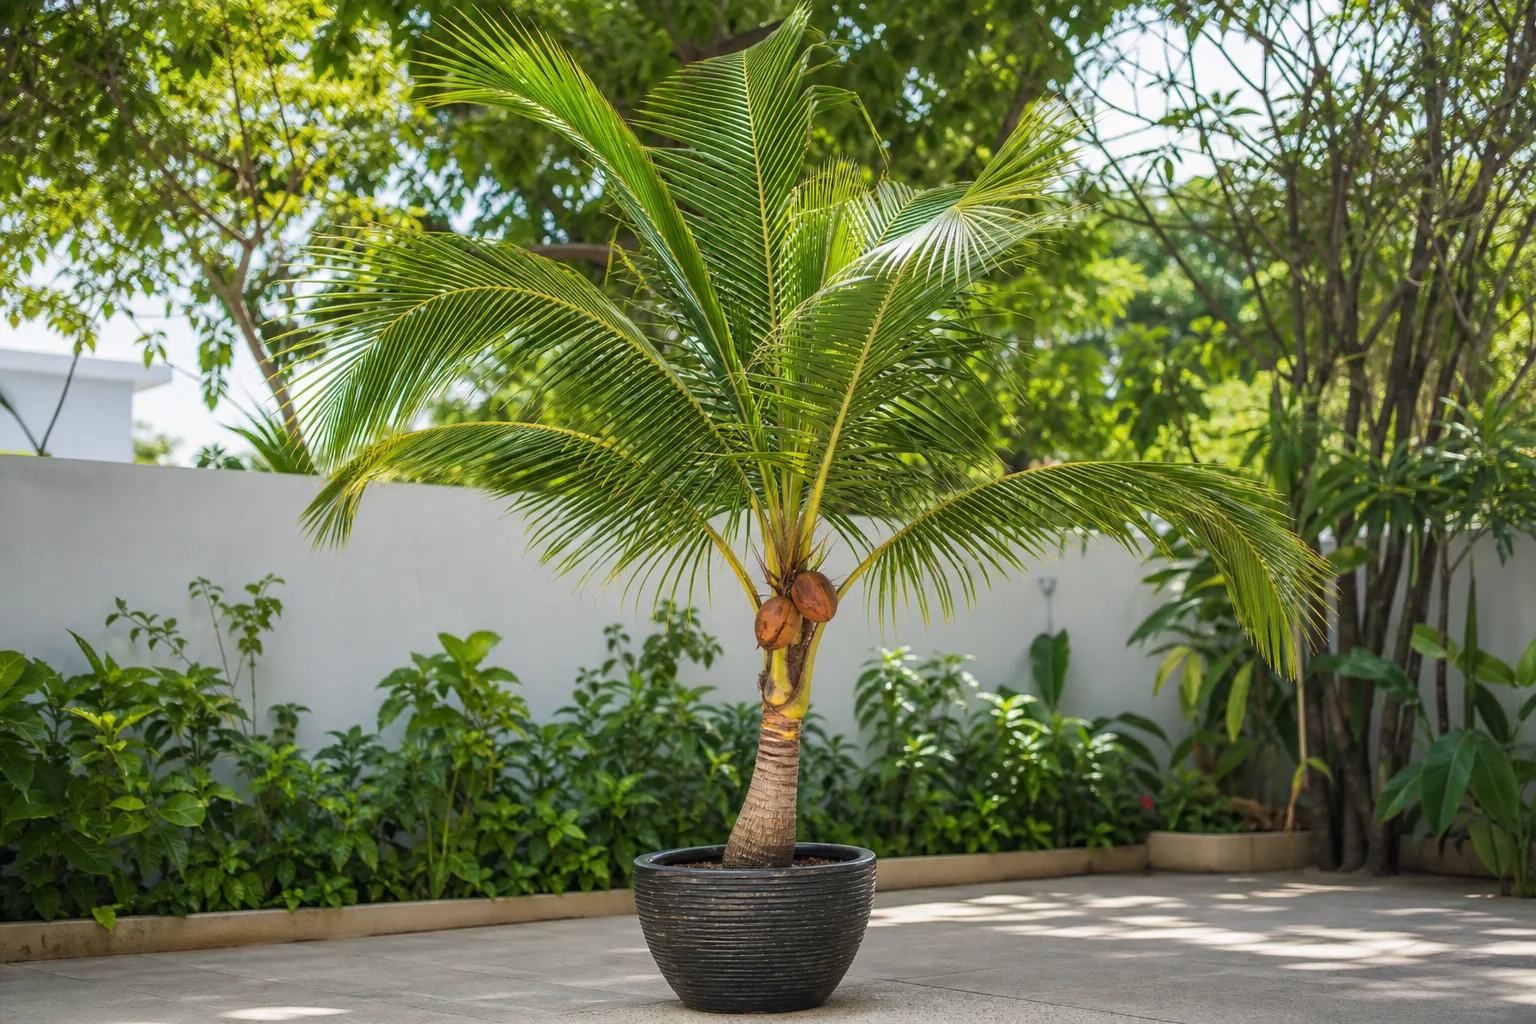
For a container, start with a soil-based or quality potting mix opened with grit, coarse sand, or similar aeration material. In a frost-free garden, moderately fertile sandy loam with free drainage is the target. Soil cannot replace missing sun or tropical warmth, so pair this guide with Coconut Tree light needs and Coconut Tree watering.
Quick answer: the best soil for coconut tree
The best soil for a coconut tree is moderately fertile, humusy, moist, and well-drained, usually a sandy loam outdoors or a grit-amended soil-based mix in a pot. Missouri Botanical Garden places best growth in moderately fertile, humusy, moist, well-drained soils in full sun, and notes that containers do best in a soil-based potting mixture with grit or sand added.
UF/IFAS similarly says coconut palms thrive in tropical climates with sandy soils, tolerate flooding and wind once sited outdoors, and still need well-draining locations to reduce disease pressure. RHS lists soil types as loam or sand, kept moist but well-drained, across acid, alkaline, or neutral pH.
For pots, a practical starting blend is 50% quality potting mix or loam-based compost, 25% coarse sand, grit, or perlite, and 25% fine bark, coir, or finished compost. Adjust for climate: more coarse material in prolonged monsoon humidity, slightly more moisture-holding base on hot, windy terraces.
What coconut soil must do
A coconut root zone has three jobs at once. It must keep water available for a large frond canopy, hold nutrients without turning into a salt-crusted swamp, and leave pore space so oxygen returns after rain or irrigation. Outdoors, coastal sands and sandy loams do that naturally when the water table is not permanently perched. In a pot, particle size and drainage holes decide the outcome.
Outdoor flood tolerance does not mean a houseplant can sit in a saucer of stagnant water. Landscape palms can endure brief inundation in open soil; a sealed container stays anaerobic for days. Keep the mix moist, not stagnant, and empty runoff trays after watering.
Why Cocos nucifera wants moisture with air
Coconut is a solitary palm with a fibrous root system that spreads widely in deep tropical ground. Field research under subtropical humid conditions often describes productive plantings on well-drained sandy loam, with many active feeder roots concentrated in a basin roughly 1.8 m from the trunk. A nursery pot compresses that system into a few litres of media, so compaction and fine clay become far more dangerous.
When soil stays waterlogged, roots cannot get the oxygen they need, a failure mode explained in general terms by the Missouri Botanical Garden overwatering guidance. Damaged roots then absorb poorly, so a soggy coconut can yellow or wilt as if it were dry. Always check the mix before adding more water.
Best container mix for coconut tree
Container soil for coconut should be coarser and more open than rich field loam. Do not fill a balcony pot with unamended garden clay: repeated watering collapses fine particles, the centre stays wet, and the pot becomes extremely heavy. Missouri Botanical Garden’s container note—soil-based mix plus grit or sand—is the right mental model for indoor or conservatory plants.
RHS cultivation advice for under-glass plants is similar: grow in peat-free, loam-based potting compost with additional sharp sand and fibrous organic matter, in strong light with moderate humidity. That recipe keeps moisture available without sealing the roots in peat sponge alone.
A practical DIY coconut soil recipe
For one 10-litre batch, combine:
- 5 litres quality potting mix or loam-based compost
- 2.5 litres coarse sand, horticultural grit, or perlite
- 2.5 litres fine bark, coir, or finished compost
Moisten lightly and mix thoroughly before potting. The finished blend should form a loose clump when squeezed, then break apart with a touch. It should not remain a sticky ball. On a monsoon balcony, keep the coarse fraction near 30% and shelter the pot from repeated saturation. On a hot, dry terrace, replace a small part of the grit with extra potting base or coir so the pot does not dry out between daily checks.
This mix supplies structure, not a complete feeding program. Coconut is nutrient-demanding outdoors, but field fertilizer rates do not belong in a small pot. Use the Coconut Tree fertilizer guide after roots have settled.
How to adapt a store-bought potting mix
Read texture, not marketing claims. If a commercial mix is fine, dark, and sponge-like, blend about three parts mix with one part coarse grit, sand, or perlite. If the bag already contains substantial bark and mineral grit, further amendment may be unnecessary.
Avoid “moisture control” blends in humid rainy weather unless you have tested how slowly they dry. Skip a thick gravel layer at the bottom of the pot; it does not fix a dense upper mix and can worsen perched water. Use a uniform open substrate from top to bottom, and cover large drainage holes with mesh only to keep mix from washing out.
Ground planting soil for India and tropical gardens
In frost-free coastal and lowland gardens across India and similar climates, coconut wants deep, free-draining sandy or sandy-loam ground with organic matter. UF/IFAS planting guidance emphasizes sandy tropical soils, summer planting where seasons vary, surface mulch a few inches deep to steady moisture, and roughly one inch of water weekly for first-year transplants when rain is short.
Do not plant the stem deeper than it grew in the nursery. UF/IFAS recommends setting transplants about one inch below the soil surface and watering immediately—deep burying of the trunk invites rot and stalling. Keep mulch a little back from the trunk so the crown stays dry while the root zone stays buffered.
Organic matter helps sandy coastal soils hold nutrients. Long-term coconut INM work in subtropical India shows that recycling plantation wastes such as coir pith, husk, and leaf mulch can raise surface organic carbon and support soil biological activity on sandy loam plantings. For home growers, that translates to finished compost or coir-based organics worked into the planting basin—not raw green waste piled against the trunk.
Heavy clay and monsoon sites
Heavy clay is the main landscape obstacle. Coconut may tolerate brief flooding outdoors, but chronically waterlogged, airless clay still stresses roots and raises bud-rot and other disease risk. UF/IFAS notes that the most efficient disease prevention step is planting in well-draining locations.
If your monsoon plot holds standing water for days, plant on a broad raised mound or berm, open a clear runoff path, and amend a wide area with coarse organic matter rather than digging a narrow clay “bathtub.” NC State Extension stresses that compaction and poor drainage around homes often need physical correction, not fertilizer alone, because restricted pore space limits root growth. If the water table regularly reaches the root zone, choose another site or grow a young specimen in a large, freely draining container instead.
Soil pH for coconut tree
Coconut is not a fussy acid-lover. RHS lists growing conditions as moist but well-drained loam or sand with acid, alkaline, or neutral pH. LeafyPixels plant data for this species targets roughly pH 5.5–8.0, which matches that wide tolerance. Aim near the middle for containers—about 6.0–7.5—and prioritize structure, salinity, and drainage before chasing tiny pH shifts.
Soil pH mainly matters because it changes nutrient availability. NC State’s Extension Gardener Handbook explains that nutrients must be in plant-usable forms dissolved in soil water, and that pH strongly influences that chemistry. If fronds show deficiency patterns despite feeding, test the mix or garden soil rather than stacking more fertilizer into a sealed, wet pot.
Drainage, pot choice, and planting depth
Use a stable container with several unobstructed drainage holes. Young coconut plants become top-heavy as fronds lengthen, so choose a broad, heavy pot, but do not jump many sizes at once. An oversized pot leaves a large volume of unused wet mix around a small root ball. Move up gradually using the Coconut Tree repotting guide.
Terracotta dries faster and can help in humid rooms; plastic holds moisture longer and suits hot, windy terraces if the mix stays open. Raise the pot slightly above a solid floor and empty saucers after runoff. Outdoors, confirm the planting hole drains within a few hours after a heavy soak.
Test the mix before planting
Fill the intended pot, water slowly until the profile is wet, and watch the outlet. Runoff should begin promptly rather than pooling on the surface for minutes. After free drainage stops, the mix should feel evenly damp, not soupy. A day later it should still be moist but show visible air spaces when you poke it.
If water sits on top, the mix is too fine or hydrophobic—remix with more grit. If the pot stays heavy and cold-smelling for days in warm weather, improve light and warmth first, then open the mix before the next deep soak. Match irrigation to this drying behaviour using the watering guide.
Warning signs of wrong soil
Wrong soil usually announces itself through the roots before the crown collapses. Watch for yellowing lower fronds while the mix stays wet, a sour or swampy smell, soft roots, stalled spear growth, or mold on a constantly damp surface. Outdoors, persistent puddling around the trunk, algae on compacted clay, or a planting hole that never drains after monsoon rain are landscape red flags.
Brown crispy tips with bone-dry, water-shedding mix point the other way: hydrophobic peat or coir that needs thorough rewetting, or a pot that is simply too small and root-bound. Do not answer wet-soil yellowing with more fertilizer. Pause irrigation, clear blocked holes, and inspect roots before you change the feeding schedule.
When to use this page vs other Coconut Tree guides
Use this page when you are choosing, mixing, amending, or diagnosing the growing medium itself. Switch pages when the main question is different:
- Coconut Tree overview for climate fit, mature size, and whether this palm belongs in your space
- Coconut Tree watering for when to water, seasonal cutbacks, and overwatering vs underwatering checks
- Coconut Tree repotting for pot size, timing, and how to move the plant into fresh mix
- Coconut Tree fertilizer for palm nutrition once drainage and structure are sound
- Coconut Tree propagation for germinating nuts in warm, open media
If the plant is declining from cold drafts or dim rooms, fix light and placement before rebuilding the soil.
Related Coconut Tree guides
- Coconut Tree care hub — species profile, hardiness, and grower notes
- Coconut Tree watering — moisture timing that matches this soil structure
- Coconut Tree repotting — when and how to refresh the mix
- Coconut Tree fertilizer — feeding after roots are healthy
- Coconut Tree light — sun and conservatory placement that drive water use
Conclusion
Coconut tree soil success is mostly about moisture with air: sandy or sandy-loam ground outdoors, and a grit-opened, soil-based mix in pots. Keep pH roughly in the broad 5.5–8.0 band, plant at the nursery depth, mulch outdoor basins without burying the trunk, and treat chronic clay saturation as a site problem rather than a fertilizer problem. Get the medium right first, then refine watering, light, and feeding with the sibling guides above.