How to Prune Jamun: Training, Canopy & Size
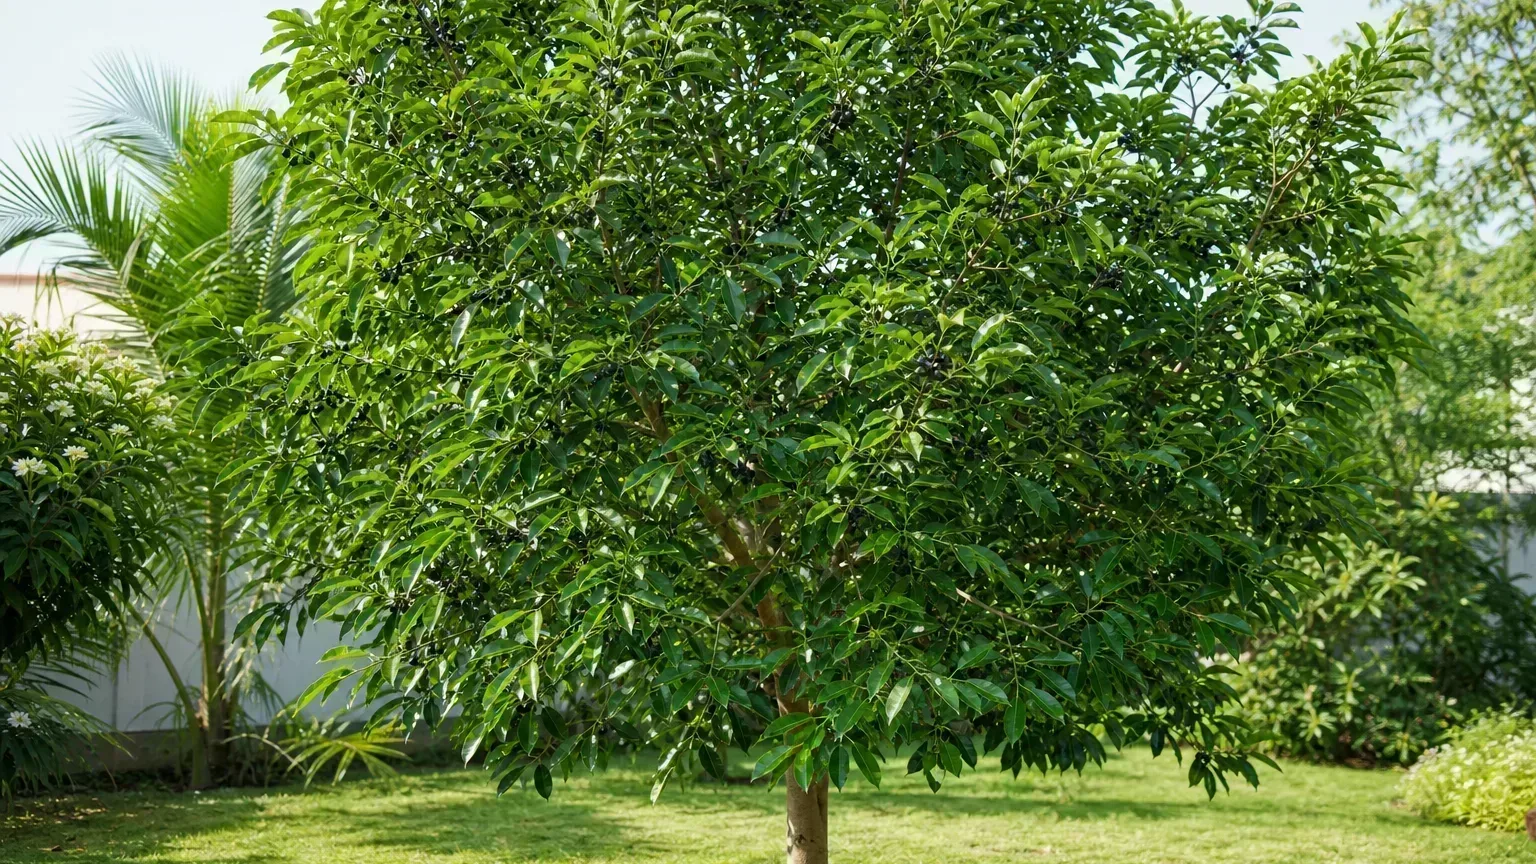
Jamun Pruning Guide: Training, Canopy, and Size Control
Jamun Pruning Guide: Training, Canopy, and Size Control
First, remove one clearly dead, broken, or diseased branch with clean, sharp bypass pruners. Cut it back to healthy wood or to its branch collar without leaving a long stub. Then step away and decide whether the tree needs training, canopy thinning, fruiting-wood protection, or size control; those are different jobs on a vigorous evergreen fruit tree.
Reviewed by LeafyPixels Review Board · Author: sai-ananth
Quick answer
Prune jamun (Syzygium cumini) selectively, not as a hedge. Tamil Nadu Agricultural University states that regular pruning is not required; once the framework is set, later work focuses on removing dry twigs and crossed branches. Train a young tree so the permanent scaffold begins about 60–100 cm above the ground, keep the dense crown open enough for light and air, and shorten selected shoots only when you need harvest access or container size control.
Jamun can reach 12–30 m in open ground with a dense crown, so container and courtyard trees need more deliberate size management than a landscape specimen. Flowers form in the axils of leaves on branchlets, so indiscriminate tip shearing during bloom or early fruit set can remove the crop you wanted. Correct jamun light and watering problems before trying to prune weak growth into productivity.
Decide what the jamun tree needs
Walk around the tree before cutting. Look from the trunk outward and separate five goals:
- Training: setting permanent scaffold branches on a young tree.
- Sanitation: removing dead, broken, rubbing, or diseased wood.
- Canopy management: thinning crossed or inward shoots so light reaches leafy fruiting branchlets.
- Fruiting wood: protecting leafy axils that will flower and set berries.
- Size control: keeping fruit, sprays, and harvest within reach—or balancing a container crown to the pot.
A landscape jamun may eventually fork into multiple trunks near 0.9–1.5 m and form a broad shade canopy. Before reducing a sparse tree, check the jamun overview to confirm that poor growth is not primarily a care problem.
When to prune jamun
Routine shaping and crop-aware timing
Choose a time when the current harvest is finished and warm growth can resume. In much of North India, flowering runs roughly from early March through April and ripe fruit is picked in June–July (TNAU flowering and harvest notes); regional calendars shift with climate and cultivar, so identify which crop your tree is carrying rather than pruning by a single fixed month.
After harvest—or shortly before the next expected warm flush—is the safest window for training cuts, selective heading for height, and opening a crowded crown. Light cleanup of dry or crossing twigs can follow the same window.
Cuts that should not wait
Remove a snapped branch, dead stub, or confirmed disease source promptly. Sanitation pruning is not the same as shortening healthy fruiting branchlets. During wet, humid weather, make only necessary disease-removal cuts, disinfect tools, and prefer a dry period rather than opening many wounds in prolonged rain. Anthracnose can cause leaf spots and fruit lesions on jamun; opening the canopy helps air movement but does not replace diagnosis or sanitation (anthracnose notes).
Delay non-urgent structural pruning when:
- leaves are wilted from dry soil or roots remain saturated;
- the tree was recently transplanted or repotted;
- extreme heat or a cold spell is imminent;
- leafy branchlets are covered in flowers or young fruit you intend to keep;
- active dieback has not yet been diagnosed.
Train a young jamun for a strong framework
While the plant is young, decide how high the permanent canopy should start. TNAU recommends allowing the framework of branches to develop above 60–100 cm from ground level. That clearance keeps foliage and fruit off the soil, eases under-tree maintenance, and reduces rubbing against paving or pots.
Select three to five well-spaced scaffold branches that:
- radiate in different directions rather than emerging as a tight cluster;
- have room to thicken without rubbing;
- begin high enough for clearance, yet low enough for future picking on a home tree;
- are not all competing as narrow, upright forks.
Remove competing suckers and weak, inward-growing shoots gradually. Tip selected scaffolds only after they extend beyond the planned outline, cutting just above an outward-facing lateral or bud. Once that framework is set, landscape trees need little annual cutting beyond sanitation and crossing-branch removal.
Protect fruiting wood when you cut
Jamun does not fruit on bare permanent spurs alone. Flowers are borne in leaf axils on branchlets (axillary flowering habit). The practical consequence is important: a well-timed thinning cut can open the crown so remaining leafy shoots ripen fruit more evenly, but repeatedly shearing every green tip during bloom can remove the same productive wood you wanted.
Before shortening a shoot, inspect its leafy ends:
- Flowers or small fruit present: leave it until harvest unless breakage or disease makes removal necessary.
- Long leafy shoot with no crop, past the canopy outline: shorten it to a well-placed outward lateral or bud after harvest.
- Weak shaded twig inside the crown: thin it at its origin if it adds congestion and little leaf area.
- Strong vertical water shoot: remove it at the branch of origin, or retain and shorten one only when it fills a genuine canopy gap.
Heading removes the end of a shoot and encourages branching below the cut. Thinning removes a whole branch or shoot at its origin and opens space without creating a tuft of shoots at the tip. Clemson Extension prefers thinning back to a live lateral over arbitrary stubbing for most landscape trees (heading versus thinning). On jamun, use a few deliberate heading cuts for size control after harvest, then thinning cuts to prevent those laterals from becoming a dense thicket.
Make clean cuts and keep tools sanitary
Use hand pruners for pencil- to finger-thick shoots and loppers or a pruning saw for larger branches. Bypass blades leave a cleaner surface than dull blades that crush soft tissue. Clemson recommends bypass hand pruners for small twigs, loppers for mid-sized limbs, and a pruning saw for branches thicker than about 1½ inches (tool guidance).
For a whole branch, cut just outside the swollen branch collar. Do not cut flush against the trunk, and do not leave a long peg. For a heading cut, cut just above a healthy outward-facing bud or lateral. Support a heavy limb and remove its weight in stages so peeling bark does not tear below the final cut (branch-collar technique).
When disease is suspected:
- prune visibly affected wood back to firm, healthy tissue;
- disinfect blades before moving to another branch or tree—Clemson describes sterilizing tools between diseased cuts with isopropyl alcohol or a 1:9 bleach:water dip (tool sterilization); Iowa State Extension also provides pruning-shear sanitation guidance;
- bag or remove diseased trimmings rather than leaving them beneath the canopy;
- do not propagate suspect shoots;
- stop and seek a local diagnosis if discoloration continues inside the cut wood.
Control height and spread without stripping the canopy
Set a realistic finished height before the first live cut. For many home trees, a canopy you can harvest from a ladder or long pole is safer than an unpruned 12–30 m landscape form. Reduce the longest branch to a substantial outward-facing side branch rather than chopping every limb at one level. Move around the canopy and alternate sides, preserving leafy branchlets between cuts.
Thin crossing or inward-growing shoots at their origins, but keep enough interior foliage to shade major limbs. Sudden exposure of previously shaded bark to intense tropical sun is a reason to stage a large reduction rather than stripping the crown in one day. There is no useful universal percentage for every jamun: a vigorous in-ground tree after harvest and a root-bound terrace tree cannot safely lose the same amount. For routine work, stop while the tree still has a substantial, evenly distributed leafy canopy.
Prune container jamun as a managed small tree
A pot does not turn jamun into a naturally dwarf houseplant. The species is a large evergreen tree; NParks lists mature heights of 12–30 m, and container culture depends on regular structural pruning plus root-space management. Start with a clear maximum height and width set by wind exposure, doorway clearance, and whether you can secure the pot.
After harvest:
- Remove dead, damaged, rubbing, and inward-growing shoots.
- Shorten the tallest one or two branches to outward laterals within the planned outline.
- Retain several well-spaced leafy branchlets around the tree for future axillary flowering.
- Tip new extensions later, before they again exceed the available space.
- Rotate the container periodically so one bright side does not become disproportionately heavy.
Do not hard-prune the canopy on the same day as major root pruning or an emergency jamun repotting job. Root reduction limits water uptake while canopy cuts demand wound response and new shoot growth. If both are necessary, stabilize the root zone first and stage structural pruning after the tree resumes firm new growth. A freely draining jamun soil mix and full sun matter more to compact, sturdy regrowth than repeated tip cutting alone.
Aftercare and signs of recovery
Return the tree to its usual sunny position rather than moving a newly thinned canopy abruptly into harsher reflected heat. Water from the soil check, not because pruning occurred: soak when the upper root zone reaches the threshold described in the jamun watering guide, and do not keep the pot constantly wet in an attempt to force regrowth.
Do not add a heavy fertilizer dose immediately after cutting. If the tree is healthy and entering active growth, resume its normal jamun fertilizer program rather than trying to compensate for lost canopy. Useful recovery signs are firm bud swell below heading cuts, evenly distributed new laterals, stable remaining leaves, and shoots that stay compact in full light.
Pause further pruning if green leaves drop rapidly, the cut surface darkens and dieback travels down the branch, or new growth wilts despite moist soil. Those signs point to root, disease, temperature, or water stress—not a need for more shaping. Healthy leafy shoots removed during size control can sometimes be used for propagation only when the parent wood is pest- and disease-free; do not root material from suspect dieback.
Common jamun pruning mistakes
- Shearing the whole crown: creates crowded regrowth and may remove axillary flowers or young fruit.
- Pruning by calendar alone: ignores which crop and growth flush the tree is carrying.
- Leaving every upright water shoot: rebuilds height quickly and shades productive leafy branchlets.
- Removing all interior foliage: exposes limbs abruptly and sacrifices useful leaf area.
- Flush-cutting the trunk: damages the branch collar needed for orderly wound closure.
- Using dirty tools on suspect dieback: risks carrying contaminated material between cuts.
- Hard top pruning plus root pruning together: asks a container tree to recover above and below ground at once.
- Expecting pruning to fix shade: weak, stretched shoots return unless the tree receives enough direct sun.
Related Jamun guides
- Jamun overview — whole-tree care and growth habit.
- Jamun light — sun requirements for sturdy shoots and flowering.
- Jamun watering — moisture checks before and after pruning.
- Jamun soil — drainage and root-zone support for container trees.
- Jamun fertilizer — feeding during active growth, not as a post-cut emergency.
- Jamun repotting — when root work should be staged separately.
- Jamun propagation — use only healthy, pest-free pruning material.
Conclusion
Good jamun pruning preserves a clear trunk framework, a manageable dense canopy, and leafy branchlets that can flower in their leaf axils. Begin with sanitation, train scaffolds 60–100 cm above the ground while the tree is young, and use selective thinning and post-harvest heading for size control rather than annual hard shearing. For a container tree, maintain a compact outline in small steps and keep root work separate from major canopy reduction.