How to Propagate Star Jasmine Step by Step
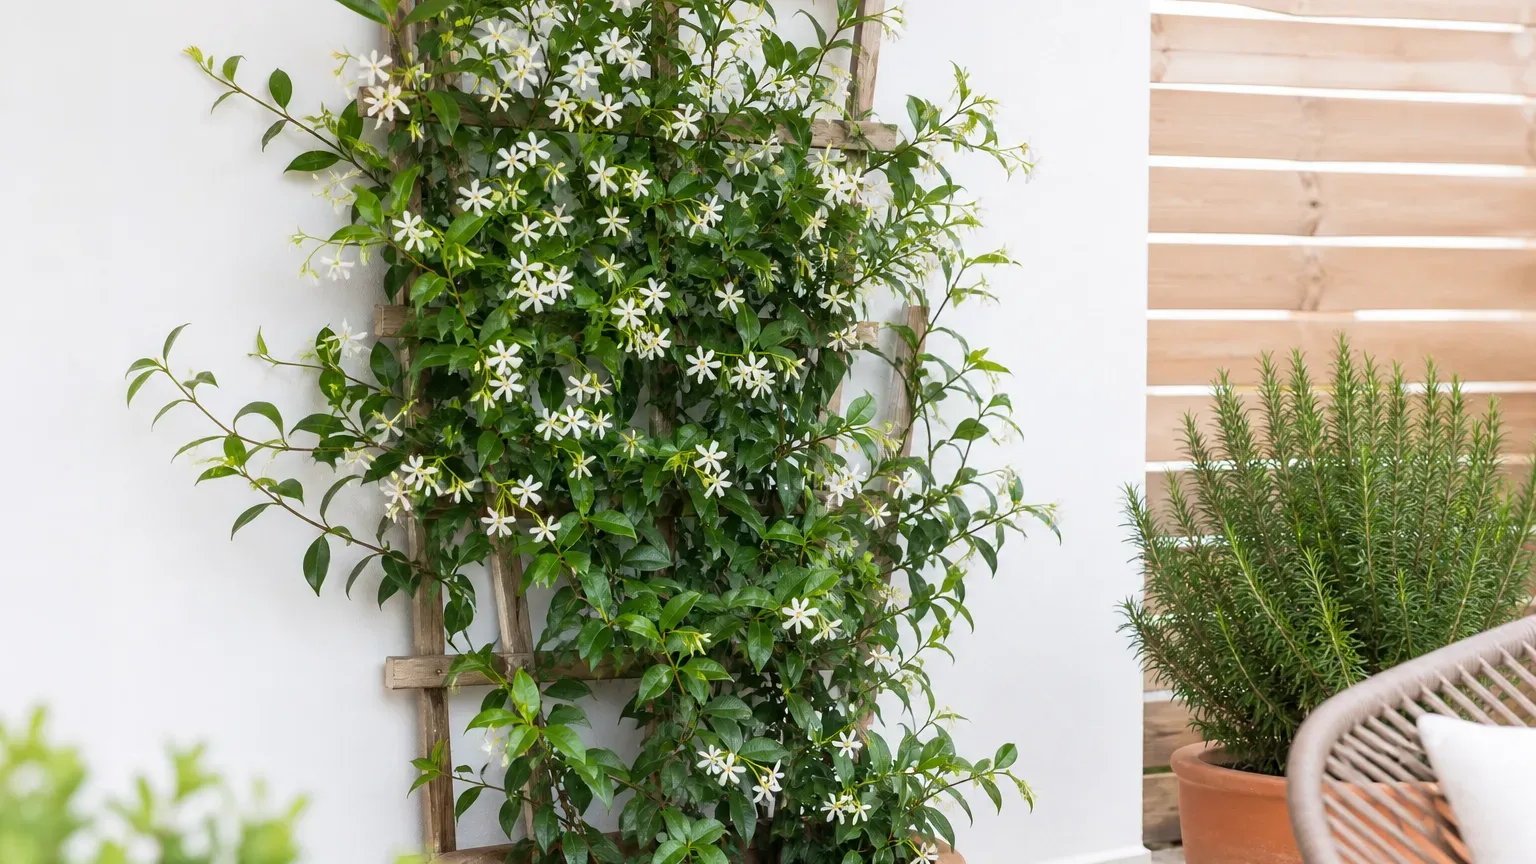
How to Propagate Star Jasmine Step by Step
How to Propagate Star Jasmine Step by Step
Star Jasmine (Trachelospermum jasminoides) is most dependably multiplied from semi-ripe stem cuttings or layering, the two methods recommended by both the Royal Horticultural Society and NC State Extension. Layering is the safer choice when you need only one or two plants because the shoot keeps receiving water from its parent while roots form. Cuttings make better use of a long vine, but they demand closer control of humidity and drainage.
This is a woody, evergreen twiner rather than a true Jasminum. Its opposite, leathery leaves and milky sap help identify the correct plant; Oregon State University describes the cut stem as exuding milky sap. Wear gloves if the sap bothers your skin, keep it away from your eyes, and clean the blade after use. Start with the Star Jasmine overview if the identity or health of the parent vine is uncertain.
Choose the right propagation method
Choose simple layering when the parent has a flexible low shoot that reaches a pot or patch of soil. The shoot remains attached, so an unexpectedly hot afternoon or a missed watering is less likely to kill it. The trade-off is time and quantity: layering occupies a live stem for months and normally produces only a small number of plants.
Choose semi-ripe cuttings when you want several plants, need to shorten an overgrown vine, or cannot bend a stem to soil level. The RHS specifically includes Trachelospermum among woody climbers suited to late-summer cuttings and advises selecting current-season growth whose base is firm while the tip remains soft. Take several cuttings because even carefully prepared material will not all root.
Seed is not the practical default. Named or variegated forms may not come true from seed, pods are not always available, and seedlings take longer to become useful vines. Vegetative methods preserve the parent plant’s visible traits and give a faster route to a plant ready for training.
Best time to propagate Star Jasmine
For cuttings, use shoots that have begun to firm after a flush of growth but are not old, rigid wood. In temperate guidance this usually means summer into early autumn; the RHS defines semi-ripe material as healthy current-season stems collected from summer to mid-autumn. A non-flowering shoot is preferable because its energy is not committed to buds and blooms.
For layering, spring is a reliable starting point for this evergreen vine. The RHS notes that evergreens generally respond better when layered in spring. In warm Indian gardens, work from late winter through early spring or during a mild early-monsoon spell, avoiding peak dry heat and days of continuous heavy rain.
What to prepare before cutting
Gather a clean, sharp pair of secateurs, small pots with drainage holes, labels, a dibber or pencil, and a clean, airy rooting medium. A practical mix is equal parts peat-free potting compost or buffered coir and coarse grit or perlite. This holds a little moisture around the node while leaving air spaces; dense garden soil stays wet too long and carries more organisms into a vulnerable wound.
Water the parent normally the evening before if its root ball is dry. RHS climber-cutting guidance recommends watering the plant first, keeping collected material cool, and rejecting damaged, unhealthy, flowering, or atypical shoots. Prepare each piece promptly rather than leaving leafy shoots in sun or wind.
Rooting hormone is optional. It may make a batch more consistent, but it cannot rescue an old stem, saturated mix, or overheated propagator. If you use it, pour a little into a separate cap, dip only the base, and discard the remainder instead of contaminating the main container.
How to propagate Star Jasmine from cuttings
Use a pot that is only large enough for the batch and fill it with pre-moistened rooting mix. The mix should feel evenly damp when squeezed but should not release water. Make planting holes before inserting stems so the medium does not scrape tissue or rooting powder from the base.
Take more material than the final number of plants you need. A long healthy vine can be divided into several pieces, but every piece must retain at least one viable leaf joint. Keep its original top and bottom orientation clear while working.
Select and prepare a semi-ripe stem
- Select a healthy non-flowering shoot grown this season, with a firm lower section and a still-flexible tip.
- Cut a section about 8–12 cm long just below a node, using one clean stroke.
- Remove the leaves from the lower half and keep one or two leaf pairs at the top. If leaves are unusually large, reduce their area rather than stripping the cutting bare.
- Blot the milky sap and allow the cut surface to stop weeping before insertion. Do not leave the whole cutting exposed until its leaves wilt.
- Insert the lower node into the prepared hole, firm gently, label the pot, and water once to settle the mix.
General extension guidance supports making stem cuttings below a node, reducing leaf area, and using clean, well-drained media; the detailed NC State Extension propagation handbook is useful for understanding why leaf-water loss and poor aeration cause failures. Do not place any leaf below the medium, where it will decay.
Root the cutting without causing rot
Place the pot in bright, indirect light. Cover it loosely with a clear bag or use a vented propagator to slow leaf-water loss, but keep plastic from touching the leaves. Direct midday sun can turn a closed bag into a hot chamber within minutes.
Keep the medium damp, never saturated, and vent the cover daily. RHS propagation guidance advises daily ventilation because stagnant excess moisture raises fungal-disease risk, while rooted material should be potted on only after strong root and shoot growth appears. Condensation alone is not a reason to water; check the medium with a finger or the pot’s weight.
Woody climber cuttings commonly need patience. RHS guidance gives a broad six-to-eight-week rooting period for climbers, but temperature, stem maturity, cultivar, and humidity can shift it. Treat that range as a checkpoint, not a deadline, and do not pull the stem out merely to look.
How to propagate Star Jasmine by layering
Layering suits Star Jasmine’s long, flexible, twining growth. A stem is bent into contact with moist medium, encouraged to root at a node, and separated only after those roots can support it. The method is especially useful on a balcony if you can place a second pot beside the parent container.
Use fresh potting mix in the receiving pot and secure it so wind cannot tug the stem loose. Select a healthy shoot near the outside of the vine, remove leaves from the section that will be buried, and leave the leafy tip above the surface.
Peg, root, and separate the layered stem
Make a shallow nick on the underside near a node without cutting through the stem. Bend that section onto the medium, peg it securely, cover it by a few centimetres, and tie the free tip upright to a small cane. The RHS simple-layering method similarly keeps the growing tip above ground while the wounded section is buried and watered.
Keep the receiving pot evenly moist. Test for rooting after several months by brushing away a little surface mix or giving the buried section a very gentle lift; resistance alone is suggestive, while visible branching roots are decisive. Do not sever it early. Once a useful root system is present, cut the connecting stem on the parent side, leave the new plant undisturbed for one to two weeks, then move it if necessary.
Adjust propagation for India and tropical climates
The main Indian-climate challenge is not lack of warmth but keeping the cutting from alternating between desiccation and saturation. During March–May heat, take material early in the morning, shade it immediately, and keep the propagator away from hot glass or concrete. During humid monsoon weather, reduce enclosure time, increase ventilation, and shelter the pot from pounding rain.
Warm coastal climates can support rooting for much of the year, but a mild growing window is still easier than the hottest or wettest weeks. In cooler northern locations, avoid beginning late enough that young roots face winter cold before establishment. Star Jasmine itself prefers fertile, freely draining soil and a sheltered position, according to the Missouri Botanical Garden plant profile, and those drainage and shelter needs matter even more to a small new root system.
How to tell whether roots have formed
Fresh leaf growth is encouraging but not conclusive because a cutting can use stored reserves before rooting. Better signs are sustained new growth, a stem that resists a very light tug, and fine roots appearing at a drainage hole. Check gently at six to eight weeks, then wait longer if the cutting remains green but has little resistance.
A layered stem is ready only when roots are visible and distributed around the buried node. One short root is not enough for a hot balcony. Keeping the connection for a few extra weeks is usually safer than separating early.
Common propagation failures and fixes
A black, soft stem base points to excessive moisture, dirty tools or mix, poor airflow, or a cutting buried too deeply. Remove the failed piece immediately, vent more often, and let the surface approach lightly moist before watering again. Do not reuse sour-smelling medium.
Limp leaves while the mix is damp usually mean the leaf area is losing water faster than an unrooted stem can replace it. Move the pot out of direct sun, restore moderate humidity, and reduce oversized leaves. If the stem remains firm, recovery is possible; if it is soft at the base, discard it.
No roots but a still-green stem calls for patience and a check of conditions, not fertilizer. Keep the environment warm and bright without direct sun. Fertilizer salts do not create roots and may injure exposed tissue.
A layer that never roots often lost contact with the medium or dried repeatedly. Re-peg the node firmly and maintain even moisture. The RHS warns that layers fail when soil dries, so check a small receiving pot more often than the established parent.
Potting up and aftercare
Move a rooted cutting into a small pot rather than a large decorative container. Use the regular free-draining blend described in the Star Jasmine soil guide, set the stem at the same depth, and water thoroughly once. Keep it in bright filtered light for the first week, then increase light gradually.
Do not feed immediately. Wait for active top growth and then follow the conservative approach in the Star Jasmine fertilizer guide. Keep the mix evenly moist during establishment without leaving the pot in runoff, using the checks in the Star Jasmine watering guide.
Before moving an indoor-rooted plant to a sunny balcony or garden, acclimatise it in stages. RHS recommends hardening protected cuttings over two to three weeks. Begin with sheltered outdoor shade, add gentle morning sun, and delay permanent planting during a heatwave or waterlogged monsoon spell.
When to use this page vs other Star Jasmine guides
- Use the Star Jasmine overview for identification, mature size, placement, and whole-plant care.
- Use the light guide to choose a bright rooting position and acclimatise new plants to sun.
- Use the watering guide once roots are functioning and the new plant begins a normal wet-dry cycle.
- Use the soil guide when moving a rooted cutting from propagation medium into a long-term mix.
- Use the repotting guide for later pot-size decisions; a newly rooted cutting should not be repeatedly disturbed.
Related Star Jasmine guides
- Star Jasmine care overview — identity, placement, mature growth and care priorities
- Star Jasmine light — light levels for parent vines and established young plants
- Star Jasmine watering — moisture checks after the propagation stage
- Star Jasmine soil — long-term container and ground mixes
- Star Jasmine fertilizer — when a rooted young plant is ready to feed
- Star Jasmine repotting — moving established plants without unnecessary root stress
Conclusion
For the highest margin of safety, layer one flexible Star Jasmine shoot and leave it attached until it has a branched root system. For more plants, take several non-flowering semi-ripe cuttings, root a lower node in airy medium, and balance humidity with daily ventilation. Neither method benefits from saturated mix, direct sun on an enclosed pot, or early tugging.
Judge progress by firm stems, sustained new growth, and visible roots rather than by a fixed date. Pot rooted plants into small containers, delay feeding, and acclimatise them gradually. That slower handover from protected cutting or attached layer to independent vine prevents the most common loss: a plant that rooted successfully but was moved, flooded, or sunburned before its roots were ready.