Starting a Garden: A Beginner's Step-by-Step Guide
Starting a garden that fits your yard and schedule means comparing beds and containers, choosing crops you like, using local dates, and avoiding mistakes.

Your first garden does not need a perfect layout, an expensive raised-bed kit, or a shelf full of seed-starting equipment. It needs a spot with enough light, a few crops that suit your climate and kitchen, soil or potting mix that drains, and a care routine you can keep up with.
Start by watching the space before you buy anything. Then choose a small garden format, check local planting guidance for each crop, and plant only what you can water and harvest. This order prevents two classic first-year frustrations: building a beautiful bed in shade and sowing warm-season seeds while the soil is still cold.
What a successful first garden looks like
A successful first season is a garden you can understand and maintain. You may harvest a few bowls of lettuce, a steady handful of beans, or several tomatoes rather than filling a pantry. Those modest harvests still teach you when the sun reaches the bed, how quickly its soil dries, which pests show up, and how much attention gardening asks of you.
Choose a project that fits your week, not just your available yard. If you have ten minutes most mornings, a small bed near the house may be realistic; if you travel often or have only a balcony, two or three large containers with a dependable watering plan are a better start. Fine Gardening makes a similarly useful point in its first-garden advice: choose food you actually like, ask local gardeners what performs well nearby, and leave perfection at the gate (Fine Gardening).
Choose a workable garden site
Walk the property at several times of day before deciding where to plant. A spot can look sunny at breakfast and sit in the shadow of a house, fence, or tree by afternoon; vegetables that make fruits usually need a brighter site than crops grown for leaves. Also notice where water collects after rain, where wind funnels through, and whether roots from mature trees are likely to compete with the garden.
The easiest site to garden is not always the most attractive corner. Favor a level, well-drained place that is close to a hose or tap and visible from the route you already take each day. A garden that is easy to reach is easier to water, inspect, weed, and harvest on time.
Count the sun before you break ground
Track direct sunlight for one clear day, noting the start and end times in the area you are considering. Direct sun means the sun is shining on the bed, not bright shade under a tree or light reflected from a wall. In general, fruiting crops such as tomatoes, cucumbers, and squash need the longest sun exposure; leafy greens and some root crops can tolerate a little less. NC State Extension describes this distinction, noting that many fruiting vegetables need at least eight hours while some leafy and root crops can grow with six (NC State Extension).
Use your brightest location for tomatoes, peppers, beans, and cucumbers. If your space gets only part-day sun, do not abandon gardening; shift toward lettuce, spinach, chard, radishes, or herbs suited to your local season, and accept that growth may be slower. If the bed receives less than about four hours of direct sun, prioritize leafy crops in containers you can move or grow something other than vegetables in that spot.
Make daily care easy
Keep the first garden within a short walk of the kitchen or a frequently used door if possible. You will notice a dry pot, a ripe tomato, or a chewed leaf sooner when the garden is part of your normal routine. A far corner behind a shed may be technically convenient for layout but easy to forget.
Check drainage after a heavy rain rather than guessing from the surface. If water stands for hours, move the plot, improve the grade, or use a raised bed with an open bottom; do not solve a drainage problem by adding a thin layer of gravel underneath a pot or filling a raised bed with rocks. For a slope, orient rows or beds across it so rain is less likely to run straight downhill and carry soil away.
Choose in-ground, raised bed, or containers
The best format depends on the ground you have and what you need to control. An in-ground bed is usually the least expensive option when the soil drains reasonably well and has no known contamination concern. A raised bed gives you a defined growing area and lets you fill it with a suitable mix, but it costs more and dries sooner. Containers work on patios and balconies, yet small pots can need frequent watering and cannot support every large crop.
For an in-ground plot, remove turf and persistent weeds, then loosen the soil without working it when it is soggy. For a raised bed, make it narrow enough to reach the center from the sides—often about four feet wide if you can access both sides—and leave paths so you never need to step on the growing soil. For a pot, use a container with drainage holes and enough volume for the mature plant; a dwarf tomato or lettuce is a more sensible first pot crop than a sprawling squash.
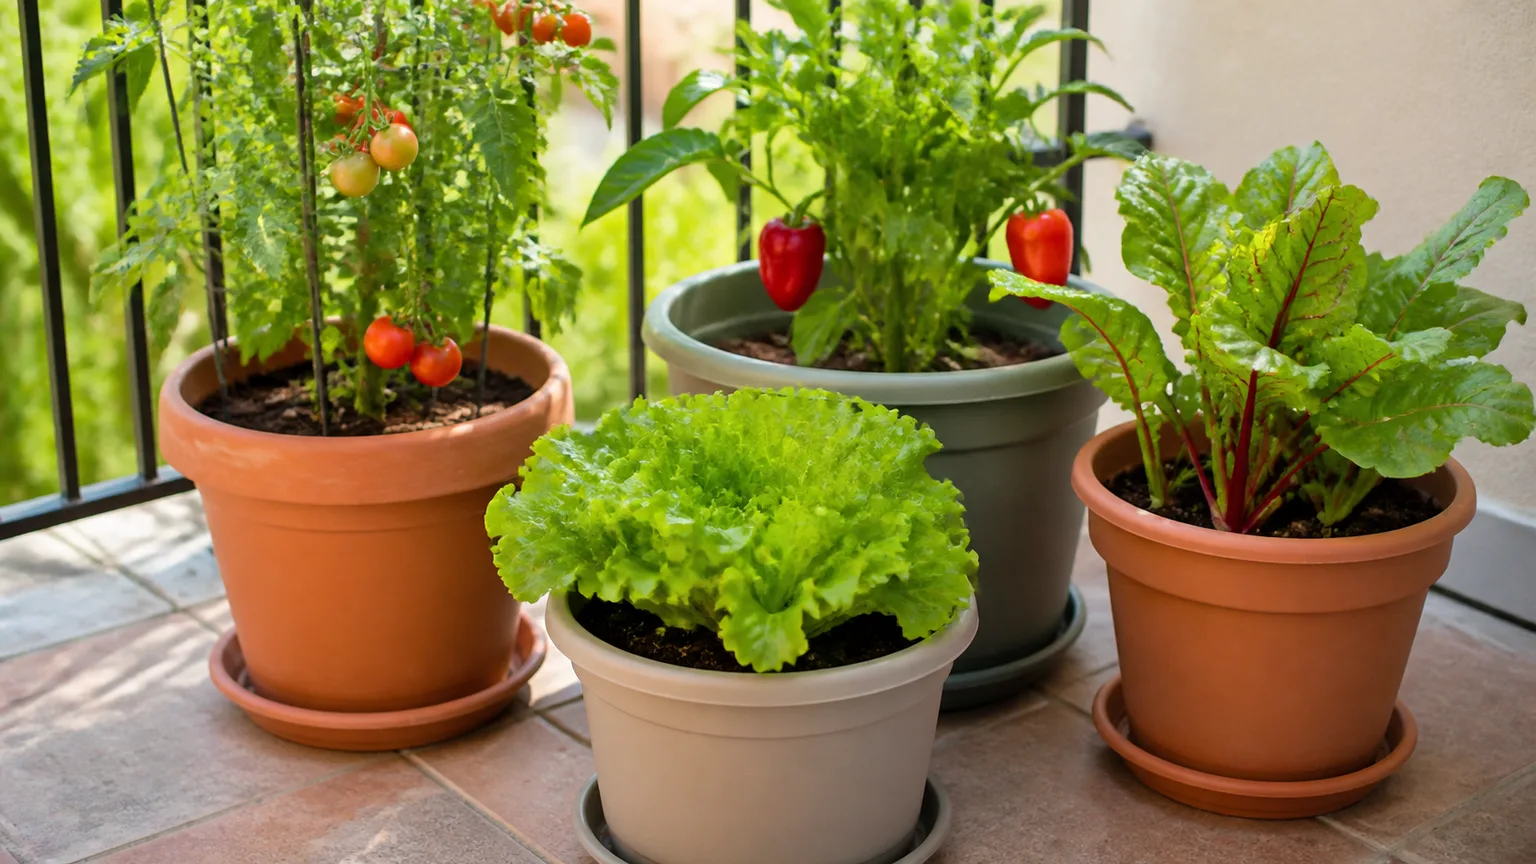
NC State Extension notes that container gardens and raised beds may require more frequent irrigation than an in-ground garden, especially as plants grow. That is the trade-off to plan for: a pot gives you control over the growing medium and access, but the limited root zone heats and dries faster. If you cannot water regularly, start with a larger container, group pots to reduce wind exposure, or choose an in-ground bed where it is suitable.
Build a low-maintenance soil foundation
Healthy garden soil holds enough moisture for roots while allowing excess water and air to move through it. You do not need to buy a “perfect” soil blend for an in-ground garden; you do need to know what the existing soil lacks before adding fertilizer or lime. A soil test from your local Cooperative Extension or another regional lab can report pH and nutrient levels and recommend amendments for your area.
For a new bed, remove sod and mix a modest amount of finished compost into the upper soil if organic matter is low. Avoid burying fresh manure or piling on bags of fertilizer because more nutrients are not automatically better; excess fertilizer can push leafy growth at the expense of flowers and fruit, and runoff can carry nutrients away. University of Georgia Extension’s garden guide advises basing lime and fertilizer on a soil test and using local recommendations, which is a sound rule anywhere (University of Georgia Cooperative Extension).
Raised beds need a blend that drains but does not dry immediately. Use a reputable raised-bed mix or combine quality topsoil with compost according to a local extension recipe; straight compost is too rich and may settle. For pots, use a lightweight potting mix rather than dense yard soil, which can compact in a container and leave roots short of air. Keep soil out of pathways by mulching them or adding stepping stones, and avoid walking on the bed itself when it is wet.
Draw a simple garden map
Sketch the bed on paper before ordering seed. Mark the direction of north, the paths, trellises, and each crop’s mature size; a packet’s spacing instructions are more useful than a seedling’s tiny size at planting. Put tall plants and trellised crops on the north side where possible so they cast less shade across shorter neighbors. Leave a reach-in path or make beds narrow enough that you can weed and pick without leaning across plants.
Use the map to avoid planting more than you can eat. One or two tomato plants can supply regular fresh fruit in a small household; a long row of zucchini may be more than one kitchen can use. A practical first plan might be one compact tomato, a short row of bush beans, a few lettuce or chard plants, and a small patch of radishes or carrots. Adjust the quantities to your household and the package’s spacing, not to a standard garden diagram.
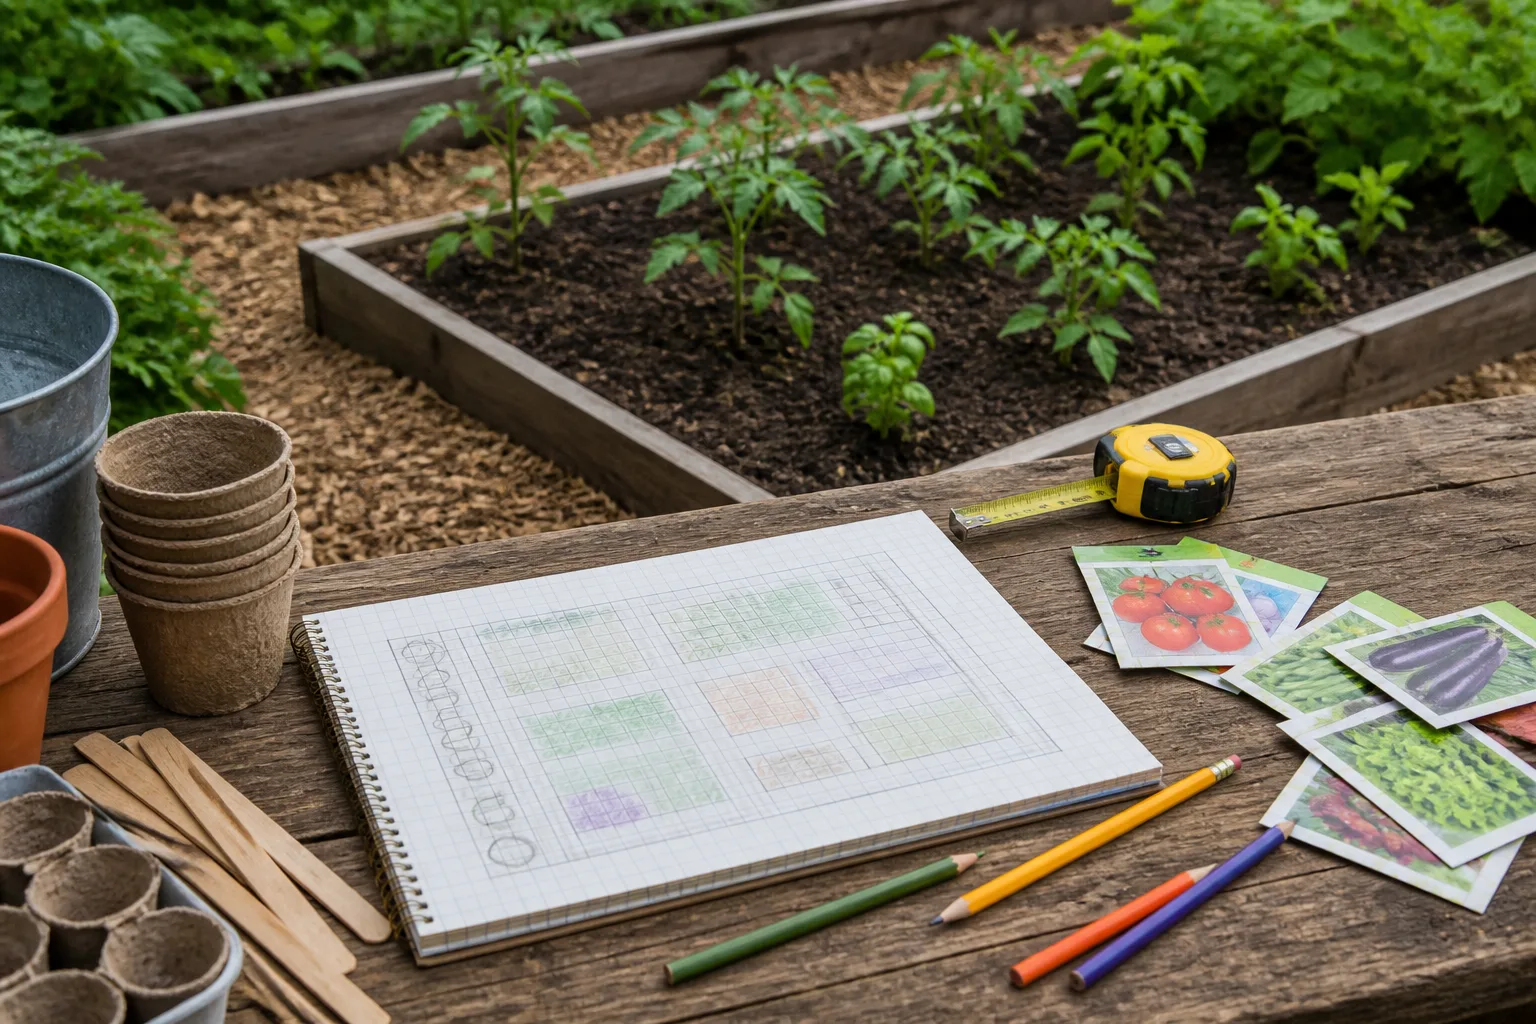
Keep a note of the crop and variety in each section. If a plant family has a disease or serious pest problem, rotating it to a different bed next year can help reduce repeated exposure; rotation matters more once you have multiple beds and is not a reason to delay your first planting. A quick map also lets you remember which varieties performed well and where you planted them.
Choose vegetables for your meals and season
Start with vegetables you already buy and are willing to harvest regularly. Then compare those favorites with the length of your growing season, available sun, and the amount of space each plant needs. Fine Gardening’s beginner recommendations similarly begin with foods you enjoy, then narrow choices to reliable crops; that simple filter keeps the garden from becoming a collection of seed packets you never use.
For a first garden, favor crops with clear planting instructions and a harvest you can recognize. Leaf lettuce, radishes, bush beans, peas, chard, kale, and cherry tomatoes are common starting points, but “easy” is local: lettuce is forgiving in cool weather and often struggles in summer heat, while tomatoes love warmth but need a sunny site, support, and steady moisture. Check whether the seed variety is compact, disease-resistant, or suited to your region.
Cool-season crops
Lettuce, spinach, peas, radishes, carrots, and many brassicas grow best in cooler parts of the season. In many climates you can plant them in early spring and again for fall, but local dates and varieties matter. Heat can cause leafy crops to bolt—send up a flower stalk and turn bitter—or prevent seeds from germinating well, so a spring success is not always a summer success.
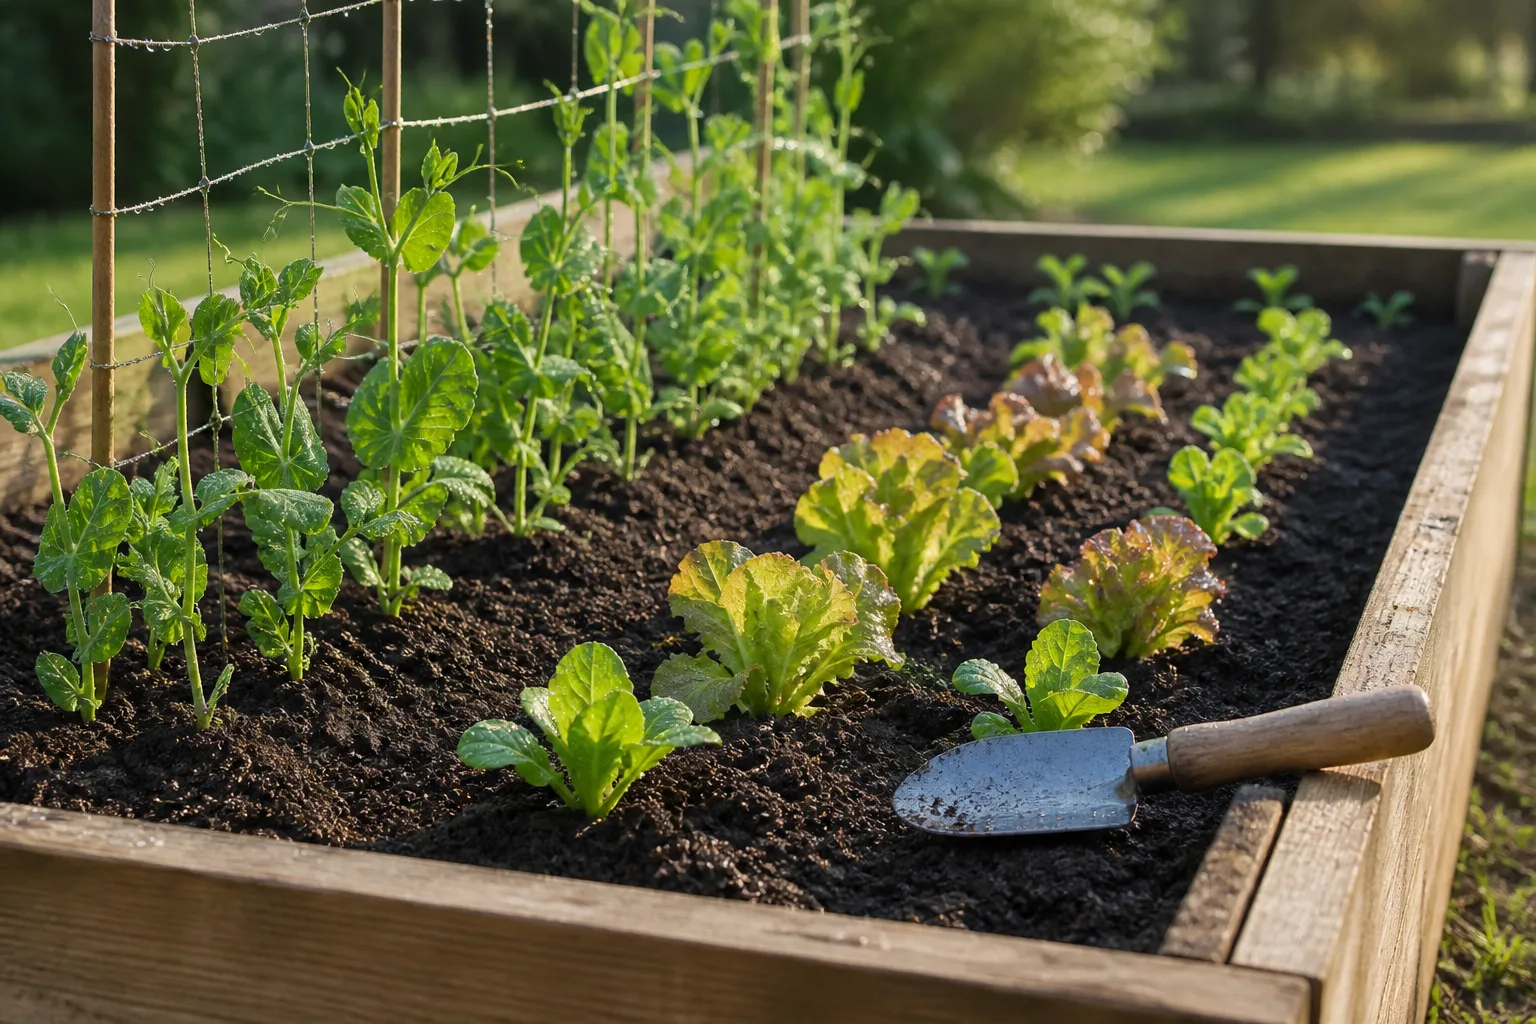
If this is your first garden and the weather is cool, a small salad bed is a useful way to learn direct sowing. Sow a short row or small patch rather than the entire seed packet; many greens mature all at once, and you will get better use from a few small sowings spaced one or two weeks apart. In hot climates, grow cool-season crops during the mild season instead of forcing them through summer.
Warm-season crops
Tomatoes, peppers, cucumbers, beans, zucchini, and squash need warm soil and protection from frost. Wait until the locally recommended planting window and soil conditions are right; “after the last frost” is a useful boundary for frost-sensitive crops but does not guarantee that the soil is warm enough. Beans can be directly sown once the soil is warm, while a tomato transplant can give you an earlier start in a short season.
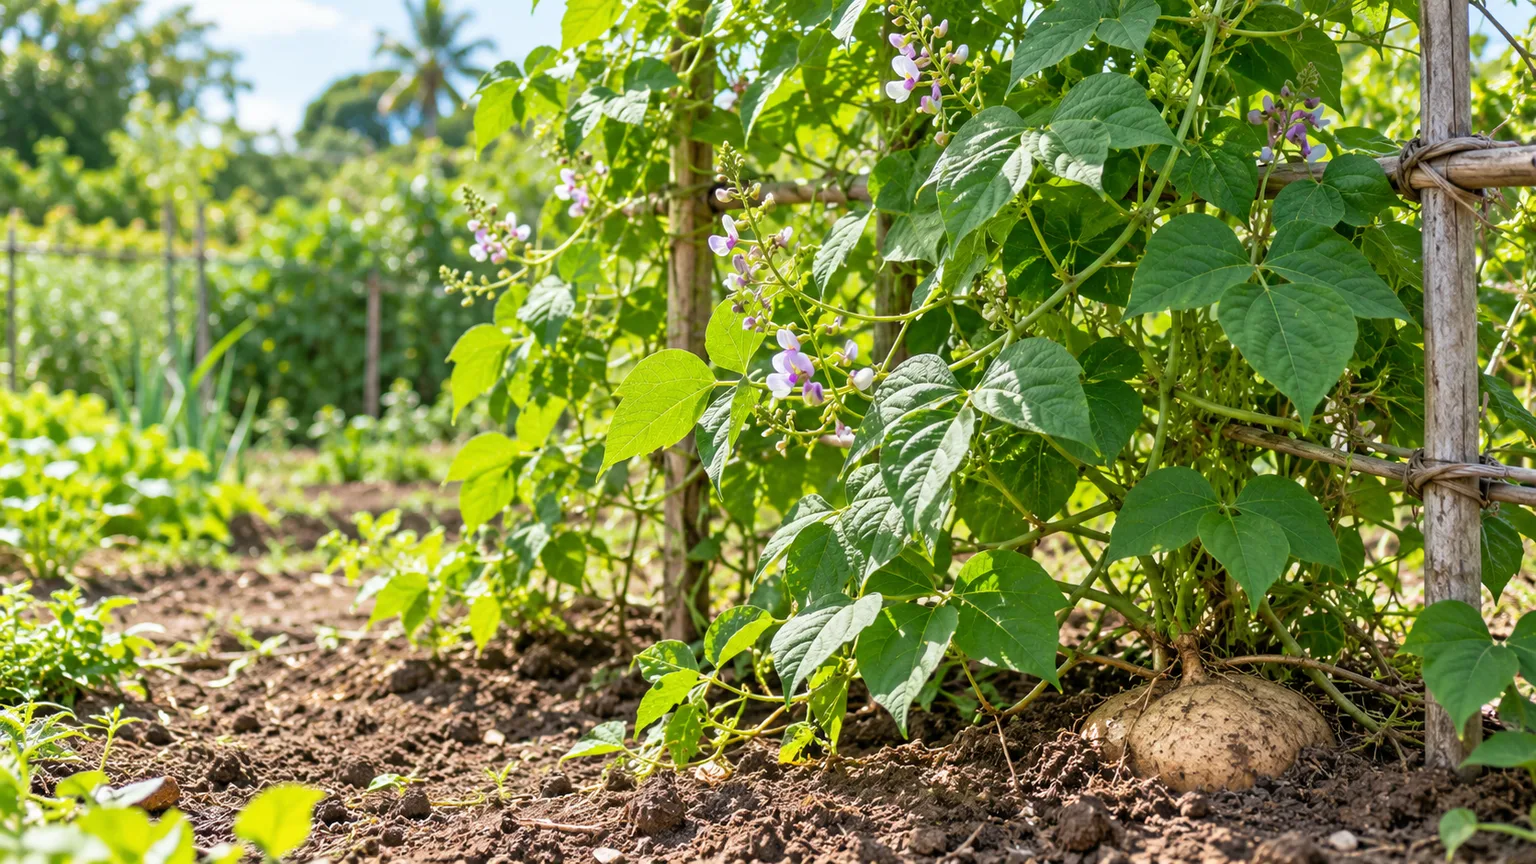
Give sprawling crops enough room or train vining types vertically if the variety allows it. Bush beans and compact tomatoes can fit a small bed better than pole beans or indeterminate tomatoes that need tall supports and regular picking. Grow one or two plants of a high-yielding crop first, then expand when you know how much it produces in your climate.
Use local planting dates, not a generic calendar
There is no single planting date that works across a large country or even every neighborhood. A vegetable calendar from a nearby Cooperative Extension office is more useful than a generic national chart because it accounts for local frost patterns, regional weather, and crop varieties. Use the seed packet to check whether a crop should be direct-sown or transplanted, its expected days to maturity, and the conditions it needs.
In broad terms, cool-season vegetables tolerate lower temperatures and are planted during mild windows; warm-season vegetables are planted after frost risk has passed and soil has warmed. NC State Extension recommends contacting the local Extension center for specific planting dates and separates cool-season from frost-sensitive summer crops. Georgia’s calendar, for example, is tailored to Georgia and should not be copied as a schedule for a different state (NC State Extension; UGA Extension vegetable gardening guide).
Hardiness zones can help with broad climate context, but they do not tell you exactly when to sow annual vegetables. If your growing season is short, pay attention to days to maturity and choose a variety that can finish before the usual fall frost. In hot-summer areas, plan the opposite problem: choose heat-tolerant varieties and reserve cool-season planting for fall or winter where your climate permits.
Choose seeds or transplants for each crop
Seeds give you more varieties for less money, and many crops—beans, peas, lettuce, radishes, carrots, and squash—are simple to sow directly where they will grow. Direct sowing avoids transplant shock, which is especially helpful for root crops that do not like having their roots disturbed. It also means you need to keep the seedbed evenly moist while small seeds germinate.
Transplants are young plants grown in pots, ready to move into the bed. They save time for crops such as tomatoes and peppers, especially where the outdoor season is short, but they cost more and the variety selection may be smaller. For a first season, it is reasonable to buy a few tomato or pepper plants and sow easy crops outdoors; you do not need an indoor grow-light setup unless seed starting is itself part of the hobby you want to learn.
Epic Gardening describes the same practical trade-off: nursery starts save time, while seeds cost less and offer more variety (Epic Gardening). Choose the method that makes the crop and your schedule easier, not the one that sounds more advanced.
Before planting nursery starts, harden them off if they have been kept indoors or in a protected greenhouse: expose them to outdoor conditions gradually over about a week, increasing sun and wind in stages. Plant on a mild day, water them in, and provide temporary shade if they wilt in strong sun while establishing. The packet or tag should guide transplant timing and spacing.
Plant at the right depth and spacing
Follow the seed packet or plant tag first because seed size and crop habits vary. As a fallback, NC State Extension says to sow seeds about two to three times as deep as the seed’s greatest diameter; tiny seeds may need only a light covering, while larger seeds can go deeper. Press soil gently around a seed so it makes contact, then water with a soft spray that will not wash it into a corner.
Do not crowd seedlings because the bed looks empty on planting day. Mature plants need room for leaves, air movement, light, and roots; crowded foliage stays damp longer and is harder to inspect. If you sow a row densely, thin the seedlings to the packet’s final spacing rather than trying to transplant every extra sprout. Mark the row with a label and planting date so you do not mistake emerging vegetables for weeds.
Set a transplant at roughly the depth it grew in its pot, except for crops with special instructions such as tomatoes, which can often be planted deeper. Water the root zone after planting to settle soil around the roots. Add a stake or trellis when you plant if the crop will need one later; pushing a support into a mature root zone can damage roots and disturb the plant.
Water based on soil and weather
Water by checking the soil and the forecast, not by choosing “every day” as a permanent rule. New seeds and transplants need more consistent moisture near the surface while they establish; mature plants usually benefit from a deeper soaking that reaches the root zone, followed by time for the soil surface to dry somewhat. NC State Extension gives about an inch of water per week as a broad average for vegetables, but rainfall, soil texture, temperature, bed height, and container size all change what a specific garden needs.
Push a finger into the soil near a plant. If the top few inches are dry and the root zone feels dry too, water slowly at the base; if the soil is still cool and moist, wait and check again. Sandy beds and pots dry quickly, while heavier soil holds water longer. A rain gauge or straight-sided container can show whether a shower actually watered the garden or only wet the leaves.
Morning is a convenient time to water because plants enter the warmer part of the day with moisture, and foliage has time to dry if it gets wet. A soaker hose or drip line applies water near the soil and reduces splashing; a watering can works fine for a small plot. Avoid keeping beds soggy—persistent wet soil reduces oxygen around roots and can favor disease. Containers with drainage holes should drain freely, and their saucers should not hold standing water for days.
Mulch, weed, fertilize, and check plants
Once seedlings are established and the soil has warmed, spread a loose organic mulch such as clean straw, shredded leaves, or untreated grass clippings. Mulch shades the soil, slows moisture loss, and blocks some weed seeds from light. Keep it pulled back from stems so they are not buried against damp material, and add more as it decomposes rather than piling it into a thick wet mat.
Weed while plants are small and the ground is slightly moist; young weeds are easier to remove before they flower and spread more seed. A few minutes of weeding several times a week is usually easier than reclaiming an overgrown bed later. Walk the garden often enough to spot chewed leaves, yellowing, broken stems, or a plant that suddenly wilts. Look under leaves before deciding an insect is the cause, since water stress, heat, and disease can resemble pest damage.
Use fertilizer only when the soil test, crop instructions, or plant symptoms point to a need. More is not a shortcut to a bigger harvest. If a problem appears, identify the crop and symptom, check whether watering or weather explains it, and ask your local Extension office for diagnosis when you are unsure. If a pesticide is ever needed, use a product labeled for that crop and pest, follow every label direction, and protect pollinators; avoid treating flowering plants while bees are visiting.
Harvest regularly and reuse empty space
Harvest at the size and stage described on the variety label. Lettuce can be cut as baby leaves or picked leaf by leaf; beans, cucumbers, and summer squash are often more productive when you pick them while young and check the plants every few days. Tomatoes may ripen over a longer period, while radishes mature quickly and can be followed by another suitable crop.
When a plant is finished, remove it and note what happened before reusing the space. If the season and local calendar allow, sow another short row of greens or a crop suited to the next weather window. Succession planting—small sowings spaced over time—spreads harvests and prevents a whole bed of lettuce from becoming ready at once. Keep the planting map updated so the next crop has room and so you can remember which families occupied each area.
A first-month plan that keeps the work manageable
The first month is mostly about observing and establishing plants, not correcting every small imperfection. Choose one bed or a few containers, make one crop list, and leave empty space rather than filling every square inch. A beginner garden is a working experiment: the observations you record this year make next year’s plan much easier.
| When | What to do |
|---|---|
| Before planting | Watch the sun, check drainage, choose a small format, and get a soil test if you will grow in the ground or a raised bed. |
| Planting week | Use your local crop calendar, prepare the bed, sow or transplant only a few chosen crops, label rows, and water the root zone. |
| Weeks 1–2 | Check moisture frequently, thin crowded seedlings, protect tender transplants from a sudden cold snap or hot afternoon, and pull small weeds. |
| Weeks 3–4 | Recheck spacing and supports, add mulch once the soil is warm, inspect leaves, and note what is growing well or struggling. |
Spend five minutes after each visit writing down the date, weather, watering, and one observation. A note like “bean row dried by noon after two windy days” is more useful next season than “garden needs more water.” The goal is not a perfect record; it is enough context to make the next decision sensibly.
Conclusion
Starting a garden is simpler when you make decisions in the right order: measure the light, put the bed where you can reach it, choose a format that fits your ground and schedule, and build soil based on what it needs. Then select a few vegetables you enjoy, use local planting dates, and follow packet instructions for depth and spacing.
Keep the first season small enough to care for well. Check soil moisture instead of watering on autopilot, harvest frequently, and record what the garden teaches you. A few healthy crops and a better plan for next season are a strong beginning.