Can You Plant Tomatoes and Peppers Together?
Yes, tomatoes and peppers can share a bed. Learn the best spacing, sun, watering, support, container, pest, disease, and rotation strategies.

Yes, you can plant tomatoes and peppers together. They are both warm-season members of the nightshade family, and they overlap in the conditions that matter most: full sun, warm soil, regular moisture, fertile but well-drained soil, and steady feeding while fruit develops.
That compatibility does not mean they are interchangeable. A tomato can become a tall, wide, heavily supported vine that shades a pepper plant within weeks. They also share several pests and diseases, so a problem in one crop can become a problem for the other. The best shared bed is designed around the mature size of the tomato, the smaller canopy of the pepper, and your ability to reach every plant.
The Short Answer: Yes, With a Deliberate Layout
Planting tomatoes and peppers together is a sensible use of space when you have a sunny bed, can keep the plants from touching as they mature, and have not recently had a serious soil-borne disease in that location. It is especially convenient for a salsa garden: the crops are planted and harvested in the same season, use similar irrigation, and can be checked during the same garden walk.
The main reason to separate them is not that one plant poisons or suppresses the other. The practical issue is shared vulnerability. Both crops can host some of the same insects and pathogens, and both are hungry enough to compete if roots or foliage are packed into a small space. A crowded bed also makes it harder to water at the base, inspect leaf undersides, remove damaged tissue, and harvest without brushing wet foliage.
Use this rule: share a bed when the space and disease history are favorable; separate them when either crop needs more room, more specialized care, or a clean break from last year’s nightshades. If a tomato bed had bacterial spot, wilt, or another recurring disease, moving peppers into that same soil is not a meaningful disease-control strategy because peppers are in the same crop family.
Why These Two Crops Are Compatible
Tomatoes and peppers make good neighbors because their calendars and basic care are similar. They are planted after frost danger, want strong sunlight, and prefer a root zone that is moist but not waterlogged. That lets one irrigation line, one mulch plan, and one feeding routine serve both crops without forcing one plant into a radically different environment.
The University of Minnesota’s home-garden tomato guidance groups tomatoes with peppers and other heat-loving crops that need a long, frost-free season and full sun. Utah State University Extension’s vegetable guide likewise treats tomatoes and peppers as crops with compatible soil and fertility needs, while still recommending soil testing instead of guessing at amendments.
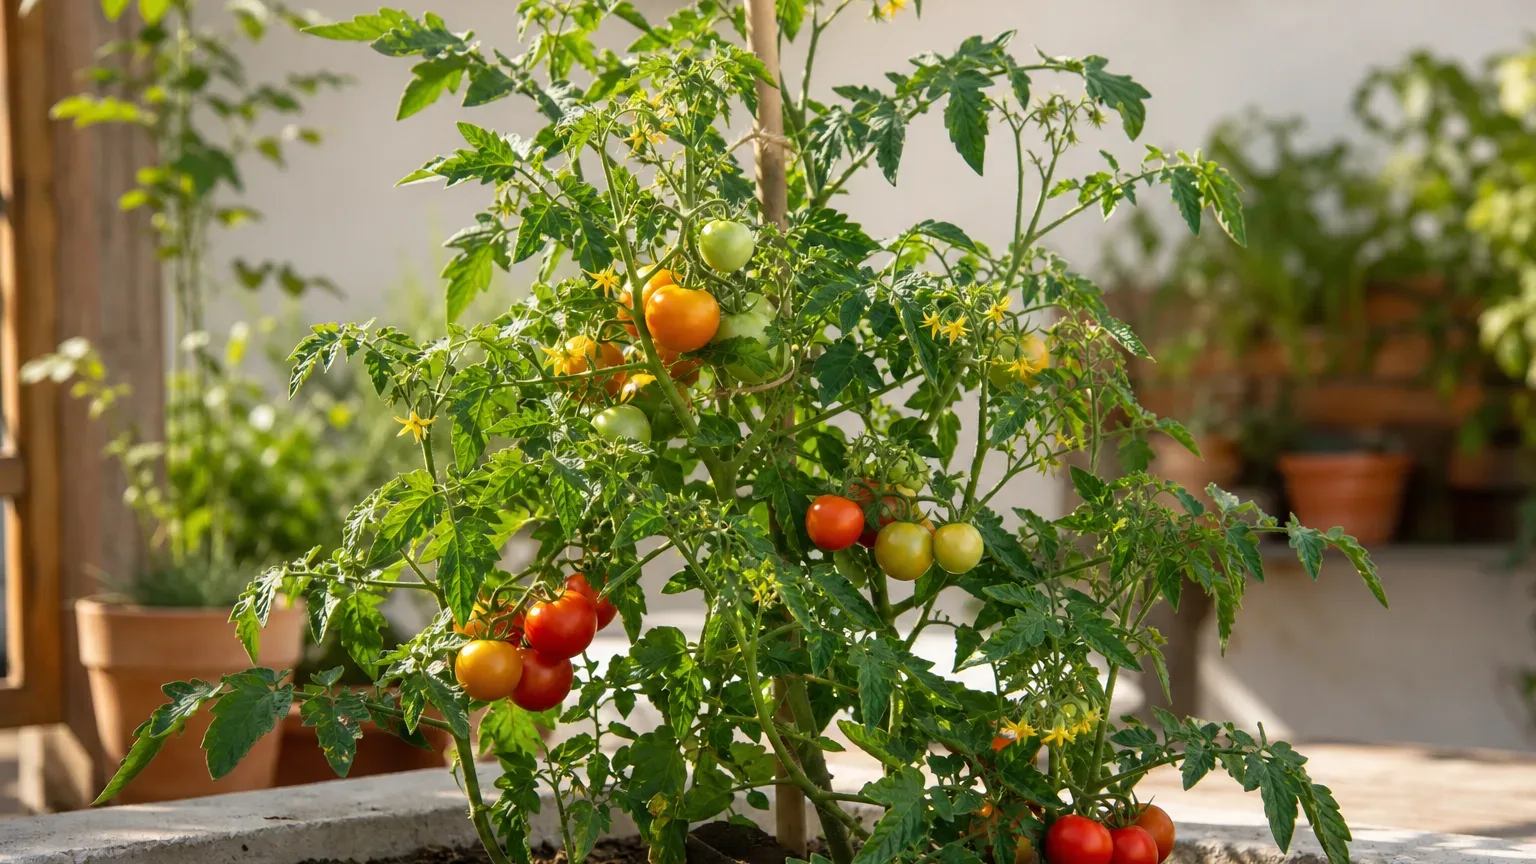
Their light, heat, water, and feeding needs overlap
Give both crops the brightest site available, ideally with at least six hours of direct sun and more in a short or cloudy season. In very hot climates, temporary afternoon protection can prevent heat stress or sunscald, but a deeply shaded bed is not a good compromise for either crop. Peppers may tolerate a little more shelter than a tomato vine, yet they still need strong light to flower and ripen fruit.
Warm soil matters at transplanting. A tomato may tolerate a slightly cooler night than a pepper, but neither benefits from being planted into cold, saturated ground. USU Extension’s planting guidance lists daytime temperatures around 75 to 85°F as favorable for these crops and notes that peppers are especially sensitive to cool nights. In a marginal season, wait for the pepper rather than using the tomato as the signal that the bed is ready.
Both plants also respond badly to dramatic swings between drought and flooding. Dry roots followed by a heavy soak can contribute to wilt, flower drop, fruit cracking, and blossom-end rot. A deep, slow watering routine with mulch on the soil surface is usually more useful than a fixed calendar such as “water every Tuesday.” Check the root zone and adjust for rain, wind, soil type, container size, and heat.
Fertility is compatible but not unlimited. Start with a soil test and mature compost or another appropriate soil amendment if the test indicates a need. Avoid automatically adding high-nitrogen fertilizer to a bed that already contains rich compost; lush leaves with delayed flowers are not the same thing as a good harvest. Feed according to the product label and soil-test recommendations, with extra attention once the first fruits begin to swell.
Their growth habits are not interchangeable
The difference that most affects the layout is structure. A pepper usually stays compact enough to fit in the front or middle of a bed. A determinate tomato forms a shorter, more defined plant, while an indeterminate tomato continues to grow and fruit until cold or disease ends the season. A vigorous indeterminate variety can easily shade a pepper planted at the same distance as a pepper row.
Treat the variety label as a space requirement, not a suggestion. Record whether each tomato is determinate or indeterminate, how wide the mature plant is expected to become, and what support it needs. For peppers, note the mature spread and whether a heavy-fruited variety needs a stake. Planting a tiny transplant into an empty bed hides the real problem: the bed must accommodate the full canopy, support, harvest path, and airflow later.
Choose the Layout Before You Dig
Lay out the bed using mature plant dimensions and the direction of the sun. Put tall or trellised tomatoes on the north side of the bed in the Northern Hemisphere when possible, so their late-season height is less likely to cast a long shadow over the peppers. In the Southern Hemisphere, reverse the principle and place the tallest plants toward the south side.
This is a light-management rule, not a rigid law. If your bed is bordered by a wall, fence, or tree, that fixed shade may matter more than compass direction. Watch the site for a full day before planting if you are unsure. The goal is for the pepper leaves to receive usable direct light after the tomato canopy expands, not merely for the seedlings to look evenly spaced in May.
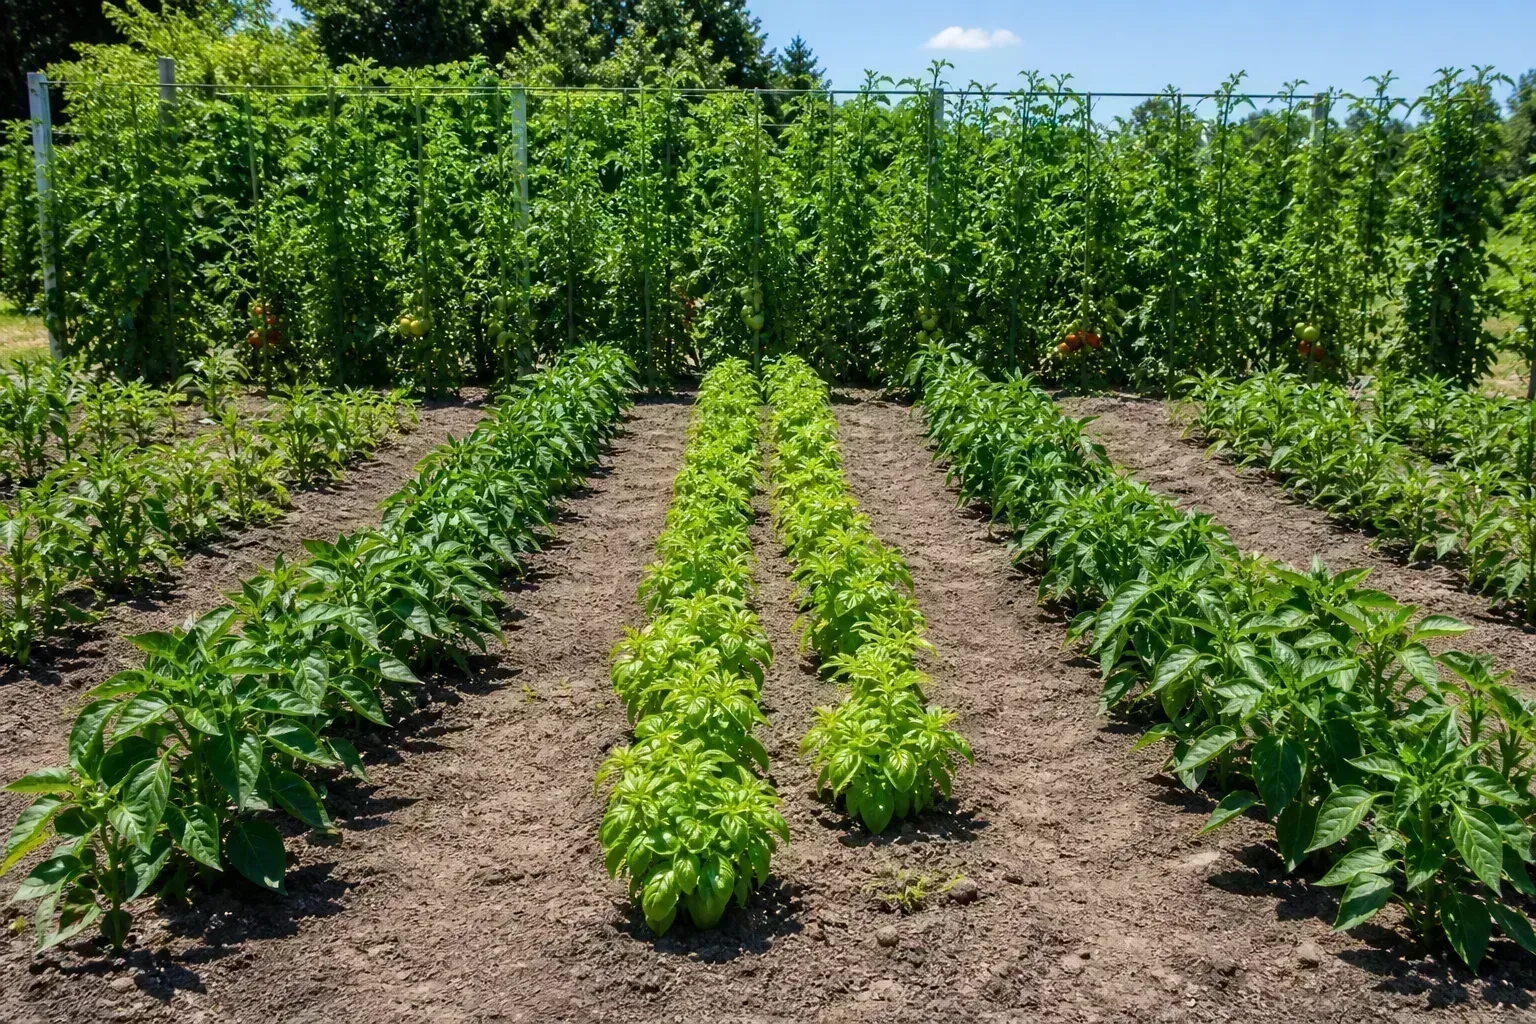
Put tall tomatoes where they will not shade peppers
For a simple raised-bed arrangement, make a back row of tomatoes and a front or side row of peppers. Keep the tomato support aligned with the back edge if that is stable and accessible, and leave enough clearance behind it to tie stems or inspect foliage. A row of determinate tomatoes can sit closer to peppers than a row of sprawling indeterminates, but the seed packet or plant tag should settle the final distance.
Avoid alternating one tomato and one pepper in a tight checkerboard merely because the plants fit at transplant time. Alternation can make watering and harvest feel efficient at first, then create a wall of foliage that is hard to reach. A block or row arrangement gives each crop a predictable irrigation zone and makes it easier to remove an affected plant without stepping through the entire bed.
Leave room for airflow and harvest access
There is no single universal “two feet apart” rule. USU Extension recommends 18 to 24 inches between tomato plants in a row, with row spacing of 36 to 48 inches depending on variety. Its guidance for peppers uses about 18 inches between plants and 30 to 36 inches between rows. The RHS tomato guide gives 18 to 24 inches for in-ground tomatoes depending on eventual size.
Use those ranges as a starting point, then widen the layout for an unpruned indeterminate, a humid climate, a disease-prone garden, or a gardener who needs wide paths. The spacing is working when leaves can dry after rain, the soil at each plant can be watered without spraying the canopy, and you can reach ripe fruit at the back of the plant. If the tomato cage overlaps the pepper’s growing space before midsummer, the original plan was too tight.
A narrow path between rows is useful even in a small bed. You do not need a formal walkway, but you do need a way to inspect stems, lift lower leaves away from the soil, harvest fruit, and carry a bucket without brushing through wet plants. Access is a crop-health feature, not wasted planting area.
Prepare the Shared Bed
Start with the bed, not the seedlings. Clear volunteer tomatoes, peppers, eggplants, and potatoes if you are trying to reduce the chance that a disease survives between seasons. Remove plants with suspicious spots or unexplained wilt rather than composting them in a pile that will not heat reliably.
Choose a site with full sun, drainage, and protection from strong wind. The bed should hold moisture long enough for the root zone to remain steady while still draining excess water after rain. A low, compacted spot that stays wet is a bad match for both crops, even if it receives perfect light.
Test soil and build a moisture-stable root zone
A soil test is more useful than adding a handful of lime, Epsom salt, or a “tomato booster” by habit. Soil pH targets vary somewhat by region and test system, but tomatoes and peppers generally perform in a mildly acidic to near-neutral range. USU Extension lists a pH of 6.5 to 7.5 as ideal for tomato and pepper production, while UMN Extension lists 5.5 to 7 as ideal for home-grown tomatoes. That overlap is a reason to test, not a reason to chase an exact number across every soil type.
Work from the test’s recommendations. Add compost to improve structure when appropriate, but remember that compost is not a blank, nutrient-free material. Repeated heavy applications, especially of manure-based compost, can push salts or phosphorus too high. A soil report lets you correct the actual limitation instead of creating a second one.
Build moisture stability with organic mulch after the soil has warmed. A 2- to 3-inch layer of clean straw, shredded leaves, or another suitable mulch reduces evaporation and limits soil splashing onto lower leaves. Keep mulch a little away from the main stem so the stem stays dry and does not sit against constantly damp material.
Wait for warm soil and harden off transplants
Do not let one warm afternoon rush the whole bed. Tomatoes and especially peppers can stall after cold exposure even when a frost does not kill them. Wait until the local frost risk has passed and soil temperatures are appropriate for warm-season crops; follow local extension guidance because planting dates vary sharply by climate.
Harden off nursery or indoor-grown transplants gradually. A sudden move from sheltered light to full sun and wind can scorch leaves or dehydrate the root ball before roots establish. Give the plants increasing outdoor exposure over roughly a week, then transplant on a calm, cloudy day or late afternoon if the weather is hot.
Inspect purchased plants before they enter the shared bed. Reject seedlings with leaf spots, yellowing that is not explained by transplant stress, wilt, or insects clustered around new growth. Introducing one visibly affected plant into a mixed nightshade bed can turn the convenience of shared care into a season-long sanitation problem.
Plant Tomatoes and Peppers Step by Step
Make the layout with empty pots or labels before removing plants from their containers. Put the tomatoes into their final positions, place the supports, then fit the pepper row around the mature tomato footprint. This small planning step exposes a spacing problem while it is still easy to fix.
Dig a hole wider than the root ball and set peppers at about the same depth they grew in the pot. Tomatoes can be planted more deeply because buried stem tissue can form additional roots; follow the cultivar and local extension guidance, and remove only the lower leaves that would otherwise be buried. Firm the soil gently, water the transplant zone thoroughly, and wait for it to drain before mulching.
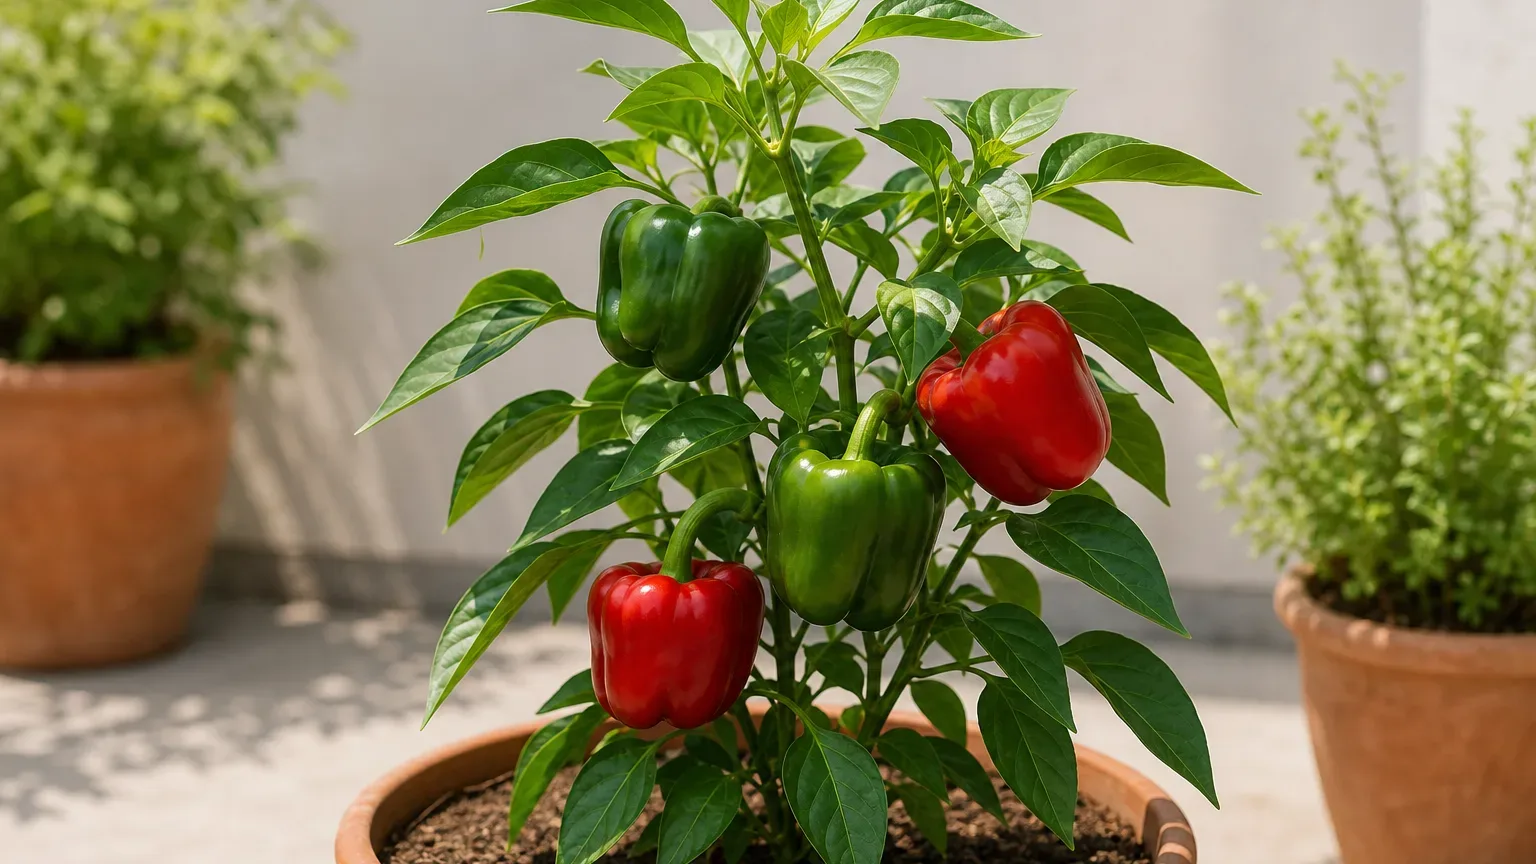
Set supports before roots fill the bed
Install cages, stakes, or a trellis at planting time. Pushing a stake into a mature root zone can damage roots, and wrestling a large tomato into a support after branches have sprawled can snap stems. Peppers may need only a short stake or a simple tie, but heavy fruit and summer storms can still split branches.
Choose the support by tomato habit. A compact determinate may do well in a sturdy cage. An indeterminate tomato often needs a tall cage, a strong stake, a string trellis, or another system that can carry a long season of growth. The support should keep fruit off the ground and open a little space below the canopy, but it should not be used as an excuse to plant an enormous vine in a tiny gap.
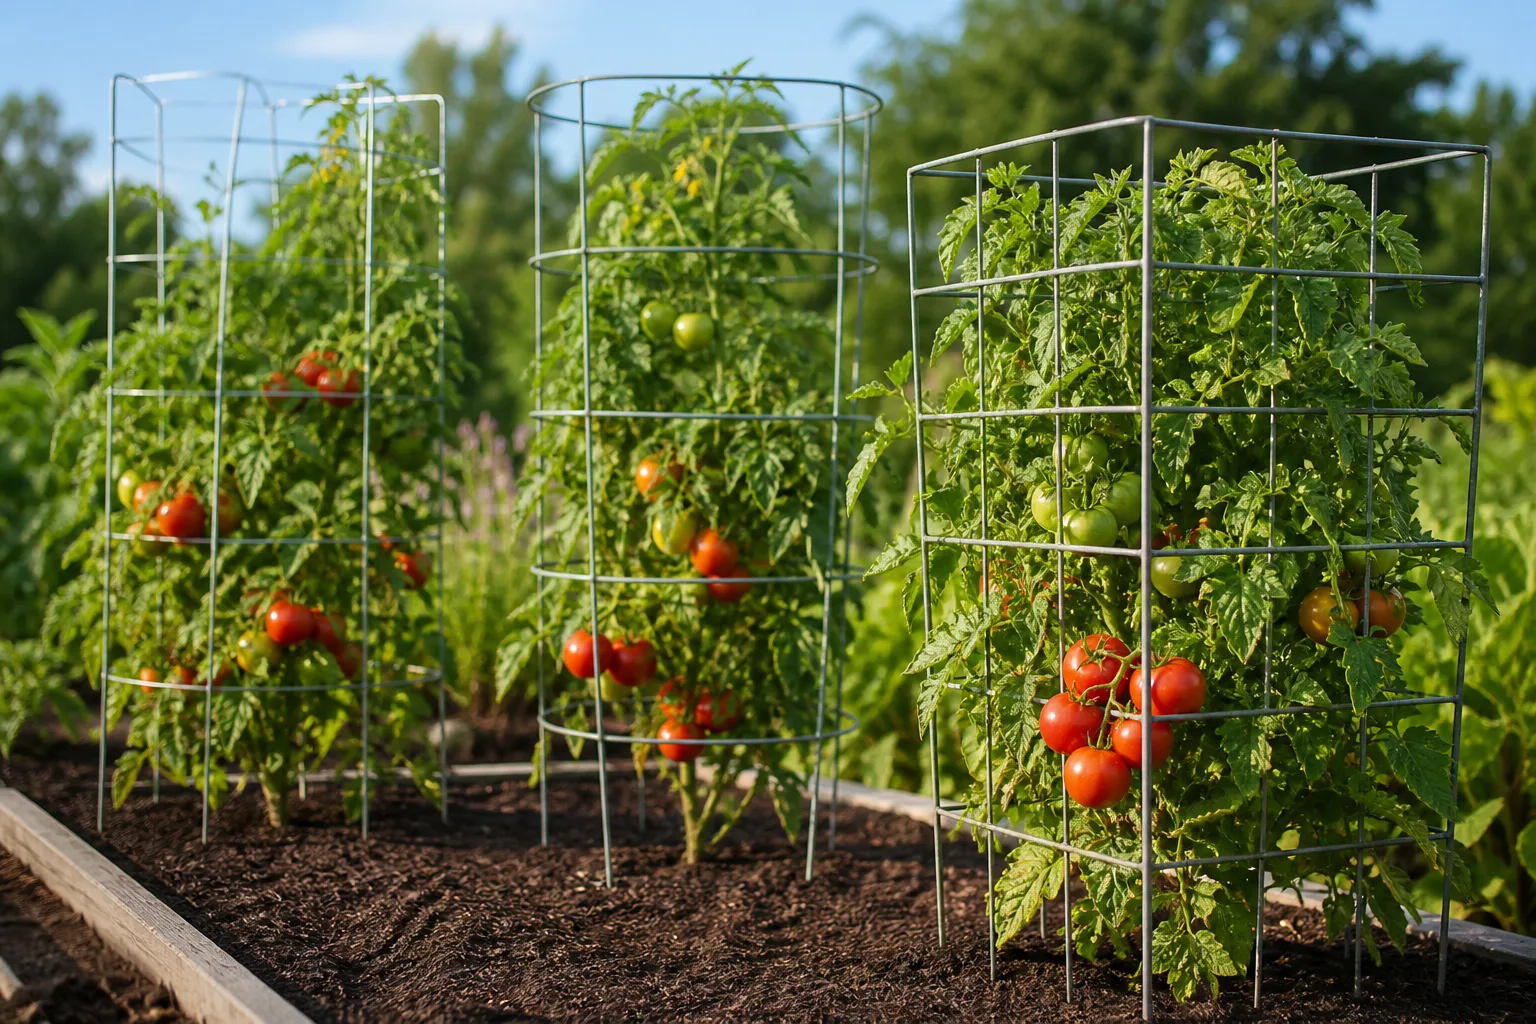
Tie stems with soft material and check them as the plants expand. Prune only according to the variety and your support system; aggressive pruning is not a universal disease cure. The more useful goal is to remove damaged, soil-contacting, or clearly overcrowded growth while preserving enough healthy leaf area to shade fruit and power the harvest.
Water at the soil line and mulch after planting
Use drip irrigation, a soaker hose, or a slow hand-watering stream aimed at the soil. Illinois Extension explains that drip irrigation puts water directly into the soil, reduces leaf wetness, and can use substantially less water than overhead sprinklers. The point is not to keep every leaf perfectly dry in a rainy climate; it is to avoid making wet foliage a daily irrigation event.
Water deeply enough to wet the active root zone, then let the surface begin to dry without allowing the entire bed to become powder-dry. Containers and raised beds may need more frequent checks than in-ground soil. In hot weather, check early in the morning, feel below the surface, and look at the plants before deciding whether the answer is more water.
Consistency matters more than a fixed volume. A wilted plant at midday may be responding to heat rather than a permanently dry root zone; a plant that remains limp in the morning needs faster investigation. Mulch after the soil is warm, keep the root collar clear, and adjust irrigation after rainfall instead of letting a timer apply the same dose regardless of weather.
Manage Shared Pests and Diseases
Tomatoes and peppers do not become safer simply because they are planted together. The advantage is that they can share a scouting routine; the disadvantage is that a pest or disease with a broad host range has two nearby crops to move through.
Scout once or twice a week, increasing the frequency during hot, humid, or rapidly growing periods. Look under leaves, along stems, at new growth, and on fruit. Aphids, mites, caterpillars, and chewing insects are easier to manage when you find a small population than when the entire canopy is distorted or webbed.
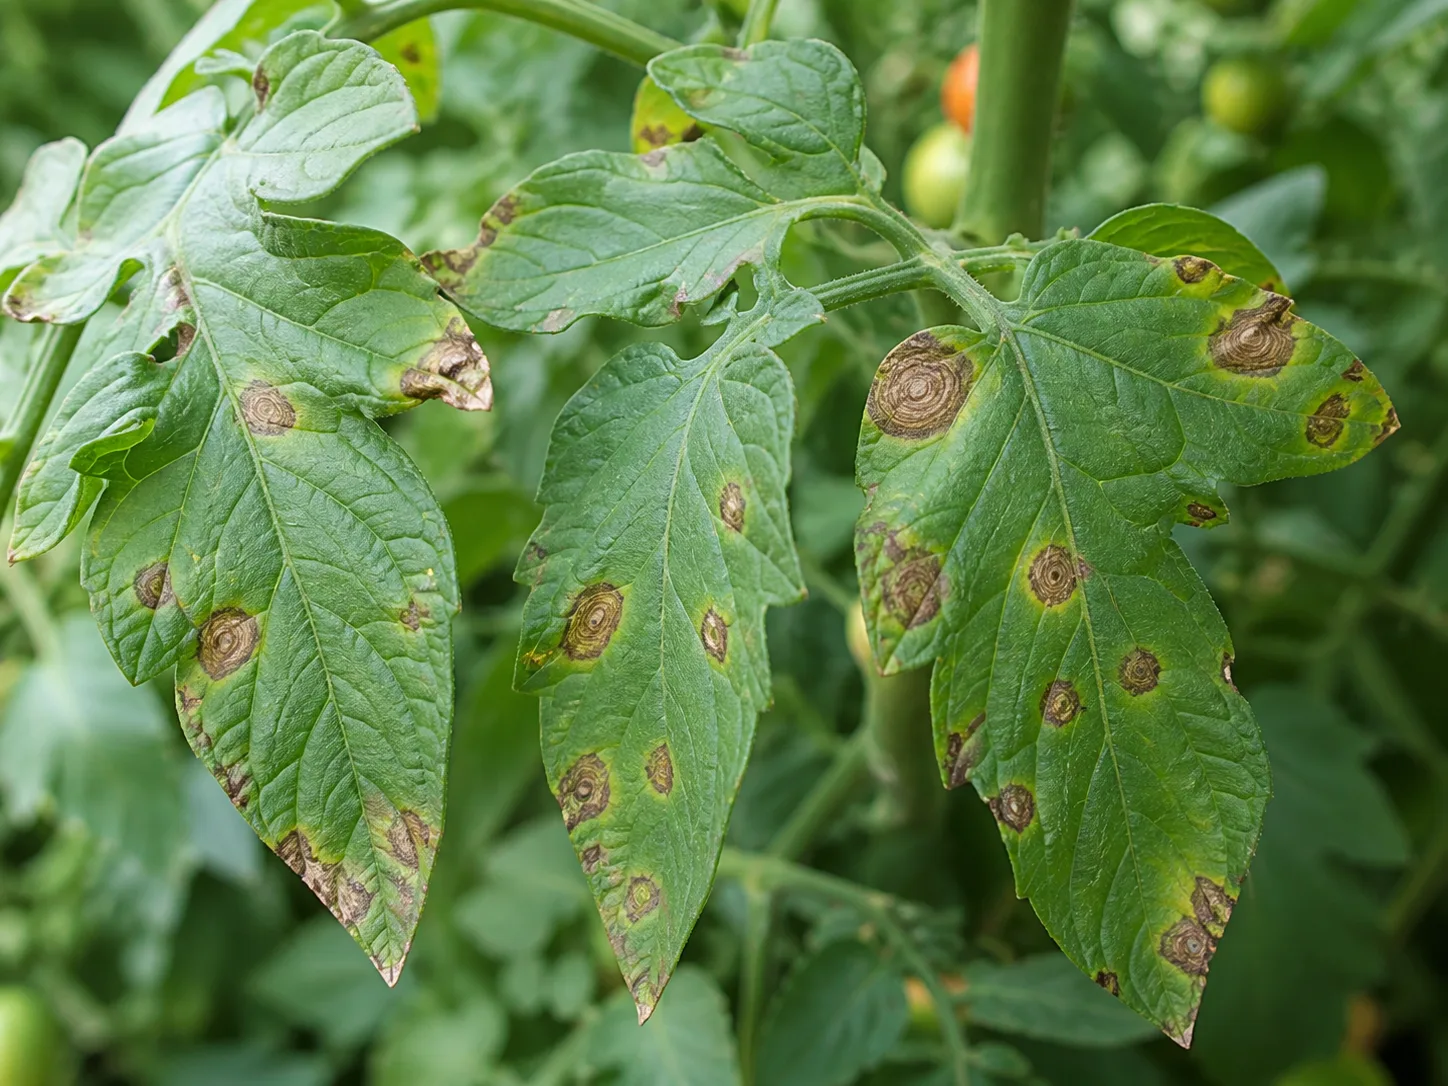
Scout early and respond without spreading problems
The University of Minnesota’s bacterial-spot guidance is especially relevant to a shared bed: bacterial spot affects both tomatoes and peppers, can move through splashing water and contaminated tools, and is favored by warm, humid conditions. The practical response is prevention and fast containment: buy clean-looking transplants, give plants airflow, water at the base, avoid working through wet foliage, and remove affected material as directed by local extension guidance.
Do not assume every brown spot is the same disease, and do not reach first for a spray because the bed contains two susceptible crops. Photograph the symptom, compare it with a local extension diagnosis, and check the pattern: lower leaves versus new growth, circular spots versus chewing holes, one plant versus an entire row, and dry soil versus wet soil. Misdiagnosing a nutrient issue as a pathogen can waste time; spraying a pathogen incorrectly can harm beneficial insects and foliage.
If one plant is severely affected, isolate the decision. Stop handling healthy plants after touching the sick one, clean pruners between plants, remove fallen leaves, and decide whether the plant is worth keeping based on the diagnosis and the crop’s stage. A shared bed is manageable when you respond early; it becomes difficult when a dense canopy hides symptoms for weeks.
Optional companions such as basil, marigold, nasturtium, parsley, or flowering herbs can add diversity and habitat, but they are not a guaranteed insect shield. The RHS discussion of companion planting notes that some benefits are plausible or observed in particular mixtures, while the outcome is not uniform for every crop or garden. Treat companion flowers as a biodiversity and enjoyment choice after the tomato-pepper layout works on its own.
Rotate the whole nightshade family
For rotation, treat tomatoes and peppers as one crop group along with eggplant and potatoes. Do not move peppers into the exact bed where tomatoes grew and call that rotation complete; the shared host range is the issue. Ask Extension’s response to a tomato-and-pepper rotation question likewise explains that the two crops are generally treated together for rotation because they share many pests and diseases.
The ideal interval depends on the disease, crop, soil, and available space. A three- or four-year break from the crop family is often recommended for particular soil-borne problems, but a small garden may not have enough beds to make that perfect schedule possible. In that case, improve sanitation, remove diseased debris, control volunteers, use resistant or tolerant varieties when available, and rotate as far as your space allows.
Rotation is not a magic force field. If adjacent beds are close, pests and wind-blown pathogens can still move between them. Its value is reducing the amount of susceptible plant material and infected residue in the same soil over time, not creating an invisible barrier around one raised bed.
Containers and Raised Beds Need Different Rules
Tomatoes and peppers can grow in containers, but “together” usually means near one another in separate containers, not one of each in a small pot. A tomato’s root system, water demand, and support can dominate a shared container. A pepper may survive beside it yet produce less because its root zone dries unevenly or the tomato canopy takes the light.
Use one large container for one tomato unless the variety is explicitly compact and the container is genuinely large. The RHS tomato guide recommends one tomato in a 12- to 18-inch pot and notes that containers dry quickly. Give peppers their own pot with drainage, stable support, and enough soil volume to buffer hot-weather swings. Place the containers where their canopies will not block one another and where you can rotate or move them before they become heavy.
A raised bed gives you more root volume but does not remove spacing rules. Its loose soil may support closer planting than compact ground in some systems, yet the mature canopy still determines airflow and access. In a small bed, choose a compact determinate tomato, a smaller pepper, and a support system that grows upward without tipping into the walking path.
The best arrangement for a patio or balcony may be two or three containers grouped for one irrigation check. That preserves the shared-care convenience without forcing both root systems into one reservoir. It also lets you move a diseased plant away from the others and change the light angle as the season progresses.
Harvest, Adjust, and Decide What to Change Next Season
Harvest regularly once fruit begins to color or reaches the stage you prefer. Frequent picking keeps ripe fruit from attracting pests and lets you notice changes in the plants before a problem becomes hidden under a full canopy. Use clean snips for stubborn stems and avoid tugging branches that are supporting green fruit.
Keep a short bed record. Note the tomato variety, pepper variety, planting date, first harvest, where the tallest plants were placed, and any pest or disease pattern. Record whether one plant outgrew the other, whether the pepper row was shaded after midsummer, and how often the containers or raised bed needed water during the hottest weeks.
Use those observations to revise the next layout. If peppers were shaded, move tomatoes farther north or choose determinate varieties. If the back row was hard to reach, widen the path or reduce the number of plants. If bacterial spot appeared across both crops, start the next season with cleaner transplants, better sanitation, more airflow, and a rotation plan rather than merely changing fertilizer.
Separate the crops next year if the shared bed made management harder than it saved time. There is no prize for keeping compatible plants together when your actual bed, climate, disease history, or harvest goals point to two smaller, easier-to-monitor spaces. Companion planting is a design option; it should serve the garden, not become a rule the garden has to obey.
Conclusion
You can plant tomatoes and peppers together, and in many home gardens it is a practical pairing. They share the same broad season and prefer the same basic foundation of sun, warmth, steady moisture, good drainage, and measured fertility.
Make the pairing work by designing for the mature plants: put tall tomatoes where they will not shade peppers, follow variety-specific spacing, install supports early, water at soil level, mulch without touching stems, and scout both crops as one disease-and-pest neighborhood. Treat tomatoes, peppers, eggplant, and potatoes as one rotation group, especially if your garden has a history of soil-borne disease.
The right answer is not simply “yes.” It is yes, if the bed gives both crops enough light, air, root room, and access—and if sharing the space fits your disease history and management routine.



