Grow Bigger Candy Onions: Planting to Harvest
Grow large, sweet Candy onions from seed, sets, or transplants with practical timing, spacing, moisture, fertilizer, harvest, curing, and storage advice.
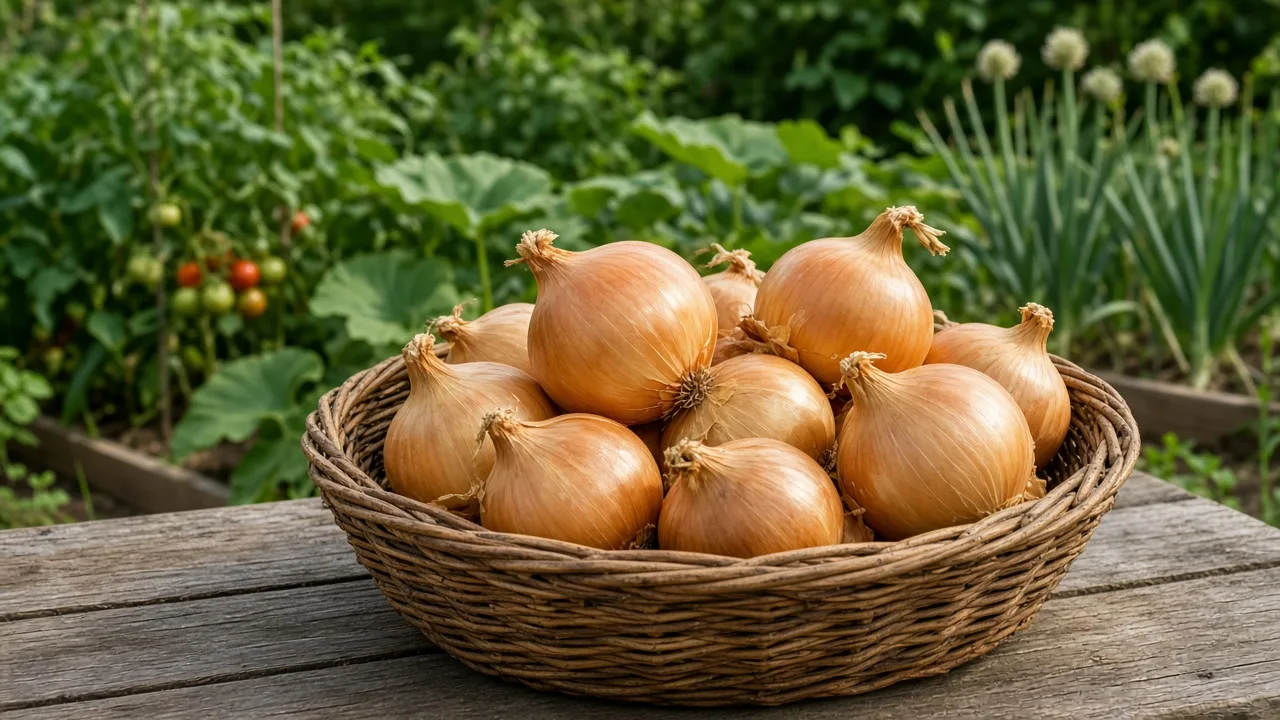
Candy onions are a good choice when you want a large, mild bulb with enough sweetness for fresh slicing but more onion character than the softest specialty sweets. They are a cultivated form of Allium cepa, not a separate species, and the name describes a named onion type rather than a promise that every bulb will reach the same size or sweetness.
The crop is straightforward once you get three decisions right: match the variety’s day-length needs to your latitude, give the shallow roots uninterrupted moisture and space, and stop pushing leafy growth when the bulb is preparing for dormancy. The instructions below cover seed, sets, transplants, raised beds, containers, spring crops, and suitable fall plantings, then carry the crop through curing and storage.
Candy onions at a glance
| Growing factor | Practical target |
|---|---|
| Botanical name | Allium cepa |
| Light | Full sun; aim for at least 6 hours, with more useful light preferred |
| Soil | Loose, fertile, organic-matter-rich, and well drained |
| Soil reaction | Around pH 6.0–6.5 is a useful target when a soil test supports it |
| Spacing | 4–6 inches between plants for large bulbs; 8–12 inches between rows |
| Water | Keep the root zone evenly moist while leaves and bulbs are growing |
| Maturity estimate | About 100–120 days for many bulb crops, but use plant signals too |
| Storage expectation | Often a few months; the seed supplier’s storage note is more reliable than the name alone |
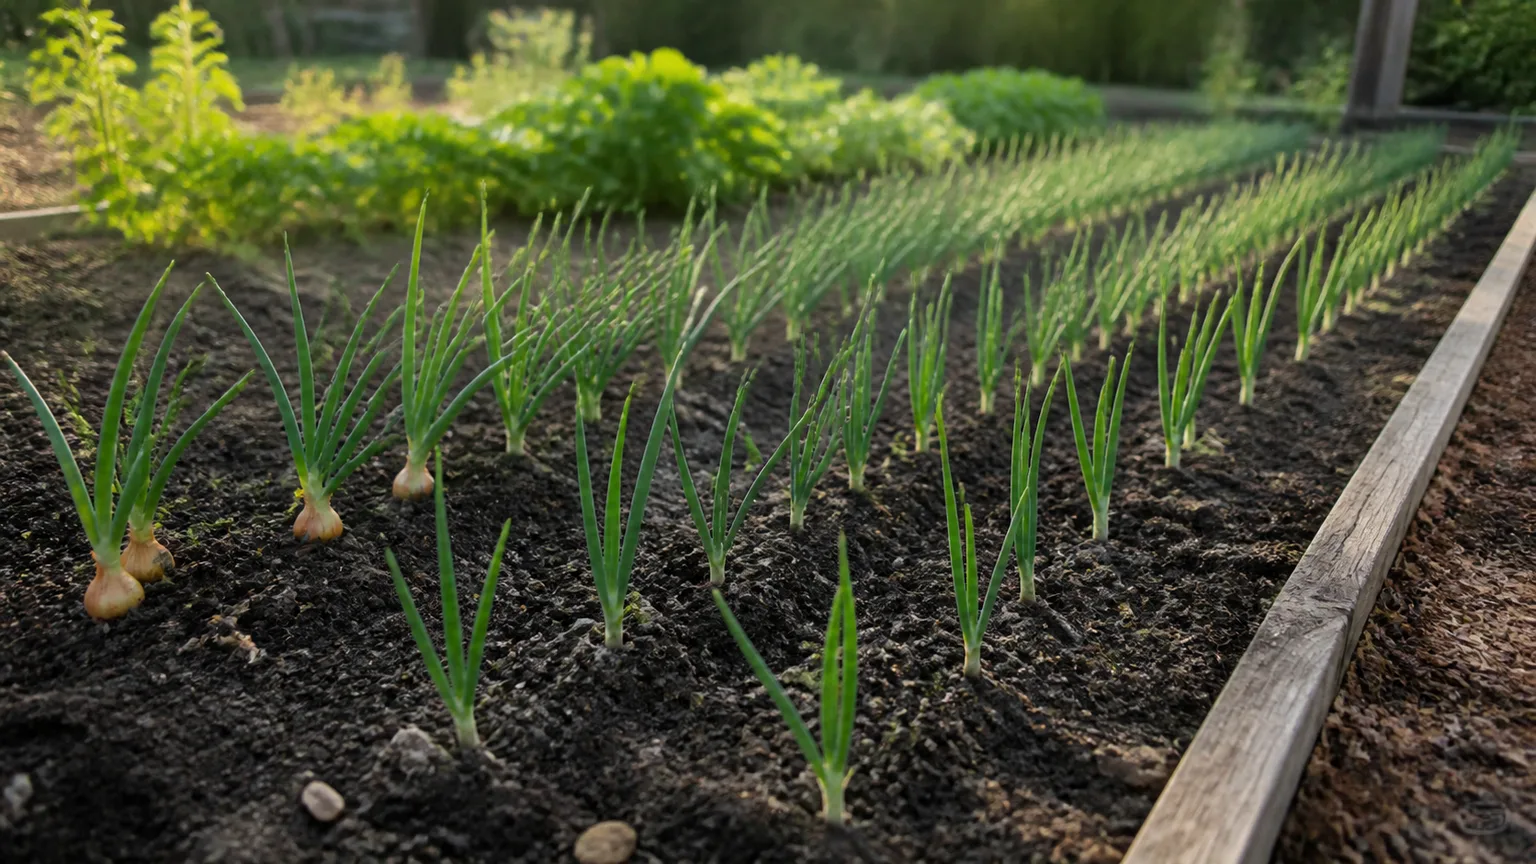 |
One seed, set, or transplant produces one onion bulb. Utah State University Extension lists Candy among its bulb-onion varieties and recommends full sun, fertile well-drained soil, regular water, early weed control, and harvest after the tops fall and papery skins form. Its home-garden onion guidance is a useful baseline, but your packet and local planting calendar still control the final timing.
Keep pets from digging up or chewing onion plants, trimmings, and cured bulbs. The Merck Veterinary Manual reports that raw, cooked, dehydrated, and concentrated onion material can cause serious toxicity in cats and dogs, so discard scraps in a secured compost or waste container and contact a veterinarian promptly after a suspected ingestion.
Match day length, season, and planting goal
Onions do not enlarge simply because they have been in the ground for a certain number of days. They first build leaves, then use the changing length of daylight and temperature to switch from leaf production to bulb formation. A larger, healthier leaf canopy before that switch generally means more stored food and a larger bulb, while an early switch leaves you with a small onion even if the plant looks healthy.
Onion types are commonly grouped as short-day, intermediate-day, or long-day. Short-day types start bulbing around roughly 11–12 hours of daylight; intermediate types respond around roughly 12–14 hours; long-day types need about 14 hours or more. Candy is commonly marketed as an intermediate-day onion, but seed companies can position the same named type for different regions, so read the current packet or plant label instead of relying on a generic zone chart. Fine Gardening’s seed-growing guide explains why a wrong day-length match produces early, undersized bulbs in one region and abundant leaves without respectable bulbs in another.
Spring planting for a dependable crop
Spring is the safest default when you are unsure whether your Candy stock is suitable for winter. Plant as soon as the soil is workable and no longer a cold, sticky mass; cool weather is fine, but standing water is not. Early planting gives the plant time to make leaves before the daylight signal for bulbing arrives.
For a spring crop, count backward from your local planting window rather than copying a March, April, or May date from another climate. Gardeners with short seasons can start seed indoors 8–12 weeks before outdoor planting, while gardeners with mild springs may direct-sow or set out young plants as soon as the bed is ready. If a late cold snap is expected, protect newly planted seedlings with a light row cover, but uncover it when heat builds so the bed stays ventilated.
Fall planting and overwintering for an earlier start
Fall planting can give Candy onions a root system that is already in place when spring returns, which may produce an earlier and larger crop in a mild climate. It is not automatically the best choice everywhere. Use fall-suitable seed or sets, plant in a bed that drains quickly, and give plants enough time to root without encouraging a tall, lush canopy that will be damaged by winter.
As a planning rule, plant about four to six weeks before your area’s first hard frost only when the supplier recommends the variety for overwintering. Small sets are preferable to oversized ones because large sets are more likely to bolt after the temperature swings of winter and spring. Savvy Gardening’s fall-onion guidance also stresses that day length, latitude, bolt resistance, mulch, and season extension all interact.
In cold regions, fall planting is an experiment unless you can use a protected low tunnel or another season-extension system. In heavy clay or a wet winter garden, spring planting is usually the more reliable decision: a smaller but healthy crop is better than bulbs that rot before spring growth resumes.
Choose seeds, sets, or transplants
Seeds offer the widest variety choice and the best control over the plant’s age and size at transplanting. They also take the most calendar time. Onion seed loses viability faster than many gardeners expect, so use fresh seed, label the sowing date, and do not keep a half-used packet for years without testing germination.
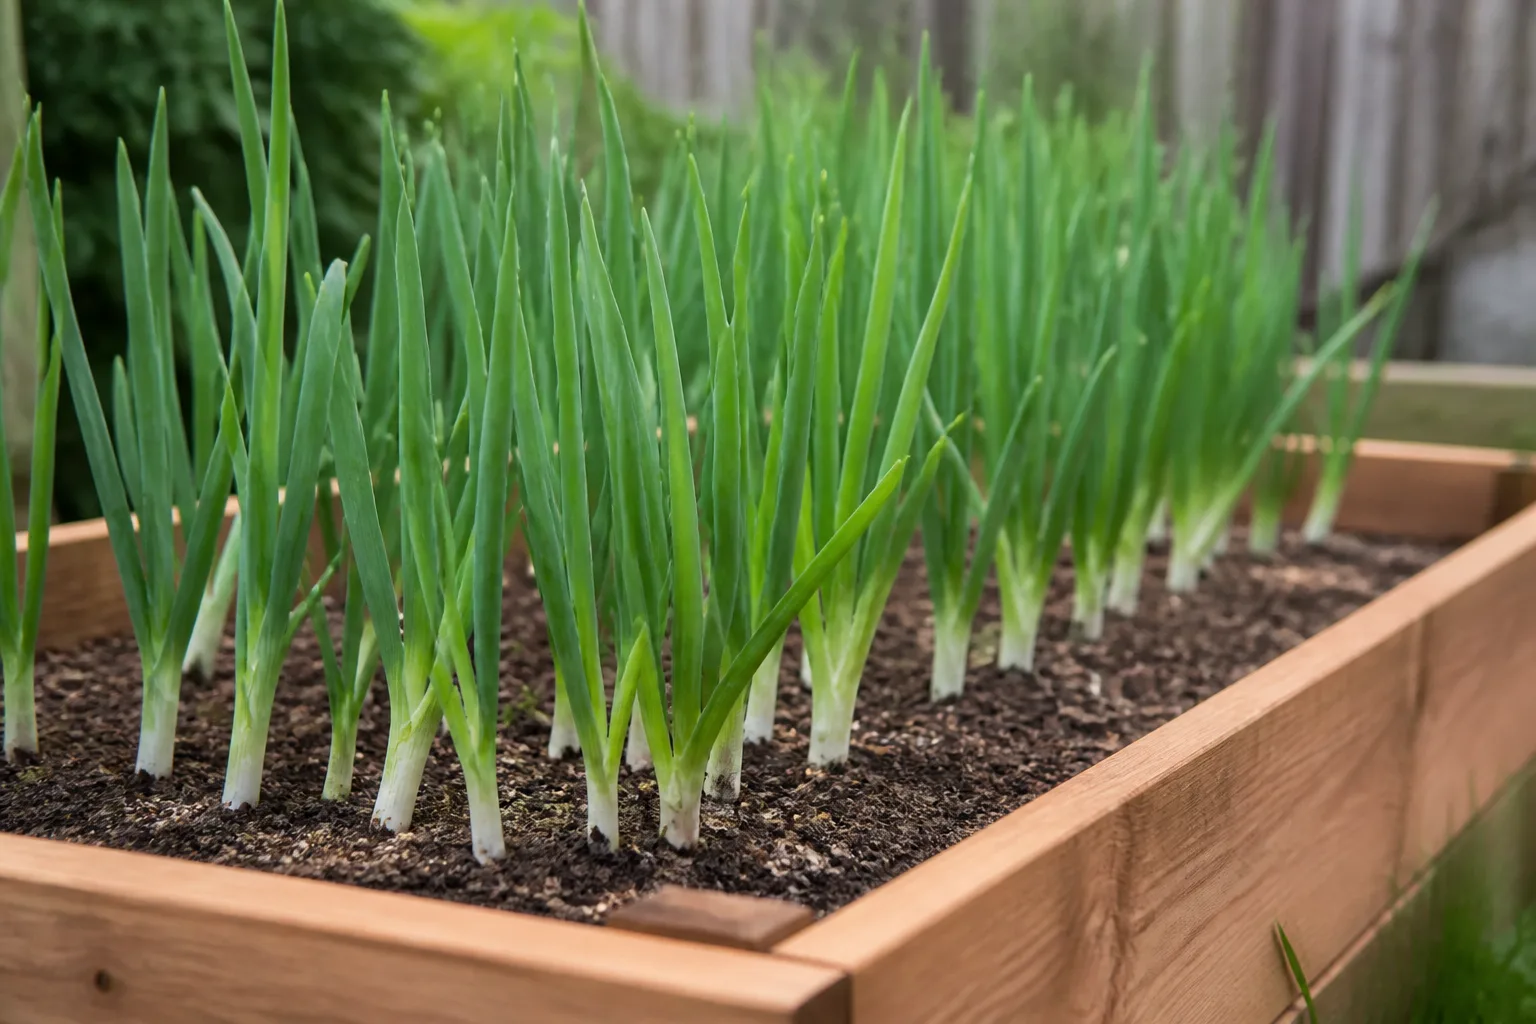
Start seeds about ¼ inch deep in a fine, lightly moist seed-starting mix. Keep the tray bright and the surface evenly moist, never saturated. Once the threadlike leaves emerge, move seedlings close to a light source or grow light so they do not stretch, and give them gentle air movement. If seedlings become top-heavy, trimming leaves to roughly 4–6 inches is a practical way to make transplanting easier; it does not replace light.
Sets are small dormant bulbs and are the quickest, simplest route to a crop. Choose firm sets that are small to medium in size and free of mold, soft spots, or sprouting damage. They establish quickly, but they can be more prone to bolting than seed-grown plants, especially when planted too early or when the sets are unusually large.
Transplants split the difference. A nursery transplant or a seedling you started indoors has a head start over direct seed and can be easier to time in a short growing season. Handle the roots gently, set the plant at the same depth it was growing, and harden it off over about a week before leaving it in full outdoor exposure. Choose transplants that are sturdy and pencil-thin rather than tall, lush, and root-bound.
If your priority is the biggest possible bulbs and a particular flavor, seed is usually worth the extra work. If your priority is a small, dependable planting with less indoor equipment, sets are reasonable. If spring arrives late, transplants can buy back valuable leaf-making time.
Prepare the bed: sun, soil, and fertility
Choose the sunniest part of the garden, not the spot that receives afternoon shade from a fence or a fast-growing crop. Onions have a limited root system and weak weed competition, so a bright bed with easy access for watering and hand weeding is worth more than a crowded corner with theoretically rich soil.
Soil depth, drainage, and pH
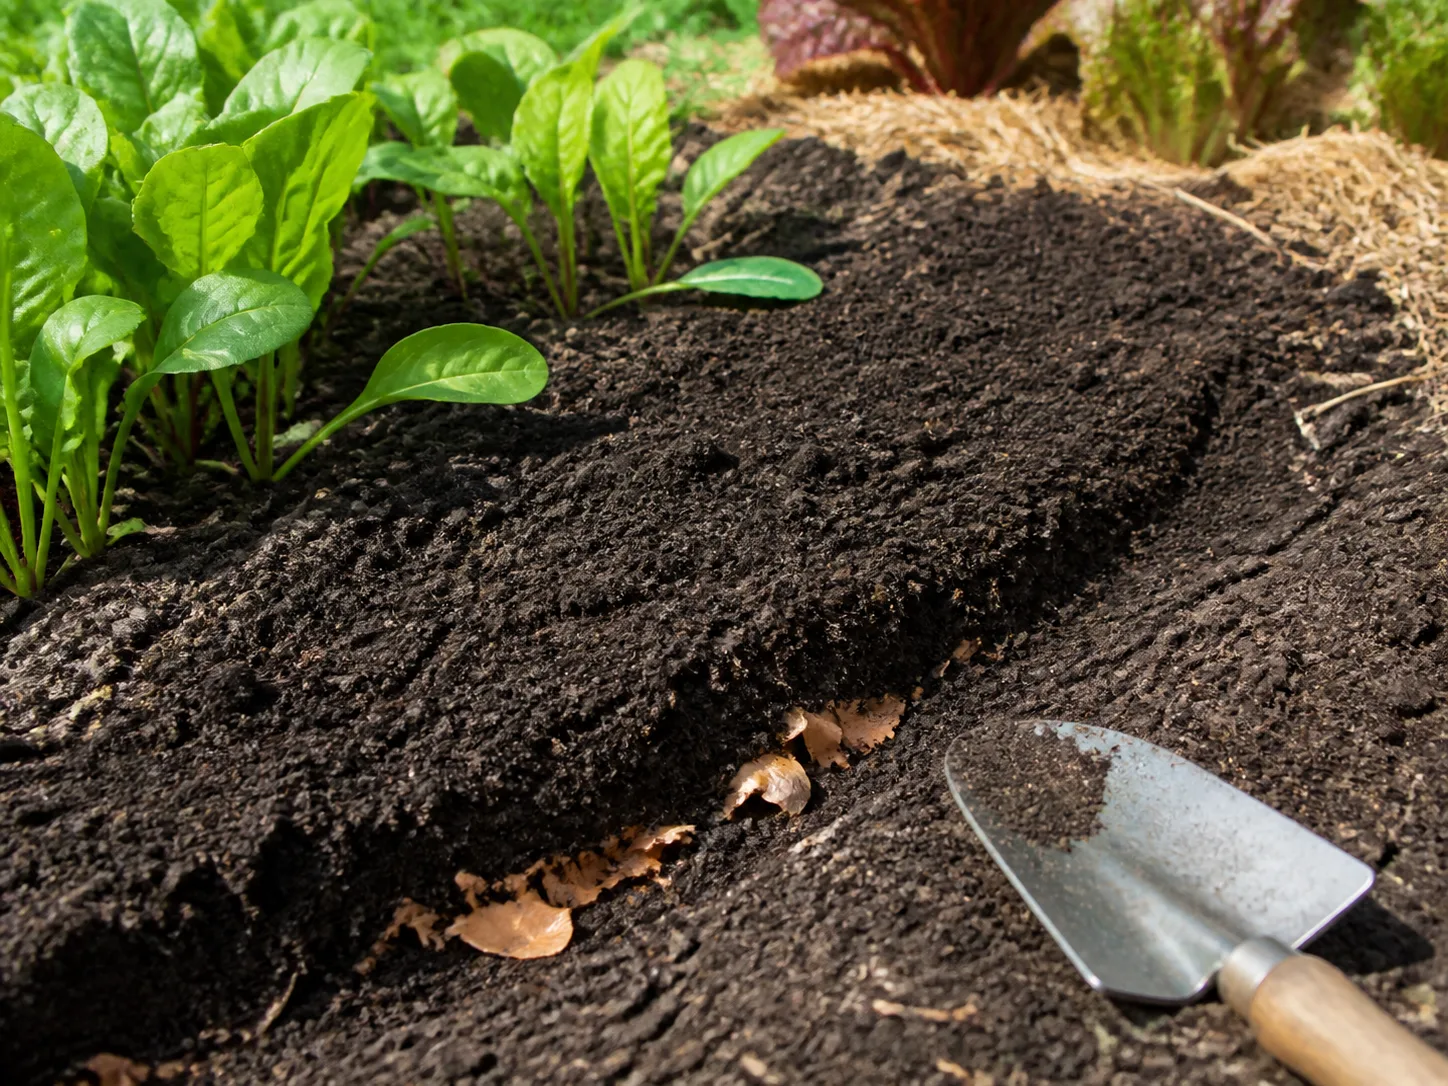
Work the bed before planting so the top 6–10 inches are loose enough for roots and the developing bulb. Candy onions prefer fertile loam, but sandy soil improved with compost can work, and clay soil can be productive if you improve structure and avoid planting where rain sits. The target is a bed that holds moisture without staying slick and airless.
A soil test is more useful than guessing from leaf color. A pH near 6.0–6.5 is a practical range for onions, while well-finished compost improves structure and water-holding without giving you a mystery nutrient dose. Do not add fresh manure immediately before planting; it can contribute excess salts, promote lush growth, and introduce sanitation problems.
Both RHS onion advice and extension recommendations emphasize the combination of free drainage, organic matter, and a thoroughly weeded site. Onions do not need a fluffy, over-amended hole around each bulb. They need a consistent bed where roots can explore without hitting a compacted layer or a pocket that stays wet.
Spacing for large bulbs
Give plants 4–6 inches of room if large Candy bulbs are the goal. Keep rows about 8–12 inches apart so you can water and weed without brushing the leaves constantly. Narrower spacing is useful when you want many young onions or plan to thin them for green onions, but it normally produces smaller individual bulbs unless you compensate with unusually even moisture and fertility.
Spacing is not a cosmetic detail. Crowded leaves shade one another, roots compete in the same shallow band, and the bed becomes harder to inspect for thrips, mildew, or a softening neck. If you want to harvest a few onions young, plant a short section more densely and reserve the properly spaced plants for storage-size bulbs.
Plant Candy onions step by step
- Clear the bed. Remove perennial weeds, old allium debris, and stones that will interfere with planting or lifting.
- Check the soil. Incorporate finished compost and any lime or fertilizer recommended by a soil test, mixing amendments through the root zone rather than leaving a concentrated band.
- Mark the final spacing. Use 4–6 inches between plants for large bulbs and 8–12 inches between rows.
- Plant at the right depth. Sow seed about ¼–½ inch deep. Set out transplants with the base just covered. Press sets into loose soil about ¾–1 inch deep, with the pointed tip at or just above the surface rather than burying the bulb deeply.
- Firm and water. Settle soil around the roots without compacting the entire bed. Water thoroughly once, then keep the root zone evenly moist as it establishes.
- Protect the first week. A light row cover or netting can stop birds from pulling up sets and can reduce early insect access. Anchor the cover so it does not rub or crush the leaves.
- Thin early seedlings. If direct-sown seedlings are crowded, thin before bulbing begins. Use the thinnings as green onions instead of leaving the plants to compete.
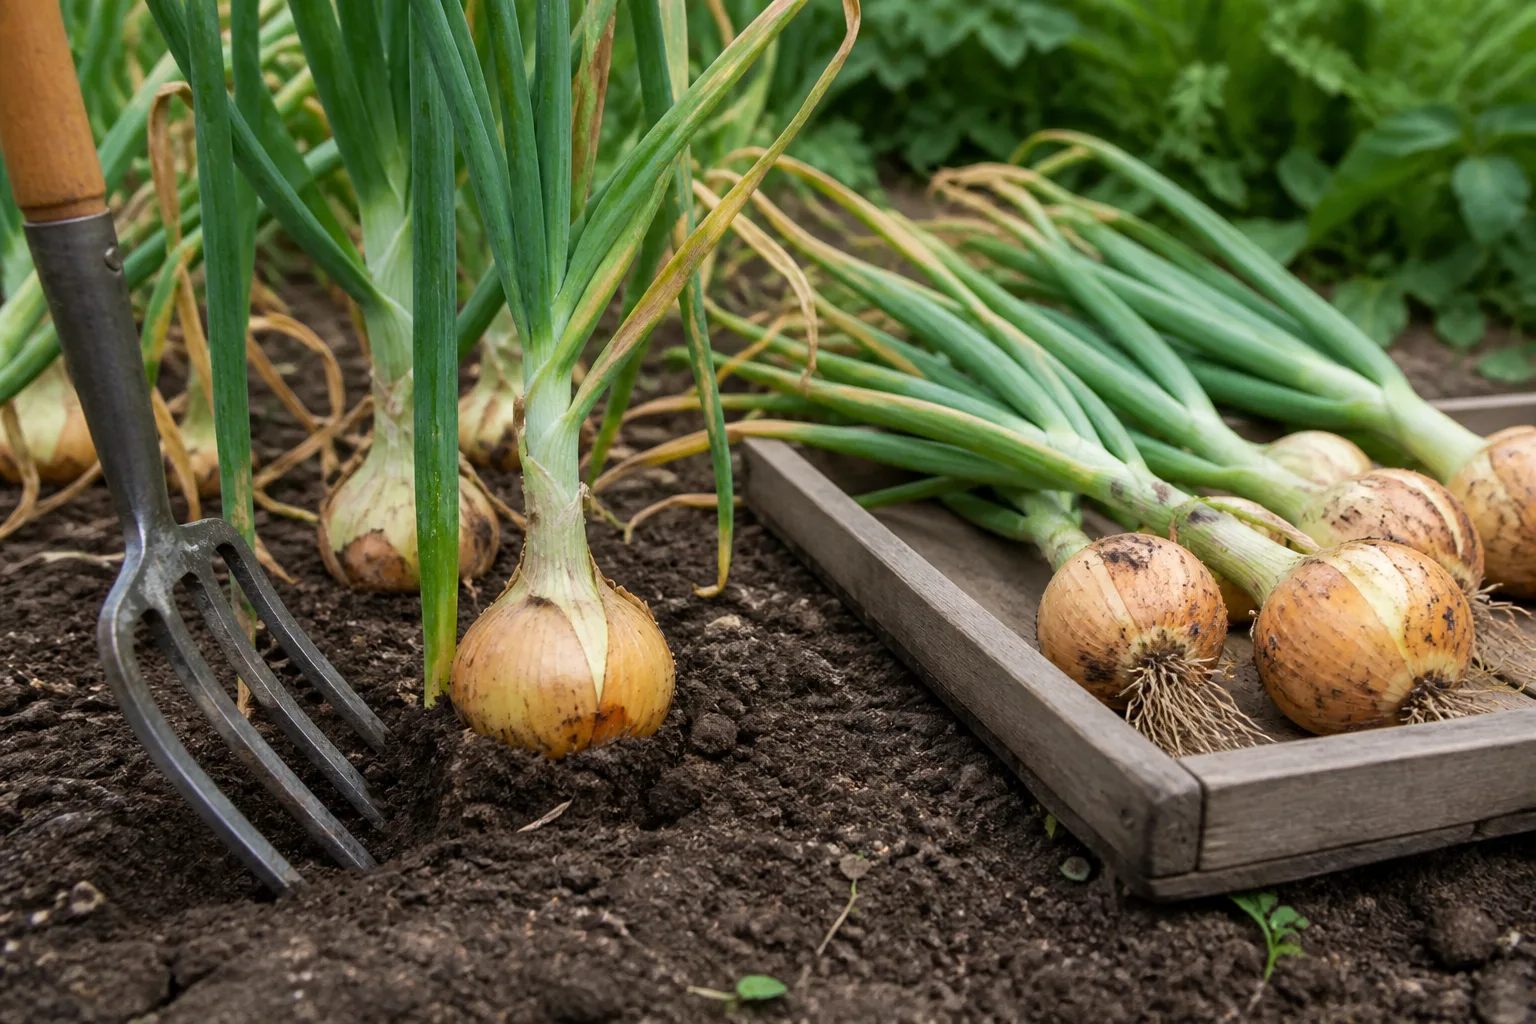
The most common planting mistake is confusing “deeper” with “more secure.” A deeply buried set may struggle to expand at the soil surface, while a shallow set can be tugged out by birds or heaving soil. The correct compromise is a lightly covered bulb with the tip exposed and the soil firm enough to hold it.
Water, weed, and mulch for steady growth
Aim for about 1 inch of water per week from rain and irrigation while leaves and bulbs are actively growing, adjusting for heat, wind, soil texture, and container size. The number is a starting point, not a timer. Stick a finger into the root zone or use a moisture check after several dry days; if only the surface is damp but the deeper bed is dry, water slowly enough to wet the full root zone.
Because onion roots are shallow, repeated light sprinkles can leave plants stressed even when the surface looks dark. A drip line or soaker hose is efficient, and watering at soil level keeps the foliage drier. Drought during leaf growth reduces bulb size and can intensify flavor, while saturated soil limits oxygen and raises the risk of basal and storage rots.
Pull weeds when they are small and use shallow cultivation between rows. Do not hoe aggressively close to the plants, where you can sever the roots or nick the bulb. A thin layer of clean, airy organic mulch can reduce evaporation and weed pressure, but keep it off the neck and away from any bulb tissue that is beginning to dry.
As the tops yellow and begin to fall naturally, taper irrigation. Continuing to keep the bed wet while the crop is entering dormancy delays curing and creates a softer, less dependable storage onion.
Fertilize without sacrificing storage
Candy onions need enough nutrition to make a substantial leaf canopy before bulbing, but more nitrogen is not a shortcut to a bigger onion. Apply a balanced fertilizer or a nitrogen-containing vegetable fertilizer only according to a soil test and the product label. Side-dress beside the row rather than pouring concentrated fertilizer into the crown.
Feed while the plants are making leaves and actively enlarging, then stop high-nitrogen feeding as the neck begins to soften or the tops start to fall. Utah State University Extension specifically warns that late nitrogen can stimulate new leaf growth and reduce dry-onion storage potential. Fine Gardening likewise notes that onions benefit from adequate nutrition during growth but that easing off water and fertilizer as maturity approaches helps the plant enter dormancy.
If plants are pale and slow across the entire bed, first check drainage, root damage, weeds, and watering before adding fertilizer. If only a few plants are pale, inspect their roots and the soil around them. A fertilizer response cannot repair onion maggot injury, compacted soil, a day-length mismatch, or a waterlogged crown.
Grow Candy onions in containers
Containers are useful when garden soil is wet, compacted, or already crowded with alliums. Use a pot with generous drainage and enough surface area for the final spacing; a container about 18 inches wide and deep is a reasonable starting point for a small crop, following the RHS container guidance. Fill it with a quality vegetable potting mix rather than heavy garden soil.
Plant each onion 4–6 inches apart if you want bulbs to size up. A wide tub may hold several plants, while a smaller pot is best treated as a green-onion planter. Put the container where it receives full sun, check moisture more often than you would in a bed, and rotate it if one side leans toward the light.
Container onions can dry from the sides and warm quickly against a wall, so inspect the mix below the surface during hot weather. At the same time, do not compensate for a dry top layer by keeping the pot constantly saturated. Use a saucer only to protect a surface, and empty standing water after irrigation.
Solve small bulbs, bolting, and weak tops
When Candy onions stay leafy without bulbing, start with day length and planting date. A type that needs longer days may keep producing leaves in a southern latitude, while a short-day type in a northern spring may bulb early and stop before it has made enough foliage. If the variety is correctly matched, look next at crowding, drought, root damage, and excess shade.
Small bulbs with early swelling often point to late planting, premature bulbing, or plants that were crowded before the daylight trigger arrived. Small bulbs with thin, tired leaves more often point to drought, weed competition, poor fertility, or root injury. The remedy is not always more fertilizer; diagnose the growing condition that limited leaf area first.
Bolting is the appearance of a firm central flower stalk. Cold swings, oversized sets, planting at the wrong time, and variety mismatch can all raise the risk. Once an onion has bolted, you cannot return it to normal storage growth. Cut or remove the flower stalk if you want to keep the bulb growing briefly, then harvest that onion for fresh use because bolted bulbs generally do not cure or store well.
Do not bend healthy tops over to force maturity. Let yellowing and toppling happen as the plant enters dormancy. Forcing the foliage can create wounds and invite disease before the neck is ready to seal.
Prevent pests and diseases
Start with prevention: rotate onions and other alliums away from the same bed for at least three years when possible, remove volunteer alliums, keep the bed weed-free, and avoid working among wet plants. A row cover over young plants can help exclude egg-laying flies and some early pests, but it must be removed or managed once plants need pollination-free airflow and summer heat makes the bed too warm.
Thrips are tiny, slender insects that scrape leaves, leaving silvery streaks, twisting, or premature browning. Inspect the tight leaf bases and the sheltered area where leaves meet the bulb. Strong plants, mulch, compost, and a firm water spray can reduce pressure, but use only products labeled for onions and your jurisdiction if an infestation exceeds what cultural controls can handle.
Onion maggots damage roots and bulbs; affected seedlings may wilt, collapse, or pull out with little healthy root attached. Remove and dispose of badly affected plants, rotate the bed, and avoid moving soil from an infested patch to a clean one. Cutworms, slugs, and aphids are also easier to manage when you inspect early instead of waiting for an entire row to decline.
Damp foliage and poor air movement favor problems such as downy mildew and purple blotch, while wet soil and poor curing can contribute to basal or neck rot. Water at the soil line, give rows breathing room, remove badly diseased material, and do not store bruised or soft bulbs with healthy ones. Penn State Extension’s onion production reference reinforces the importance of sanitation, irrigation management, and using disease-management practices appropriate to the crop and site.
Harvest at the right maturity
Use the days-to-maturity number as a scheduling estimate, not as permission to pull every bulb on the same date. A Candy crop may be ready around 100–120 days after seeding or planting depending on the starting method and climate, but weather and day-length response can shift the calendar. Begin checking regularly when the necks start to soften.
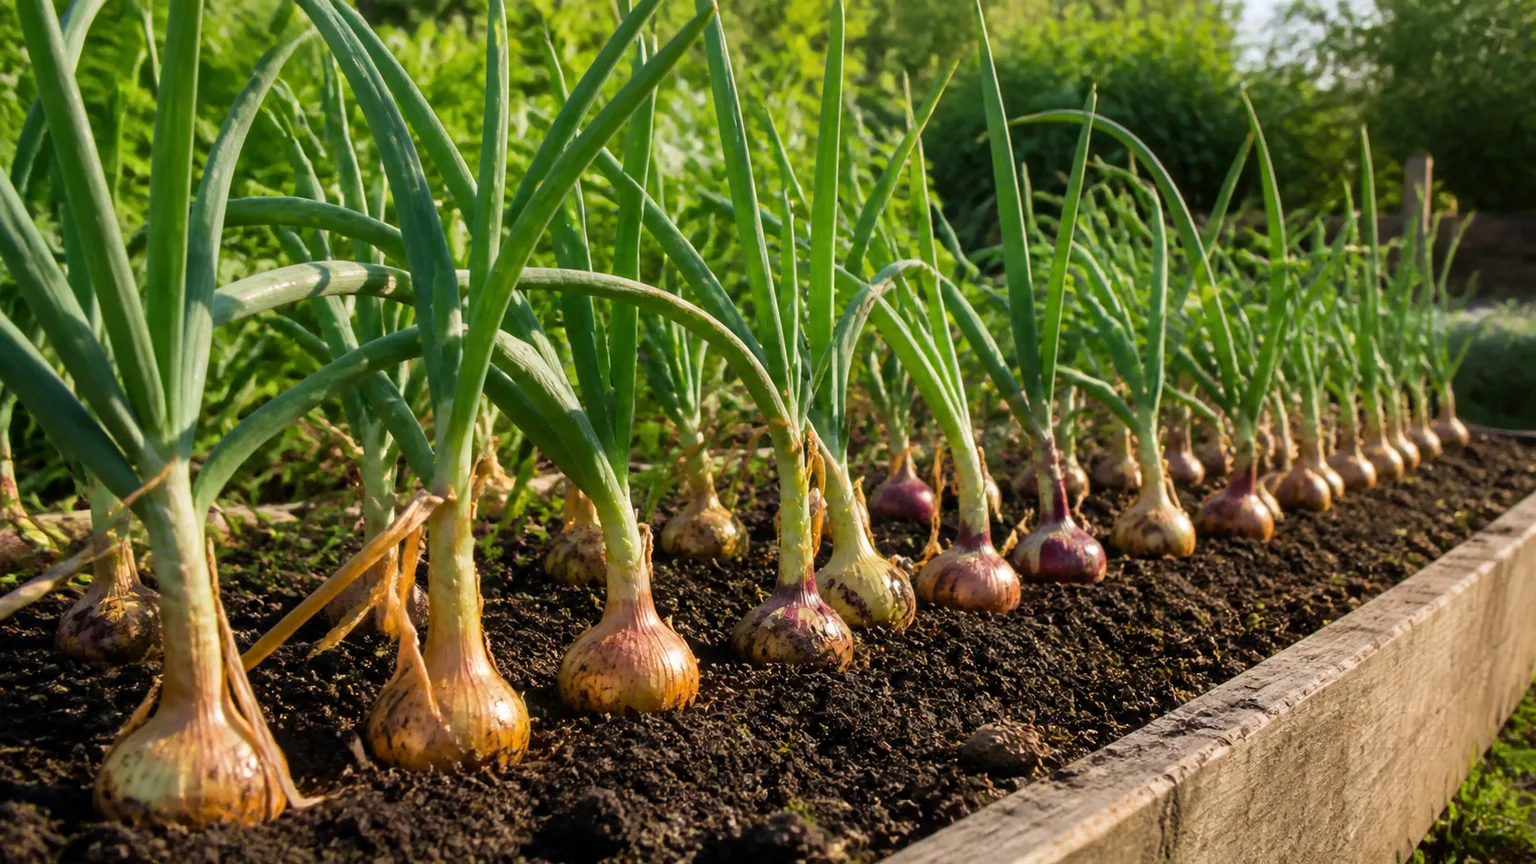
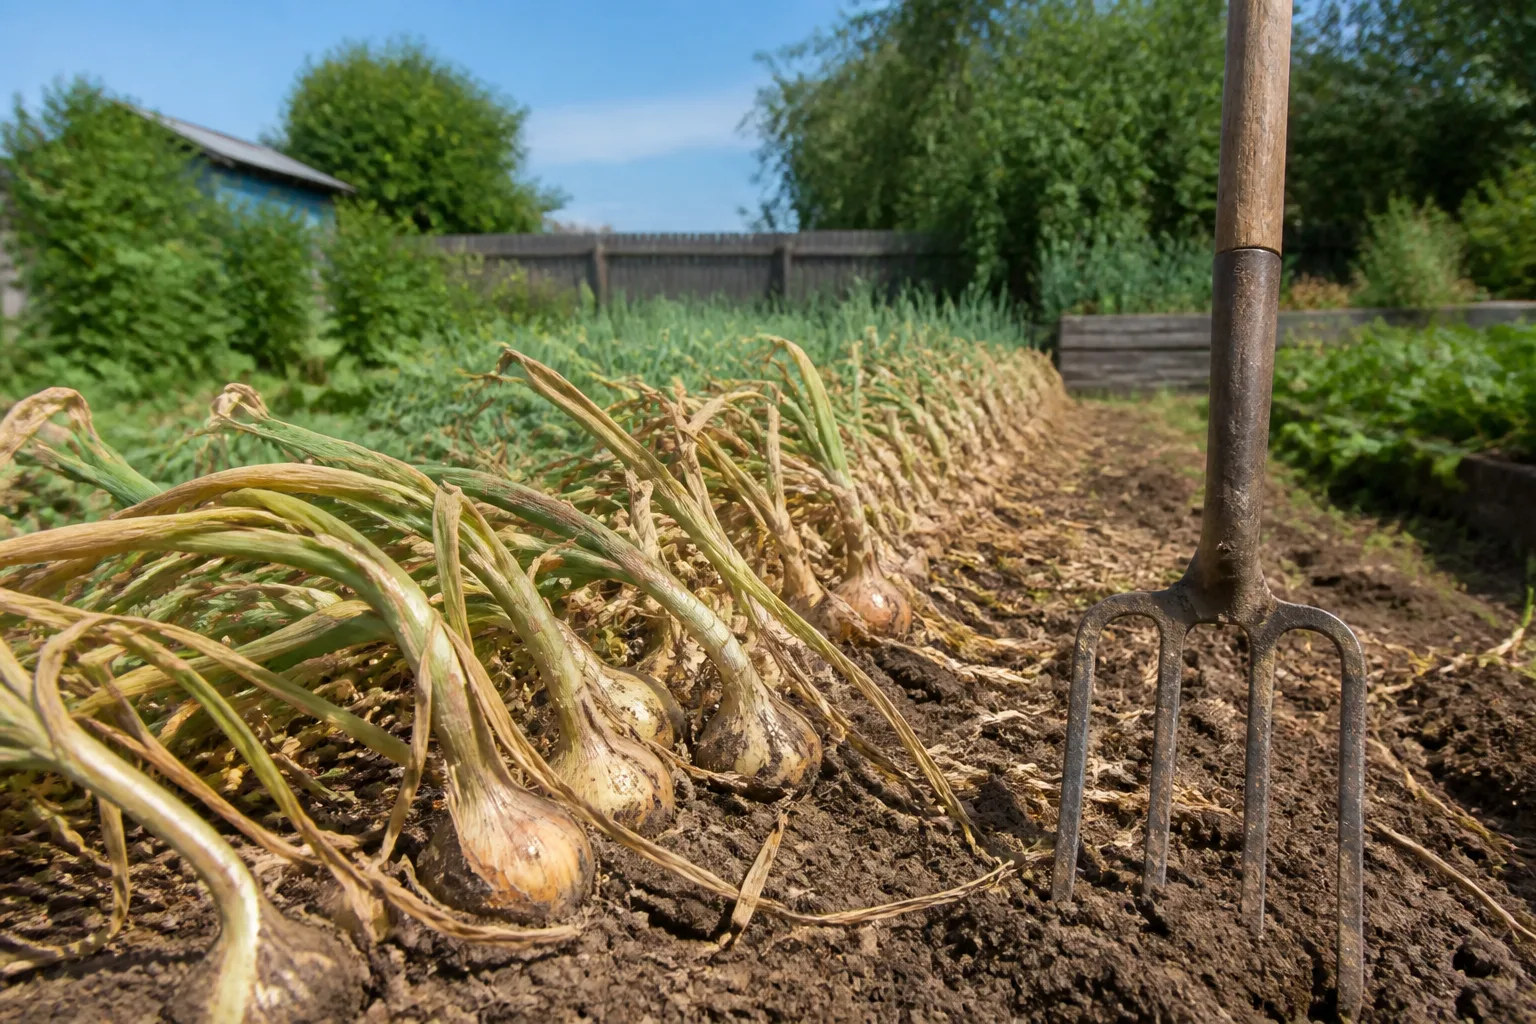
The most useful harvest signals are a majority of tops yellowing and falling, a neck that is no longer thick and actively pushing new leaves, and dry, papery outer skin forming over the bulb. You can harvest an onion earlier for immediate eating, but an immature, high-water bulb will not keep like a fully dormant one.
Choose a dry day if the forecast allows. Loosen the soil with a garden fork a few inches from the bulb and lift from underneath; do not yank the leaves or knock bulbs together. Bruises and cuts are entry points for rot, so set damaged onions aside for the kitchen and reserve uninjured bulbs for curing.
RHS guidance now favors reading the plant’s natural yellowing and toppling rather than bending foliage or deliberately breaking roots. That approach preserves the plant’s own transition into dormancy and gives you a cleaner maturity decision.
Cure, store, and use the crop
Curing is the drying phase that turns a freshly lifted onion into a storage onion. Brush off loose soil without washing the bulbs, then place them in a single layer on a screen, slatted tray, or dry surface with air moving around every bulb. A warm, dry, well-ventilated shed, porch, or greenhouse is safer than a humid corner.
Outdoor sun can work in a reliably dry climate, but Candy onions are relatively juicy and sweet, so intense direct sun can bleach or scald the outer layers. Fine Gardening recommends curing large sweet onions out of direct sun, while RHS describes outdoor racks as one option when air can circulate. The practical compromise is bright shade or gentle morning sun with protection from rain, heat spikes, and damp soil.
Allow about two weeks, and up to three weeks for thick-necked or very wet bulbs, then test the crop rather than trusting the clock. The skin should be papery, the roots dry, and the neck tight and dry to the touch. If the neck is still soft, green, or moist inside, continue curing with more airflow.
Once cured, trim foliage to about 1–2 inches above the bulb unless you want to braid it. Store sound bulbs in mesh bags, a slatted crate, or a shallow tray in a cool, dry, well-ventilated place. Keep bulbs from touching if possible and check them at least weekly; use any softening, sprouting, or bruised onion first and remove a rotting bulb immediately.
Candy onions may keep for roughly two to four months, but storage life varies with the strain, harvest maturity, curing quality, and storage conditions. Large sweet onions often keep for less time than firm, pungent storage onions, so plan to eat the biggest and juiciest bulbs first instead of expecting every one to last through winter.
A practical Candy onion season calendar
| Stage | What to do | What to watch |
|---|---|---|
| Before planting | Check day-length guidance, test soil, add finished compost, and clear weeds | Wet spots, compacted soil, and stale seed |
| Seedling or establishment stage | Keep the root zone moist, provide strong light, and protect young sets | Stretching, bird damage, cutworms, and damping-off-like collapse |
| Leaf-building stage | Maintain even water, side-dress only if needed, and weed shallowly | Silvery thrips damage, drought stress, and pale growth |
| Bulb-enlarging stage | Preserve full sun and spacing; keep moisture steady | Neck swelling, early bulbing, crowding, or bolting stalks |
| Maturity | Taper water and stop late nitrogen as tops yellow and fall | Wet weather, bruises, and bulbs with thick green necks |
| After harvest | Lift carefully, cure with airflow, then store only dry, sound bulbs | Soft necks, condensation, sprouting, and spreading rot |
The calendar is deliberately based on plant stages rather than fixed months. A spring crop in a cool northern garden, a fall crop in a mild region, and a container crop against a hot wall can all reach the same stage at different times.
Conclusion
To grow large Candy onions, start with the right day-length fit and a planting date that gives the crop a long leaf-building phase before bulbing. Plant seed, sets, or transplants shallowly in full sun, space them for the bulb size you want, and keep the shallow root zone evenly moist without allowing it to stay waterlogged.
Most failures become easier to correct when you read the plant: leafy growth without a bulb suggests timing or day-length trouble, a flower stalk means the onion should be used fresh, and a naturally yellowing, toppling plant is approaching harvest. Lift on a dry day, cure with airflow until the neck is sealed, and store only firm, dry bulbs. That sequence does more for a successful Candy onion crop than any single fertilizer or “jumbo onion” trick.



