How to Grow Cherokee Purple Tomatoes
Grow flavorful Cherokee Purple tomatoes with a clear plan for planting, staking, watering, feeding, pruning, troubleshooting, and saving seed for next season.
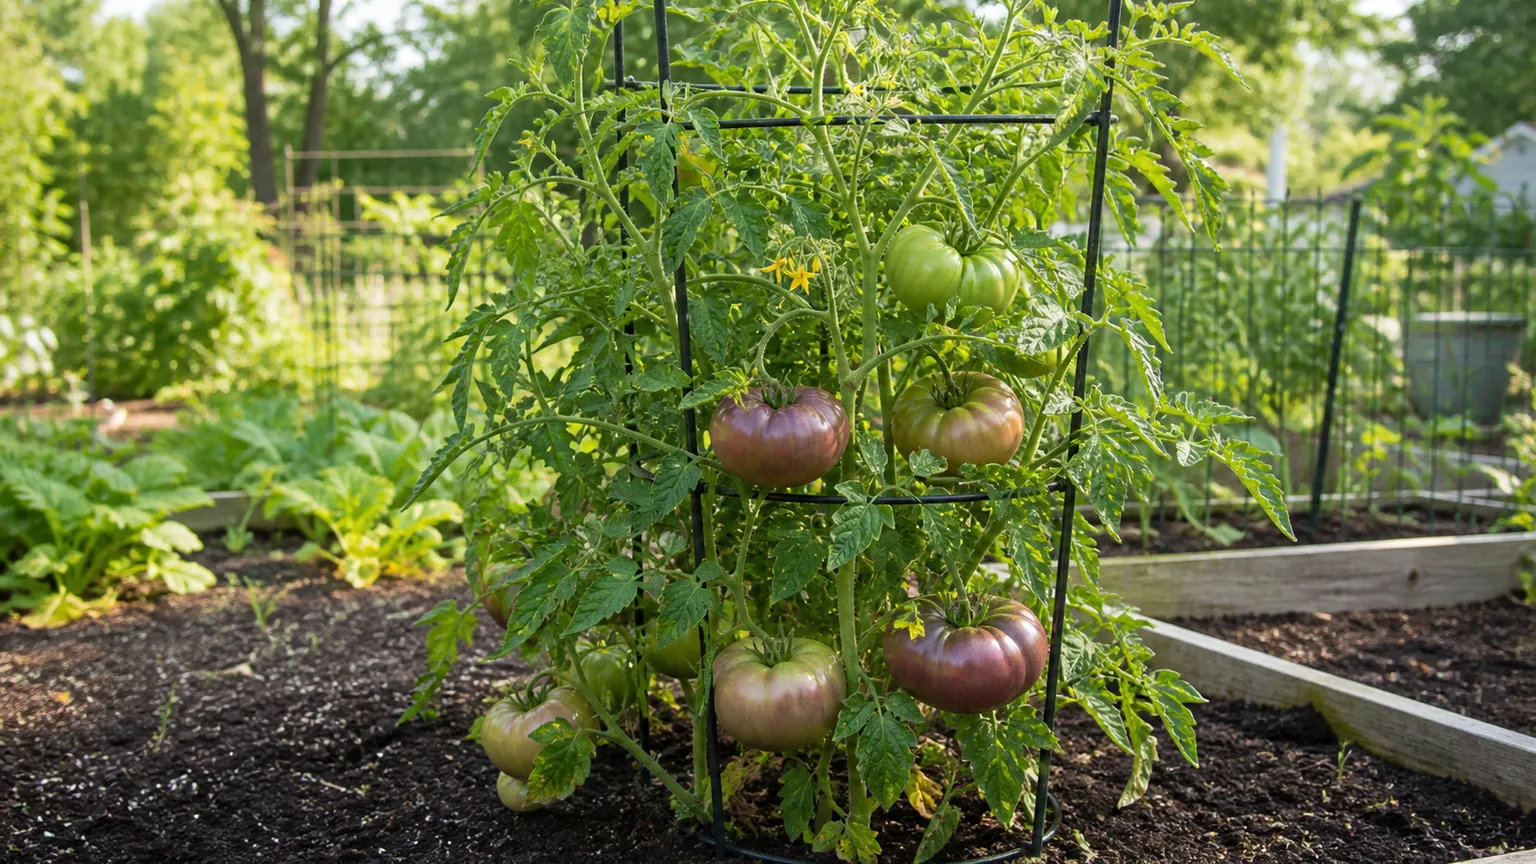
‘Cherokee Purple’ is an heirloom tomato for gardeners who care more about flavor than uniform supermarket looks. The large fruits ripen to a dusky rose, purple, and brown palette, often with green shoulders, and the dense flesh has the rich, savory-sweet character that makes a thick slice worth the wait.
The plant is forgiving about many things, but it is not small or self-supporting. Treat it as a vigorous indeterminate vine: give it full sun, deep fertile soil, steady moisture, and a support system before the first heavy fruit arrives. The best harvest usually comes from a gardener who manages growth steadily rather than trying to correct a stressed plant with extra fertilizer or aggressive pruning.
What makes Cherokee Purple different?
‘Cherokee Purple’ is Solanum lycopersicum ‘Cherokee Purple’, an open-pollinated heirloom in the nightshade family. It is commonly described as a beefsteak type because its fruit is large, meaty, and excellent for slicing. Unlike a determinate tomato that makes most of its crop in one concentrated flush, this plant keeps growing and setting fruit until cold, disease, or frost ends the season.
Its history is part of what makes the variety interesting, but the details deserve care. A North Carolina agriculture profile traces the modern story to seeds shared with Craig LeHoullier by John Green, then sent on to Jeff McCormack, who offered the variety to the public in 1993. The commonly repeated claim about the seeds’ tribal origin has not been proven, so it is better to describe the history as a story attached to the seed exchange rather than as a confirmed origin. (North Carolina Department of Agriculture and Consumer Services)
What matters in the garden is practical: the plant needs room, the fruit is heavy, and the unusual color makes ripeness less obvious than it is on a red tomato. It is a rewarding choice for a sunny bed or large container, but it is not the best variety for a tiny pot, a shady balcony, or a garden where you cannot provide a sturdy support.
Cherokee Purple at a glance
| Trait | What to plan for |
|---|---|
| Plant type | Warm-season annual, indeterminate vine |
| Fruit | Large, dusky rose-purple slicing tomatoes with green shoulders common |
| Sun | At least 6–8 hours of direct sun; more light usually means better ripening |
| Spacing | Start with 24–36 inches between plants; widen it in humid, disease-prone gardens |
| Soil | Fertile, well-drained soil with organic matter; test before adding amendments |
| Soil pH | Roughly 6.0–6.8 is a useful target for tomatoes |
| Water | About 1–2 inches per week including rain, adjusted for soil and weather |
| Maturity | Often about 80–90 days after transplanting, but fruit size and weather change the timing |
| Support | A tall, strong cage, trellis, or stake installed at planting |
Those figures are planning ranges, not guarantees. The USDA Agricultural Research Service describes tomatoes as annuals that produce seed in one growing season and maintains a large, globally diverse Solanum collection; a home-garden cultivar still responds strongly to local temperature, soil, and disease pressure. (USDA Agricultural Research Service)
Pick the bed and prepare the soil
Choose the warmest, sunniest place that still has good air movement. A south-facing bed, warm patio, or sheltered garden edge can help, but do not crowd the plant against a wall where heat and reflected light become excessive during a hot spell. Avoid a spot that held tomatoes, peppers, eggplants, or potatoes recently if disease has been a recurring problem.
Light, warmth, and airflow
Give the plant 6–8 hours of direct sun. Morning sun is especially useful in humid regions because it dries dew and wet foliage earlier. ‘Cherokee Purple’ can grow in warm conditions, but extreme heat can interrupt pollination and make flowers drop before fruit develops; afternoon shade or temporary shade cloth can help in genuinely hot climates.
Wait until frost danger has passed and nights are reliably mild before planting outdoors. A short cool spell may slow a plant without killing it, but repeatedly putting a tender transplant into cold soil is a poor trade for an early start. The RHS recommends a warm, sunny, sheltered site for outdoor tomatoes and notes that tall cordon types need support and regular training. (Royal Horticultural Society)
Airflow is a form of disease prevention. Space plants so leaves can dry after rain, keep dense weeds out of the lower canopy, and avoid a solid wall of foliage between closely packed cages. If your summer is rainy, choose the wider end of the spacing range and be especially careful about soil splash and wet leaves.
Soil, drainage, and pH
Tomatoes want moisture that is available but not stagnant. In a bed, work in finished compost to improve structure and organic matter, then use a soil test to decide whether the pH or fertility needs correction. Do not add lime, eggshells, or calcium products simply because a tomato guide mentions them; the wrong amendment can shift pH without solving the actual problem.
In heavy clay, improve drainage and plant on a broad raised ridge if water lingers after rain. In very sandy soil, add organic matter and mulch so the root zone does not swing from wet to bone dry. A container needs a quality potting mix, not garden soil, and open drainage holes.
Start seeds or choose a transplant
Starting from seed gives you access to the exact cultivar and lets you choose vigorous, disease-free plants. Sow into a sterile, free-draining seed-starting mix about six weeks before the date you expect to transplant. Keep the mix evenly moist and warm, provide strong light as soon as seedlings emerge, and thin to one seedling per cell.
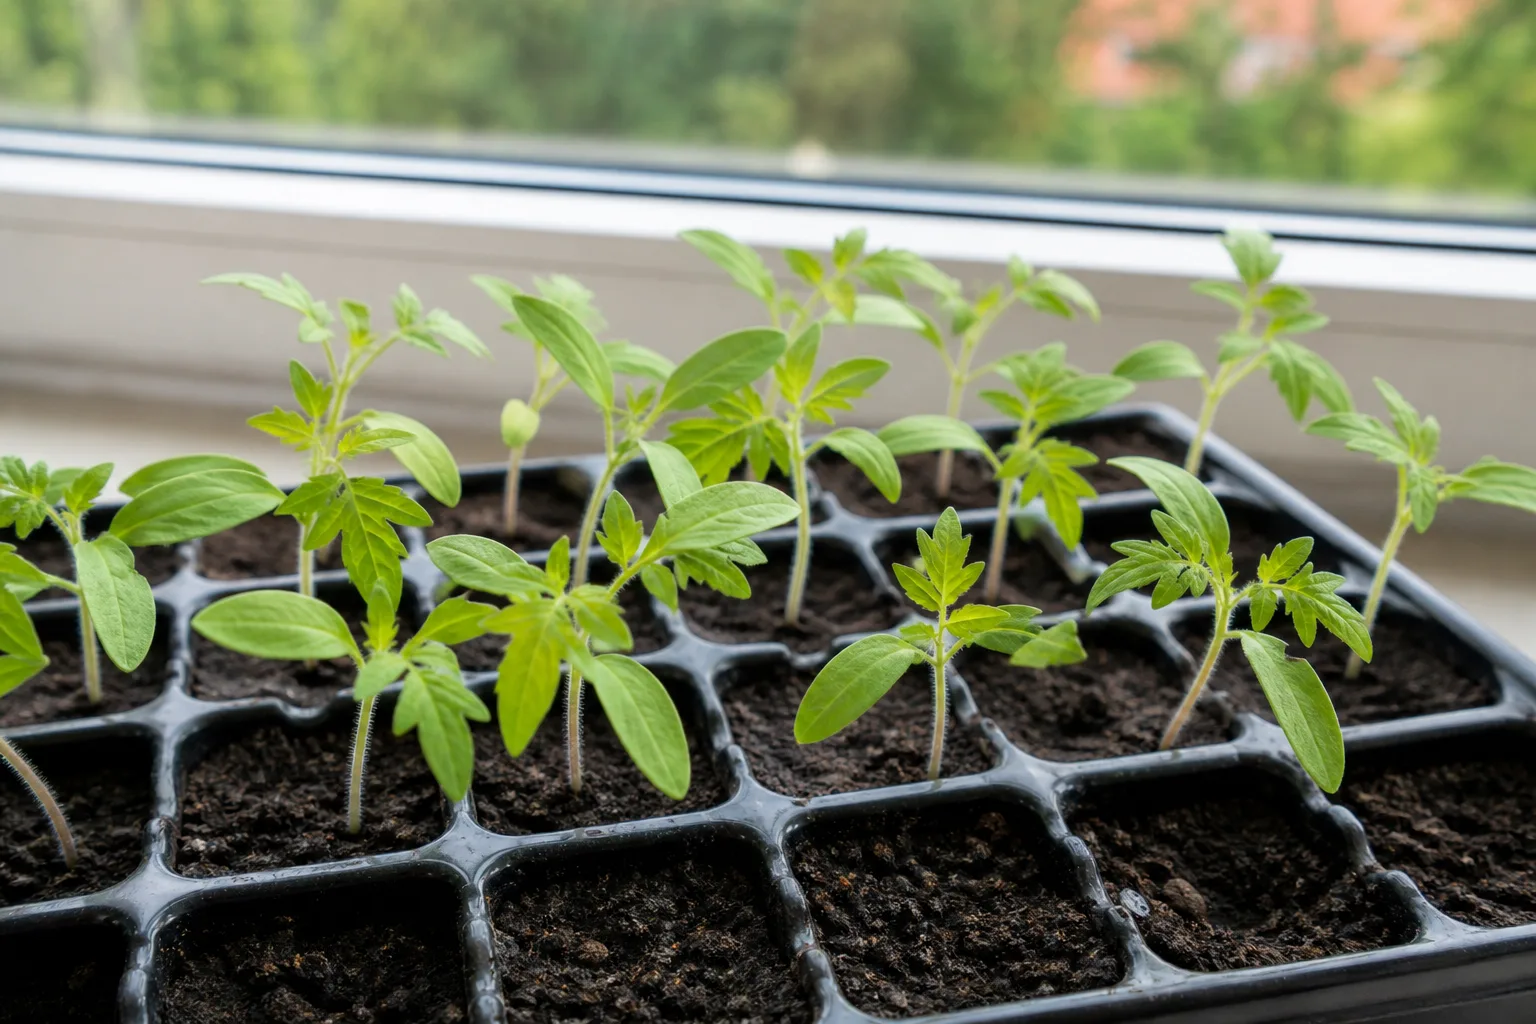
Tomato seeds germinate quickly under warm conditions, so do not start them so early that they become tall, rootbound, or flowering in a small pot. A leggy seedling can be planted deeply later, but a transplant that has spent too long in a cramped container is harder to establish. If you buy a plant, choose one with green, unspotted leaves, a sturdy stem, and roots that are not tightly circling the pot.
Harden either kind of transplant for about a week. Start in bright shade with protection from wind, increase outdoor light gradually, and bring the plants in or cover them if nights are unexpectedly cold. Hardening off is not a ceremony; it is the process of letting leaves, roots, and stems adjust to stronger sun, moving air, and larger swings in moisture.
Transplant deeply and install support
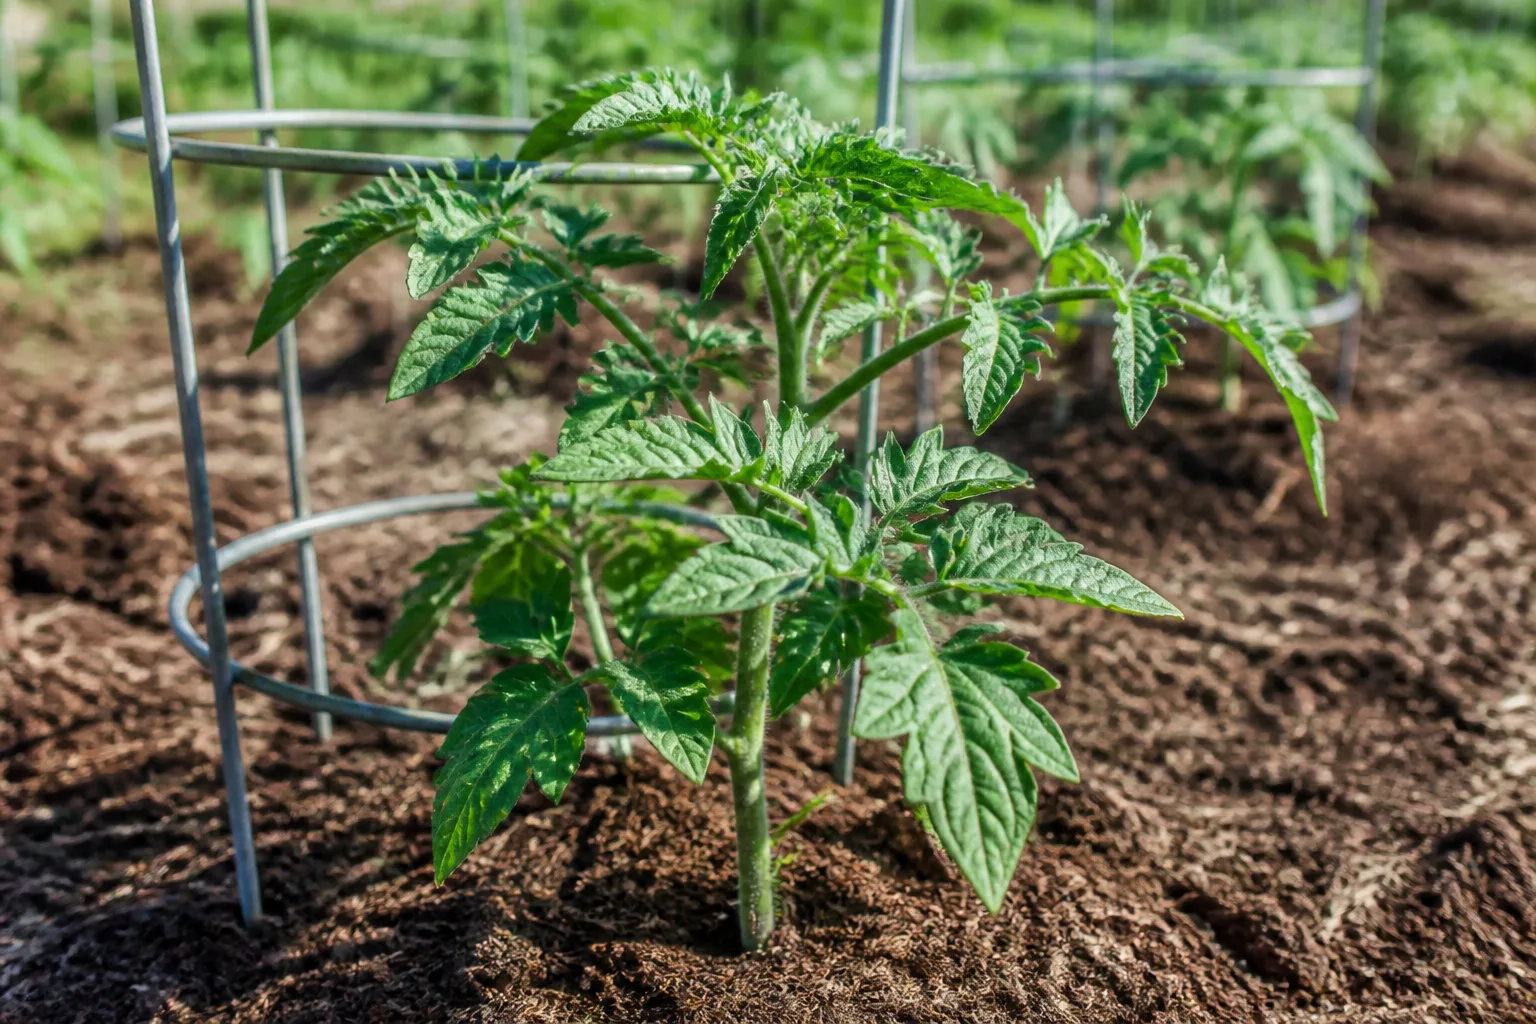
Water the seedling before planting. Dig a hole wider than the root ball and deep enough to bury part of the stem after removing the lowest leaves. Tomatoes can produce roots along buried stem tissue, which helps a tall transplant develop a stronger root system. Backfill gently, water the whole planting area, and apply mulch after the soil has warmed.
Put the cage, stake, or trellis in place at the same time. A cage that is too short will force a vigorous ‘Cherokee Purple’ plant into a tangled mound just when its fruit becomes heavy. A sturdy cage is the simplest choice; a tall stake, string trellis, or two-leader system gives more control but requires regular tying.
Keep at least 24 inches between plants as a starting point, and use 30–36 inches when humidity, rainfall, or disease pressure is high. The right spacing is the distance that leaves room for a hand to inspect the stems and for air to move through the canopy, not merely the distance that fits the bed on planting day.
Water evenly from seedling to harvest
Use 1–2 inches of water per week including rainfall as a starting benchmark for an established plant, then adjust for soil, container size, heat, wind, and growth stage. Water slowly enough to wet the root zone several inches down rather than sprinkling the surface every day. The University of Georgia Extension recommends wetting soil about 6–8 inches deep and explains why uneven moisture contributes to blossom-end rot and other tomato problems. (University of Georgia Extension)
New transplants need more frequent checks because their roots are still concentrated in a small area. Once the plant is established, shift to deeper watering when the root zone begins to dry. In a garden bed, that may be one or two thorough waterings per week in moderate weather; a small pot in hot sun may need a daily check or more.
Water at soil level with a wand, soaker hose, or drip irrigation. Mulch with clean straw, shredded leaves, or compost after the soil warms, leaving a small gap around the stem. Mulch reduces evaporation, limits soil splash, and makes moisture more stable. If a plant wilts only in the hottest afternoon but recovers by evening, check the soil before adding water; heat wilt and drought are not identical.
Fertilize from soil results, not habit
Start with compost and a fertilizer plan based on the soil test and the product label. A balanced, moderate feeding at planting can support establishment, but repeated high-nitrogen applications often produce a huge leafy plant with disappointing fruit set. When fruit begins to swell, a container plant may benefit from a tomato fertilizer with more potassium, while a fertile garden bed may need little or no additional feeding.
Watch the plant’s behavior. Pale growth, slow development, and a soil test showing low fertility are reasons to feed. Dark green leaves, rampant shoots, and few flowers are not a request for more nitrogen. Do not use phosphorus or calcium products as universal “fruit boosters”; nutrients only help when the plant and soil actually need them.
Prune and train with restraint
Pruning is a management choice, not a requirement for fruit. In a cage, you can let several healthy stems develop and remove only damaged, diseased, or badly crowded growth. On a stake or narrow trellis, choose one or two strong leaders and remove some suckers—the shoots that emerge from the joint between a leaf and the main stem—while they are small.
The best time to prune is when the plant is dry. Use clean, sharp pruners for thick stems, and do not strip the canopy bare. Leaves power the plant and shade ripening fruit; excessive pruning can expose tomatoes to sunscald and can turn a manageable plant into a stressed one. Remove lower leaves that touch soil, yellow leaves, and foliage with clear disease symptoms, then discard diseased material rather than leaving it beside the plant.
Tie or clip new growth to its support every week or two. Young stems bend; old stems snap. In late season, you can remove flowers and very small fruit that have little chance of ripening before frost, then direct the plant’s remaining energy to fruit that has already developed.
Improve pollination and fruit set
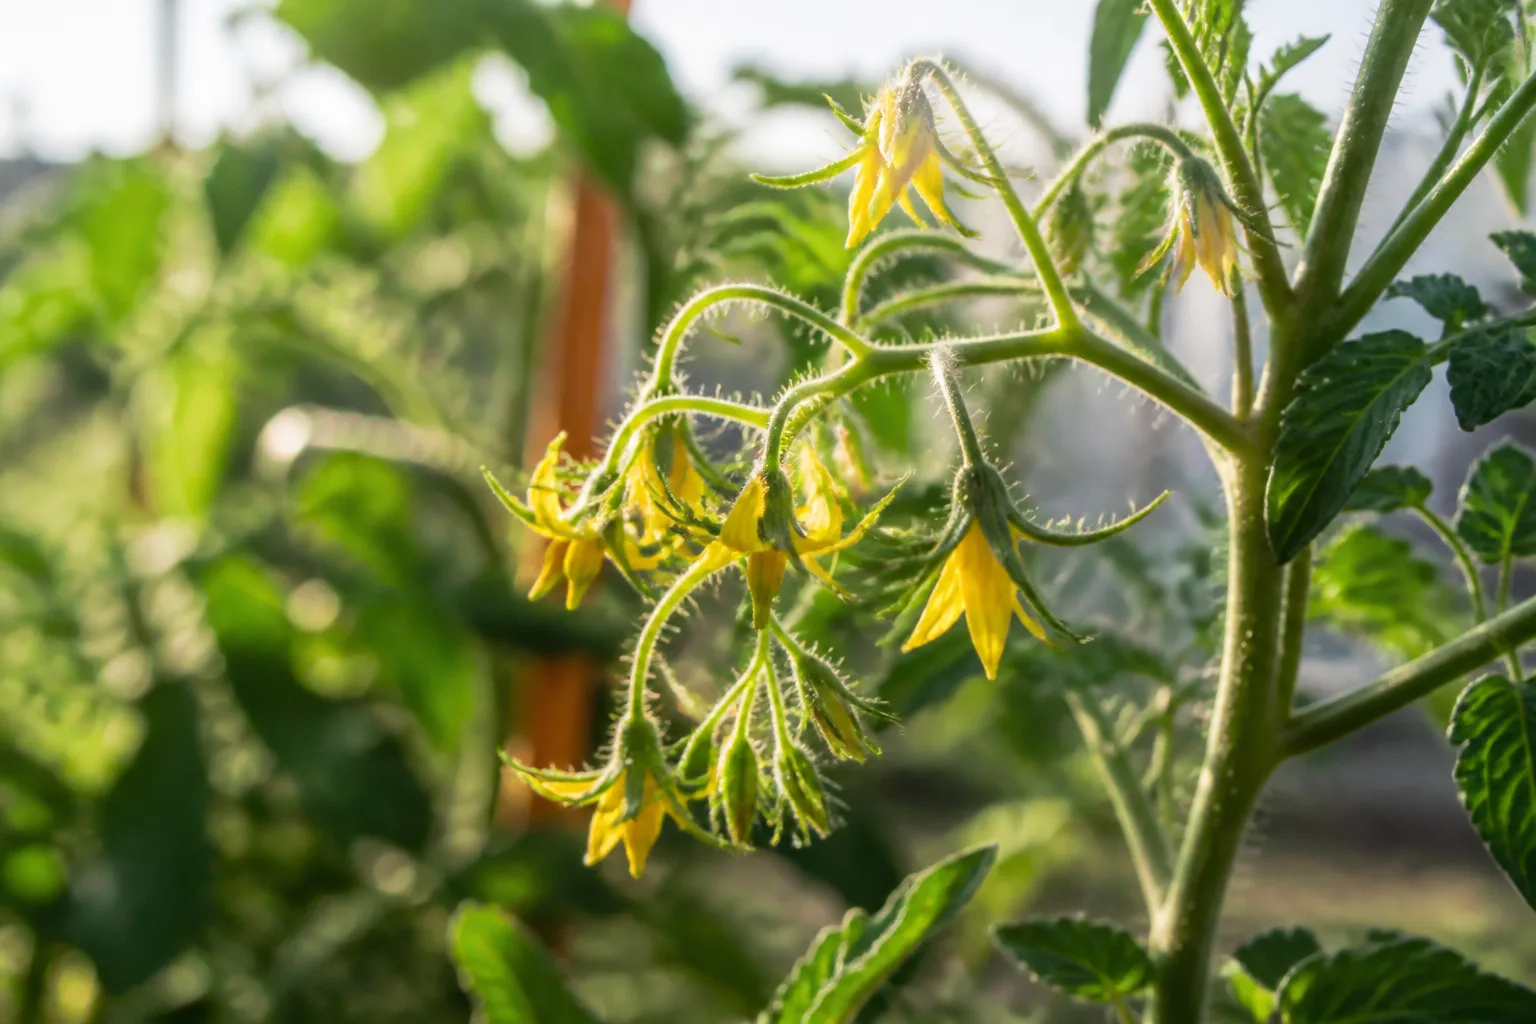
Tomato flowers contain both pollen-producing and pollen-receiving parts, so one plant can set fruit without a second variety. Wind and vibration usually do the work. In a greenhouse or still patio corner, gently tap the support or flower truss in the middle of the day when flowers are dry.
When flowers fall with no tiny fruit behind them, investigate conditions before reaching for a pollination trick. Cold nights, extreme heat, drought stress, waterlogged roots, low light, and excessive nitrogen can all reduce fruit set. Keep water consistent, protect the plant from extreme temperatures, improve airflow, and wait for a more suitable stretch of weather. Hand-pollination cannot make pollen fertile during an extended heat wave.
Harvest when color and feel change
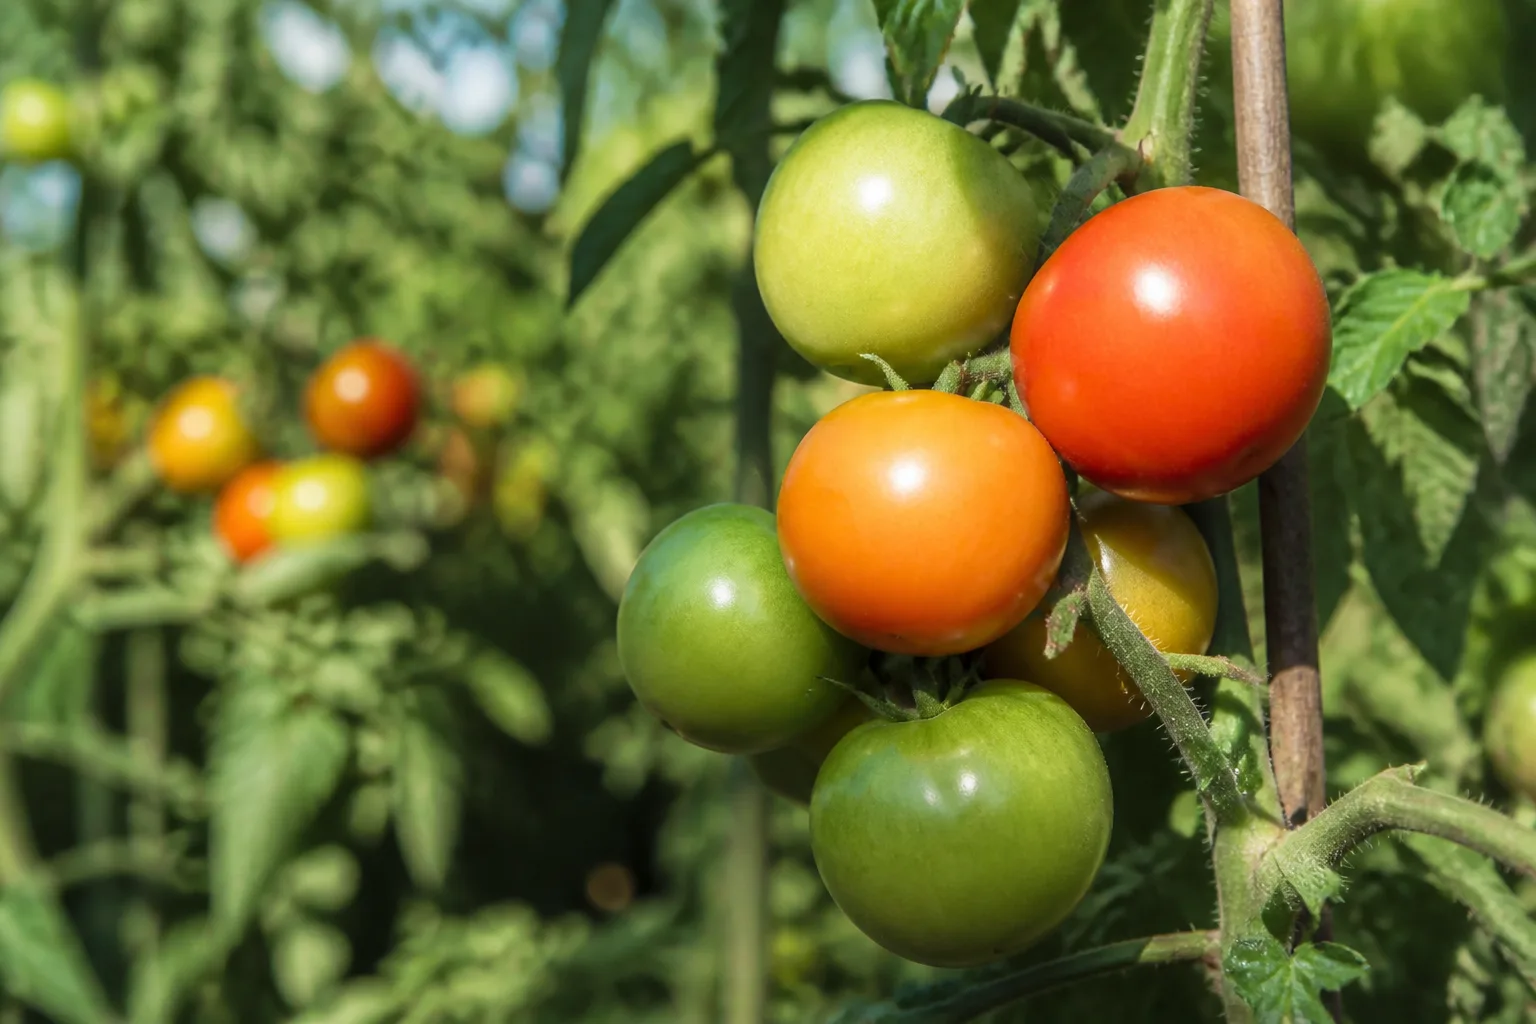
Do not wait for ‘Cherokee Purple’ fruit to become bright red. The shoulders may stay green while the rest of the tomato shifts from green to a dusky rose, purple, brown, or brick-red tone. A ripe fruit feels full and gives slightly to gentle pressure; it should not feel hard and glossy like an immature one or soft and leaking like an overripe one.
For the best flavor, let sound fruit finish ripening on the vine. During a spell of heavy rain, animal pressure, or imminent frost, pick fruit at the first blush and let it finish indoors at room temperature. Harvest with clean hands or snips, leaving a short stem if it comes away easily, and check the plant every few days once the first fruit begins to color.
Grow Cherokee Purple in a container
A container is possible, but this is a large indeterminate plant with large fruit. Use one plant in a large container—at least 5 gallons, with 10 gallons or more easier to manage—and add the support before the vine fills the pot. A light-colored container or afternoon protection helps keep roots from overheating in very hot climates.
Container tomatoes dry faster than in-ground plants because the soil volume is limited and exposed on every side. Check the mix several inches down, water thoroughly until a little drains from the bottom, and empty any saucer rather than leaving roots in standing water. On hot or windy days, a mature container may need a daily check; on cool, cloudy days, the same pot may stay wet for much longer.
Use a quality potting mix, keep drainage holes open, and do not compensate for a small pot with constant watering. If the plant wilts repeatedly even though the mix is wet, the problem may be overheated roots, poor drainage, disease, or a root-bound container—not a need for still more water.
Diagnose pests, diseases, and fruit disorders
‘Cherokee Purple’ is an heirloom, not a force field. Its long season and dense canopy can attract the same pests and diseases that affect other tomatoes. Prevention is mostly cultural: healthy transplants, clean tools, adequate spacing, soil-level watering, mulch, crop rotation, and regular inspection.
The first five checks
- Check the soil several inches down. Dry soil plus morning wilt points toward water stress; wet soil plus wilt points toward root or disease stress.
- Look at new growth and old leaves separately. A few yellow lower leaves may be normal aging; yellow new growth, widespread spots, or distorted leaves need closer inspection.
- Turn over leaves and inspect stems. Aphids, whiteflies, eggs, mites, and hornworms hide under foliage or in dense growth.
- Look at the pattern of damage. Holes, sticky honeydew, circular leaf spots, mosaic patterns, and black fruit lesions are different clues.
- Check the weather and recent care. Heat, rain, sudden watering, overhead irrigation, root disturbance, and excess fertilizer often explain a change that looks mysterious in isolation.
What to do about common pests and diseases
Handpick hornworms, fruitworms, and large beetles when you find them. Leave a hornworm carrying white parasitic-wasp cocoons in place; it is no longer feeding and may help sustain beneficial insects. Clemson Extension recommends handpicking and protecting beneficial insects, using insecticides only when necessary. (Clemson University Extension)
For a small aphid or whitefly outbreak, a firm spray of water can remove many insects. If a labeled insecticidal soap or horticultural oil is needed, follow the product label, spray when pollinators are not active, and test a small area first. Bt products target caterpillars, not aphids or fungal disease. Do not apply a pesticide simply because a leaf looks unhealthy; identify the pest and observe the harvest interval on the label.
Early blight, late blight, leaf spot, bacterial disease, and mosaic virus require different responses, but the first protective habits overlap. Keep foliage dry when you can, avoid working among wet plants, remove badly diseased leaves, disinfect tools between suspect plants, and do not compost material that may carry disease. Rotate away from tomato-family crops where practical. If a whole plant declines rapidly or shows serious vascular wilt, remove it and seek local extension help rather than repeatedly spraying an unknown problem.
Blossom-end rot, cracking, sunscald, and poor set
Blossom-end rot appears as a dark, sunken lesion on the end opposite the stem. It is a physiological disorder involving calcium uptake and transport, not a contagious infection. Water stress, root damage, waterlogged soil, and rapid growth can all interfere with uptake even when the soil contains calcium. UConn Extension recommends consistent moisture and a soil test; it specifically notes that lime is not a quick calcium fix and should be used to adjust pH, not added blindly. (University of Connecticut Extension)
Cracking usually follows a rapid change from dry soil to abundant water, especially as large fruit approaches ripeness. Mulch, even irrigation, and picking fruit at first blush during rainy weather reduce the risk, but they cannot eliminate it in every storm.
Sunscald looks like a pale, tan, or papery patch on fruit exposed to strong sun. Keep enough healthy foliage to shade fruit, and do not remove leaves simply to make every tomato visible. If the canopy is collapsing, look for disease, pests, or a nutrient problem rather than pruning harder.
Poor fruit set is often weather-related. Check for cold nights, extreme daytime heat, drought, saturated soil, poor airflow, and excessive nitrogen. A healthy plant that resumes flowering when conditions improve may not need a drastic intervention.
Save seeds for next year
Because ‘Cherokee Purple’ is open-pollinated, you can save seed from a healthy, fully ripe fruit and usually grow a similar plant next season. “Usually” matters: bees can move pollen between tomato varieties, so saved seed may not come true if other varieties flower nearby. If preserving the exact line matters, save from a carefully selected plant and grow more than one seedling so you can compare the result.
Choose an uncracked, disease-free fruit that ripened normally on the vine. Scoop the seeds and gel into a labeled jar with a little water, cover loosely, and let the mixture ferment for a few days until the gel loosens and bubbles may appear. Rinse away the floating pulp, spread the clean seeds in a single layer on a labeled nonstick surface, and dry them thoroughly before storing in a cool, dark, dry place. Epic Gardening’s seed-saving guidance also describes fermentation as a practical way to remove the gel around tomato seed. (Epic Gardening)
Keep a note with the variety, year, growing conditions, and whether the parent plant had disease or fruit-quality problems. Seed saving is more useful when it preserves good selection rather than simply collecting the first tomato that ripens.
Conclusion
Grow ‘Cherokee Purple’ as a vigorous, warm-season indeterminate vine: give it full sun, fertile well-drained soil, room for airflow, and support from day one. Keep moisture steady, feed only when the soil and plant call for it, prune enough to manage the canopy but not enough to expose fruit, and judge ripeness by dusky color and gentle give rather than by red skin.
When something goes wrong, check the soil, weather, foliage, pests, and recent care before changing three variables at once. That habit—combined with early support, consistent water, and careful harvest—turns this heirloom from a sprawling gamble into a reliable source of intensely flavored tomatoes and seed for another season.



