How to Grow and Care for Chives Indoors or Outside
Learn how to grow chives from seed or divisions, choose sun and soil, water pots, harvest without weakening clumps, and manage flowers, winter, and problems.
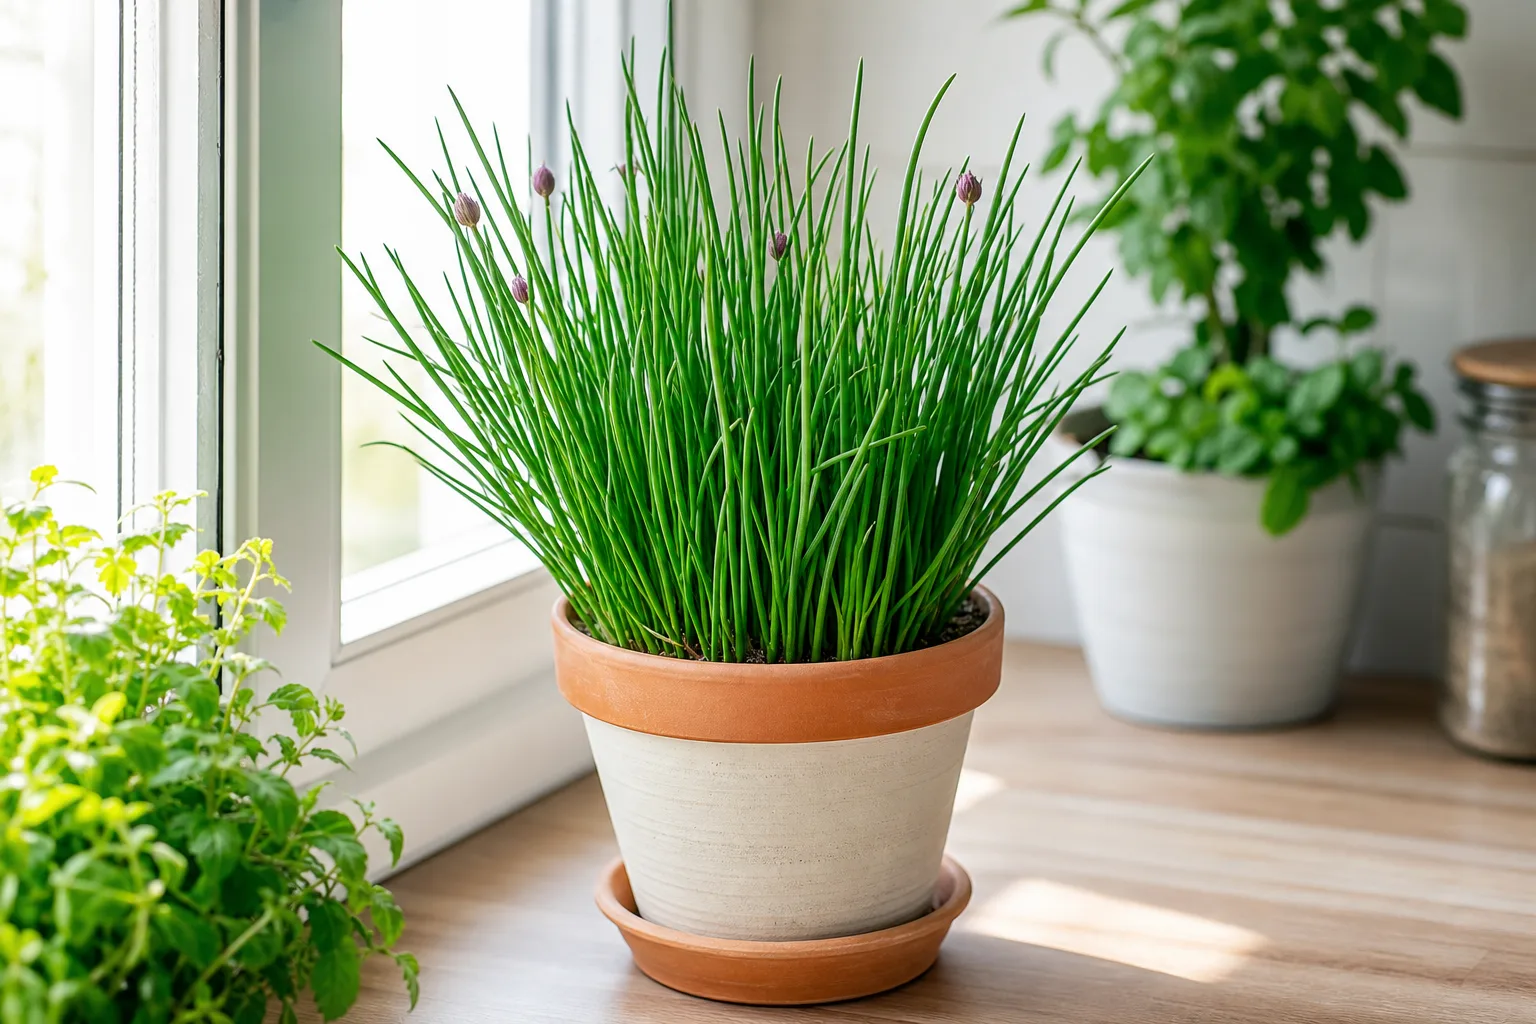
Chives are an easy perennial herb once their roots have settled in, but a new seedling, a crowded old clump, and a pot on a sunny windowsill do not need identical care. The reliable formula is simple: give common chives several hours of sun, soil that drains after watering, and enough moisture to keep new growth from drying out. Then harvest with clean scissors and divide the clump when its center gets crowded.
Common chives, Allium schoenoprasum, grow in tight clumps of slender, hollow leaves with purple flower heads in spring or summer. Their leaves are mild and onion-like; the flowers are edible too. Chives return from underground bulbs in cold climates, and in mild regions the foliage may persist longer. You can grow them in a garden bed, a patio pot, or a bright indoor spot, with some adjustment for water and light.
The 60-second answer: what chives need
| Need | Practical starting point |
|---|---|
| Light | Full sun for the fullest growth and flowers; partial shade is workable, especially in hot afternoons. |
| Soil | Fertile, moisture-retentive soil that drains freely; avoid a spot that stays soggy. |
| Spacing | Set young clumps about 6–8 inches apart so air can move and each clump can widen. |
| Water | Keep new plants evenly moist. Established in-ground plants need extra water mainly during long dry spells; pots dry faster. |
| Harvest | Start when a new clump is established and leaves are about 6 inches tall. Cut a few leaves at the base or trim a mature clump for a larger flush. |
| Renewal | Divide congested clumps every three or four years, or sooner if the middle thins and dies back. |
These are useful starting points, not a watering schedule. The same chive plant can need frequent checks in a small terracotta pot during a hot week and almost no extra water in a mulched garden bed after rain. Check the soil and the plant before changing your routine.
Common chives vs. garlic chives
When a seed packet or nursery label says “chives,” it usually means common chives. Their leaves are thin, round, and hollow, with a mild onion flavor; their rounded flower clusters are usually pink or purple. They make a compact, tidy clump that suits herb borders, vegetable beds, and pots.
Garlic chives, Allium tuberosum, are a related but different plant. Their leaves are flatter and wider, their flowers are white, and the flavor has a gentle garlic note. The Royal Horticultural Society’s chive guide and North Carolina State Extension Plant Toolbox describe common chives as a clump-forming perennial with edible leaves and flowers; the RHS notes the different leaf shape and white blooms of garlic chives.
This distinction matters if you are trying to identify a plant or match flavor to a recipe. Both are edible herbs for people, but their growth and flower appearance differ; for this guide, “chives” means common chives unless garlic chives are named specifically.
Pick a planting spot that drains well
The most important site decision is drainage. Chives like soil that holds some moisture and organic matter, but the bulbs and roots need air between waterings. A low patch that remains saturated after rain is a poor choice even if it gets plenty of sun; persistent wetness raises the chance of bulb or root rot.
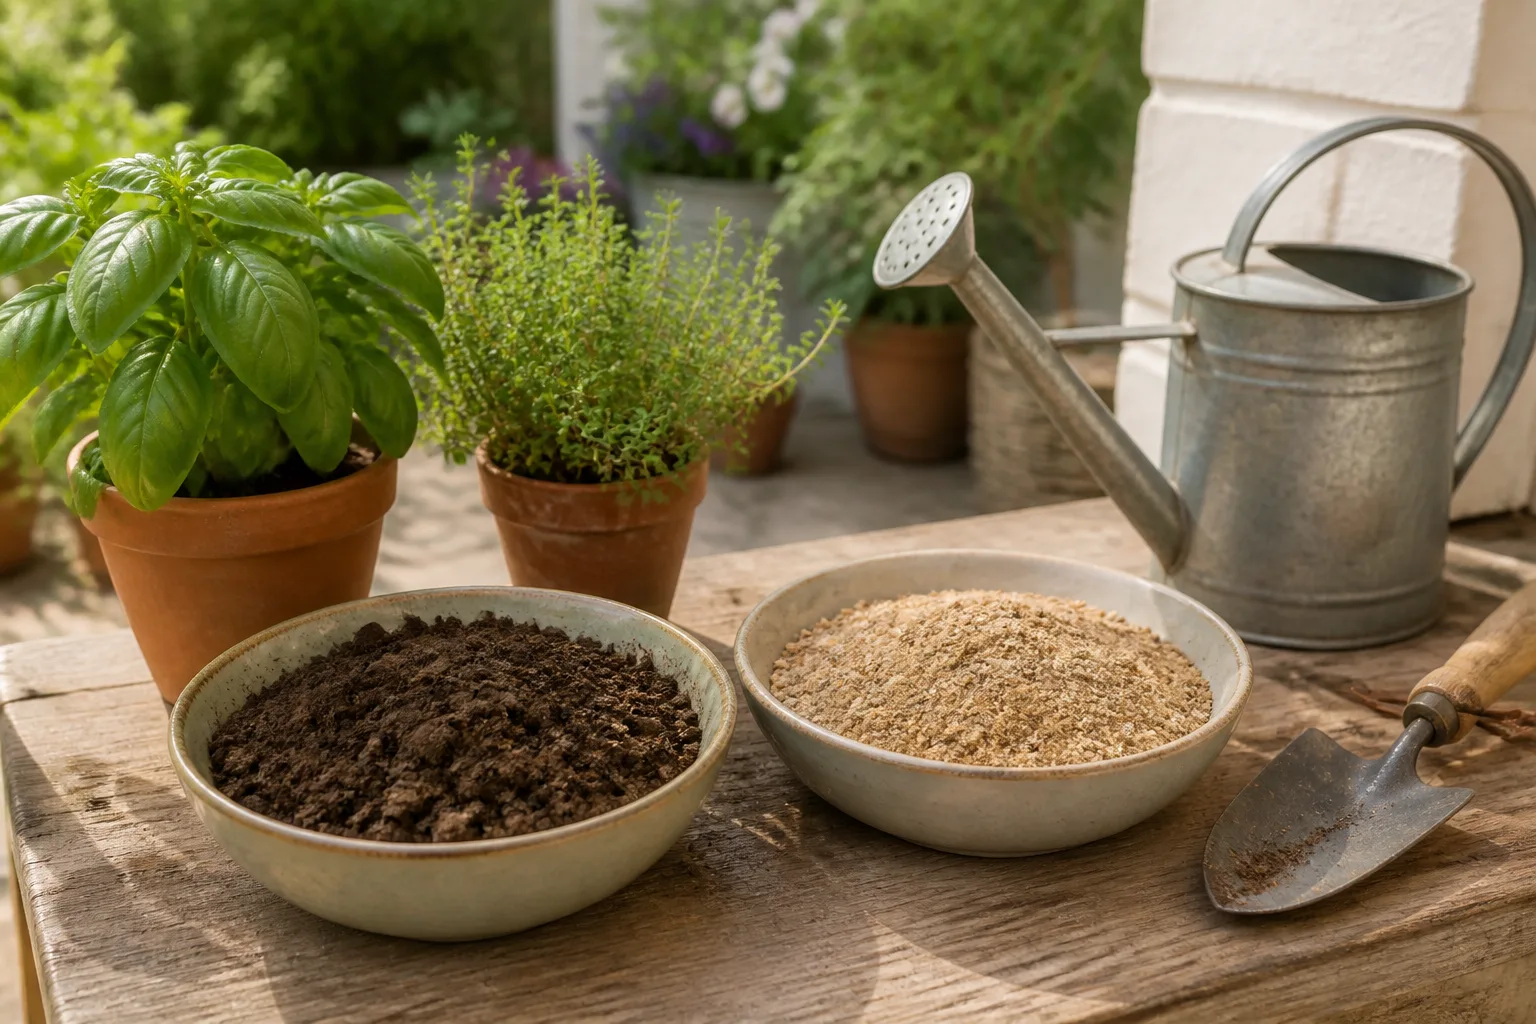
If your bed is heavy clay or stays wet, improve the planting site rather than trying to compensate with careful watering forever. A raised bed or a large pot with drainage holes is usually easier to manage. Mix compost into very poor soil, but do not turn the planting hole into a small pocket of rich potting mix surrounded by dense, wet ground; water can collect at that boundary.
Sun, soil, and spacing
Choose a place with at least six hours of direct sun when possible. Chives will tolerate partial shade, but growth and bloom may be lighter; in a hot climate, afternoon shade can help leaves stay tender through summer. NC State Extension lists chives for full sun to partial shade and for well-drained soil, while the RHS recommends a sunny or partly shaded location with fertile soil that does not become waterlogged.
Before planting, loosen the top several inches of soil and work in finished compost only if the bed is poor or compacted. Chives do not need a rich, heavily fertilized bed to survive. In a healthy garden bed, a light spring compost top-dressing is often enough; Better Homes & Gardens similarly recommends adding compost when soil lacks organic matter rather than feeding on an automatic schedule.
Space new clumps about 6–8 inches apart. That may look generous when you plant small divisions, but each one expands into a tuft of bulbs. Better spacing gives air around the foliage, leaves room to harvest, and makes later division less of a rescue job. If your goal is a continuous edging, you can plant them closer, but expect to lift and split the line more often.
Start chives from seed, division, or a plant
For the fastest harvest, plant a nursery-grown clump or divide a healthy established plant. For the most plants at the lowest cost, start seeds. Seed-grown chives take longer to form a harvestable clump, so do not judge them against a mature plant in their first season.
The North Carolina Extension Plant Toolbox suggests starting seed indoors eight to ten weeks before the last frost or sowing outdoors after the last frost. The RHS gives a practical transplant signal: move young plants outdoors when they are about 4 inches tall, after acclimating them to outdoor conditions. In most gardens, early spring is the easiest time to establish new clumps because cool weather supports steady root growth.
Sow indoors
Fill a seed tray or small pot with fresh seed-starting mix, moisten it, and sow chive seeds about ¼ inch deep. You can sow several seeds in one cell to start a small clump, or sow thinly and separate seedlings later. Cover lightly, label the pot, and keep the mix damp but never waterlogged while the seeds germinate.
Expect germination to take roughly two or three weeks; temperature and seed freshness affect the timing. Harvest to Table’s chive growing guide gives a similar two-week range under warm conditions. Once seedlings appear, give them strong light. A bright south-facing window can work, but if the seedlings lean toward the glass or become pale and spindly, move the light source closer or use a grow light.
If you sowed densely, thin the seedlings or move them into small pots once they are easy to handle. Keep each young clump together rather than separating every tiny seedling into its own large pot. The first goal is a sturdy group of roots, not a full harvest. Water when the surface begins to dry, and do not feed seedlings while they are in fresh seed mix unless the product label specifically calls for it.
Direct-sow or transplant outdoors
Direct-sow chives in spring after the last frost, in a prepared bed or container. Scatter seeds thinly in a shallow row, cover them with about ¼ inch of fine soil, and keep the surface consistently moist until they sprout. Mark the row so you do not mistake the fine, grass-like seedlings for weeds.
For transplants, wait until seedlings are several inches tall and the garden soil is workable. If they were raised indoors, harden them off over about a week: set them outdoors in a sheltered spot for a short time at first, then gradually increase the time and sun exposure. Plant each clump at the same depth it was growing in its pot, firm the soil around the roots, and water it in.
Young plants need attention during their first few weeks because the roots have not yet spread into surrounding soil. Keep the root zone lightly moist and remove nearby weeds before they shade the seedlings. Once a clump is established, it becomes much more forgiving.
Grow chives in a container or indoors
A container is a good choice when garden soil stays wet, space is limited, or you want the herb close to the kitchen. Choose a pot at least 8 inches wide and deep, with open drainage holes. Fill it with an all-purpose potting mix that drains freely; do not use garden soil by itself in a pot because it can compact and hold excess water.
One small clump can live in an 8-inch pot. Use a larger container for multiple clumps, and leave enough space between them for air circulation. Water until excess runs from the drainage holes, then empty any saucer so the pot does not sit in standing water. The RHS recommends a container at least 20 cm (about 8 inches) wide and deep, and notes that pots dry faster than chives growing in the ground.
Chives can grow indoors, but a windowsill is only useful if it is genuinely bright. Give the plant several hours of direct sun or supplement with a grow light; a dim kitchen counter may keep the clump alive for a while without producing many harvestable leaves. Rotate the pot every week or two so growth stays even, and check moisture more often than you would for a bed.
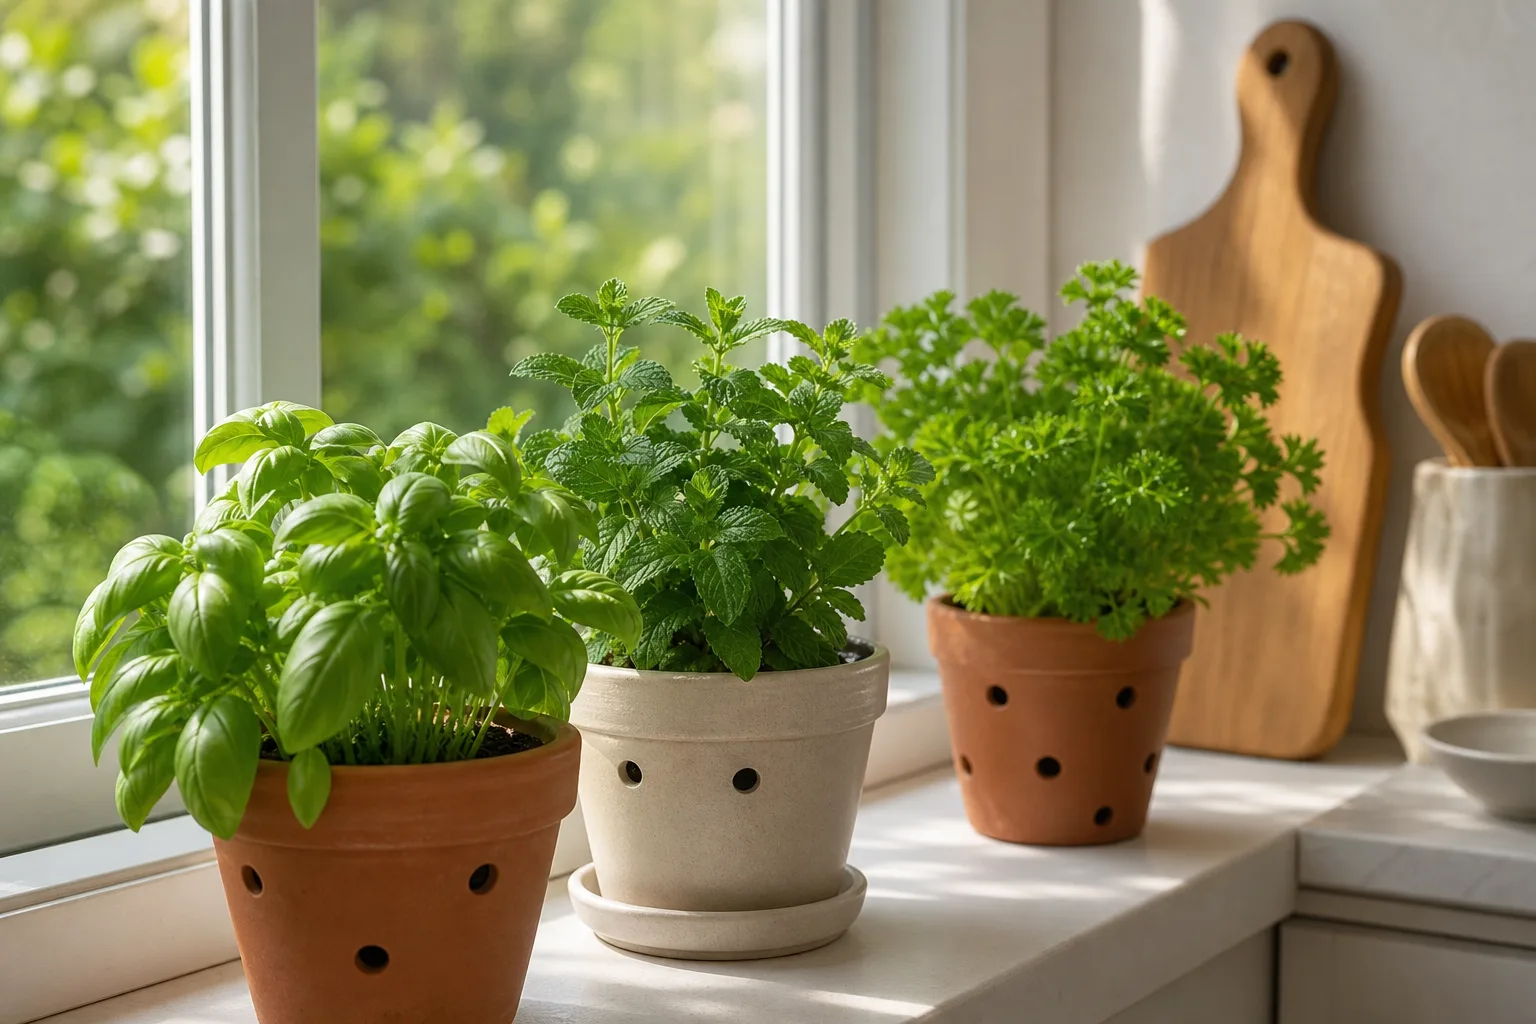
Indoor chives grow more slowly when days are short and light is weak. Harvest sparingly in winter and let new leaves regrow between cuts. If you move an outdoor pot inside for winter, inspect it for insects first, trim off dead foliage, and place it in the brightest available window. A pot can also stay outside in winter in many climates, but its roots are more exposed to temperature swings than roots in the ground; group it near a sheltered wall or insulate the pot in very cold weather.
Water, feed, and care through the year
Water newly planted chives regularly enough that the root zone does not dry out. After establishment, in-ground clumps can tolerate short dry periods, but prolonged hot weather can still slow growth and make leaves less tender. Instead of watering by the day of the week, check the soil around the bulbs: if it is dry an inch below the surface and rain is not expected, water thoroughly.
Containers are the exception to the easy-care rule. Their limited soil volume loses moisture faster, particularly in sun and wind, so check pots every day or two during warm spells. Water the mix, not just the leaves, and allow the excess to drain. If the surface stays wet for days, check the drainage holes and consider whether the potting mix is too dense.
For feeding, start with soil that contains some compost. If the garden soil is already fertile, repeated high-nitrogen feeding is unnecessary; if a bed is poor, top-dress it with compost in spring. In a container, replace some old mix or divide the clump when it becomes root-bound. Correcting pot size, light, and watering often helps more than adding fertilizer.
Remove old, yellowed foliage in spring so new leaves have space. Keep weeds from growing into the clump, because chives are shallow-rooted and can lose the moisture and light competition. Clean scissors help make even cuts and reduce the chance of carrying a problem from one plant to another.
Summer heat and winter dormancy
Chives are cool-season herbs. Their most dependable flushes often arrive in spring and again in cooler fall weather; prolonged summer heat can slow or pause growth. If leaves look tired during a heat wave, water the root zone, protect containers from extreme afternoon heat, and wait for cooler weather before assuming the plant is failing.
In cold climates, the leaves may die back while the underground bulbs remain alive and send up growth the next spring. Let the clump rest rather than trying to force a winter harvest outdoors. In mild climates, foliage may remain green, although growth still slows with shorter days. A pot brought indoors can keep producing, but only if it gets enough light and is not kept waterlogged.
Harvest leaves for repeated regrowth
Wait until a new plant is established and its leaves are about 6 inches tall before taking a meaningful harvest. North Carolina State Extension uses 6 inches as a harvest cue. For a new clump, the patient first cut pays off: the plant has time to build roots and bulbs, so later harvests recover more quickly.
For a small amount, snip a few outer leaves near the base with clean scissors. Avoid pulling leaves out by hand, which can tug the bulbs loose. If you need a larger amount from a mature plant, cut the whole clump back to about 1–2 inches above the soil, then water and let it regrow; avoid cutting every young clump to the ground at once.
Harvest a little at a time during active growth, leaving enough green foliage for the plant to keep growing. If leaves are thin, pale, or slow to return, pause the harvest and check light, moisture, and crowding. A dense, healthy clump should replace leaves after cutting, but regrowth speed depends on temperature, day length, and how much foliage remains.
Fresh chives have their strongest flavor when used soon after cutting. Rinse them, pat dry, and snip them into dishes near the end of cooking; prolonged heat mutes their delicate onion flavor. For a larger harvest, freeze chopped leaves in a sealed container or small portions. Freezing preserves the flavor better than leaving a large bunch to wilt in the refrigerator.
What to do with chive flowers
Chive flower buds rise above the leaves on firm stems and open into round clusters of small purple blooms. The flowers are edible and attract pollinating insects, so you do not need to cut every stem as soon as it appears. You can snip a few newly opened flower heads for salads or garnish and leave the rest for bees.
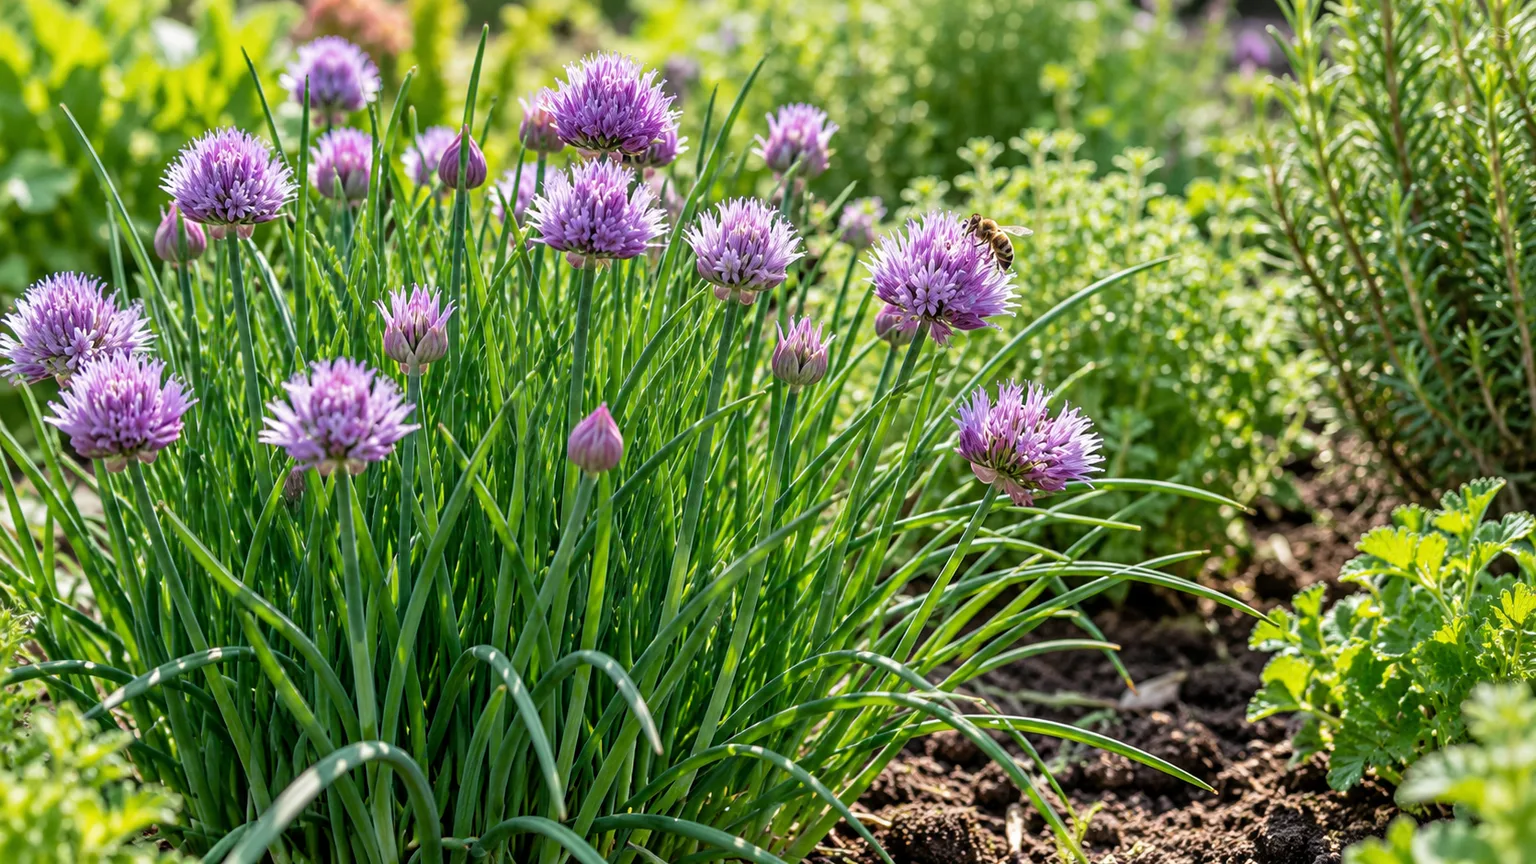
There is a trade-off if your main goal is tender leaves. Flower stalks are tougher than the foliage, and leaves around flowering can become coarser. Cut flower stems before they set seed if you want the plant to focus on fresh leaves and do not want seedlings around the bed. If you enjoy the flowers, let some bloom, then remove spent heads before the seed capsules open.
After a mature clump finishes flowering, you can remove the old stalks or trim the clump back to about 2 inches to encourage a fresh flush. Do not do a hard cutback to a tiny first-year plant in hot, dry weather; give young roots time to establish and keep the soil moist while new leaves return. The RHS recommends snipping spent flower stalks at the base and notes that chives readily self-seed when flowers are left to mature.
Divide a crowded clump
Chives spread by adding bulbs to a clump. After several seasons, the center may become congested, with thinner growth in the middle and a ring of stronger leaves around the edge. Divide the plant every three or four years, or earlier if the clump is clearly crowded; division gives you new plants and resets the original one.
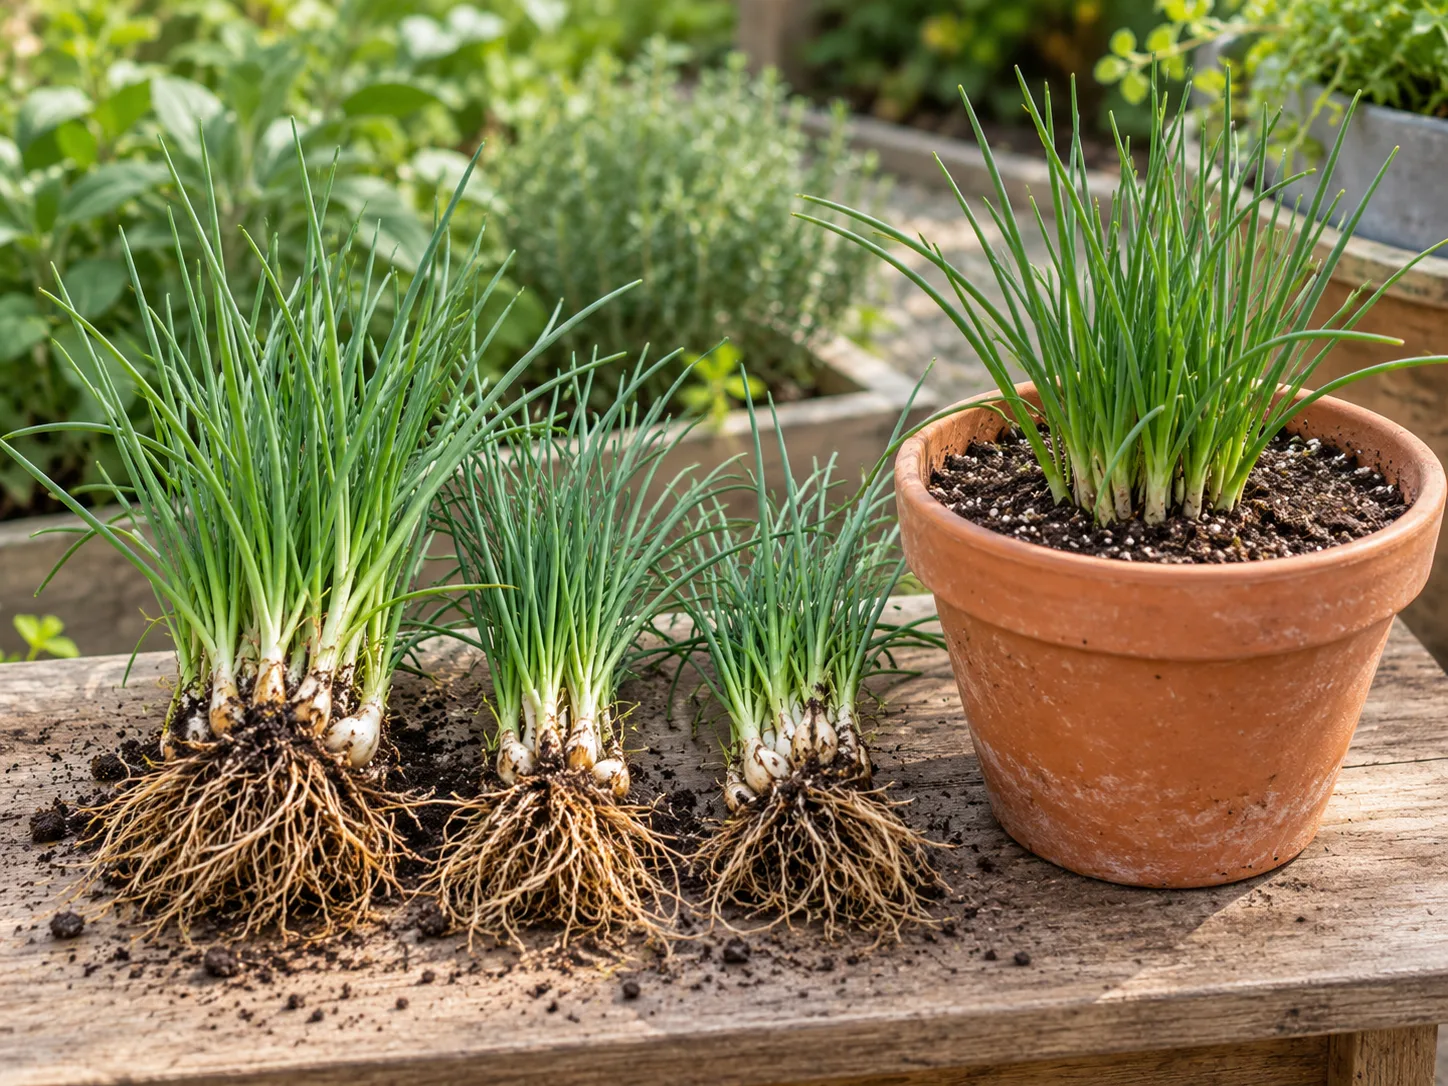
Lift the clump in early spring or fall when the weather is mild and the soil is workable. Use a garden fork to loosen the roots around the outside, then lift the whole mass. Shake or wash enough soil away to see where the bulbs separate, and pull or cut the clump into smaller sections, each with several bulbs and healthy roots. Discard dead, mushy, or completely dried-out pieces.
Replant each section promptly at the same depth it was growing before, spacing new clumps about 6–8 inches apart. Firm the soil gently and water well. Keep the divisions evenly moist while they settle in, but do not keep them in saturated soil. If the weather is hot, divide in a cooler window and provide temporary afternoon shade until new growth resumes.
Division is also the best way to share chives with a neighbor. Seeds are useful for starting a new bed, but they vary in speed and need more time to make a substantial clump. A healthy division gives you a ready-made root system and a more predictable plant.
Troubleshoot thin leaves, yellowing, and rust
When chives stop looking lush, look at the whole growing situation before reaching for fertilizer. The three most common fixable causes are too little light, too little or too much water, and a clump that has become crowded. A change in season can also be normal: summer heat and winter dormancy can slow growth without killing the bulbs.
- Thin or floppy leaves: Check how many hours of direct light the plant gets and whether neighboring plants have shaded it. Move a pot to a brighter spot, or divide a congested clump with a dead center. A newly sown seedling is naturally much finer than a mature plant.
- Brown, dry tips: Feel the soil below the surface. A dry root zone, a small pot, or a windy hot location can dry the leaf tips; water deeply and check again sooner during warm weather. Do not solve dry tips by leaving the pot in water.
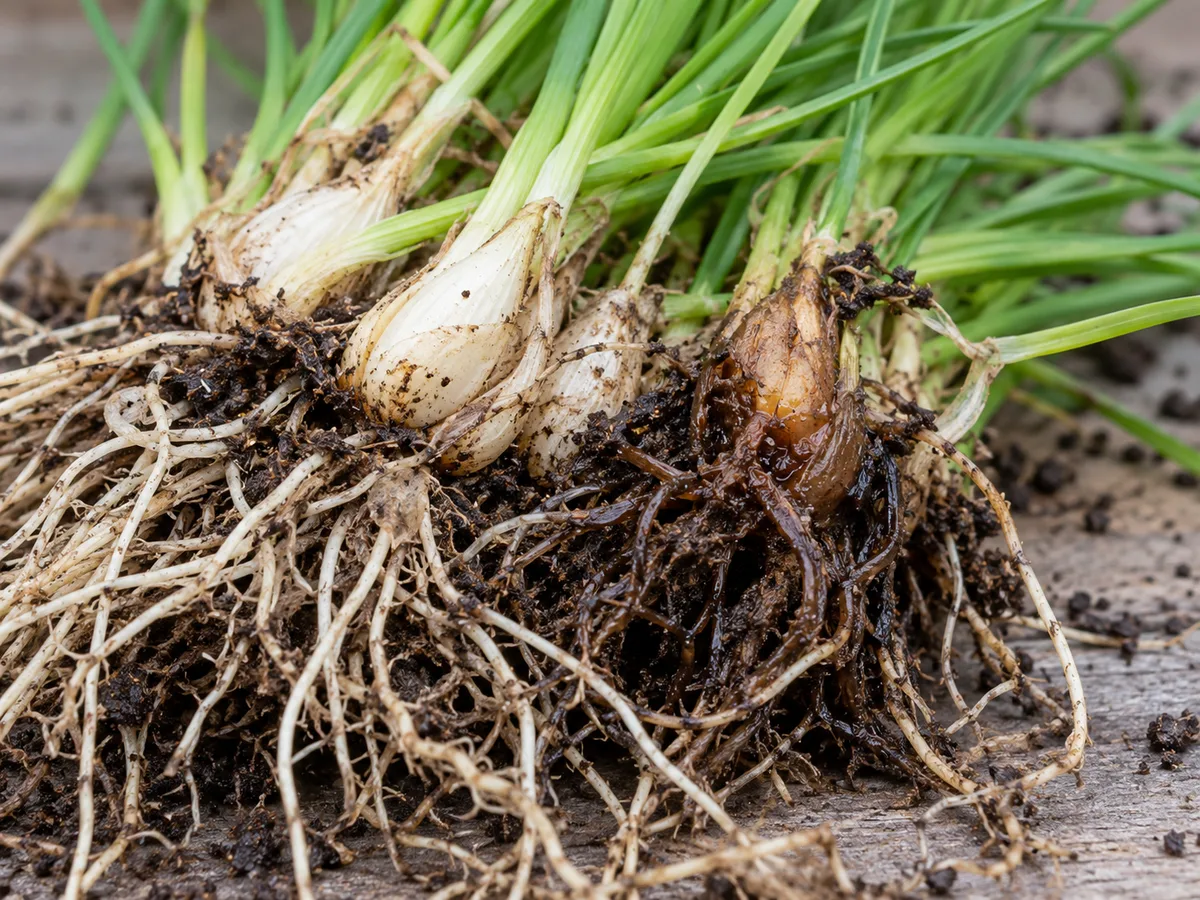
- Yellow leaves and soft bases: If the soil is wet and the bulbs feel soft or smell musty, suspect poor drainage or rot. Stop watering on a schedule, clear blocked drainage holes, and move a container to fresh free-draining mix if the root mass is failing. Save only firm, healthy bulbs and roots.
- Orange spots or streaks: RHS lists leek rust as a possible chive problem. Remove badly affected leaves, avoid crowding, and water the soil rather than keeping foliage wet. If the marks spread or the plant is repeatedly affected, ask a local extension service to confirm the diagnosis before applying any product to an edible herb.
- Small insects on new growth: Aphids can gather on tender tips. Rinse them off with a steady stream of water and recheck the plant in a few days; remove badly distorted leaves if needed. Use only products labeled for edible herbs and follow their directions if a persistent pest problem needs treatment.
Root rot is not a watering-frequency mystery so much as a drainage problem. A pot without holes, a tray full of standing water, or dense ground that stays soggy can starve roots of air. Fix that condition first; adding more fertilizer or cutting back foliage will not repair bulbs that remain waterlogged.
Control self-seeding and protect pets
Chives stay in clumps rather than sending long runners across the garden, but flower heads can drop seeds and produce extra seedlings. If you want a neat border, deadhead flowers after pollinators have visited and before seed capsules dry and open. Pull volunteer seedlings while they are small, or keep one flowering clump and remove seedlings from the rest of the bed.
Keep chives and all parts of the plant out of reach of cats and dogs. Although the leaves and flowers are edible for people, the ASPCA lists chives as toxic to dogs, cats, and horses, with possible effects that include vomiting and damage to red blood cells. If a pet eats chives, contact a veterinarian or animal poison-control service promptly rather than waiting for symptoms.
Conclusion: build a reliable chive harvest
Plant chives where they get good light and where water can drain away, then keep new clumps more evenly moist than established ones. Choose a pot with drainage if the bed stays wet or you need the herb by the kitchen, and harvest only after a young plant has enough height to recover.
The yearly routine is straightforward: pick a few leaves while the clump is growing, decide whether you want flowers or more foliage, trim dead leaves, and divide congested clumps every few years. When growth changes, check light, moisture, and the condition of the bulbs before feeding the plant. That small set of checks is enough to keep chives useful in the kitchen and attractive in the garden for seasons to come.



