How to Care for a Christmas Cactus
Keep a Christmas cactus healthy and blooming: seasonal watering, bright indirect light, airy soil, cool nights, bud-drop fixes, and repotting.
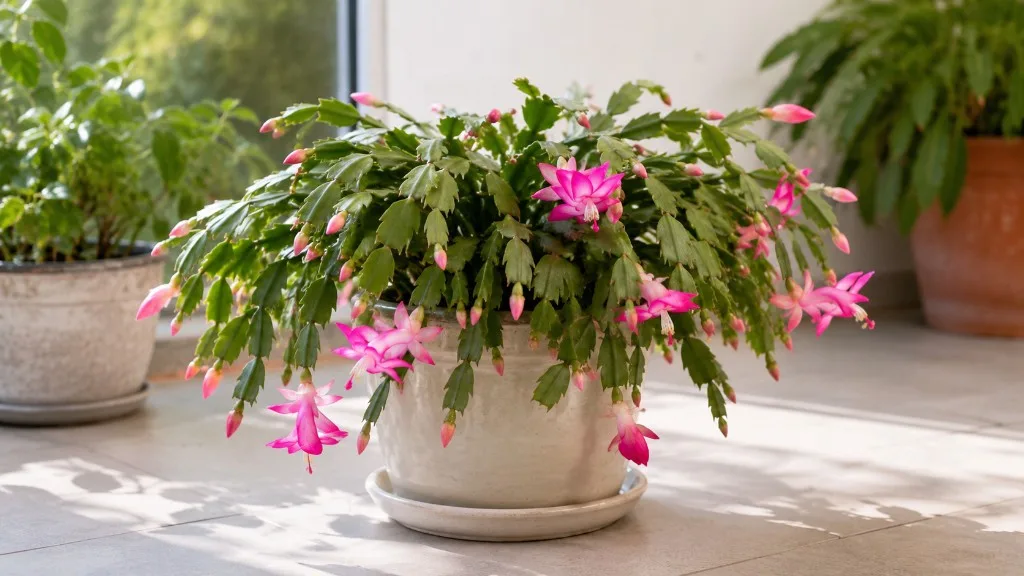
The first rule of Christmas cactus care is the one most plant tags get wrong: this is a tropical forest cactus, not a desert cactus. Give it bright filtered light, an airy potting mix, thorough but well-timed watering, and a stable home. Then, in autumn, let cool nights and long uninterrupted darkness tell it that flowers are due.
Reviewed by LeafyPixels Review Board · Author: sai-ananth
Quick care answer
Keep a Christmas cactus (Schlumbergera × buckleyi) in bright indirect light, preferably near an east window or behind a sheer curtain. Water thoroughly when the upper part of the mix has dried, let every excess drop drain away, and never leave the pot standing in a saucer of water. Unlike a desert cactus, it prefers some humidity and regular moisture during active growth, but its roots still need air.
During spring and summer, grow it warmly and feed lightly while new segments are forming. In early autumn, reduce watering and provide cool nights plus about 13 hours of uninterrupted darkness for several weeks. Once buds are visible, return to normal watering, keep the plant in one stable location, and protect it from drafts, heat, and sudden changes. This sequence is more reliable than trying to force flowers with extra fertilizer or brighter sun.
What makes a Christmas cactus different
Christmas cactus is a succulent epiphyte: in its native Brazilian rainforest habitat, its ancestors grew on trees or among rocks where organic debris collected. The flat, jointed structures are stem segments, often called phylloclades, rather than the cylindrical leaves and spines associated with desert cacti. The RHS describes Schlumbergera as a long-lived, trailing houseplant from warm, humid rainforest conditions, which explains why a dry, full-sun cactus routine can make it pale, wrinkled, or scorched (RHS Christmas cactus growing guide).
That habitat gives you a useful care model. Water should reach the roots and then move through the pot, not pool around them. Light should be strong enough to support dense green growth but filtered as if it were passing through a forest canopy. Air should be warm and reasonably humid, while the root zone remains open and well drained.
Identify your holiday cactus before judging its bloom date
Garden centers often label several related plants “Christmas cactus.” Their care is broadly similar, so a mislabel does not doom the plant, but the segment shape and natural flowering window explain why one plant blooms in November while another waits until late winter.
Christmas cactus vs. Thanksgiving cactus vs. Easter cactus
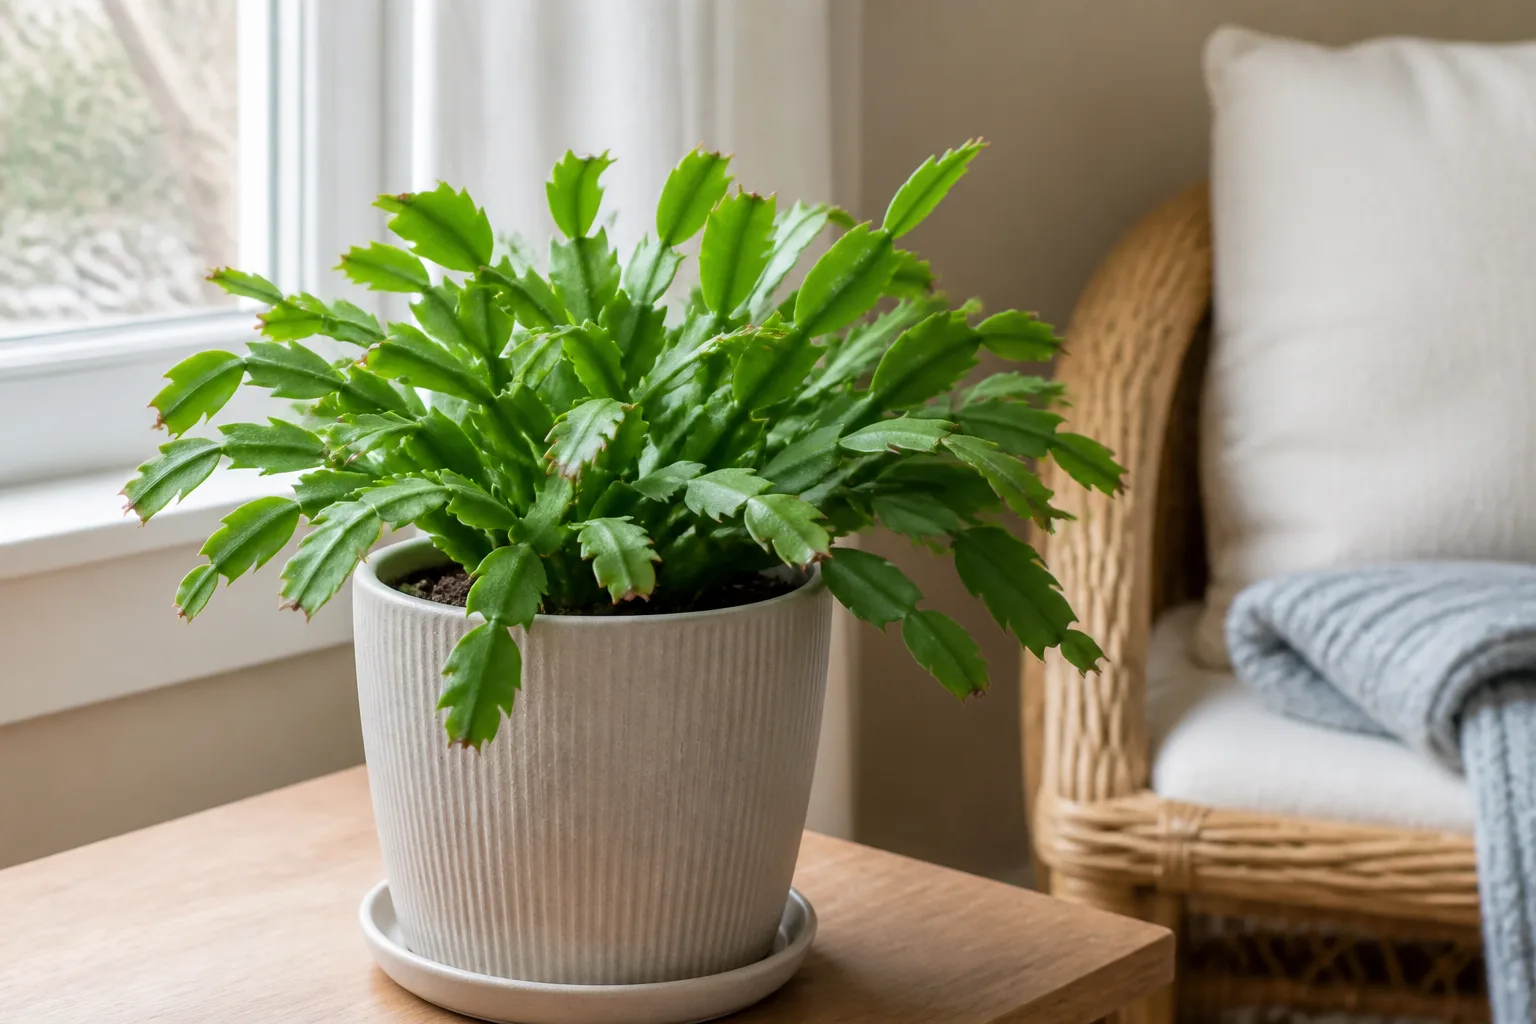
The true Christmas cactus, traditionally associated with Schlumbergera × buckleyi, has flatter segments with rounded or scalloped edges. A Thanksgiving cactus, commonly Schlumbergera truncata, has more obvious pointed teeth or claw-like projections on the segment margins and is often the plant sold in stores before late November. The RHS lists both S. truncata and S. × buckleyi among the plants sold under the Christmas-cactus name (RHS plant profiles).
An Easter cactus, usually placed in Rhipsalidopsis or Hatiora, has rounder segments with small bristles and starry, daisy-like flowers. It tends to bloom in spring. Missouri Botanical Garden notes that holiday cacti are flat-stemmed, winter-flowering epiphytic plants from Brazil and that the Thanksgiving type is often called holiday or crab cactus (Missouri Botanical Garden plant profile). Use the label as a clue, then use the plant’s actual segment edges and bloom behavior to set expectations.
Give it bright light without cooking the stems
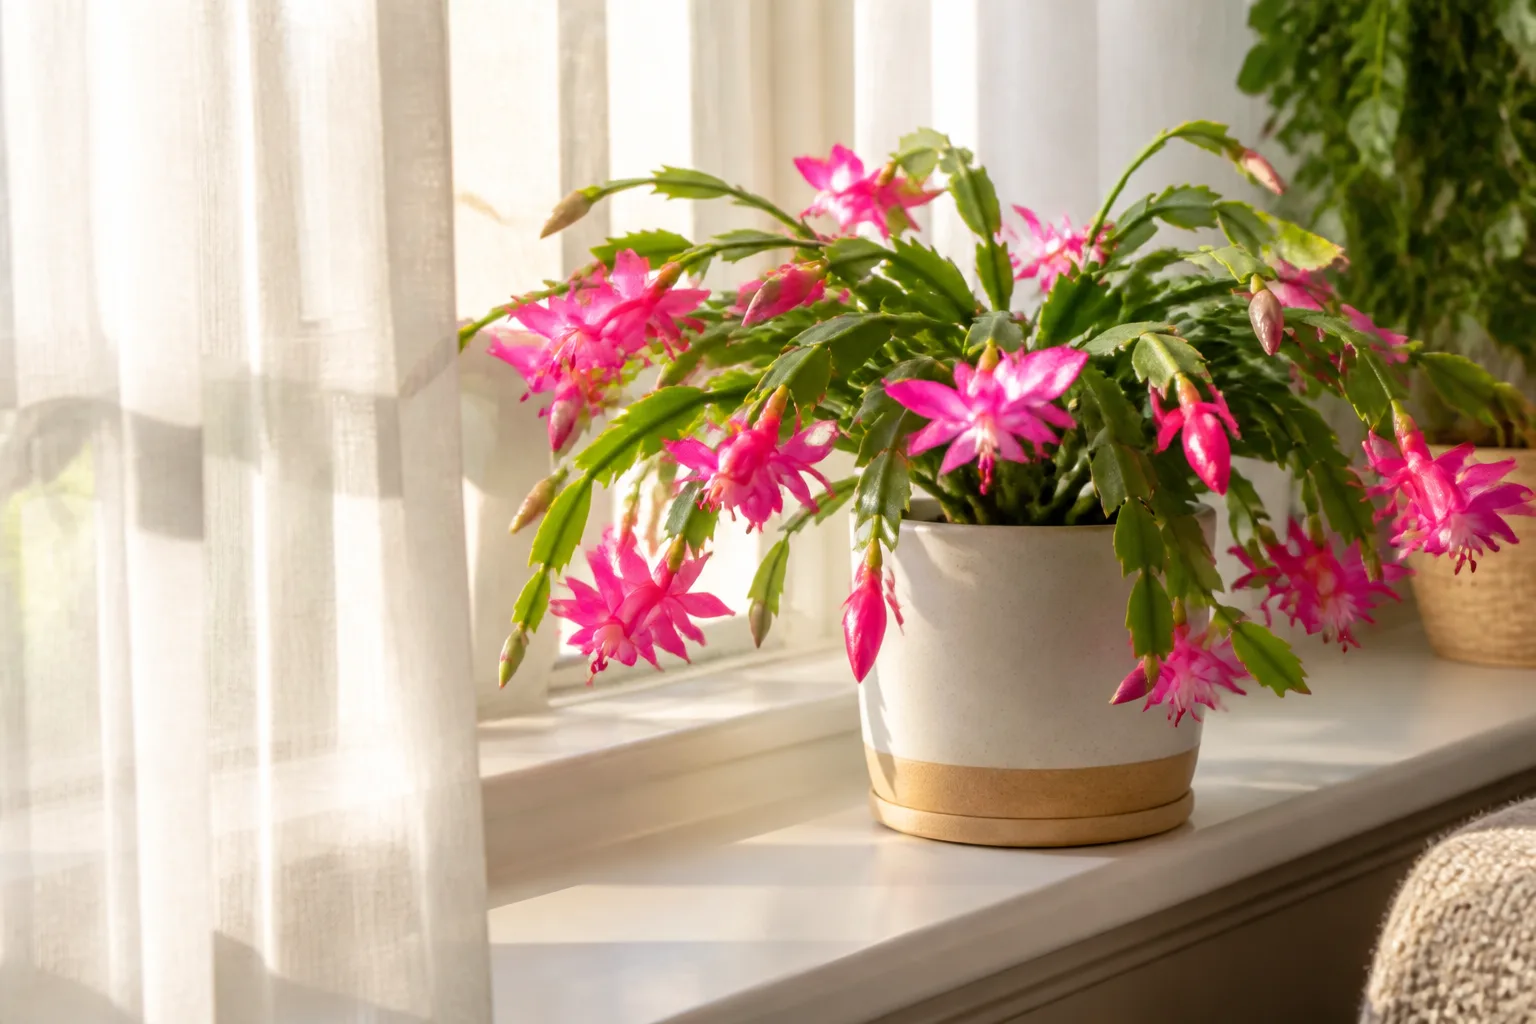
Place the plant close to a bright east-facing window, or in a west- or south-facing window with a sheer curtain. A few hours of gentle morning sun can be useful; harsh summer afternoon sun through glass is not. Pale, stretched new segments usually point to insufficient light, while bleached, reddish, or scorched patches on the window-facing side point to too much intensity or heat.
Light also controls the plant’s shape. A Christmas cactus in a dim corner may stay alive but produce thin, widely spaced segments and fewer flowering tips. Turn the pot a quarter turn every week during active growth if you want balanced growth. Stop rotating once buds are swelling if the plant is already in a good position; moving or repeatedly reorienting a budded plant is an avoidable stress.
If you move a plant outdoors for summer, acclimate it over a week or two in bright shade. Do not put an indoor plant straight into midday sun. The RHS recommends a warm, sheltered, shady outdoor position rather than full sun, and says to bring the plant back inside before temperatures fall (RHS growing guidance).
Water by the mix, not by the calendar
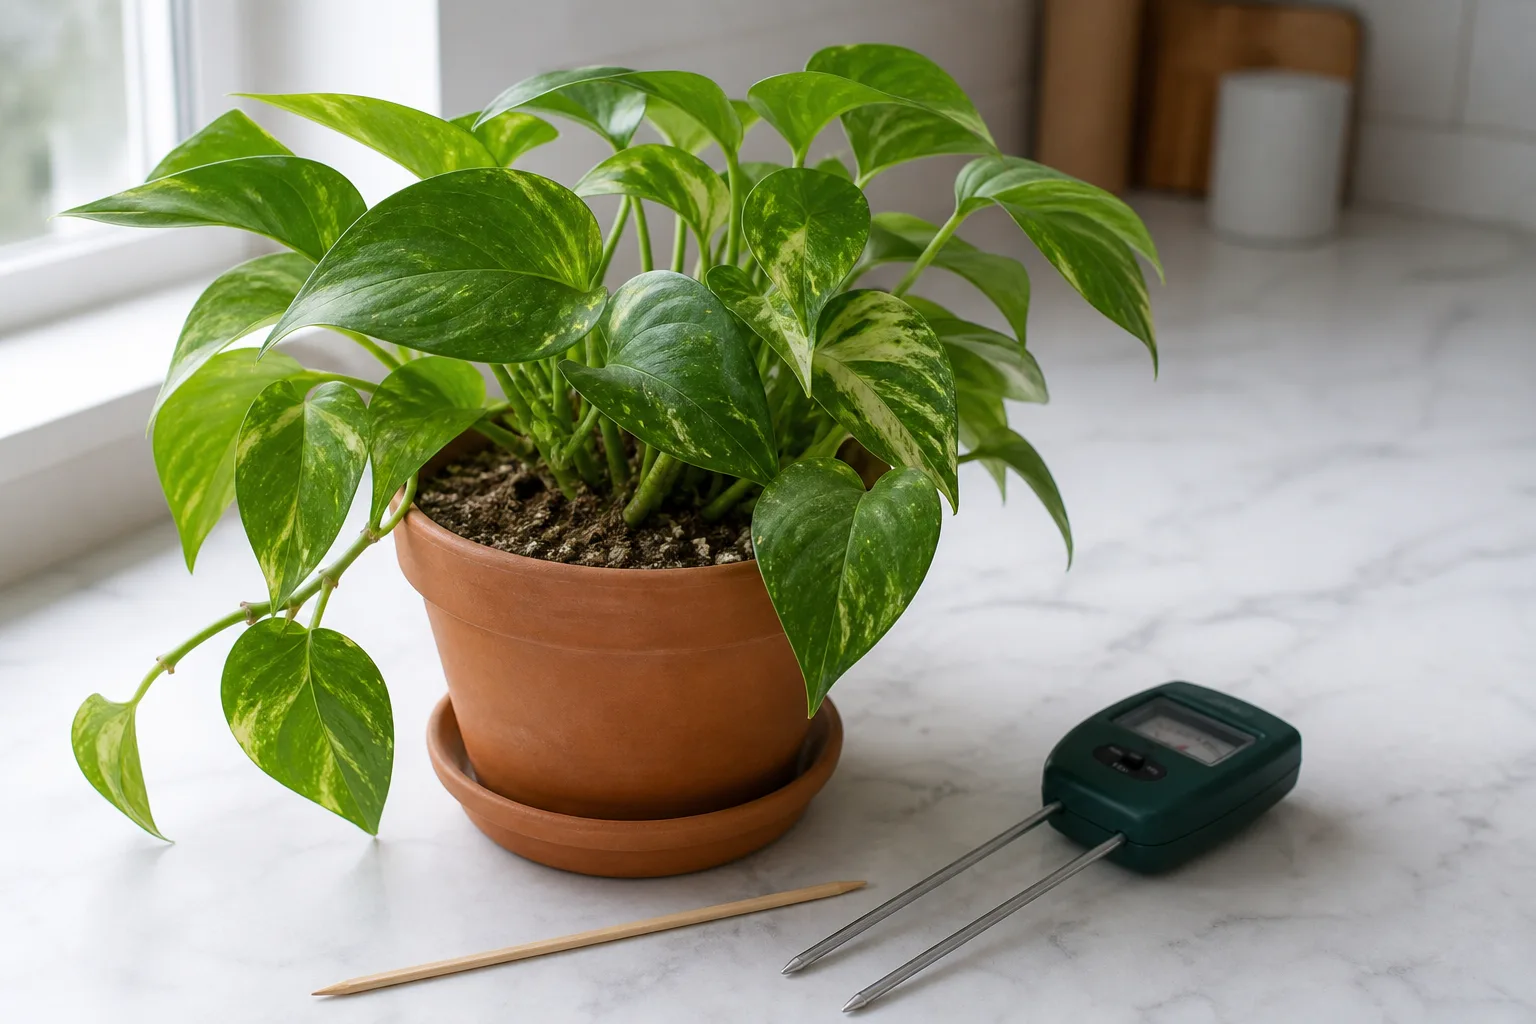
Water a Christmas cactus when the top portion of the potting mix has dried and the container feels noticeably lighter, then soak the mix until water exits the drainage holes. Empty the saucer or cachepot after draining. A calendar interval cannot account for pot size, light, temperature, mix, or humidity, so “every Sunday” can be too much in a cool room and too little in a hot bright window.
The most useful distinction is dry and firm versus wet and soft. Wrinkled segments in a genuinely dry, light pot call for one deep drink. Wrinkled or limp segments in a heavy pot with wet mix do not need more water; the roots may be damaged and unable to take it up. The Missouri Botanical Garden recommends watering when the medium is dry to the touch while warning against waterlogging, and identifies root rot as the major disease risk (Missouri Botanical Garden).
Adjust watering through the year
From spring through summer, check the pot whenever the surface begins to dry. New growth and warmer conditions can make the plant use water quickly, but “moist” does not mean permanently wet. In early autumn, reduce watering as part of the pre-bloom rest; let the upper few centimeters dry between drinks, but do not leave the root ball bone dry for weeks.
When buds appear, return to a steadier rhythm. The goal is evenly moist, well-drained mix rather than alternating drought and flood. Drying hard during bud swell can cause buds to abort, while a waterlogged pot can damage roots and trigger the same visible result. After flowers fade, reduce watering again for the short post-bloom rest before normal spring growth resumes. The RHS recommends two cooler, drier rest periods—before bud formation and after flowering—while keeping the compost from drying out entirely (RHS seasonal care).
If your tap water leaves a heavy mineral crust or the plant repeatedly develops damaged root tips, use rainwater or filtered water when practical and flush the pot occasionally with plain water. Do not add sugar, coffee, or kitchen leftovers to the irrigation water; they do not replace a balanced feeding plan and can encourage pests or microbial growth.
Choose an airy mix and a snug pot
Use a free-draining mix that holds some moisture but contains enough coarse material for air to return after watering. A practical home blend is two parts quality indoor potting mix, one part perlite or pumice, and one part fine orchid bark. A commercial cactus-and-succulent mix can work if it is not so gritty that water runs down the sides without wetting the root ball. Epic Gardening’s practical guidance emphasizes a porous, absorbent, fast-draining medium and notes that several different recipes can succeed (Epic Gardening potting mix guide).
Choose a pot with a real drainage hole and only move up one size when repotting. A large container holds a large volume of wet mix around a relatively small root system, which is a common path to slow dry-down and rot. A terracotta pot can provide extra evaporation in a damp home, while plastic is fine if the mix, light, and watering habits are disciplined. The material matters less than drainage and the time the mix stays wet.
Do not pack the mix tightly around the stems. Set the plant at the same depth it was growing, firm the mix lightly, and make sure the pot can drain freely. If water sits in a decorative cachepot, remove the inner pot for watering and return it only after the excess has finished draining.
Set temperature and humidity for steady growth
Normal indoor temperatures suit a Christmas cactus during active growth. Aim for roughly 65–80°F (18–27°C), with good airflow and no blast from a heater, air conditioner, ceiling fan, or frequently opened exterior door. The exact number is less important than avoiding abrupt swings. During autumn bud initiation, cooler nights around 55–59°F (12–15°C) help provide the seasonal signal; after buds form, return the plant to a comfortable bright room.
Humidity is helpful because the plant evolved in moist forest air, but misting is not a cure for a dry root ball or a poorly draining pot. A room humidifier gives a more consistent result in heated winter air. A correctly built pebble tray can modestly improve the immediate air around the foliage: use a shallow watertight tray, cover it with pebbles, add water below the stone tops, and set the pot above the waterline. The roots must never sit in the tray water.
Use an annual cycle to make it bloom again
Christmas cactus flowers at stem tips after it receives a seasonal cue, not because it has been fed a special “bloom booster.” The cue is a combination of shorter days, long uninterrupted nights, and cooler temperatures. A healthy plant can still fail to flower if a lamp, kitchen light, or television shines on it after dark throughout autumn.
The cool, dark pre-bloom rest
About six to eight weeks before your target bloom window, place the plant where it receives bright light during the day but at least 13 hours of complete darkness each night. Keep nights cool—roughly 55–59°F is a useful target—and reduce watering without allowing the mix to become dust-dry. Missouri Botanical Garden describes the same three-part bud cue as bright light, 55–65°F nights, and 13 or more hours of continuous darkness for several weeks (holiday-cactus culture).
You can use a naturally dark spare room, or cover the plant with a breathable, opaque box at the same time every evening and uncover it in the morning. The method only works if the darkness is consistent. Do not place a hot lamp inside the cover, and do not use plastic that traps heat and condensation against the stems.
What to do once buds appear
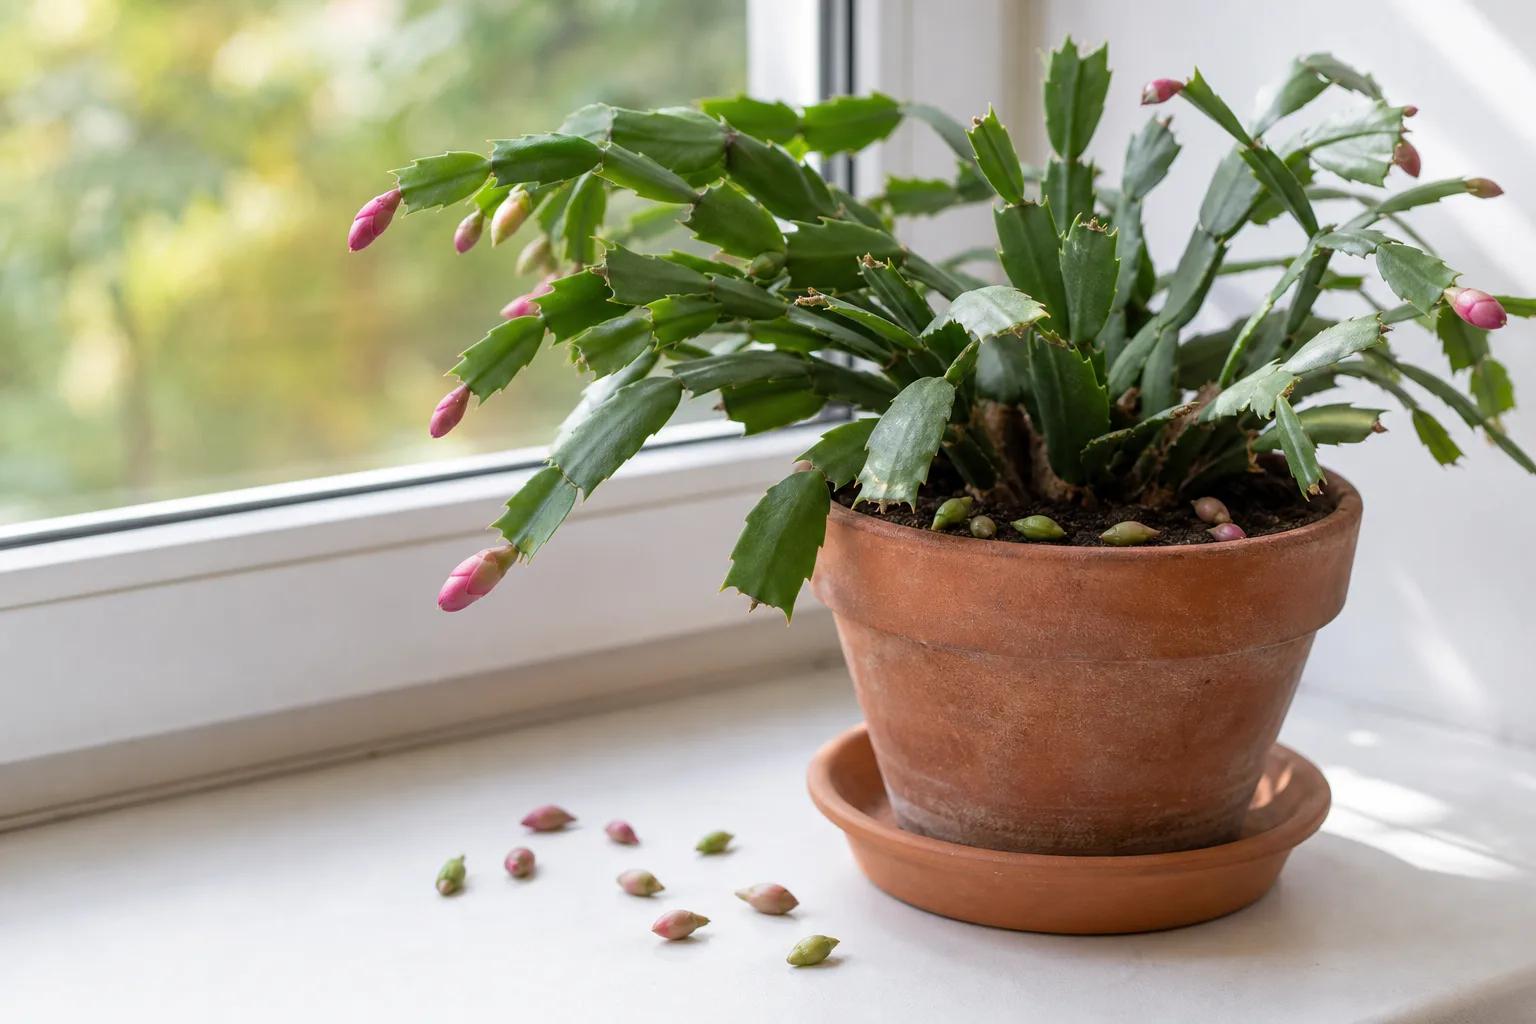
When tiny buds form at segment tips, stop experimenting. Move the plant only if the current position is unsafe, then keep it in a stable spot with bright indirect light, moderate warmth, and regular moisture. Avoid rotating the pot, repotting, pruning, fertilizing, or carrying it from a cold porch to a hot room. Temperature swings, drought, excess water, heat, and physical disturbance can all cause unopened buds to drop; a practical Homes & Gardens report likewise highlights moving a budded plant as a common avoidable mistake (Homes & Gardens bud-care guidance).
Flowers may open over several weeks rather than all at once. Remove individual spent flowers gently if they detach easily, but do not tug at unopened buds or cut healthy stem tips. If a plant blooms in November or January, first check its identity before deciding that its care failed.
Feed lightly during active growth
Fertilize from late winter or spring through summer, after the plant has finished its post-bloom rest and new segments are growing. Use a balanced, water-soluble houseplant fertilizer at half strength about once a month, or follow the label of a low-dose product. Watering the mix first can reduce the chance of fertilizer salts contacting dry roots.
Stop feeding as autumn bud initiation begins. More fertilizer cannot compensate for missing darkness or cool nights, and a rich, wet pot during rest is more likely to create soft growth and root problems than extra flowers. Resume only after the post-bloom rest ends and active growth is visible. If the plant has been freshly repotted into a nutrient-rich mix, wait longer before feeding.
Prune for branching and shape
Prune in spring after flowering, when the plant is beginning active growth. Remove one or two terminal segments from long, sparse stems by twisting at a joint or using clean scissors. Flowers form at stem tips, so encouraging additional branches can create more future flowering points. The RHS recommends removing some end segments on leggy stems after flowering and using those tips as cuttings (RHS pruning guidance).
Do not strip a stressed plant for the sake of symmetry. First correct light, moisture, or root trouble, then remove only enough growth to rebalance the shape. A mature plant can tolerate a useful trim, but removing a large portion at once reduces its photosynthetic capacity and can delay recovery.
Propagate from stem cuttings
Stem propagation is the simplest way to make new Christmas cacti and preserve the traits of a favorite plant. Choose healthy, non-flowering tips in spring or early summer. Take a cutting with two to five connected segments, snapping or cutting at a joint with clean hands or sanitized scissors.
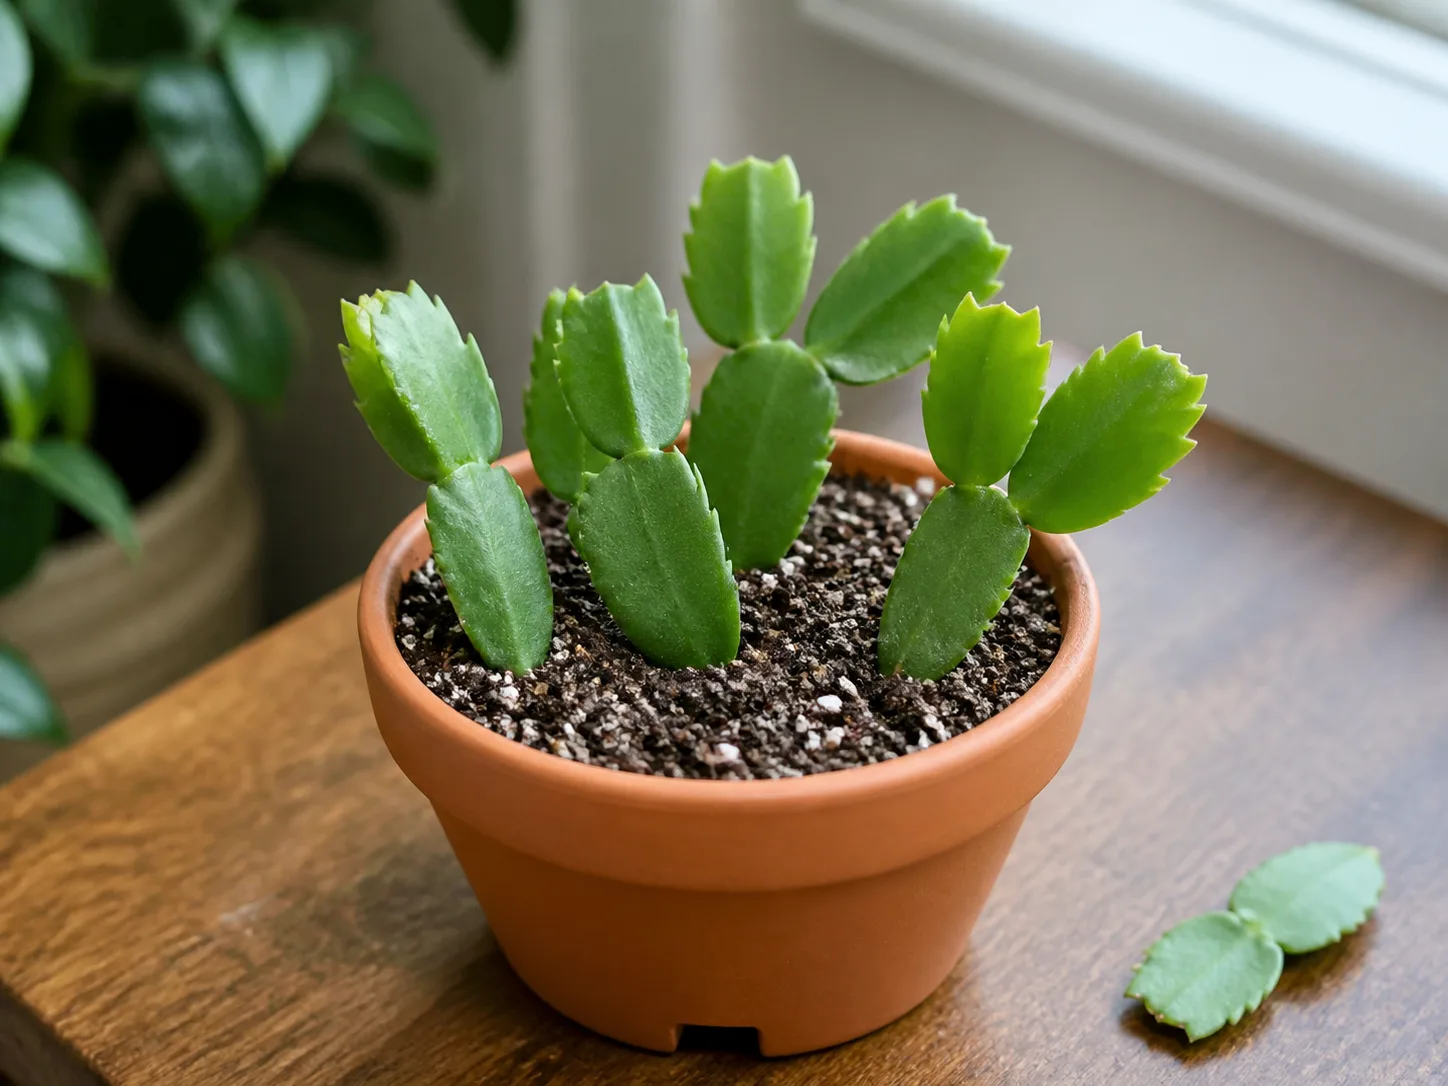
Let the cut end dry in a shaded, airy place for one or two days. This thin callus is not a guarantee against rot, but it gives the wound time to seal before it enters damp mix. Fill a small pot with lightly moistened propagation mix, insert the bottom segment only about half an inch to one inch deep, and firm it so the cutting stands upright.
Keep the pot in bright indirect light, warm conditions, and barely moist—not wet—mix. A clear bag can hold humidity around the cutting, but leave air exchange and remove the cover once new growth or resistance to a gentle tug suggests roots have formed. The RHS reports that cuttings may root in roughly three to 12 weeks depending on conditions and recommends shallow insertion, sparse watering, and indirect light (RHS propagation guidance). Do not repot immediately; let the new plant establish a root system first.
Repot without sacrificing flowers
Repot after flowering, ideally in spring as active growth restarts. There is no prize for repotting every year if the mix still drains well and roots have room. Repot when roots circle the drainage holes, the mix has broken down and stays wet, water runs straight through a shrunken root ball, or the plant has clearly outgrown its container.
Slide the plant out and inspect the roots before choosing a new pot. Healthy roots should be firm and pale to tan; mushy, foul-smelling, or dark roots point to rot and require a more urgent rescue rather than a routine size upgrade. Trim only dead roots with clean scissors, refresh the mix, and choose a pot just one size larger. A plant with few roots should not be placed into a huge container “to give it room.”
Never repot a healthy, budded or flowering plant just because the nursery pot looks plain. If the pot drains and the plant is stable, wait. A new purchase can remain in its original container through bloom, then be moved once the display fades. That single delay avoids disturbing the most sensitive stage of the year.
Outdoor limits matter too.
Christmas cactus can spend warm months outdoors in a sheltered, shaded position, but it is not frost hardy. Move it out gradually after cold nights have passed, check for slugs and pests, and protect it from heavy rain that keeps the pot saturated. Bring it indoors well before temperatures approach 50°F (10°C), especially if the forecast includes wind or a sharp overnight drop.
Outdoor growing can strengthen light and airflow, but it also adds hazards: sunburn from a sudden placement, waterlogged mix after storms, and an autumn move that collides with bud initiation. If your indoor location already provides bright filtered light, keeping the plant inside year-round can make bloom timing easier because light and temperature are more stable.
Troubleshoot limp, red, yellow, or dropping segments
Start with three observations: Is the pot light or heavy? Is the mix dry or wet? Is the damage on the sun-facing side or throughout the plant? Those checks are more useful than assuming every limp segment means thirst.
| Symptom | First check | Likely direction | First action |
|---|---|---|---|
| Wrinkled, thin segments | Dry mix and light pot | Underwatering or root loss | Soak once if dry; inspect roots if it stays limp |
| Limp, yellow, or translucent segments | Heavy pot; mix stays wet | Overwatering or root rot | Stop watering; improve drainage and inspect roots |
| Red or purple cast on sunny side | Harsh light or heat | Light stress | Move to bright filtered light |
| Buds dropping | Recent move, draft, dry-down, or heat | Bud stress | Stabilize location, temperature, and moisture |
| No buds on vigorous green growth | Night light and autumn temperature | Missing bloom cue | Run a consistent cool, dark rest next season |
| White cottony clusters | Joints and stem undersides | Mealybugs | Isolate and remove pests before they spread |
Red or pink segments can also follow drought or root stress, so do not move the plant into deep shade without checking moisture. Yellowing that progresses from the base, a sour smell, or soft segments in persistently wet mix calls for root inspection. Discard dead roots and replace compacted mix; do not keep watering in the hope that limp tissue will “perk up.”
Manage pests, rot, and pet access
Inspect joints, new growth, and the underside of segments for mealybugs, scale, aphids, or spider mites. Fungus gnats are a useful warning that the mix is staying wet too long, although they are not proof of root rot by themselves. Isolate an infested plant, remove visible pests with a cotton swab or water rinse where appropriate, and use only a labeled houseplant product according to its directions. Repeat inspections matter because one treatment rarely removes every life stage.
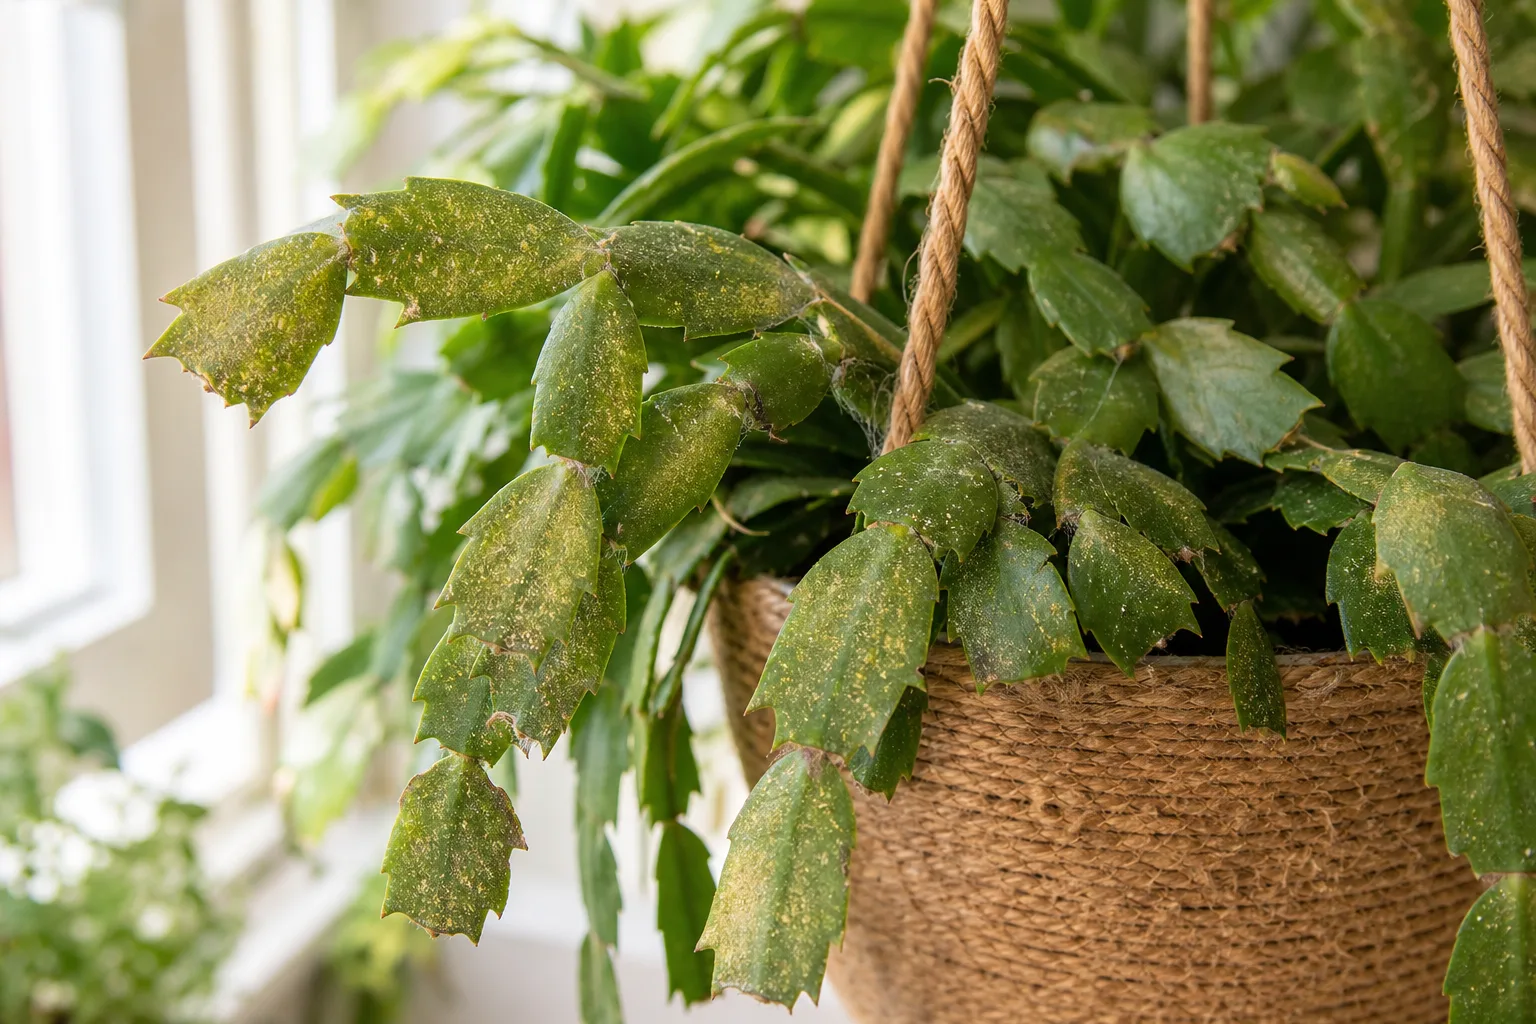
Root rot prevention is mostly cultural: a draining pot, airy mix, sensible light, and a moisture check before watering. If the plant is soft and declining in wet soil, unpot it, rinse or shake away loose mix, cut away mushy roots, and repot into fresh barely moist medium. Recovery is slow; keep the rescued plant in bright indirect light and resist repeated watering until the new mix has begun to dry.
The ASPCA lists Christmas cactus as non-toxic to cats, dogs, and horses, but non-toxic does not mean edible. Fibrous plant material can still cause stomach upset, and a pet that repeatedly chews houseplants may ingest potting mix, fertilizer, or pest-treatment residue. Keep the plant out of reach and contact a veterinarian if a pet eats a large amount or develops persistent symptoms (ASPCA Christmas cactus listing).
Conclusion
Successful Christmas cactus care is a rhythm, not a single trick. Give the plant filtered light, an airy pot with drainage, thorough watering followed by a sensible dry-down, and warmth with humidity during active growth. After flowering, prune lightly if needed, propagate healthy tips, and repot only when the root system or mix calls for it.
For the next bloom, create the seasonal change the plant is waiting for: cooler nights, longer uninterrupted darkness, reduced watering before buds, and stability after buds appear. If a problem shows up, weigh the pot and feel the mix before adding water. That habit—matching the response to what the roots are actually experiencing—is what turns a holiday purchase into a long-lived, flowering houseplant.



