How to Grow Fast-Growing Microgreens Indoors
Start microgreens indoors in a shallow tray and harvest in 7–21 days. Compare fast varieties, light needs, watering, food safety, and holiday timing.
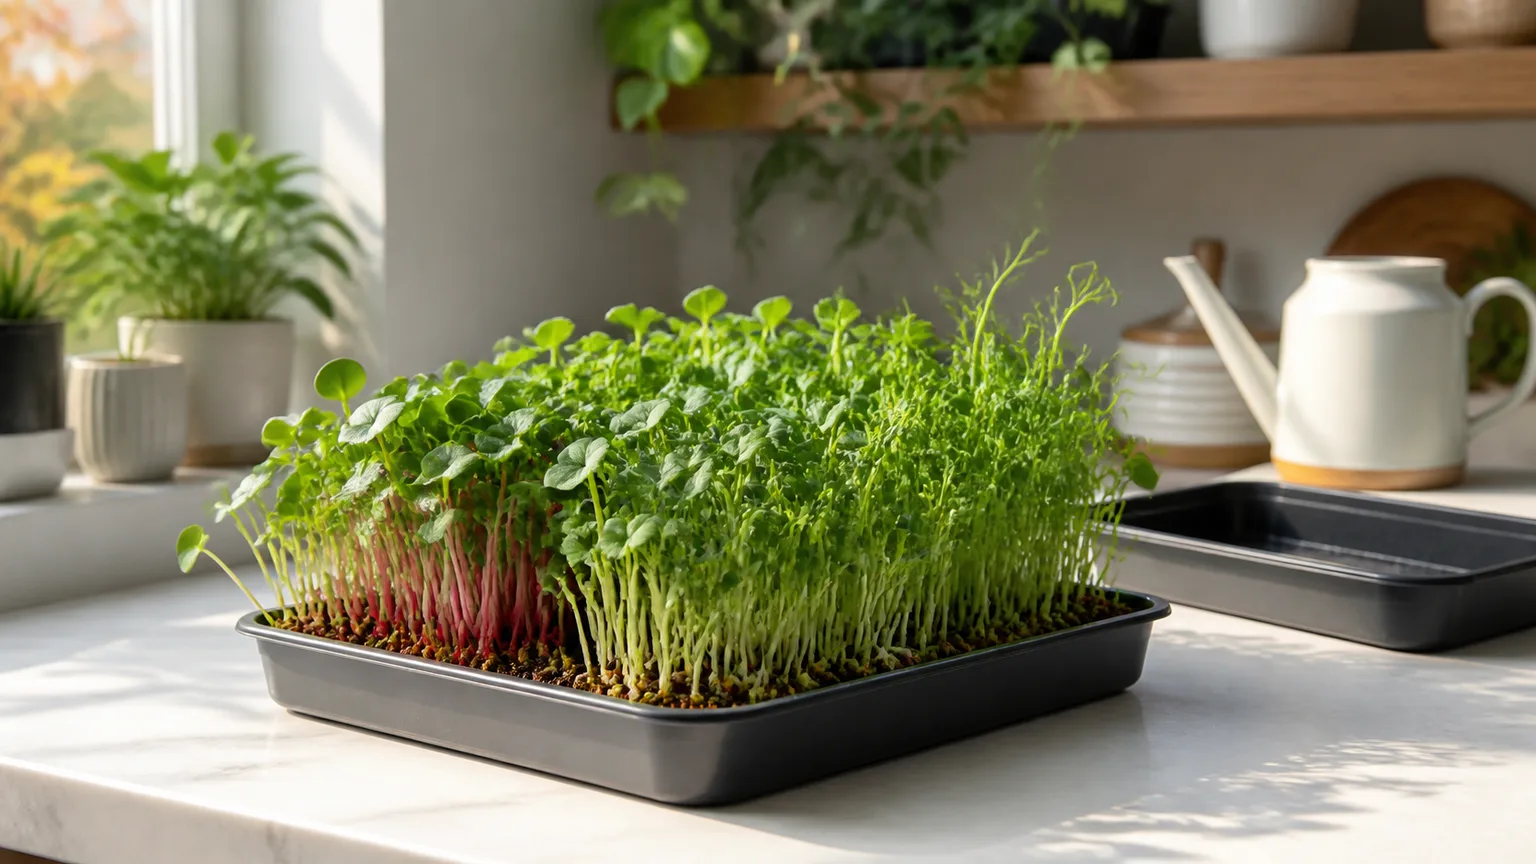
If you want something genuinely edible before the holiday cooking starts, skip crops that need a full pot, a long season, or a sunny outdoor bed. Microgreens are seedlings harvested young, usually after the cotyledons open and before the plant becomes a mature leafy vegetable. They fit on a counter, need only a shallow root zone, and can move from seed to kitchen in about a week to three weeks.
That range matters. A tray of radish or arugula microgreens can be ready much sooner than basil or cilantro, and a dim windowsill can add days to any estimate. The reliable way to plan is to choose the crop first, then work backward from the meal you want to garnish. This guide gives you that plan, plus the small details that keep a fast crop from becoming a wet, floppy, moldy tray.
Why Microgreens Fit a Last-Minute Indoor Garden
Microgreens are not a special plant family. They are young edible plants—such as radish, broccoli, kale, arugula, pea, sunflower, basil, or cilantro—harvested for their tender stems and leaves. That is different from sprouts, which are usually grown in very wet conditions and eaten with the seed and root attached. With microgreens, you cut the above-medium portion and leave the root mat behind.
Penn State Extension describes microgreens as young edible plants harvested at roughly 1.5 to 3 inches tall and reports production times from 7 to 21 days, depending on the crop and its growing conditions (Penn State Extension). That is why they are useful for a holiday deadline: you are growing a small harvest, not waiting for a carrot to size up or a pepper to ripen.
They are also forgiving about space. A tray about the size of a sheet of paper can supply several meals, and you do not need to build a hydroponic system to get started. What you cannot skip is clean equipment, consistent moisture, enough light after germination, and a harvest plan. The crop is quick because it is short-lived; that also means a small mistake can use up a large share of its growing window.
Pick a Variety by Harvest Window and Flavor
The fastest choice is not automatically the best choice for your table. Radish brings a peppery bite, pea and sunflower shoots are sweeter and more substantial, broccoli and kale are mild, and basil or cilantro can take longer but give you a stronger herb flavor. Start with one variety per tray for your first batch; different species rarely germinate and mature at exactly the same pace.
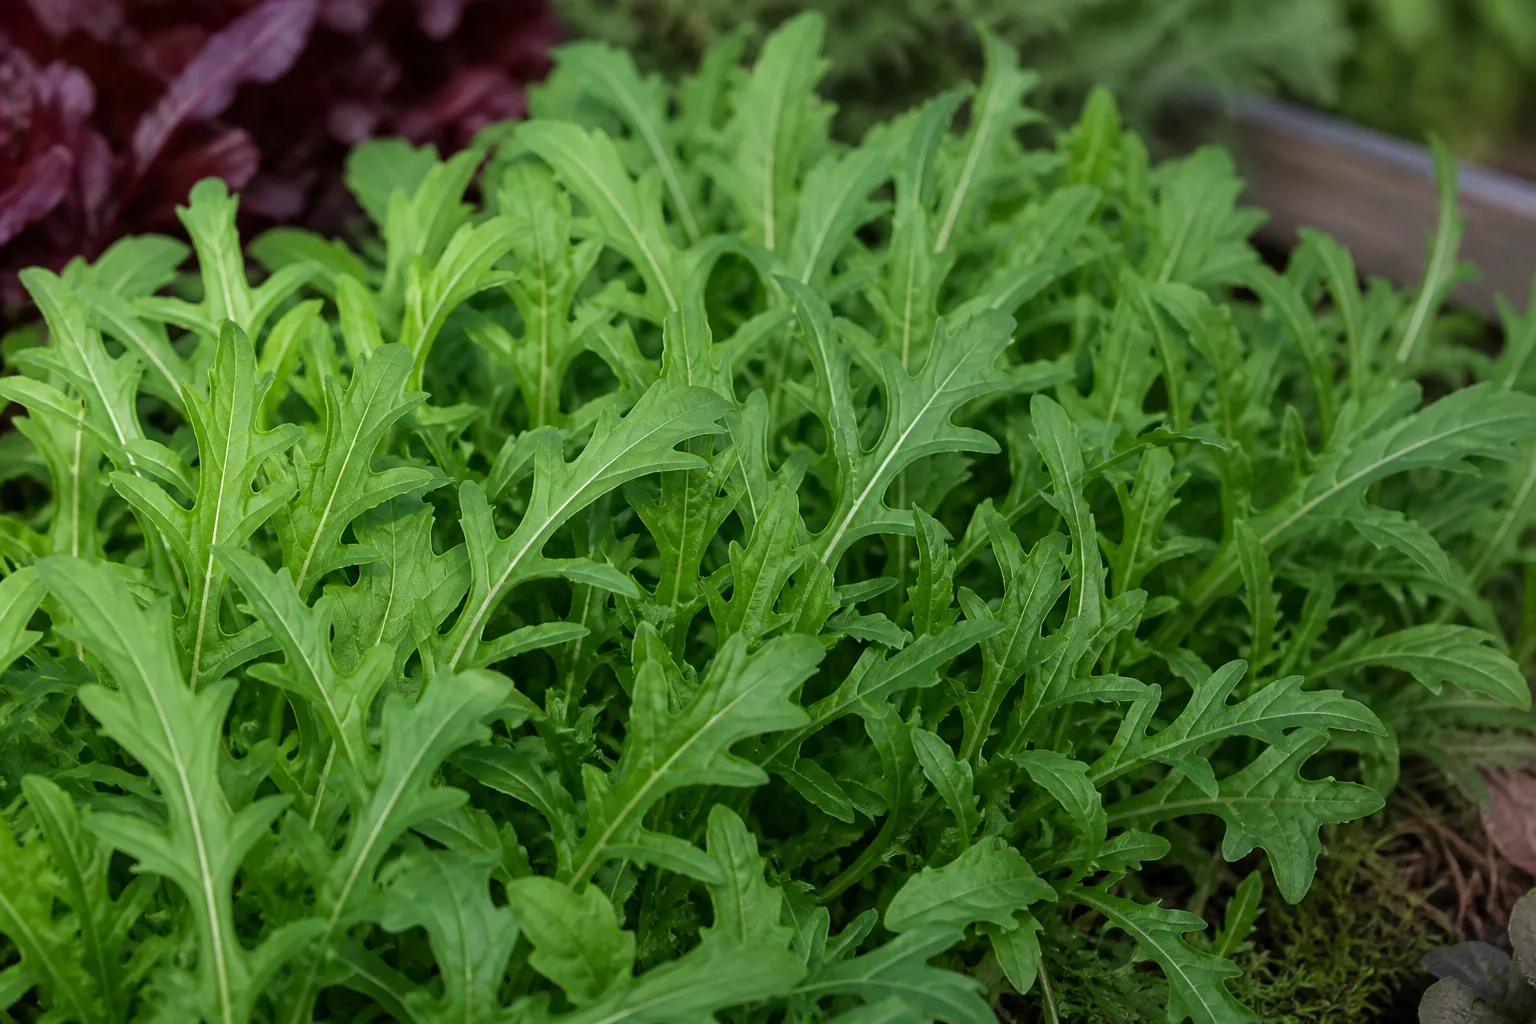
Best First Crops for a Short Deadline
Utah State University Extension’s current growing table gives these useful estimates under a controlled setup. Treat them as planning windows, not promises: cool rooms, weak winter light, old seed, or an unevenly damp medium can push harvest later (Utah State University Extension).
| Variety | Approximate harvest window | Flavor and why choose it |
|---|---|---|
| Arugula | 6–8 days | Peppery, quick, and good on sandwiches |
| Pea shoots | 8–10 days | Sweet, crisp, and heavier than tiny brassica greens |
| Broccoli | 8–12 days | Mild and easy to pair with savory food |
| Kale | 8–12 days | Nutty, sturdy, and forgiving for a first tray |
| Radish | 8–12 days | Fast with pink stems and a strong bite |
| Sunflower | 9–10 days | Nutty and leafy, with larger seeds to handle |
| Mesclun mix | 12–14 days | Convenient variety, but maturity may be uneven |
For the highest chance of a holiday harvest, choose radish, arugula, broccoli, kale, pea, or sunflower. If the tray is for a specific dish, flavor should break ties: radish works with rich, creamy foods, pea shoots suit salads and roasted vegetables, and mild brassicas can disappear into almost any savory plate.
Crops That Need More Patience
Basil is often listed as a quick microgreen, but Utah State’s table gives it a 12–16-day estimate. Cilantro can take 21–28 days, and the seed may germinate unevenly. Those crops are still worthwhile when you have three or four weeks, but they are poor insurance for a meal that is only ten days away.
Mixtures are convenient but can create a timing problem. A packet may combine fast brassicas with slower herbs, leaving you with tall radish greens beside short cilantro. If uniformity matters, grow each crop separately and mix the harvest in the bowl. If flavor variety matters more than a synchronized cut, a blend is fine—just plan around the slowest component.
Build a Clean, Small Growing Station
You need less equipment than a full indoor vegetable garden, but each item has a job: a shallow drained tray holds the root mat, a fine medium keeps seed-to-surface contact, and a light source prevents pale stems once the cover comes off. Set everything on a washable surface near a sink, not on a crowded windowsill where spilled water cannot be cleaned.
Choose the Tray and Medium
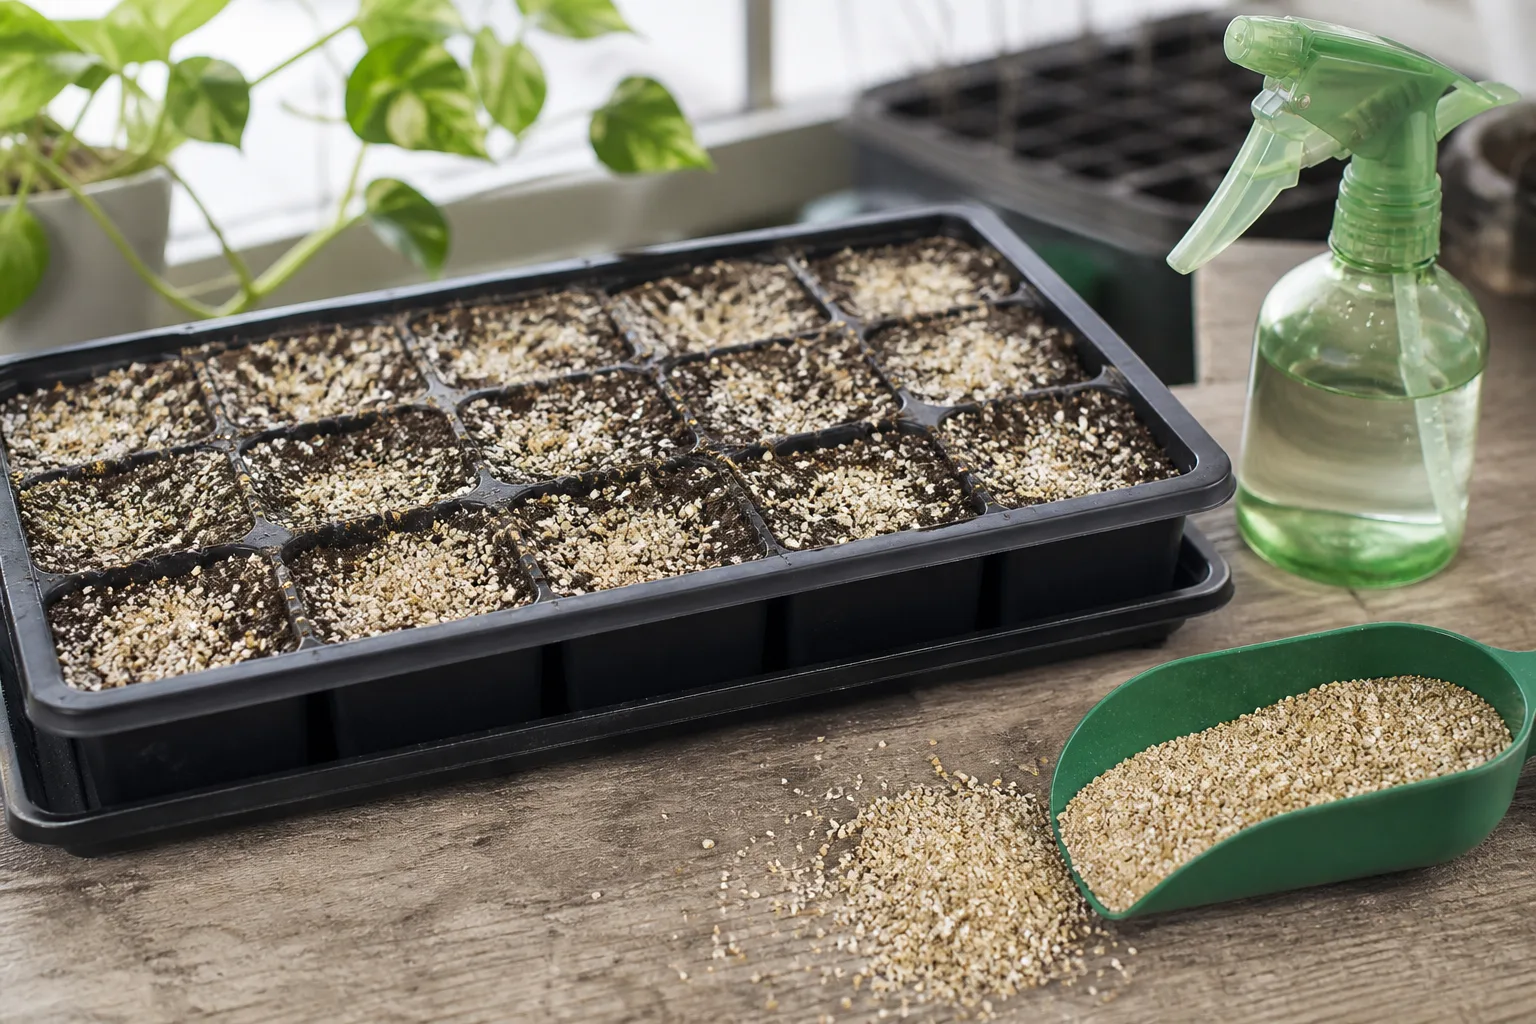
Use a shallow tray about 1 to 2 inches deep with drainage holes, paired with a second tray underneath to catch water. A repurposed food container can work if it is clean, sturdy, and perforated, but avoid a deep pot: extra wet soil holds moisture long after a microgreen root mat needs it.
For the medium, use seed-starting mix, finely screened potting mix, coconut coir, or a purpose-made growing mat. The target is moist but not dripping—similar to a wrung-out sponge. Penn State reports good results with soilless media and notes that mats can produce cleaner harvests than soil, while Utah State lists seed-starting mix, coir, and hydroponic mats as workable options.
Do not add a rich fertilizer to the tray at sowing. The seed supplies the first burst of energy, and the crop is harvested before it develops a large nutrient demand. Penn State reports that little or no fertilizer is generally needed for such a short production cycle, and that clear water can work successfully. Fertilizer is more likely to complicate a quick beginner tray than to rescue one.
Choose Seed for Eating, Not Just Planting
Buy seed sold for microgreens or seed clearly identified as untreated and suitable for edible use. Penn State Extension specifically cautions against pesticide-treated seed for microgreens because the seed coat can remain on the seedling and be eaten. Do not assume that a packet labeled only for ornamental planting is suitable for a harvest you plan to serve.
Large seeds such as pea and sunflower may benefit from soaking, but most small brassica seeds do not need it. Utah State’s guide lists no presoak for arugula, basil, broccoli, cilantro, kale, mesclun, and radish, but gives a 6-hour soak for pea and a 12-hour soak for sunflower. Follow the seed supplier’s directions rather than applying an overnight soak to every variety.
Wash your hands, tray, scissors, and work surface before you start. The aim is not to create a sterile laboratory; it is to avoid introducing a large load of grime into a warm, wet, densely seeded environment. Keep pet bowls, raw-meat preparation, and dirty gardening tools away from the growing station.
Sow a Tray in Five Deliberate Steps
The sowing process is simple, but sequence matters. A tray that begins evenly moist and evenly seeded is much easier to manage than one with dry corners, seed piles, and a standing puddle.
- Pre-moisten the medium. Fill the drained tray nearly to the top and wet the medium evenly before adding seed. If using coir, squeeze a handful: it should feel damp, but water should not run out. Level the surface without compacting it into a hard layer.
- Broadcast the seed. Scatter seed across the surface in a dense, even layer. Cover the corners first, then the center, so the middle does not become a thick mound while the edges stay bare. Use the packet’s rate when supplied; if not, start lighter on the first tray and record what worked.
- Make contact. Press the seed gently into the surface or add only a very thin layer of fine medium. Large seed can be covered more than tiny seed, but no seed should be buried deeply in a shallow tray. Give the surface a gentle initial watering so the seed does not wash into a corner.
- Cover for germination. Place a clean empty tray or a vented cover over the growing tray. A second tray set directly on the medium can keep seed in contact with it; use only light, stable pressure and never make the setup impossible to check. The cover is for darkness, humidity, and contact—not for sealing the crop away from air indefinitely.
- Check at the same time each day. Lift the cover, look for dry patches, pooled water, or emerging roots, and replace it only if the variety still needs darkness. The moment the seedlings are lifting the cover or the listed covered period has passed, move to the light phase.
Set Up the Dark Phase Without Trapping Moisture
Utah State’s guide uses a two-part dark phase: a covered tray presses the seeds toward the medium for part of the period, then the cover is turned over so it creates darkness without touching the seedlings. Covered times vary from about 1–2 days for arugula, kale, and radish to 4–7 days for basil and 7–14 days for cilantro.
At home, use the shortest dark period that gives you even germination and upright roots. If the cover is dripping, the room is warm, or the tray smells stale, remove it earlier and improve airflow. Darkness cannot compensate for waterlogged medium, and keeping a dome on after the seedlings emerge is a common route to weak stems and damping-off.
Manage Light, Temperature, and Airflow After Germination
Once the cotyledons open, light becomes the crop’s steering wheel. Seedlings lean toward the brightest side of a window, so a tray that looks even at breakfast can be noticeably lopsided by evening. Turn a windowsill tray a quarter turn once a day if the light is strongly one-sided.
Penn State gives a useful general target of 60–75°F soil temperature for germination and 60–70°F air temperature. Utah State’s more controlled schedule uses about 74°F during germination, 72°F with lights on, and 68°F with lights off. The practical takeaway is a comfortably warm room for germination and a slightly cooler, airy space after the cover comes off—not a hot radiator, enclosed cabinet, or cold draft.
Use a gentle fan if the room is still or humid, aiming for air movement around the tray rather than a harsh blast that dries the surface. Airflow helps the foliage dry and makes the canopy less hospitable to damping-off, but it does not replace drainage. If the medium remains wet for days, the fix is less water or better drainage first.
Decide Between a Window and a Grow Light
A bright south-facing window can grow a batch, especially if the tray receives several hours of direct sun and the glass is not blocked by buildings or winter shade. A window is a reasonable low-cost test, but it is not automatically equivalent to a grow light. Thin, pale, leaning stems are the crop telling you that the light arriving at leaf level is insufficient or too directional.
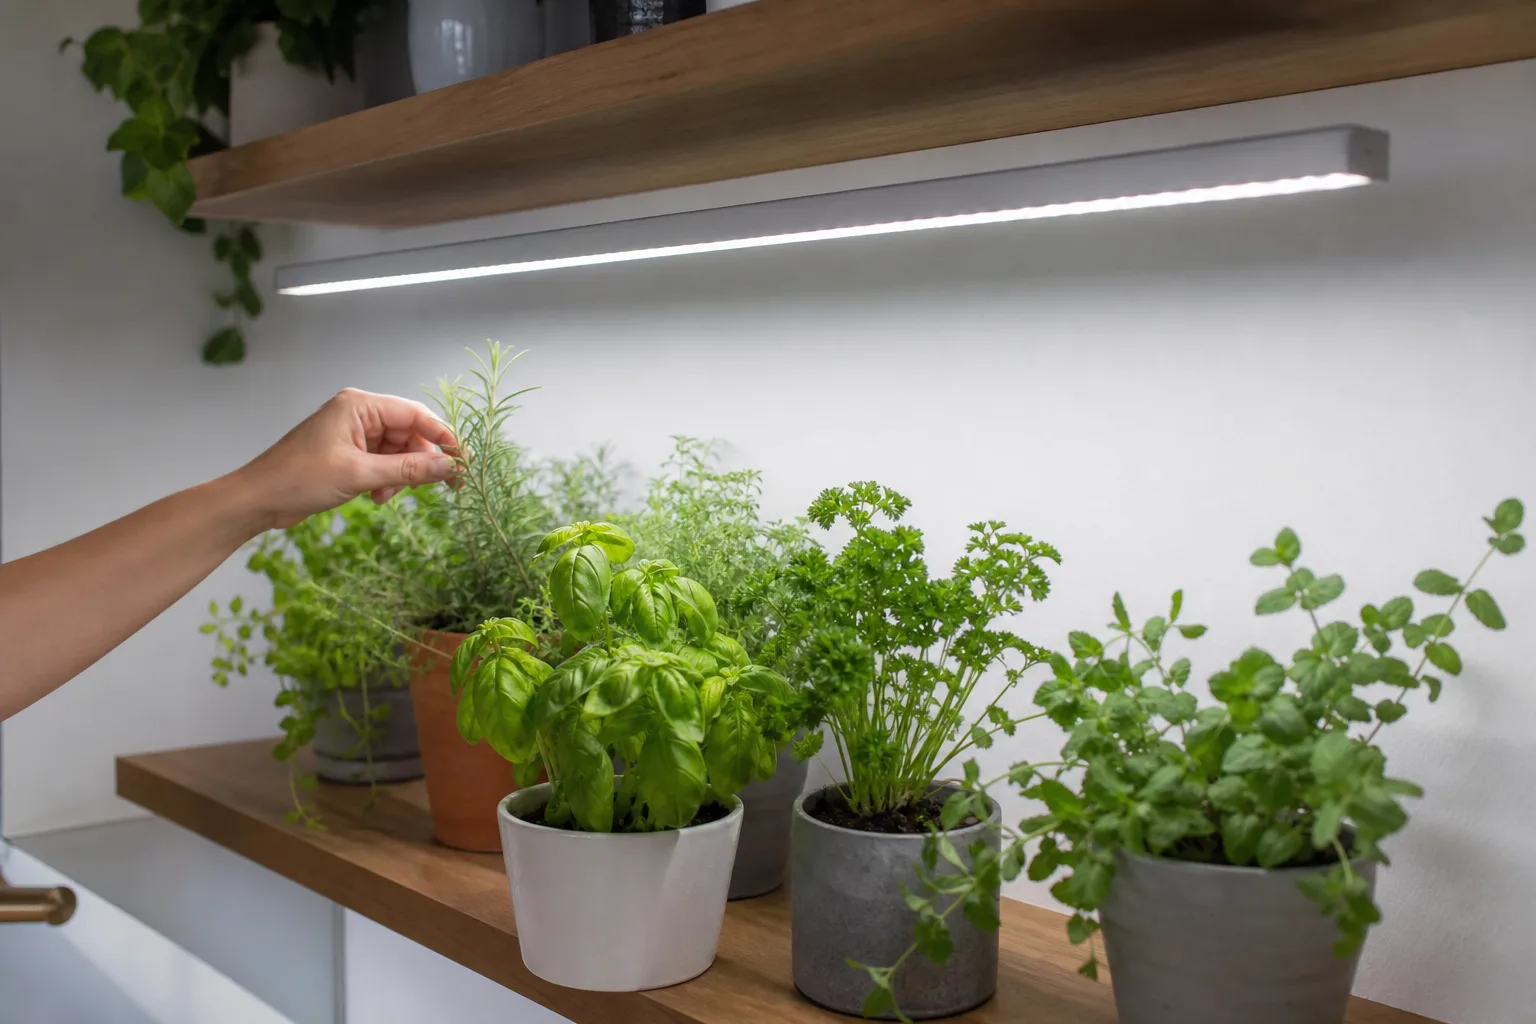
For dependable winter timing, use a white or full-spectrum LED grow light mounted according to its instructions and attached to a timer. Utah State’s growing schedule runs lights for 18 hours followed by 6 hours of darkness; Epic Gardening also emphasizes predictable light and places the light directly over the crop. You do not need a specialized microgreen machine, but you do need the light close enough to be useful without heating or scorching the leaves.
Do not judge a light by the brightness you see from across the room. Judge it by plant response: compact green stems, open cotyledons, and steady growth are good signs; sudden leaning and pale color mean the source is too weak, too far away, or on for too few hours. Correct the light before adding fertilizer or more water.
Water Without Creating Damping-Off
Before germination, keep the medium evenly damp with a gentle spray or a careful initial watering. After roots reach downward, bottom-watering is usually easier to control: set the drained tray in a shallow tray of water for about 10–15 minutes, then lift it out and pour away the remaining water. Epic Gardening describes this approach for spinach microgreens, and Penn State notes that sub-irrigation helps keep leaves and stems dry.
Water again when the tray is beginning to lighten and the surface is no longer evenly moist, not simply because the clock says it is time. A warm grow-light shelf may need water more often than a cool windowsill. The goal is a moist root zone with air spaces, not a saturated sponge.
Avoid repeated overhead misting once the canopy is dense. Wet leaves, crowded stems, standing water in the catch tray, and a closed cover are four separate warning signs; any two together should trigger a drier, airier routine. Never leave the growing tray sitting in water overnight. If you are unsure whether the medium is dry, lift the tray before watering and compare its weight with how it felt after the initial soak.
Know When Microgreens Are Ready to Cut
There is a useful harvest window rather than one magic day. Cotyledons are the first seed leaves; true leaves are the second set that begins to resemble the mature plant. Many people prefer microgreens when the cotyledons are fully open, the stems are upright, and the color is strong. Others like a slightly older crop with one or two true leaves and a more developed flavor.
Height is a secondary cue. Penn State’s general description puts many microgreens around 1.5–3 inches, while Utah State advises harvesting as soon as the first true leaves appear—or sooner. Use the crop’s appearance and taste as the final guide: if stems are getting tangled, lower leaves are yellowing, or the tray is outgrowing its light footprint, cut it rather than trying to keep it alive for a larger harvest.
Harvest on a dry cycle, preferably after the foliage has had time to dry under the light. Do not cut a tray with visible slime, a sour smell, or spreading fuzzy growth and hope washing will fix it. A fast harvest is only useful if the crop is clean and sound.
Harvest, Wash, and Store the Safe Way
Use clean, sharp kitchen scissors and cut just above the medium. Cutting above the root mat keeps soil or coir out of the stems and gives you a cleaner harvest than pulling seedlings up. Penn State’s production guidance also notes that rougher cutting can damage tissue and shorten storage life, so a sharp blade is worth the few seconds it saves.
Microgreens are usually a single-cut crop. Some varieties can send out a little secondary growth, but dense sowing and a short root zone make reliable regrowth unlikely. Treat each tray as one planned harvest, then compost or discard the spent medium according to your local rules and start fresh. Gardenary makes the same practical point: the reward is a fast new tray, not keeping one harvested tray productive indefinitely (Gardenary).
For the best texture, cut only what you will use soon. If you need to store a harvest, keep it as dry as possible in the refrigerator in a clean container with a paper towel to absorb condensation. Wash under cool running water immediately before eating, then dry gently. Penn State cautions that washing shortens post-harvest life, which is why it makes sense to wash a serving rather than the entire harvest in advance (Penn State Extension).
This is still raw produce grown in a warm, wet environment. Keep hands, tools, trays, and the refrigerator container clean; never eat a tray with obvious mold, slime, or an off odor; and take extra care if serving someone who is particularly vulnerable to foodborne illness. If you are not comfortable eating the greens raw, fold them into a cooked dish instead. No home-growing routine can make a questionable harvest safe by rinsing it.
Troubleshoot Stretching, Mold, and Uneven Growth
Most microgreen problems are not mysterious. They are usually a mismatch between seed density, water, light, temperature, and air movement. Change one variable at a time when you can, and note the sowing date, variety, room temperature, and harvest date so the next tray teaches you something.
If the Stems Are Long, Pale, or Leaning
Long stems that fall toward a window usually mean the light is too weak, too far away, or arriving from one side. Move the tray closer to the approved distance for the fixture, extend the timer toward the schedule recommended for your setup, or add a light above the tray. Rotating the tray helps a window-grown batch look more even but cannot create missing light.
Leggy growth can also come from leaving the blackout cover on too long or keeping the room too warm. Remove the cover when the seedlings are ready, give them overhead light, and improve air movement. Do not try to correct a pale canopy with fertilizer; extra nutrients cannot replace photons and may leave more soluble salts in a crop you plan to eat young.
If the Tray Smells Bad or the Seedlings Collapse
Warm, humid conditions favor damping-off, a disease Penn State identifies as the main disease issue encountered in its microgreens course. Symptoms can include seedlings that pinch at the soil line, collapse in patches, develop a sour odor, or show spreading white or gray growth.
A fine fuzz close to the root area can sometimes be root hairs, especially when it is attached to the root rather than spreading across stems and medium. If you cannot confidently distinguish harmless root hairs from mold, treat the tray as suspect and do not serve it. Discard a heavily affected batch, wash and dry the tray, use fresh medium, reduce standing moisture, and add gentle airflow before starting again.
Uneven germination has a different look: bare patches, seed piles, or one side sprouting first. Improve surface leveling, distribute seed in two passes, and avoid combining a 6-day crop with a 28-day crop in the same tray. If the tray dries in one corner, check whether the catch tray is level and whether a nearby light or heater is accelerating evaporation on one side.
Make Holiday Timing Work With Succession Sowing
The safest way to have greens for a fixed meal is to sow more than one small tray on different days. Instead of filling one large tray and hoping every seed behaves, sow a quick crop first and a second tray three or four days later. You can harvest the first tray if it is ready and use the second as insurance or as a later salad crop.
Work backward from the date you want to serve the greens:
| Days before the meal | What to do |
|---|---|
| 21–28 | Sow cilantro or another slower crop only if you have already grown it successfully |
| 14–16 | Sow basil, mesclun, or a second tray of a medium-speed crop |
| 10–12 | Sow radish, broccoli, kale, pea, sunflower, or arugula for the main quick harvest |
| 6–8 | Sow a small backup of arugula or radish if the meal date is firm |
| 1–2 | Taste-test, cut only what you need, and refrigerate the dry remainder |
Those dates are deliberately overlapping. Temperature, seed age, and light can move a harvest by several days, so the backup tray is more valuable than squeezing every seed into the first sowing. Once you know how quickly your room grows a particular variety, shift the schedule to fit your household: one small tray every week gives a steadier supply than one oversized tray that becomes ready all at once.
After microgreens, move to crops that match your light rather than assuming every vegetable will be as quick. Leaf lettuce, baby greens, scallions, and herbs can work indoors, but full-size tomatoes, peppers, carrots, and celery need more root space, stronger light, or much more time. Microgreens are the smart last-minute crop because they are harvested at the seedling stage; they are not a shortcut around the requirements of a mature indoor vegetable.
Conclusion
Microgreens are one of the few edible crops you can start indoors late in the season and still harvest before a holiday meal. Choose a fast variety, use untreated edible seed, sow into a shallow drained tray, keep the medium damp rather than saturated, and give the seedlings bright overhead light and gentle airflow after germination.
The biggest improvement is to stop treating “ready in two weeks” as a universal rule. Radish, arugula, broccoli, kale, pea, and sunflower are sensible short-deadline choices; basil and cilantro deserve more time. Sow a backup tray, cut above the medium with clean scissors, wash just before eating, and discard any batch that smells bad or shows spreading mold. That small amount of planning turns a last-minute gardening idea into fresh greens you can actually serve.



