Gardening Basics for Beginners: Plan Your First Garden
Use these gardening basics for beginners to choose a garden format, test soil, pick plants for your light and season, and avoid common first-year mistakes.

A first garden gets easier when you decide what you want from it before buying plants. A few herbs for cooking, a cutting patch, a row of tomatoes, and a shaded border are different projects, but each can start with the same three checks: what you can reach, how much light the site gets, and how much time you can give it.
Start with a small area you can inspect often. Penn State Master Gardeners recommend beginning small until you know how much time you have; that advice is practical because watering, harvesting, and weeding are easier to learn when you can see the whole planting at a glance. Penn State Extension’s beginner vegetable gardening guide and the RHS beginner’s guide both emphasize planning and building skills step by step.
Start with the kind of garden you will actually use
Choose one main purpose for the first season: food you already like to eat, flowers to cut, color near a doorway, or a few plants that make a patio feel greener. You can mix purposes later, but one priority makes it easier to choose a site, estimate how many plants fit, and decide which chores matter most.
The most common beginner mistake is planning from plant excitement instead of available time. A dozen crops with different sowing dates and harvest windows can turn a relaxing project into a weekly obligation; three or four varieties you already use can teach you more because you are likely to notice when they need attention. If you want a generous variety, grow a few herbs or greens in containers and keep the main bed simple.
Before you commit, write down how often you can check the garden in a normal week, whether you can water during a dry spell, and what you hope to harvest or see. A small garden near the kitchen door may outperform a larger plot at the far end of the yard simply because it is easier to visit.
Choose a site by sunlight, water, and access
A good garden spot is one you can care for, not merely the sunniest patch on a property map. Look for a place with the light your chosen plants need, soil or potting mix that drains appropriately, a convenient water source, and a route that lets you reach every plant without walking through a bed.
Walk the property after rain as well as on a dry day. Water that sits for hours, flows toward the house, or leaves the ground spongy can signal a drainage problem; containers or a raised bed may be a better first choice than planting directly there. A steep slope is also harder to water evenly and can wash soil downhill, so keep the first bed level where possible.
Think about the work that happens after planting. A hose that reaches the bed, a path wide enough to carry compost, and room to kneel or sit can make regular care easier; if mobility is a concern, choose containers or a raised planter at a comfortable height and leave enough turning space around it.
If the soil may have an unusual history—an old building with peeling paint, industrial use, fill, or heavy traffic nearby—do not assume a raised bed alone solves every concern. Penn State Extension’s urban gardening guidance recommends assessing a site’s history and testing when there is a plausible contamination concern; ask your local Extension office which tests and precautions fit your property.
Measure sunlight before choosing plants
Sunlight descriptions on plant tags are easier to use when you measure what reaches the actual bed. On a clear day, note direct sun in the morning, around midday, and late afternoon, then repeat on another day; nearby trees, fences, and buildings can cast long shadows, and their shade changes as deciduous trees leaf out.
Many vegetables that produce fruit, including tomatoes and peppers, do best with about six to eight hours of direct sun. Leafy crops and many ornamental plants can accept less, while the exact requirement depends on the plant and climate. Better Homes & Gardens’ garden-starting guide uses six to eight hours as a useful benchmark for many vegetables and flowering plants; GrowVeg notes that in very hot climates, some afternoon shade can protect crops from heat stress and rapid drying.
Do not label the whole yard “too shady” after one disappointing tomato attempt. A bright morning site may suit lettuce, leafy herbs, or shade-tolerant ornamentals, while the sunniest strip can be reserved for fruiting crops; if light is limited everywhere, choose plants whose tags match those conditions rather than trying to force full-sun species.
Pick a growing format that fits your space
In-ground beds cost the least to start if the soil is workable and the site is suitable. They give roots access to deeper ground, but you may need to manage existing grass, weeds, compaction, drainage, or a questionable soil history before planting.
Raised beds make it easier to control the growing mix and create a clear edge between bed and path. They can help where native soil drains poorly or is difficult to work, but lumber and bulk soil add cost, and the smaller volume may dry faster than deep ground soil. Keep a bed narrow enough to reach from both sides; if you have to step into it to plant or weed, you will compact the soil and damage seedlings.
Containers are useful on balconies, paved patios, and rental properties where digging is not an option. A pot must have drainage holes and enough root room for the mature plant; small pots heat and dry more quickly, so they often need closer moisture checks than beds. GrowVeg’s first-garden planning guide compares in-ground beds, raised beds, and containers as choices with different costs and site advantages, not as a required upgrade path.
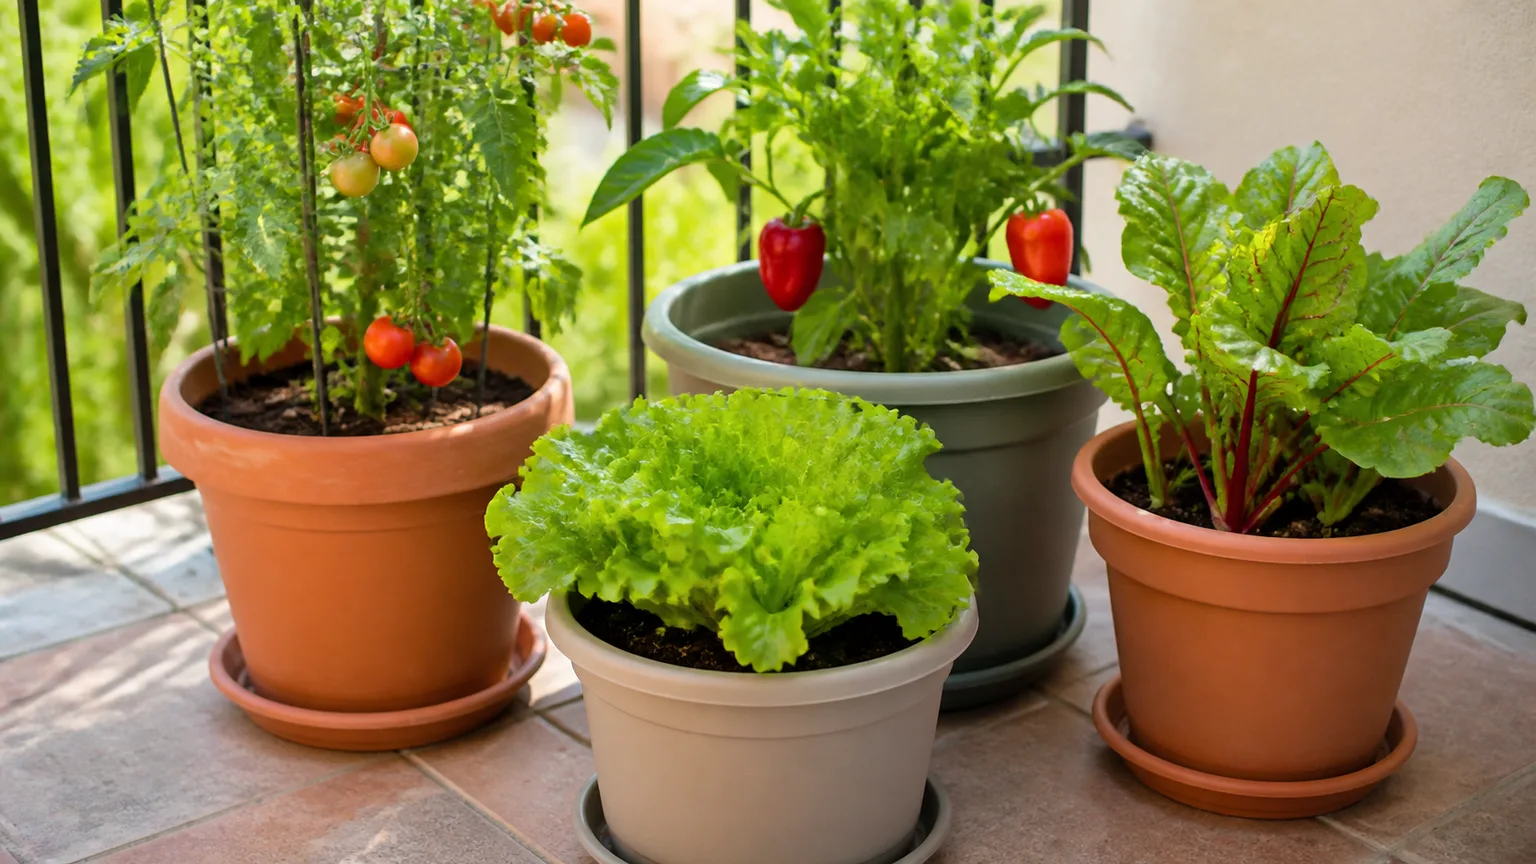
You do not need to build a raised bed to be a real gardener. Pick the least complicated format that works with your soil, budget, access, and watering routine, then spend the money you saved on healthy plants or good compost if those are the actual bottlenecks.
Learn what your soil can and cannot tell you
Soil is not simply a dark material that needs fertilizer. Its texture affects how quickly water drains and how strongly the ground holds moisture: sandy soil drains faster, while clay-rich soil tends to hold water longer and may become sticky when wet. Compost can improve structure over time, but it cannot instantly turn every soil into an ideal loam.
Use a quick field check before digging. Take a handful of soil that is moist but not saturated and squeeze it; soil ready to work should crumble when you open your hand, while wet soil that stays in a dense, sticky clump is better left alone. Working or walking on wet ground can compact it, making it harder for roots and water to move through.
Penn State Extension explains that soil health includes structure, organic matter, organisms, air, water, and nutrients, and recommends adding organic matter while avoiding compaction. Its soil-management guidance also cautions that soil texture itself is difficult to change. For a new garden, focus on correcting a diagnosed problem and protecting the soil you have instead of buying several amendments because a bag promises “premium” results.
Use a soil test before adding fertilizer
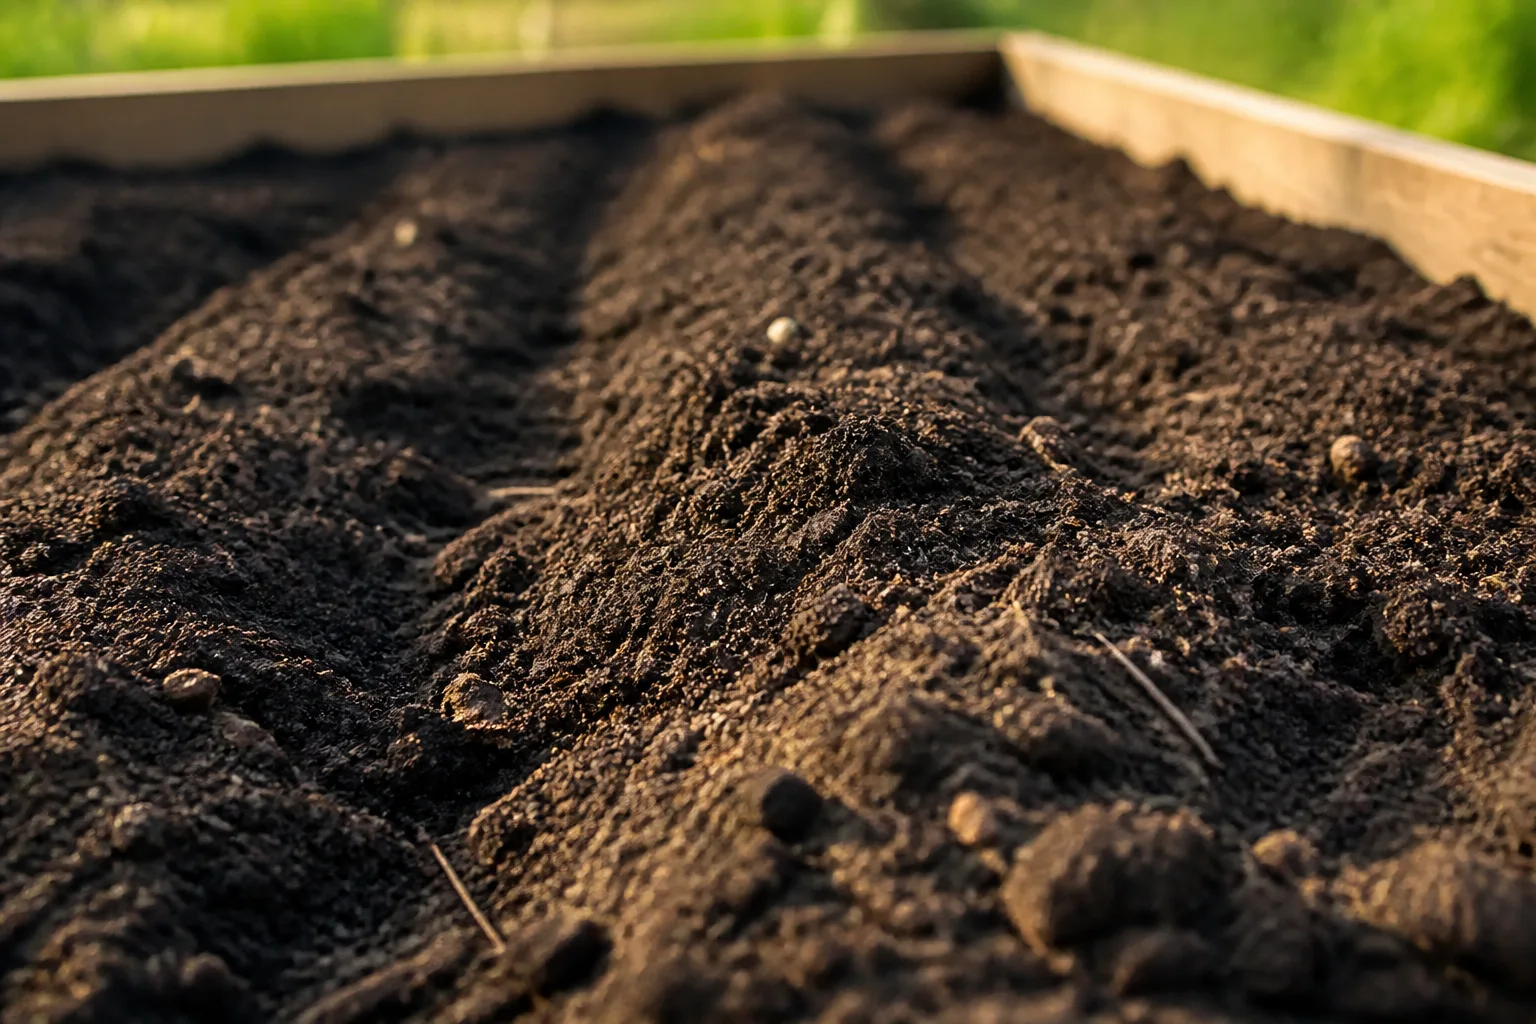
For an in-ground bed, a soil test is the best way to learn whether the soil needs a pH adjustment or particular nutrients. A cooperative extension lab usually explains how to collect a representative sample; follow its instructions, because one scoop from a single corner may not describe a whole bed. Sample different garden areas separately if they have different uses or soil conditions.
The report can help you avoid adding a nutrient the garden already has in sufficient quantity. That matters because unnecessary fertilizer can waste money, contribute to runoff, or push leafy growth at the expense of flowers or fruit. Use the report’s recommendation for the crop or bed rather than guessing from a leaf color or applying a general-purpose product at the highest rate.
Container gardening is different: many containers use a prepared potting mix instead of native soil, so a backyard soil test may not explain what is happening in the pot. Start with a reputable mix, choose a container large enough for the plant, and follow the plant’s feeding instructions; do not substitute dense yard soil in a small pot. If you are growing food in an urban yard with a history of older construction, dumping, or industrial activity, ask an Extension office whether you need a contaminant test in addition to a nutrient test.
Make a small plant list and a simple sketch
Choose plants by the job they do and the care they need, not by a photo on a seed packet. For food, start with vegetables, fruits, or herbs that your household already eats; for flowers, consider whether you want long bloom, cut stems, or a perennial planting that returns. Then check the mature width, height, light, moisture, and spacing on the label or packet before deciding how many to buy.
A quick sketch does not need to look like a landscape plan. Draw the bed or containers, mark the path and water source, then place taller plants where they will not shade shorter neighbors. Keep plants you harvest often close to a door, and leave access to the middle of beds so you do not trample the planting while reaching for a tomato.
Write down plant count before you shop. A common first-season trap is buying more seedlings than the space can hold at mature size, then crowding them until air flow and access suffer. If a packet or label gives a spacing range, use the mature spacing rather than the tiny size of a nursery pot.
Choose plants for your climate and calendar
A plant that thrives in one location may struggle in another because of winter cold, summer heat, humidity, day length, or rainfall. In the United States, USDA hardiness zones are useful for assessing whether a perennial can survive winter in a region, but they do not tell you when to sow every annual vegetable. For planting time, use a local cooperative-extension calendar, your typical frost dates, and the instructions for the individual seed or plant.
Cool-season crops such as some lettuces and peas can tolerate cooler weather, while warm-season plants such as tomatoes and basil are damaged by frost and prefer warm soil. These are broad categories, not exact dates: coastal, high-elevation, desert, and tropical climates do not share one planting calendar. A local extension calendar or nearby experienced gardener can help translate broad guidance to your location.
Use tags to match the plant to your actual light and water conditions, then choose a few dependable plants before trying unusual varieties. The RHS beginner’s advice is to start small and build knowledge in stages; that is also a sensible way to handle a region you are still learning. If you rent or garden in a shared space, check rules about plant height, water runoff, and permanent structures before building or planting.
Prepare the bed without making extra work
Remove weeds and grass from the planting area, but choose a method that matches your timeline. If you want to plant soon, lift sod and perennial weed roots carefully; if you can wait, smothering grass with a light-blocking layer and compost may reduce digging, but it takes time and persistent weeds may still emerge at the edges or through openings.
Loosen compacted soil only when it is dry enough to crumble. For a small bed, a spading fork can open the top layer without turning every inch; avoid repeated deep tilling as a default. If you are adding compost to an in-ground bed, work in a modest layer or top-dress it according to the soil’s condition and the crop needs, rather than making a thick, rich layer that drains differently from the soil below.
Plan the path before planting. A narrow bed reachable from both sides helps you tend plants without stepping on the root zone; paths also make it easier to carry a watering can or harvest basket. If laying cardboard to suppress lawn, use plain uncoated cardboard, remove tape, wet it, and cover it with compost; do not use it beneath plants that need to be set in immediately unless you can create workable planting openings.
Decide whether to sow seeds or buy transplants
Direct sowing is simple for plants that grow well where they are planted and dislike root disturbance. Seed packets tell you when to sow, how deep to place the seed, how far apart to space it, and whether you should thin seedlings later. Radishes, beans, peas, and many flowers are common direct-sowing candidates, but check variety-specific instructions and local timing.
Buying young plants can shorten the wait for crops that need a longer warm season or are awkward to start indoors. Choose sturdy transplants with healthy leaves and roots that are not densely circling the pot; a large, flowering transplant is not automatically a better buy than a smaller one with room to settle. Set a purchased transplant outdoors gradually if it was grown in a protected greenhouse, following the seller’s acclimation advice.
Starting seeds indoors adds equipment and timing decisions: seedlings need strong light, clean containers, a suitable seed-starting mix, and a plan to harden them off before they move outdoors. It is fine to skip that step your first year. Propagation simply means making new plants from seed or from plant parts such as cuttings or divisions; for your first season, learn one seed-sowing method well before adding those extra techniques. The BHG beginner guide outlines direct sowing, indoor seed starting, and buying transplants as different options; choose the one that fits the crop and the season you have.
Plant at the right depth and spacing
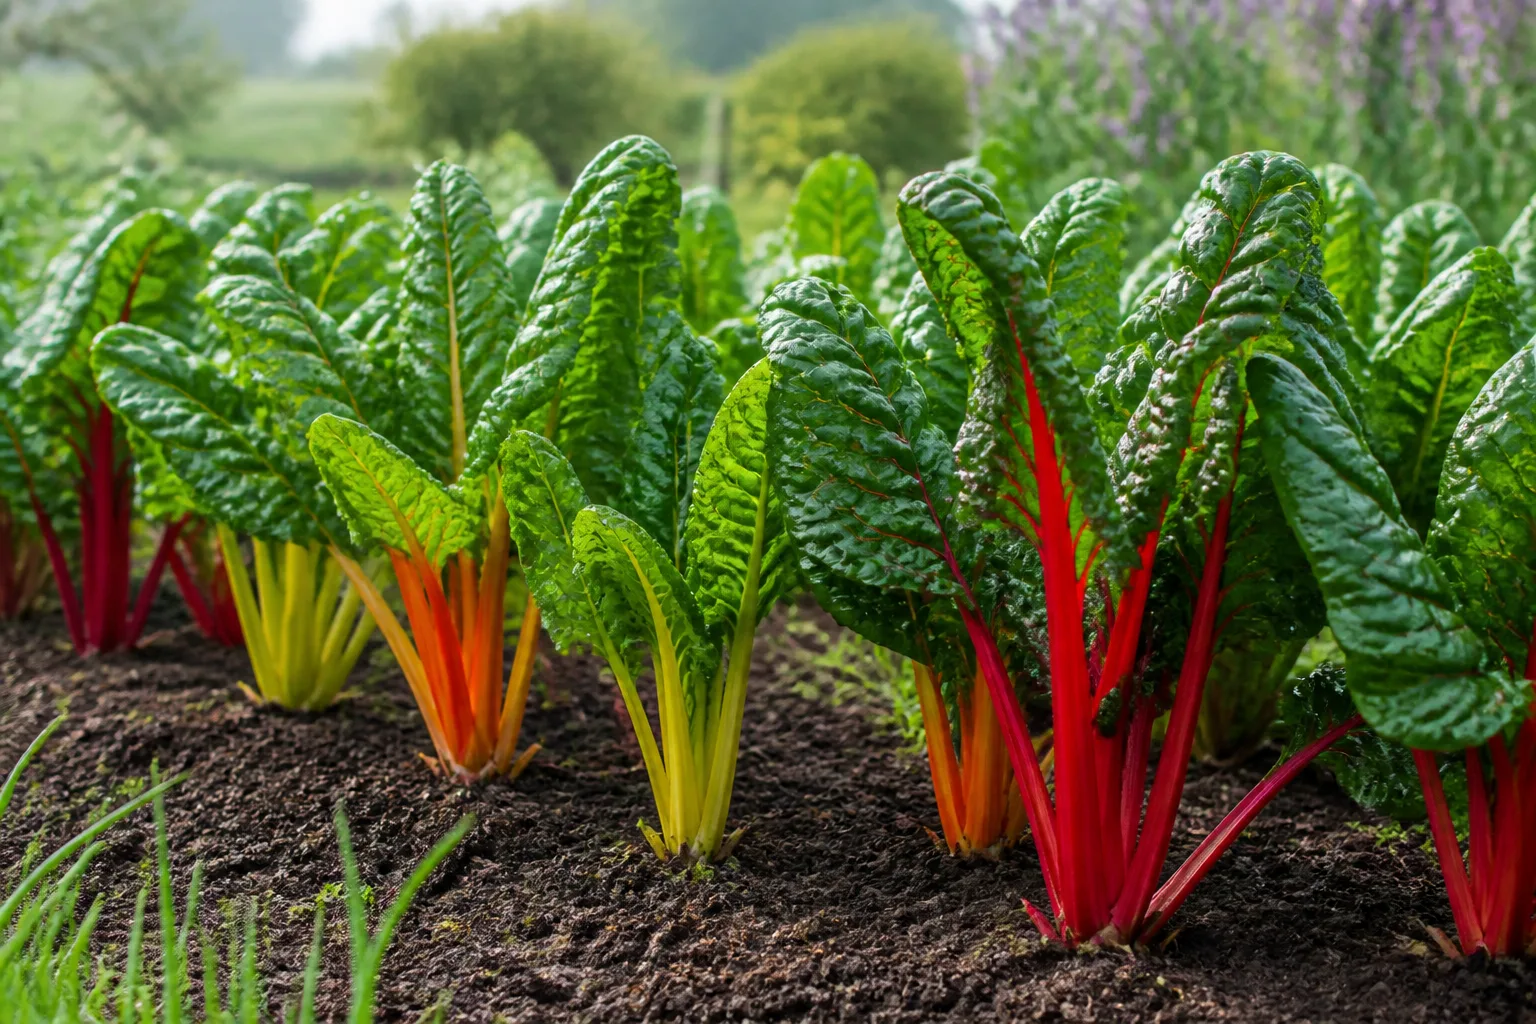
A seed packet is a small instruction sheet, not packaging to throw away. Follow its depth and spacing directions, because a seed buried too deeply may fail to emerge and one sown too shallowly can dry out before it germinates. If several tiny seeds sprout close together, thin them to the spacing on the packet rather than leaving every seedling in place.
When planting a transplant, water the pot first, remove the plant gently, and loosen only tightly circling outer roots. Set it at the same depth it was growing unless the plant’s instructions say otherwise, backfill with the surrounding soil, and water to settle air pockets. Avoid burying the crown or stem unless the plant’s directions specifically call for it; planting too deeply can keep a crown wet and slow establishment.
Label varieties and planting dates while the information is still in your hand. A simple wooden marker, reusable tag, or garden map can prevent confusion between seedlings that look alike and helps you compare what grew well later. Water carefully after planting, then check moisture again rather than assuming a single soak solves the next several days.
Water by conditions, not by calendar
Newly sown seeds need steady moisture near the soil surface while they germinate, but they should not sit in waterlogged soil. Small seedlings have shallow roots, so inspect them more often than established plants. Containers also have less soil volume than a bed and can dry quickly in sun or wind; a pot may need attention when the nearby ground still feels damp.
Once roots are established, water the root zone deeply enough to moisten the soil below the surface, then let the top layer begin to dry according to the plant’s needs. Check the soil with a finger or trowel instead of watering on a fixed weekday. Sandy soil, heat, wind, containers, and dense plantings can all speed drying; clay-rich ground, rain, and cool weather can slow it.
Water in the morning when practical, and aim the water at the soil rather than spraying leaves. If plants wilt in midday heat, check again when the sun is lower before adding water; temporary drooping can be a heat response, while dry soil and persistent wilting suggest a real moisture problem. BHG’s watering guidance likewise advises adjusting for soil and weather and checking below the surface rather than following a single schedule.
Mulch after seedlings are established
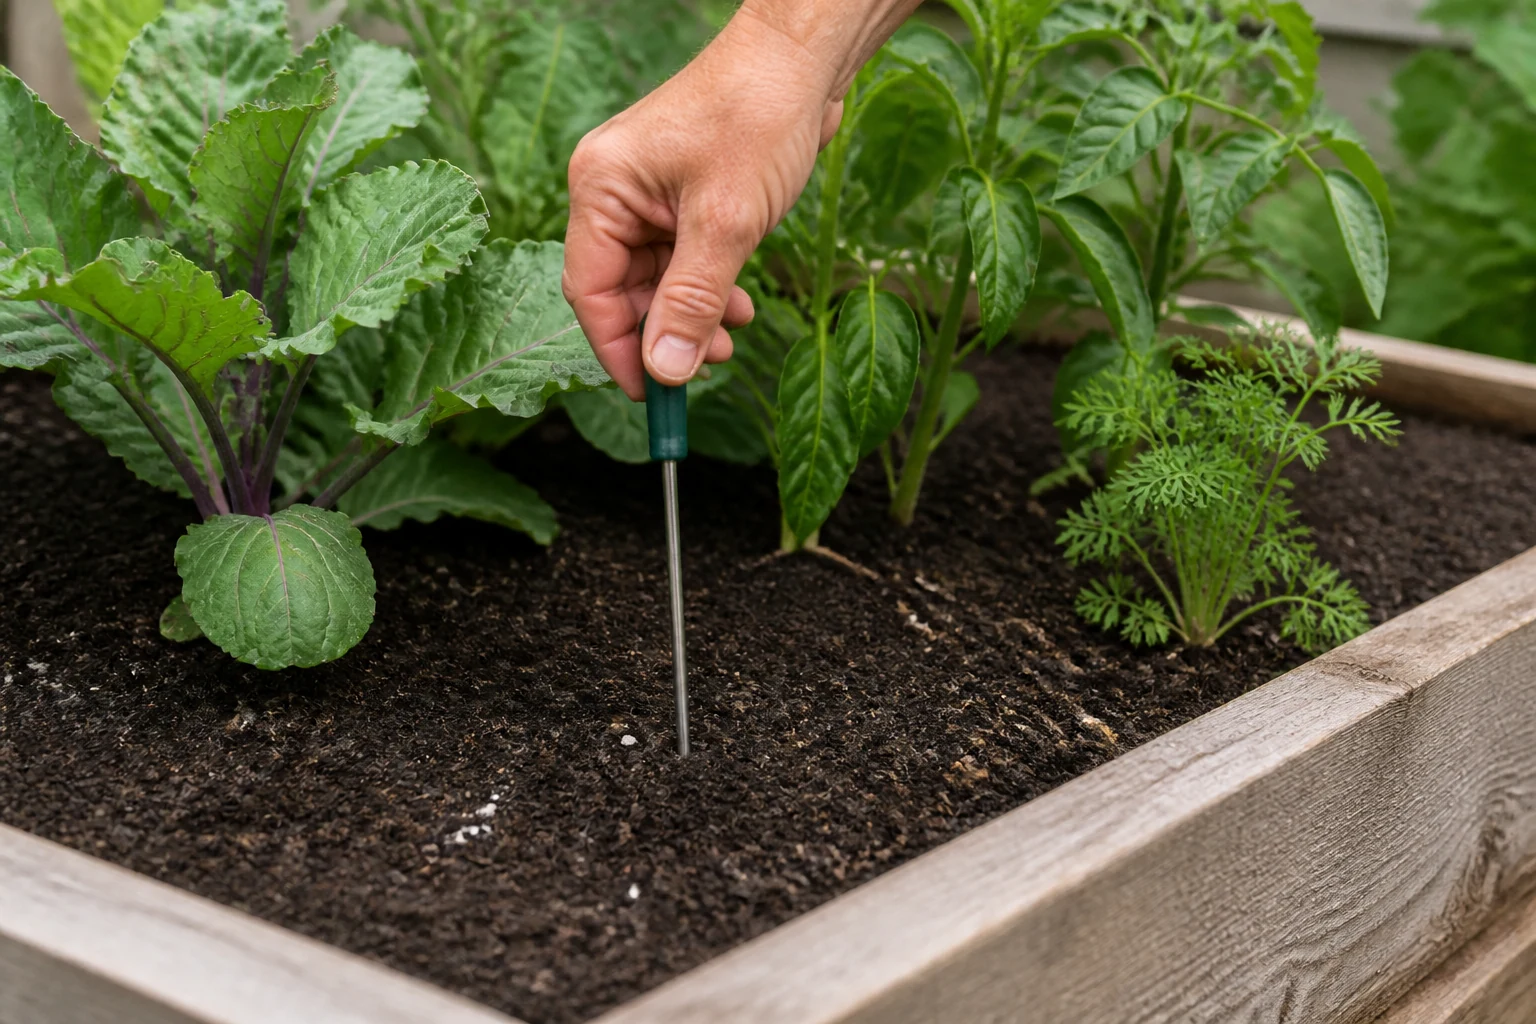
Mulch shades bare soil, slows moisture loss, and can make small weeds easier to manage. A thin, even layer of organic material such as chopped leaves, straw, or fine bark is useful around established plants; leave open space around stems and crowns so damp mulch does not rest against the plant.
Do not cover a row of freshly sown seeds before they emerge. A heavy layer can block small seedlings from reaching light, and coarse material may make weeding or thinning harder. Let the crop sprout, thin it to the right spacing, and then mulch between plants or rows.
Use material that fits the bed. Chopped leaves and straw are easy to move in a vegetable patch, while bark lasts longer in a permanent ornamental bed; the surface layer will need refreshing as it breaks down. Penn State Extension describes organic mulch as a way to retain moisture, moderate soil conditions, and reduce weed growth, but mulch does not replace watering or correct poor drainage.
Feed plants only when a test or need calls for it
Fertilizer is not a universal first step. If a soil test says nutrients are adequate, adding more may not improve growth; if it identifies a deficiency, follow the recommended product and rate. Compost can improve soil structure and contribute some nutrients, but its nutrient content varies, so treat it as an amendment rather than a precise fertilizer formula.
Plants also differ. A fast-growing crop in a container may need more frequent feeding than a perennial in healthy ground, while a nitrogen-heavy application can produce lush leaves without the flowers or fruit you wanted. Read the plant label and fertilizer directions, and do not combine multiple products just because each one claims to be gentle or natural.
When growth looks weak, check the basics before feeding: is the plant getting enough light, is the soil too wet or too dry, is the root space crowded, and is the weather appropriate? Yellow leaves can have several causes, so fertilizer is a poor diagnostic guess. Penn State’s home-soil guidance recommends basing fertilizer on soil-test findings.
Check regularly and solve small problems first
A short, frequent walk through the garden is more useful than waiting until a plant looks badly damaged. Look at leaf color and new growth, feel the soil, check for weeds before they seed, and harvest when crops are ready. Notice whether an issue is spreading across several plants or appearing on one; that pattern can help distinguish a site-wide watering problem from a pest or disease affecting a particular plant.
Seeing an insect does not automatically mean the garden needs a spray. Identify the insect and the damage first, then look for a low-impact step such as removing a badly affected leaf, hand-picking a visible pest, or correcting crowded, wet conditions. Penn State Extension advises monitoring and identifying a pest before using a pesticide because unnecessary treatments can harm beneficial insects; if a pesticide is needed, use one labeled for the specific plant and pest and follow its label.
Keep diseased leaves and heavily infested material out of the bed if the problem could spread, and avoid putting unknown diseased plants into a home compost pile. If a plant repeatedly declines despite correcting its light, moisture, and spacing, replace it with a species suited to that spot rather than turning the bed into a cycle of emergency products.
Buy only the tools that support your setup
Most small gardens can begin with a hand trowel, pruners or garden scissors, a watering can or hose with a gentle nozzle, gloves if you need them, and a bucket or basket. A spade or digging fork is useful for a larger in-ground bed, but it may be unnecessary for patio containers or a no-dig planting area.
Buy for the work you have planned, not for a fantasy garden you have not built. A long hose is only useful if it reaches without kinking; a large wheelbarrow is not a bargain if your paths cannot accommodate it. Keep tools clean and dry after use, and sharpen cutting tools when they begin crushing stems instead of making a clean cut.
You can borrow or rent bulky tools until you know which jobs repeat. Put that money toward a soil test, compost, healthy plants, or a watering setup if those solve the actual barriers in your garden. If you are not sure whether you need a tool, wait until a specific task is difficult to do by hand.
Keep simple notes, then expand deliberately
Record the plant name or variety, the date you sowed or planted it, the bed or pot where it went, and anything that changed the result. Add quick notes when something flowers, tastes good, bolts early, needs more water than expected, or attracts damage. These observations turn next year’s plan into a response to your real conditions instead of a copy of a generic calendar.
A small notebook or a note on your phone is enough. Take one photo of the whole bed after planting and another every few weeks; the sequence can show how quickly a plant filled its space or where shade shifted. Penn State Master Gardeners include keeping a garden journal among their beginner planning suggestions, and GrowVeg also recommends recording progress as a way to improve future plans.
At the end of the season, keep what worked, change one or two things that did not, and add plants only if you can care for them. A first garden is partly a harvest and partly a low-cost way to learn the light, weather, soil, and routines of your own space.
Conclusion
Start with one small garden in a place you can reach, then match the plants to its light, soil, season, and water access. Test in-ground soil before adding fertilizer, follow the seed packet or plant tag for timing and spacing, and check moisture instead of watering by habit.
You do not need perfect soil, a full shed of tools, or a complicated layout to begin. A short plant list, an accessible path, and a few minutes of observation each week give you enough information to make the next season better.



