How to Grow Kale: A Practical Seed-to-Harvest Guide
Grow kale in a bed or pot with clear seed-starting steps, spacing, watering cues, pest protection, and a harvest method that keeps plants producing for months.
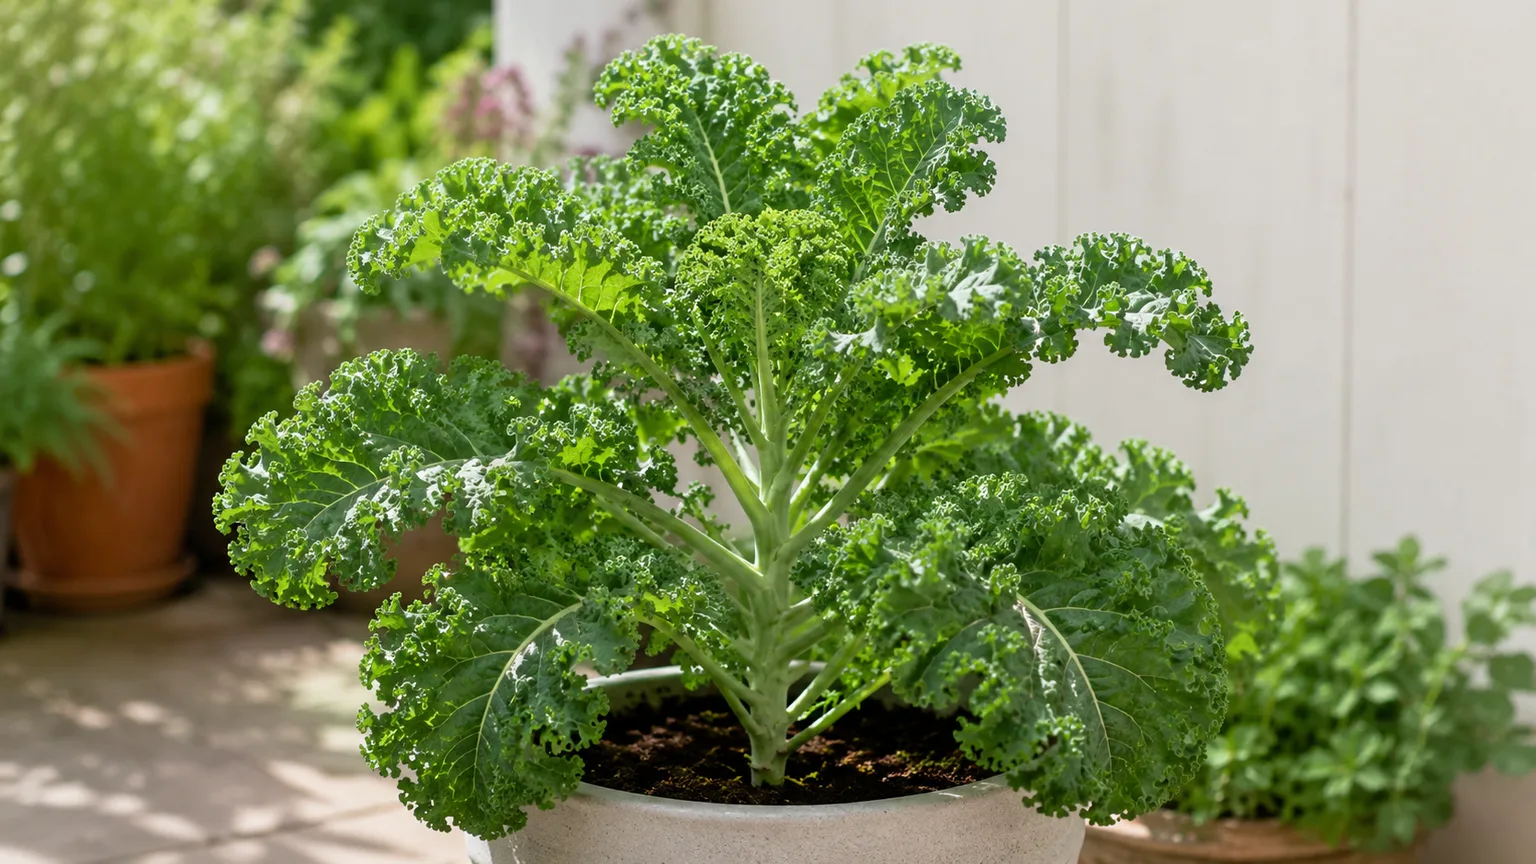
Kale is easiest to grow when its planting date follows the weather instead of a fixed month. Sow it for a cool spring or fall growing window, keep the seed zone evenly moist until seedlings establish, and leave enough room for the variety to reach its mature size. For repeat harvests, remove the oldest outer leaves and leave the central growing point intact.
In many gardens, kale can be harvested as baby leaves in roughly three to four weeks or as larger leaves in about seven to eleven weeks, depending on variety, temperature, and growing conditions. NC State Extension gives a range of 20 to 30 days for baby greens and 50 to 75 days for mature leaves; your seed packet is the best local reference because varieties do not all mature at the same pace. NC State Extension’s kale guide also explains why steady growth matters: slow or stressed plants tend to make tougher, less tender leaves.
Quick start: what kale needs to grow well
Kale (Brassica oleracea, Acephala Group) is a cool-season leafy crop in the cabbage family. It grows best in a bright location with fertile, well-drained soil and reliable moisture. Full sun usually produces sturdy, productive plants; in a hot climate, light afternoon shade can help a spring planting last longer before heat pushes it toward bitterness or flowering.
The simplest successful setup is a spring or late-summer sowing, about a quarter to a half inch deep, in soil that stays damp but not waterlogged. Thin or transplant plants to suit their expected size, mulch after they are established, and check the undersides of leaves for pests before damage spreads. Kale is forgiving, but crowded seedlings, hot weather, dry soil, and cabbage-family insects are the usual reasons an otherwise promising crop disappoints.
Choose a kale variety and decide how you will harvest it
Choose the crop first: baby leaves for salads need far less space and reach the kitchen sooner, while full-size plants take longer but can supply outer leaves over a longer stretch. Curly kale varieties such as ‘Vates’ and ‘Redbor’ add frilly texture and often hold up well to cool weather. Lacinato, also sold as Tuscan or dinosaur kale, has long, dark, puckered leaves; ‘Red Russian’ tends to have flatter, more tender leaves that are easy to cut young.
Compact varieties suit small beds and containers, while large types need room for a broad rosette. Check the seed packet for mature height, spread, and days to maturity rather than assuming that every kale plant fits a standard spacing. The Royal Horticultural Society’s kale growing guide describes the range of leaf forms and recommends closer sowing for baby salad crops than for mature plants.
Decide whether you want one large picking or a long sequence of small harvests. If you need a continuous supply of baby greens, sow a short row or small container every couple of weeks during cool weather; repeated small sowings are easier to use than a single oversized crop.
Plan spring or fall planting around local frost dates
Kale produces its best growth in cool weather, so gardeners often sow it in early spring and again for fall. For a spring crop, begin outdoors when the soil can be worked and the weather is cool; if starting indoors, sow several weeks before your average last frost and transplant when seedlings are sturdy. For fall, count backward from your usual first frost using the packet’s days-to-maturity figure, adding a buffer for slower growth as daylight shortens.
Local dates are a planning tool, not a guarantee. A mild coastal spring, a short mountain growing season, and a hot inland summer require different schedules even if they share a USDA hardiness zone. NC State Extension suggests sowing for spring about four weeks before the last frost and again around six weeks before the first fall frost; treat those as regional guidance and adjust for your local forecast and cultivar.
Use the seed packet as a timing range, not a promise
“Days to maturity” usually estimates the time from sowing or transplanting to a usable crop under reasonable conditions. It does not account perfectly for a cold snap, poor light, dry soil, or the slower pace of a late-fall planting. If you are growing for a particular meal or a winter bed, sow earlier than the final possible date and make a second, smaller sowing as insurance.
Spring planting gives you fast growth while temperatures are mild, but late spring heat can shorten the harvest window. Fall planting often has a longer cool finish, although seedlings must be established before shortening days and hard freezes slow growth. In a mild-winter region, a fall crop can continue for months; in a colder or exposed garden, plan to harvest before severe weather or protect plants with a suitable cover.
Choose a sunny site and prepare fertile, well-drained soil
Give kale a place with at least six hours of direct light where possible, but use afternoon shade if your spring and summer quickly turn hot. Avoid a low pocket that stays soggy after rain. Kale likes even moisture, yet roots sitting in cold, saturated soil are vulnerable to decline and disease.
Before sowing, remove weeds and loosen only the top layer if the bed is compacted; kale roots need a friable seedbed, not a fine powder. Mix in mature compost to improve soil structure and water retention, then use a soil test to decide whether the bed needs lime or fertilizer. NC State Extension places a useful target pH between 6.0 and 7.5 and recommends adding amendments based on test results instead of guessing.
Rotate kale with other cabbage-family crops such as broccoli, cabbage, and cauliflower where space allows. Moving brassicas to a different bed helps avoid repeatedly planting them in soil where the same crop-family problems have built up. Do not add fresh manure directly before planting; use well-rotted compost and follow local food-garden guidance for amendments.
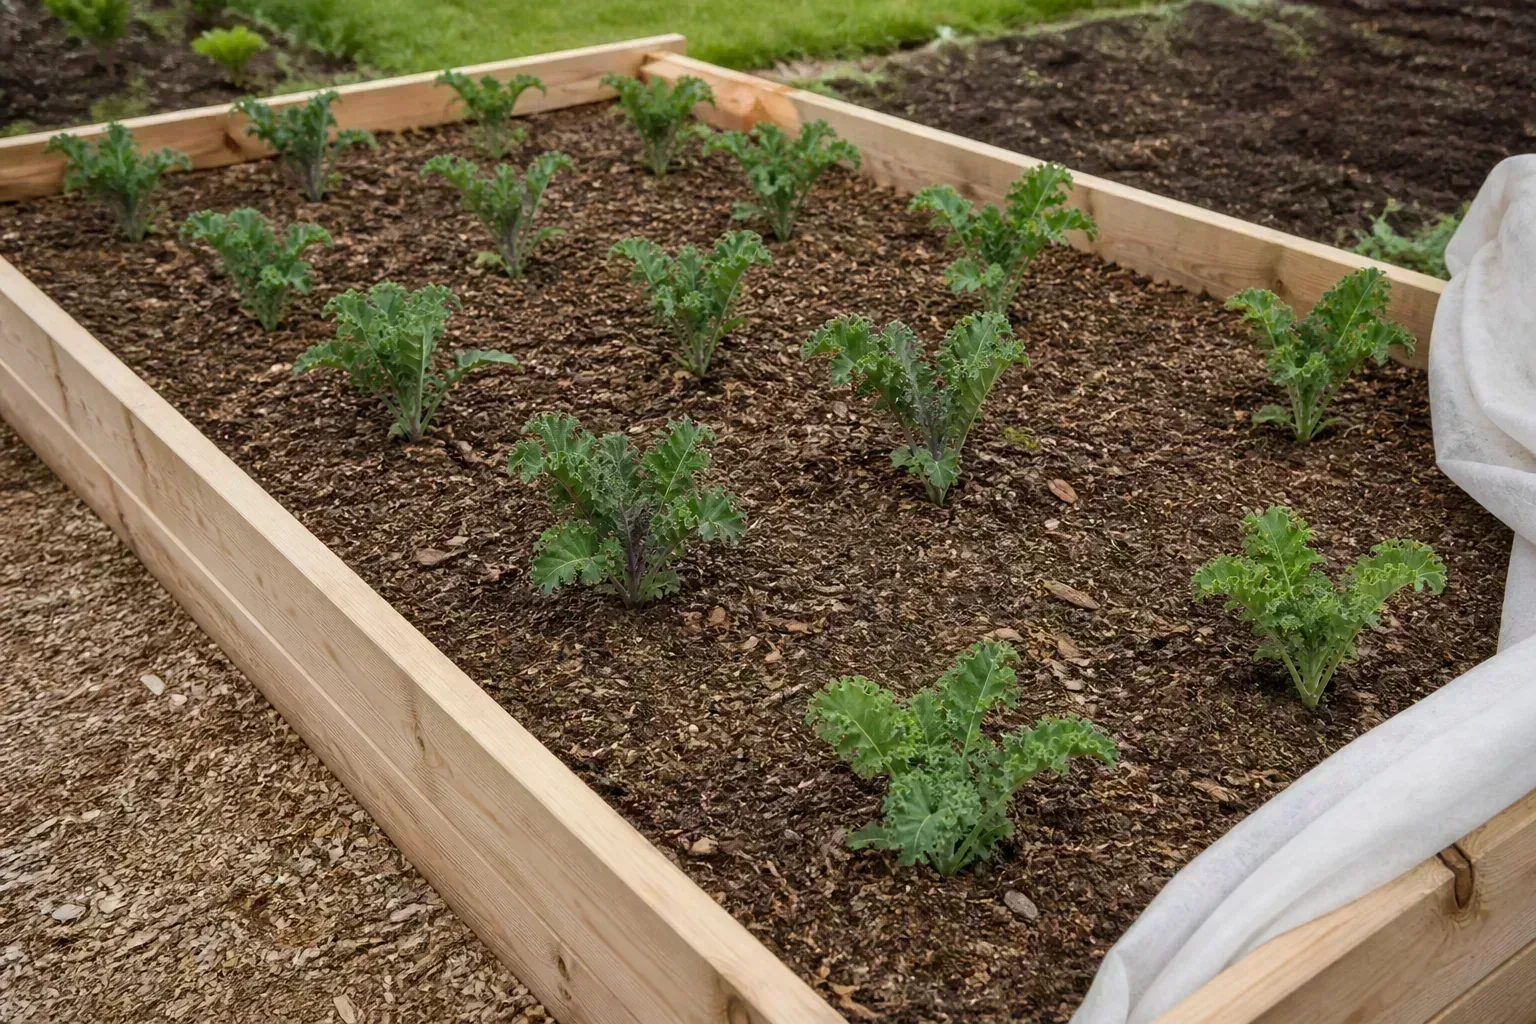
Germinate kale seeds step by step
Use clean seed-starting mix for indoor starts or a prepared, fine-textured outdoor bed for direct sowing. Kale seed is small, so cover it lightly—about a quarter to a half inch is a practical range—and press the surface gently so the seed makes contact with moist mix. Water with a fine rose or a gentle stream; a strong pour can expose seed or wash it into a clump.
Keep the seed zone evenly damp while waiting for sprouts. “Evenly damp” means the surface does not dry into a crust and the mix is not glossy, muddy, or continuously flooded. Once seedlings emerge, give them bright light and enough airflow to grow stocky stems. If germination is uneven, check whether the soil dried out, became waterlogged, or was buried too deeply before sowing a replacement row.
Start indoors when you need an earlier, protected crop
Indoor sowing gives you control over timing and can protect new seedlings from slugs, birds, and sudden weather swings. Sow in individual cells or small pots so roots are disturbed as little as possible later. The RHS recommends sowing two seeds per module about half an inch deep and removing the weaker seedling if both emerge; this is a useful approach when you want a dependable plant at each final position.
Place the tray in bright light and keep the mix moist rather than saturated. A sunny window can work, but seedlings may stretch if the light is weak; move them closer to the brightest suitable window or use a grow light positioned according to its instructions. Before moving indoor-grown plants outdoors, harden them off over about a week by gradually increasing their exposure to wind, sun, and cooler temperatures.
Transplant while seedlings are still young and compact. Lift each root plug intact, water it, and set it firmly into the bed so the roots contact surrounding soil. If plants wilt briefly after transplanting, shade them during the hottest part of the day and keep the root zone moist; do not compensate by leaving the soil waterlogged.
Direct sow when soil and weather are suitable
Direct sowing skips transplant shock and works well when the bed is ready and you do not need to reserve garden space for another crop. Make a shallow furrow, water it if the soil is dry, and sow seeds thinly. When seedlings have a few true leaves, thin them to the intended final spacing rather than letting a cluster compete.
Direct sowing is not always the easiest option. The seed row needs consistent moisture, and tiny plants can disappear quickly under weeds, slugs, flea beetles, or heavy rain. For a fall crop, you may prefer to start seeds in a protected tray during the hottest part of summer and transplant them once the bed is free and conditions are cooler. GrowVeg’s kale guide also recommends plug trays when you want seedlings growing while an earlier crop still occupies the bed.
Thin seedlings and space mature plants for airflow
Spacing depends on the variety and harvest style. A small baby-leaf crop can be planted close together because it is cut young; mature plants need room for their outer leaves to expand and air to move between them. As a practical starting point, leave about 12 inches for compact varieties, around 18 inches for many standard varieties, and up to 24 inches for large plants. Leave roughly 24 to 36 inches between rows if you need room to weed and harvest.
| Crop goal | Approximate spacing | What to watch |
|---|---|---|
| Baby leaves | 3 to 6 inches | Cut young; sow small batches again for a steady supply. |
| Compact full-size kale | About 12 inches | Check the packet; crowded foliage still needs airflow. |
| Standard full-size kale | About 18 inches | A useful starting distance for many garden varieties. |
| Large or spreading types | 18 to 24 inches | Give broad leaves and a heavy stem room to develop. |
Thin by snipping extra seedlings at soil level rather than pulling them if their roots are tangled with the keeper plant. This avoids disturbing the plant you want to grow. If you prefer to eat the thinnings, harvest them gently while they are small and wash them well.
Water consistently and use mulch to steady soil moisture
Water seedlings regularly because their shallow roots dry quickly. Once plants are established, water deeply when the top inch of soil begins to dry rather than applying a little water every day. A soaker hose or watering at the base keeps moisture aimed at the root zone and helps leaves dry sooner, which is useful in humid weather.
There is no single weekly amount that suits every bed. Wind, heat, soil texture, rainfall, and container size all change how fast the root zone dries. Check the soil with a finger or small trowel a few inches down; if it is dry there, water slowly enough to soak the root zone. If the bed is damp and leaves are drooping in heat, wait for cooler conditions and inspect the plant before assuming it needs more water.
After seedlings are established, a layer of clean organic mulch helps moderate soil temperature, slow evaporation, and suppress weeds. Keep mulch a little away from the stem to avoid burying the crown. Container-grown kale dries faster than in-ground plants, so check pots more frequently during warm or windy weather and make sure excess water can drain.
Feed kale according to soil and plant growth
Kale needs enough nitrogen to support leafy growth, but extra fertilizer is not a shortcut to a better crop. Start with compost and a soil test. If plants are pale and growth is weak despite proper light and moisture, use the test results and the fertilizer label to choose an appropriate feed rather than repeatedly adding a high-nitrogen product.
A container has a smaller store of nutrients than garden soil, so it may need feeding during a long crop. Use a balanced or vegetable-formulated fertilizer at the label rate and avoid placing concentrated fertilizer against stems or roots. Too much fertilizer can create lush, tender growth that is more attractive to pests and can lead to excess salts in a pot.
Grow kale successfully in a container
A large, deep container is more reliable than a shallow window box for full-size kale. Choose a compact variety and use a pot at least 12 inches wide and deep for one mature plant; baby kale can grow more densely in a broad planter. The RHS gives 30 centimeters (about 12 inches) as a suitable pot size for one compact plant and recommends keeping the container in a sunny position.
Fill the pot with fresh, free-draining potting mix and confirm that water can leave through the drainage holes. Do not use garden soil alone, which can compact in a pot and drain poorly. Set the seedling at the depth it was growing before, water thoroughly after planting, then check moisture more often than you would in a bed. If the pot becomes root-bound or dries within a few hours on warm days, the container is too small or too exposed.
Containers can be moved out of intense afternoon sun or closer to shelter as seasons change, but the mobility only helps if you monitor them. A compact kale plant in a pot still needs strong light and regular water. Put the pot where it is stable and not likely to tip in wind, especially as a mature plant gets top-heavy.
Prevent pests before leaves are damaged
Kale belongs to the cabbage family, so caterpillars, flea beetles, aphids, slugs, and birds may all take an interest in it. Look at both sides of leaves once or twice a week, especially on young plants. Small holes, pale stippling, clusters of eggs, sticky residue, or distorted new growth each suggest a different problem; identify what is happening before choosing a response.
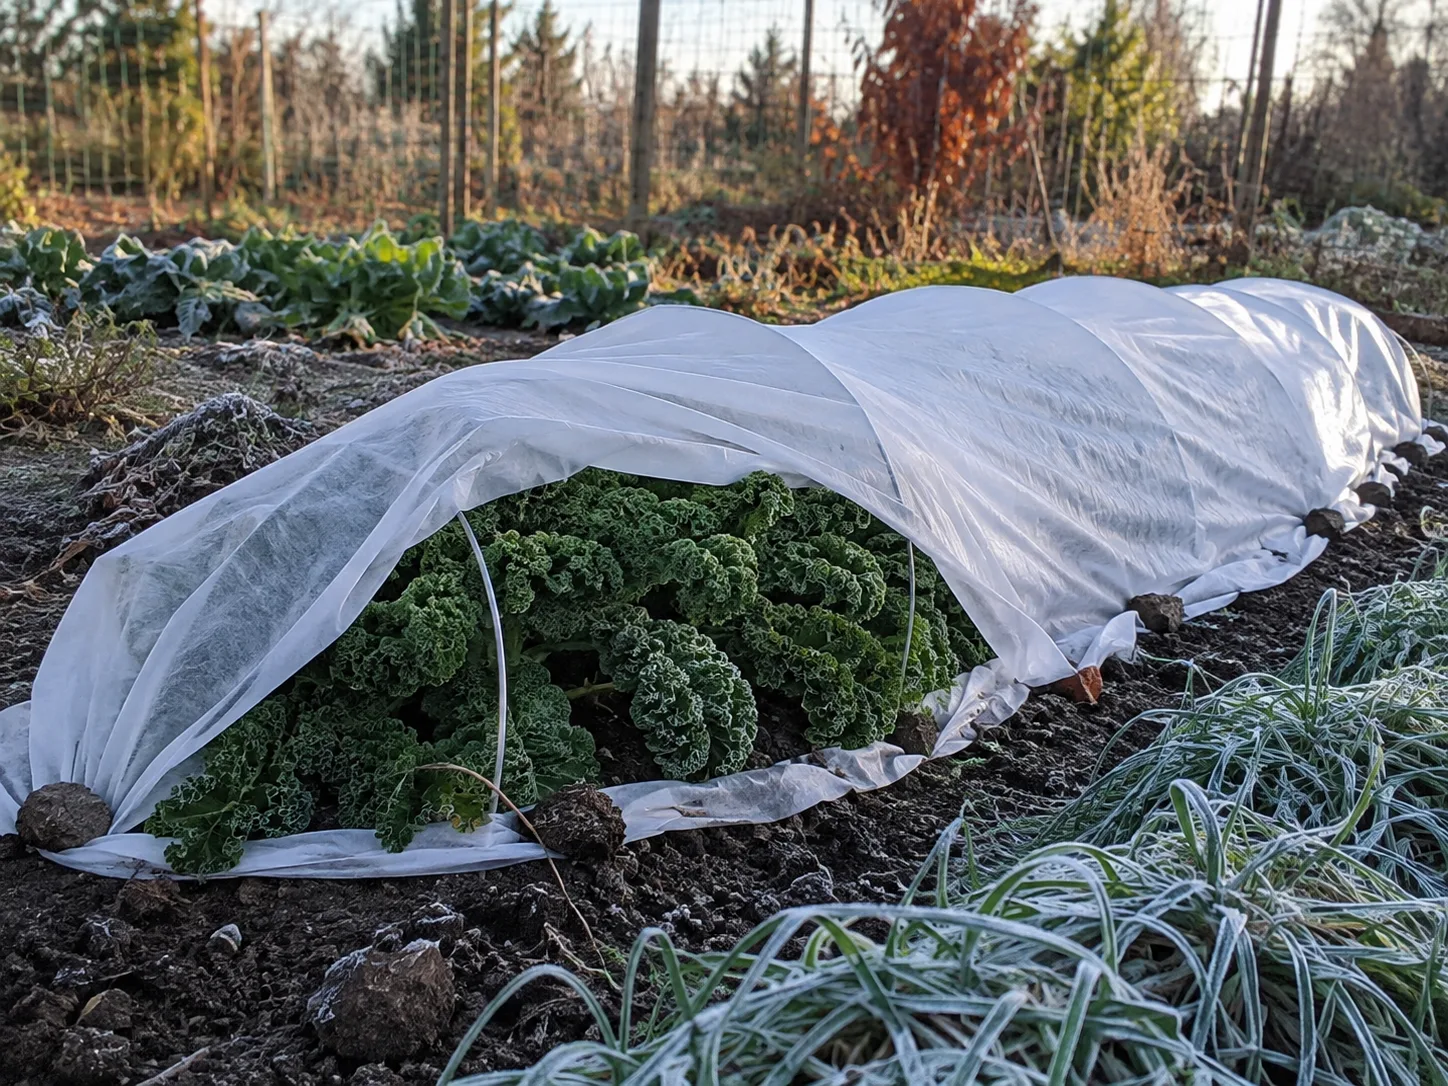
Fine insect-proof mesh or a lightweight row cover works best when it goes over clean plants before adult butterflies and other pests arrive. Support the fabric on hoops so it does not press on leaves, and secure the edges to the soil or bed frame so insects cannot crawl underneath. The RHS recommends mesh to protect kale from insects and birds, and Savvy Gardening’s kale-growing guide describes using floating row cover over brassicas to prevent caterpillar damage. Remove or open a cover when plants need tending and check underneath regularly; it can also trap pests that were already on the crop.
If you find caterpillars or eggs, hand-pick them and remove heavily damaged leaves. Rinse aphids from sturdy plants with a controlled stream of water, then check again because hidden insects may remain in leaf folds. Manage slugs with garden sanitation and locally appropriate methods, and rotate brassicas to reduce repeated crop-family disease problems. For any pesticide, follow the product label and confirm that the product is approved for the edible crop and pest in your location.
Harvest kale without removing the growing center
You can harvest young kale before a plant is full-sized. For baby leaves, cut outer leaves when they are tender and large enough to use, leaving the central leaves to keep growing. For a mature plant, remove a few of the oldest lower leaves at a time with clean scissors or a knife; avoid cutting into the central crown, where new leaves form.
Do not strip the entire plant in one picking if you want it to keep producing. Taking too many leaves at once reduces the plant’s ability to replace them, especially during hot weather or after transplant stress. Pick more conservatively when the plant is small, then increase harvests as it becomes established and keeps forming healthy new leaves.
Taste and texture depend on leaf age and conditions. Young leaves are usually tender enough for salads, while larger or older leaves may have tougher ribs and suit cooking better. The NC State Extension guide places baby-green harvest around 20 to 30 days and mature leaves around 50 to 75 days after seeding, and notes that a light frost can improve sweetness. Rinse leaves, dry them well, and refrigerate in a breathable bag or container; NC State Extension advises that fresh kale keeps for up to about a week.
Extend the season and manage heat, frost, and bolting
A light frost can make kale taste sweeter, but frost tolerance is not the same as guaranteed winter survival. Wind exposure, soil moisture, cultivar, plant size, and the depth and duration of a freeze all matter. A row cover can buffer chilly nights and wind; in places with severe winters, harvest before a prolonged hard freeze or use a protected structure suited to the climate.
Heat is often a bigger obstacle to a spring crop than cold. When warm weather arrives, plants may turn tougher or begin to send up a flower stalk, known as bolting. Sow early enough to get useful leaves before sustained heat, mulch to keep roots cooler, and use light afternoon shade if the site is hot. If a plant has bolted, harvest any leaves that are still pleasant to eat, but do not expect pruning to restore its former leaf production.
Kale is botanically biennial, so a plant that survives winter may flower and set seed in its second season. Most home gardeners grow it as an annual and replace it with a new sowing when production fades. If you want seed, leave a healthy plant in place through winter where the climate permits, then allow the spring flower stalks and seed pods to mature; do not rely on this method in a climate where plants cannot survive the winter.
Troubleshoot weak germination and stressed plants
If seeds have not emerged, first check how long they have been in the soil and whether the surface stayed moist. Cold soil can slow germination, while a dry seedbed interrupts the process and waterlogged mix can limit oxygen. If the original row has been exposed to heavy rain or a crusted surface, gently loosen the top layer and sow a short replacement row rather than digging up the entire bed.
Leggy seedlings usually need more light, not more fertilizer. Move trays closer to a bright source or adjust grow lights as directed, and keep seedlings from leaning toward one small window. If young leaves have holes, check the undersides and nearby soil for caterpillars, beetles, or slugs before applying any treatment. If a mature plant suddenly wilts in wet ground, stop watering and check drainage and roots; adding more water to already saturated soil makes the problem worse.
When leaves are bitter, review the crop’s age and recent weather. Older leaves can be more fibrous, and heat or drought stress can reduce quality; harvest younger leaves and keep water more even. If the plant is already stretching into a flower stalk, switch to a new sowing for tender leaves instead of trying to force the old plant back into leafy growth.
Conclusion
A productive kale crop starts with a cool-season planting window, a well-drained bed or adequately sized pot, and seedlings that never dry out while they are small. Match spacing to the variety, use compost and soil-test results rather than guesswork for fertilizer, and cover brassicas early if caterpillars or flea beetles are common in your garden. These few choices prevent most avoidable setbacks.
Harvest the outside leaves a little at a time and leave the center intact. Sow another small batch before the current one declines if you want a steady supply, and use covers or shade to stretch the season where conditions allow. Your local frost dates and the seed packet’s variety information will give you a more useful calendar than a universal month-by-month schedule.



