Garden Without a Backyard: Grow More in Less Space
Grow a garden without a backyard using a balcony, windowsill, containers, or microgreens. Match crops to light, choose safe pots, and make a care plan.
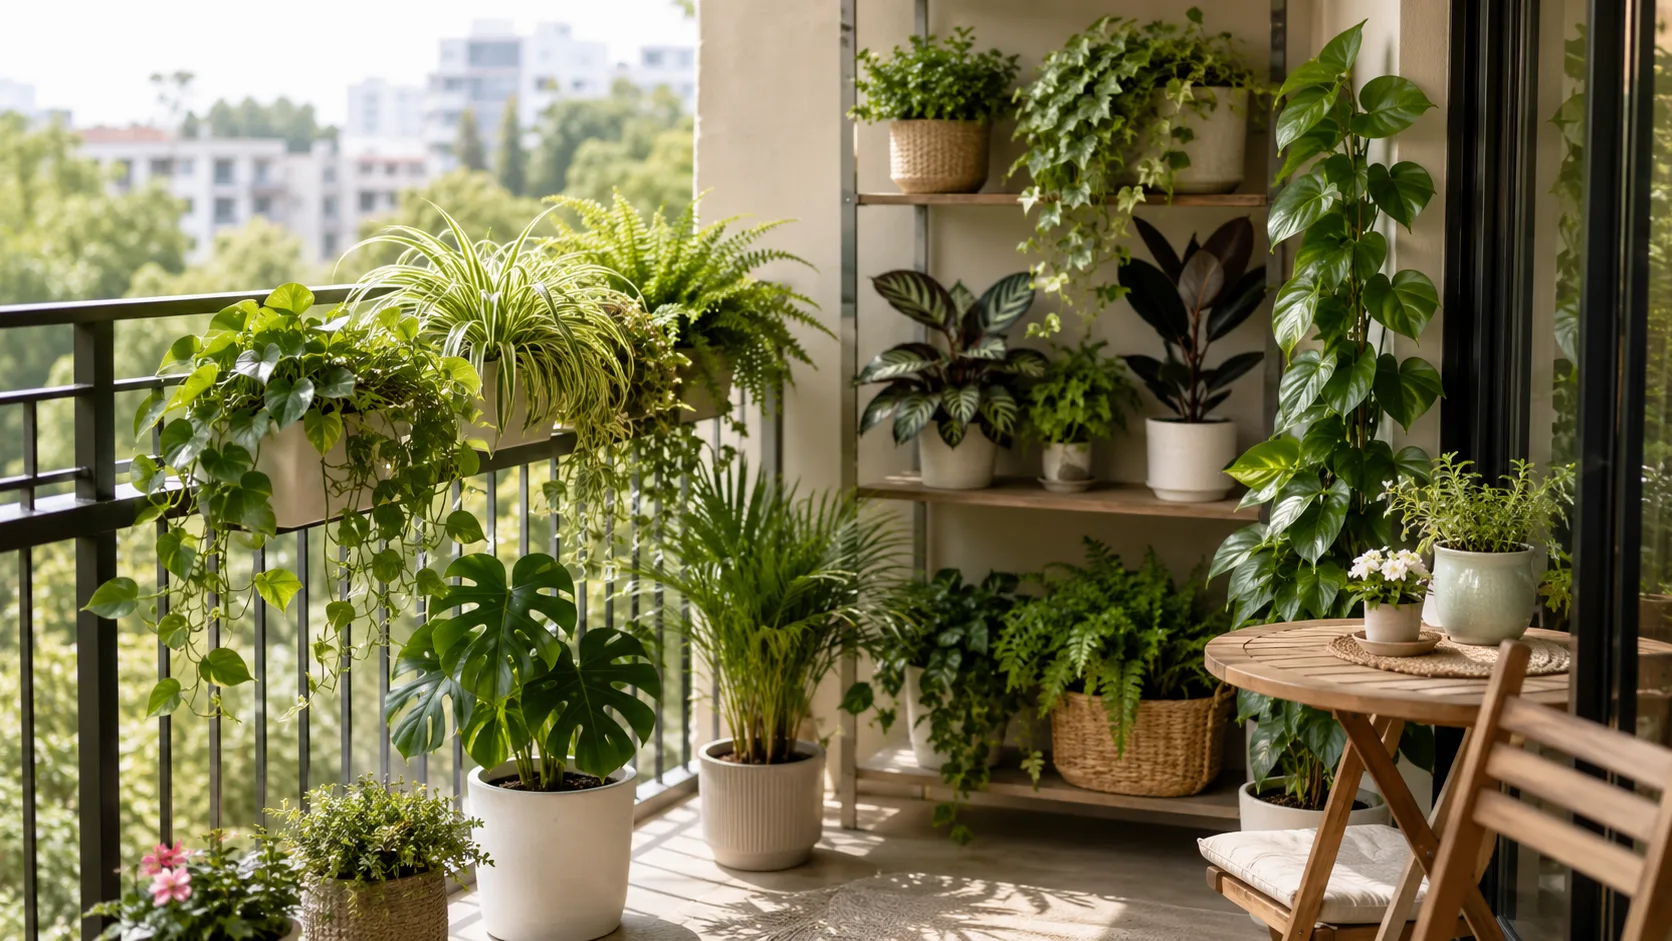
A backyard is convenient, but it is not a requirement for gardening. A balcony, patio, doorstep, sunny window, indoor shelf, or shared community plot can support plants; the key is to match the garden to the light, room, and care you can actually provide. Start with one or two containers or a tray of greens, learn how quickly that spot dries out, and expand only after you know what it can support.
The best small-space garden is not the one with the most pots. It is the one where each pot gets enough light, has room for roots, drains safely, and is close enough to water that you will look after it. This guide helps you choose a format before you buy plants, then build an edible or ornamental garden around the conditions you have.
Start With What Your Space Gives You
Before shopping, observe the site for a few days. Note where direct sunlight falls and for how long, whether the spot gets morning or afternoon sun, how wind moves through it, where rainwater drains, and how far you would need to carry a watering can. A bright room can look sunny while the actual window receives little direct light; fruiting crops respond to the light reaching their leaves, not to how bright the room feels to you.
Make a simple sketch with the usable floor area, shelves, rails, windows, doors, and walkways. Mark anything that must stay clear, including a door swing, emergency exit, access route, or shared landing. If you rent, check your lease or building rules before attaching planters to rails or walls, and ask the building manager about concentrated planter weight and water runoff; a wet container is substantially heavier than an empty pot.
The most important first decision is whether you want food, flowers, foliage, or a mix. A few kitchen herbs and salad greens need less root space than a large tomato, while a flowering window box can deliver color and nectar without asking you to manage a daily vegetable harvest. Choosing the result first keeps you from buying a structure that does not fit the plants you want.
Choose the Garden Format by the Site You Have
Container gardening is the most flexible starting point because you can move individual pots as the sun or season changes. But containers are only one option: railing boxes, wall planters, a shared plot, a windowsill, or a small indoor growing shelf can all make sense when the site supports them. The format should solve a real limit in your space rather than add equipment you do not need.
Balcony or Patio
A balcony or patio gives you outdoor light, airflow, and room for crops that need larger roots, but it also exposes pots to heat, wind, and quick drying. Start with a stable floor planter or a few containers near the wall, then watch how the area behaves through a warm afternoon before adding hanging baskets or tall trellises. Keep the heaviest pots low and against a wall, and do not assume a railing can carry the weight of a full planter or a climbing plant in a storm.
A pair of large containers can be more productive and easier to maintain than a dozen tiny pots. A sunny spot might hold a compact cherry tomato with basil in a separate pot, while a cooler part of the balcony can support lettuce, arugula, parsley, or chives. A balcony that gets only a few hours of direct sun can still grow leafy crops and shade-tolerant flowers, but it is a poor place to expect a heavy harvest of tomatoes or peppers. For a composed look, repeat one or two pot materials and vary plant heights; BBC Gardeners’ World notes that repeated containers can create visual impact, while larger pots give plants more growing room and dry less quickly (BBC Gardeners’ World Magazine).
Windowsill, Doorstep, or Shared Entry
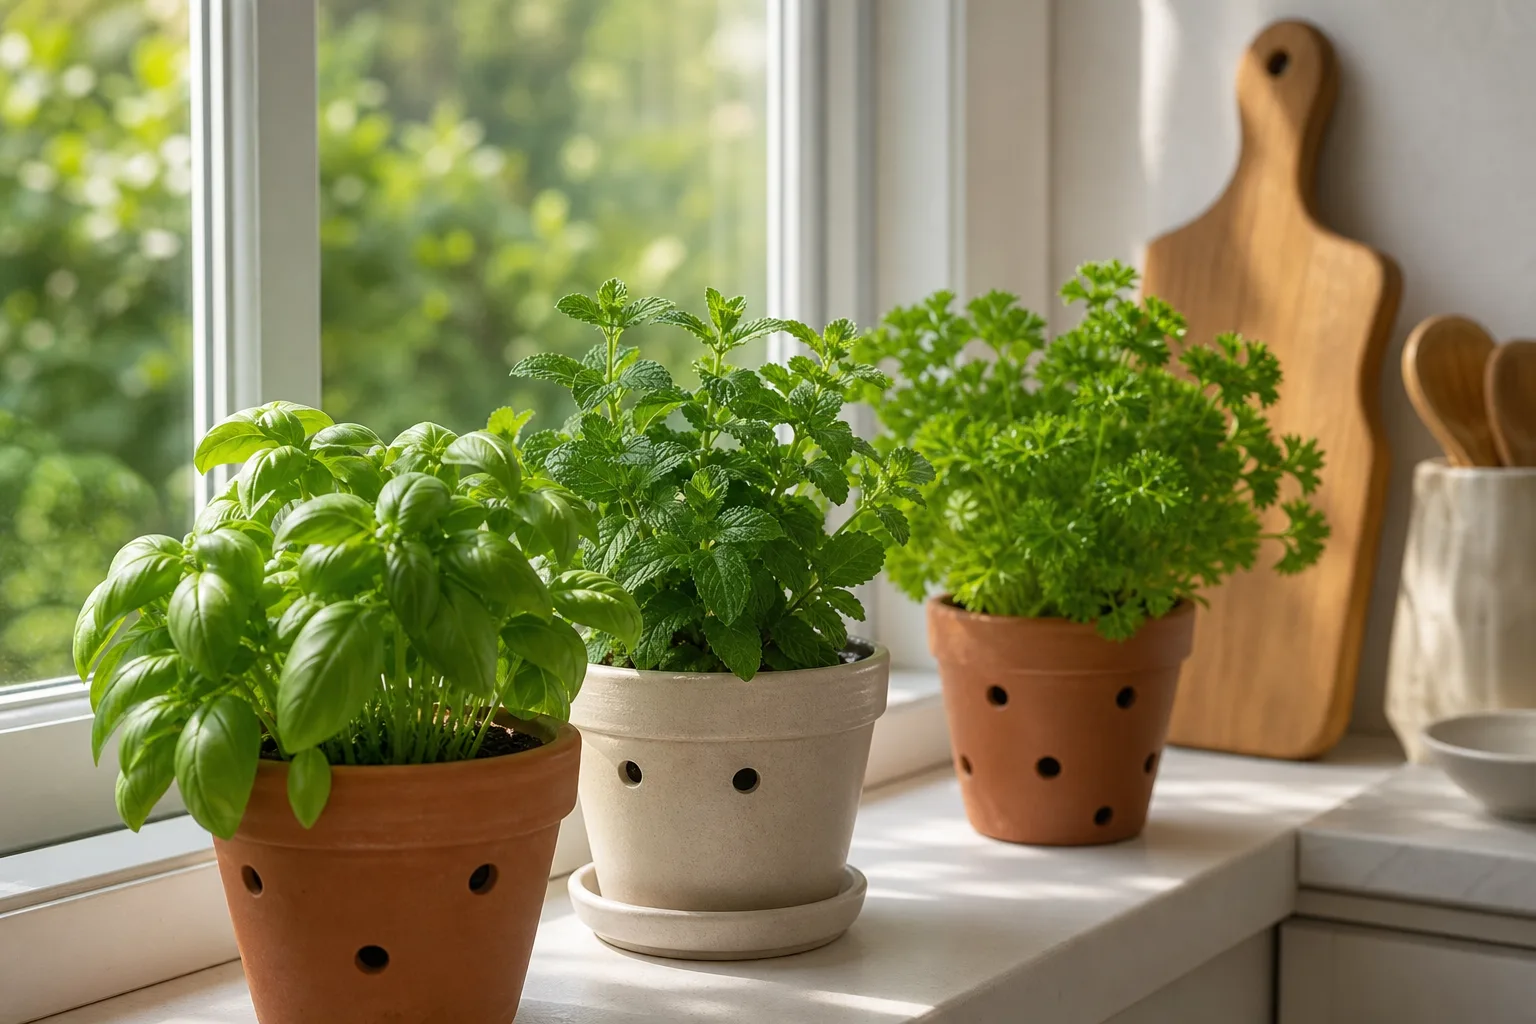
A windowsill is useful for a small herb pot or a tray of seedlings, but it often has less root room and lower light than a balcony. Choose a compact herb such as chives, parsley, or thyme, and make sure the container has drainage and a saucer that will catch excess water without leaving the pot standing in it. Basil usually wants more warmth and direct light than a dim kitchen window provides, so a plant that becomes leggy is often asking for brighter conditions rather than more fertilizer.
A doorstep or shared entry can work if there is permission, enough light, and a clear path for people. Use a small, stable planter that cannot tip into a walkway, and keep leaves and water off stairs and neighboring property. If the entry stays shaded, consider foliage plants or shade-tolerant flowers rather than forcing sun-loving vegetables into a low-light site.
No Outdoor Space: Grow Indoors Strategically
With no outdoor space, choose crops that can complete their useful growth in a small indoor footprint. Microgreens, scallions, sprouts, and a few culinary herbs are more realistic than trying to keep a large summer vegetable garden alive in a living room. For fruiting plants such as tomatoes and peppers, a sunny window may not provide enough light year-round; supplemental grow lights can help, but they add cost, electricity use, heat, and a daily routine.
If you want a larger harvest than your home can support, look for a community garden or allotment rather than filling every window with unsuitable plants. A shared plot can offer ground-level soil, more sun, and space for crops such as squash or corn that are awkward in containers, although availability, travel time, fees, and site rules vary. Treat it as a separate option for larger crops, not as a failure of indoor gardening.
Set Up Containers for Real Growing, Not Decoration
A good container is the right size for the mature plant, drains freely, is safe for the intended use, and can stay where it belongs once filled. Choose containers with drainage holes and place them where runoff will not damage a surface or drip onto neighbors. For a railing box or hanging planter, use hardware designed for that setting and follow building rules; a lightweight empty basket can become heavy after watering and plant growth.
Choose Volume, Depth, and Drainage
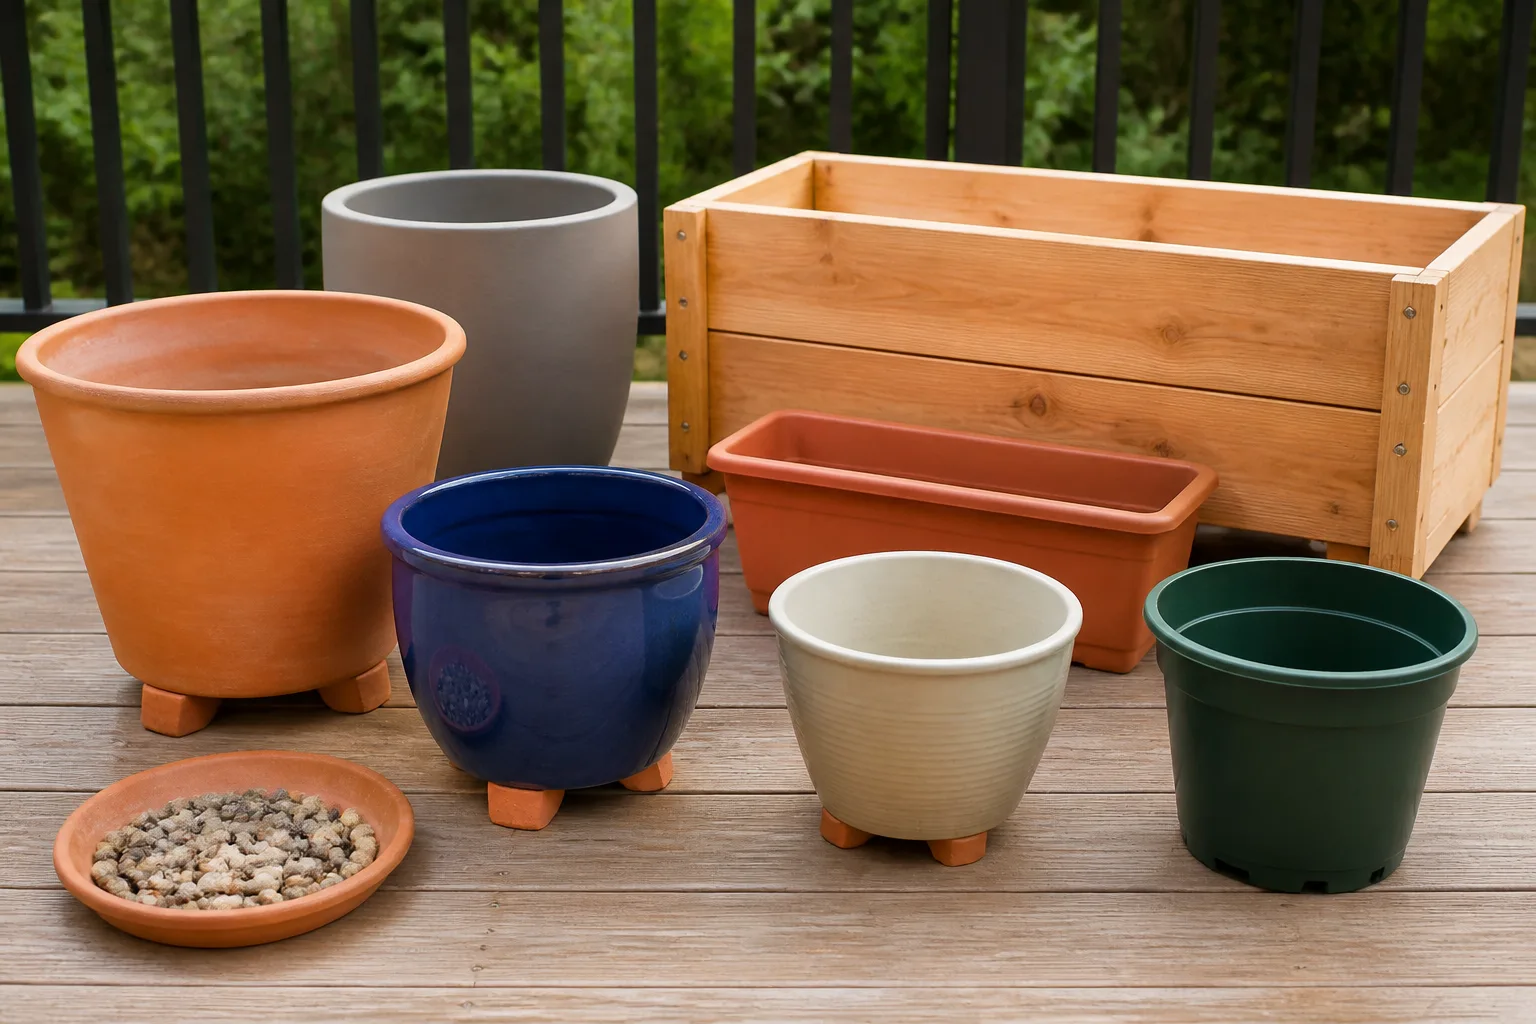
Small leafy crops have modest roots, while tomatoes, peppers, eggplants, and cucumbers need more soil volume and stability. As a practical starting point, Wisconsin Extension suggests at least two gallons and four to six inches of depth for smaller crops such as lettuce, spinach, radishes, and green onions, and at least five gallons with 12 to 18 inches of depth for larger crops such as tomatoes, peppers, and cucumbers. Penn State recommends a broad pot for tomatoes and gives smaller minimum widths for peppers and eggplants; variety, climate, and watering routine all affect how well a container performs, so follow the seed packet or nursery guidance when it calls for more room (University of Wisconsin–Madison Extension; Penn State Extension).
Think about the container’s footprint as well as its height. A long trough can hold several rows of greens, while a deep pot is a better fit for a tomato or carrot; a shallow wall pocket may suit a trailing ornamental but is usually too small for a hungry vegetable. More potting mix buffers short dry spells, so the smallest container is not always the easiest choice even when floor space is limited.
A container without a drainage hole is a decorative cachepot, not a reliable growing pot. You can set a nursery pot inside a larger outer pot, but lift it out to water and empty the catch pot afterward. Do not add gravel or broken pottery to the bottom to “improve drainage”; a continuous column of potting mix drains more predictably than a layered pot, according to Wisconsin Extension (University of Wisconsin–Madison Extension).
Use Potting Mix and a Stable Location
Use a quality potting mix made for containers rather than scooping soil from a garden bed. Ground soil can be too dense in a pot, limiting drainage and root aeration; a container mix is formulated to hold moisture while leaving air spaces around roots. If you reuse a tub or bucket, use one that is clean and has never held chemicals, fuel, paint, or other substances that could contaminate the growing medium. Food-safe containers are a sensible default for edible crops.
The container’s material affects how often you water and how easy it is to move. Plastic and fabric pots are lighter and often retain moisture longer than unglazed terracotta, while terracotta dries more quickly through its porous sides; heavy ceramic and stone may be hard to shift and can be a poor fit for a balcony with unknown load limits. Larger pots are steadier in wind, but weigh more when saturated, so balance plant size, exposure, mobility, and the structure beneath them instead of choosing by appearance alone.
Fill the pot with mix rather than a layer of packing material, set it in its final position, then plant. If you need to move pots seasonally, use a wheeled platform that is rated for the full wet weight and does not block drainage. Virginia Cooperative Extension notes that containers can be moved to make better use of light and shelter, an advantage for small-space gardens as weather changes (Virginia Cooperative Extension).
Use Vertical Space Without Making a Hazard
Vertical gardening adds growing area to a wall, trellis, or shelf, but it does not create more sunlight or root volume. Use it for compact crops that climb or trail—pole beans, peas, cucumbers, some tomatoes, nasturtiums, or strawberries—while keeping the container large enough for their roots. Put the support in place at planting time so you do not force a stake through established roots later.
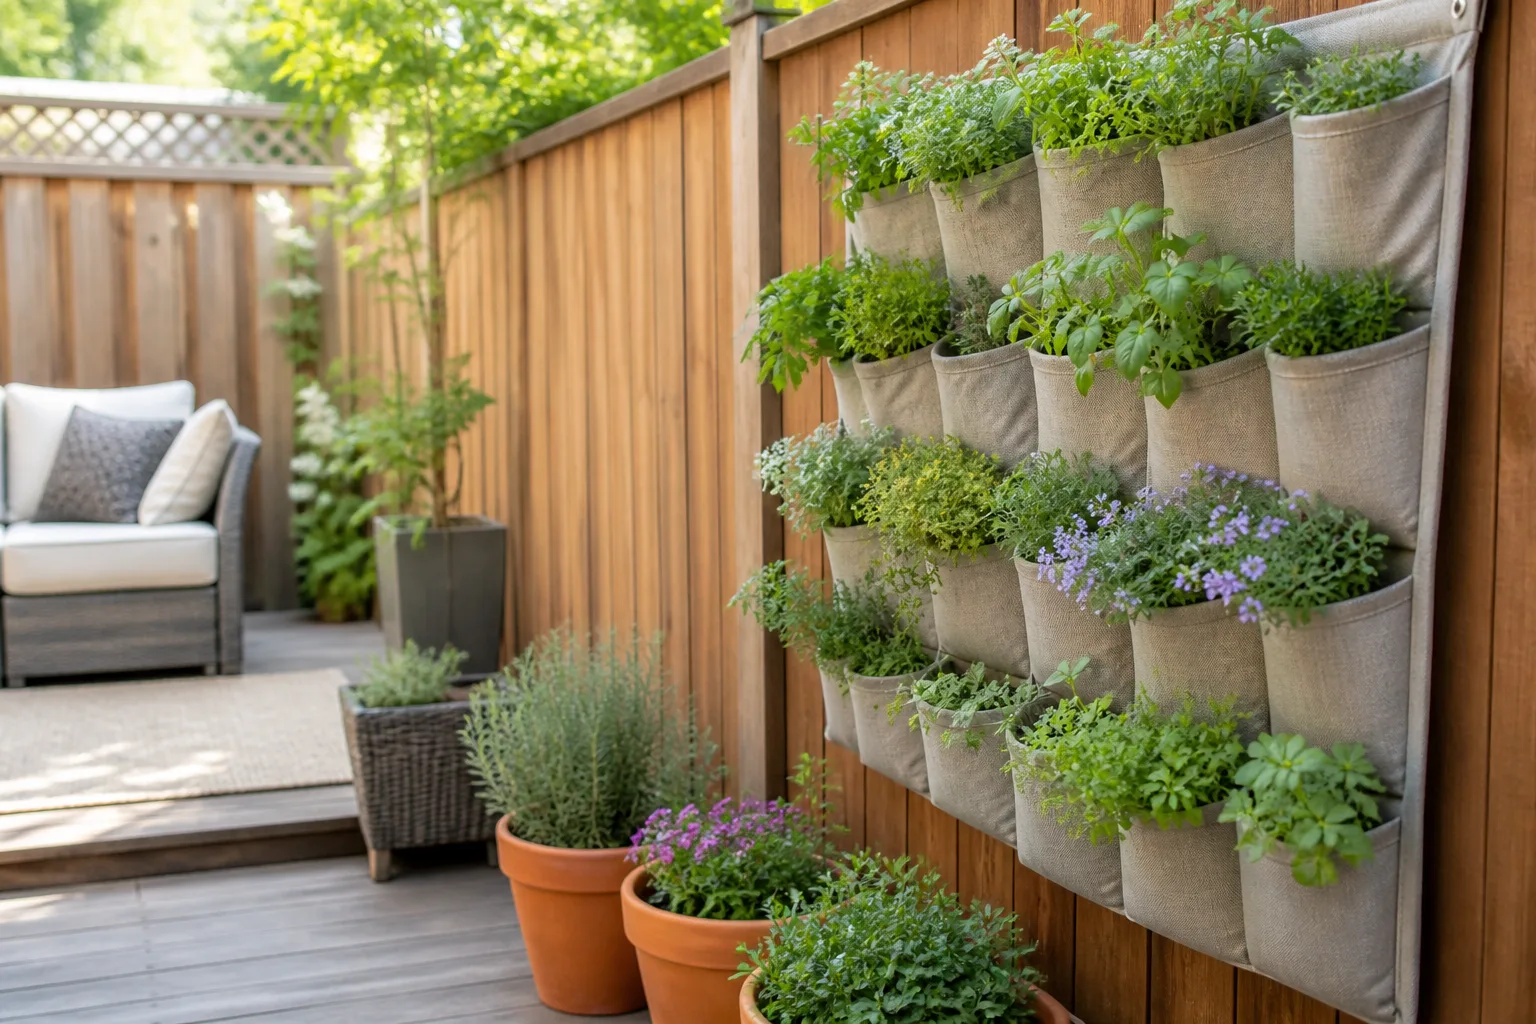
A wall-mounted planter is only as safe as its attachment and the surface behind it. Before drilling or hanging anything, confirm that you own or have permission to alter the wall, use hardware rated for the load, and consider how soil and water will fall during irrigation. Keep structures away from egress routes, avoid putting heavy wet pots over seating or public walkways, and secure tall trellises against gusts; a sail-like screen of leaves can catch more wind than an open pot.
Vertical pockets and small hanging pots dry out faster than larger ground containers because they hold little mix and are more exposed to air. They also shade the plants below them, so arrange sun-loving crops on the brightest tier and shade-tolerant greens lower down only if they still get adequate light. A narrow trellis with one climbing crop often works better than a dense wall of unrelated plants that all need different watering.
Match Plants to the Light You Can Deliver
Count direct sun rather than relying on compass direction or a room’s brightness. A balcony shaded by another building may receive only a short window of sun even if it faces south, while an unobstructed east-facing spot can deliver useful morning light. Penn State and Wisconsin Extension use at least six hours of direct sun as a practical baseline for many fruiting vegetables; leafy crops and some root crops tolerate partial shade better, though their growth may be slower (Penn State Extension; University of Wisconsin–Madison Extension).
For a sunny balcony, consider compact or determinate tomatoes, peppers, eggplant, strawberries, bush beans, or a supported cucumber. Use leafy greens such as lettuce, kale, spinach, and arugula in a cooler or partly shaded position, and plant radishes or short-rooted varieties in a container with enough depth. Herbs vary: basil likes warmth and sun, while parsley, mint, and chives can cope with a little less direct light; keep mint in its own pot because it spreads aggressively.
If you have only a few hours of sun, select plants for foliage, flowers, greens, or herbs instead of treating low yields as a personal failure. Crop labels and local extension advice matter because varieties differ, and a cool climate or hot reflective balcony changes the experience. A quick site log—morning, midday, afternoon, and evening for several days—will tell you more than buying a “full sun” plant and hoping the label is flexible.
Create a Small Harvest With Herbs, Greens, or Microgreens
A compact garden can be worthwhile even if it does not supply every vegetable you eat. Pick one job: a handful of fresh herbs, a cut-and-come-again bowl of greens, a few cherry tomatoes, or a steady supply of microgreens. Starting with one harvest goal makes it easier to choose the right container, estimate how much space it needs, and notice whether the spot is working.
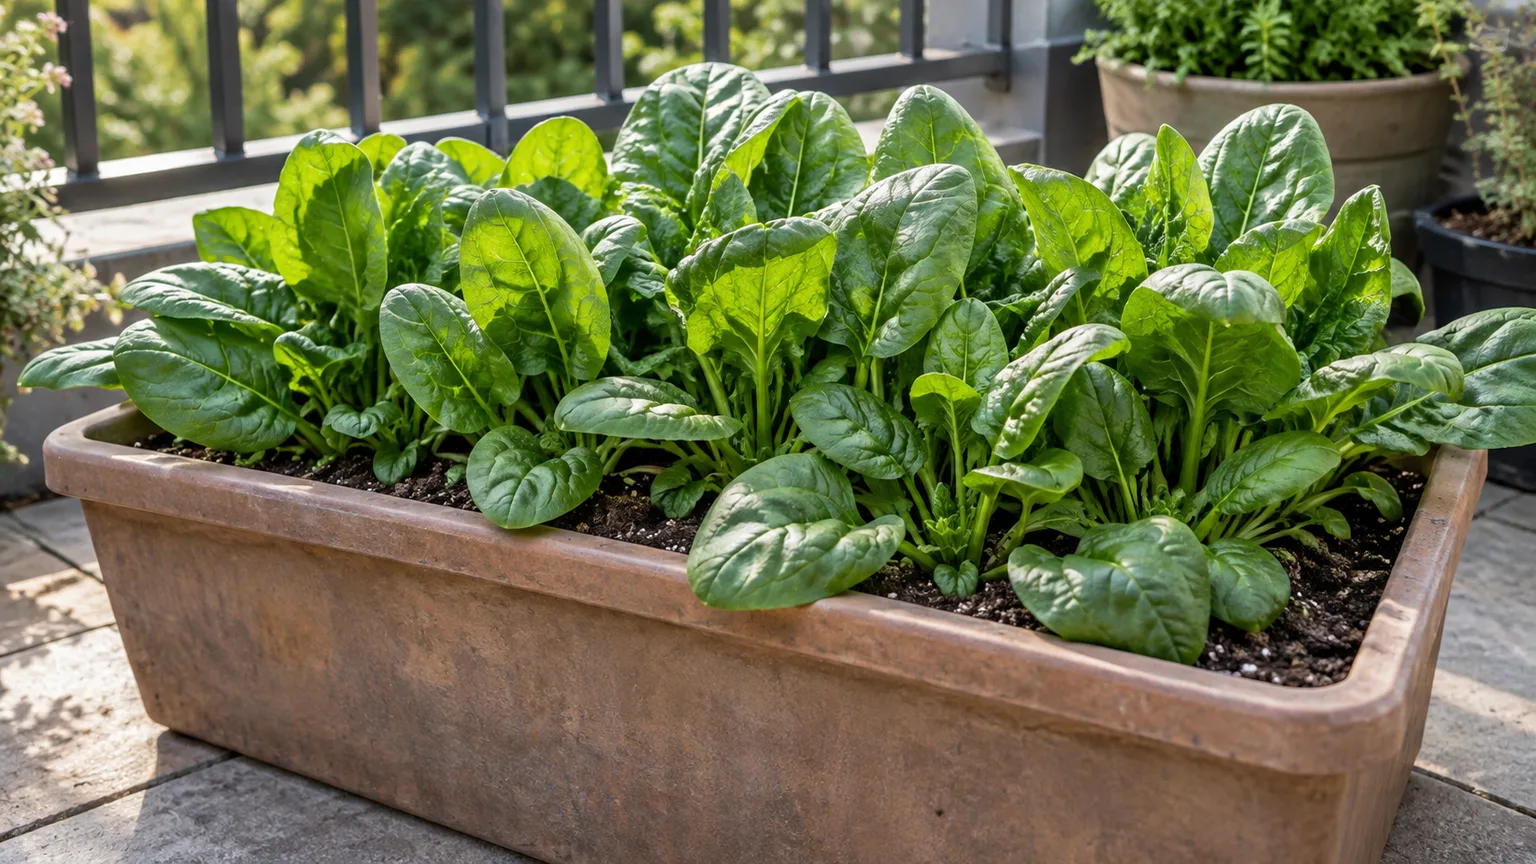
For a first outdoor edible setup, a trough of loose-leaf lettuce or arugula plus separate pots of chives and parsley gives quick, repeated harvests without the height and support needs of tomatoes. If your brightest position has enough sun and floor space, add one compact tomato or pepper after you have established a watering habit. Savvy Gardening recommends matching crop size to container volume and using supports for vining crops; that same rule helps keep a small setup productive rather than overcrowded (Savvy Gardening).
Flowers can make the garden feel complete and provide nectar or pollen when they bloom. Choose a compact flowering plant that suits the site, and if supporting local pollinators is part of your goal, prefer regionally appropriate plants and stagger blooms where practical. A container garden does not need flowers to produce every crop, but a flowering pot can add ecological value and visual interest without taking over the edible space.
Microgreens Are the Fast Indoor Option
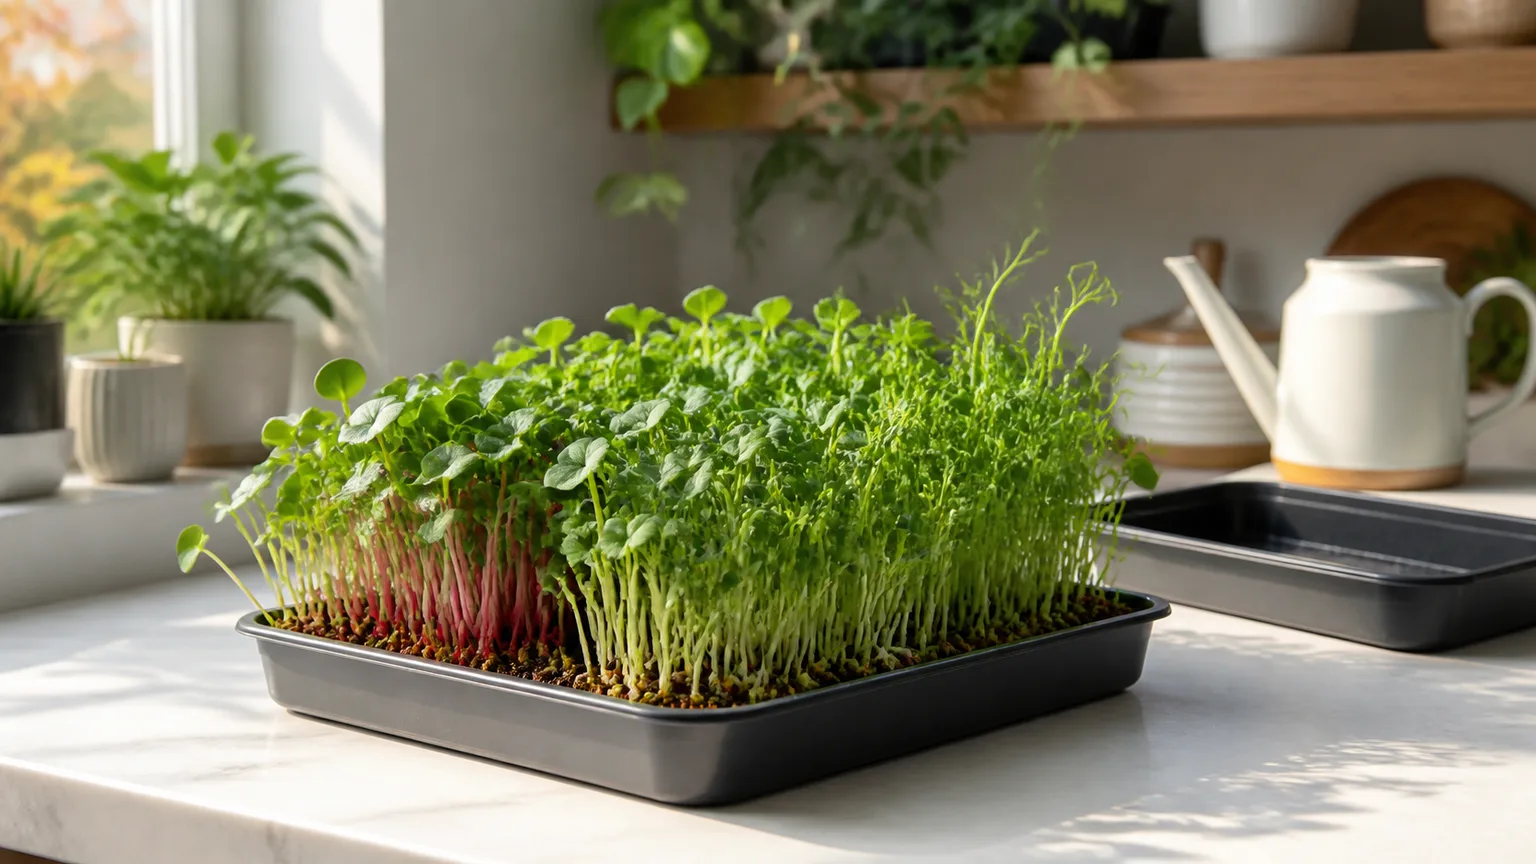
Microgreens are young edible seedlings harvested after they develop their first leaves, usually from a shallow tray. They are a good choice for a kitchen counter because they need little root depth and can be harvested young, but success still depends on clean seed, a well-drained tray, steady moisture, and enough light to prevent pale, stretched growth. Use seed sold for edible sprouting or microgreens, follow the packet’s sanitation and harvest directions, and do not leave the tray standing in runoff.
A small tray lets you test the light and moisture in your home before investing in a grow rack. Keep it where you can see it, water gently so seed is not washed into one corner, and harvest with clean scissors once the seedlings have reached the stage you want. If the stems lean strongly toward the window, move the tray closer to stronger light or add a suitable grow light rather than adding fertilizer to compensate for weak illumination.
Herbs, Windowsills, and Grow Lights
Herbs are an efficient way to use a bright window because you can harvest small amounts repeatedly. Start with one or two plants rather than a mixed pot of herbs with different water needs; rosemary and thyme prefer a drier mix than basil or parsley. A small pot with drainage and a saucer is easier to manage than a crowded planter where roots compete and leaves stay wet.
A window can be enough for some herbs and leafy greens, but indoor vegetables that flower and fruit usually need stronger light than a typical room provides. Virginia Cooperative Extension describes indoor vegetable growing as possible in a sunny window, while noting that fruiting crops may need supplemental lighting in winter; treat a grow light as a way to extend usable light, not as a substitute for every other condition (Virginia Cooperative Extension). Follow the fixture’s guidance for distance and schedule, and keep water away from electrical connections.
Hydroponics is another indoor route, especially if you want leafy greens and can follow a system’s instructions for water, nutrients, light, and cleaning. It removes the need for potting mix but adds a pump or reservoir for many setups, monitoring, and a larger initial investment. If you are new to growing, a tray of greens or one pot of herbs usually teaches the basics with less equipment and fewer ways for a system to fail.
Keep Containers Productive With a Short Weekly Routine
Small-space gardening is easier when care fits into everyday habits. Put edible pots near the door you use, keep a watering can or hose access nearby, and set a weekly reminder to look at leaves, check moisture, remove spent growth, and harvest. A plant you can reach is more likely to be watered and picked than one hidden behind furniture or suspended over a railing.
Water to the Root Zone, Then Feed by the Label
Do not water by calendar alone. Push a finger into the mix or lift the pot to feel its weight; if the top layer is dry and the container feels light, water slowly until moisture reaches the root zone and excess drains from the bottom. On a hot, windy balcony, a small pot may need checking daily, while a larger container in mild weather may stay moist longer; terracotta and fabric also lose water faster than many glazed or plastic pots.
Containers dry faster than garden beds because they hold a smaller reservoir of water, and fruiting plants use more as they grow. Penn State notes that daily watering can be necessary during hot summer conditions, while Virginia Tech warns that a container on a sunny paved surface may need watering daily or even twice daily in heat; use these as a cue to check, not a schedule that overrides the moisture in your own pot (Penn State Extension; Virginia Cooperative Extension). If water runs down a dry gap around the root ball, water in two slow passes so the mix can absorb it instead of pouring off the sides.
Use a fertilizer labeled for the crop and container garden, following its rate and timing. Frequent watering can carry nutrients out through drainage holes, but adding more than the label recommends can damage roots or leaves; “more food” does not compensate for inadequate light, poor drainage, or a pot that is too small. If a potting mix already includes fertilizer, check how long that charge is intended to last before adding another product.
Add Flowers, Monitor Pests, and Plan Succession
Inspect leaves once a week, especially undersides and new growth, and remove damaged leaves or hand-pick visible pests before a small problem spreads. Keep fallen leaves and ripe fruit from accumulating under pots, and give plants enough spacing for air to move through the canopy. If you use a pesticide, follow the product label for that crop and site, and avoid applying products while pollinators are visiting flowers.
A small garden can keep producing by replanting an empty container instead of trying to maintain one giant seasonal display. When spring greens finish in heat, replace them with a warm-season herb or a compact flowering plant; when a tomato’s season ends, clean the pot and plan a cool-season crop suited to your climate. The RHS recommends container planting as a way to bring greenery and flowers to patios, balconies, and other limited areas, while its container guidance emphasizes routine watering and maintenance; the practical advantage is that you can reset one pot at a time rather than rework an entire yard (Royal Horticultural Society; RHS container gardening guidance).
Small-Space Mistakes That Waste Space
The first common mistake is buying plants before measuring light. A row of tomato pots will not become productive because the balcony is attractive, and a deep-shade window will not grow basil just because it is near the kitchen. Take a short light log, choose crops for that reading, and reserve the brightest spot for plants that need direct sun to flower and fruit.
The second is filling a small area with many tiny pots. Small pots dry quickly and need frequent attention, while a larger planter can hold more moisture and give roots room; the trade-off is its wet weight and difficulty moving it. Begin with a few containers sized to the crops, then add smaller ones for short-cycle greens or herbs if your care routine is reliable.
Another avoidable problem is treating vertical gardening as a shortcut around every constraint. A wall pocket still needs light, water, root room, secure mounting, and a safe place for runoff; tall plants also cast shade and catch wind. Use a single trellis or shelf first, then add height only after checking the structure and seeing how it affects the plants below.
Finally, do not assume that “indoors” means “easy” or that a hydroponic kit guarantees harvests. Indoor light, ventilation, watering, and humidity still determine plant health, while a hydroponic system introduces nutrient and equipment checks. If your home is dim and you do not want to install a light, microgreens, a few shade-tolerant houseplants, or a community garden plot are more realistic than a full indoor tomato crop.
Conclusion
You can grow a garden without a backyard by choosing a format that fits the conditions you have: a few balcony pots, a window box, a vertical support, indoor herbs or microgreens, or a shared garden plot. Measure direct light, confirm that containers can drain safely, and check permission and load limits before adding anything to a rental balcony or shared area.
Start with one clear goal and a small number of correctly sized containers. Match the crop to the sun and root space, keep water within easy reach, and watch the plants through one stretch of changing weather before expanding. A well-placed pot that you can care for consistently is a better beginning than a crowded garden built around space you wish you had.



