How to Propagate Lavender in 7 Steps
Propagate lavender in 7 steps: pick softwood stems, prep gritty mix, root cuttings in soil, test for roots, and transplant with first-year care tips.

Quick answer: multiply lavender with softwood cuttings in soil
The fastest reliable way to propagate lavender at home is to take nonflowering softwood cuttings from healthy spring or summer growth and root them in a gritty, fast-draining mix rather than plain potting soil. Choose stems about 3–4 inches (8–10 cm) long, remove the lower leaves, plant so at least two bare nodes sit below the surface, keep the mix evenly moist but never soggy, and expect roots in roughly two to four weeks when warmth and bright indirect light are steady.
Lavender is a woody Mediterranean shrub, so cuttings root more willingly from flexible green growth than from stiff brown wood. Plants grown this way are clones of the parent — a useful advantage when you want more of a fragrant English lavender like ‘Hidcote’ or a tall lavandin row that already performed well in your yard. The RHS lavender growing guide notes that lavender is easy to propagate from cuttings and that cutting-grown plants will be identical to the parent, while seed from named cultivars may vary.
If you want species-level culture after rooting, see the lavender plant hub and the deeper lavender propagation care page. This guide focuses on the seven execution steps most gardeners search for.
Before you cut: timing, parent health, and stem type
Propagation success is decided before you pick up pruners. Lavender cuttings need a parent that is actively growing, stems at the right maturity stage, and a calendar window that matches your climate — not a random trim on a tired plant in late fall.
Best months for lavender cuttings
Early to midsummer is the sweet spot for most gardeners. In many regions that means June through September, when new stems are green, flexible, and full of growth energy. The RHS recommends taking softwood or semi-ripe cuttings from young plants in early to midsummer, when rooting is fastest and the parent shrub can recover quickly.
Spring cuttings can work once fresh growth has hardened slightly, but avoid propagating during a heat wave when unrooted stems desiccate fast. Late-summer semi-ripe material often roots well if nights are still warm. Hardwood cuttings taken after flowering in late autumn can succeed, especially from new flushes of growth, but they commonly need four to six weeks or longer and fail more often than summer softwood — plan them as a backup batch, not your only attempt.
Softwood, semi-ripe, or hardwood: choose the right tissue
Look at the stem where dark brown old wood meets pale green new growth. That transition zone is your map.
| Stem stage | What it looks like | Best season | Typical rooting time | Success rate for beginners |
|---|---|---|---|---|
| Softwood | Bright green, bends easily, snaps clean | Late spring to midsummer | 2–4 weeks | Highest |
| Semi-ripe | Base firming, tip still green | Midsummer to early fall | 3–6 weeks | Good |
| Hardwood | Brown, stiff, little flex | Late autumn after bloom | 4–10+ weeks | Lower |
Softwood is the default for the seven steps below. Semi-ripe stems still work when summer growth has slowed but the tip is not woody. Hardwood is worth trying if you missed the summer window, but use more cuttings and expect a longer wait.
Signs your parent plant is ready to donate cuttings
Choose a shrub that has been watered normally the day before, not one recovering from drought or fresh fertilizer. Avoid parents with yellowing base leaves, scale, or root rot smell — stress travels with the cutting. A healthy English lavender (Lavandula angustifolia) or lavandin hybrid (L. × intermedia) in full sun with silvery foliage is ideal.
Do not remove more than one-third of the parent plant in a single session. Lavender regrows after cutting, but stripping too many stems at once weakens the donor and leaves you with neither blooms nor backup wood. Utah State University Extension emphasizes that lavender needs full sun and very well-drained soil for long-term health; a parent struggling in wet clay is a poor propagation source even if the stems look green.
Gather supplies and build a gritty rooting mix
Lavender cuttings rot in heavy, water-holding compost. Your job is to mimic the sharp drainage lavender wants in the garden, not a seedling tray full of peat that stays wet for days.
Pot size, drainage holes, and mix ratios that drain fast
Use a small pot or tray with drainage holes — a 4-inch (10 cm) nursery pot or shallow propagation tray works well. Wash used pots if they previously held diseased plants.
Mix one part peat-free compost or potting mix with one part perlite or horticultural grit. Some growers add a third part coarse sand for extra drainage. Moisten the blend until it feels like a wrung-out sponge: damp throughout, not dripping.
Test drainage before you plant: poke a hole, fill it with water, and watch it disappear in seconds. If the mix ponds, add more perlite or grit. Lavender roots want air at the node as much as moisture; the RHS warns that lavender will not thrive in heavy clay or waterlogged soil, and immature cuttings are even less forgiving.
Optional but useful: clear plastic cover or propagation dome, labels, rubbing alcohol for tool cleaning, and rooting hormone powder if you want a modest boost on hardwood or slow cultivars.
Step 1: Choose blossom-free stems on healthy new growth
Walk the parent plant and look for straight, pest-free stems with good color and no flower buds or open blooms. Blossoms drain energy away from root formation, so a stem trying to flower will root slowly or fail while it finishes blooming.
Select stems with a generous section of soft green growth above the woody base. Each candidate should have several leaf nodes you can strip later — more nodes below the soil line mean more potential root sites. Skip stems that are mostly brown, shriveled, or growing from the shaded interior of an overgrown shrub unless you are deliberately taking hardwood in autumn.
If the only available stems have small bud tips, snip the flower spike off before rooting. You are not ruining the cutting; you are redirecting its effort toward roots.
Step 2: Cut 3–4 inch stems with clean, sharp tools
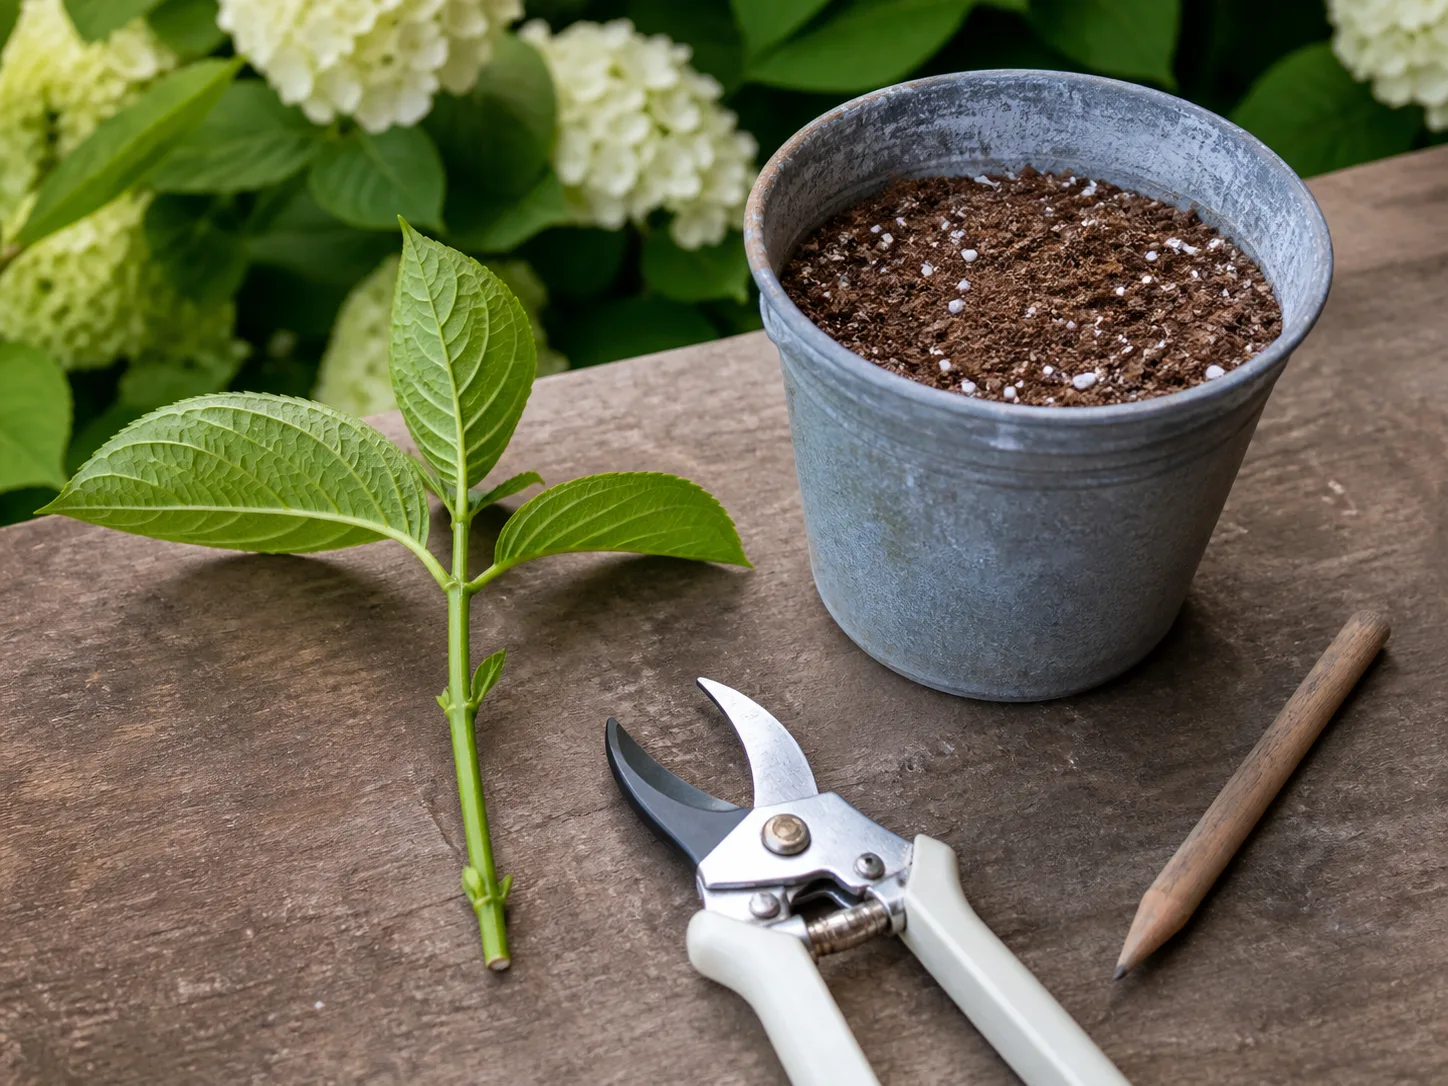
Sanitize pruning shears or a sharp knife with rubbing alcohol, then cut 3–4 inches (8–10 cm) from the tip of each chosen stem. Make a clean angled or straight cut just below a node if possible; crushed stems invite rot.
Take three or four cuttings per parent when you can spare the material. Lavender is inexpensive to propagate in volume, and redundancy covers the stems that wilt or rot. Work quickly once stems are cut — softwood dries out on a hot tray within minutes.
Longer stems are easier to handle than tiny snippets because you can plant deeper without burying leaves. Get Busy Gardening’s lavender propagation guide echoes a practical rule: several inches with multiple nodes at the base and plenty of leaves on top gives the cutting both rooting sites and temporary leaf area for photosynthesis while roots form.
Step 3: Strip lower leaves and expose rooting nodes
Remove all leaves from the bottom 2 inches (5 cm) of each stem — roughly three to five leaf sets, depending on spacing. Those buried leaves would rot underground and invite fungus; the stem section below the soil cannot photosynthesize anyway.
Pinch leaves with fingernails or clip cleanly. The small wounds at each node are where roots emerge. If any cutting still carries a large leaf cluster at the tip, you may trim the top leaves by half to reduce water loss, but leave enough foliage that the stem can stay hydrated until roots appear.
Step 4: Prepare pots and pre-moisten the mix
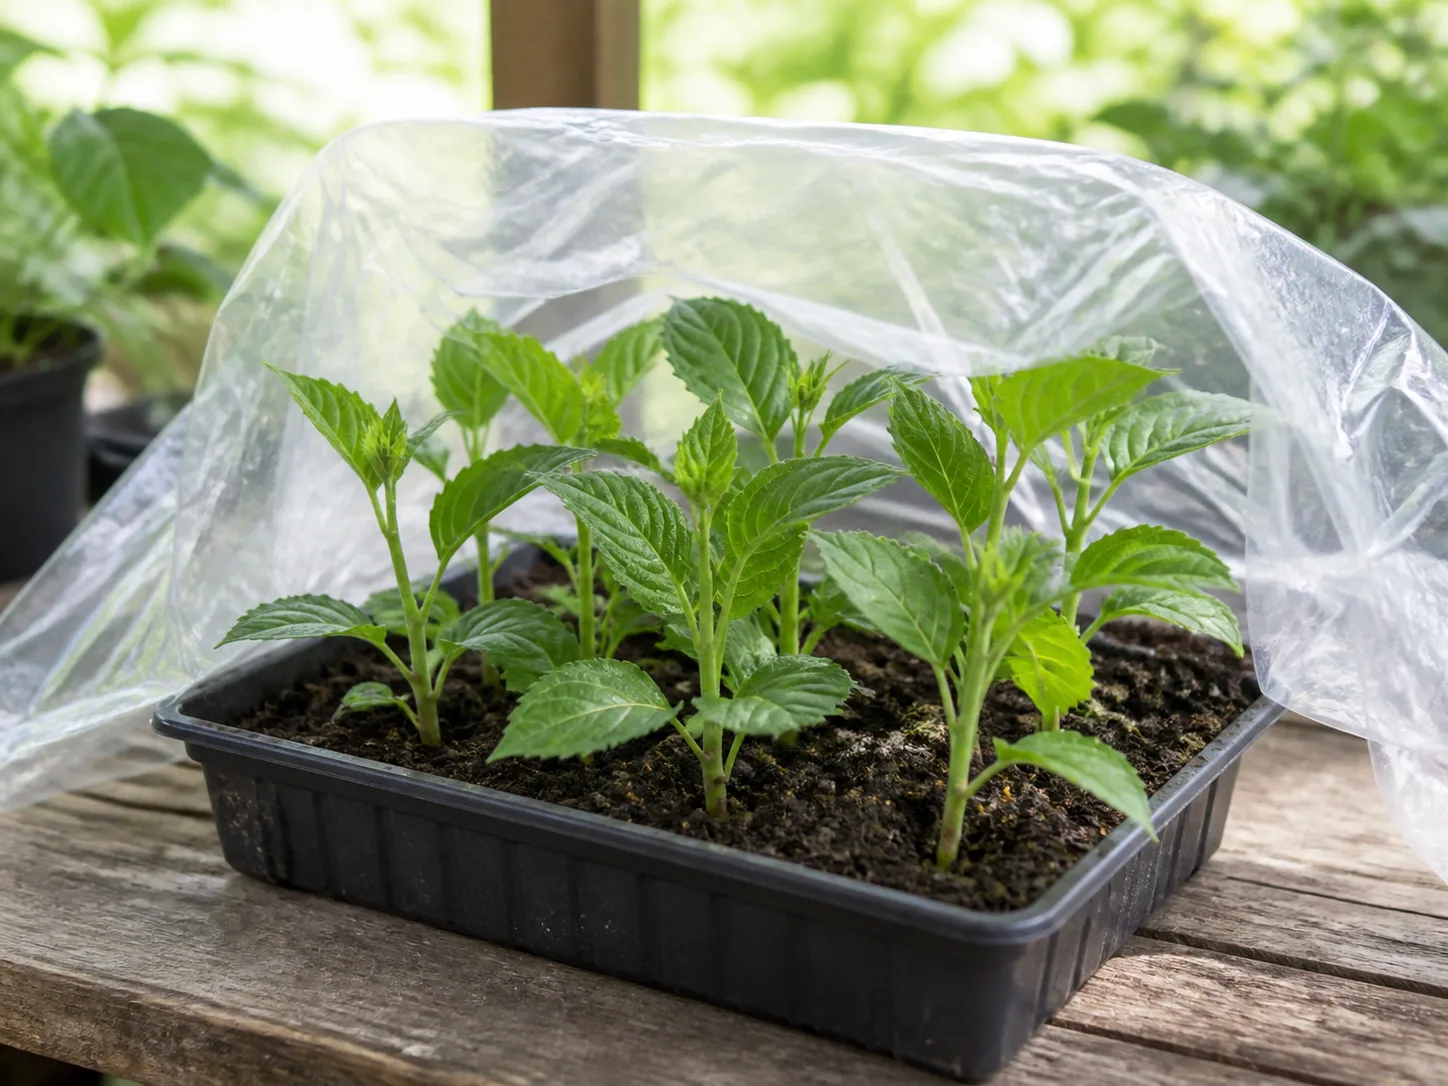
Fill each pot to about 1 inch (2.5 cm) below the rim with your pre-moistened gritty mix. Firm lightly so the medium does not collapse when you insert stems, but do not pack it into a brick.
Use a pencil or dibber to poke 2–3 inch (5–8 cm) holes before you insert cuttings. Pre-making holes prevents you from crushing soft stems when you push them into dry mix. Space holes far enough apart that cuttings do not touch — airflow between stems reduces mold in a covered tray.
Step 5: Optional rooting hormone and correct planting depth
Rooting hormone is optional for lavender softwood, but it can help semi-ripe or hardwood cuttings and marginally improve success when conditions are cool. Dip the bare stem base in powder or liquid hormone per product directions, then tap off excess — a heavy crust can inhibit contact with moist mix.
Plant each cutting so the leafless section is fully buried with at least two nodes below the surface. Gently firm mix around the stem so it stands upright without wobbling. Depth matters: shallow planting leaves nodes in dry air; deep planting buries leaves that should stay above the line.
Step 6: Plant cuttings and set a light humidity cover
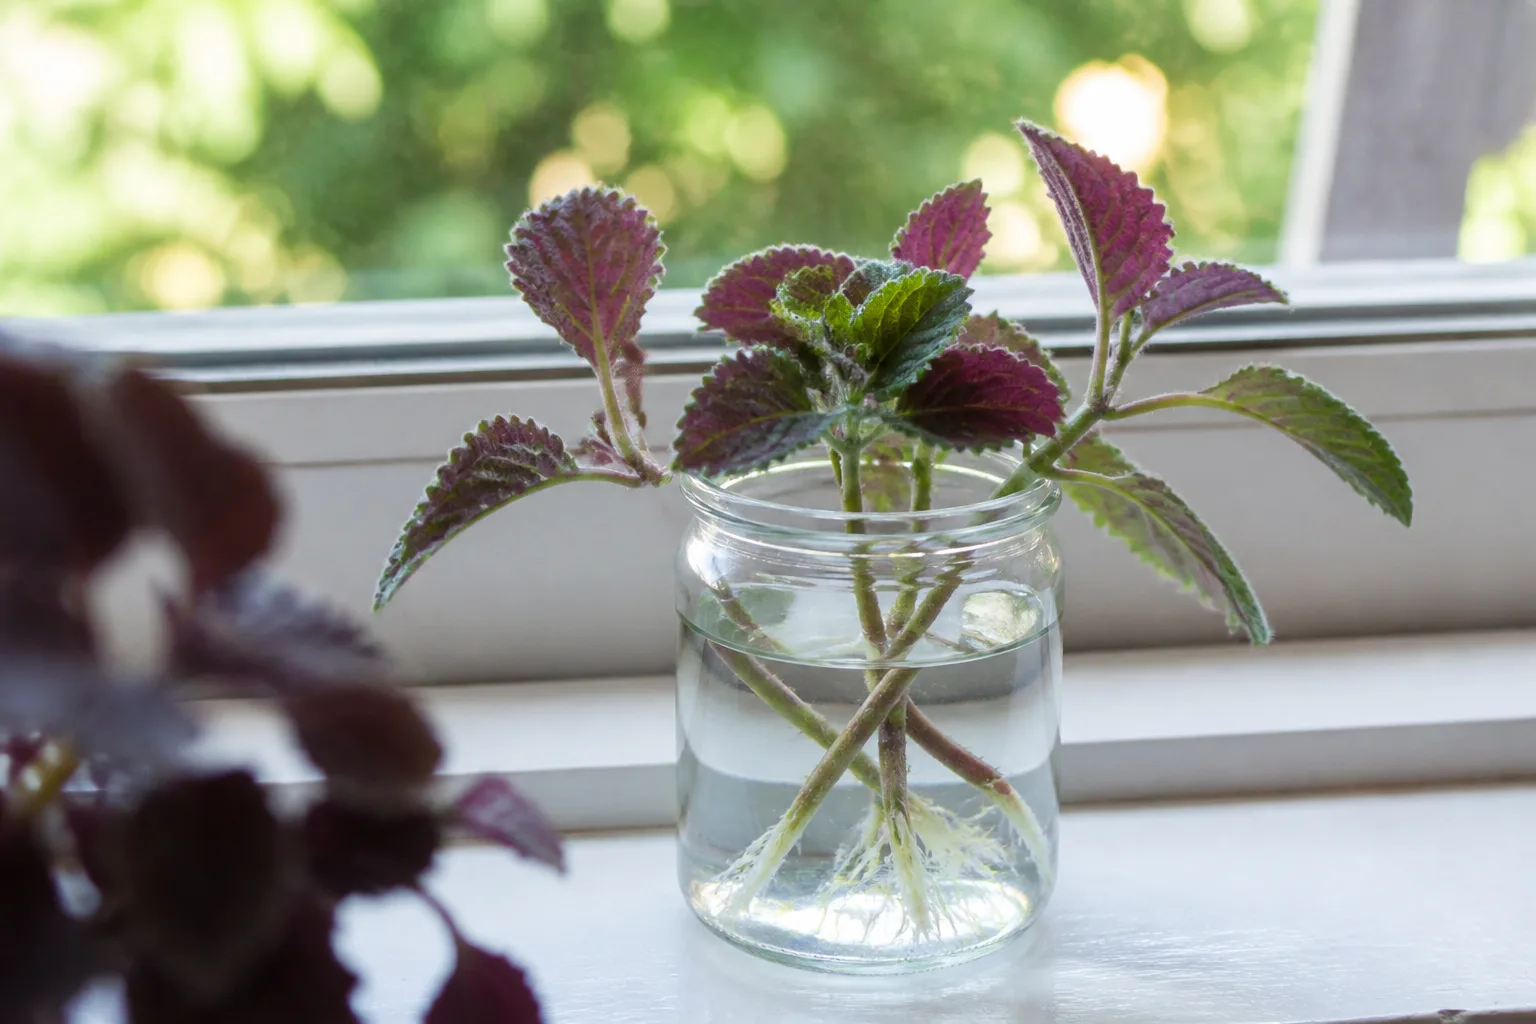
If you did not plant in Step 5 while discussing hormone, insert each stem into its hole now, firm the mix, and water lightly with a fine rose or spray bottle to settle soil around the stem without blasting it loose.
Place the pot in bright indirect light — a east-facing windowsill or shaded greenhouse bench is ideal. Avoid direct midday sun on unrooted cuttings; leaves transpire faster than roots can replace water, and the stem collapses.
Cover with a clear plastic bag or dome held above the foliage so plastic does not rest on leaves. Condensation is normal; mold on soil or blackening stem bases means too much moisture or poor airflow. Vent the cover daily for a few minutes if temperatures spike above 85°F (29°C).
Step 7: Monitor moisture, test roots, and pot up
Keep the mix consistently moist but never waterlogged. Check with a finger near the stem base: cool dampness is good; soggy cold slime means rot. In warm summer conditions, light misting may be needed every day or two; in a humid dome, you may water less often.
After two weeks, begin gentle tug tests: hold the stem near the soil and pull slightly upward. Resistance without the stem sliding usually means roots have formed. No resistance yet is not automatic failure — softwood often roots between weeks three and four, and semi-ripe material can take longer.
Once rooted, pot each cutting individually into a slightly larger container with the same gritty mix, or plant into a prepared garden spot if your season still allows establishment before hard frost. Remove the humidity cover gradually over several days so new leaves harden off. Our lavender care guide covers ongoing sun, watering, and pruning rhythm for young plants.
Do not plant immature lavender into wet winter soil. The RHS cautions that young lavender planted in winter can rot easily in damp conditions. If roots form in late fall, grow on in a cool bright shelter and transplant in spring after the soil warms and drains.
Soil versus water: which propagation method works better
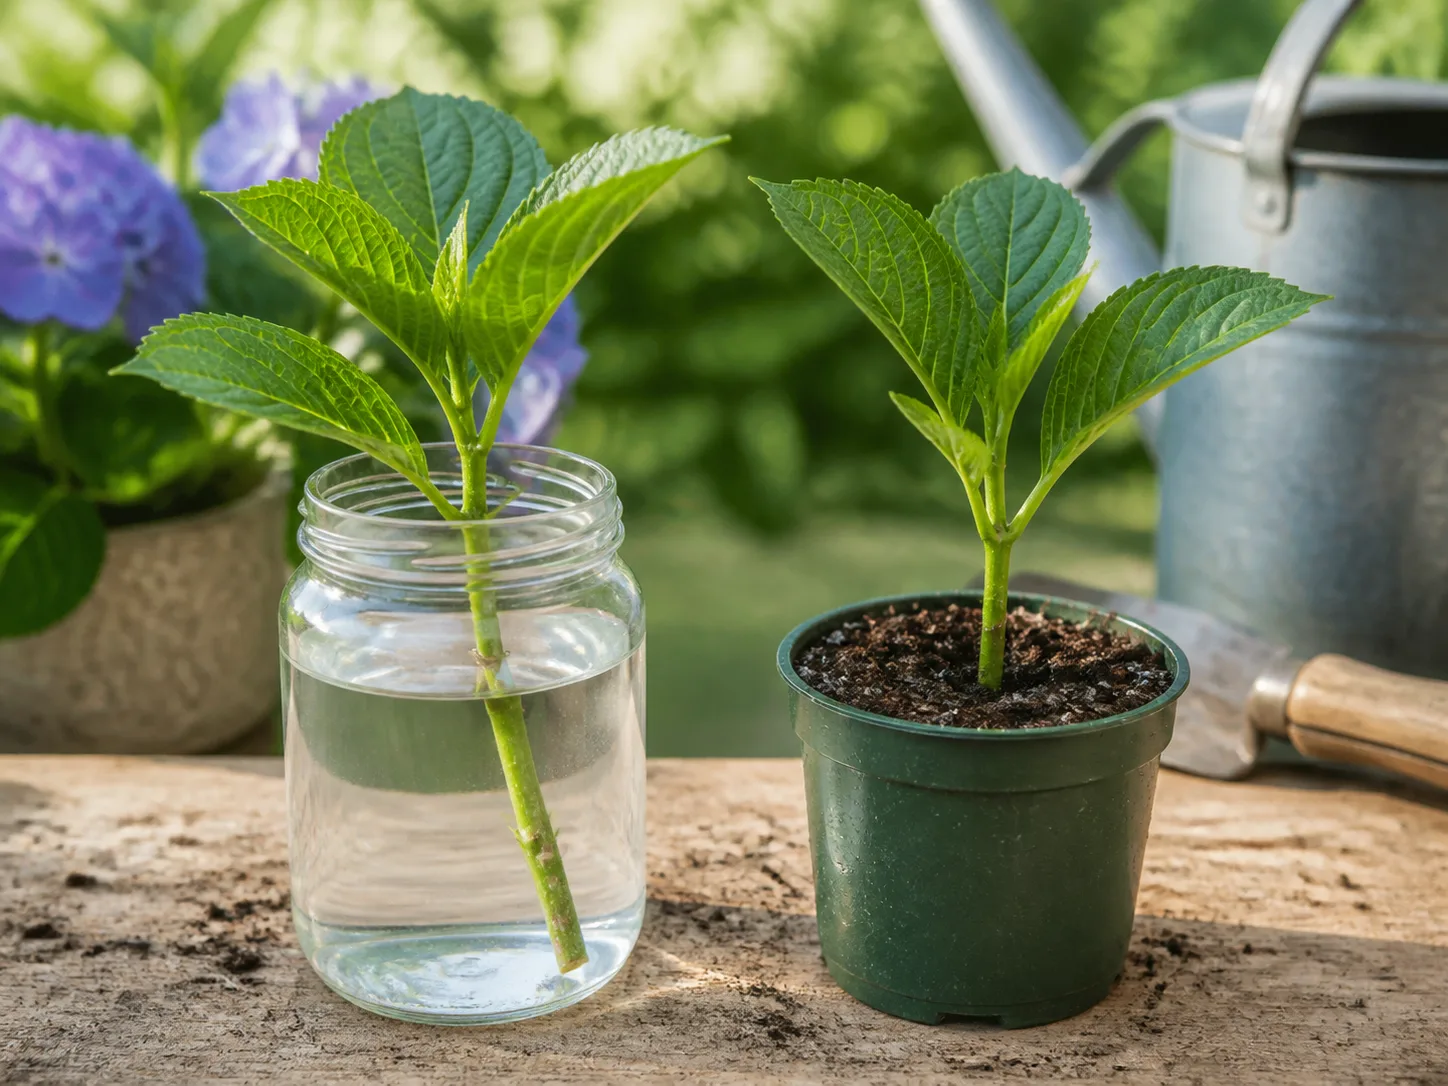
You can root lavender cuttings in water, but soil is the better default for most gardeners. Soil roots develop in the same airy, mineral environment the plant will live in later, which reduces transplant shock. Water propagation lets you watch white roots form, yet those roots are adapted to liquid and can struggle when moved to mix — and stagnant water invites stem rot if you forget to refresh it.
| Method | Best when | Advantage | Main risk |
|---|---|---|---|
| Soil / gritty mix | Normal summer propagation | Roots ready for pots; higher success | Overwatering rot |
| Water in clear jar | You want to observe root growth | Easy visibility | Rot, weak transition roots |
| Soil + humidity cover | Dry indoor air or heat waves | Slows wilting | Mold if sealed too tight |
If you experiment with water, use a clear glass, change water every few days, and transplant to gritty mix as soon as roots are ½ inch (1 cm) long. Do not wait until roots circle the jar or turn mushy brown.
Troubleshooting lavender cuttings that fail or stall
Most failures are moisture or stem-choice problems, not mysterious lavender stubbornness. Diagnose from the base upward: rot starts underground, wilt starts at the leaves.
Rot, wilt, and no roots after four weeks
Brown or black mushy stems at the soil line mean rot. Discard affected cuttings immediately, let the mix dry slightly, improve airflow, and retry with fresh softwood. Causes include buried leaves, dense peat mix, sealed plastic touching foliage, or watering like a tropical houseplant.
Wilting with green stems often means dehydration or heat stress. Move the tray out of direct sun, mist lightly, and ensure the humidity cover is not cooking the cuttings. If the parent was dry when you cut, wilting was predictable — always water the donor shrub the day before.
Green stems with no roots after four weeks may simply need more time on semi-ripe or hardwood batches. If stems still feel hollow or slide easily at week six, discard them and take new softwood cuttings when growth is active.
Flowering stems that refuse to root should be replaced — snipping the bloom spike helps only if buds were small. Fully committed flower stems rarely switch to rooting mode.
Harden off and care for young lavender the first year
Newly rooted lavender is not ready for a harsh patio or windy ridge immediately. Harden off over 7–10 days: remove the cover for longer periods each day, then move the pot to a sunnier location until it tolerates full sun without wilting.
Water young plants regularly the first summer while roots expand, then shift toward lavender’s normal dry-side preference once established. Utah State University Extension notes that English lavender prefers full sun and well-drained soil with moderate fertility — overfeeding soft young growth produces lush stems that winter poorly.
Avoid planting into heavy clay without amendment. Raised mounds, gravel mulch, and our where not to plant lavender checklist help you pick a site that will not drown roots. If you propagate late in the season, plan winter protection for container youngsters using principles from how to winterize lavender plants.
Pinch or lightly shape only to balance the small plant — major hard pruning on immature lavender can stall root development. Let the shrub build a woody base across its first growing season; heavier shaping belongs on established plants.
Conclusion
Propagating lavender is straightforward when you match summer softwood to gritty mix, blossom-free stems, and steady bright humidity. The seven steps — choose stems, cut cleanly, strip lower leaves, prep pots, optional hormone, plant with cover, monitor and pot up — are the same outline experienced growers use; the difference is knowing which stem to cut, how wet to keep the mix, and when to stop waiting.
Take more cuttings than you need, root in soil first, test roots with a gentle tug, and harden plants before you expect them to face full sun or winter rain. Clones from a lavender you already love beat seedling surprises, and a row of matched fragrance along a path starts with one good parent and a sharp pair of pruners.



