How to Store Potting Soil the Right Way
Store potting soil so it stays usable: inspect the mix, dry it before sealing, protect it from moisture and pests, and refresh old soil safely.
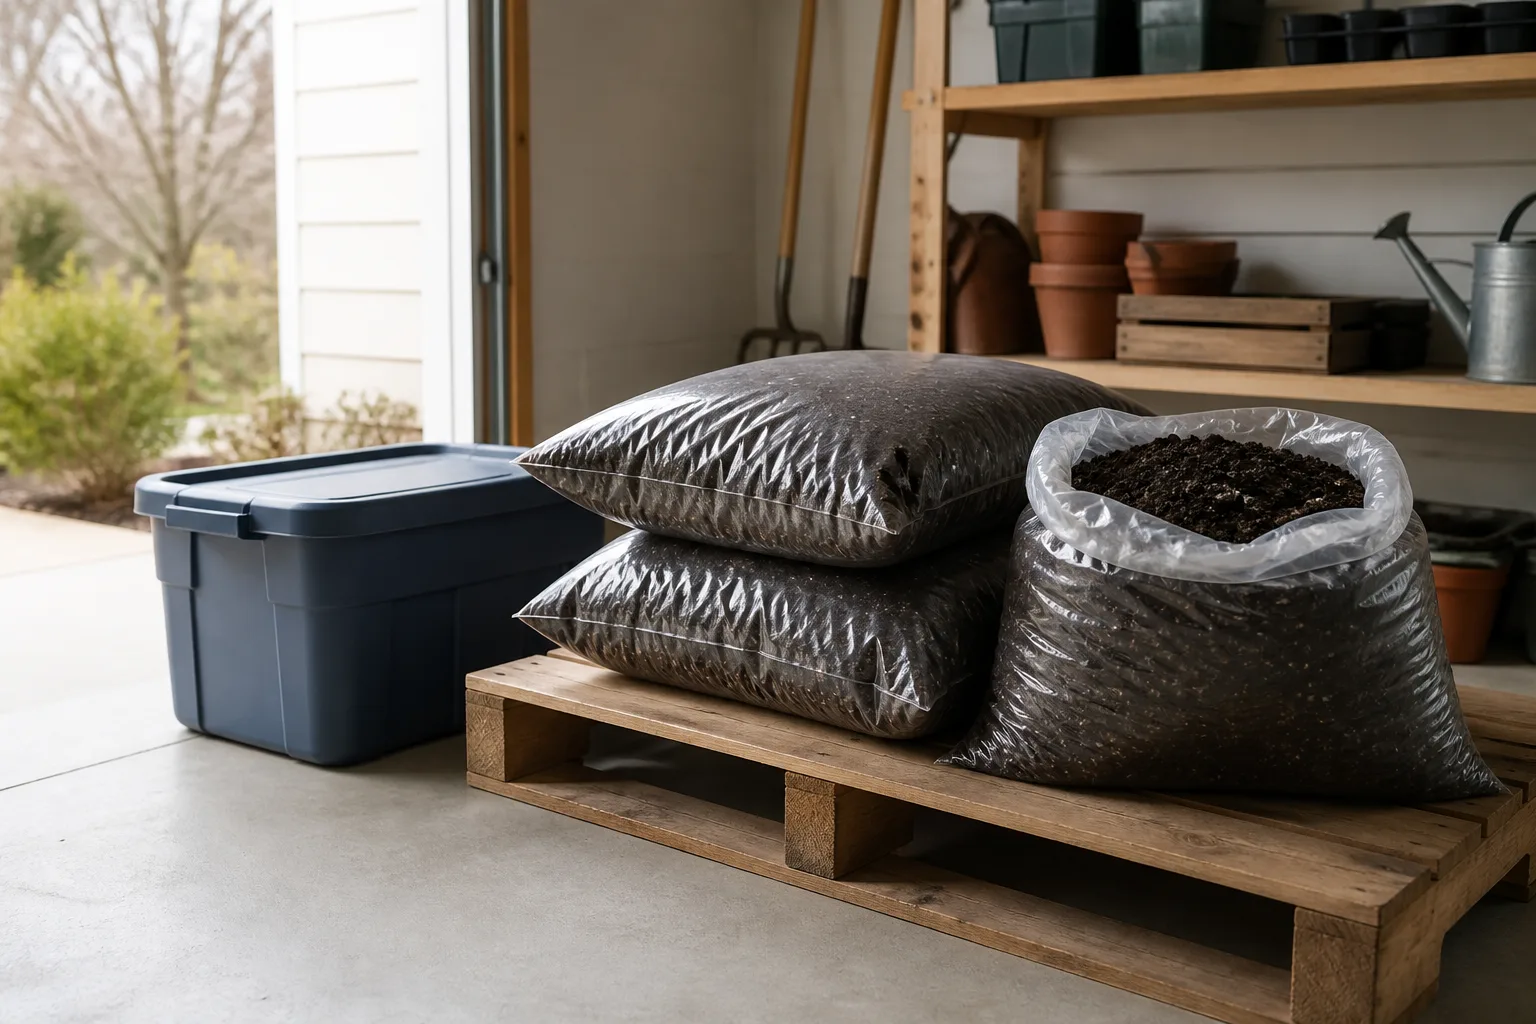
The best way to store potting soil is simple: keep it dry before sealing it, close it inside a clean barrier, label the mix, and store it off the ground in a cool, dry place. An opened bag usually needs more protection than its thin retail packaging provides; an unopened bag mainly needs protection from punctures, rain, damp floors, and extreme heat.
The important distinction is timing. A sealed container prevents new moisture and pests from getting in, but it cannot dry a bag that was closed while wet. Check the mix first, then package it. That one habit prevents most of the mold, sour odors, clumping, and fungus-gnat surprises gardeners find when they open a half-used bag months later.
The short answer: dry, sealed, labeled, and elevated
Use this six-part routine whenever you finish a potting project:
- Inspect: Look for wet clumps, a sour or fermented smell, insects, webbing, grubs, eggs, or mold throughout the mix.
- Dry: If the mix is damp from a recent watering or humid storage area, spread it in a thin layer in a clean, shaded, well-ventilated place until it is loose and dry to the touch.
- Seal: Fold and clip or tape the original bag, then put it inside a clean lidded tote, bucket, or other sturdy container.
- Label: Record the mix type, brand or recipe, opened date, and any fertilizer or pesticide already added.
- Elevate: Keep the bag or bin on a shelf, pallet, or dry platform rather than directly on a concrete floor.
- Store: Choose the driest stable location available, away from rain, irrigation, condensation, and direct sun.
You do not need a special “soil vault.” A clean storage tote and a reliable inner seal are enough for most home gardeners. The goal is not to create a perfectly sterile environment forever; it is to preserve the mix’s texture and keep new water, insects, and debris from changing it before you use it.
Why potting soil changes in storage
Potting mix is a designed growing medium, not just a bag of inert dirt. Depending on the product, it may contain peat moss or coir, bark, composted material, perlite, vermiculite, wetting agents, lime, and fertilizer. Those ingredients hold water and air in different ways, and organic ingredients can support microbial activity when moisture is available.
Stored mix usually changes for one of four reasons: it absorbs moisture, it is exposed to pests or plant debris, it is heated and cooled repeatedly, or its organic components settle and break down. Moisture is the fastest route to visible mold and musty odors. It also creates the damp surface that fungus gnats use for egg-laying once the mix reaches a plant pot.
Fungus gnats are not the same as fruit flies. University of Wisconsin–Madison Extension explains that adults are mostly a nuisance, while larvae live in soil and usually feed on fungi and decaying organic matter; heavy larval numbers can damage fine roots. The extension describes an indoor life cycle of roughly three to four weeks under good conditions, with eggs, larvae, pupae, and adults overlapping. That is why one adult flying out of an old bag is a reason to isolate and inspect the bag, not a reason to treat only the visible fly.
Storage can also preserve a problem that was already present. Oklahoma State University Extension cautions that viruses, fungi, and bacteria can remain after a diseased plant has been removed, and that used mix loses nutrients and porosity with watering. A bag can therefore look perfectly ordinary and still be a poor choice for seedlings if it came from a contaminated pot or has been repeatedly used.
Decide what kind of mix you have
Before choosing a container, read the package or write down the recipe. “Potting soil,” “potting mix,” “seed-starting mix,” cactus mix, orchid mix, and raised-bed mix are not interchangeable just because they are sold in similar bags.
An unopened commercial seed-starting mix deserves the cleanest storage because seedlings have small, vulnerable root systems. A mix with compost, manure, bark, or other chunky organic ingredients can be perfectly useful, but it has more organic material that can stay damp or shelter small organisms. A cactus blend may contain a high proportion of mineral ingredients and behave differently from a moisture-retentive houseplant blend.
Do not combine every leftover bag into one unmarked bin. Mixing an orchid bark blend into seed-starting mix, or adding a heavily fertilized mix to a gentle houseplant formula, makes the final product harder to identify and use. Keep specialized mixes separate. If you do combine compatible all-purpose mixes, retain a label from each bag and write “mixed” on the new container.
Inspect the bag before you save it
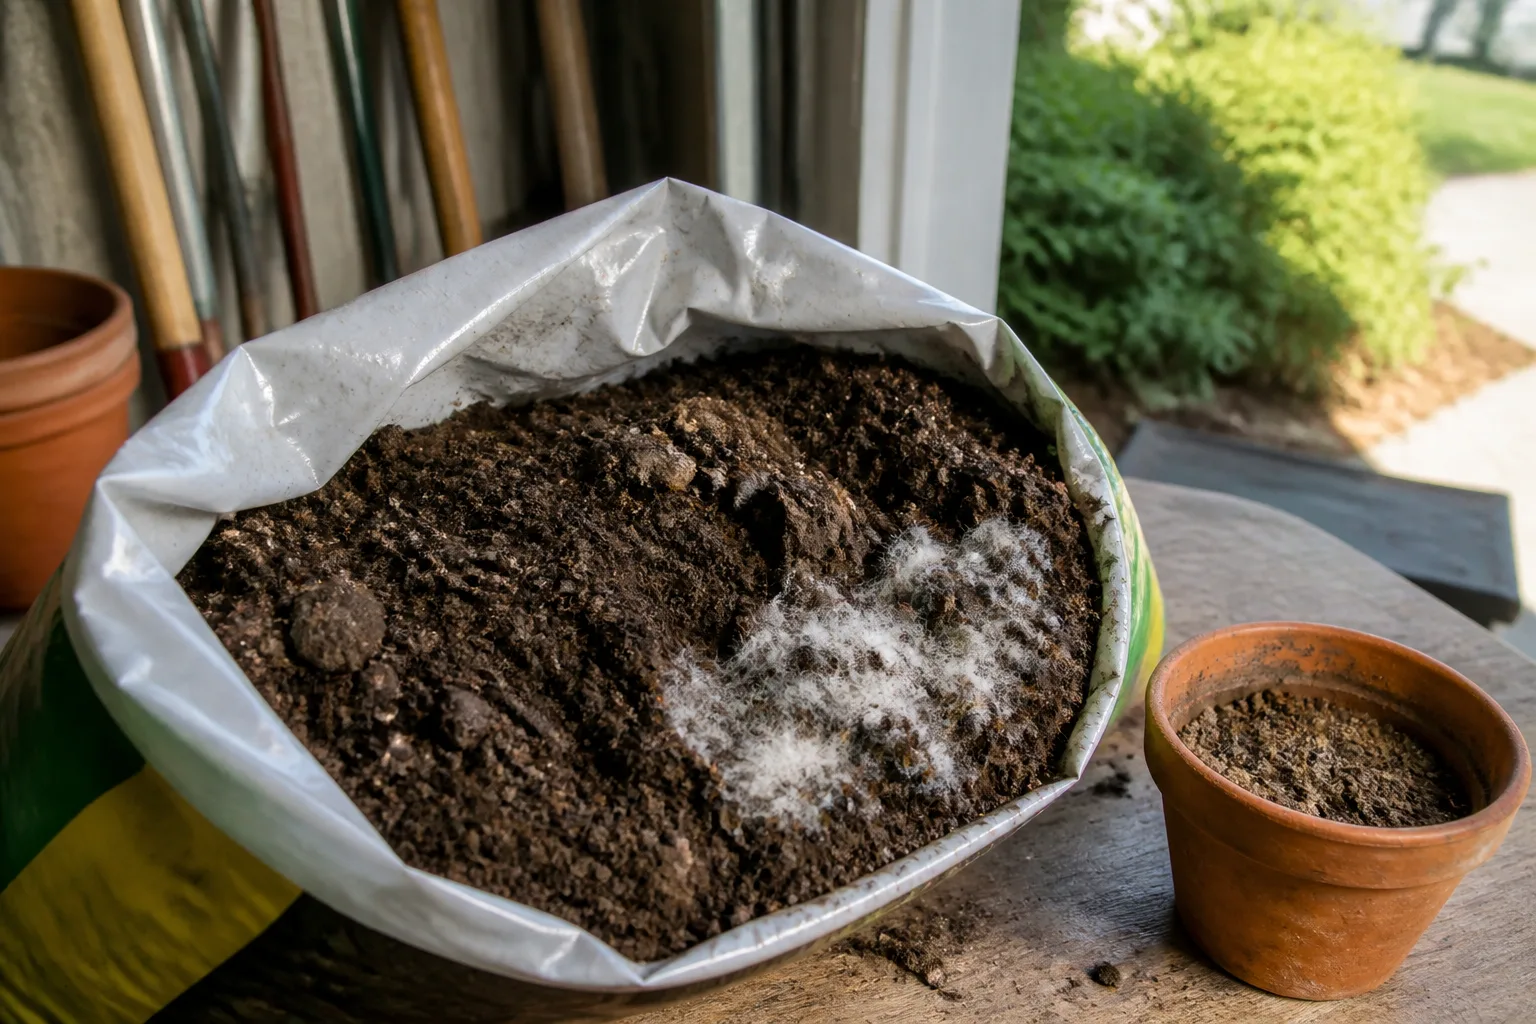
Inspect both opened and unopened bags before moving them into long-term storage. A factory seal lowers the chance of contamination, but it does not protect against a torn bag, a wet pallet, condensation, or a bag that has been stored in a flood-prone shed. Feel around the bottom and corners, where pinholes and dampness are easy to miss.
For an opened bag, loosen the top and examine a handful from the center rather than judging only the surface. Healthy dry mix is usually loose or crumbly and has the expected earthy or ingredient-like smell. A few compacted pieces are not automatically a failure; peat, coir, and bark can compress during shipping. The more useful questions are whether the clumps break apart, whether the mix dries normally, and whether the smell is clean rather than sour.
Use this quick triage:
| What you find | What it suggests | Best next move |
|---|---|---|
| Dry, loose mix with no insects or odd odor | Good storage candidate | Seal, label, elevate, and store |
| A few dry clumps from shipping | Compression, not necessarily contamination | Break up gently and store if the mix otherwise checks out |
| Damp mix with a small surface patch of white growth | Moisture plus active microbial growth | Isolate, dry, and reassess before any container use |
| Sour smell, slimy or saturated areas, mold throughout, or many insects | Prolonged wetness or significant contamination | Do not store for later planting; compost or discard according to local rules |
| Mix from a pot with disease, severe root rot, or a persistent pest | Higher carryover risk | Do not reuse for seedlings, edibles, or prized indoor plants |
Wear a dust mask or respirator appropriate to your situation when handling a dry, dusty mix, especially one containing fine particles or manure. Work outdoors or in a well-ventilated area, wash your hands afterward, and keep bags away from children and pets while you inspect them.
The best storage method for opened bags
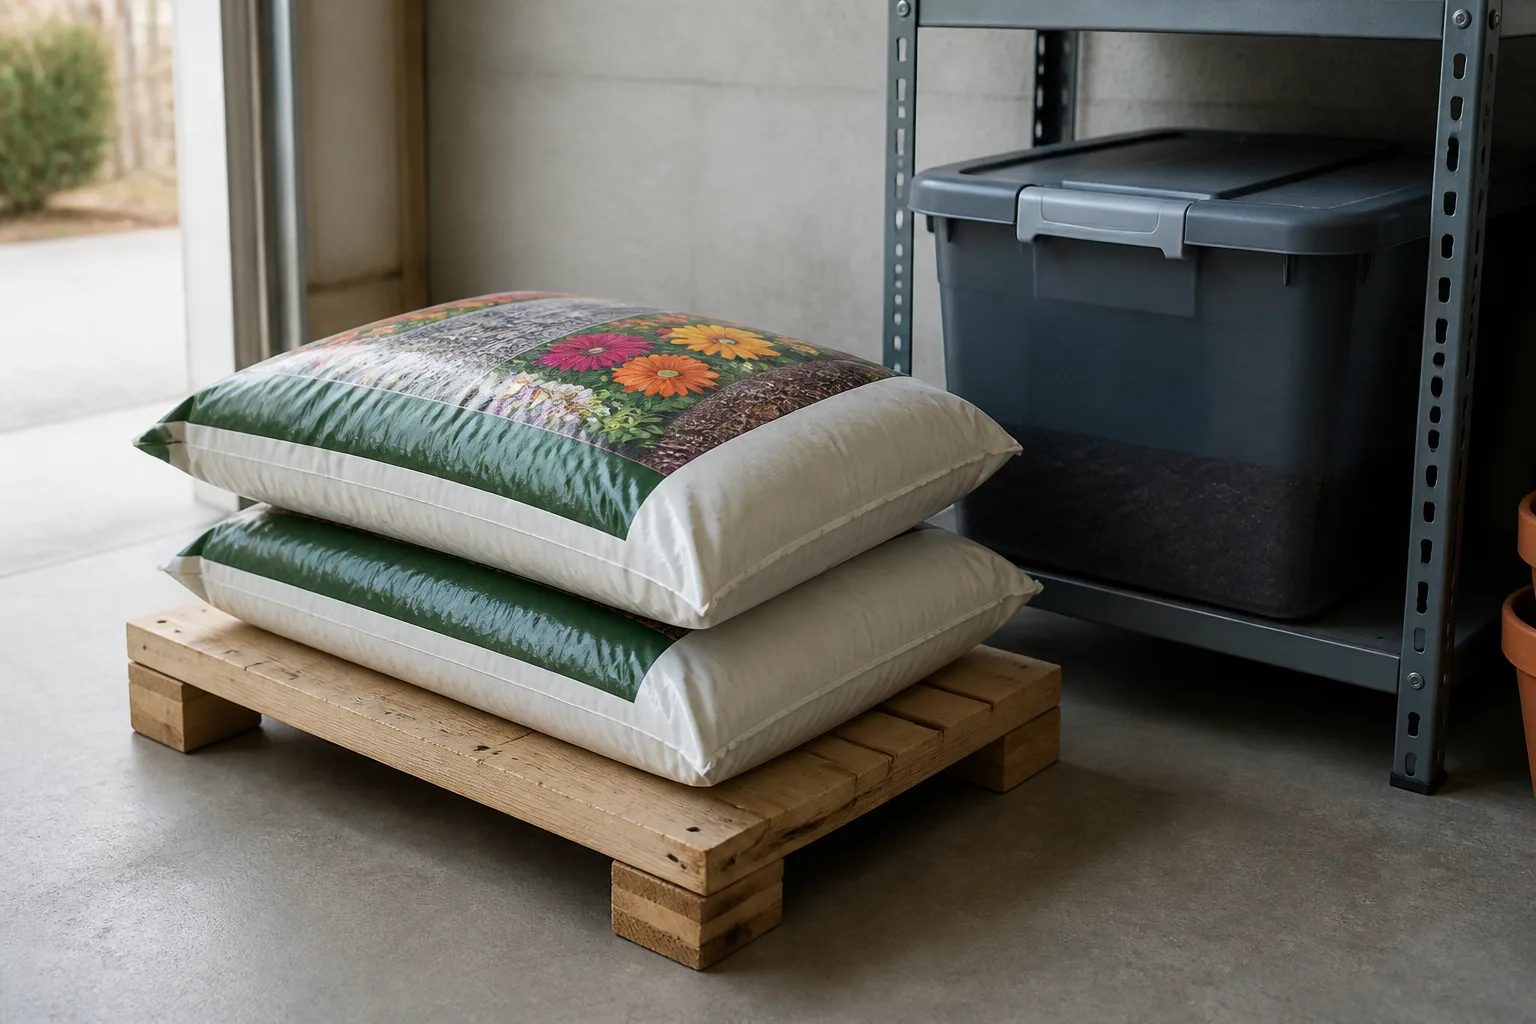
For most gardeners, the most reliable setup is the original bag inside a clean, lidded container. This two-layer approach is also the practical method described by Home for the Harvest: the inner bag preserves the product label and gives you a second chance if the tote lid is not perfectly airtight. The outer tote keeps the bag from tearing, blocks pests, reduces light exposure, and contains any small spill.
Use a two-layer seal
First, remove loose soil from the bag’s opening so the fold can close tightly. Press out some excess air without crushing the mix, roll the top down several times, and secure it with a clamp, binder clip, or strong tape. If the bag has a resealable zipper, close it fully and still place the bag in a lidded tote; retail plastic is often thin and can split when a heavy bag is dragged across a floor.
Choose a container that leaves a little room around the bag. Overstuffing can hold the lid open or puncture the inner packaging. A food-storage bucket, pet-food bin, or sturdy plastic tote can work, provided it is clean, dry, and never contained chemicals, fuel, solvent, or a product that could leave harmful residue.
Do not pour several mixes into a bare tote just because it is convenient. You lose labels, make future diagnosis harder, and spread a problem from one bag through the whole supply. If you need to consolidate for space, use separate sealed inner bags and label the outside of each one.
Make the mix dry before closing it
If you have just opened a bag and the mix feels cool and damp, do not close it immediately in an airtight bin. Spread it in a thin layer on a clean tarp, tray, or other nonporous surface in a dry, protected place. Stir or turn it occasionally and bring it in before dew, rain, or evening humidity arrives. The goal is not to bake the mix in harsh sun; it is to let excess moisture escape while keeping dust, leaves, pets, and new insects away.
Drying is especially important after a bag has sat outside in a humid climate. A moisture absorber, rice pouch, or scented herb may sound like an easy fix, but those additions do not remove water evenly from a dense bag and can introduce debris. Preventing moisture at the source is more dependable than trying to hide it inside a sealed container. If the mix is so wet that it has a persistent odor or widespread growth, skip storage and follow the discard or compost decision later in this guide.
How to store unopened bags
Leave a sound, factory-sealed bag in its original packaging so you retain the product name, ingredients, batch information, and any use directions. Put it inside a tote or under a covered shelf if the outer bag is thin, the storage area has rodents, or children and pets can reach it. Do not pierce the bag to “vent” it; a good seal is protection, not a problem to solve.
Store unopened bags upright or flat according to how they stack without bending or tearing. Keep them off bare concrete, soil, and decking. A pallet, wire shelf, wooden platform, or even a clean raised board reduces contact with condensation and small puddles. Do not stack so high that a falling bag can injure someone or rupture the lower bags.
If the bag has been exposed to rain, irrigation overspray, or a wet delivery area, treat it as an inspection job even if the printed seal looks intact. Dry the outside, check for punctures, and do not put a visibly wet bag inside a sealed indoor cabinet. A second container protects the room only after you know the bag is sound.
Choose a location by moisture, not convenience
“Garage” and “shed” are not storage instructions by themselves. A dry, shaded garage can be excellent; a damp garage beside a hose bib can be worse than a cool closet. Choose the location by this order:
- No recurring water: Avoid leaking roofs, hose connections, condensation, floor drains, and places where rain blows in.
- Stable conditions: Moderate temperature swings are preferable to a spot that heats like a greenhouse by day and chills at night.
- Low light: Keep bags out of direct sun, which can heat the contents and weaken some packaging.
- Clean surroundings: Store away from open compost, old plant debris, birdseed, pet food, and bags of infested soil.
- Safe access: Make the container easy to lift without dragging or tearing the bag.
In cold regions, freezing alone is not the main concern for a dry bag. Moisture, repeated wetting and thawing, and packaging damage matter more. Bring the mix to room temperature before filling small seed trays so cold material does not slow germination or make it harder to judge moisture. In hot regions, prioritize shade and avoid sealed bags sitting against a sun-heated metal wall.
A storage setup for humid climates and apartments
Small spaces can still support good storage. Use a lidded bin sized for the amount you will actually use, place the sealed inner bag inside it, and keep the bin on a shelf rather than a balcony floor. If there is no climate-controlled closet, the driest interior cabinet is often better than a damp outdoor shed, as long as the bag is clean and the container is secure.
In a monsoon, coastal, or tropical climate, check the bin when the season changes and after unusually wet weather. A sealed tote in a humid room can develop condensation if you pack wet material or move it rapidly between cold and hot locations. Open the bin in a ventilated area, inspect the inner packaging, and dry only when needed. Do not leave the lid ajar as a permanent strategy; that trades trapped condensation for an open invitation to pests.
For an apartment, split a large opened bag into two or more manageable inner bags instead of repeatedly wrestling with one heavy sack. Mark the same product information on each portion. This reduces spills, lets you use the oldest portion first, and makes it easier to isolate one questionable bag without sacrificing the rest.
Label and rotate your soil stash
Labels turn a pile of brown material into usable inventory. Write the exact mix type, date opened, date stored, fertilizer or amendments added, and the intended use. For a homemade blend, list the approximate ingredients and ratios. If a plant disease or pest was associated with a batch, mark the batch as outdoor non-sensitive use only or remove it from your planting inventory altogether.
Use a first-in, first-out routine: put the newest sound bag behind the older one, and inspect the oldest bag before buying another. There is no universal expiration date that overrides condition. Oklahoma State University Extension notes that manufactured fertilizer in a new mix may last only about three to six months, while the physical medium can compact and lose porosity over time. That means an older bag may still be usable but may need fresh nutrients or aeration amendments for a demanding container plant.
If you will not use the remainder within the next season, consider buying smaller bags next time. A small amount of waste is often cheaper and safer than maintaining a damp stockpile that takes up room and becomes difficult to identify.
How to prevent fungus gnats and other pests
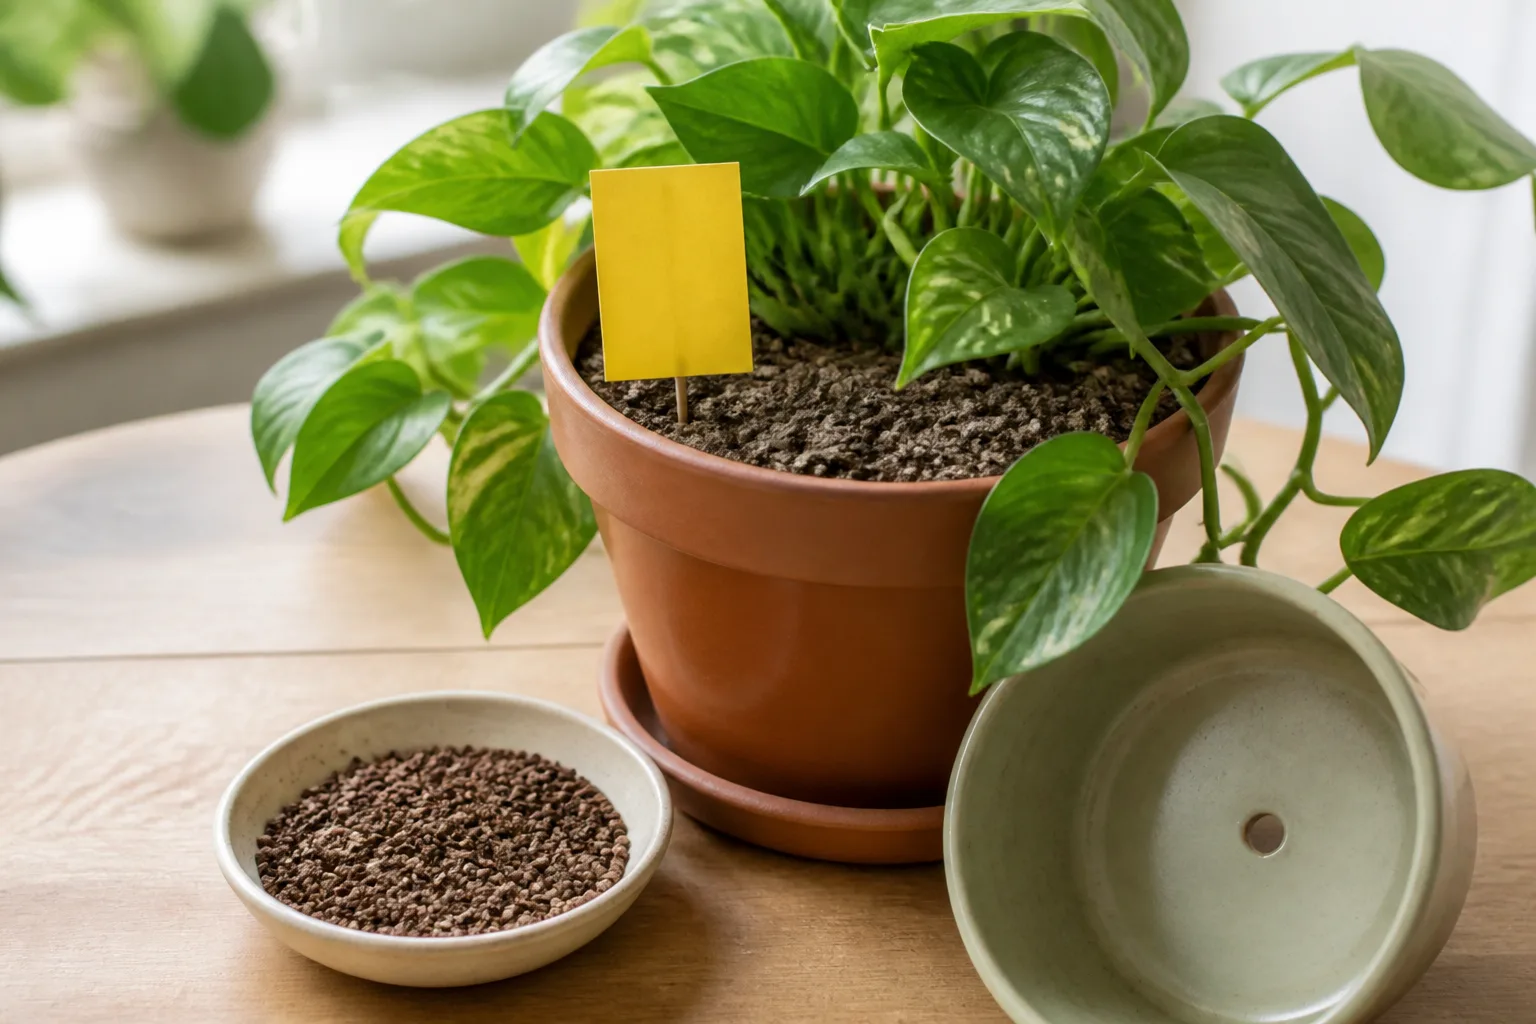
The best fungus-gnat control is prevention: do not store a damp, exposed bag where adults can reach it. North Carolina Cooperative Extension describes fungus gnats as moisture-loving pests that can arrive in contaminated potting soil, newly purchased plants, or through open doors and windows. The Wisconsin guidance likewise identifies moist soil as the egg-laying site and recommends keeping the surface drier as the most important environmental step.
Apply that logic to storage:
- Keep potting mix sealed after every use instead of leaving the top folded loosely overnight.
- Use a clean scoop reserved for potting mix, and do not move scoops between a suspect bag and a clean one without washing and drying them.
- Keep stored bags away from open compost, standing water, plant trash, and indoor houseplant shelves.
- Inspect a bag before carrying it into a home or greenhouse, especially if it spent the summer outdoors.
- If you see adult gnats, isolate the bag and inspect the mix rather than spraying the storage area at random.
Sticky traps can monitor adult gnats near plants, but they do not make an infested bag safe. Wisconsin Extension notes that vinegar traps used for fruit flies are not effective monitors for fungus gnats. If larvae are already in a plant pot, management needs to address the moist growing medium and may require a separate integrated approach; storing the remaining bag correctly prevents a second source but does not cure the first infestation.
What to do if the mix has mold
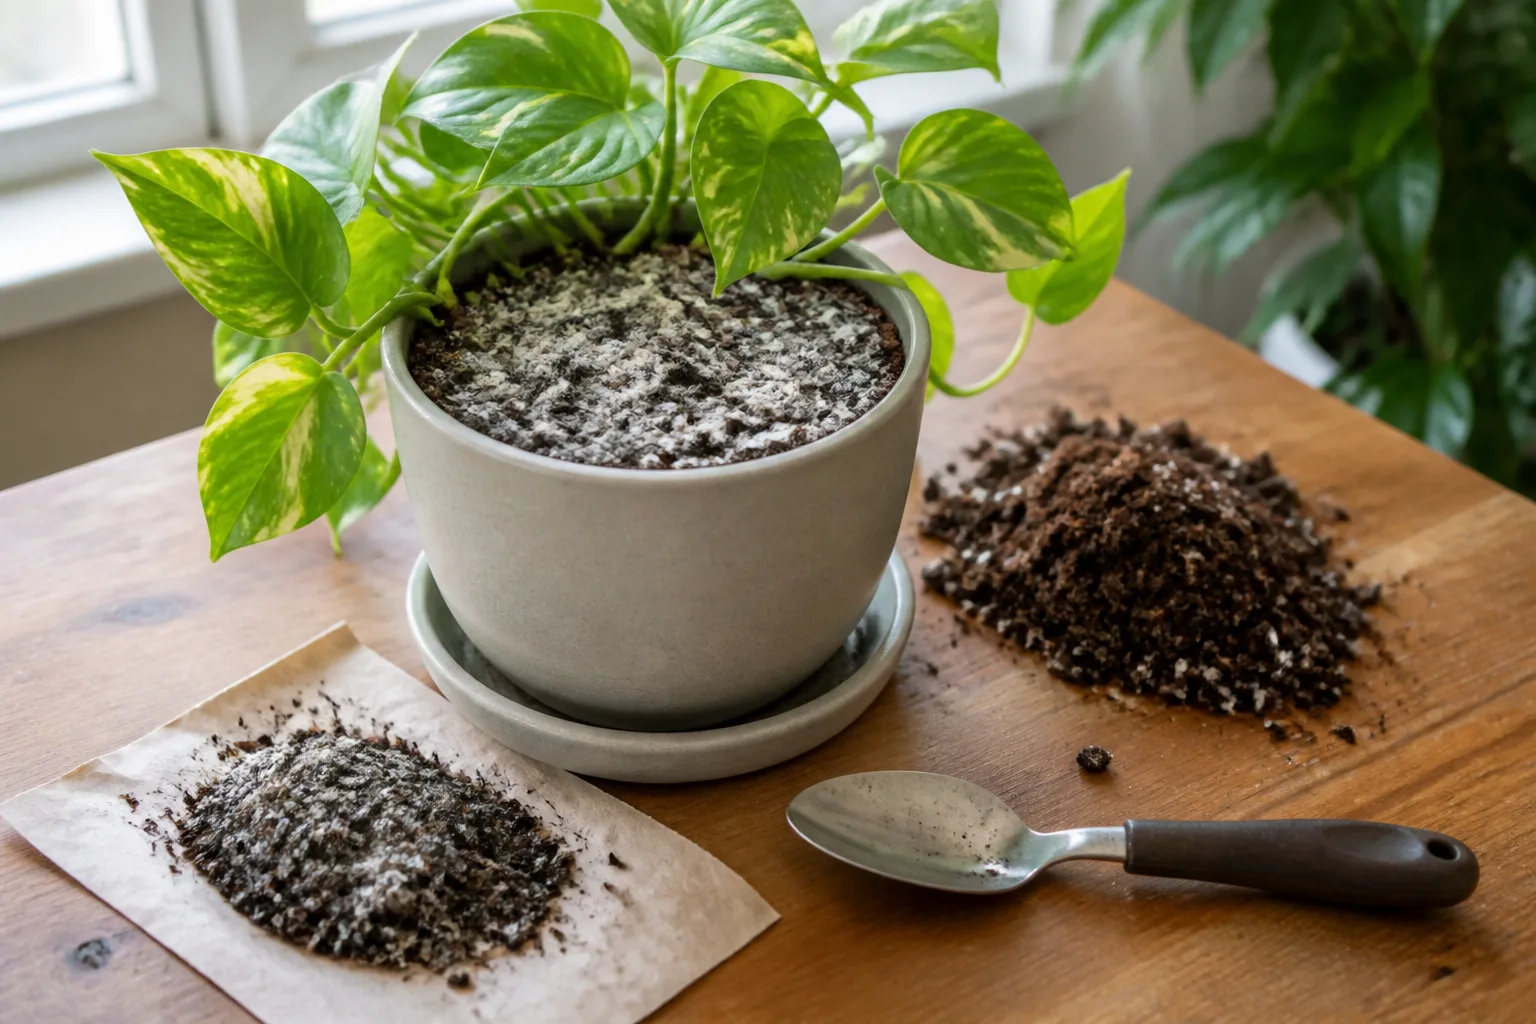
A small patch of white, threadlike growth on the surface of a damp bag is a sign that the mix has been wet enough for fungi to grow. It is not, by itself, a diagnosis of a dangerous pathogen, and it does not tell you whether the entire bag is unusable. But it is a reason to stop, isolate the bag, and examine the depth and smell of the problem.
If the growth is limited, the mix is otherwise loose, and there is no sour odor or history of diseased plants, move the bag outdoors or to a well-ventilated work area. Wear suitable dust protection, avoid shaking spores through the home, remove the visibly affected material, and spread the remainder thinly to dry. Do not put the bag back in a closed tote until it is dry and passes the smell and texture check again.
Drying is a condition-improvement step, not guaranteed sterilization. Sunlight may warm and dry a surface, but it does not prove that every pathogen, insect egg, or larva inside a bag has been killed. Garden Design advises against reusing mix from a diseased container and describes used mix as carrying higher disease risk. For seedlings, edible crops, cuttings, or a valuable houseplant, fresh mix is usually the sensible choice when the bag had widespread mold, a persistent sour smell, or a questionable history.
For a deeper look at mold in a houseplant pot, see how to handle mold on houseplant soil. That is a different situation from surface growth in a stored bag: a living plant, watering schedule, drainage, and root health also need attention.
What to do if you find insects
First identify what you can. Tiny dark flies that rise from damp mix are consistent with fungus gnats, while crawling beetles, grubs, webbing, or many different insects suggest a broader contamination problem. Do not assume every small insect is harmless, and do not assume every insect means the entire batch must go into the trash without inspection.
Seal the suspect bag inside a secondary container and keep it away from plants. If the mix is dry, clean-smelling, and only one or two adults are present, you may choose to use it outdoors after sifting and monitoring, but do not carry it into a seed-starting area or place it beside indoor plants. If the bag is wet, crawling, webbed, or repeatedly produces insects after drying, the practical choice is to stop trying to rescue it.
Do not add a household insecticide, bleach, or essential oil to stored mix as a homemade cure. A chemical can change the growing medium, harm roots, create an exposure problem, or fail to reach eggs and larvae hidden inside the bag. Pesticide products, when appropriate for a specific plant pest, must be labeled for that use and handled according to the label; treating an unknown bag is not a substitute for disposal.
Can you still use old potting soil?
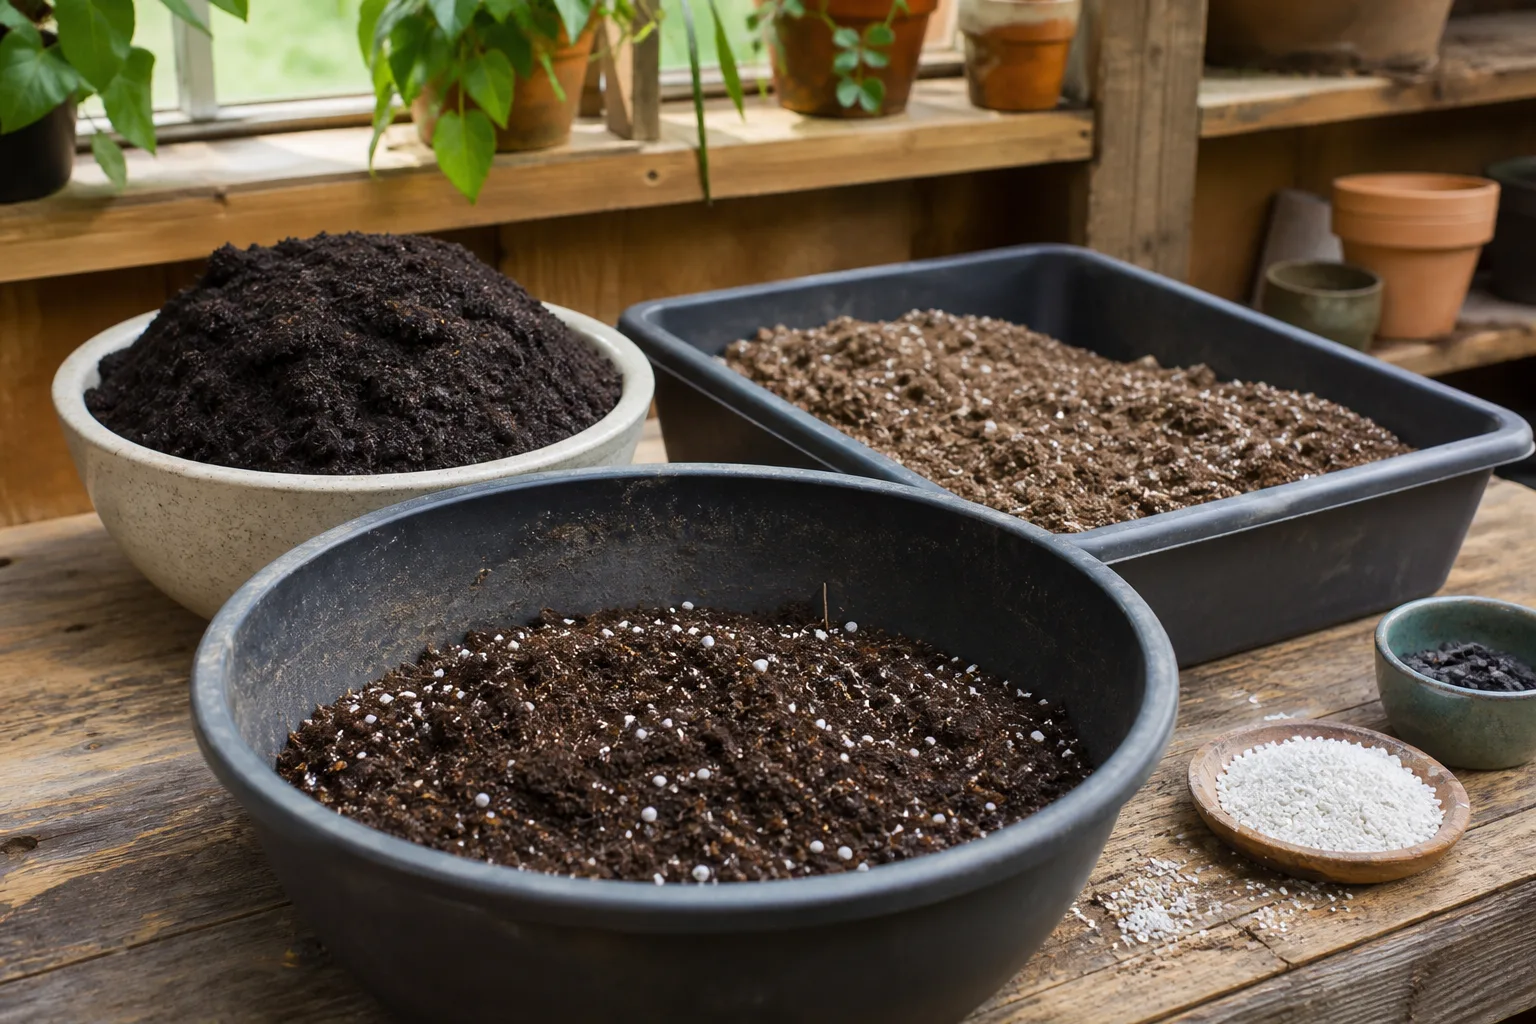
Yes, sometimes—but storage age is only one part of the decision. Oklahoma State University Extension recommends reuse when the previous plants were healthy and the mix is otherwise sound, while cautioning against mix associated with disease, weeds, or insects. Epic Gardening organizes the practical evaluation around fertility, compaction, and pests: nutrients leach with watering, air pockets collapse, and organisms can overwinter in old mix.
For a clean, dry, well-stored bag, loosen the mix and check how it behaves when moistened. If water runs straight off a hard, hydrophobic mass, or if the mix stays dense after gentle mixing, it may need fresh ingredients to restore structure. If the original fertilizer charge is spent, follow the product label or a trusted plant-specific feeding plan rather than adding a random scoop of fertilizer.
Used mix from a healthy container can be refreshed with compatible fresh mix or structural ingredients, but do not turn this storage guide into a promise that any old bag can become seed-starting medium. Seedlings and cuttings are less forgiving. For them, fresh, clean medium is the lower-risk choice. For established outdoor ornamentals, a clean older mix may be more forgiving, especially when amended according to the plant’s needs.
If you have already decided that an old batch is not suitable for containers, add it to a healthy compost system or use it as a modest amendment in an outdoor bed only when it has no disease or serious pest history. This guide to reusing potting soil covers the distinction between refreshable, contaminated, and compost-bound mix in more detail.
When to discard potting soil
Discarding or composting a bag is not a gardening failure; it is a way to prevent one questionable batch from becoming a pest or disease problem in several pots. Stop and remove the mix from your planting inventory when you find any of the following:
- a strong sour, rotten, or fermented smell that remains after airing out;
- wet, slimy, or anaerobic-looking areas deep in the bag;
- mold spread through much of the mix rather than a small surface patch;
- a heavy or recurring insect infestation, grubs, webbing, or egg masses;
- a clear history of plant disease, severe root rot, or persistent soil pests;
- contamination with animal waste, chemicals, fuel, or unknown material;
- a texture so compacted or degraded that it no longer drains and holds air predictably.
Do not compost or spread contaminated material blindly. A backyard compost pile can be a useful destination for ordinary, clean old mix, but disease and pesticide residues require more caution. Follow local waste guidance and the product label when a bag contains a treatment, fertilizer, or other material that should not enter household compost.
Conclusion
Good potting-soil storage is mostly moisture management. Save only mix that passes a quick inspection, let damp material dry in a protected place, keep it in its labeled inner packaging, add a clean outer container, and store everything elevated in the driest stable location you have.
That routine preserves the mix without pretending it will remain factory-fresh forever. When the bag smells sour, stays wet, carries a heavy insect load, or came from a diseased plant, use the stop rule: do not gamble with seedlings, edibles, or prized houseplants to save a few handfuls of medium. Fresh mix is often the cheapest part of recovering from a preventable pest or root problem.