How to Use Tomato Cages for Stronger Plants and Bigger Harvests
Learn when to install tomato cages, how to pick the right size for determinate vs indeterminate vines, anchor without root damage, and train branches for cleaner fruit.
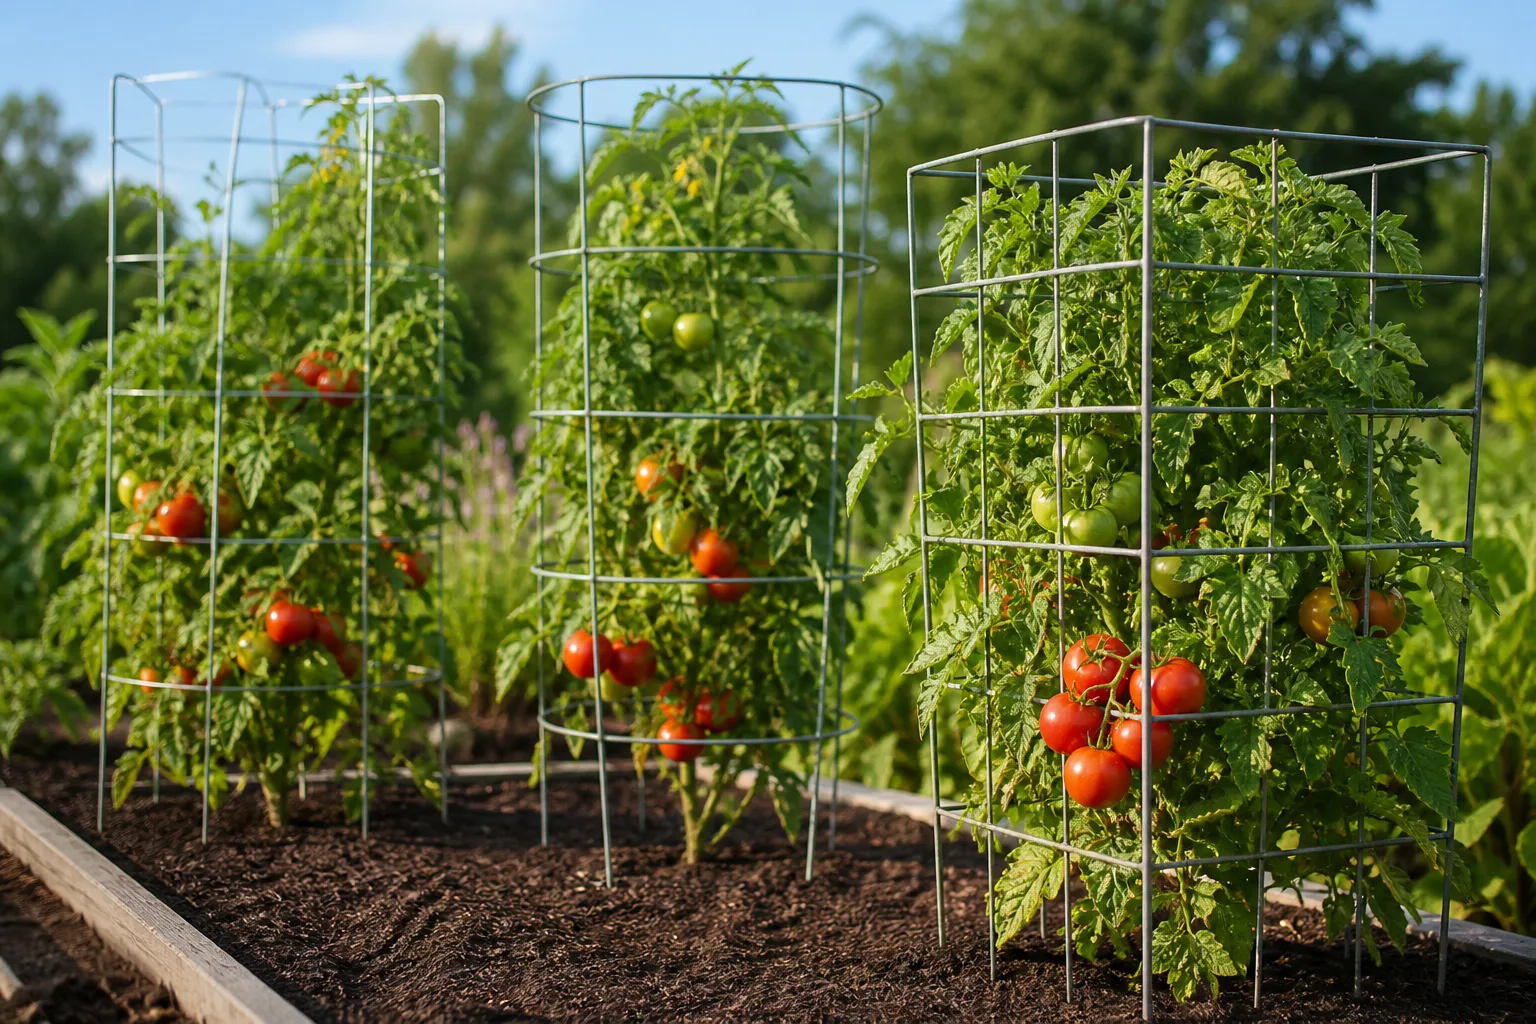
A tomato cage is not decorative hardware. It is the structure that keeps heavy fruit off wet soil, opens the canopy to drying air, and stops a six-foot vine from folding in half the week before your first slicer ripens. The difference between a cage that works and one that tips over in July usually comes down to three decisions made in May: right size for your variety, install timing before roots spread wide, and a training habit that tucks branches instead of wrestling them.
This guide walks through how professional and extension-backed gardeners use cages — from sizing and anchoring through soft ties, pruning pairs, and the emergency upside-down trick when you waited too long. If you still need to buy hardware, our best tomato cages guide ranks commercial options by height and habit. Here we focus on using whatever cage you have correctly.
Why Tomato Cages Matter More Than Most Gardeners Admit
Tomatoes are naturally sprawling vines. Even compact determinate (bush) types bulk up once fruit sets, and indeterminate vines keep adding stem length until frost or exhaustion stops them. Left on the ground, stems contact soil, splash carries fungal spores upward, and fruit rots where it cannot dry. University of Georgia Cooperative Extension notes that staking and caging keep plants off the ground, improve air circulation, and make harvest and pruning safer — cultural practices that directly reduce disease pressure in humid summers (UGA Extension staking and pruning guide).
A cage does something a single stake cannot do alone: it supports branches on multiple sides as they lengthen. That matters because tomato weight is distributed — a beefsteak cluster on one branch can snap a leader that a center stake never touches. Cages also create a defined harvest zone. You reach through the openings instead of stepping on vines sprawled across the path.
What Support Actually Does for Vines, Fruit, and Disease Pressure
Elevated branches dry faster after rain and overhead irrigation. Many tomato leaf diseases spread in lingering moisture on lower foliage. Keeping the lowest 6 to 12 inches of stem clear of soil contact — through caging plus selective lower-leaf removal — is one of the cheapest cultural controls you have. Our guide to removing lower tomato leaves covers when to strip and when to stop.
Clean fruit is the other payoff. Mud splatter, slug damage, and sun scald on fruit resting on hot soil are all more common when vines are unmanaged. A cage will not fix poor watering or overcrowding, but it removes one predictable failure mode. Penn State Extension treats organized vines as part of standard tomato care from transplant through harvest (Penn State Extension tomato guide).
Choose the Right Cage Before You Plant
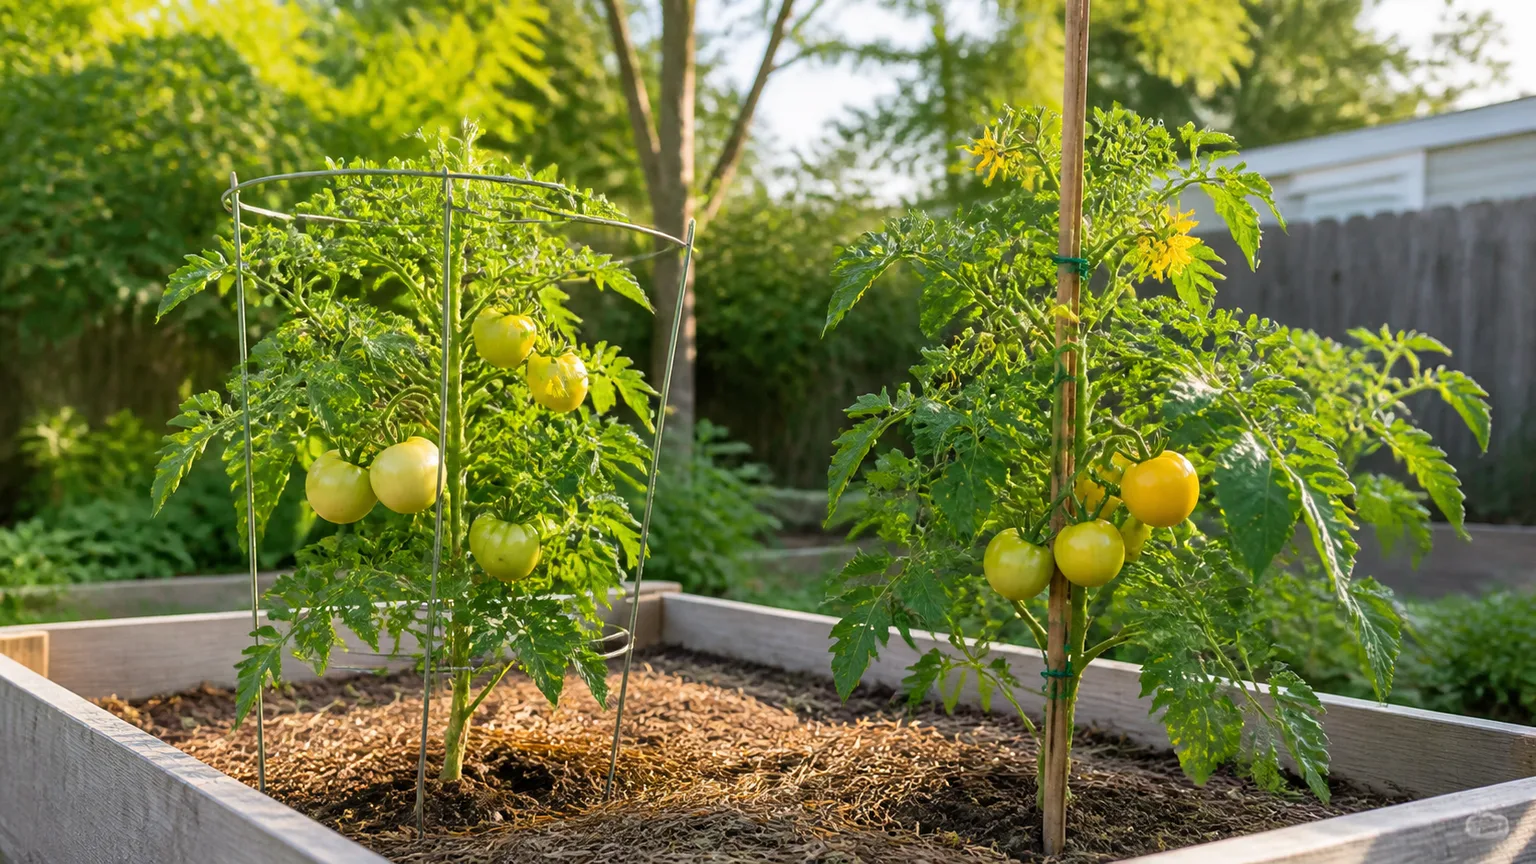
The best tomato cage for your garden is the one sized to your variety’s mature height, your wind exposure, and how much pruning you are willing to do. A cone cage that works for a patio cherry tomato will collapse under a six-foot indeterminate heirloom loaded with August rain.
Cage Shapes, Heights, and Materials Compared
Store-bought cone-shaped wire cages are the default at garden centers: cheap, stackable, and usually too short and too flimsy for large vines. UGA Extension warns that lightweight cones can work for determinate and patio tomatoes but are not strong enough for larger-growing plants without additional bracing (UGA Extension C1150). Square or rectangular heavy-gauge steel cages resist twisting better and offer more tie points along vertical bars. Modular systems with snap-on horizontal arms let you raise support rings as vines climb.
For DIY builders, UGA recommends galvanized livestock fencing with 4- to 6-inch woven squares or concrete reinforcement wire — materials stiff enough to last many seasons. Aim for at least a 3-foot diameter so branches are not pinched as the plant fills out. Height targets:
| Tomato type | Minimum cage height above soil | Footprint | Notes |
|---|---|---|---|
| Patio / micro determinate | 24–36 inches | 12–18 inches | Short cones often adequate if anchored |
| Standard determinate | 42–48 inches | 18–24 inches | Square or triangular cages improve airflow |
| Indeterminate slicers | 54–68 inches | 24–36 inches | Add center stake if using a cone |
| Aggressive cherry vines | 68+ inches or trellis | 30+ inches | Plan Florida weave or panel trellis by midsummer |
Powder-coated finishes protect hands from hot metal on sunny afternoons and slow rust. Wood cage frames work but rot faster unless you use rot-resistant lumber and expect to rebuild every few years.
Determinate vs Indeterminate Tomatoes: Cage Rules That Change Everything
Read the tag before you buy a cage. Determinate tomatoes set most of their crop on a compact framework over a shorter window. They still benefit from cages — UGA notes that even stockier determinates can tip from excess fruit weight or wind, and a dense canopy needs airflow from light pruning (UGA Extension C1150). A 4-foot cage roughly 2 feet wide in square or triangular form usually suffices.
Indeterminate tomatoes produce fruit steadily all season while vines lengthen toward 6–10 feet. They require support; otherwise stems end on the ground where breakage and disease follow. Plan for a 6-foot cage with a 3-foot diameter, or pair a shorter cage with disciplined pruning to two or three main leaders. Cages with movable horizontal supports let you raise rings as growth accelerates — useful when the same hardware must serve both early and late-season structure.
If you are unsure which habit your variety has, check our tomato plant hub and the seed packet’s days-to-maturity line: determinates often list a concentrated harvest window; indeterminates read “until frost.”
When to Put Tomato Cages On
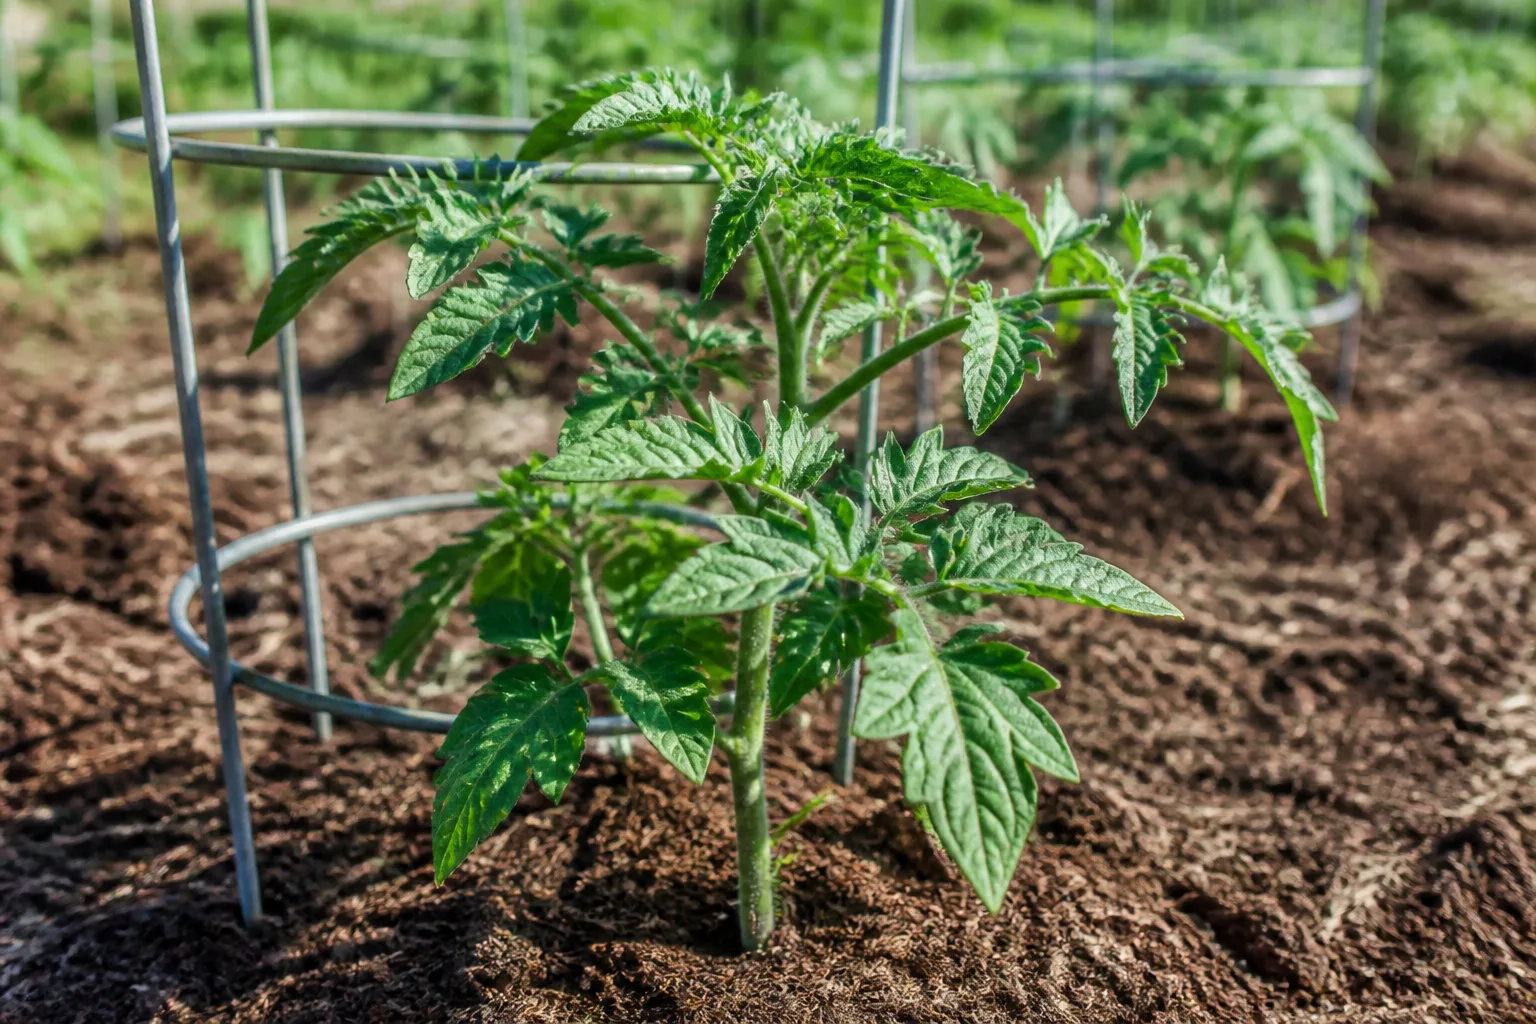
Install cages at transplant time or within the first week after planting — before feeder roots spread beyond the original root ball. Waiting until vines branch heavily forces you to thread mature stems through narrow openings, risks snapped branches, and drives anchor stakes through roots that have already claimed their space.
For container tomatoes, set the cage immediately after planting so stake legs fit down inside the pot without bending and you can confirm the mature footprint will not overhang the rim. In open ground, some gardeners wait until seedlings reach 6–8 inches and show the first side branches — roughly two to three weeks after transplant — but that is the latest reasonable window, not the ideal one.
The plant enters rapid vegetative growth once established: stems lengthen weekly and root systems expand outward. Every day you delay, the cage footprint conflicts with roots you cannot see. Early install also lets you tie gently from the start instead of corralling a plant that has already flopped.
At Transplant vs Two Weeks Later — The Real Trade-Off
At transplant: Roots are compact, centering is easy, and you anchor once without disturbing later growth. Downside: a tiny seedling looks lost inside a 5-foot cage — neighbors may stare. That visual awkwardness is worth accepting.
Two weeks later: You can see the plant’s natural spread and choose tie points sooner. Downside: roots now extend 8–12 inches in every direction; pushing legs through that zone causes setbacks you will not always notice until mid-season wilting.
Rule of thumb: If you are deciding between today and next weekend, do it today.
How to Install a Tomato Cage Without Damaging Roots
Installation is simple in concept and easy to botch in practice. Center the cage over the seedling with the main stem in the middle. Push anchor stakes into the soil 6 to 12 inches deep on firm ground — UGA’s range for stake systems applies equally to cage legs (UGA Extension C1150). Apply even downward pressure on the top ring or horizontal bar so all legs sink together rather than canting sideways.
If you hit resistance in rocky or clay soil, rock the cage slightly while pressing, or tap the top bars gently with a mallet. Never force one leg while others hover above grade — that twists the frame and bends weak cone wires. In raised beds filled with loose potting mix, bury legs deeper or screw a cross-brace between adjacent cages in the row before fruit loads. Lightweight mix does not grip short legs the way native soil does.
Anchoring Depth, Wind Exposure, and Raised-Bed Exceptions
Wind is the silent cage killer. A plant that stood fine in June becomes a sail in July when foliage fills the openings. Before fruit set, walk your row and add ground staples, U-shaped pins, or T-posts lashed to the cage exterior at the windward side. Square cages resist rolling better than cones; cones benefit most from a center stake driven beside the main stem and tied to the top ring.
Spacing matters for stability too. Crowded plants lean into each other and share diseases as readily as they share shade. Follow variety-specific spacing — our tomato plant spacing guide helps translate tag recommendations into real bed layouts.
Train Vines Inside the Cage Like a Pro
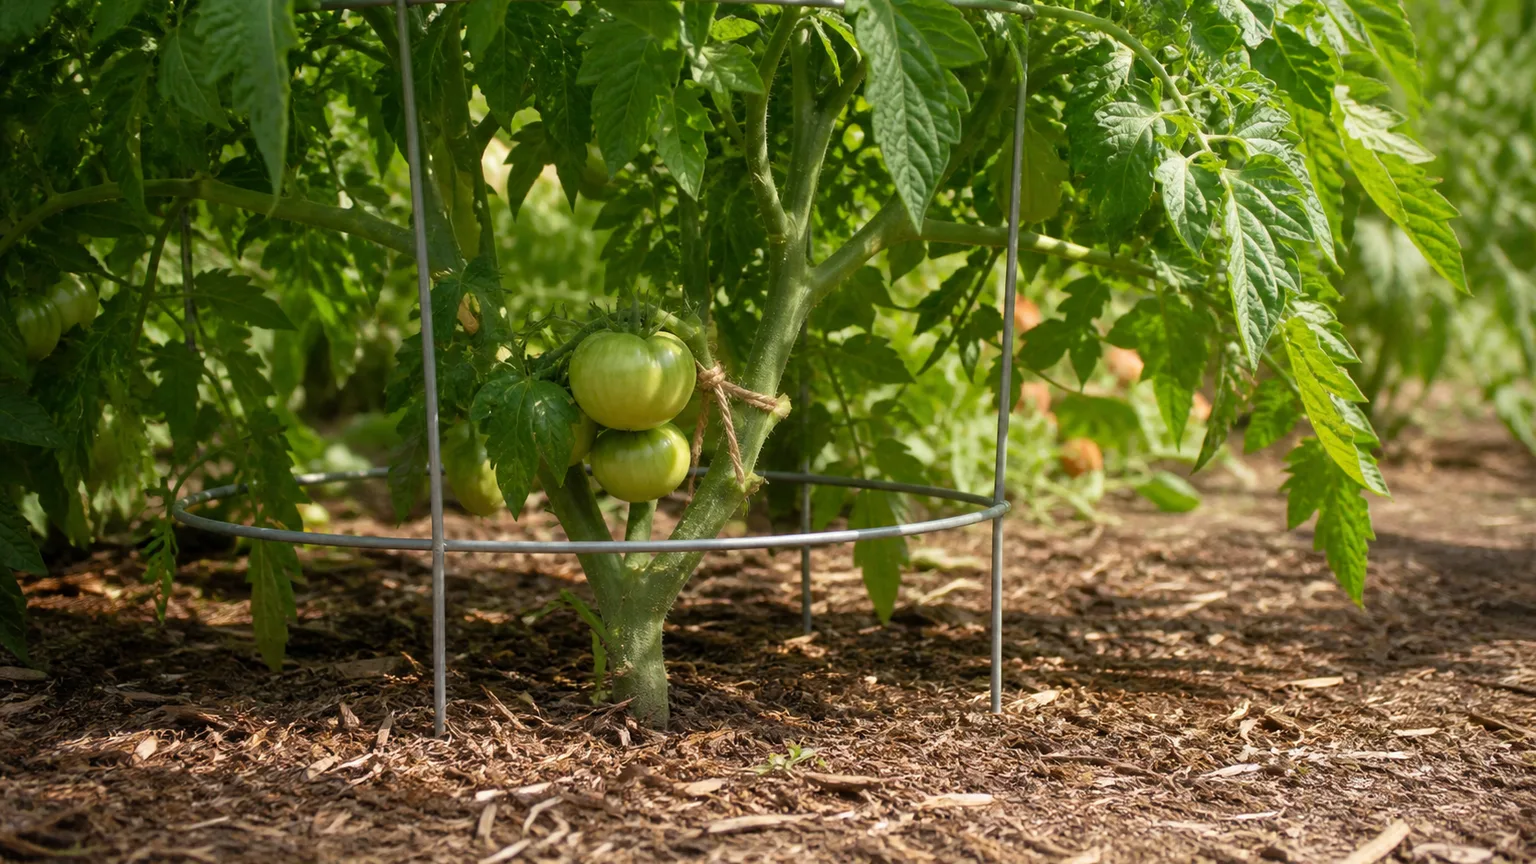
A cage only works if branches inside it are directed upward and outward instead of escaping through the bottom ring. Begin tying once the plant reaches 10 to 12 inches tall — UGA’s starting height for stake systems (UGA Extension C1150). Use garden twine, fabric strips, or cut pantyhose — materials with slight give that will not cut into thickening stems.
Work methodically:
- Identify a branch section with a well-developed leaf on each side of the stem.
- Loop a soft tie below the leaf pair so the double “V” of the leaves prevents the vine from slipping downward.
- Bring the tie to the nearest horizontal bar and knot it against the metal or wood, not against the stem.
- Leave slack for stem thickening and swelling fruit — tight ties girdle branches and invite disease entry.
- Repeat every 8–12 inches of growth, following the plant’s natural upward direction without pulling stems sideways under tension.
If a branch already carries open flowers or small fruit, tie below the cluster with extra room, or choose a different section. Fruit can develop inside the cage; the goal is support without constriction.
Soft Ties, Leaf Anchors, and the Upside-Down Rescue
Why knots sit on the bar, not the vine: friction against stems rubs the surface and creates wounds pests and pathogens exploit. The bar bears the load; the loop merely guides.
Upside-down cone trick: If you missed the early window and a bushy plant will not fit through a narrow top ring, some gardeners invert a cone cage so the wide opening drops over the plant. Anchor stakes are now at the top, so you must add exterior stakes or T-posts lashed to the frame — an inverted cone is top-heavy and unstable. Treat this as a rescue, not a plan. It is faster to cage early.
RHS guidance on creative veg supports emphasizes tying cordon tomatoes to sturdy structures as they grow and pinching tops once they reach the summit (RHS creative veg supports). The same discipline applies inside a cage: guide, do not strangle.
Pruning and Cage Strategy Work Together
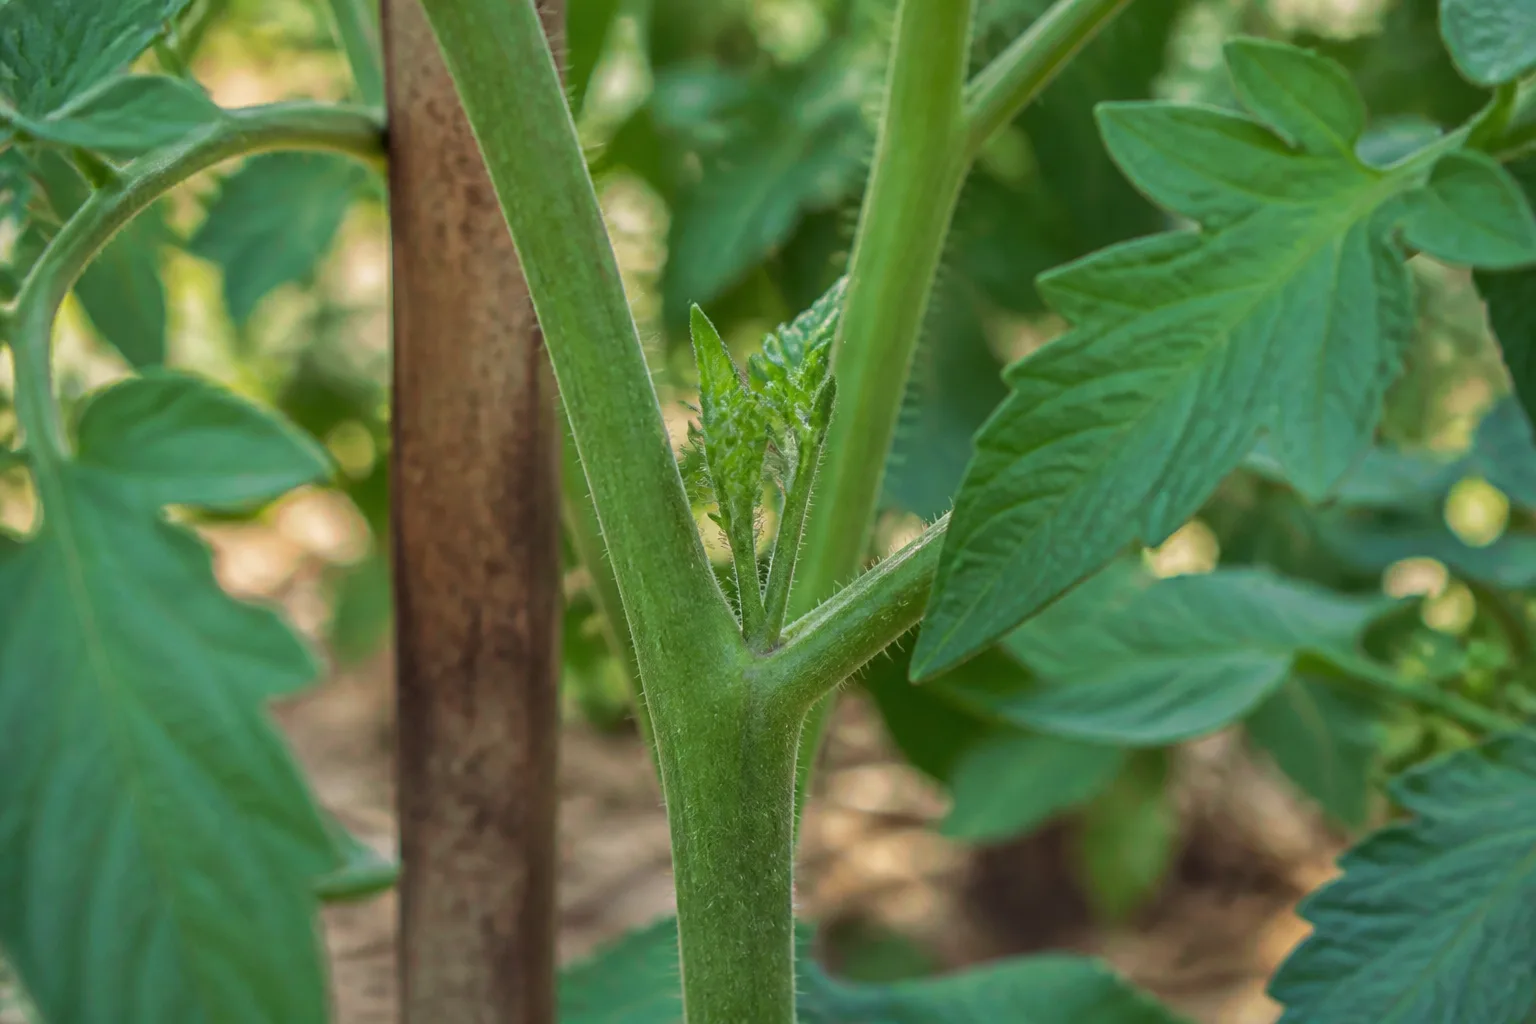
Cages pair with light to moderate pruning, not necessarily the severe single-leader regimen stakes demand. For indeterminate vines in cages, many gardeners allow two or three fruiting leaders and remove excess suckers — shoots growing from leaf axils — for the first six weeks after transplant. That balances fruit load with airflow without stripping the canopy bare.
Remove lower stems that drag on soil or mulch, especially before irrigation or rain. Sharp scissor-type pruners make clean cuts; disinfect blades between plants if disease has appeared nearby. Do not compost suspicious clippings at the base of the plant. Our how to prune a tomato plant guide walks through sucker timing in more detail.
Determinate tomatoes need less pruning overall — remove ground-touching growth and obviously crowded suckers, but avoid stripping the compact framework that carries your single harvest window. Over-pruning determinates in cages reduces yield without improving airflow enough to matter.
Fruit thinning is the final pruning layer: remove diseased or insect-damaged fruit immediately; optionally reduce large clusters to one or two tomatoes if you want fewer, larger fruits. The cage keeps remaining clusters visible for daily inspection.
Tomato Cages in Containers and Raised Beds
Container tomatoes need cages sized to the pot, not just the variety. A 24-inch cage with 6-inch legs works for a cherry in a 5-gallon pot; a full indeterminate in a 10–15 gallon container needs a taller cage with legs that reach the pot bottom without bending outward. Set the cage at planting so you never lift a mature root ball to wedge hardware in later. Our pots vs in-ground tomatoes guide covers volume minimums by habit.
In raised beds, treat the bed as a wind-exposed platform: anchor cages to each other with cross-lashing, and favor square frames over cones that roll. Depth of mix is usually adequate for roots; the weak point is almost always lateral stability, not root room.
RHS notes that galvanized wire growing cages work well on balconies and patios because they keep plants upright while letting light through — the same principle applies to movable pots you rotate for even sun (RHS small-space veg inspiration).
Common Cage Mistakes and Quick Fixes
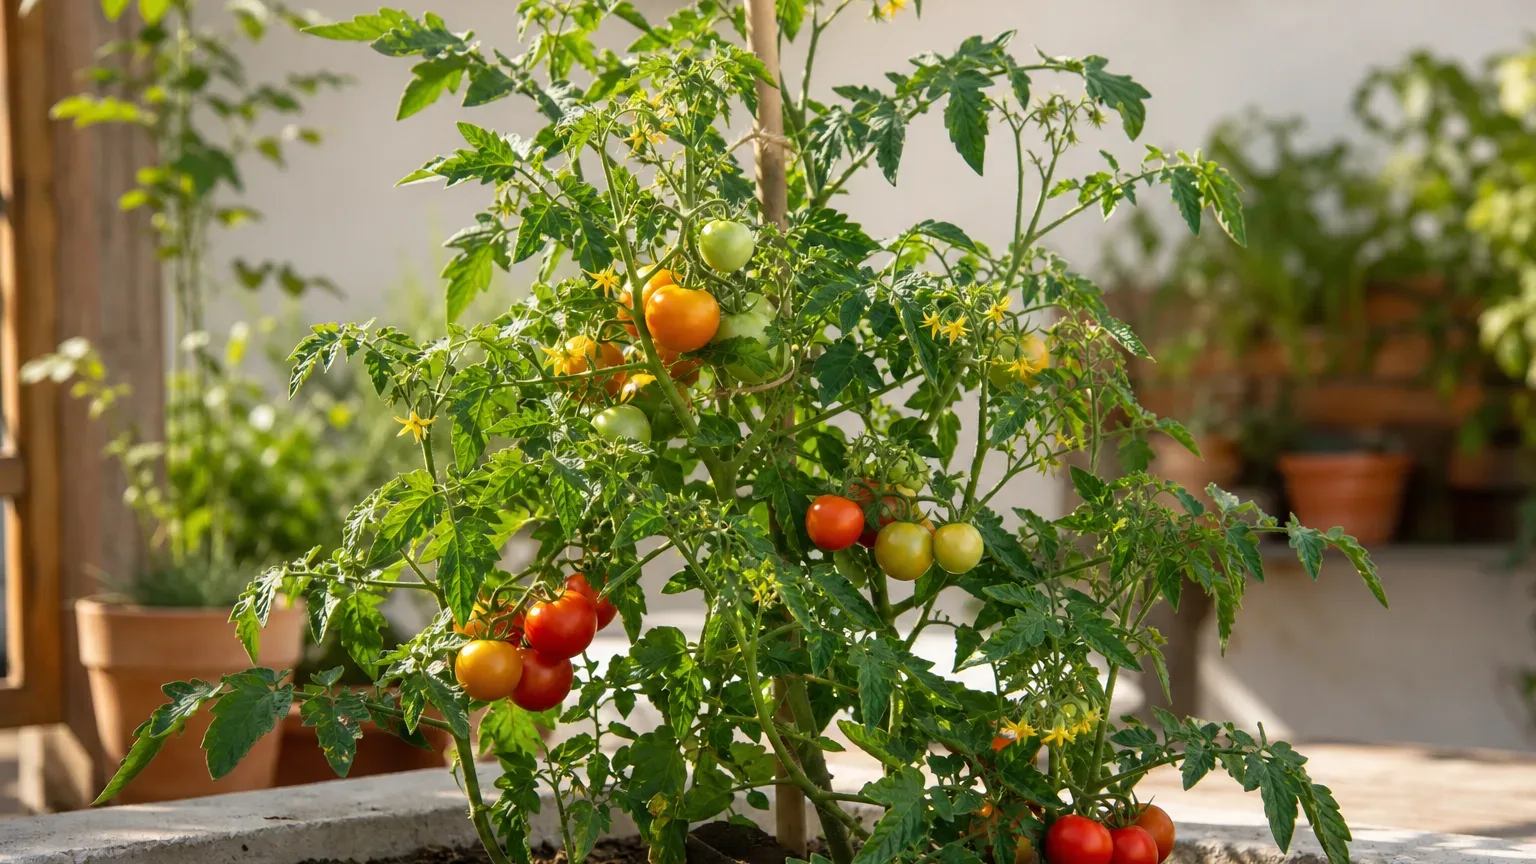
Mistake: lightweight cone on a tall indeterminate. Fix: drive a 6–8 foot stake beside the main stem, tie the stake to the top ring, and plan a sturdier cage next year — or switch to Florida weave for rows.
Mistake: cage installed after branching tangle. Fix: invert a cone if you must (with exterior anchors), or use loose twine to bundle and lift while a helper slides the cage up from below — work slowly, one branch at a time.
Mistake: legs only pushed 3 inches into soft mix. Fix: reinstall before fruit load; add ground staples or bury legs to the first horizontal ring.
Mistake: ties tightened like zip cords. Fix: cut and retie with slack; inspect weekly as stems thicken.
Mistake: never removing suckers in a crowded cage. Fix: thin to two or three leaders and strip lowest leaves touching mulch.
Mistake: ignoring wind until a thunderstorm. Fix: preemptive T-post on the prevailing-wind side costs five minutes in June and saves the plant in July.
After heavy rain or wind, recenter the cage, ease legs back to grade, and re-tie any slipped branches before they harden in a crooked position.
When a Cage Is Not Enough — Alternatives Worth Knowing
Cages suit gardeners who want multi-branch support with moderate pruning. They are not the only valid system. Single stakes cost less and suit determinates pruned to one leader, but they offer the least lateral support (UGA Extension C1150). Florida weave — stakes every three or four plants with twine woven down the row — scales better for long beds and heavy indeterminate plantings. Cattle panels or string trellises serve aggressive cherries that outgrow any retail cage by August.
Choose based on garden layout, not ideology. A backyard with six plants favors cages. A 20-foot row favors weave. A balcony favors one staked leader in a large pot. The wrong support is the one that does not match your variety and your maintenance appetite.
Conclusion
Tomato cages work when they are sized for your variety, installed before roots spread, anchored for wind, and paired with gentle training and sensible pruning. Match height and footprint to determinate or indeterminate habit, push legs 6–12 inches into firm soil, tie from 10–12 inches upward using soft loops below leaf pairs, and upgrade lightweight cones before midsummer loads arrive.
Get those decisions right in late spring and you spend summer harvesting — not propping fallen vines and scraping rotten fruit off mulch. For hardware comparisons and product picks, see our best tomato cages roundup; for ongoing vine care, keep the tomato plant hub bookmarked through frost.



