How to Winterize Garden Beds Step by Step This Fall
Prepare garden beds for winter with a climate-aware checklist for cleanup, compost, cover crops, mulch, bed repairs, and safe irrigation shutdown for spring.

To winterize a garden bed, harvest usable crops, remove diseased or pest-infested plants, leave healthy soil covered, protect any crops you plan to keep growing, inspect raised-bed structure, and drain exposed irrigation parts before a hard freeze. The details depend on what is in the bed and how winter behaves where you live; a bed with kale still producing needs a different plan from an empty tomato bed in a snowy climate.
Think of winterizing as a short soil-protection and damage-prevention routine, not a requirement to make the garden look bare. In most beds, you keep the soil in place, avoid unnecessary digging, cover exposed ground with a suitable mulch or cover crop, and remove only material likely to carry disease or pests. That combination protects the bed without sacrificing useful roots, wildlife habitat, or plants that are meant to overwinter.
Start With Timing, Weather, and What Is Still Growing
Begin when the main warm-season crops are finished and the soil is still workable. Use your local average first-frost date as a planning reference, then adjust for the forecast and the actual plants in the bed. Frost dates are estimates, not a signal to pull every crop on the same weekend; a cold-tolerant row of spinach or kale may keep producing after tomatoes are gone.
If you want to sow a cover crop, timing matters because the seed needs enough mild weather to germinate and establish before persistent cold. Penn State Extension advises planning cover crops in late summer to protect and improve soil, noting that winter rye can still be planted later than some options in its regional guidance; that window will vary with local climate and seed choice. Check an extension recommendation or the seed packet for your region rather than transplanting a Pennsylvania date to a warmer coast or high-elevation garden.
For most gardeners, a useful order is: harvest first, sort plant debris, make soil decisions, cover the soil, and then winterize water lines and tools. Doing the jobs in this order keeps you from burying diseased leaves under mulch or closing a row cover over a bed you still need to clean. It also helps you avoid rushing through irrigation work after a sudden freeze warning.
Harvest the Last Crops Before Cleaning Up
Walk each bed and separate ripe produce, sound but immature produce, and anything rotting or diseased. Pick ripe peppers, beans, squash, herbs, and late greens; remove fallen fruit before it gets soft, since a missed tomato or cucumber can become a volunteer plant or a place for pests and decay to persist. Sound green tomatoes can be harvested before frost and ripened indoors if you have a cool, dry place to sort and inspect them.
Do not pull a plant simply because it looks less attractive in October. Decide whether it is still producing, whether its roots are healthy, and whether it is a perennial or a cold-tolerant crop intended to remain. If the plant is likely to be killed by frost and has finished producing, remove it; if a crop is still healthy and you want to extend the season, keep it and use an anchored row cover or low tunnel as needed.
Penn State Extension’s fall-garden guidance makes an important distinction between spent annual crops and perennial stems that provide winter structure or wildlife food. In a vegetable bed, remove finished annual crops and fallen fruit; in a mixed border, some healthy seed heads, grasses, and perennial stems can remain until spring. Winterizing a kitchen bed is not the same as cutting every plant in the landscape to the ground.
Remove Diseased Material, Not Every Living Stem
Inspect leaves, stems, and fruit before composting. Remove plants with clear signs of serious disease, such as extensive blight, mildew, or rotting tissue, and bag or dispose of them according to local yard-waste rules instead of putting them in a cool home compost pile. A backyard pile does not necessarily heat evenly enough to destroy every pest or pathogen, so do not assume that “compostable” means “safe to return to this bed.”
Healthy plant material is a different case. If a crop was vigorous and had no meaningful disease or pest problem, you can chop it into smaller pieces and compost it, or leave its roots in place in a no-dig system while cutting the top growth at soil level. The roots decay in place and the surface is disturbed less, but this is a poor choice for a crop whose roots or residue are known to host the problem you are trying to manage. Epic Gardening’s fall cleanup guide similarly separates clean residue from diseased material and cautions that an ordinary backyard pile may not heat evenly enough to destroy pathogens. When the disease identity is uncertain, ask your county extension office before saving the material.
Remove weeds before they set seed, but do not mistake tidy bare soil for good winter preparation. A few healthy perennial stems can provide shelter or seed for wildlife, while diseased tomato foliage should not be left as a blanket over next year’s crop area. The practical rule is to sort by health and role: diseased debris out, finished healthy annuals composted or cut, wanted overwintering crops protected, and useful perennials assessed individually.
Choose Between a Cover Crop and a Mulch Layer
Cover crops and mulch both protect exposed ground, but they solve the problem in different ways. A cover crop is a living layer that holds soil with roots, competes with weeds, and can add plant material when cut down; organic mulch is the simpler surface cover that suppresses weeds, slows erosion, and gradually decomposes. You usually need one well-chosen method, not several thick layers piled together.
Choose a cover crop when the bed is empty early enough for the seed to establish and you are willing to manage it before spring planting. Winter rye is often used where the planting window is short; oats tend to be winter-killed in colder climates, leaving a protective residue, while legumes such as clovers or hairy vetch are chosen for different soil-building goals and need a suitable establishment window. Penn State Extension’s home-garden cover-crop guide describes cover crops as living mulch and explains that species vary in winter survival, growth, and nitrogen contribution; match the seed to your climate, bed schedule, and next crop rather than buying a generic blend.
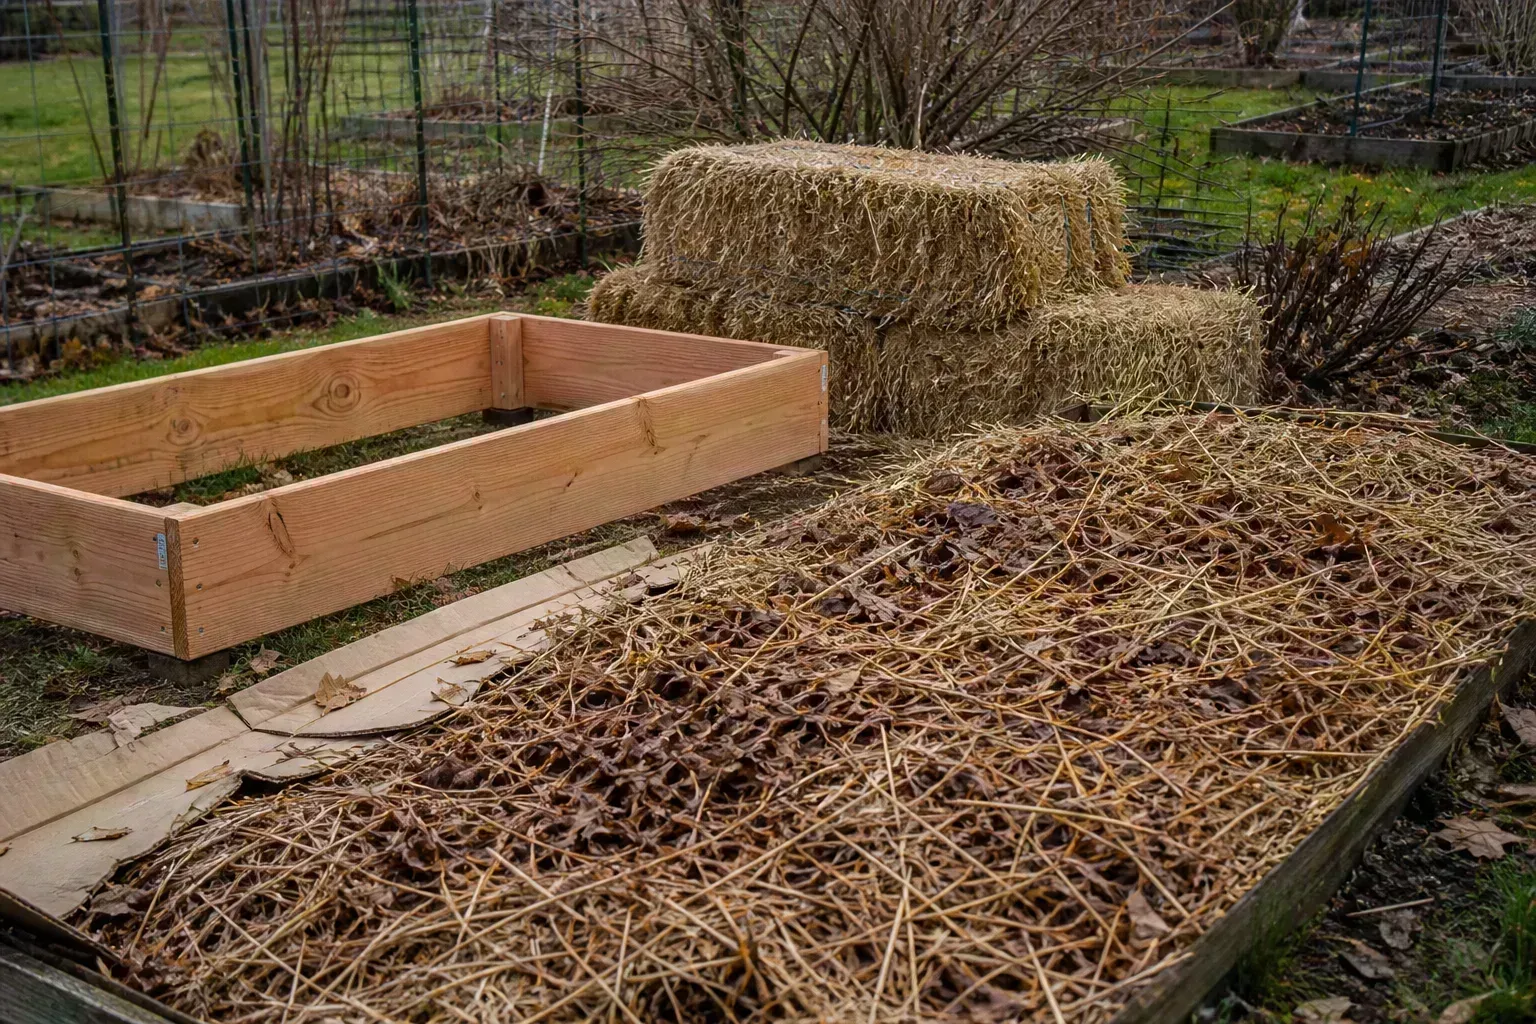
Choose mulch when you missed the sowing window, want the fastest low-effort cover, or need to protect an idle bed without managing new growth. Shredded leaves, clean straw, or finished compost can all work, but their texture and decomposition differ. Savvy Gardening’s raised-bed guidance describes chopped fall leaves as an accessible winter cover that can reduce exposed soil and return organic matter as it breaks down.
If the Cover-Crop Planting Window Has Passed
Do not scatter seed into cold, compacted soil and expect a lush stand by spring. If the bed is already too cold for dependable germination, use a loose layer of suitable mulch instead; if a late sowing is locally recommended, follow the variety’s sowing directions and be prepared for uneven establishment. A thin, patchy cover crop does less to hold soil than the uniform mulch you could have applied that afternoon.
Cover crops also need a spring exit plan. Some species resume growth as temperatures rise and can become difficult to cut or turn under if you wait too long; others die with winter cold and leave residue that can be planted through or moved aside. Check the species’ growth habit, termination timing, and residue handling before sowing, especially if you plan early peas, greens, or small seeds in the same bed.
Add Compost and Amend Soil With a Reason
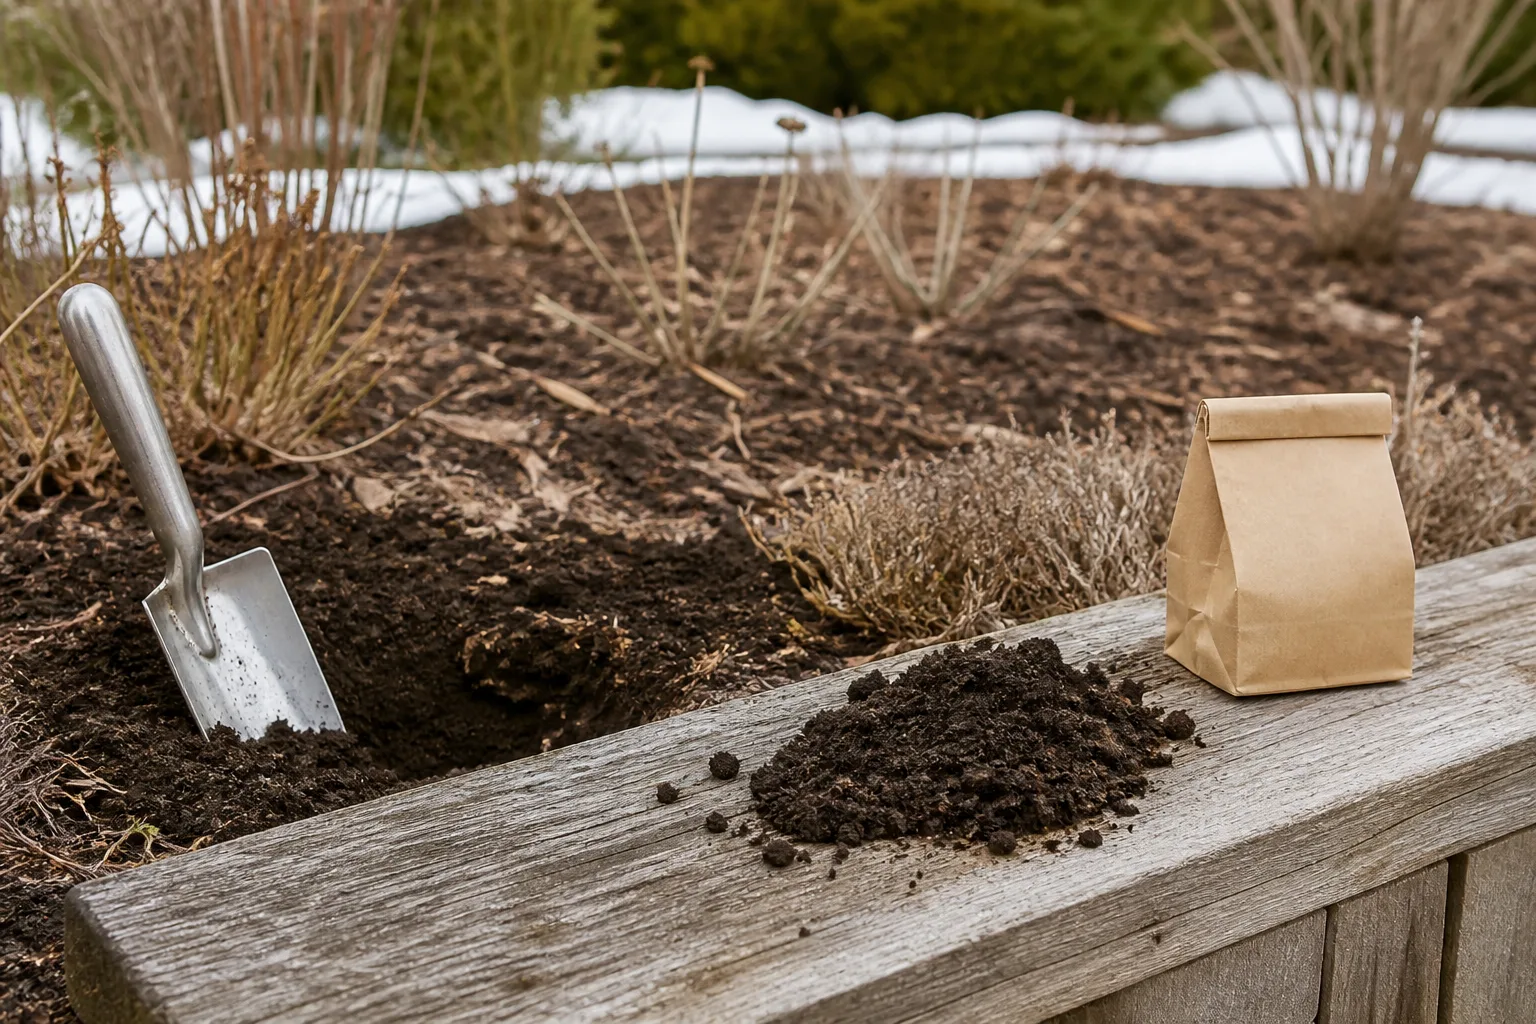
If you have mature, stable compost, a light top-dressing can improve the organic matter available to the bed without requiring you to turn over the soil. Savvy Gardening’s raised-bed article recommends leaving the existing soil in place and replenishing it over time; a few inches of settled compost may be appropriate in an established raised bed, but the correct amount depends on its depth, soil condition, and the plants already growing there. Do not bury crowns, stems, or low-growing perennials under a thick new layer.
Use a soil test to guide lime, phosphorus, potassium, or other nutrient additions. A winter bed does not need a routine dose of fertilizer just because the season is ending; unnecessary nutrients can be wasted, washed away, or create imbalances. If a test recommends a material that needs time to react, fall may be convenient, but follow the test report’s rate and timing rather than copying a generic amendment recipe.
Avoid digging or tilling wet soil. Working saturated ground breaks down aggregates and can leave it more compacted when it dries, while top-dressing compost keeps the surface structure intact. If the bed is already at a healthy level and a soil test shows no correction is needed, simply cover it and make a note to test again on the schedule recommended by your local lab.
Mulch at the Right Time and to the Right Depth
For an empty vegetable bed, apply an even layer of organic mulch after cleanup and any compost top-dressing. Shredded leaves stay in place better than broad whole leaves and break down into the surface; clean straw is light and insulating; finished compost is a soil amendment as well as a cover, so it is not interchangeable with a bulky winter blanket. Use material free of weed seed, visible disease, lawn chemicals, and dyes.
Depth should fit the job and the material. Penn State Extension’s fall-garden advice discusses three to five inches of straw for insulating plant roots in severe winter conditions, but a thick blanket is not automatically right for every annual bed or mild climate. Start with a moderate, loose layer and add more only if it blows away or the site needs additional insulation; keep mulch from pressing against crowns and stems, and avoid compacting wet leaves into a dense mat that excludes air and water.
Timing depends on what you are protecting. For an empty bed, covering exposed soil after the final harvest is reasonable; for perennials and woody plants, wait until the soil has cooled and local conditions indicate winter insulation is needed. Applying heavy mulch while the ground remains warm can delay dormancy or create a damp, sheltered spot around crowns. Penn State Extension’s fall guidance also notes that mulch can reduce freeze-thaw heaving around newly planted bulbs and perennials, but those plantings need their own planting-depth and mulch advice.
Protect Beds That Keep Producing in Winter
If kale, spinach, carrots, leeks, or other cold-tolerant crops remain in the bed, do not cover them with a deep layer of mulch that makes harvesting difficult. Keep the row accessible, remove only damaged leaves, and use a floating row cover or low tunnel when a temperature drop threatens the crop. Secure the edges so wind cannot lift the cover, and open or vent a covered structure during mild sunny spells if heat builds up.
For root crops you plan to harvest gradually, a loose insulating layer can make digging easier in a cold climate, but it should not become a waterlogged mat. Mark the rows before snow arrives and keep the mulch shallow enough that you can pull it aside without damaging crowns. In a mild winter area, plants may keep growing with little protection; in a colder area, a cover extends harvest only within the crop’s tolerance and the structure’s limits.
Separate crop protection from soil protection. A bed cover such as clear plastic laid directly on soil is not the same as breathable frost cloth, and a rigid lid can trap warmth and moisture. Use the cover type that fits the purpose, anchor it securely, and make sure it does not press on foliage or collect water in a sagging pocket.
Inspect Raised-Bed Frames, Soil Level, and Drainage
Raised beds are exposed at their sides as well as at the soil surface, so fall is a useful time to check boards, corners, fasteners, and supports. Look for bowing, rot, loose joints, or a gap where soil has escaped; repair a failing corner before snow or rain adds weight and makes a spring repair harder. For a modular metal or plastic bed, follow the manufacturer’s care guidance rather than applying a wood treatment that is not approved for food-growing structures.
Do not empty a sound raised bed for winter. Soil settling is normal, and the better response is usually to top up or amend gradually, not remove the bed mix and start over. Savvy Gardening’s raised-bed winter checklist likewise advises leaving the soil in place and replenishing it as crops use nutrients; if the level has dropped substantially, add compatible garden soil or compost while leaving space below the rim for mulch and spring planting.
Check that water can drain away from the bed and that the surrounding path does not funnel runoff through it. Winter rain and repeated freeze-thaw can expose a drainage issue that was hidden during summer watering. Avoid piling heavy material against the outside boards or allowing a tarp to channel runoff into one corner.
Shut Down Irrigation Before a Hard Freeze
Water left in an exposed hose, timer, filter, backflow device, or drip line can freeze and split parts. Before temperatures drop below freezing, shut off the supply, disconnect hoses and timers, drain accessible lines and low points, and store small fittings indoors. If your system has a controller, valve box, or manufacturer-specific blowout procedure, follow that equipment’s instructions; do not guess at compressor pressure or force water through a component that is not rated for it.
A buried main line and exposed bed-level tubing may need different treatment. Identify the parts that remain above ground, note where the shutoff and drain valves are, and take a photo of the layout if you want a faster spring restart. If you cannot confirm how a backflow preventer or automated system should be winterized, have an irrigation professional handle that step rather than risk a cracked component.
Drain and store watering cans, sprayers, and portable reservoirs as well. Clean soil and plant residue from tools, dry metal surfaces, and store hoses in a place where they will not kink or sit in standing water. This small end-of-season routine is easier than discovering a split fitting after spring planting has started.
Avoid the Fall Tasks That Create Spring Problems
The most common mistake is over-cleaning: removing all roots, leaves, and perennial stems simply because winter is coming. That can leave soil exposed and eliminate useful habitat, while doing little to reduce disease if the actual infected material remains. Focus on the crop history and visible plant health, then cover the ground you have cleared.
Another mistake is applying fertilizer, lime, manure, or ash without knowing whether the soil needs it. Compost is not a universal fix, and fresh manure may be too strong or unsuitable for a bed that will grow food soon. Use a soil test and mature organic matter; if you are unsure whether a material is finished compost or safe for vegetable beds, leave it out until you can verify what it contains.
Do not plant a cover crop so late that it creates a spring chore without protecting much soil, and do not pile mulch so high that it hides perennial crowns or smothers small seedlings. Avoid walking on wet beds or using a tarp that catches water and blows loose. A good winter setup is stable, permeable where appropriate, and easy to open when spring arrives.
Adjust the Plan to Your Winter Climate
Winter conditions vary more than a calendar suggests. The same bed may need thick insulation in a cold, windy location and only a modest organic cover in a mild coastal climate; a dry, high-altitude garden may need wind protection and moisture awareness as well as frost planning. Use local first-frost information, winter precipitation patterns, and the next crop’s planting date to select your materials.
Cold and Snowy Regions
In places with prolonged freezing, cover bare soil before hard winter weather, protect crops you intend to harvest, and drain all exposed water equipment early enough to beat the first freeze. Snow can insulate soil, but it does not remove the need to protect a raised bed’s exposed plumbing or to clear diseased residues. Where winter rye or a locally suited cover crop is established, plan ahead for spring termination; where it is too late, a mulch layer is the lower-management option.
Use thicker straw only where root insulation or winter harvest calls for it, and keep it loose enough that spring shoots can emerge. Raised-bed corners and fasteners deserve a closer inspection because the bed’s sides take more exposure than in-ground soil. After heavy snow or rain, check that covers remain anchored and that the frame has not shifted.
Mild, Wet, or Dry Regions
In mild, wet winters, the main risks may be saturated soil, rotting debris, and a heavy mulch layer that stays soggy rather than deep frost. Clear diseased annual material, keep drainage open, use a lighter cover, and avoid walking on beds when they are wet. If you are planting winter vegetables, leave the growing zone open enough for airflow and harvesting.
In dry or windy regions, a stable cover matters because wind can strip leaves or light mulch from a bed. Shredded leaves, straw held by a breathable net, or a successfully established cover crop may be more dependable than a loose scattering of material. Water a new cover crop enough to germinate if local rainfall is insufficient, then disconnect the irrigation components that cannot remain outdoors through freezes.
Make Spring Setup Easier Before You Finish
Label any cover crop by species and sowing date, and write down where you planted winter greens or root crops. Those notes make it easier to decide when a living cover should be cut down and where you can begin planting without disturbing a crop. If you used a heavy mulch, keep a path or edge accessible so it can be pulled back as the soil warms.
In spring, inspect the bed before adding more compost or fertilizer. Remove winter-killed cover-crop residue or cut down a living stand before it sets seed; follow the seed supplier or local Extension recommendation for how long it should decompose before planting. Rake back mulch only where seeds need direct soil contact, leaving a thinner layer in paths or around established plants.
Wait until soil is workable rather than turning it while saturated. Check boards, irrigation fittings, and any row-cover hoops before planting, and retest soil if the previous report calls for it or the bed has shown a recurring nutrient problem. Winterizing works best when it reduces spring repairs while leaving the soil covered, structured, and ready for the next crop.
Conclusion
The most reliable winter garden-bed routine is selective: harvest what is ready, remove diseased or pest-ridden debris, keep healthy soil covered, and protect crops and equipment according to local conditions. Choose a cover crop when there is time for establishment and you can manage it in spring; otherwise, use a suitable organic mulch and avoid blanket amendments.
Raised beds usually keep their soil through winter, but their frames, drainage, and exposed irrigation need attention. Make those checks before a hard freeze, keep a note of what is growing and what is under cover, and you will have less cleanup and fewer avoidable repairs when spring returns.



